欧普透视隧道
原文链接:https://tabithaannthelostsock.blogspot.com/2022/11/perspective-tunnels.html
日期: 2022-11-28
标签: 美术课、视平线、一点透视、透视、空间、隧道、通风口
理解透视
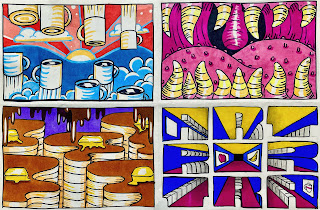
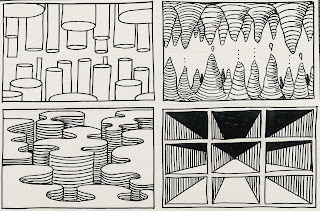
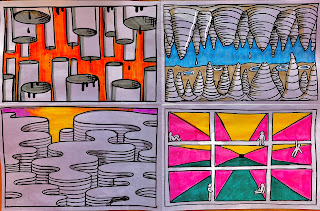
教师示范作品(上图)
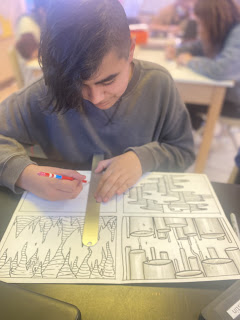
学生作品示例(2023年1月)
高中阶段
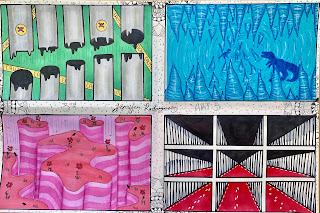
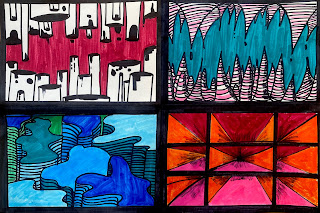
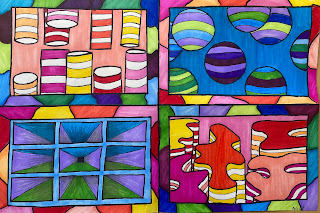
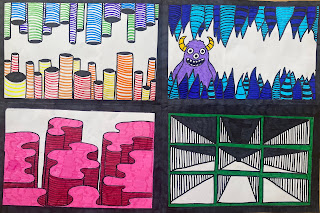
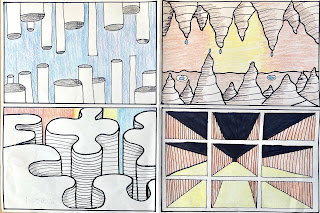
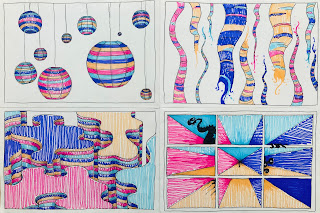
初中阶段
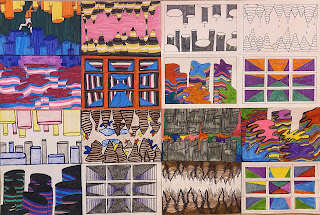
麦克斯·加曼、贾斯敏·杜兰、
米歇尔·卡马戈与考特尼·阮
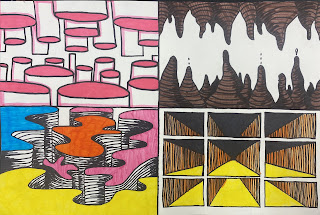
梅拉妮·卡马戈(八年级)
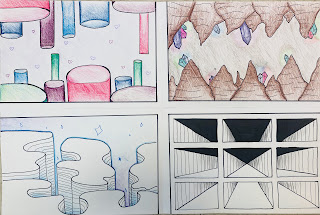
杰登·肖特(八年级)
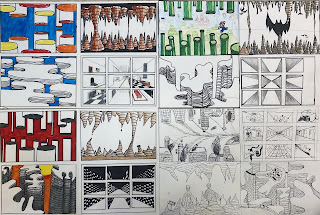
凯登、韦斯利·福斯奈特、
卡尔·阿代尔与艾登·考沃特
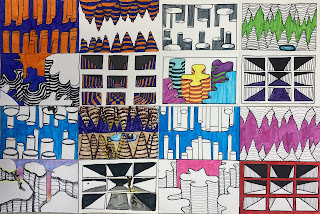
阿里尔·斯通、贾兹明·奥尔特加、
凯莉·里德、塞莱娜·马丁内斯
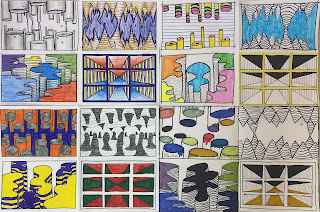
爱德华多·M.、佩斯莉·霍尔、
威特·萨洛宁、卡丹斯·巴雷拉
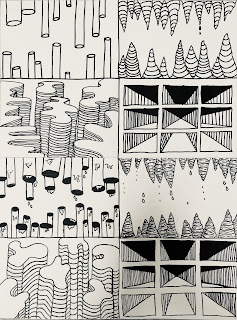
贾雷齐与凯莉
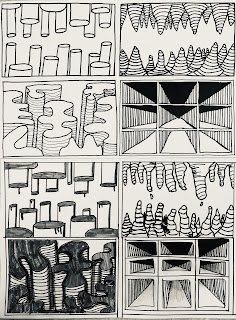
金斯莉·哈勒与麦迪逊·门德斯
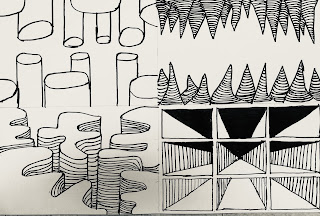
莱尔·罗杰斯
词汇表:
视平线(Eye Level)——你当前所见事物的个人视角。
通常而言……
位于你视平线之上的物体,你看到的是其底部;
位于你视平线之下的物体,你看到的是其顶部;
位于你右侧的物体,你看到的是其左侧;
位于你左侧的物体,你看到的是其右侧。
地平线(Horizon Line)——地面与天空相接之处,或地板与墙面相接之处;地平线即你的视平线所在位置。
轮廓线(Contour Line)——沿形体外缘弯曲以贴合其外形的线条。
消失点(Vanishing Point)——所有透视线汇聚于你视平线(即地平线)上的那个点。
透视缩短(Foreshortening)——因观察角度不同,使物体在视觉上显得更大、更小、更短或更高。
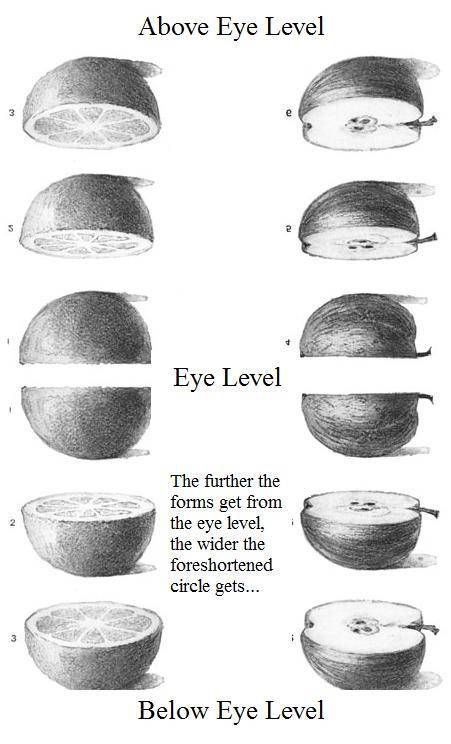
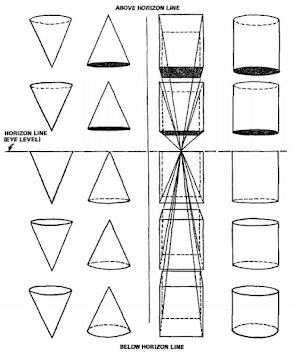
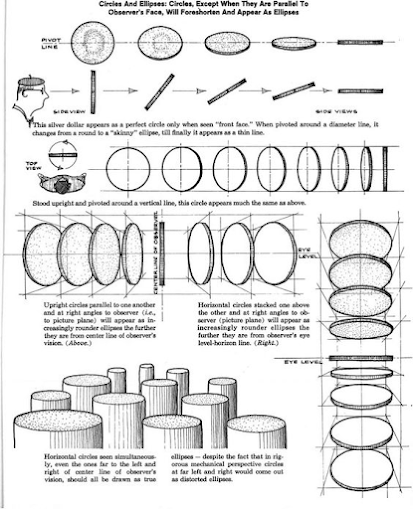
约书亚·纳瓦
https://www.joshuanava.biz/realistic/define-realistic-drawing.html
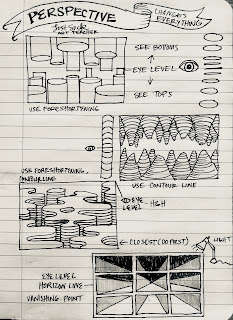
1. 向上与向下的管道
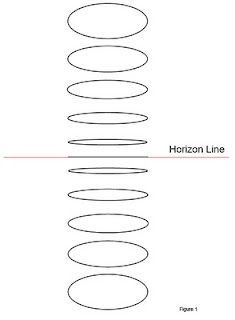
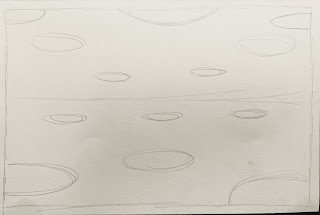
透视缩短:
在视平线上方与下方分别画椭圆。
越靠近视平线的椭圆应越扁(高度越短)。
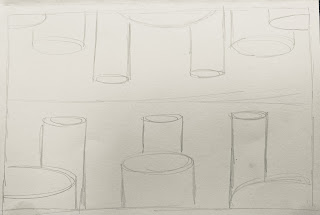
从最靠近纸张顶端与底端的椭圆开始,
从椭圆各角向远离视平线的方向画直线。
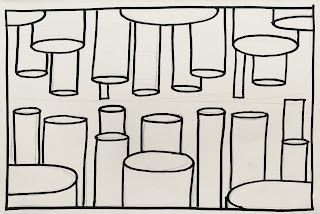
用记号笔加强线条。
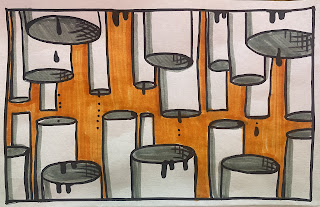
挑战任务:加入创意设计、明暗/排线、背景。
2. 石钟乳与石笋
石钟乳是天然洞穴中形成于
你视平线之上的钟乳状结构;
石笋则形成于你视平线之下。
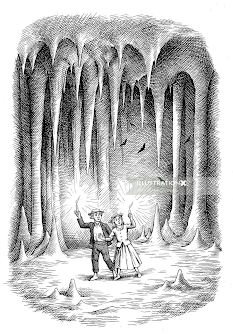
马丁·哈格里夫斯(插画师)
将视平线设于方框中央。
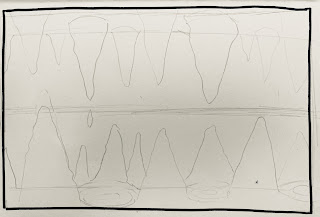
向上与向下绘制锯齿状三角形。
确保上方三角形位于视平线之上,
下方三角形位于视平线之下。
运用重叠关系,并随空间纵深推远而逐渐缩小。
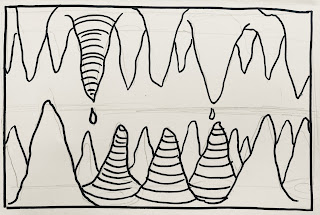
使用轮廓线:
在视平线之上,线条向上弯曲;
在视平线之下,线条向下弯曲。
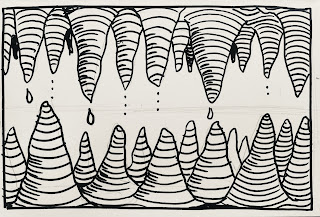
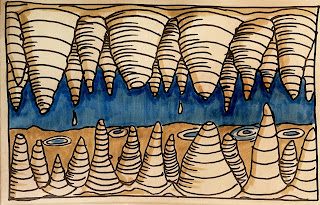
3. 跳跃的拼图块
本练习聚焦于轮廓线与视平线。
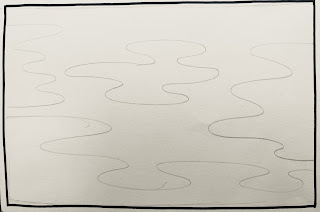
绘制横向延展的深弧线;
横向延展的自由形态“团块”亦同理。
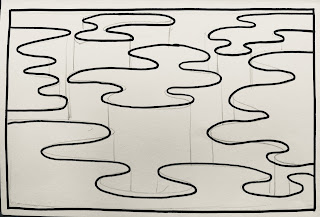
从最低处开始,
从每条弧线最远端向下画线;
再向上连接至下一条弧线。
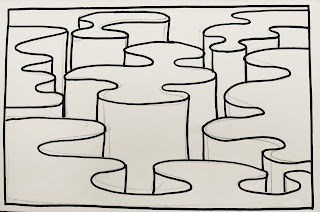
所画线条须顺应其起源处的轮廓走向。
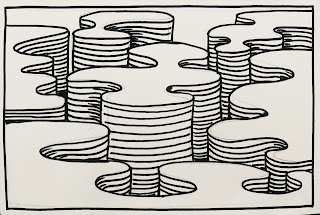
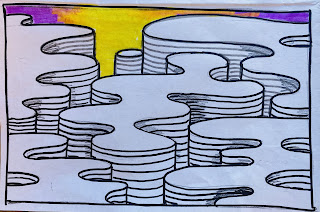
更详尽的步骤说明请见
MakeAMarkStudios……
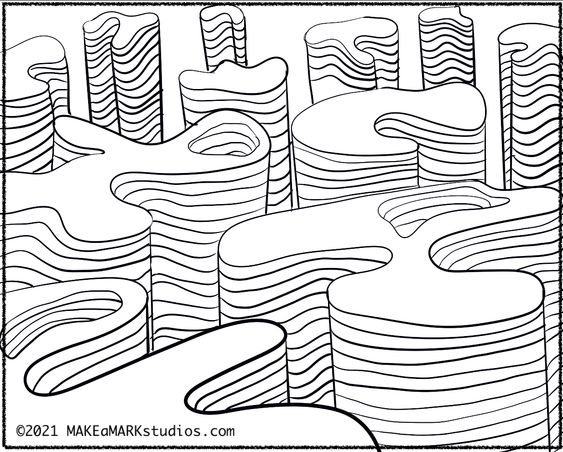
https://makeamarkstudios.com/how-to-draw-funky-organic-form-towers/
4. 欧普艺术隧道
本练习聚焦于正中心的消失点。
每个方框因你的视平线位置不同而呈现差异。
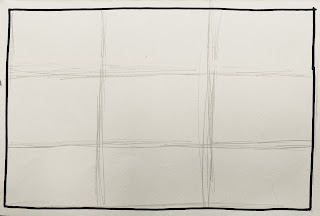
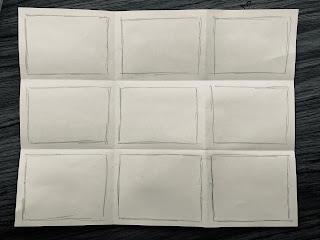
将纸张三等分折叠(3×3格)。
在折痕线内绘制方框。
这些折痕线即你隧道的“画框”。
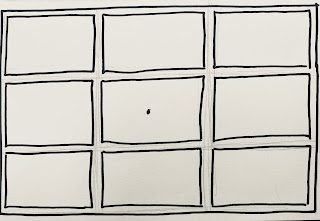
在中央方框正中心点一个点。
该点即为你的消失点与视平线。
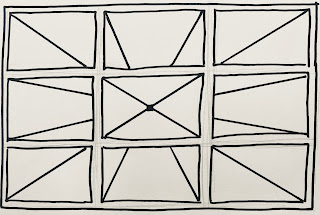
连接每个方框的四角,但线条不得穿过“画框”;你只能在隧道内部作画,不可画入画框区域。
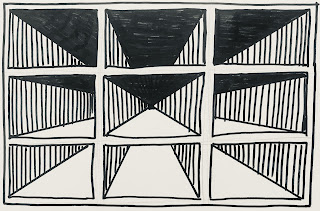
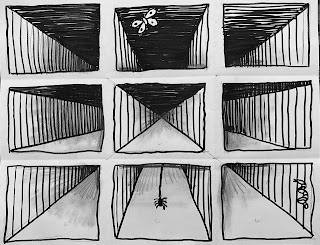
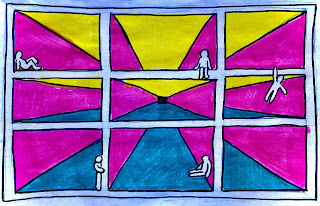
设定恒定光源方向。我的光源位于正上方中央。
两个相对侧面应施以中等明度;
一侧为深色调,另一侧为浅色调。
随着隧道向消失点延伸,整体明度也应逐步变暗。
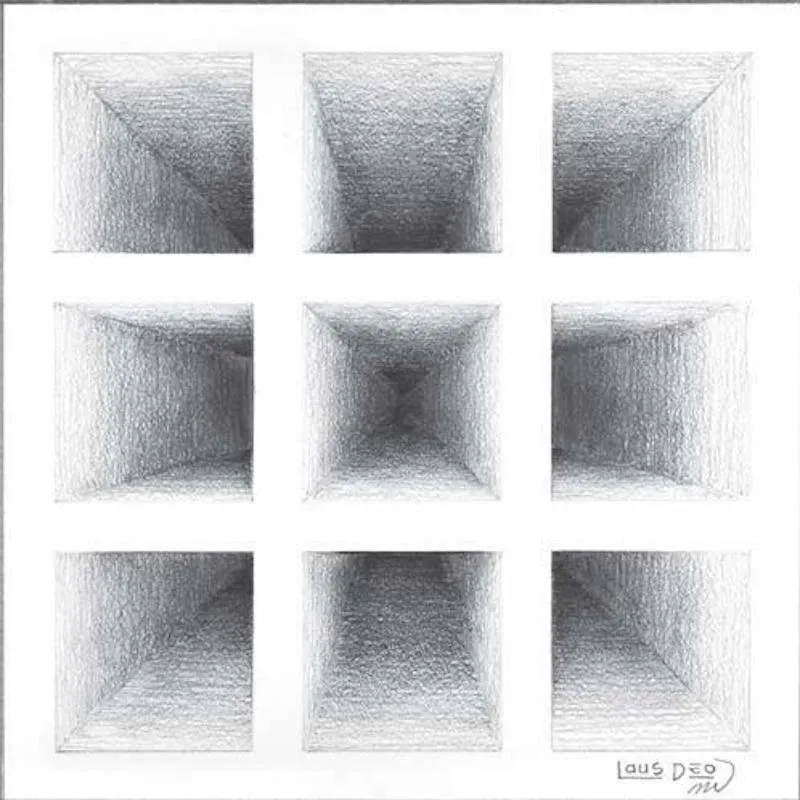
点击上方“Art”可获取本项目的更详尽指导
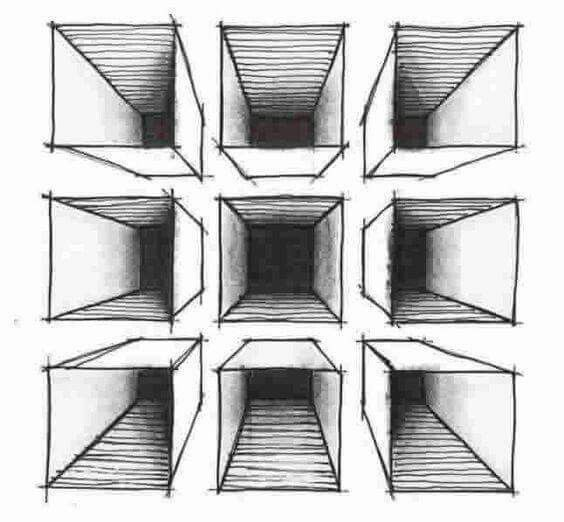
来源未知
图中展示的是方框结构,而非隧道效果。
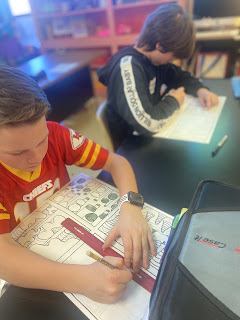
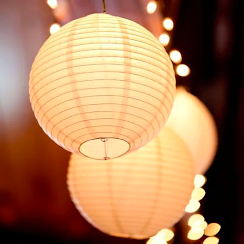
核心问题:
根据上文关于视平线、透视缩短的圆形以及轮廓线的提示,
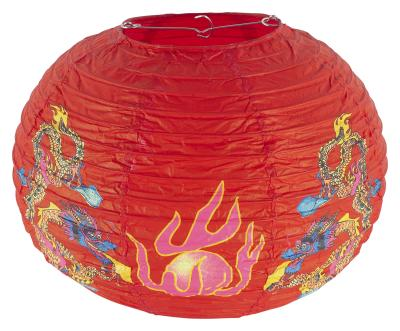
这些日本灯笼是处于、低于,还是高于你的视平线?
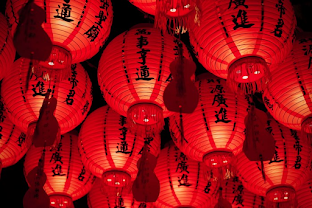
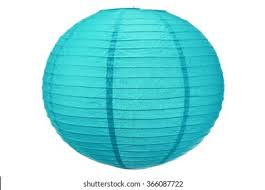
欧普透视隧道
Original: https://tabithaannthelostsock.blogspot.com/2022/11/perspective-tunnels.html
Date: 2022-11-28
Tags: art lesson, eye level, one point, perspective, space, tunnels, vents
UNDERSTANDING PERSPECTIVE
Teacher Samples (above)
Student examples January 2023
High School
Middle School
Max Garman, Jasmin Duran,
Michelle Camargo, & Courtney Nguyen
Melanie Camargo 8th grade
Jaedyn Short 8th grade
Kaden, Wesley Fosnight,
Carl Adair, & Aiden Cowart
Ariel Stone, Jazmyn Ortega,
Kaylee Reed, Selena Martinez,
Eduardo M., Paislee Hall,
Wyatt Salonen, Cadance Barrera
Jarezi & Kalie
Kinslee Harle & Madison Mendez
Layel Rodgers
Vocabulary:
Eye Level- Your personal perspective of what you see at one time.
Usually….
Anything above your e.l., you see the bottom.
Anything below your e.l., you see the top.
Anything to the Right, you see the left side.
Anything to the Left, You see the right side.
Horizon Line- Where the ground meets the sky, floor meets the wall, H.L. is at your eye level.
Contour Line- when lines bend on a form to conform to the outer edge.
Vanishing Point- The point where lines vanish at your eye level or horizon line.
Foreshortening- When something seems bigger, smaller, shorter, or taller because of your perspective.
Joshua Nava
https://www.joshuanava.biz/realistic/define-realistic-drawing.html
1. PIPES UP, PIPES DOWN
Foreshortening:
Draw ovals above and below eye level.
The ovals closer to the eye level should be shorter.
Beginning with the ovals closets to the top and bottom,
Draw lines from corners of ovals going away from eye level.
Emphasize with marker.
Challenge: Add creativity, shading, background.
2. STALACTITES AND STALAGMITES
Stalactites are natural cave formations
ABOVE your eye level and
Stalagmites are BELOW your eye level.
Martin Hargreaves, Illustrator
Make eye level at center of box.
Make bumpy triangles going upward and downward.
Keep top ones above eye level
And bottom ones below eye level.
Use overlapping, getting smaller
as you go back into space of cave.
Use contour lines
Bend lines upward above eye level
And downward below eye level.
3. POPPING PUZZLE PIECES
These will focus on contour line and eye level.
Draw deep curvy lines going longer horizontally.
Draw free from blobs longer horizontally.
Starting with lowest areas first,
Draw lines going downward from the furthest point of each curve.
Go upward to next curves.
Use lines the follow the contour of where they came from.
More in depth instructions here from
MakeAMarkStudios…
https://makeamarkstudios.com/how-to-draw-funky-organic-form-towers/
4. OP ART TUNNELS
These will focus on a Vanishing Point in the very center.
Each box will be different because of your eye level.
Fold paper into 3 by 3.
Draw boxes inside fold lines.
These fold lines are your “frames” of your tunnels.
Make a dot in the middle of the middle box.
This dot is your vanishing point & eye level.
Connect each corner of the box that does not cut through the frames. You cannot draw in the frames, only in the tunnels.
Have a constant light source. Mine is at top center.
2 opposing sides should be shaded medium.
One side should be dark and opposing side light.
As the tunnel goes back towards the vanishing point, it should also get darker.
Click Art above to get more in depth with project
Source Unknown
Showing Boxes rather than tunnels.
ESSENTIAL QUESTION:
Using the clues from above on Eye Level, Foreshortened Circles, and Contour Line,
Are these Japanese Lanterns at, below, or above your eye level?


