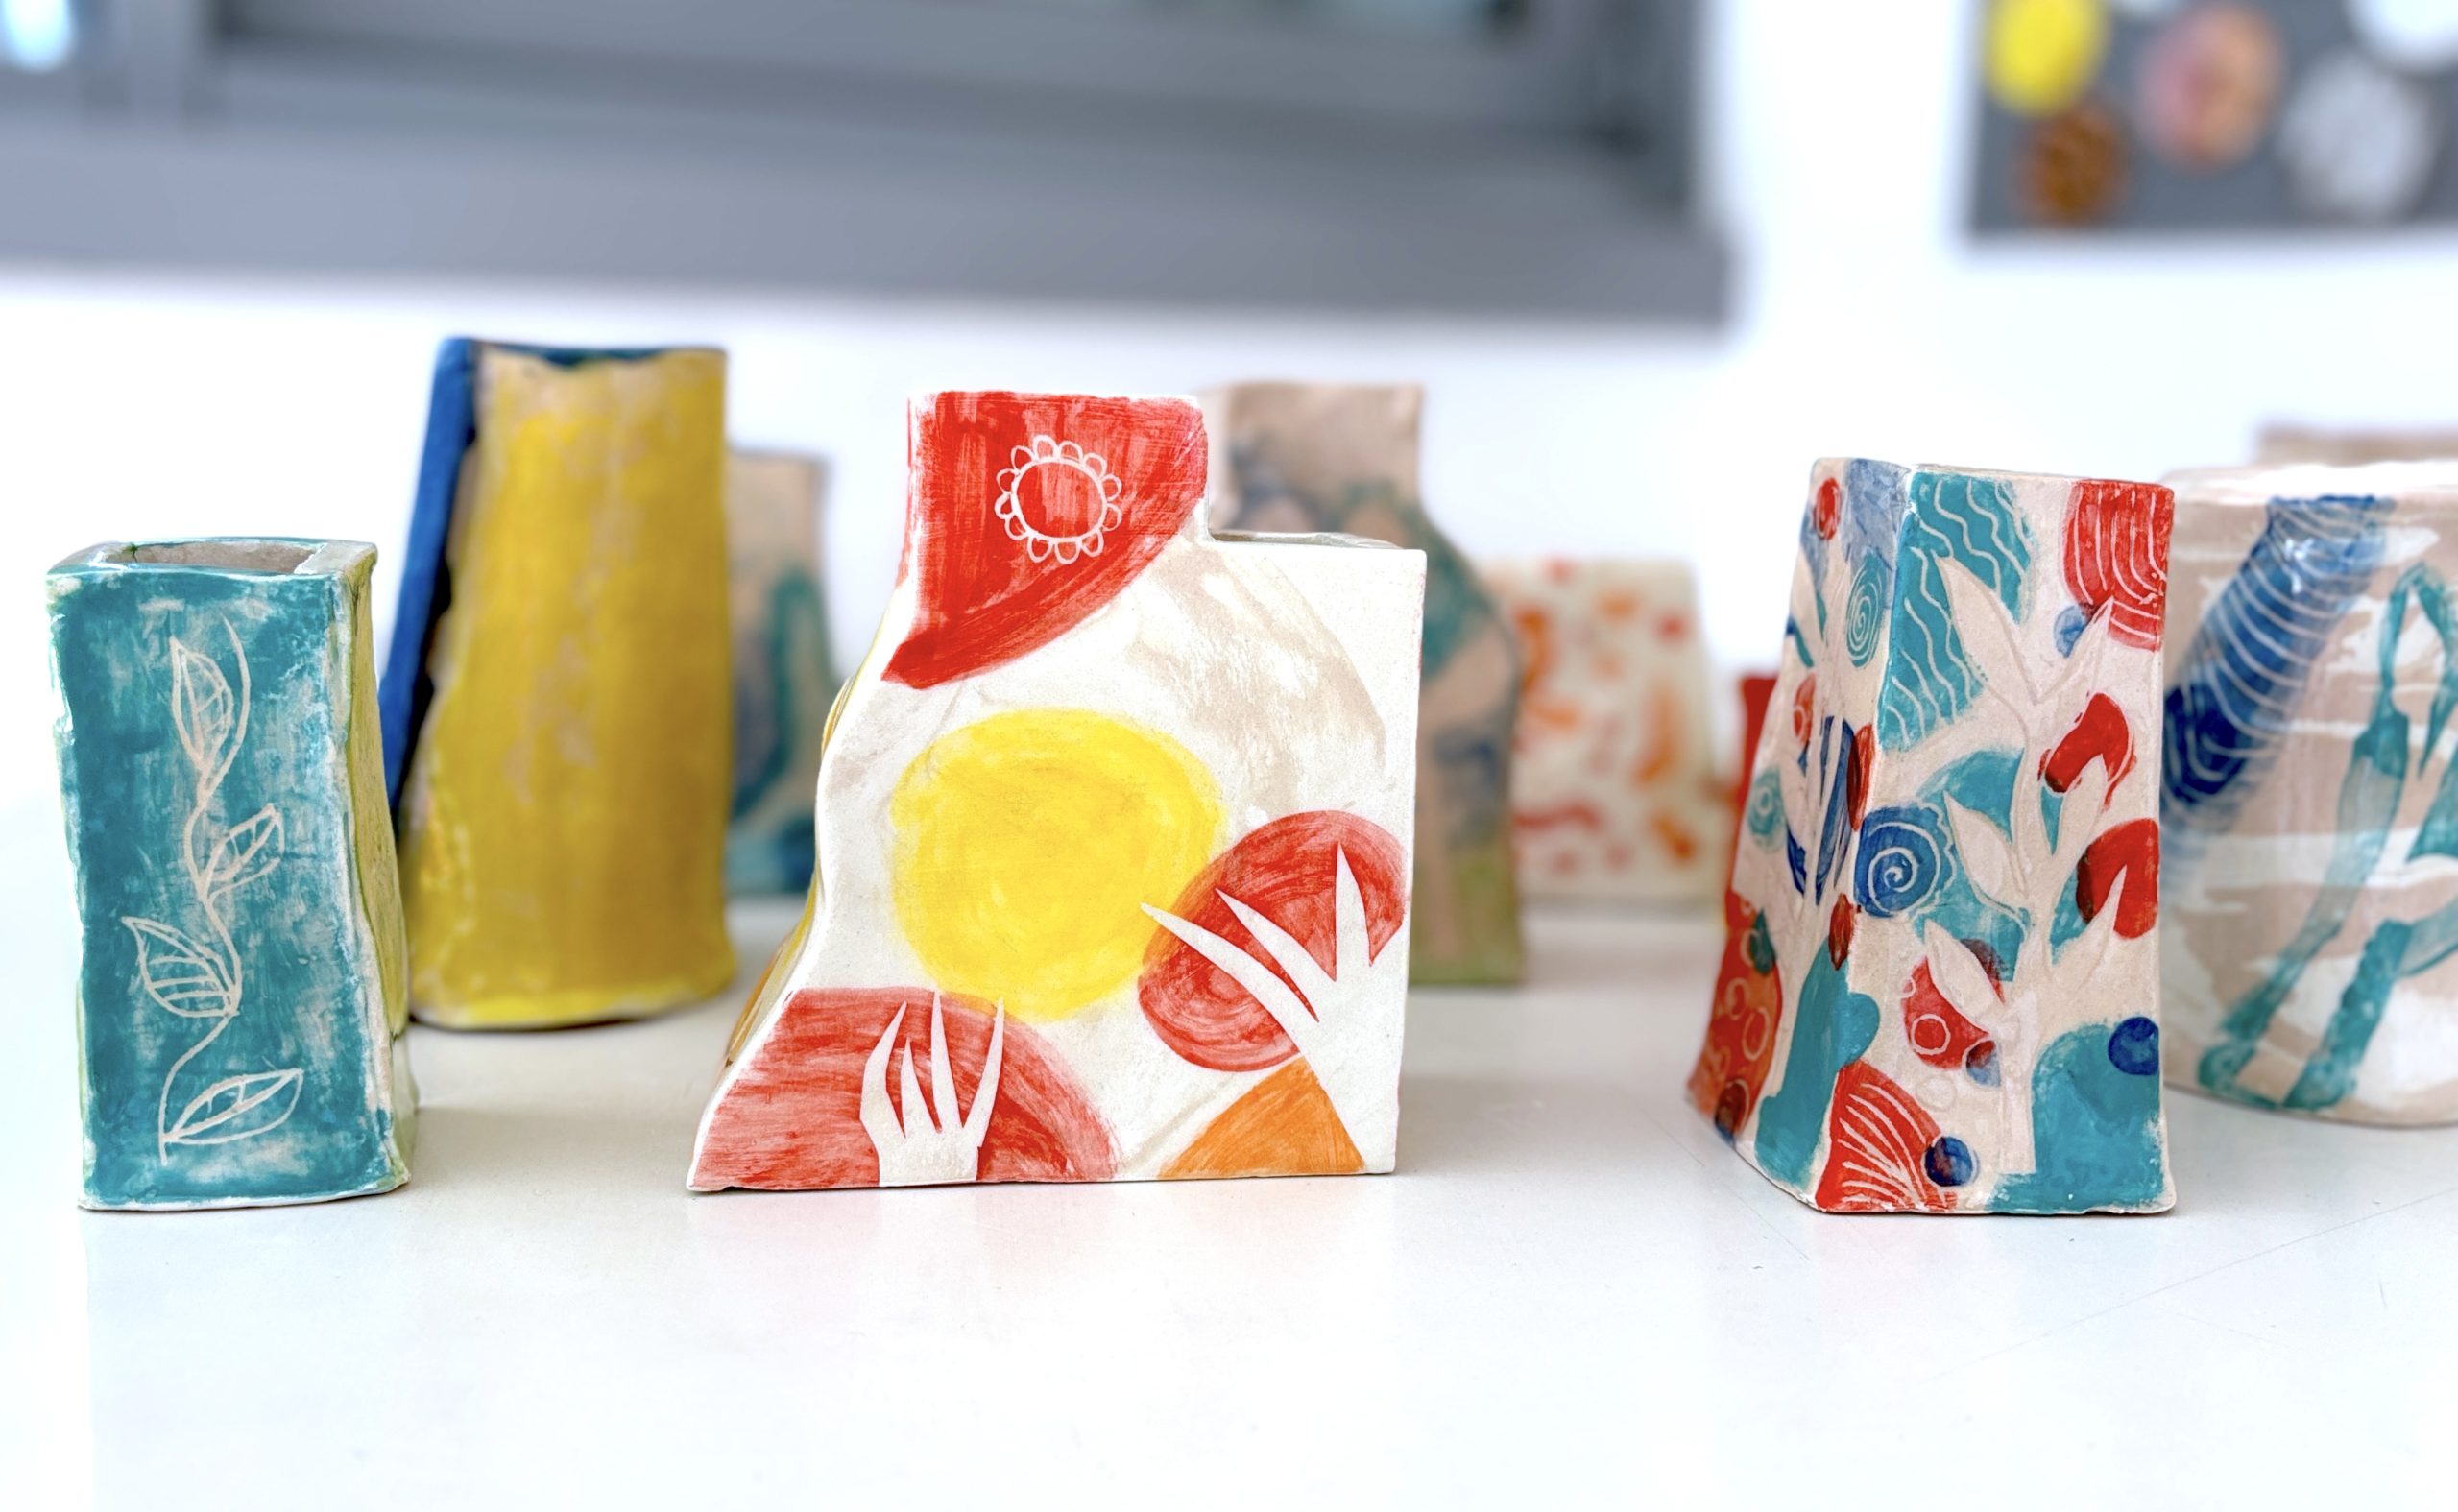
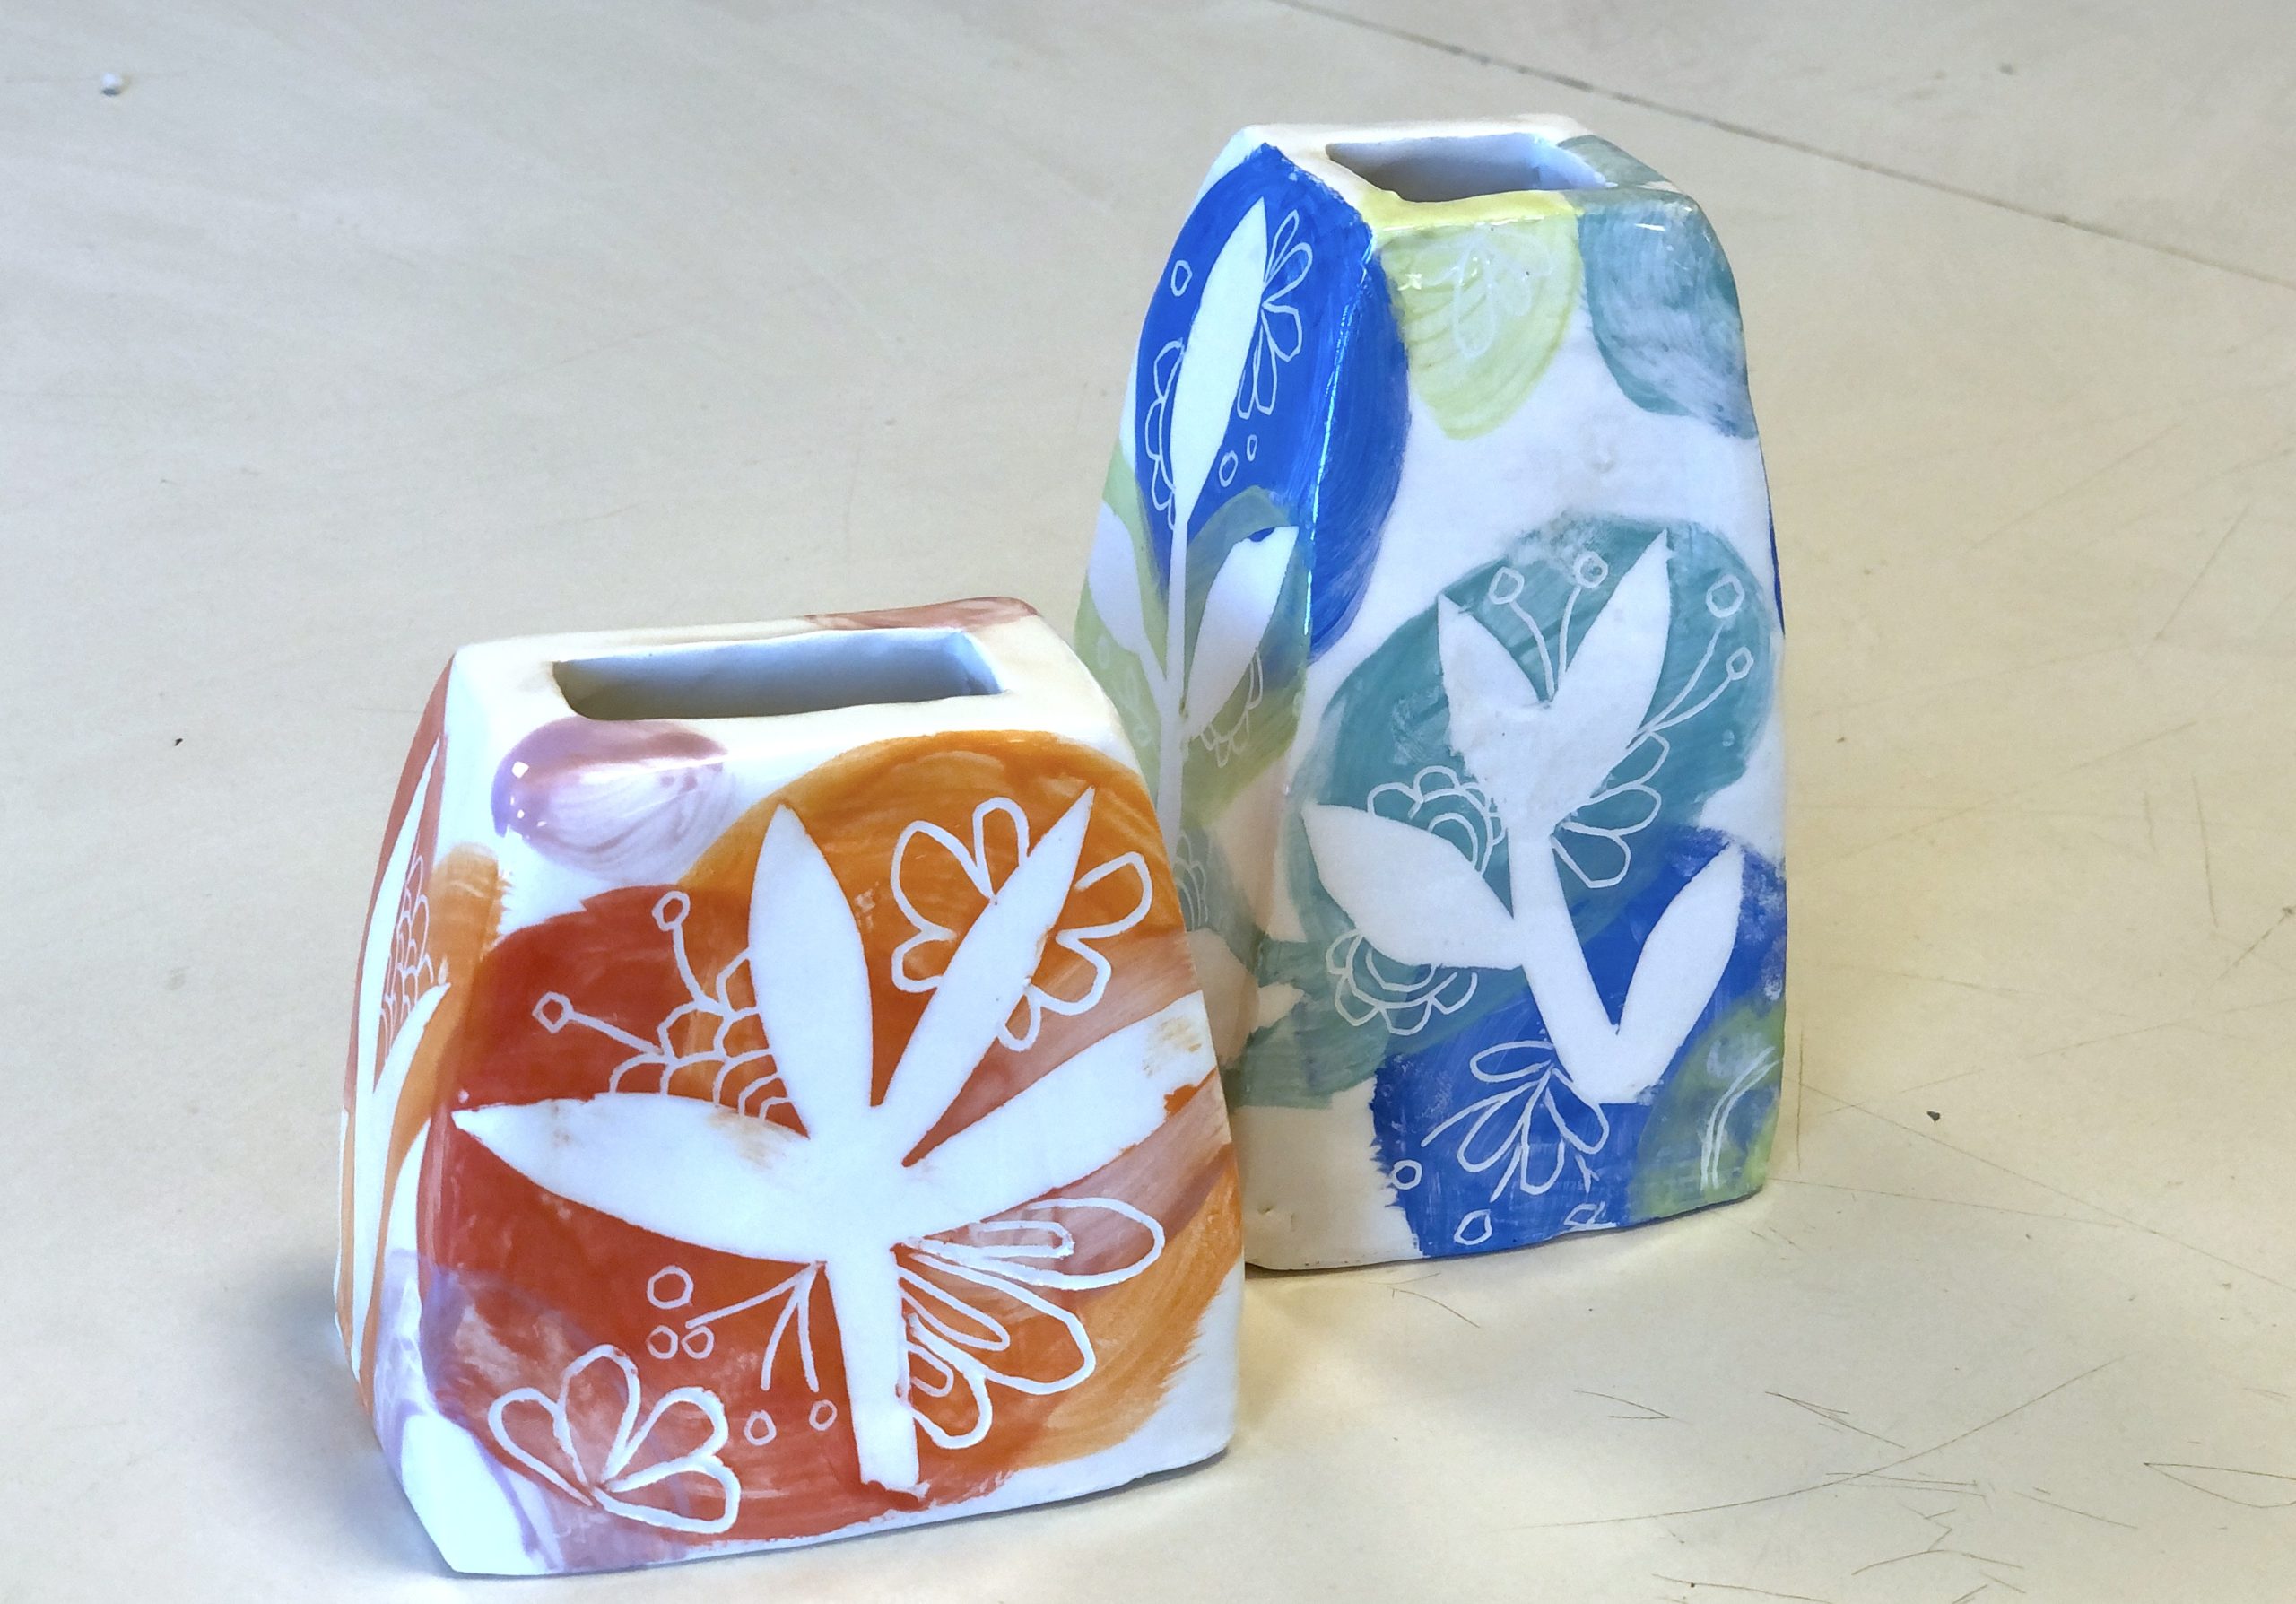
砖坯法陶罐:创意造型
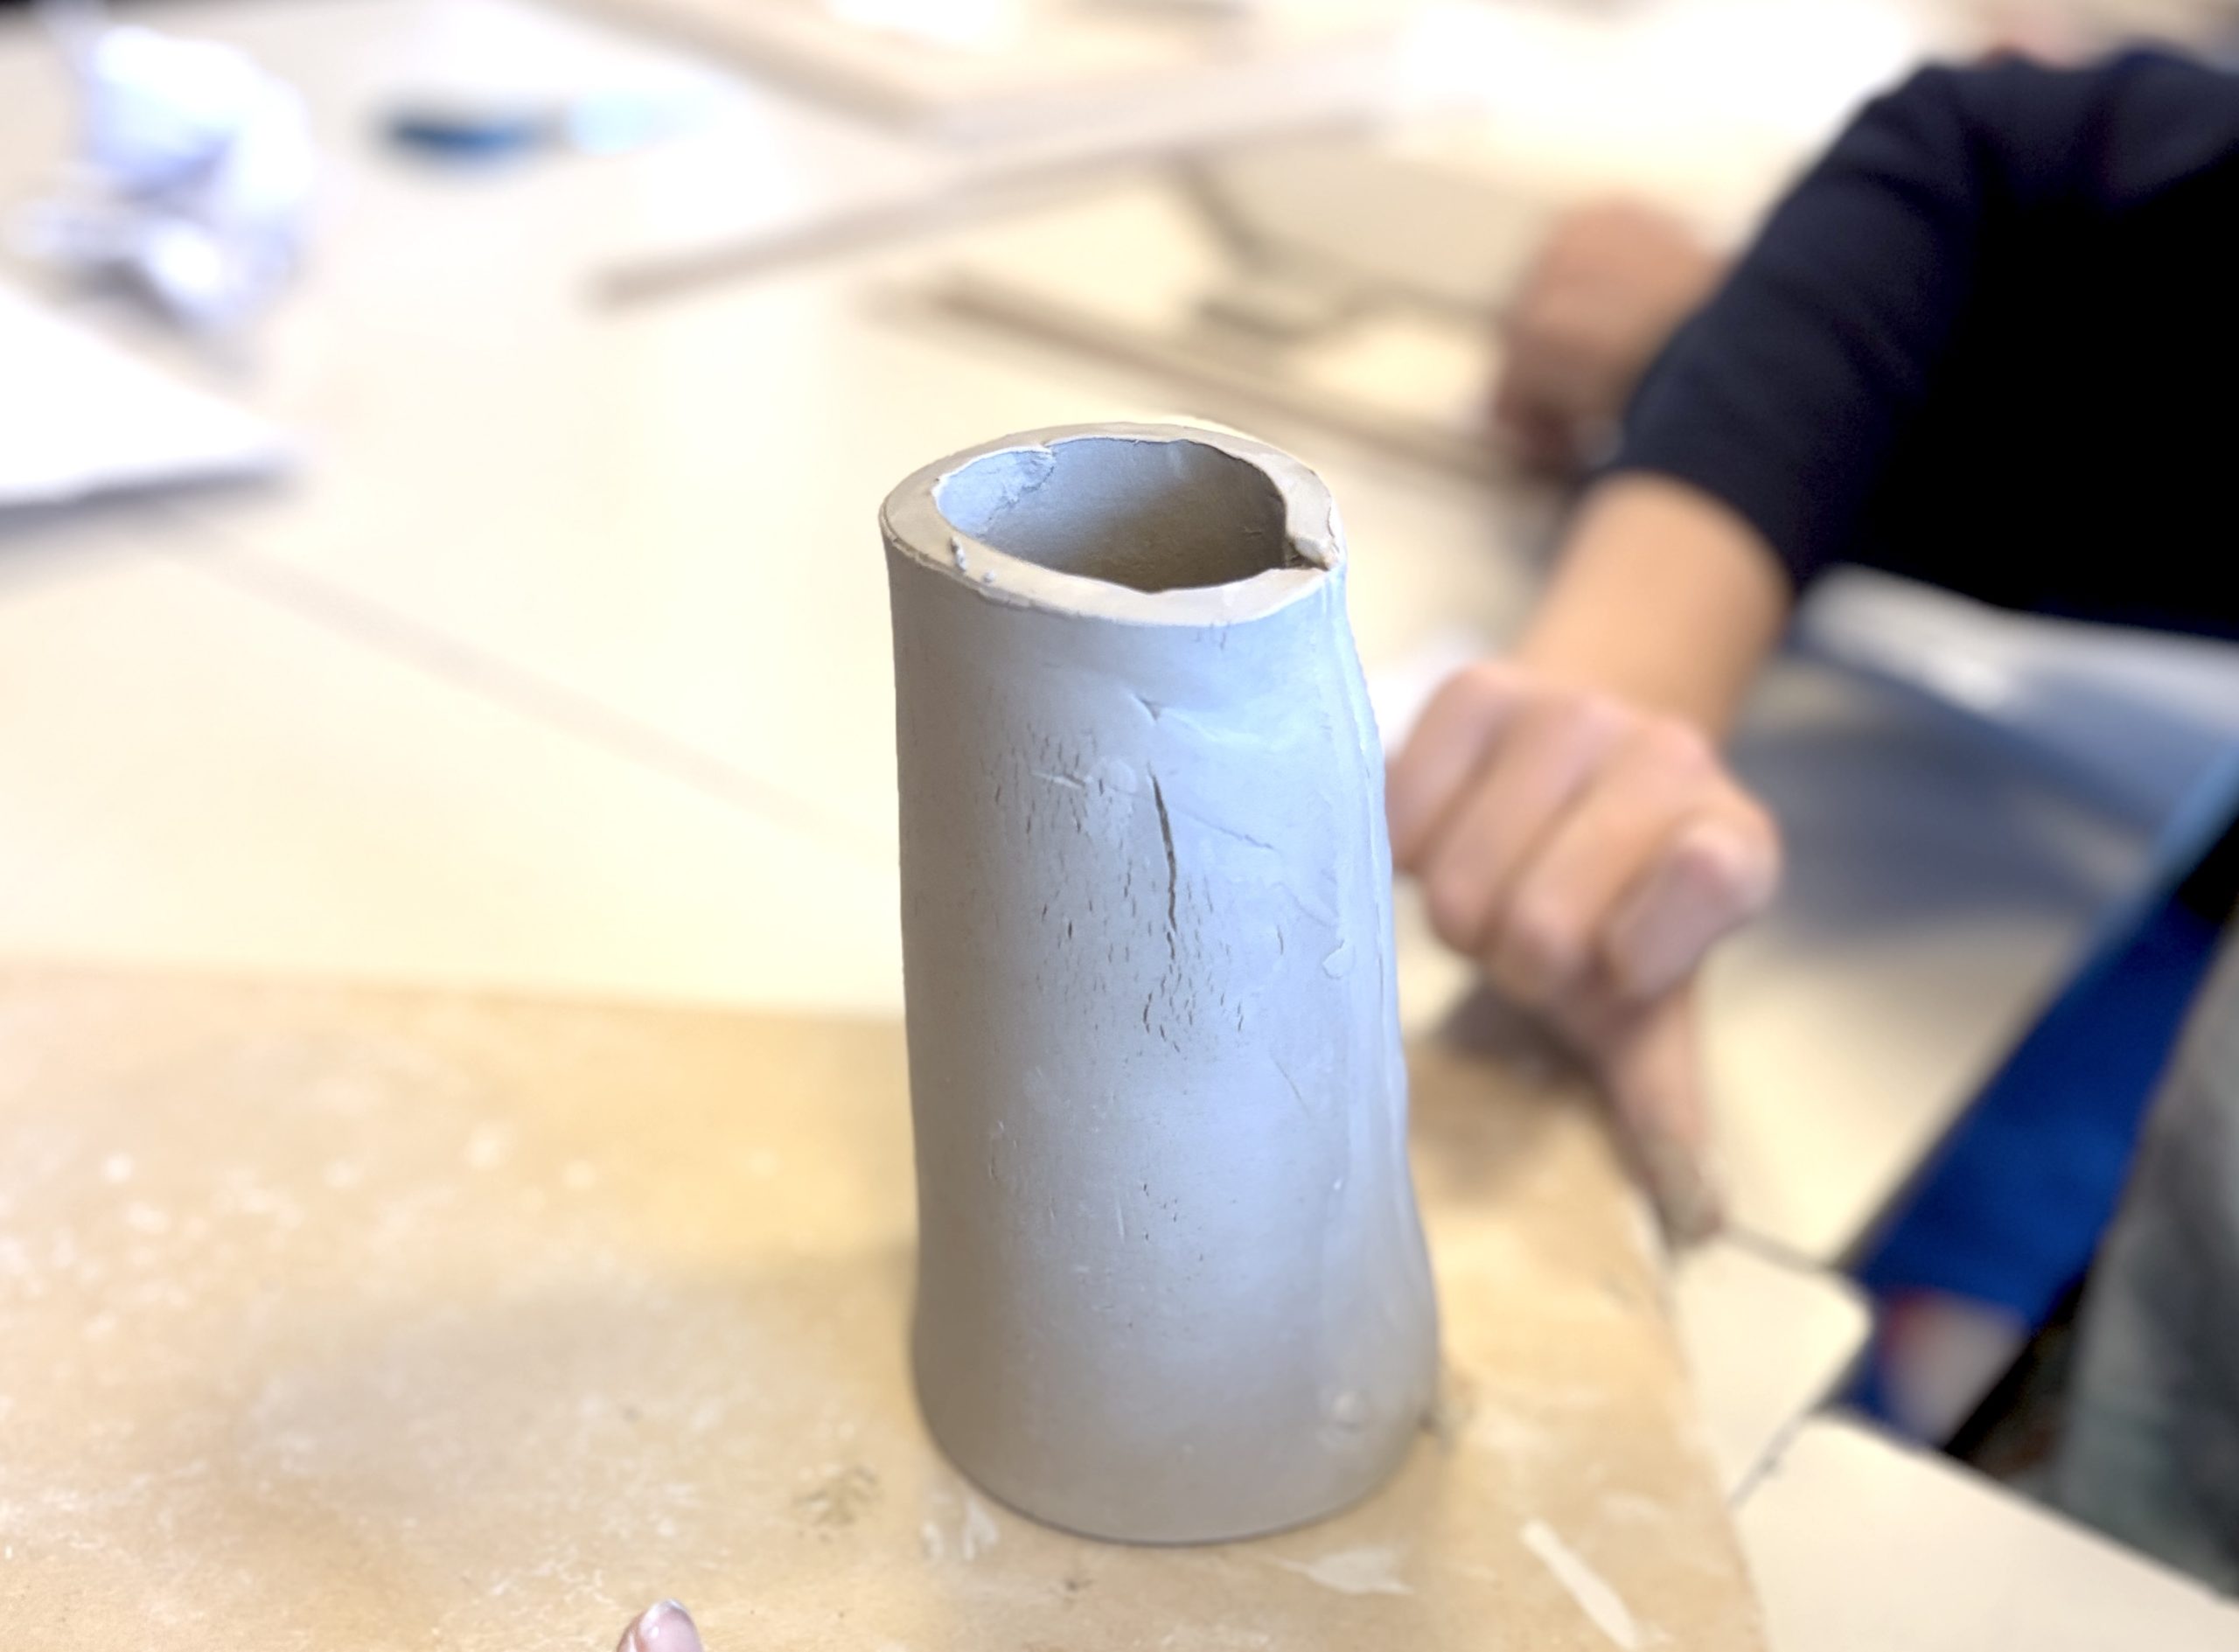
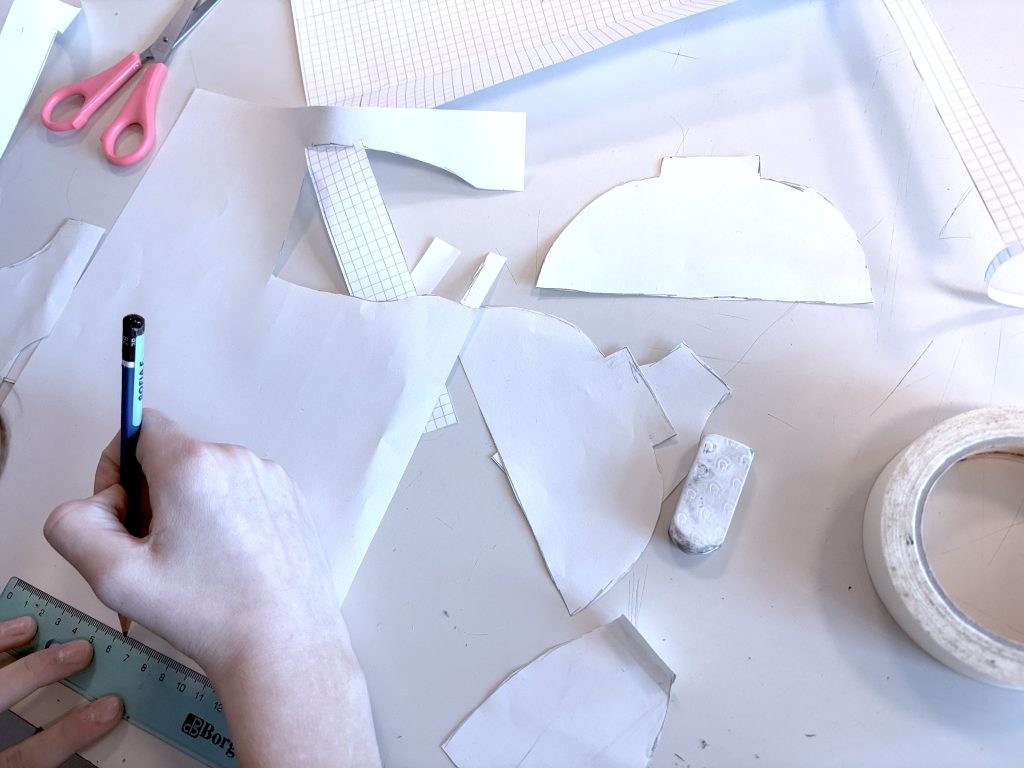
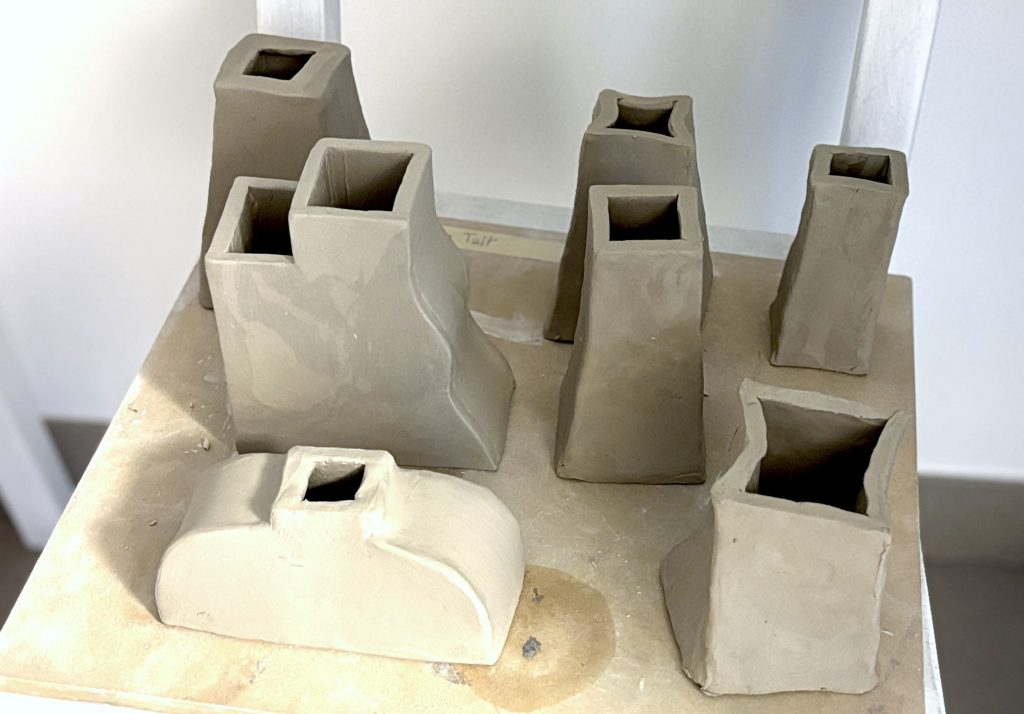
我们与七年级学生一起,运用砖坯技法制作了陶罐。每位学生都自主设计并规划了自己的陶罐,从制作纸制模型开始。
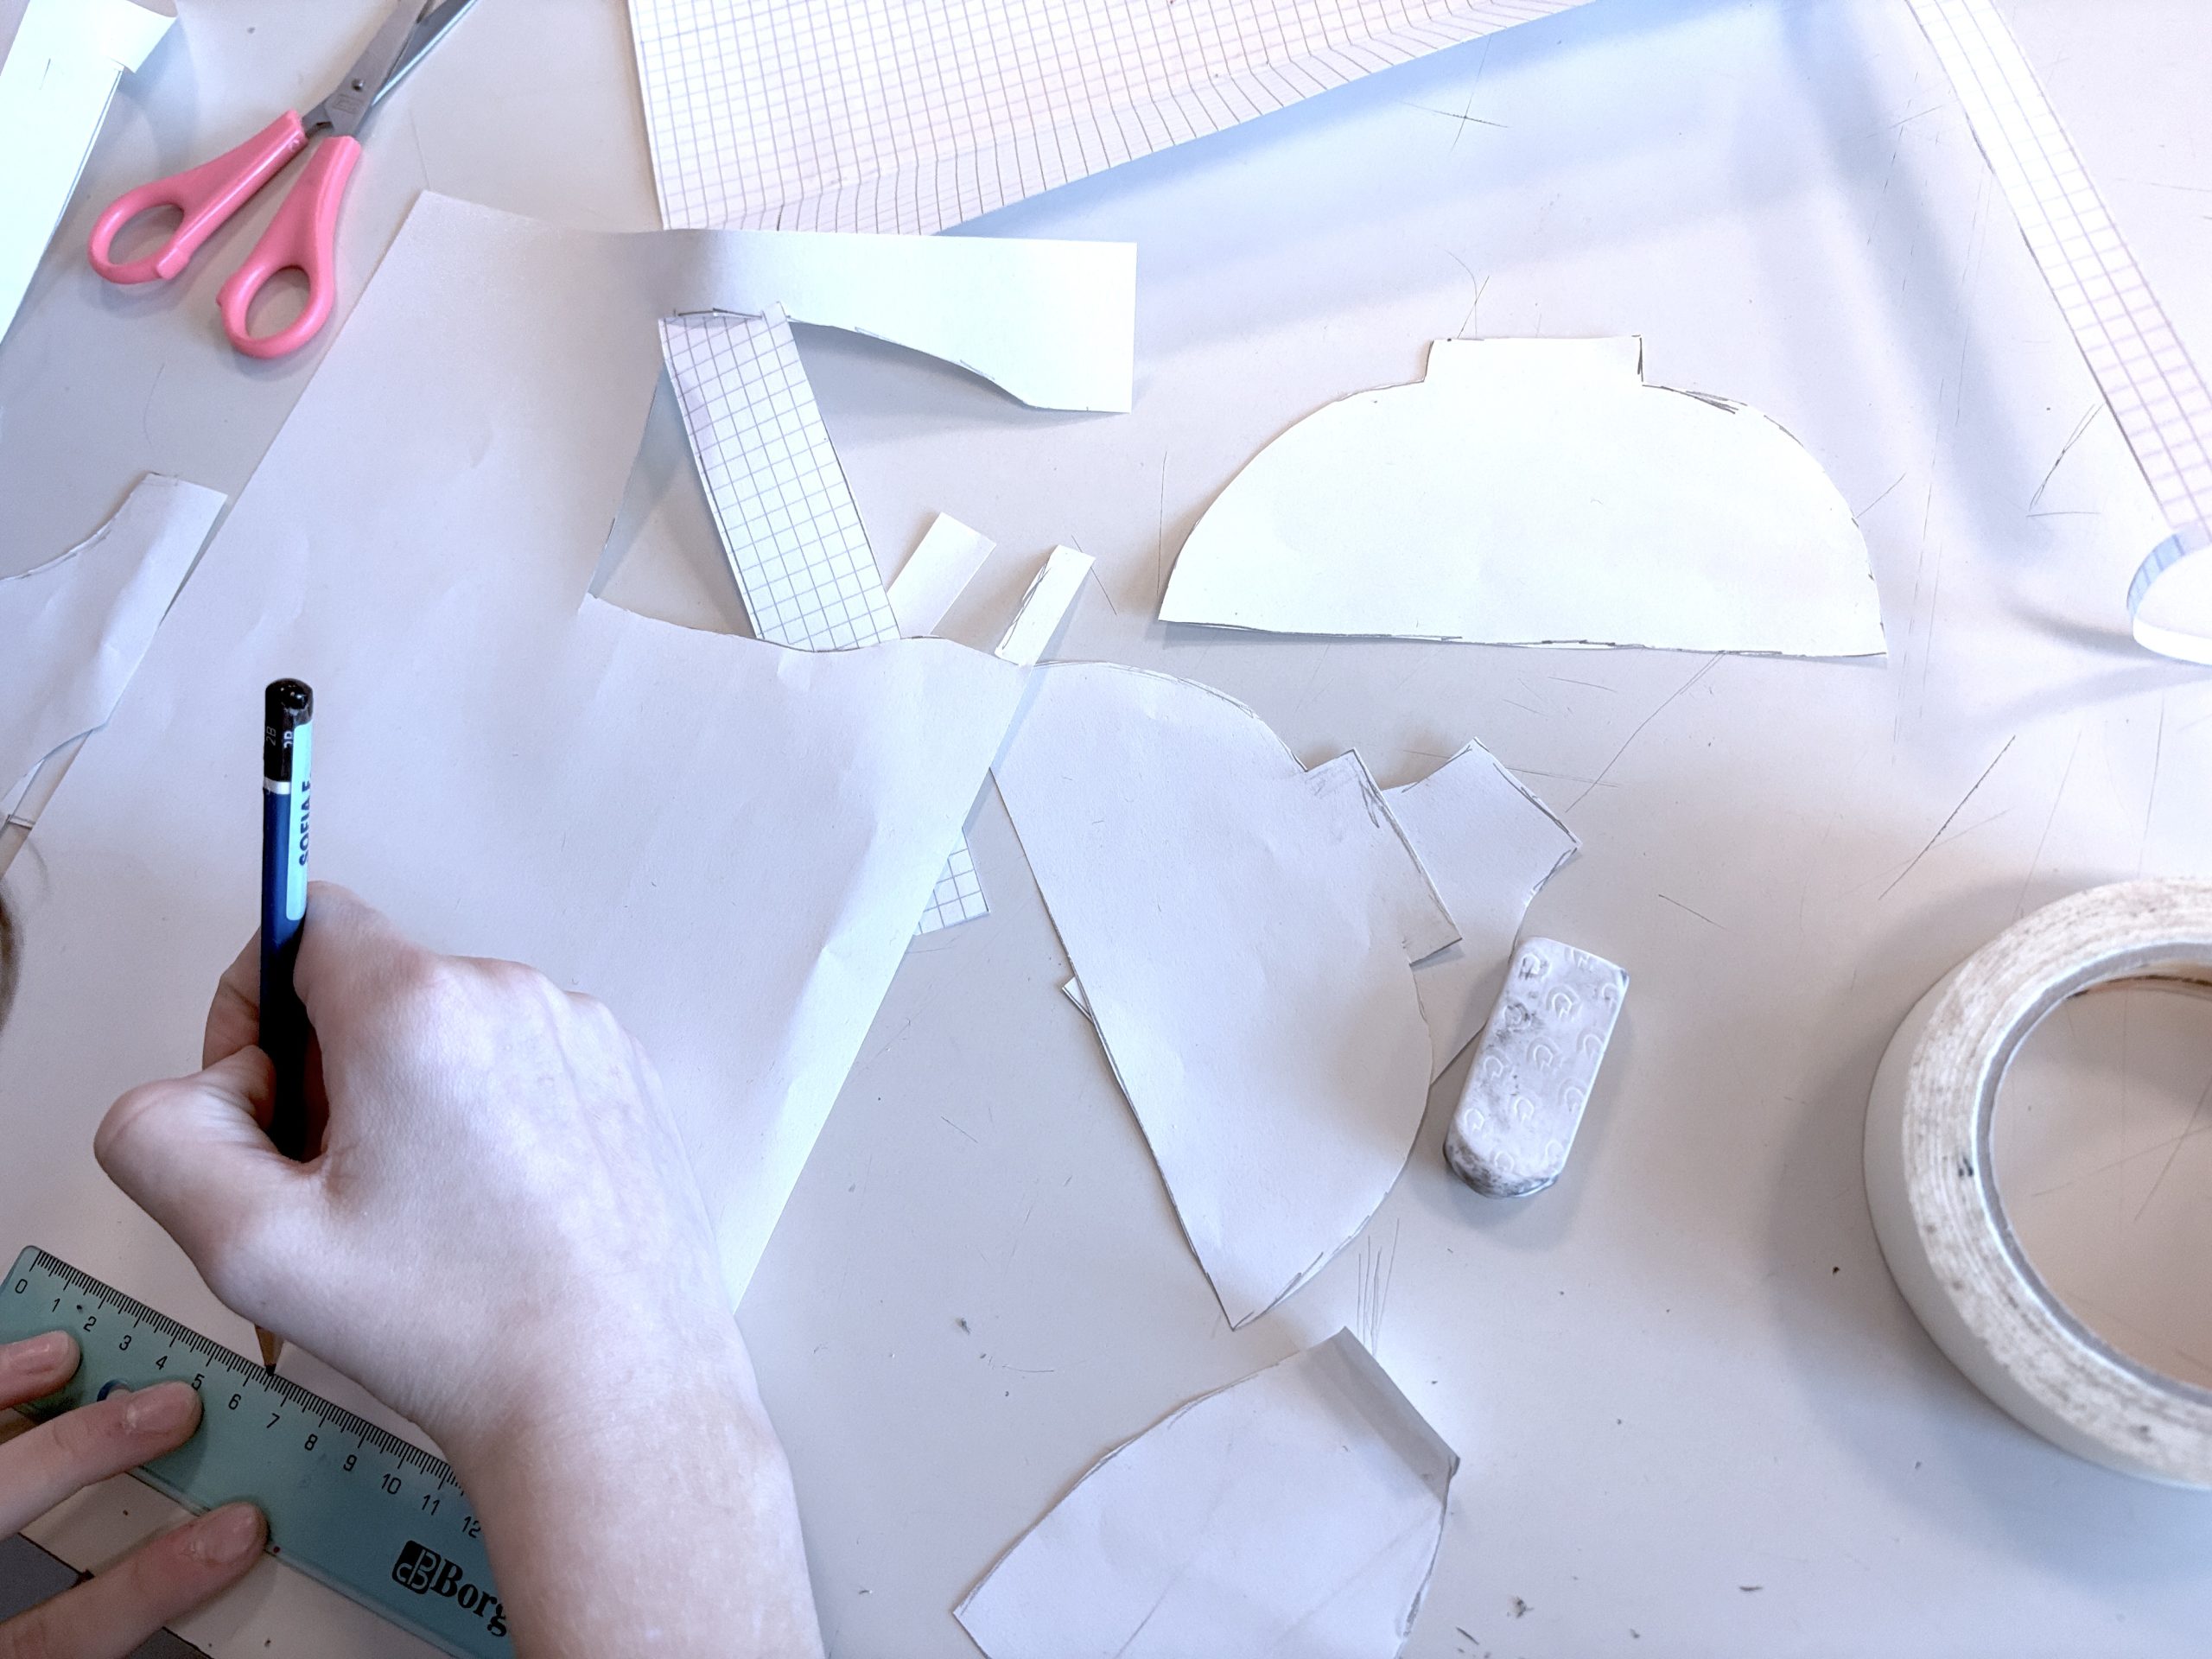
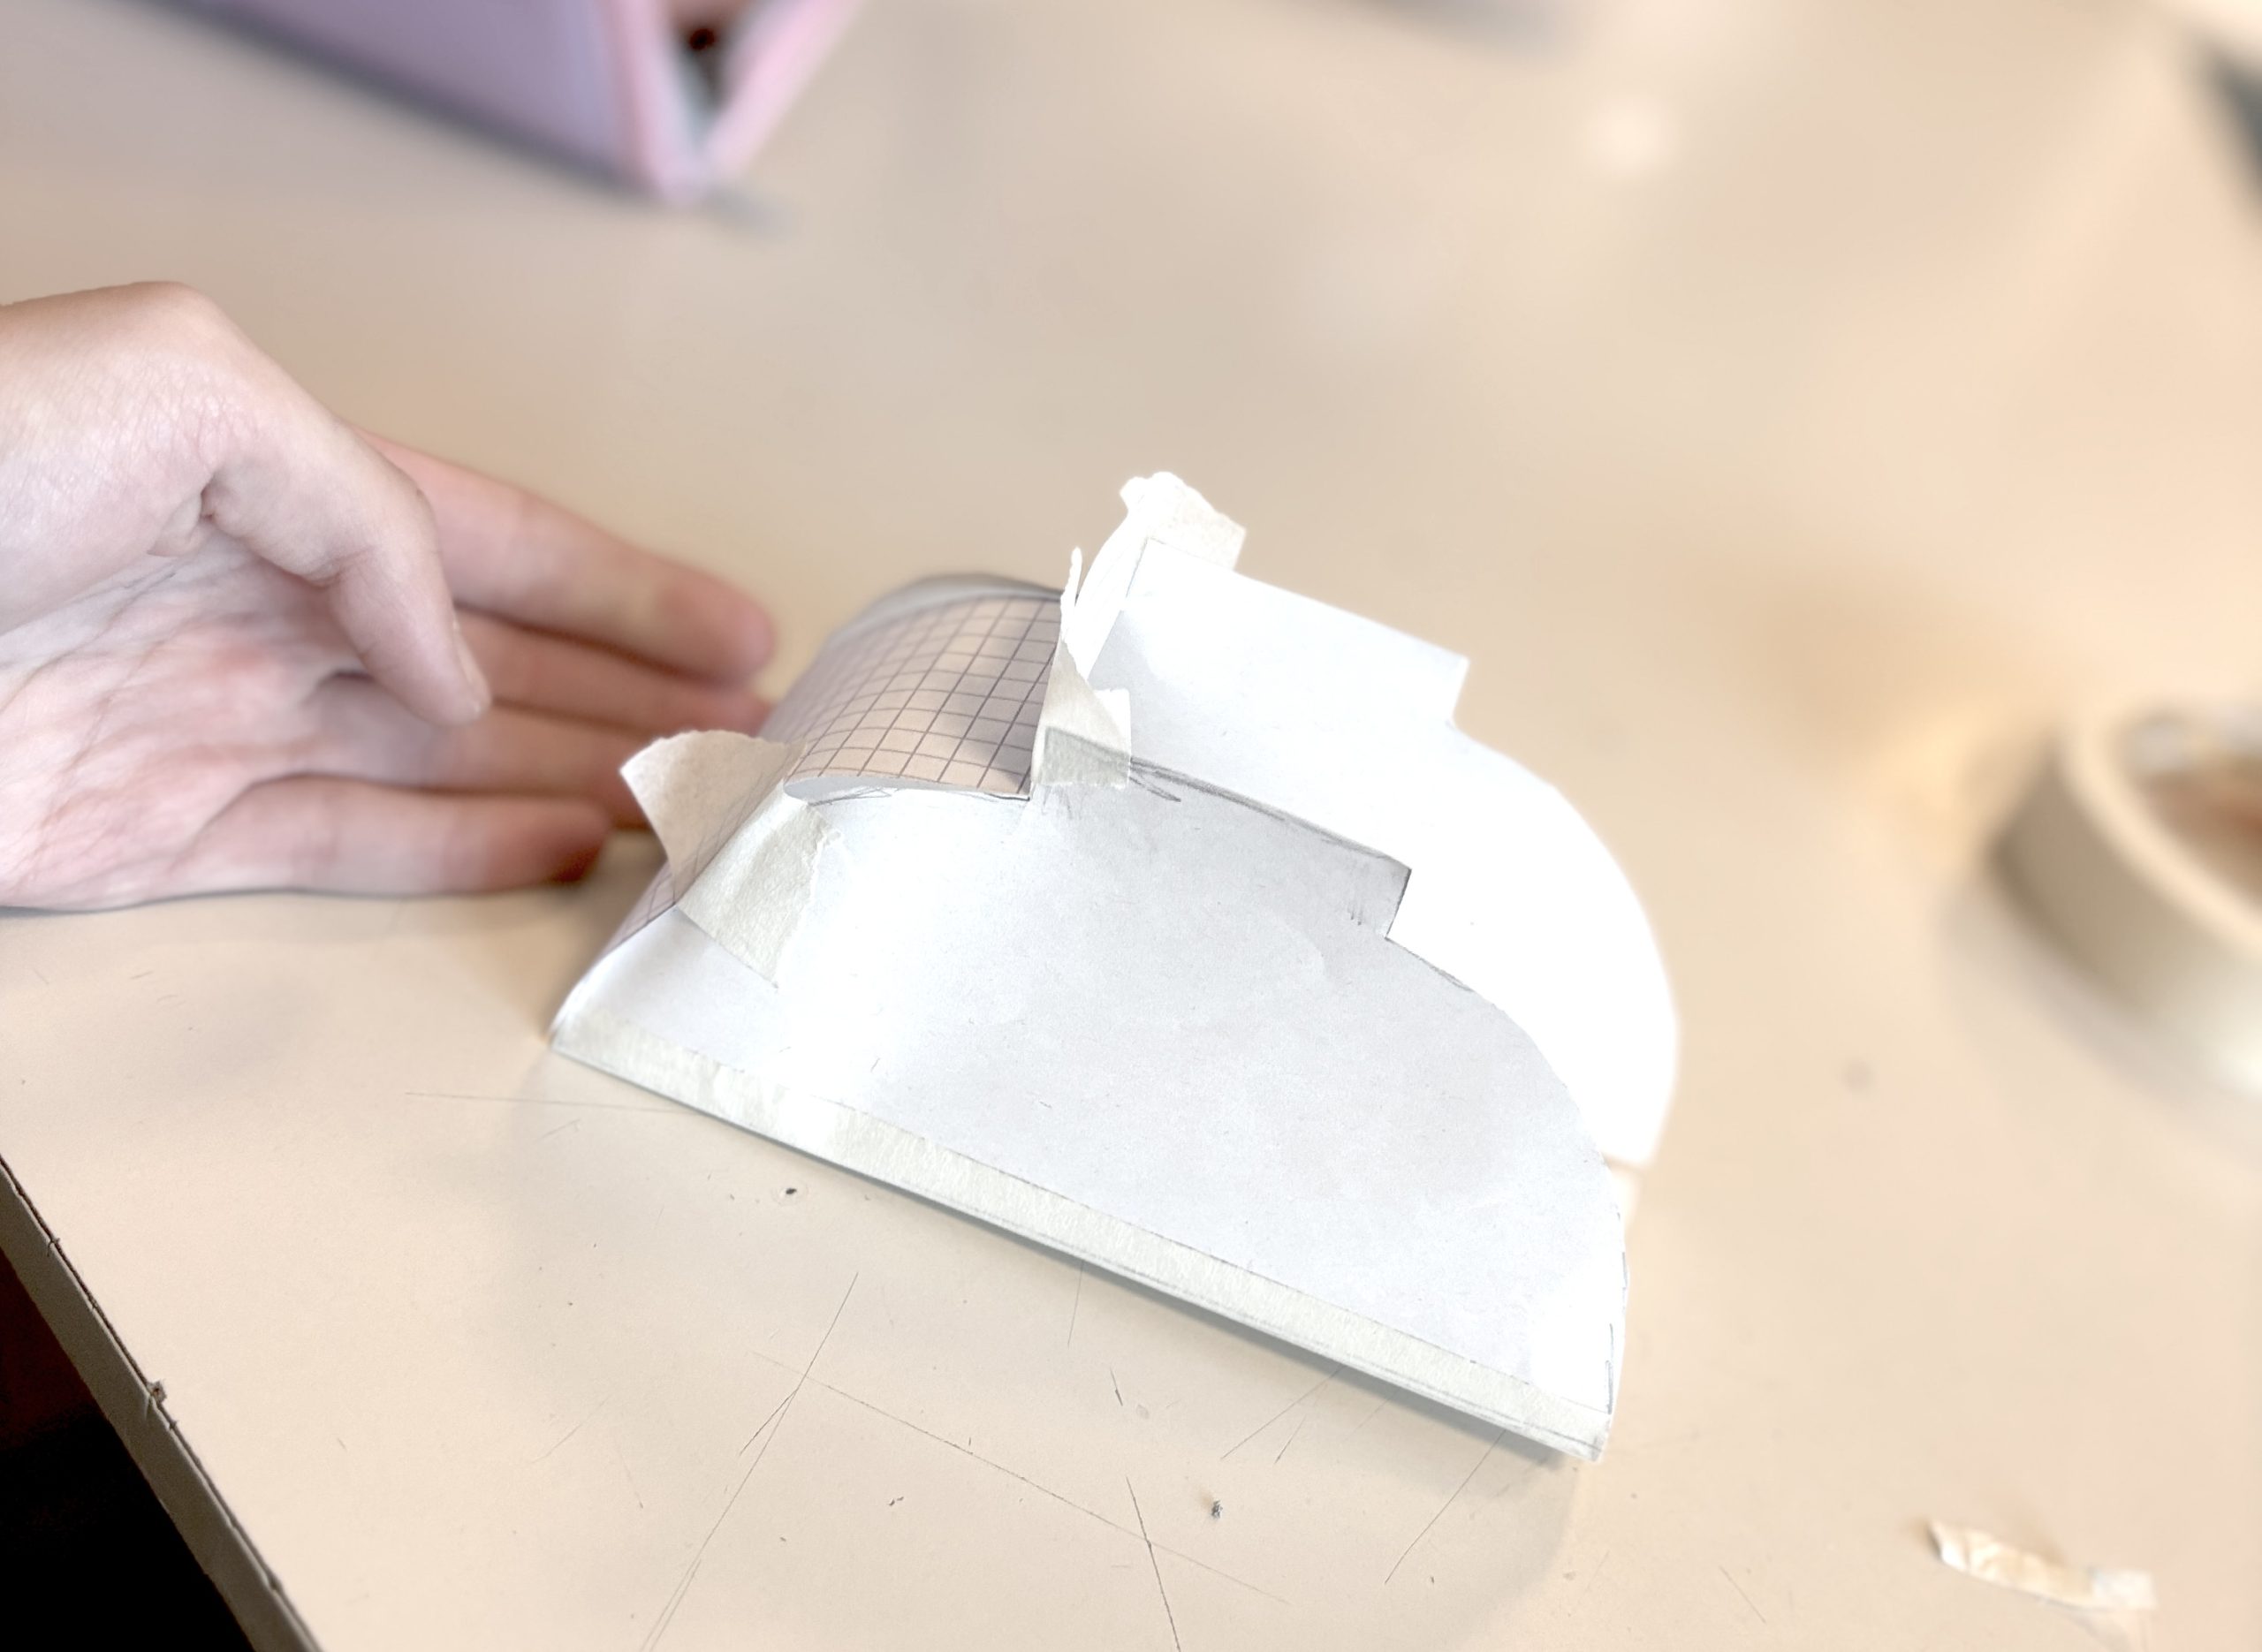
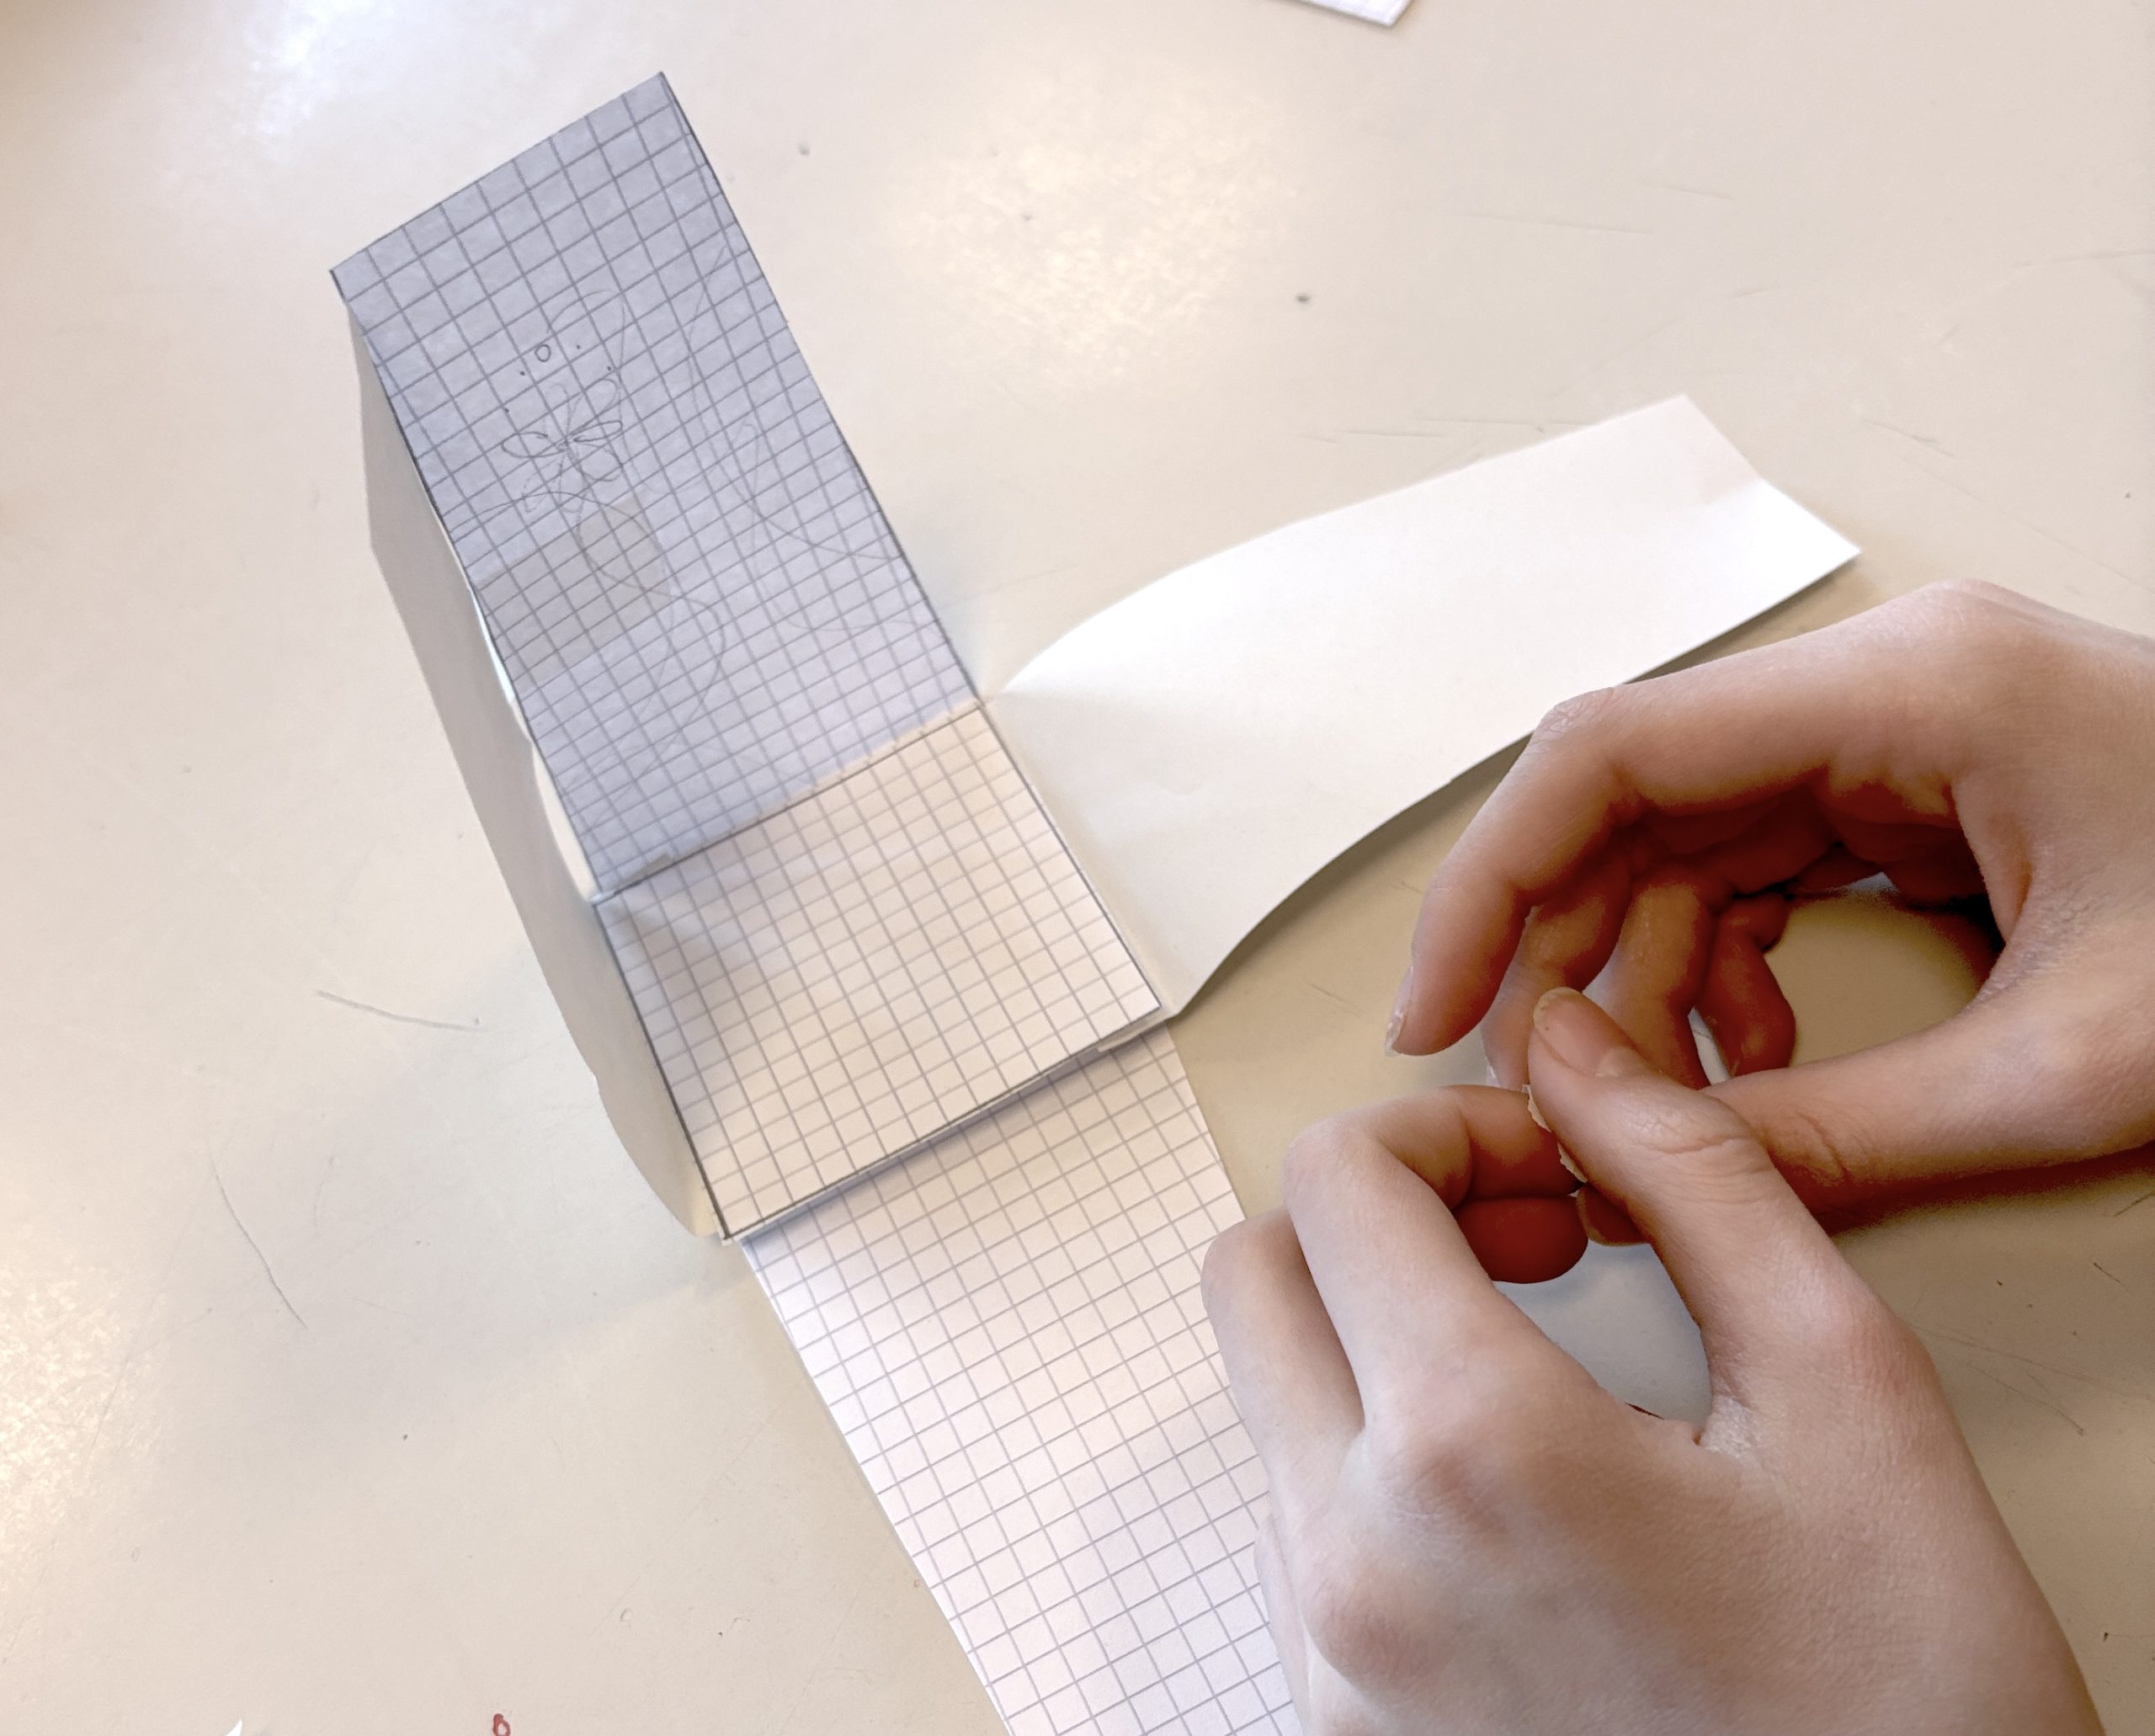
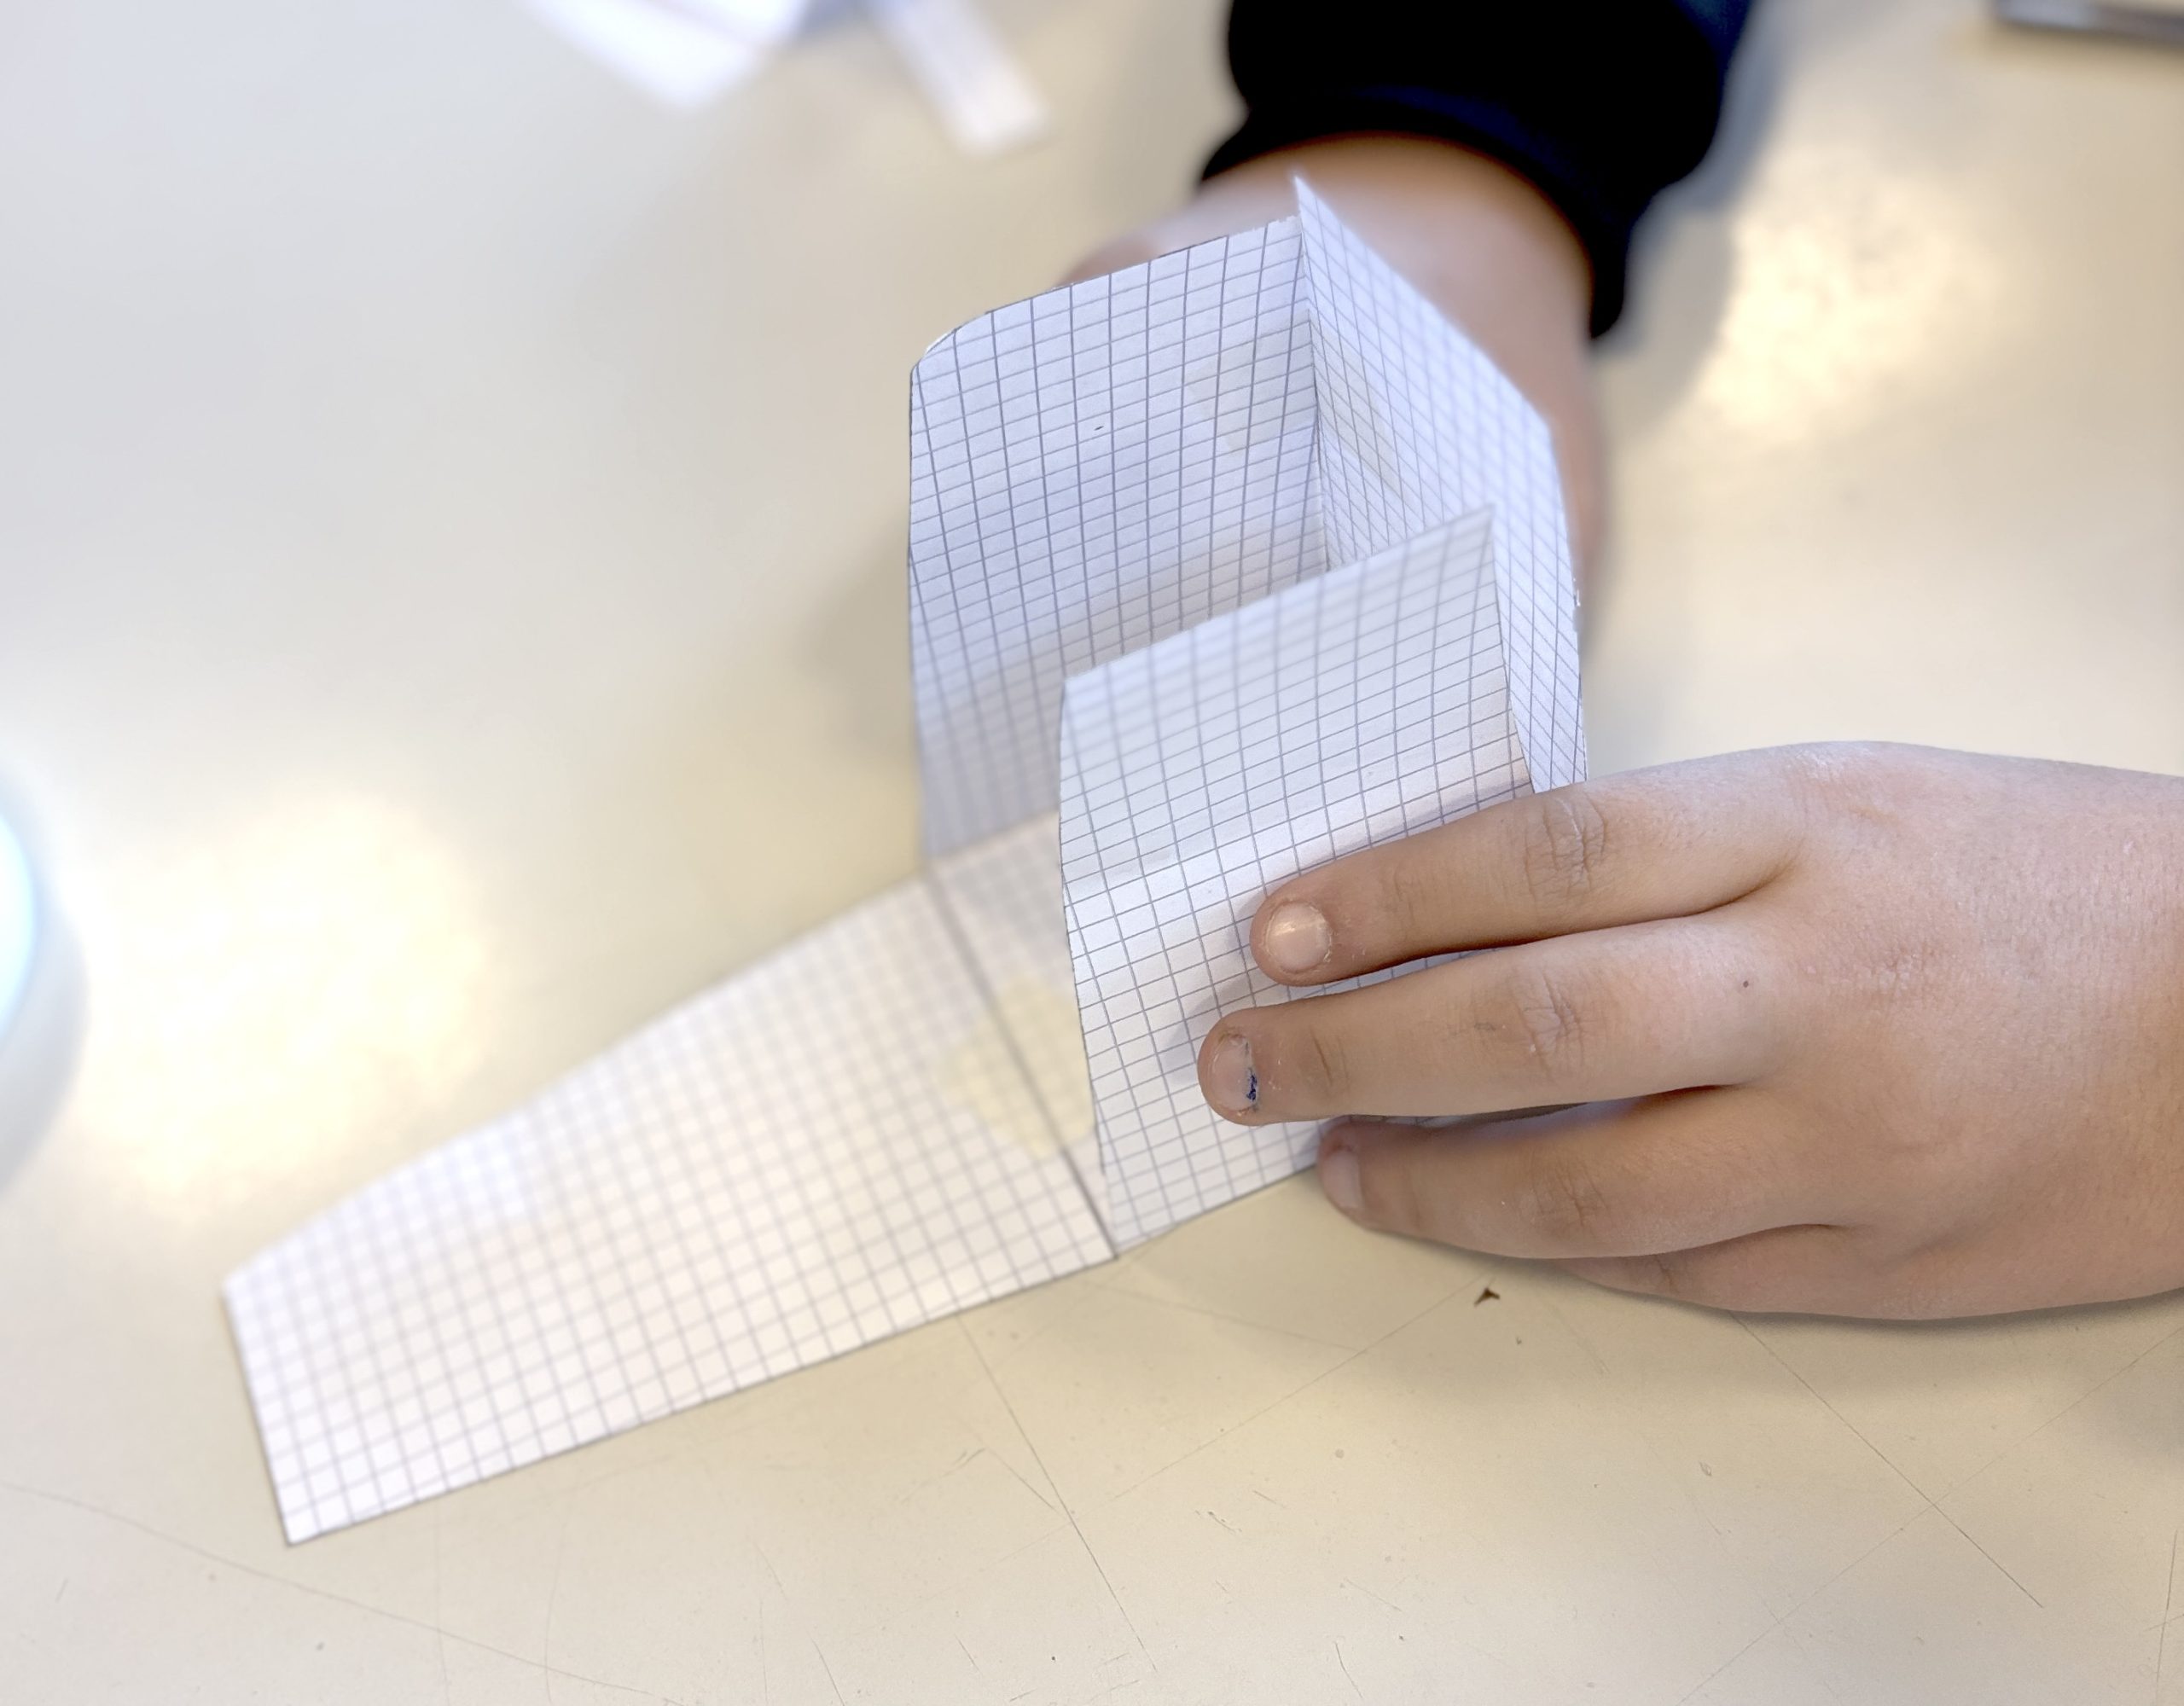
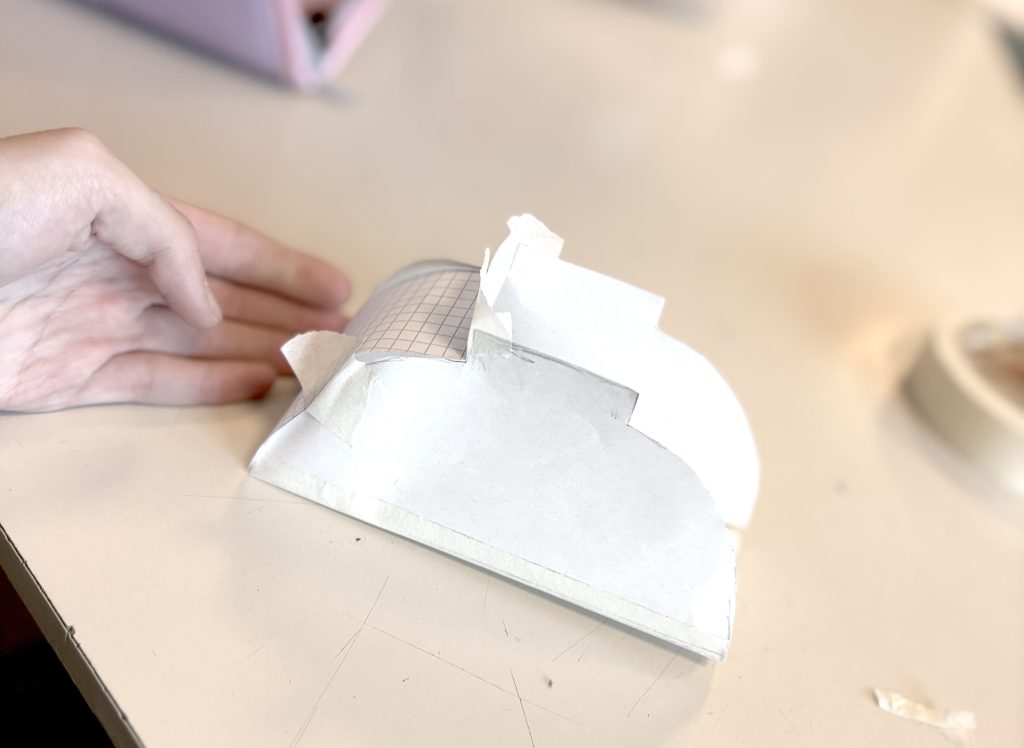
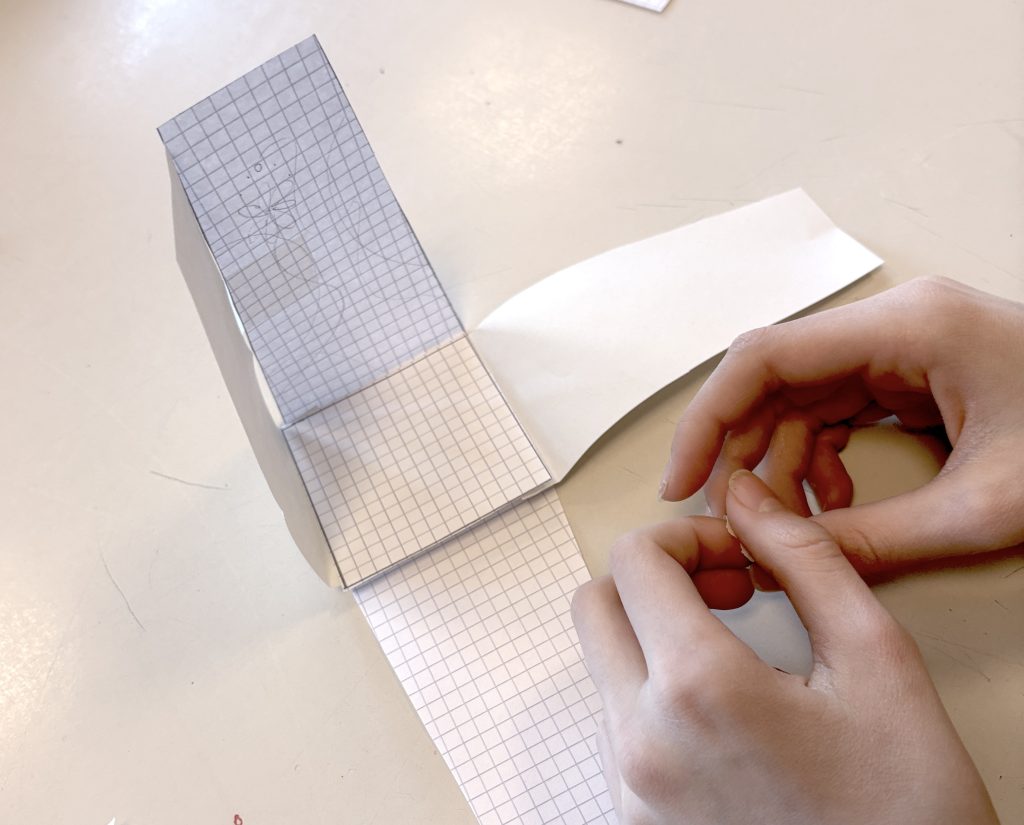
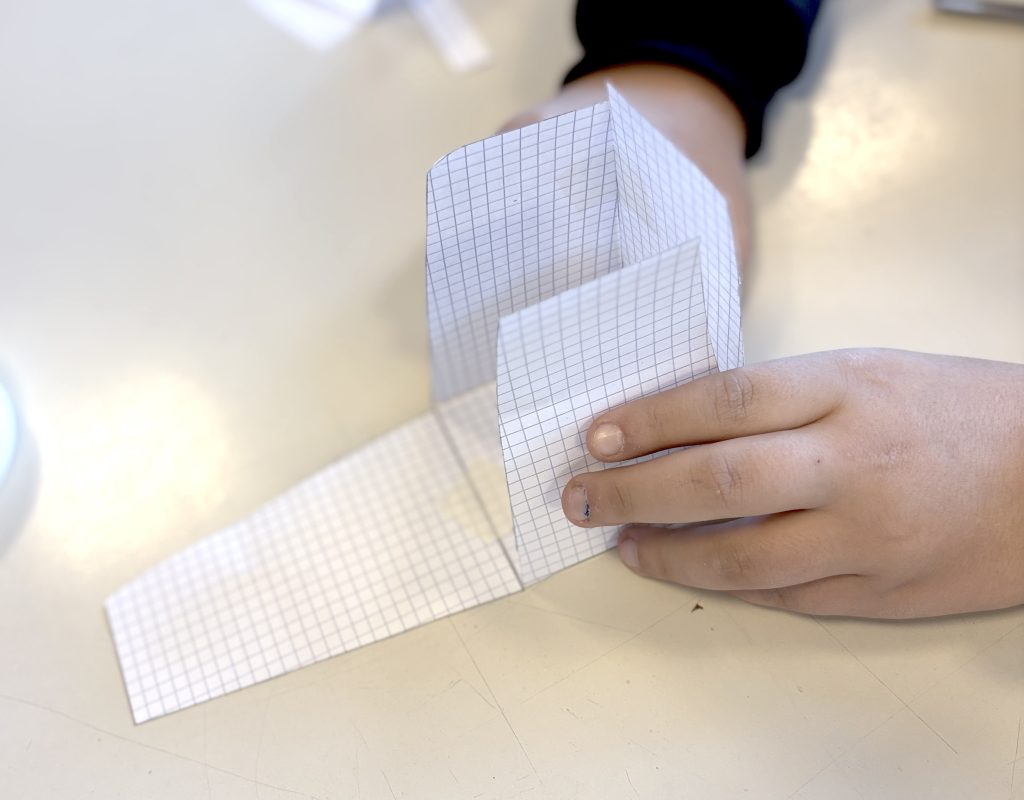
在头脑风暴和绘制多个草图后,学生们画出了陶罐各部分的纸样模板,尝试理解各部件如何组合。为推进项目,他们用胶带将剪下的纸片裁剪并组装,构建出一个三维原型。这一步极为实用:既可检验该设计在陶土中是否切实可行,又能评估造型、比例与尺寸。
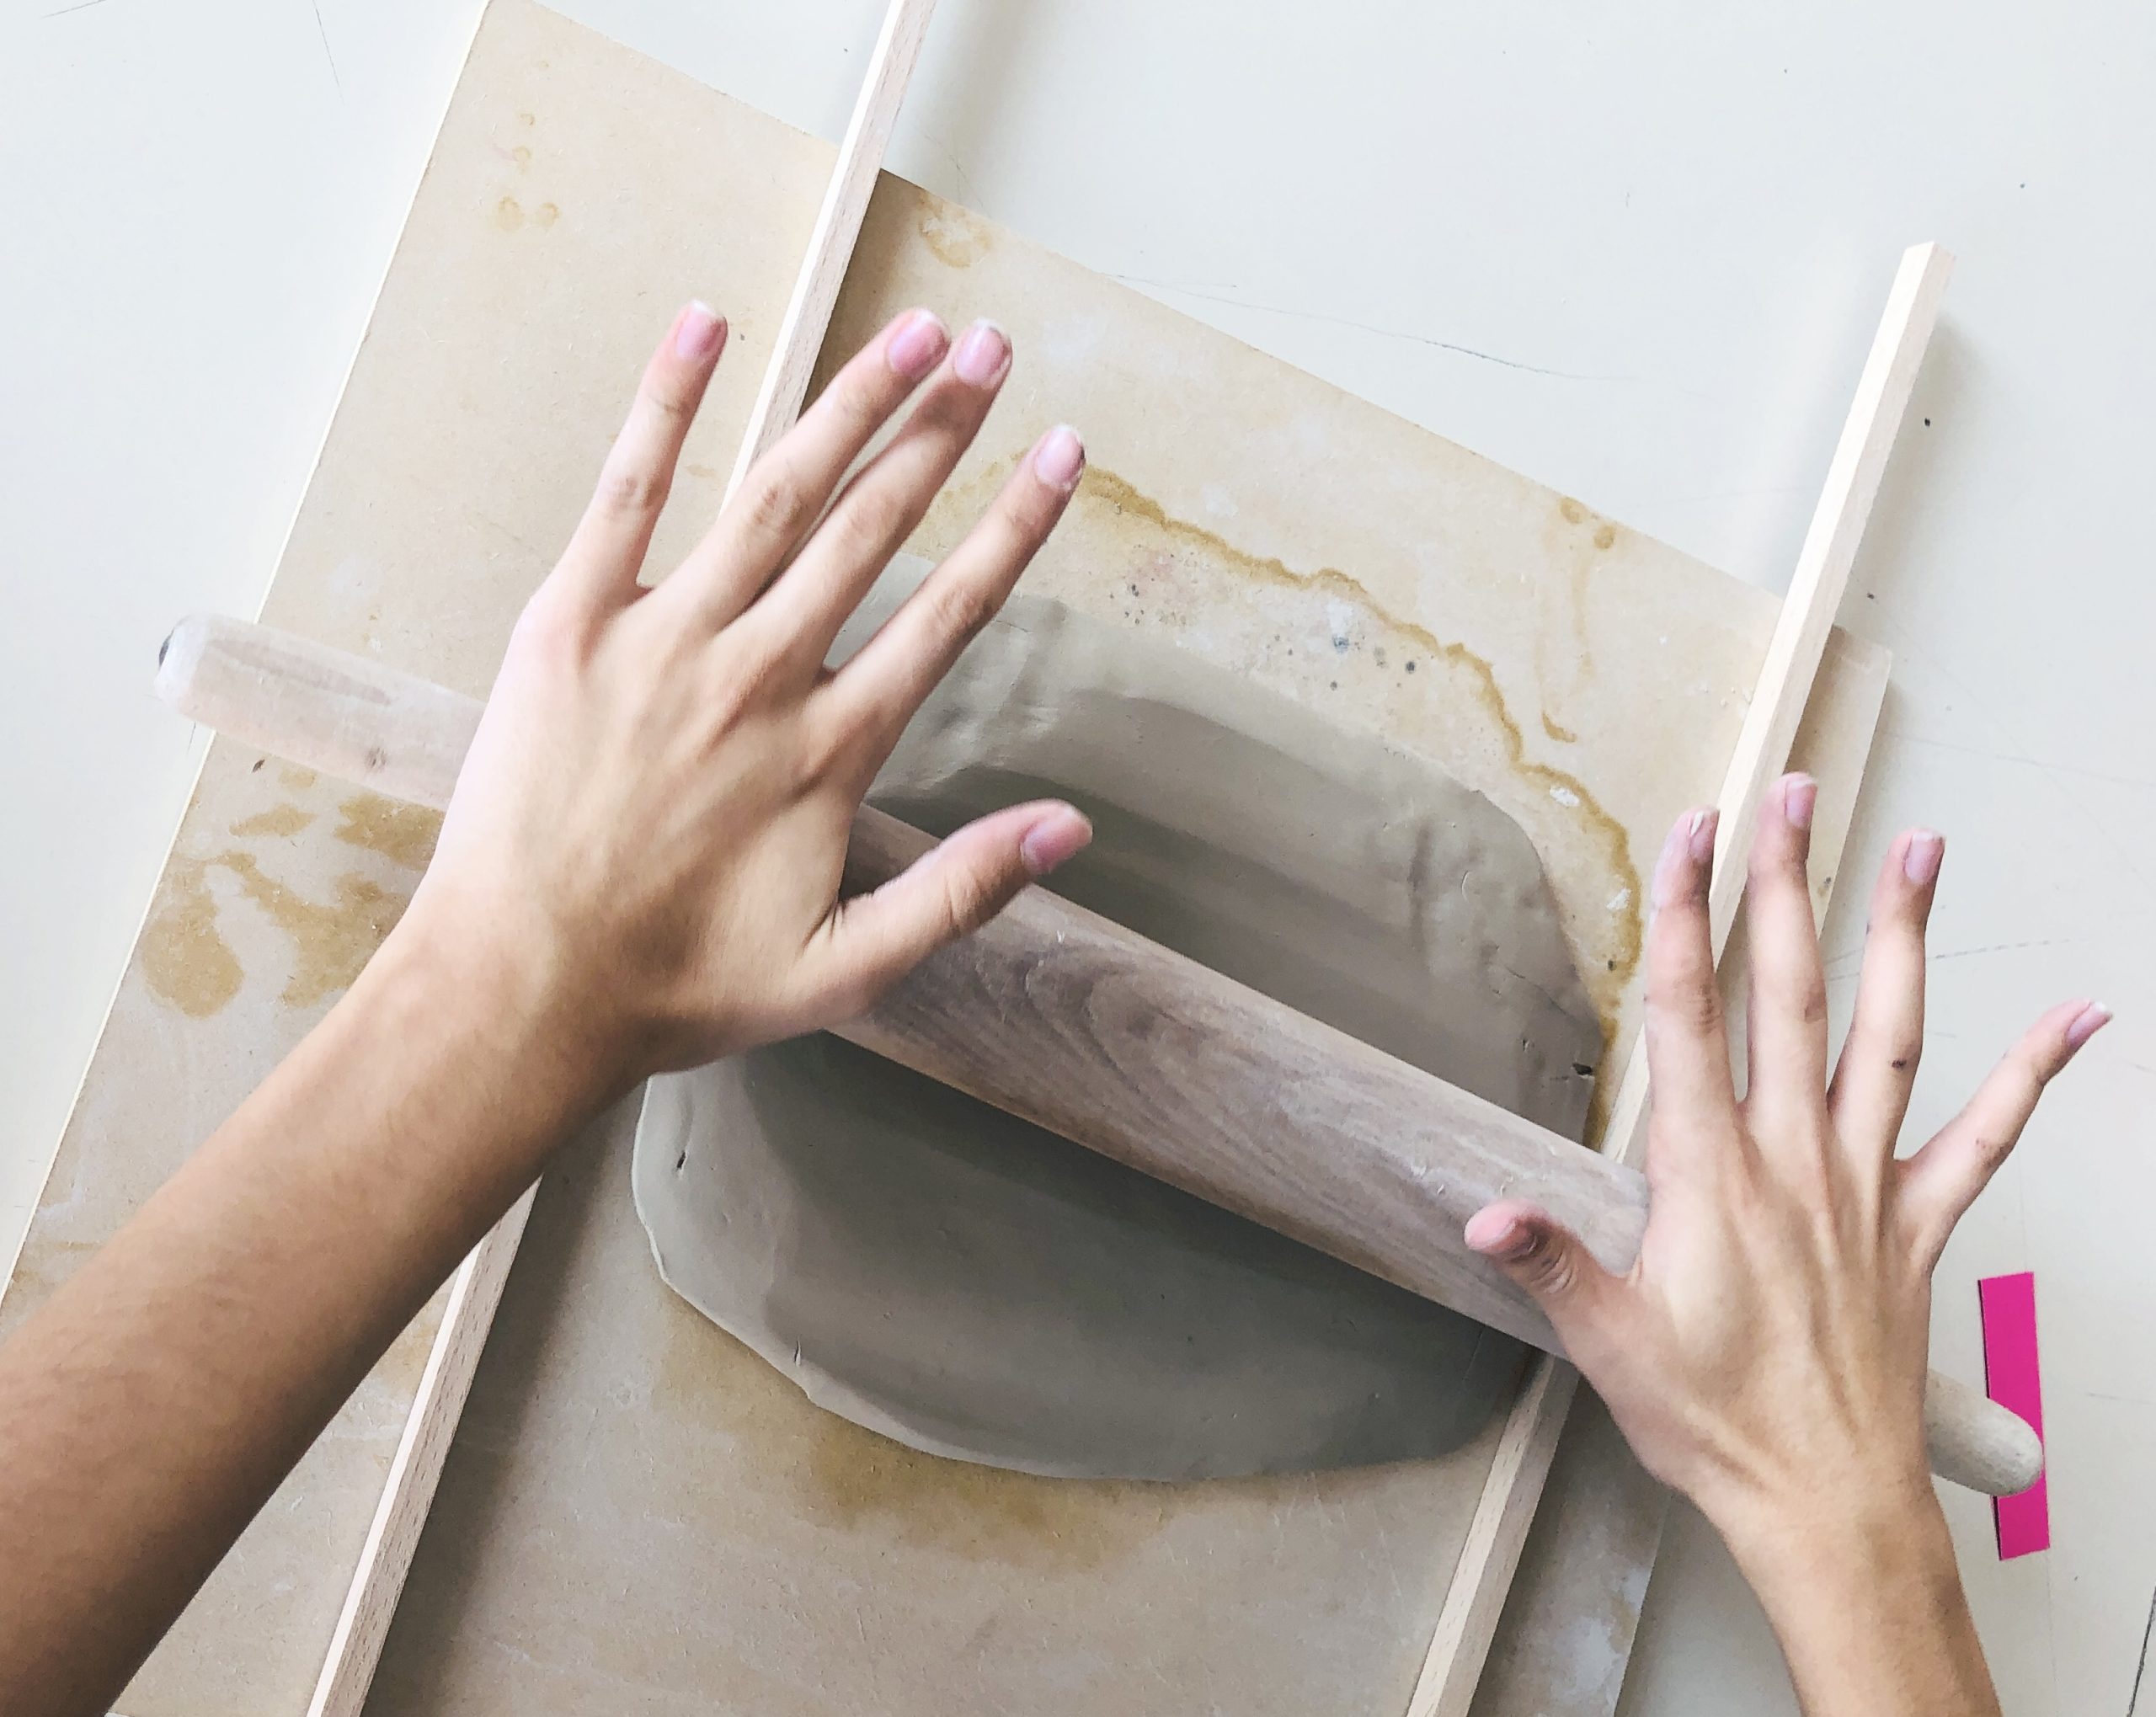
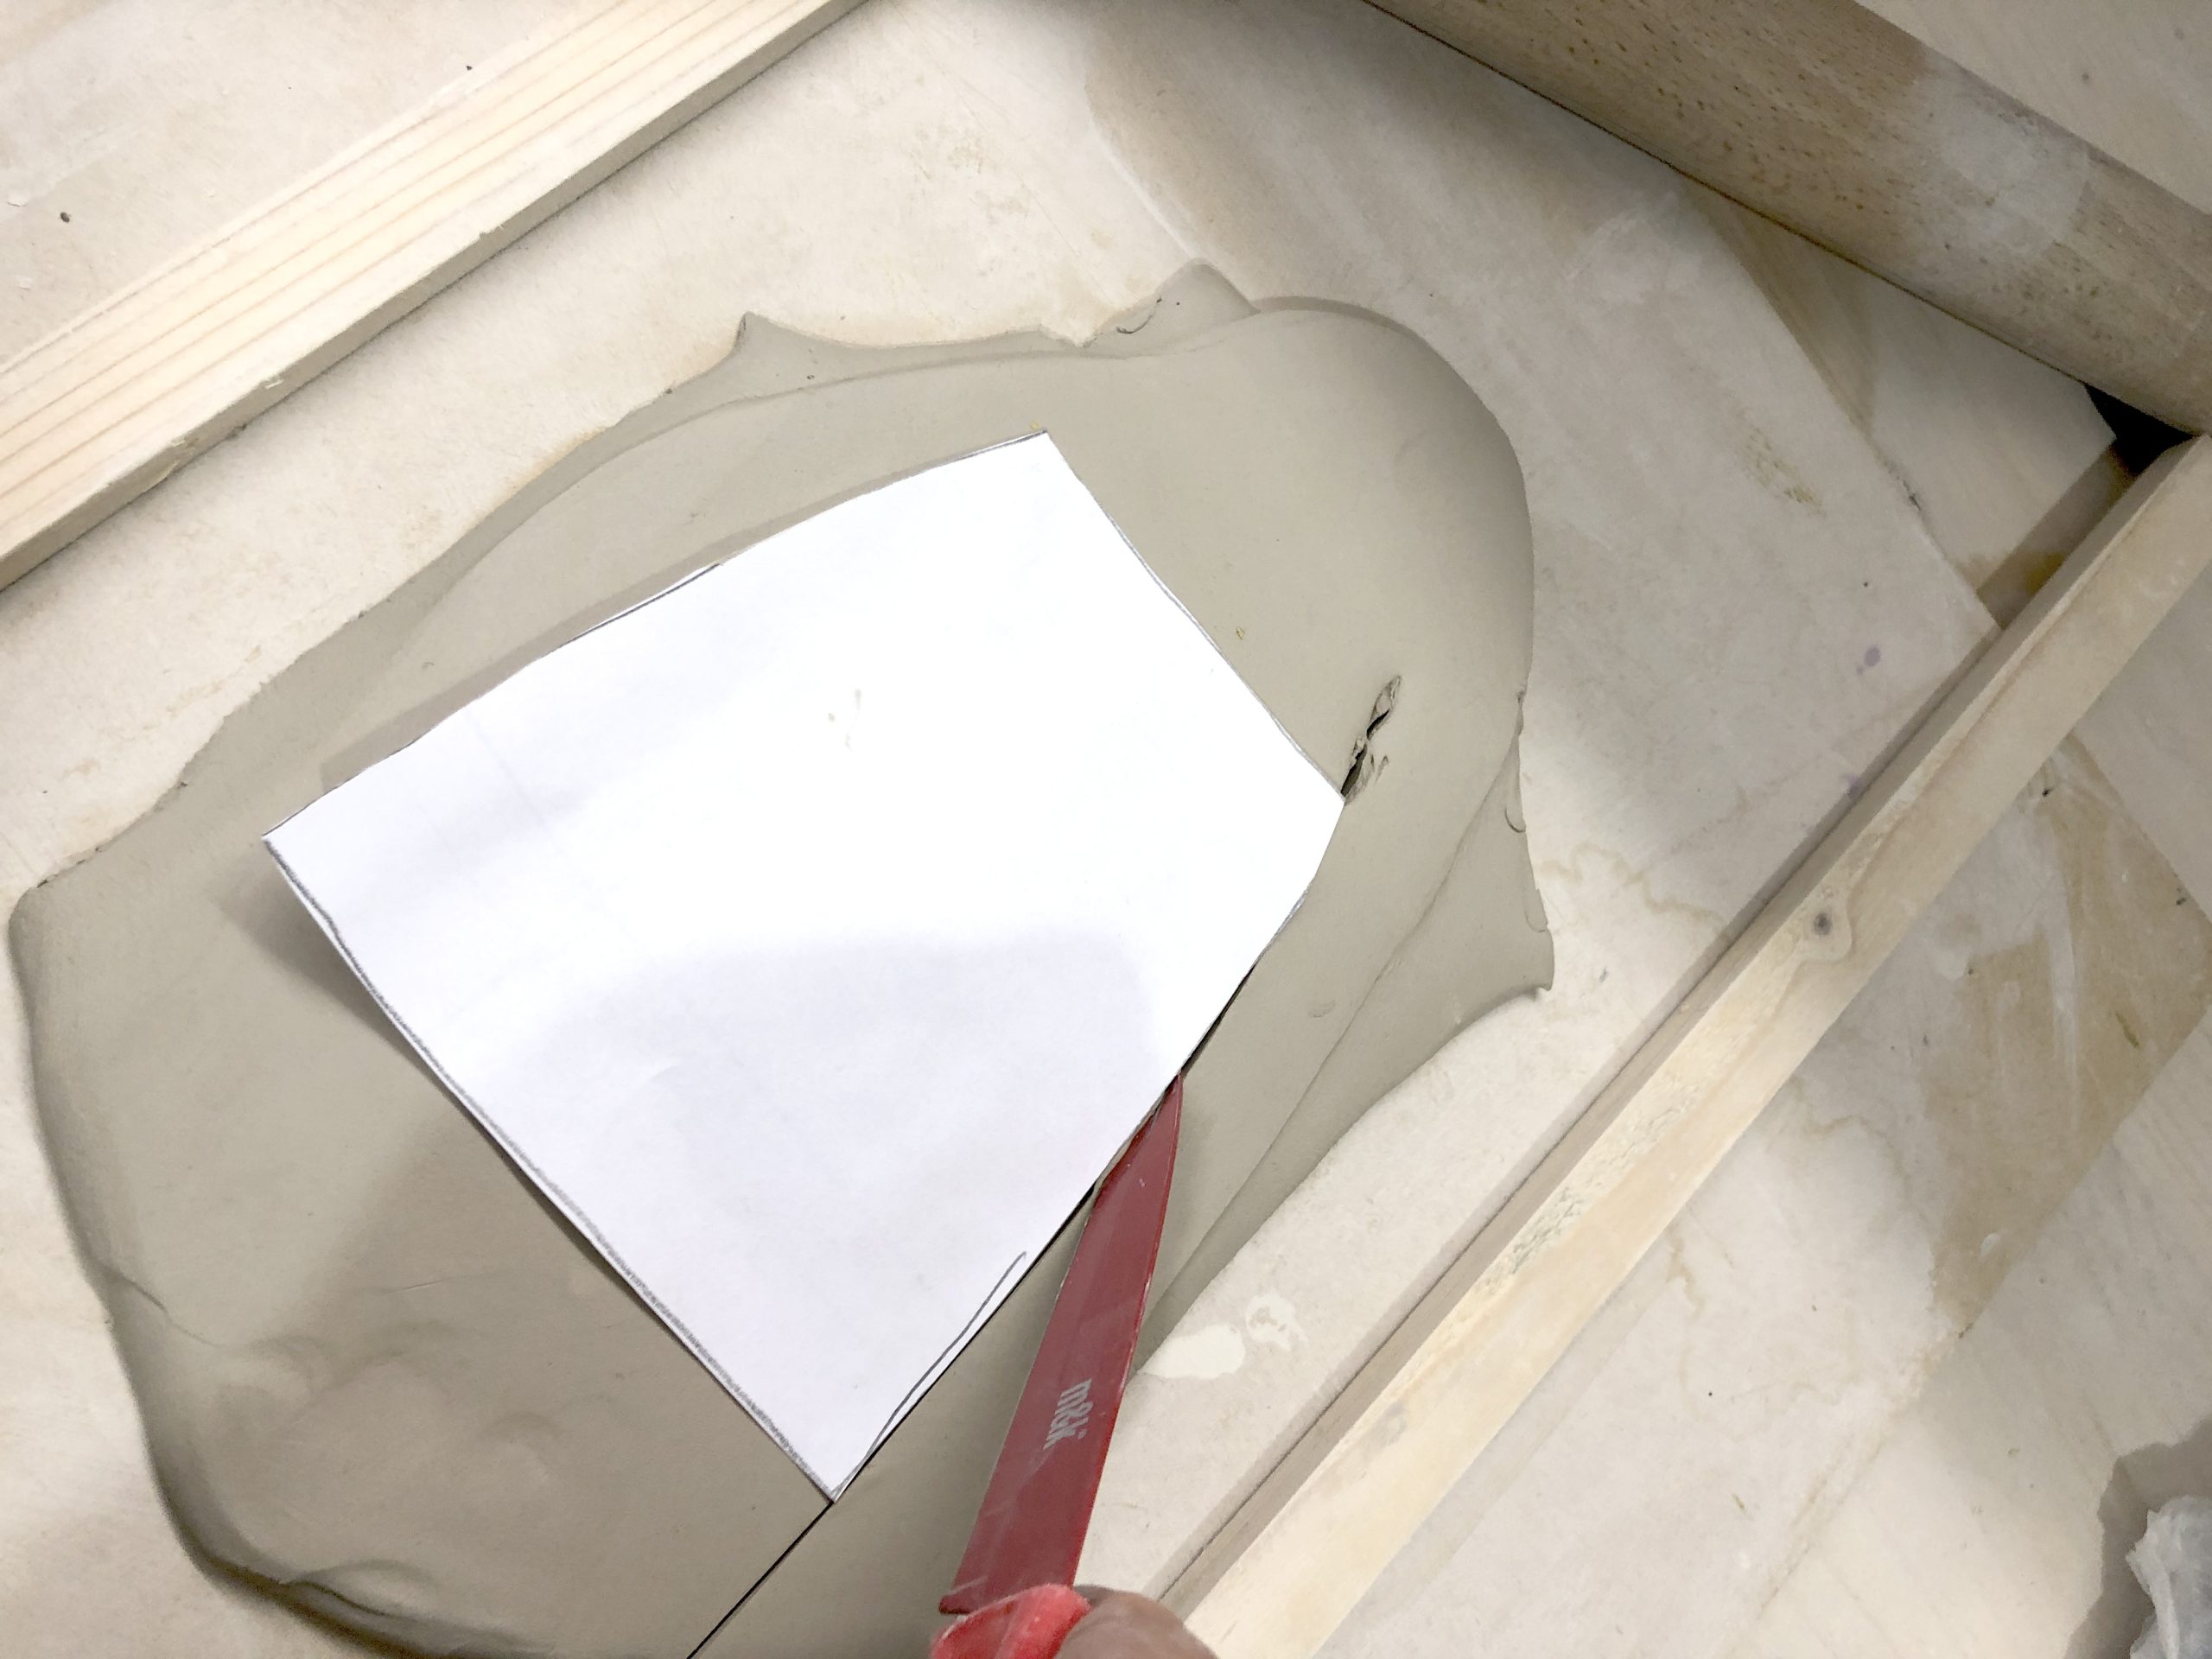
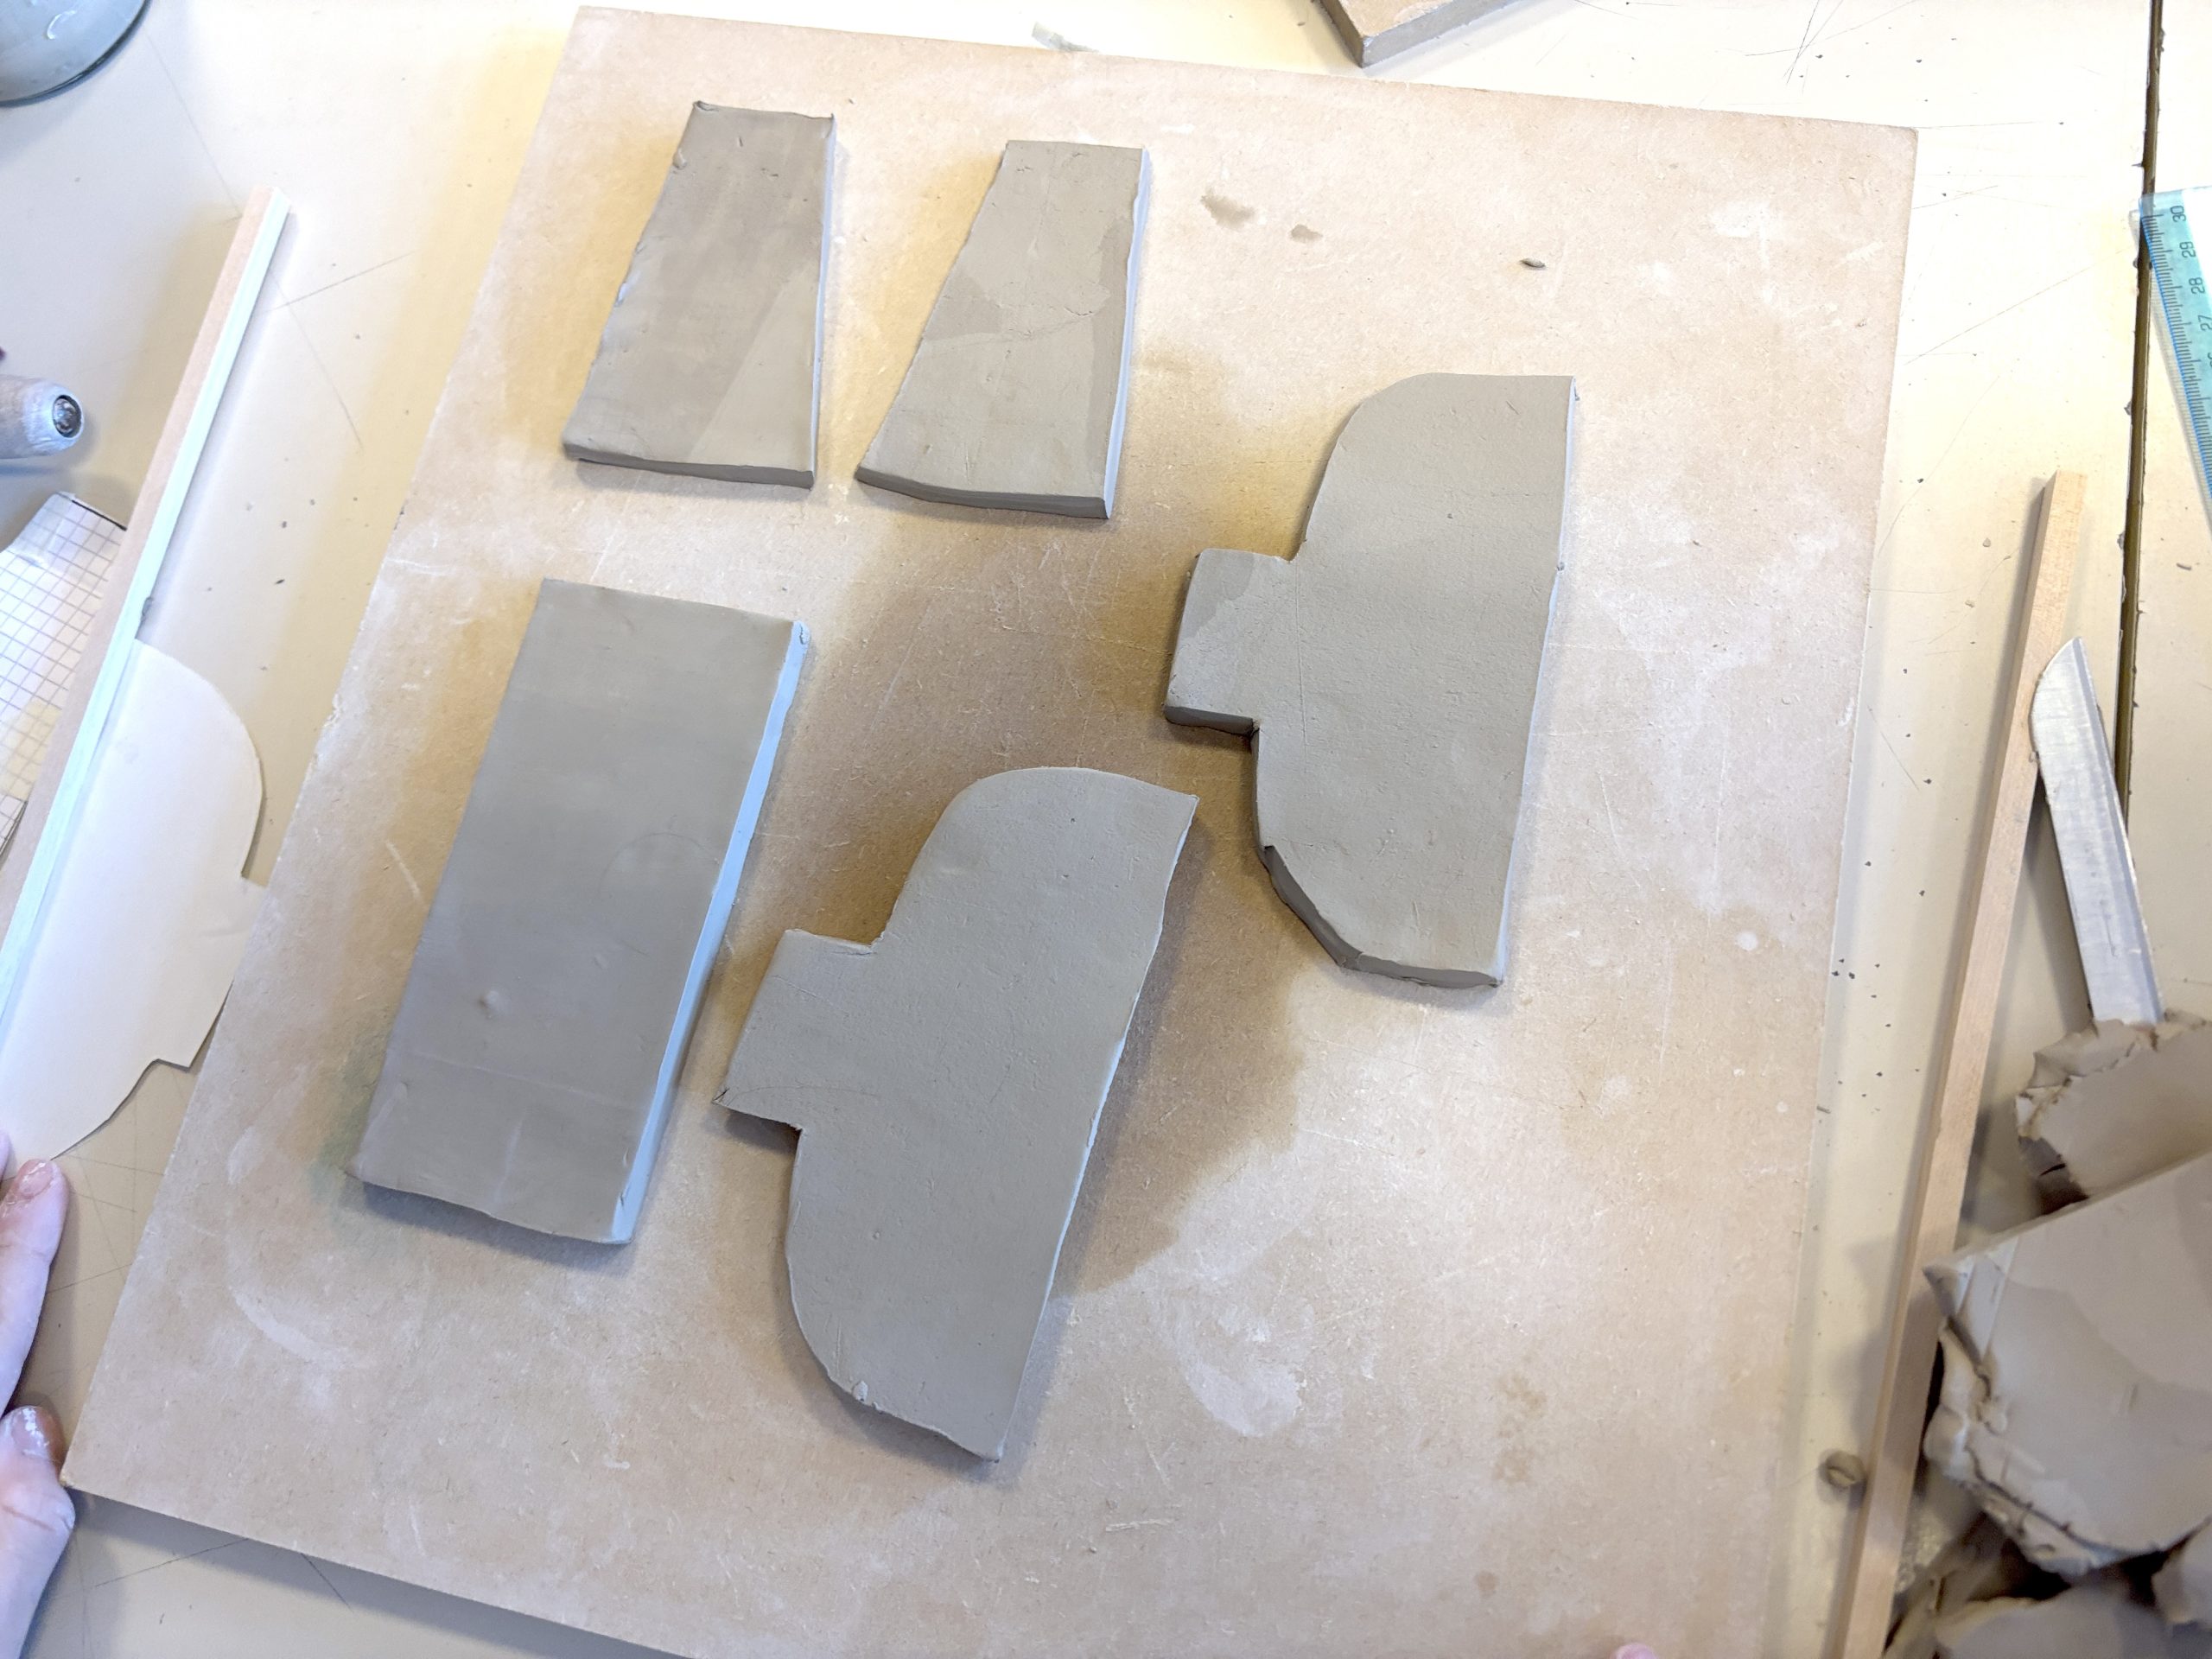
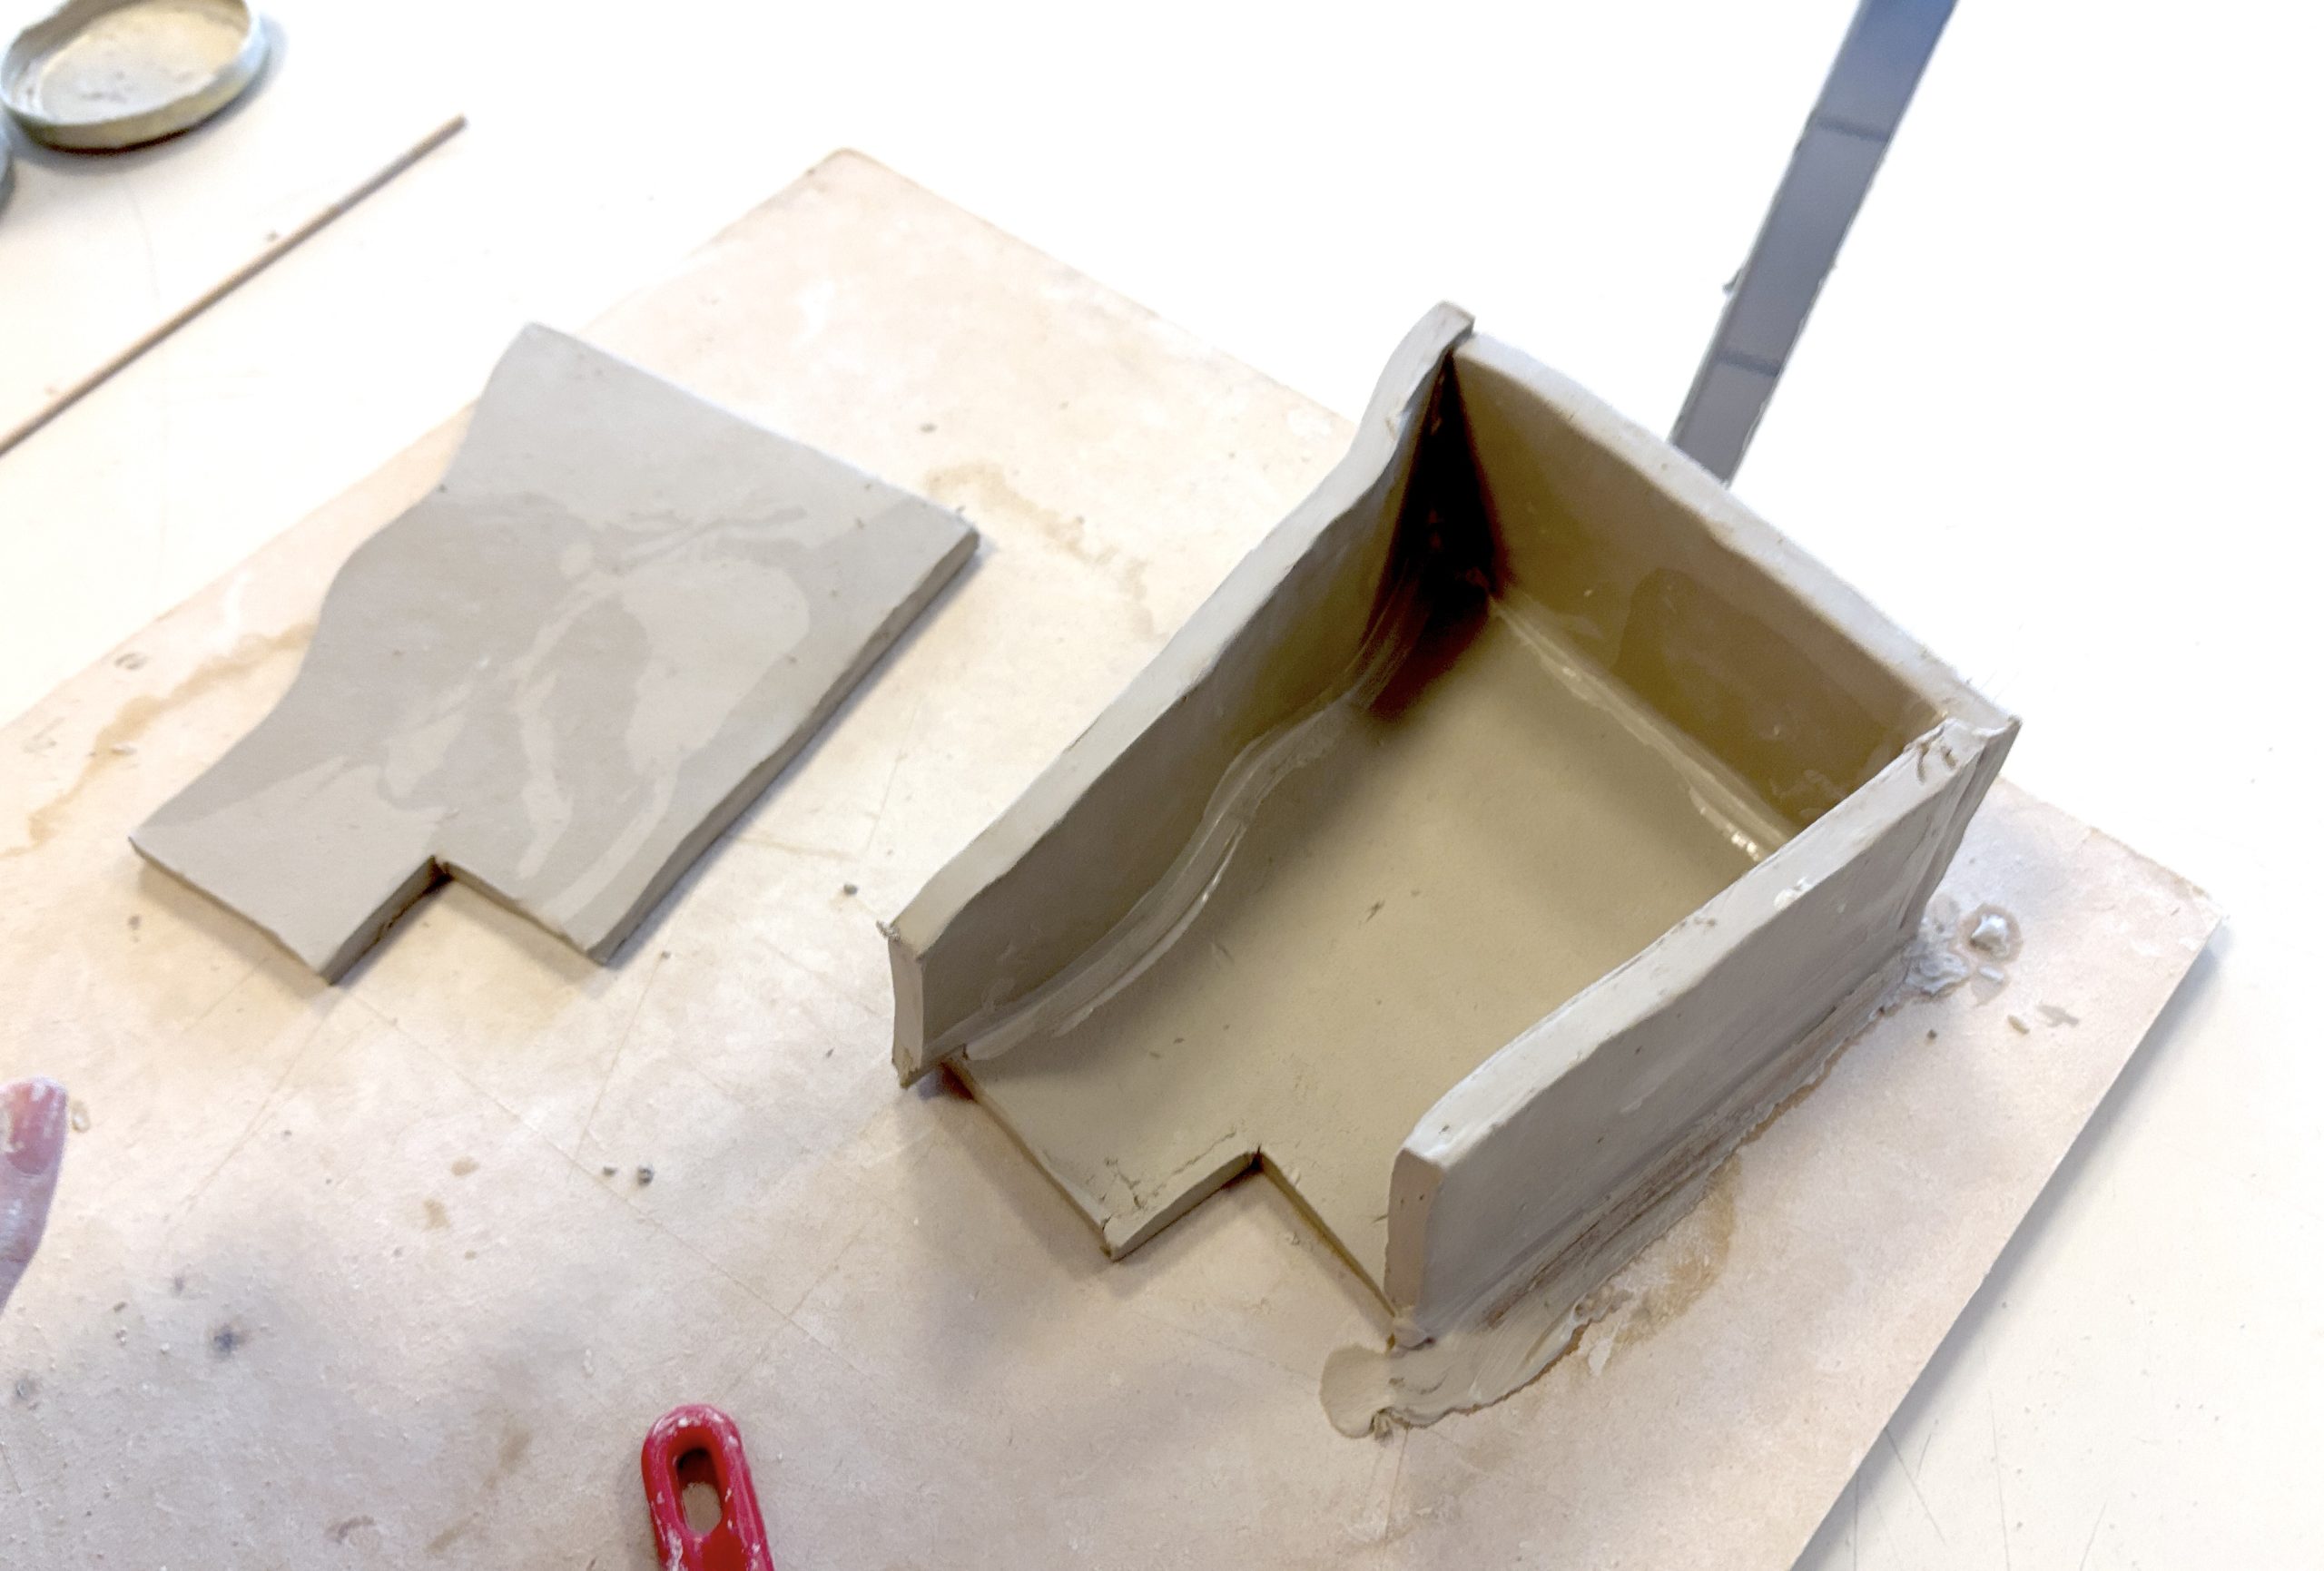
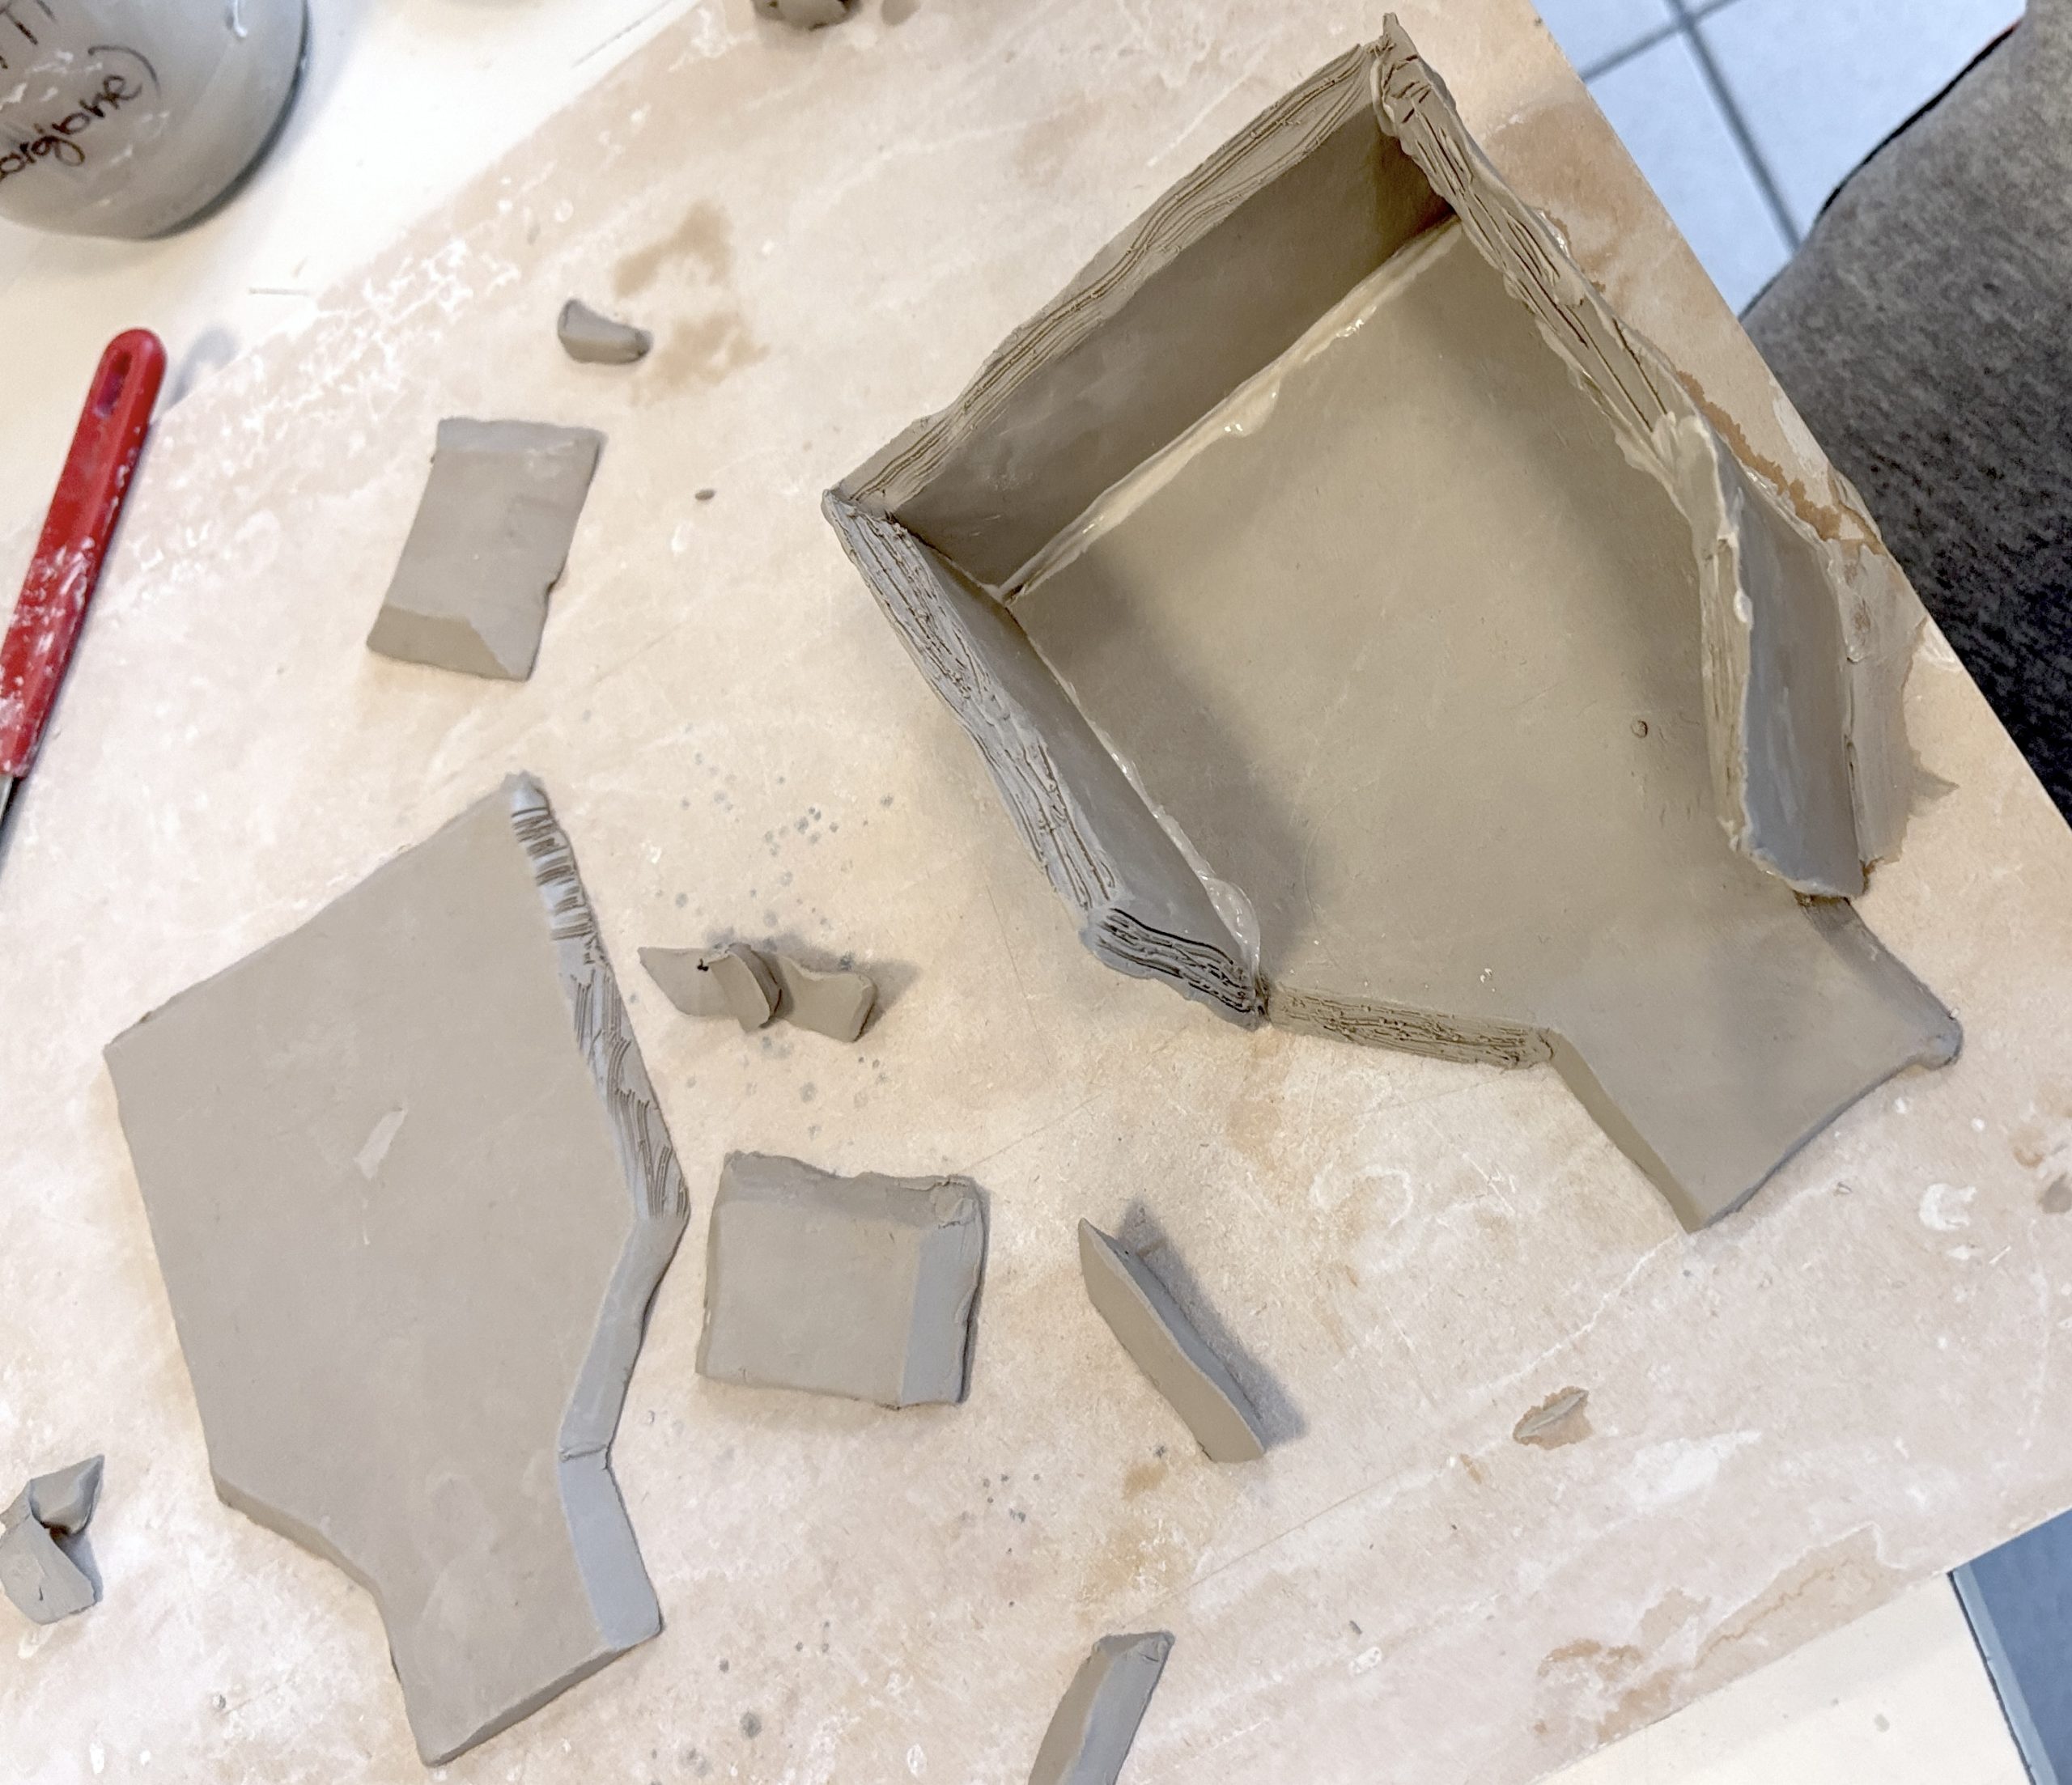
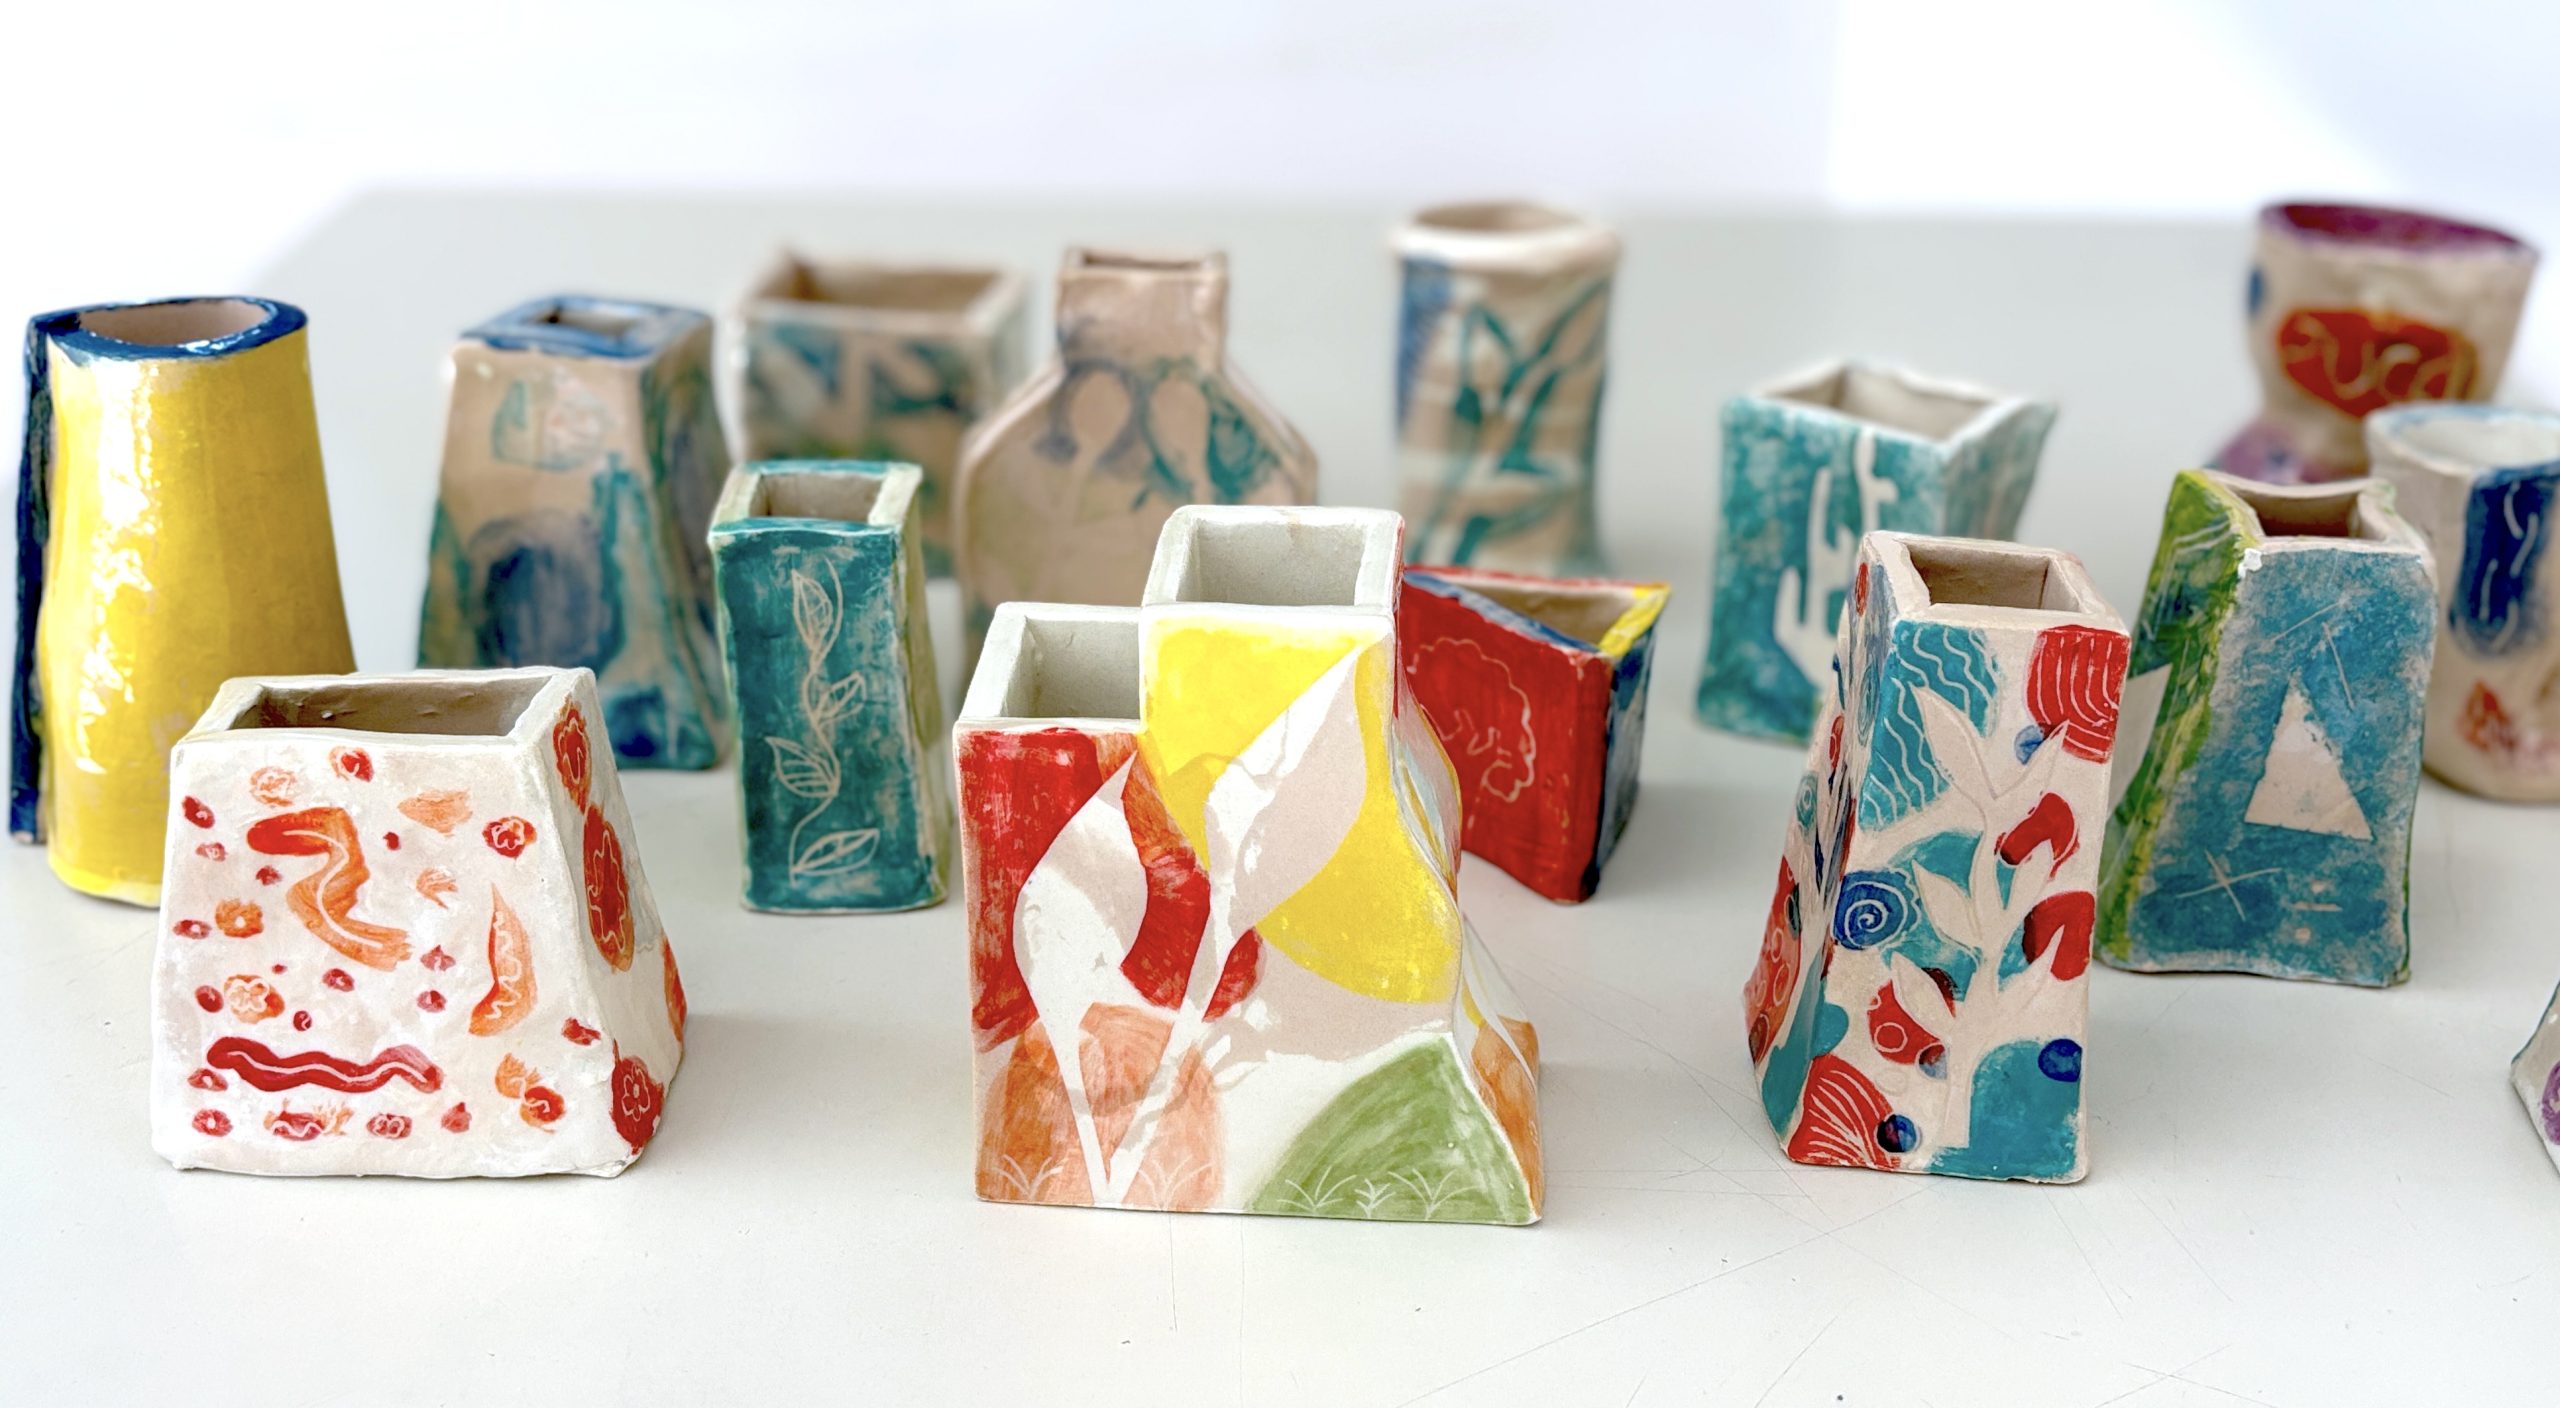
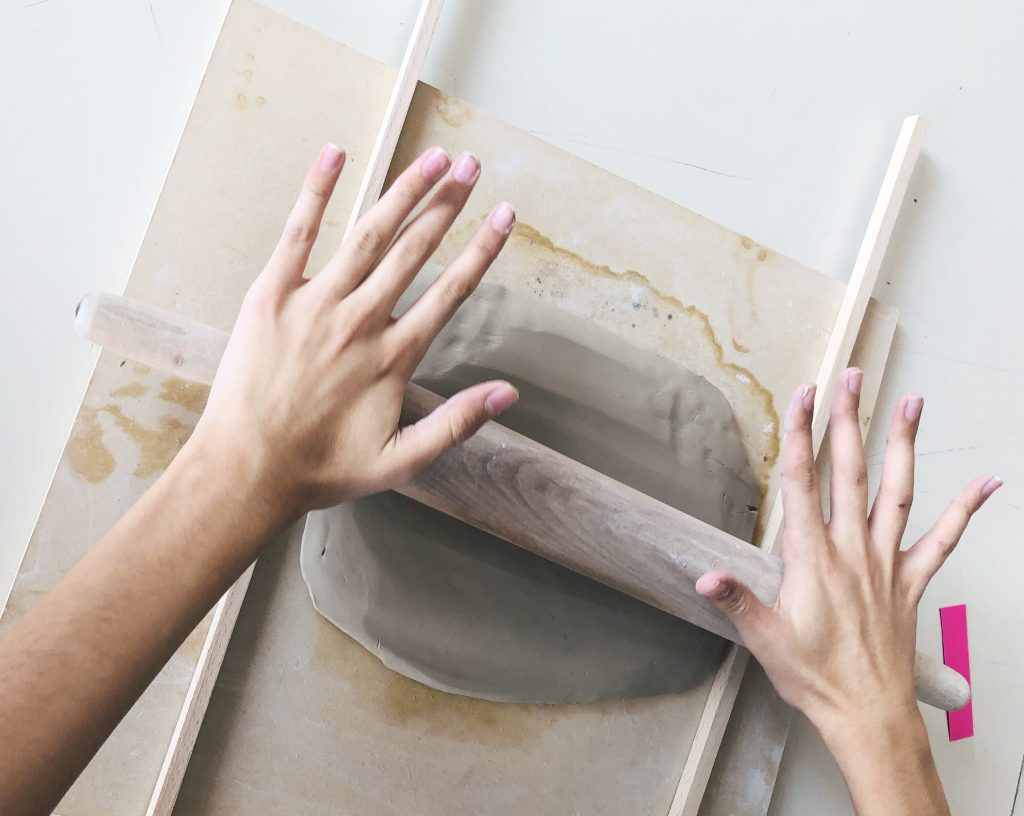
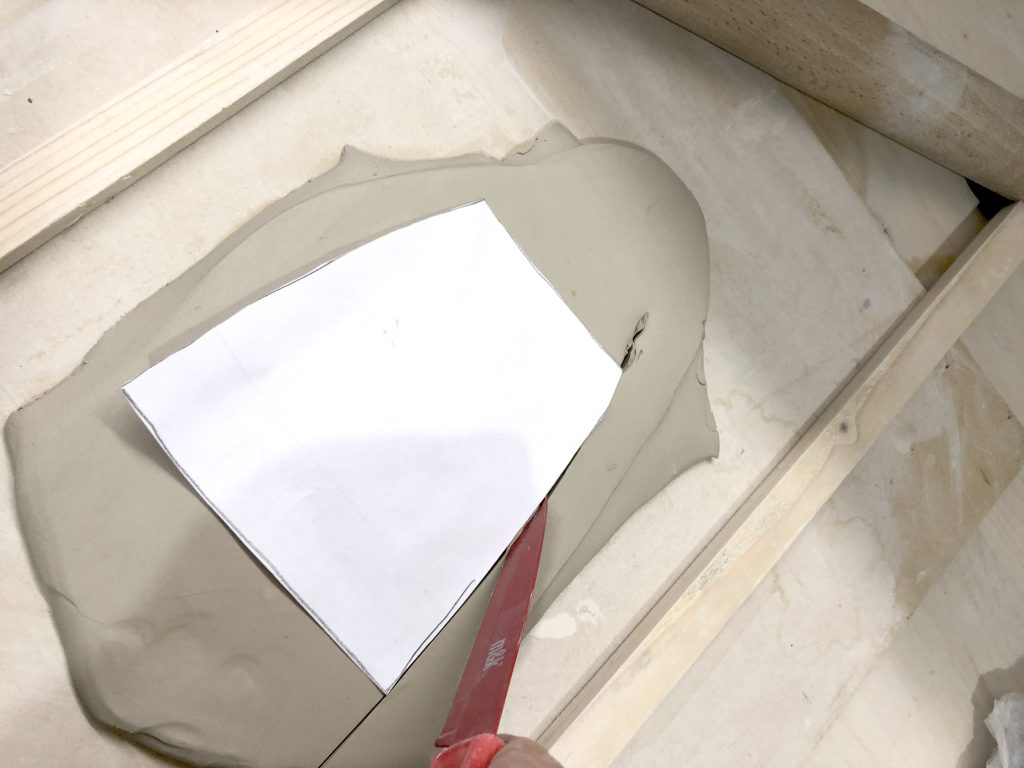
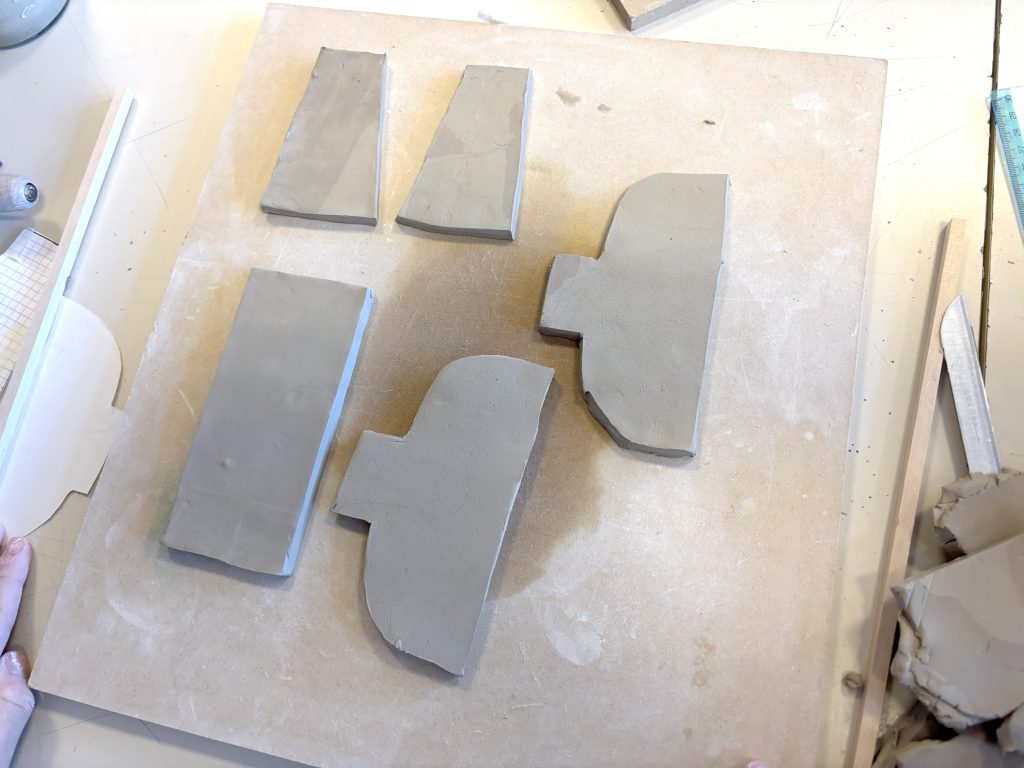
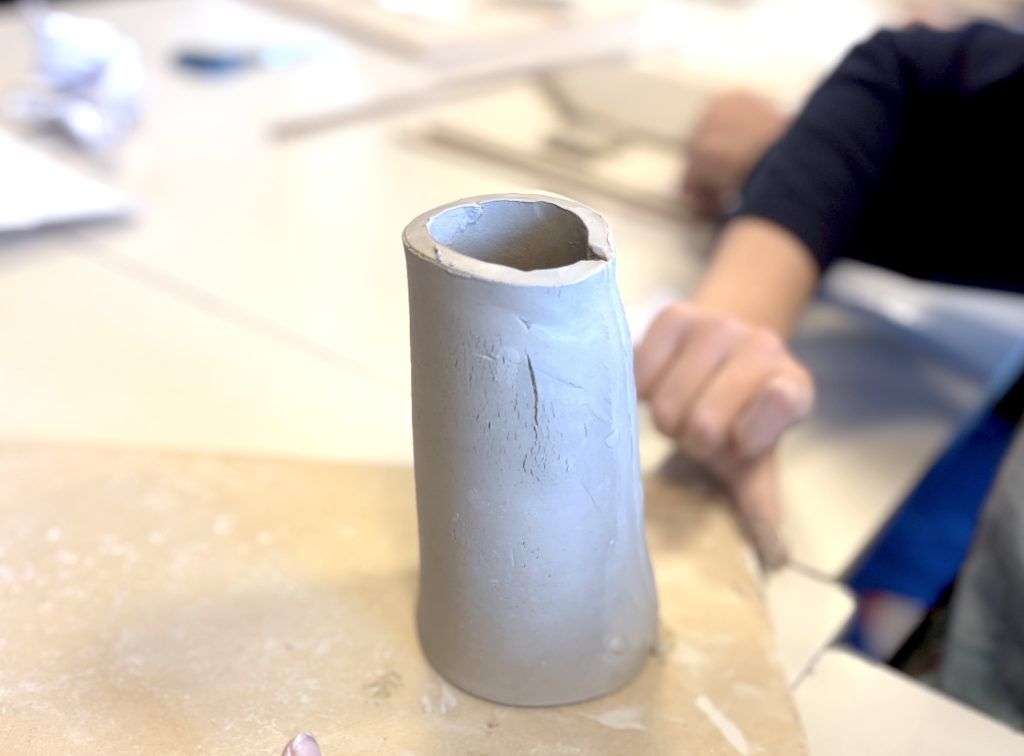
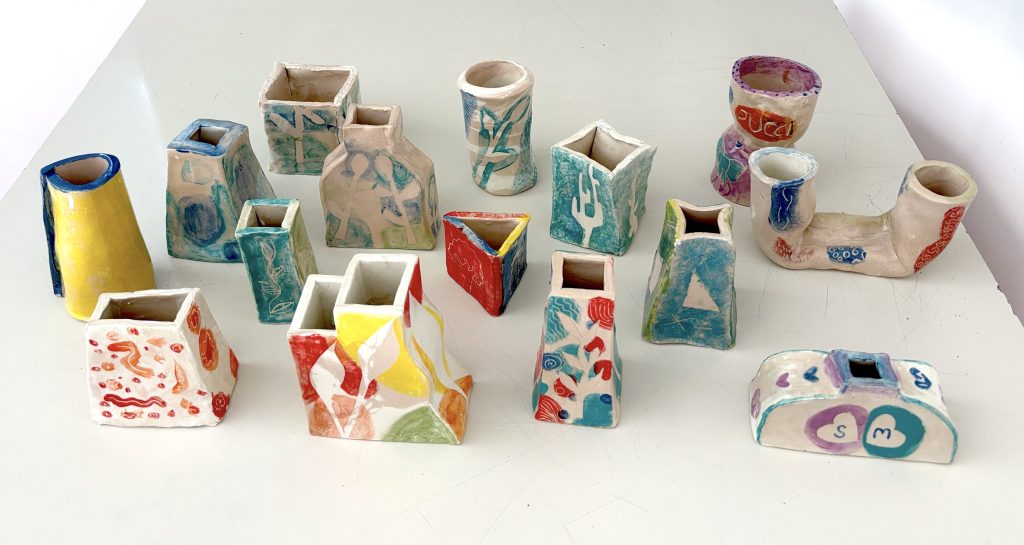
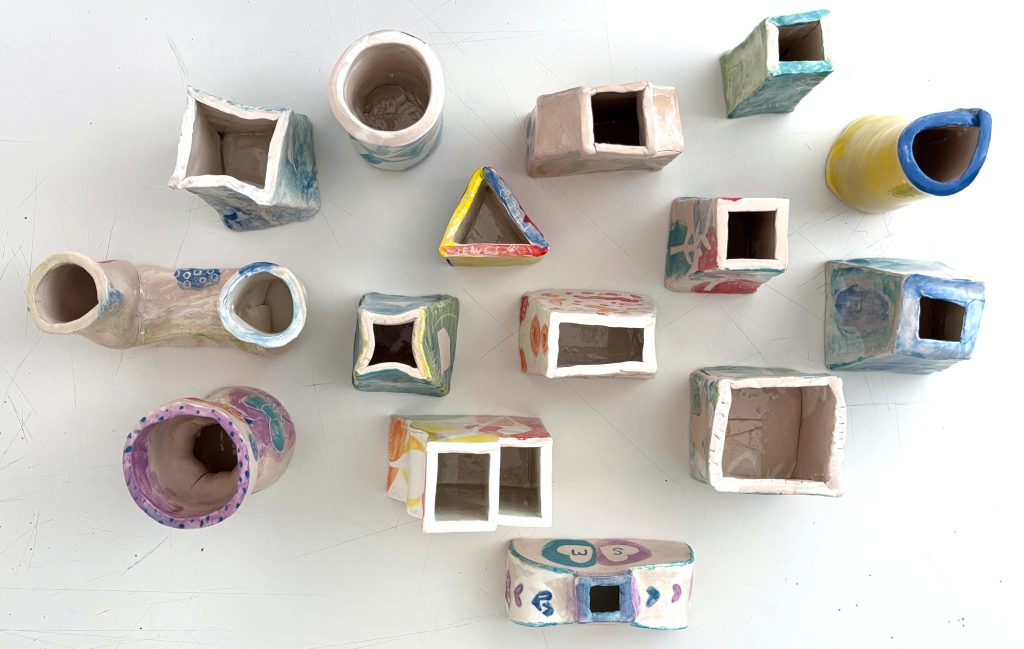
接下来,我们用擀面杖配合7毫米厚的木质限位条擀制陶土砖坯。学生们依照自己的纸制模型,从这些砖坯上裁剪出所需形状,用于制作陶罐。令人着迷的是,大家提出了丰富多样的创意方案——每只陶罐最终都呈现出独一无二的造型与设计。
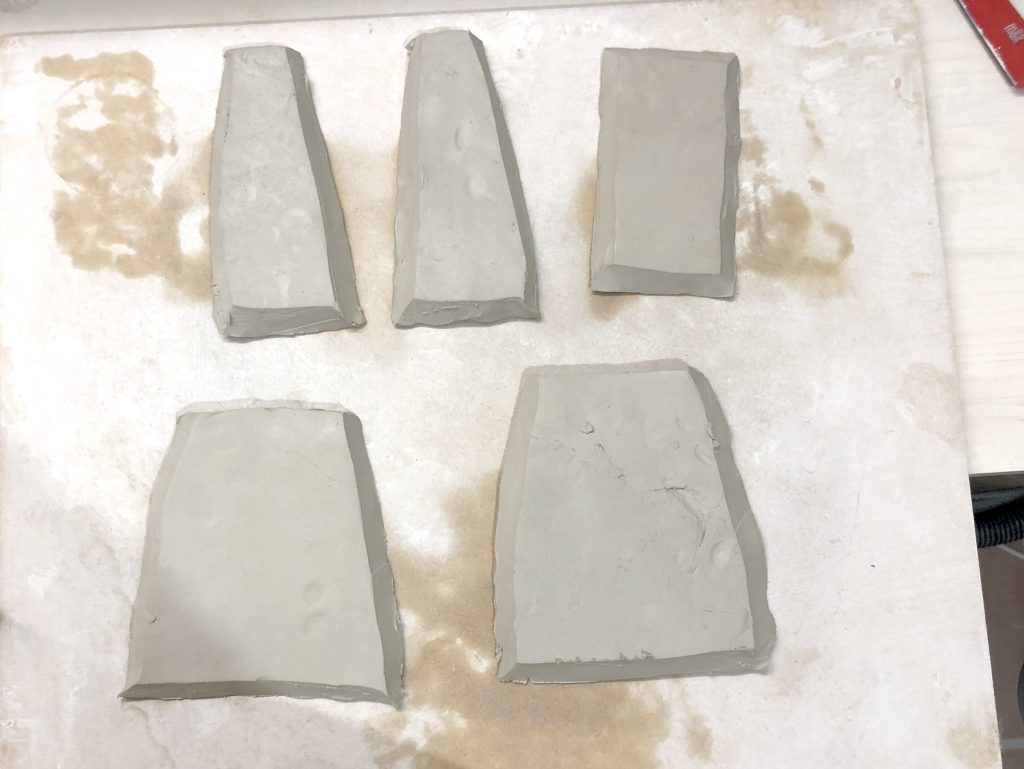
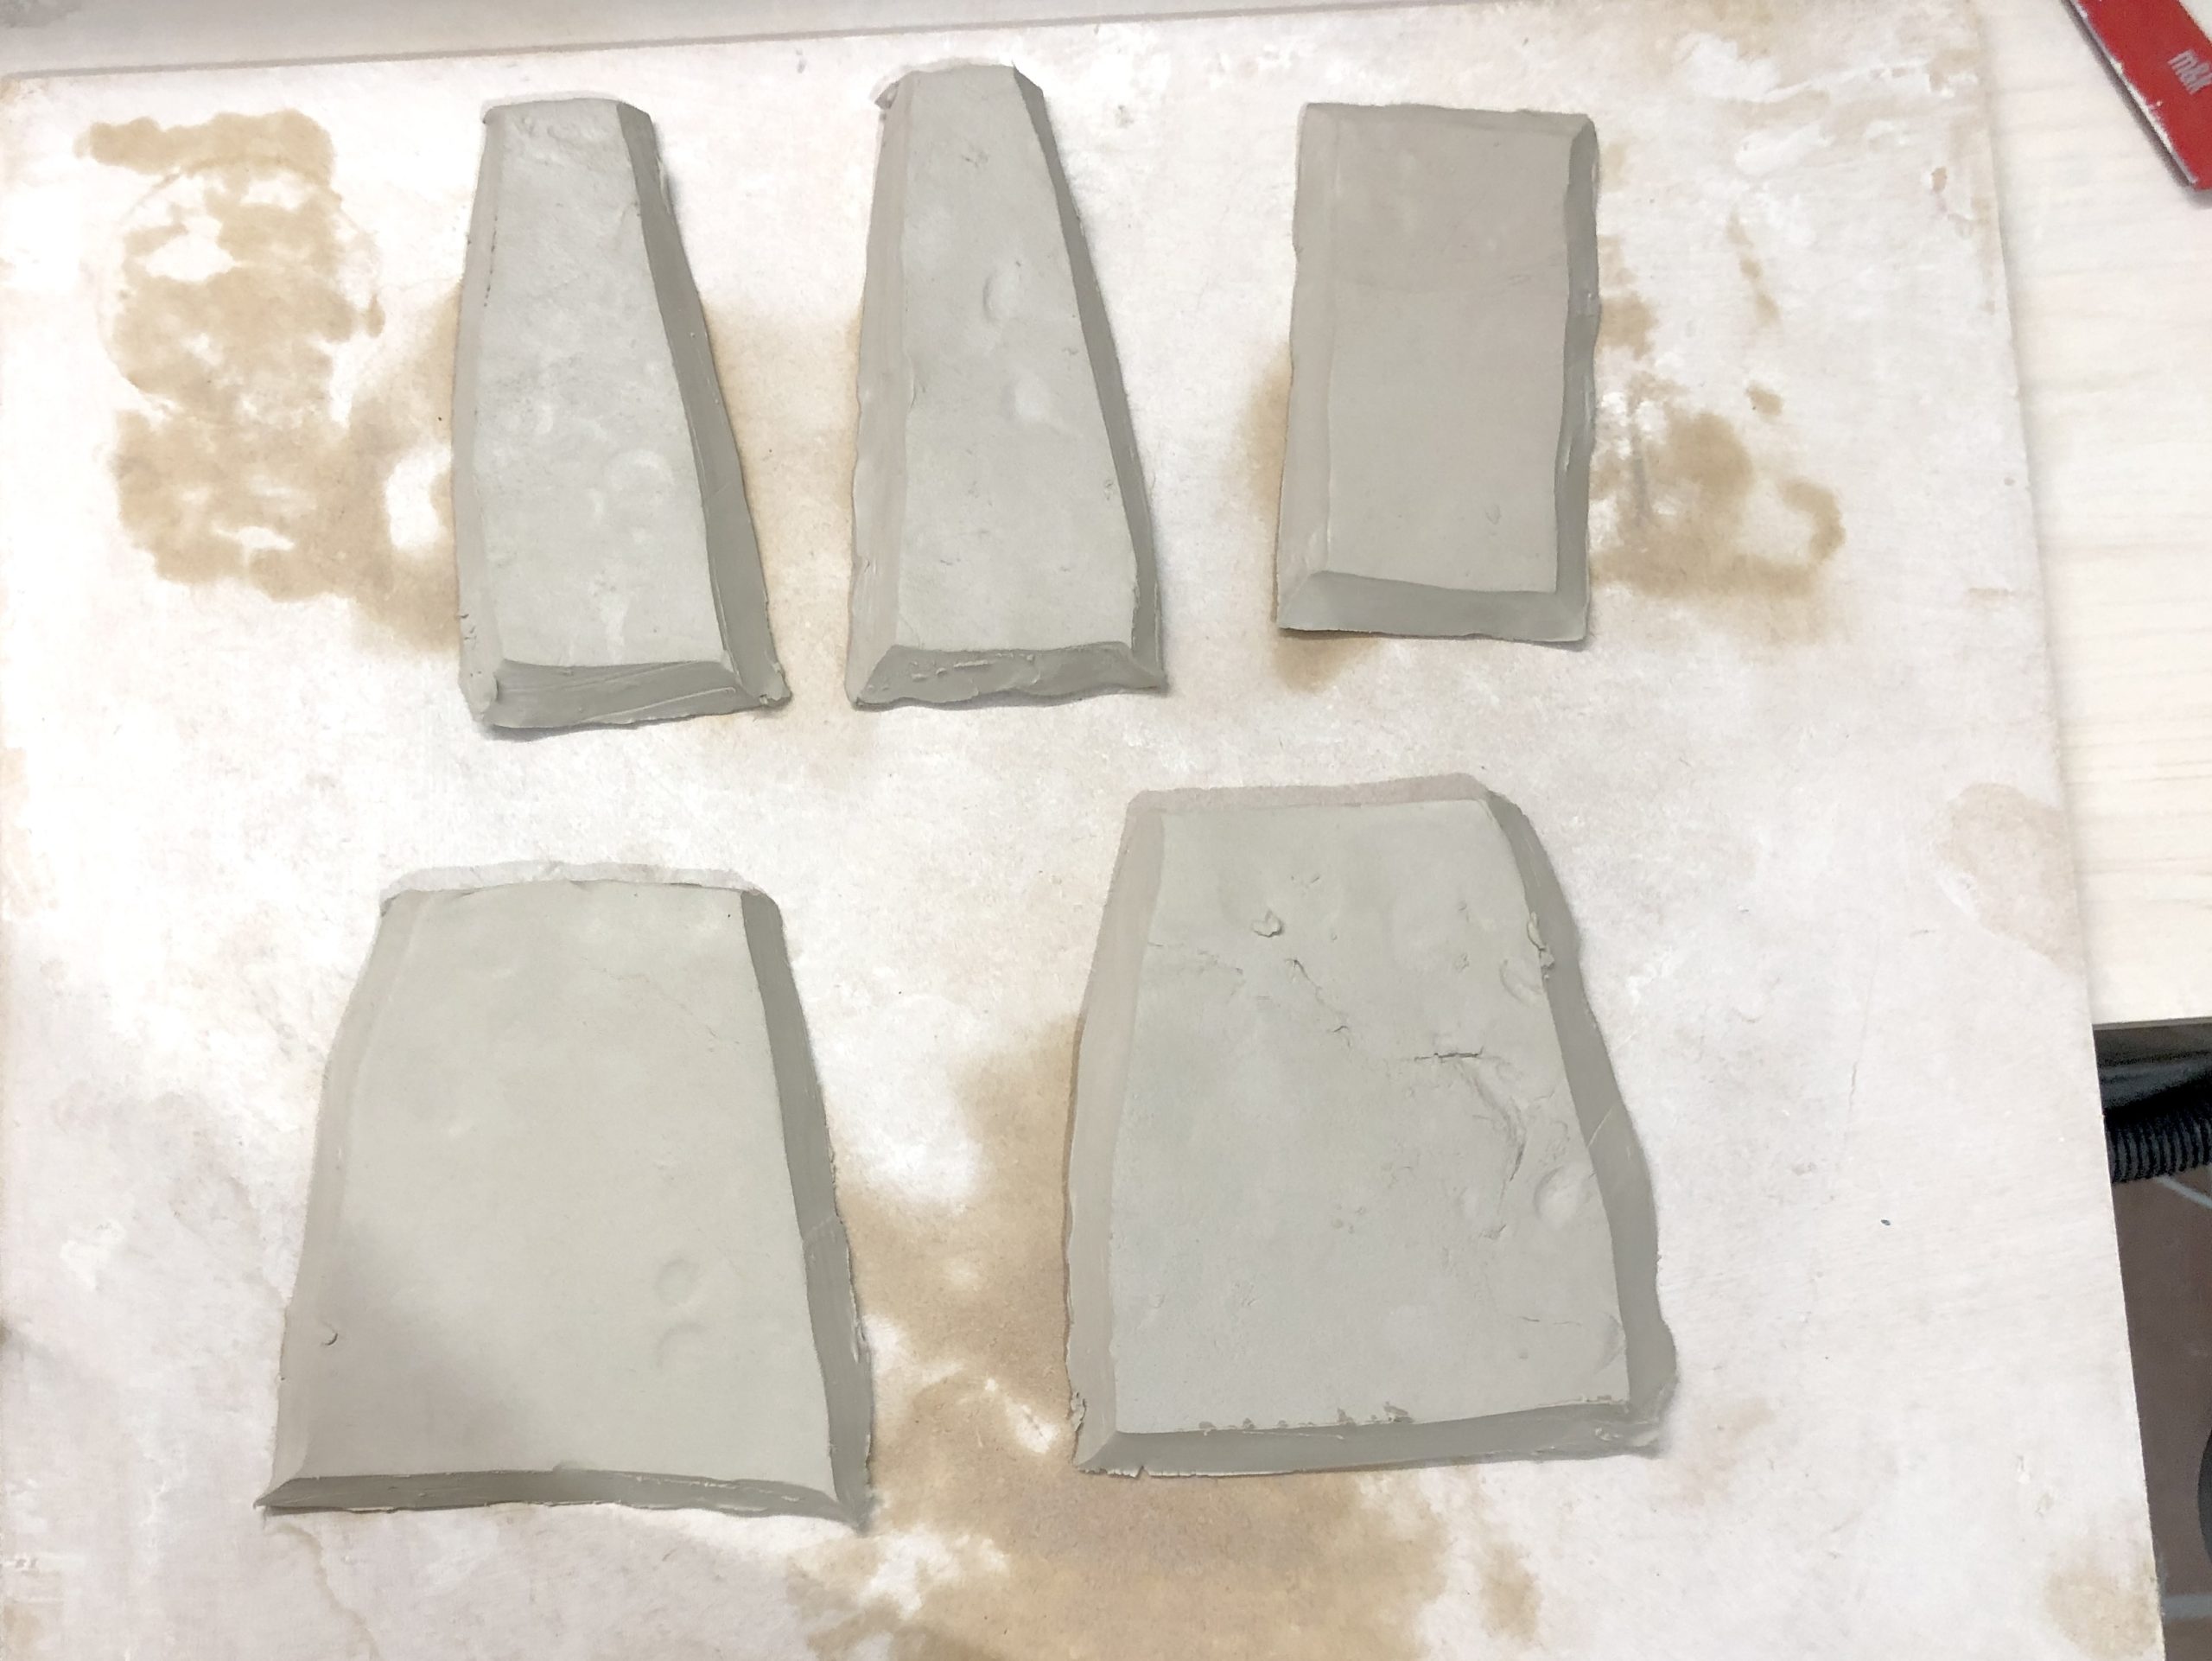
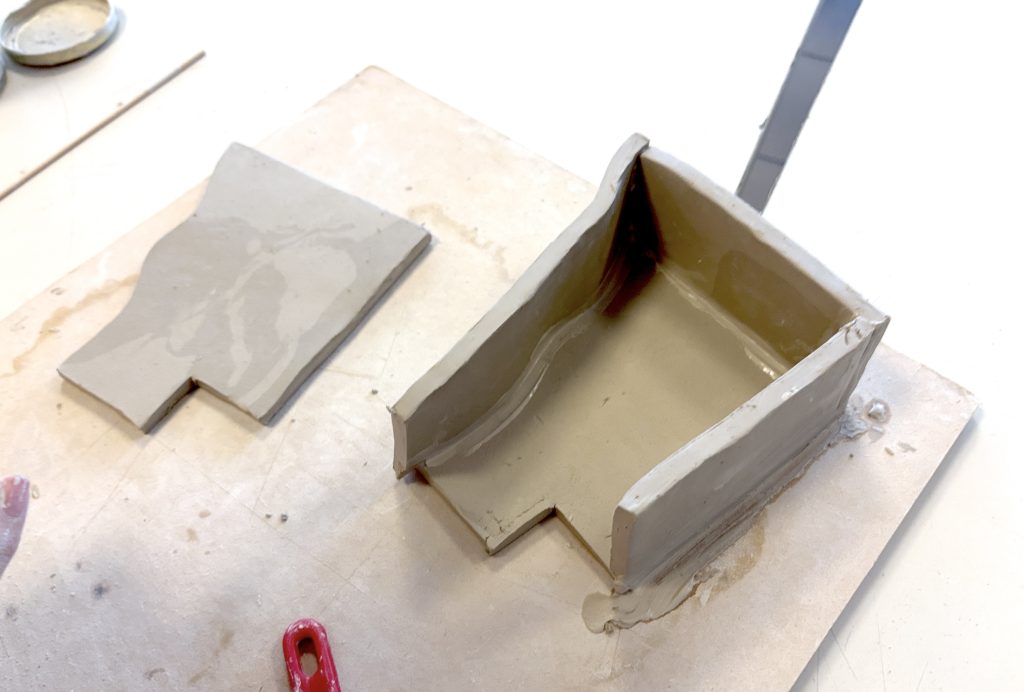
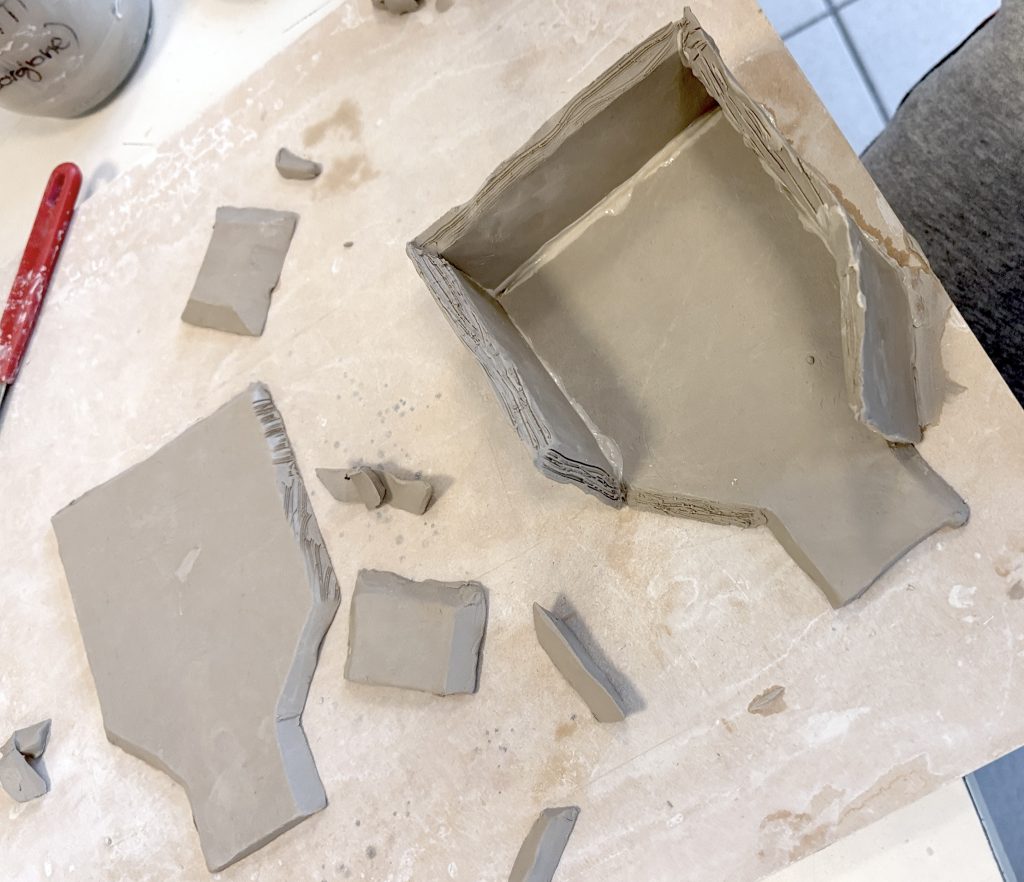
各部件采用刮擦加泥浆法粘接,使陶土表面能牢固结合。
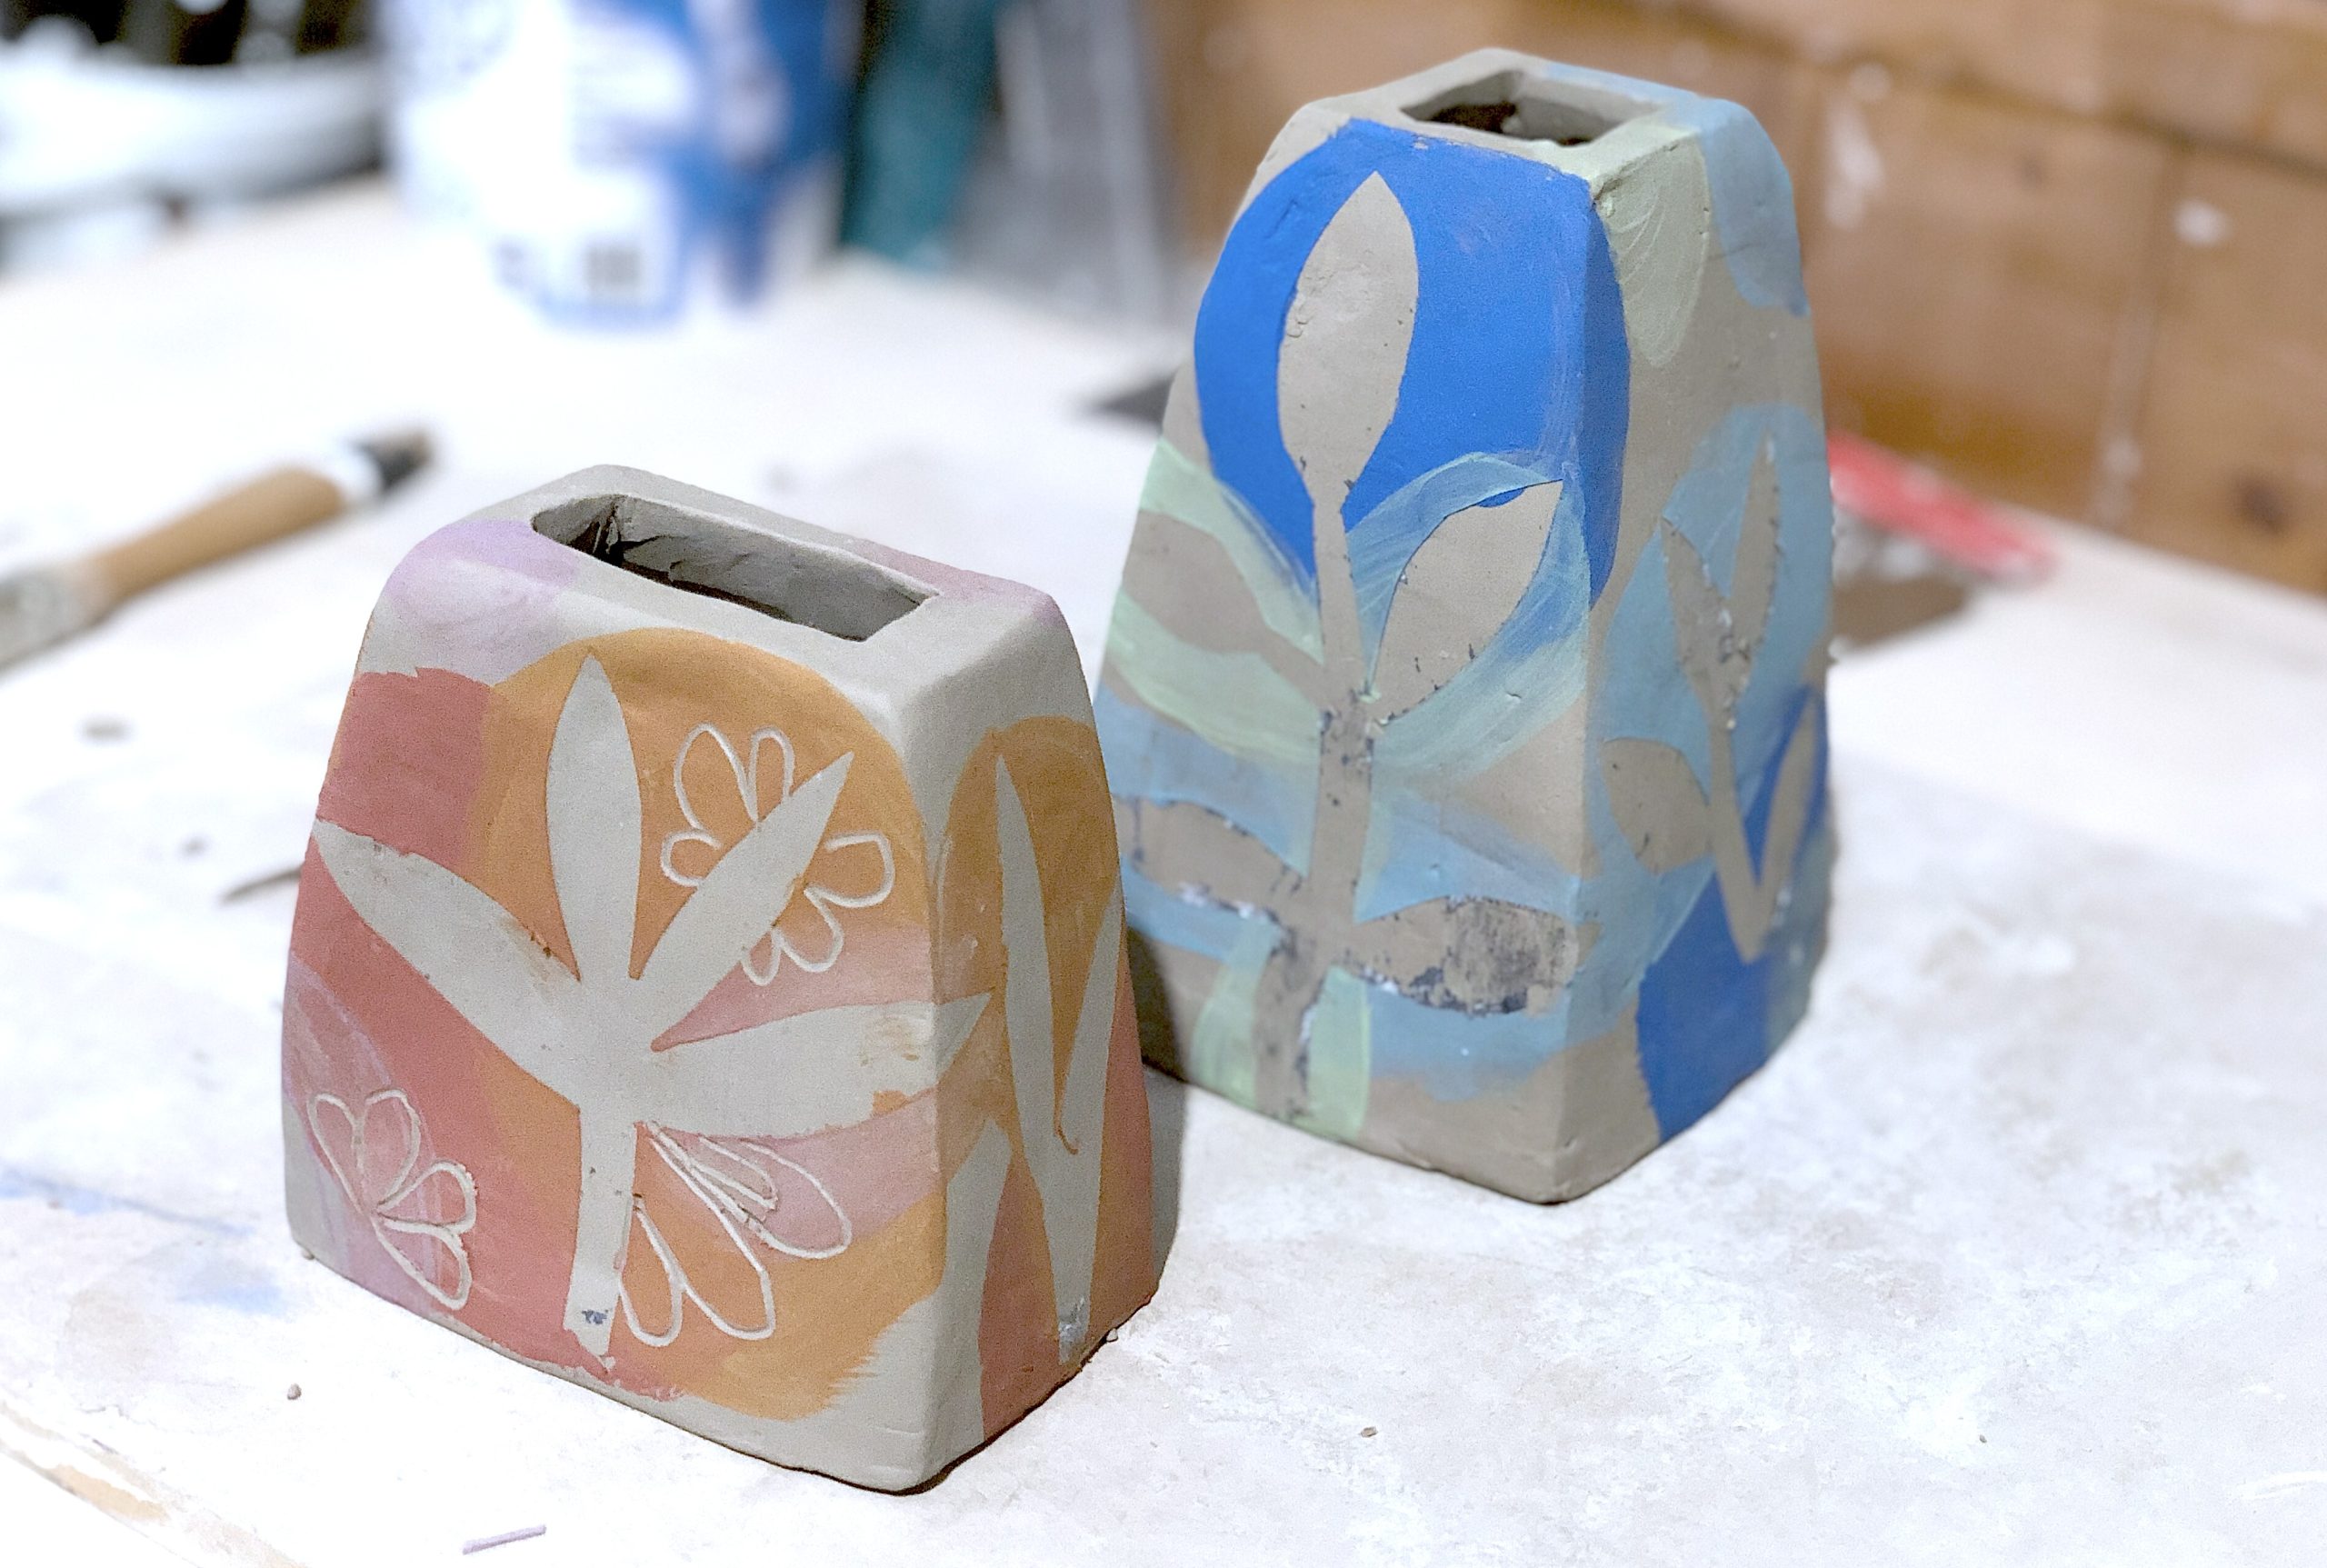
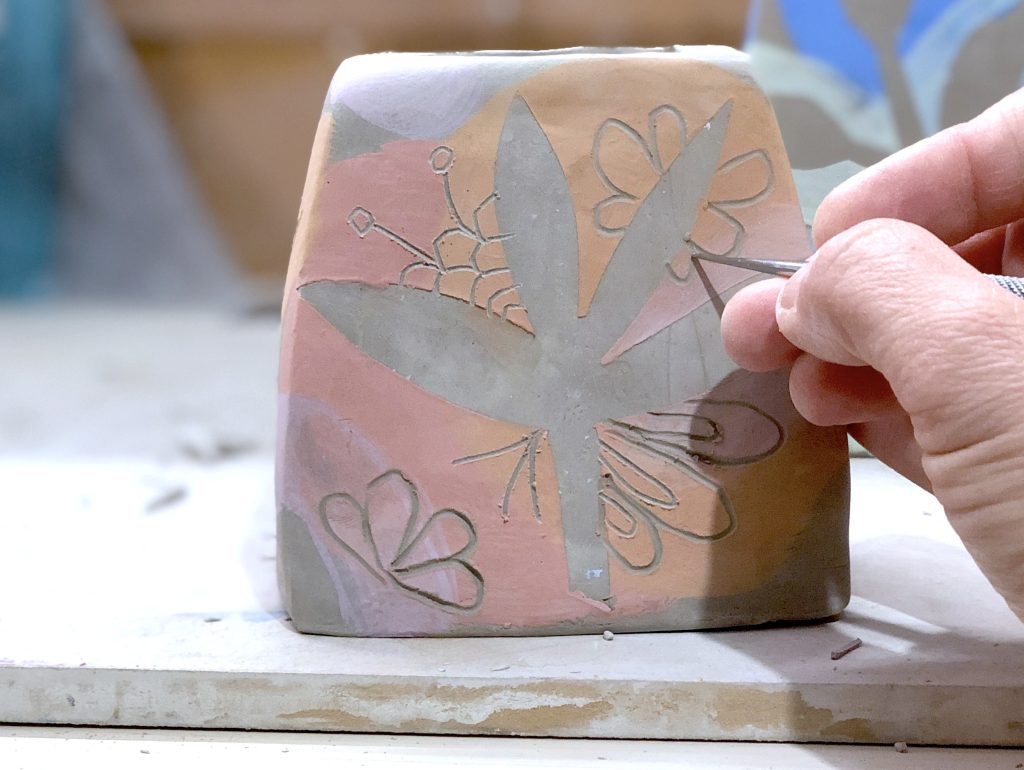
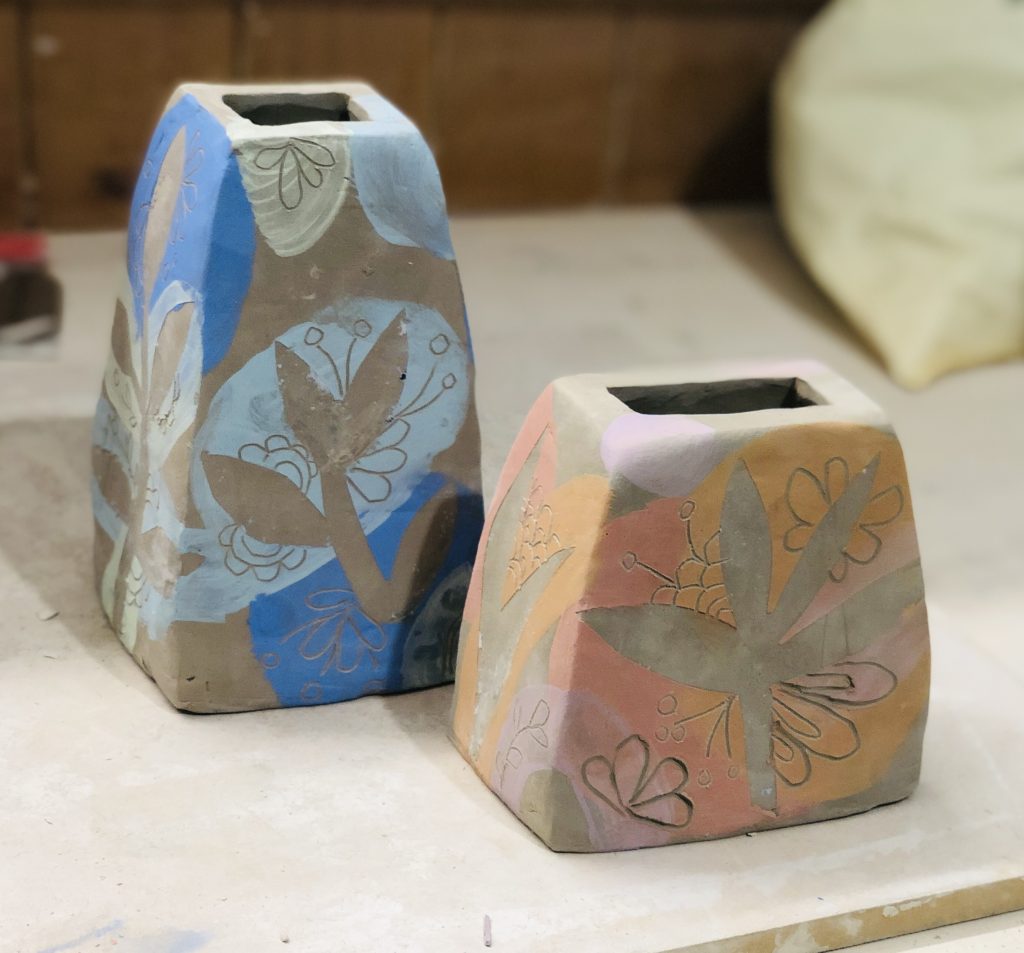
装饰在陶坯达到皮革硬状态(干燥过程中的中间阶段)时进行。我们使用了彩色泥浆及两种主要装饰技法:镂空模版法与刻划法。
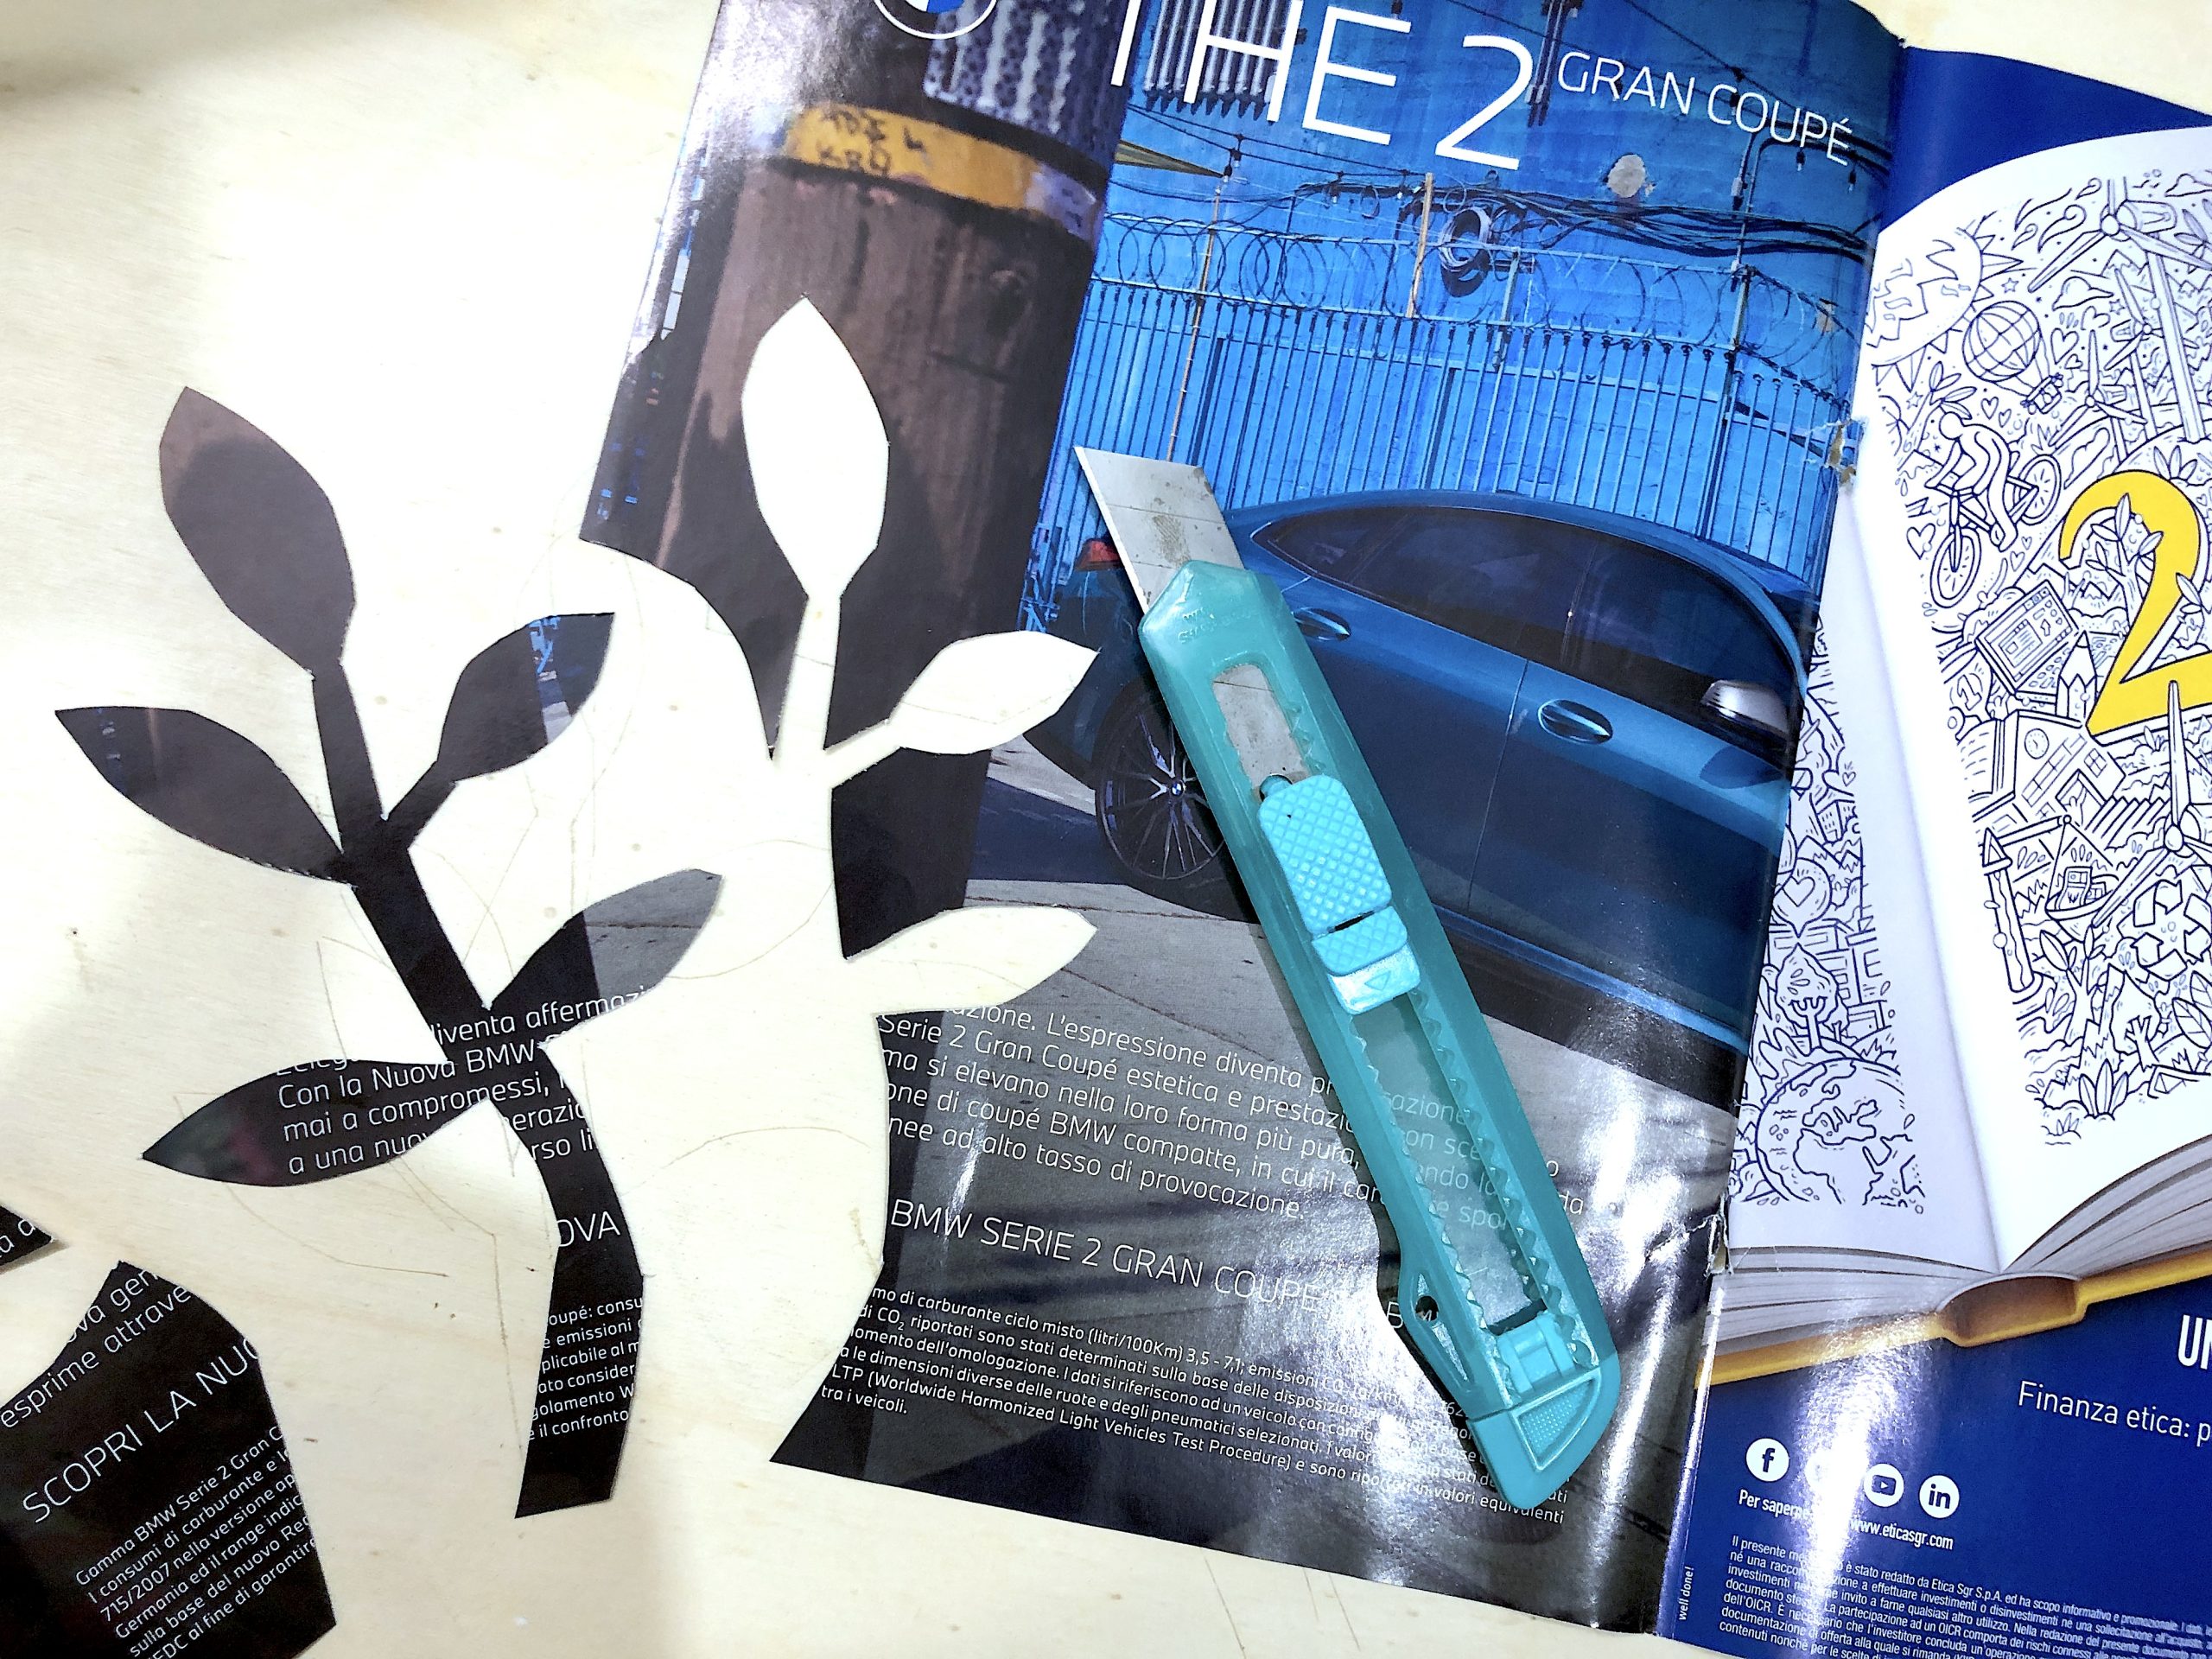
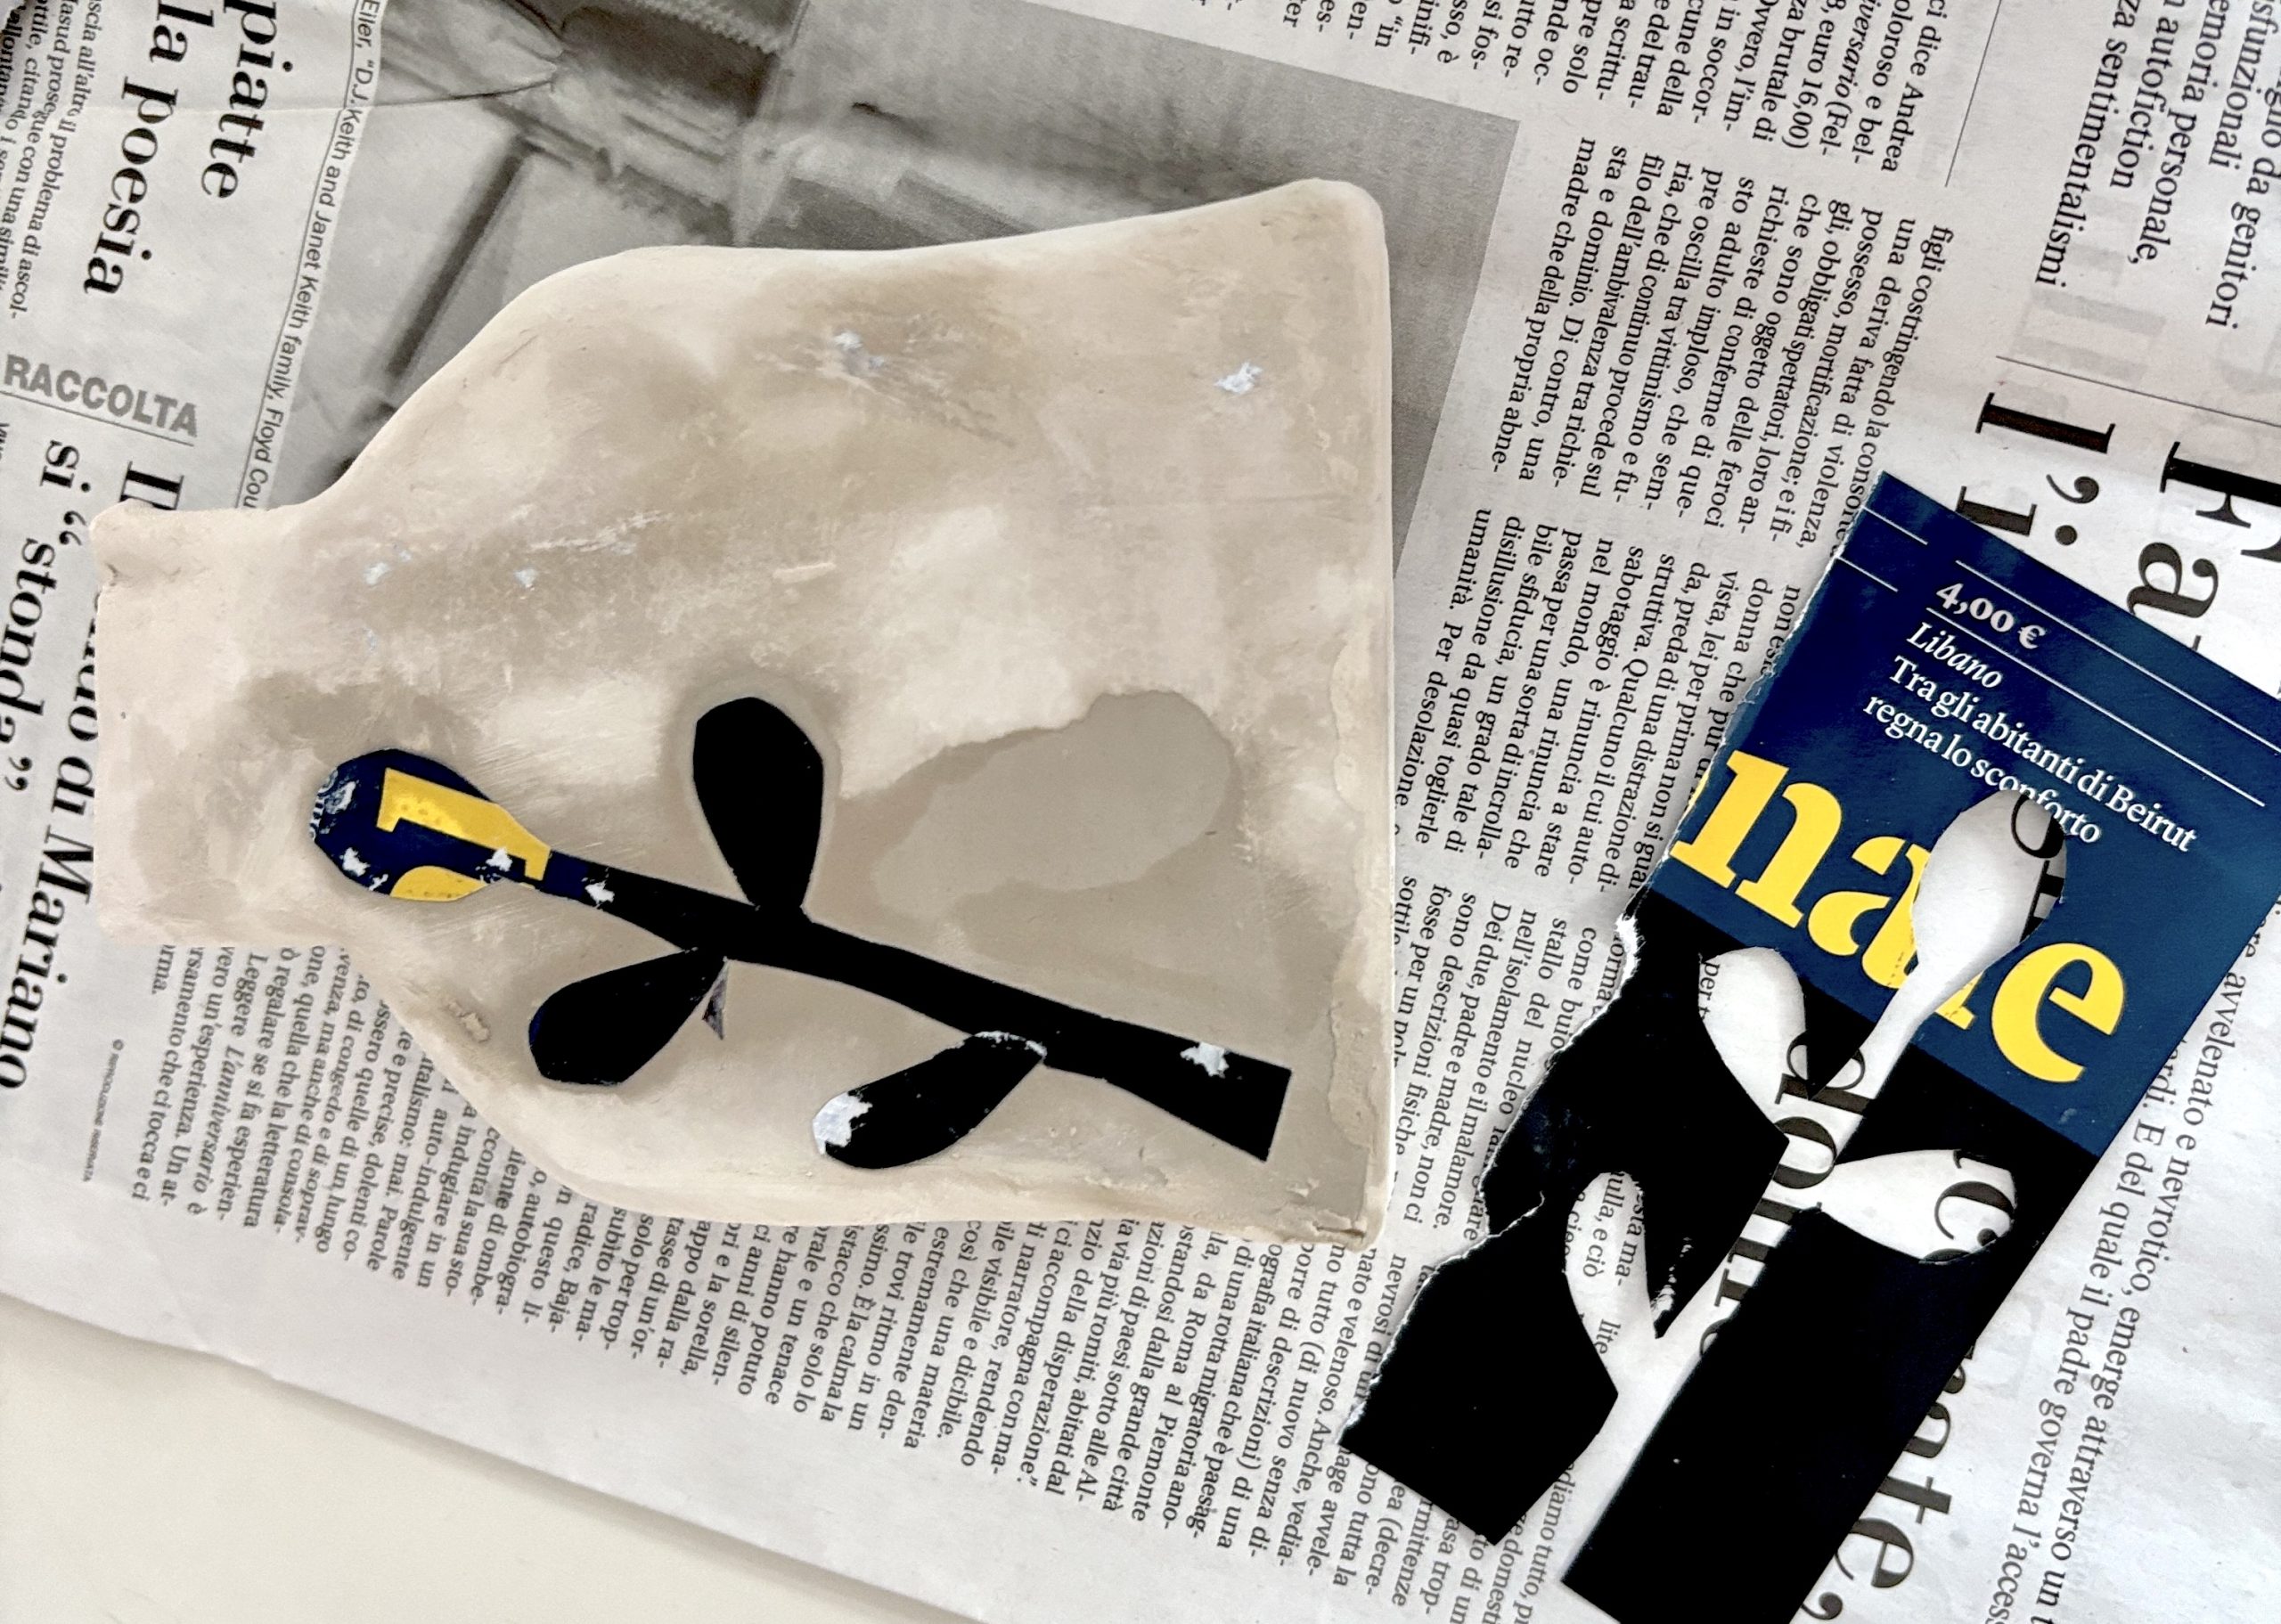
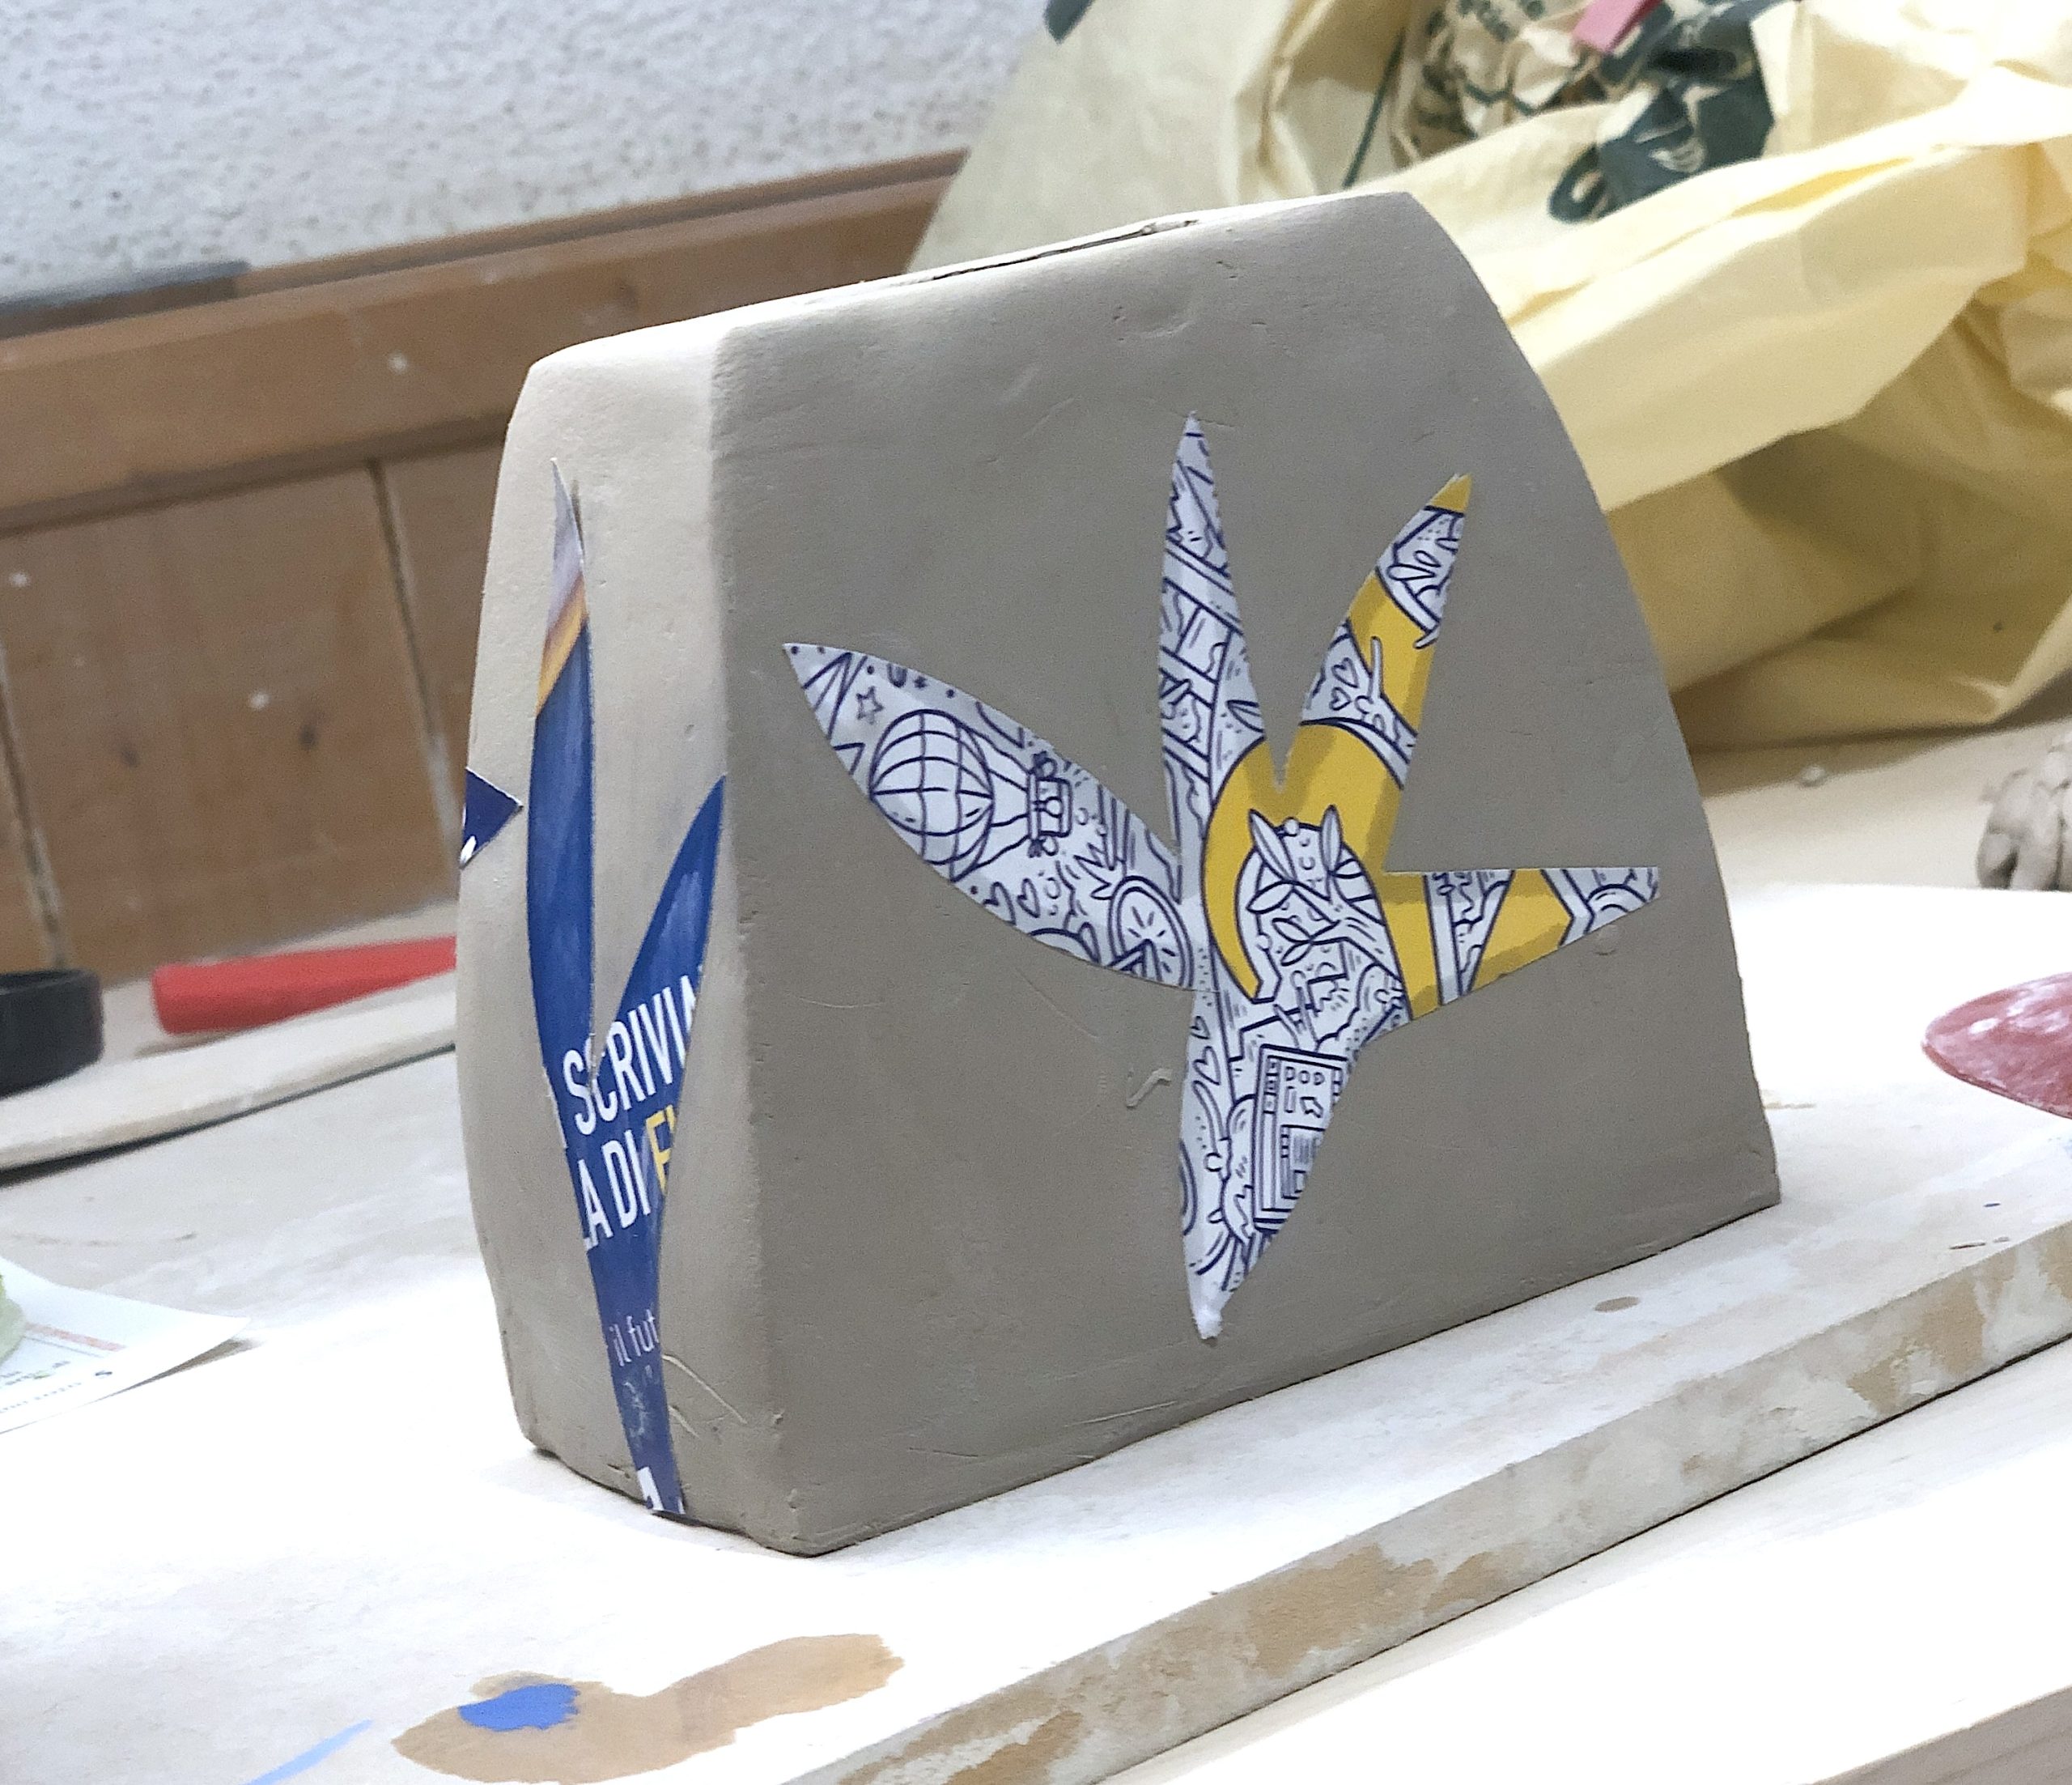
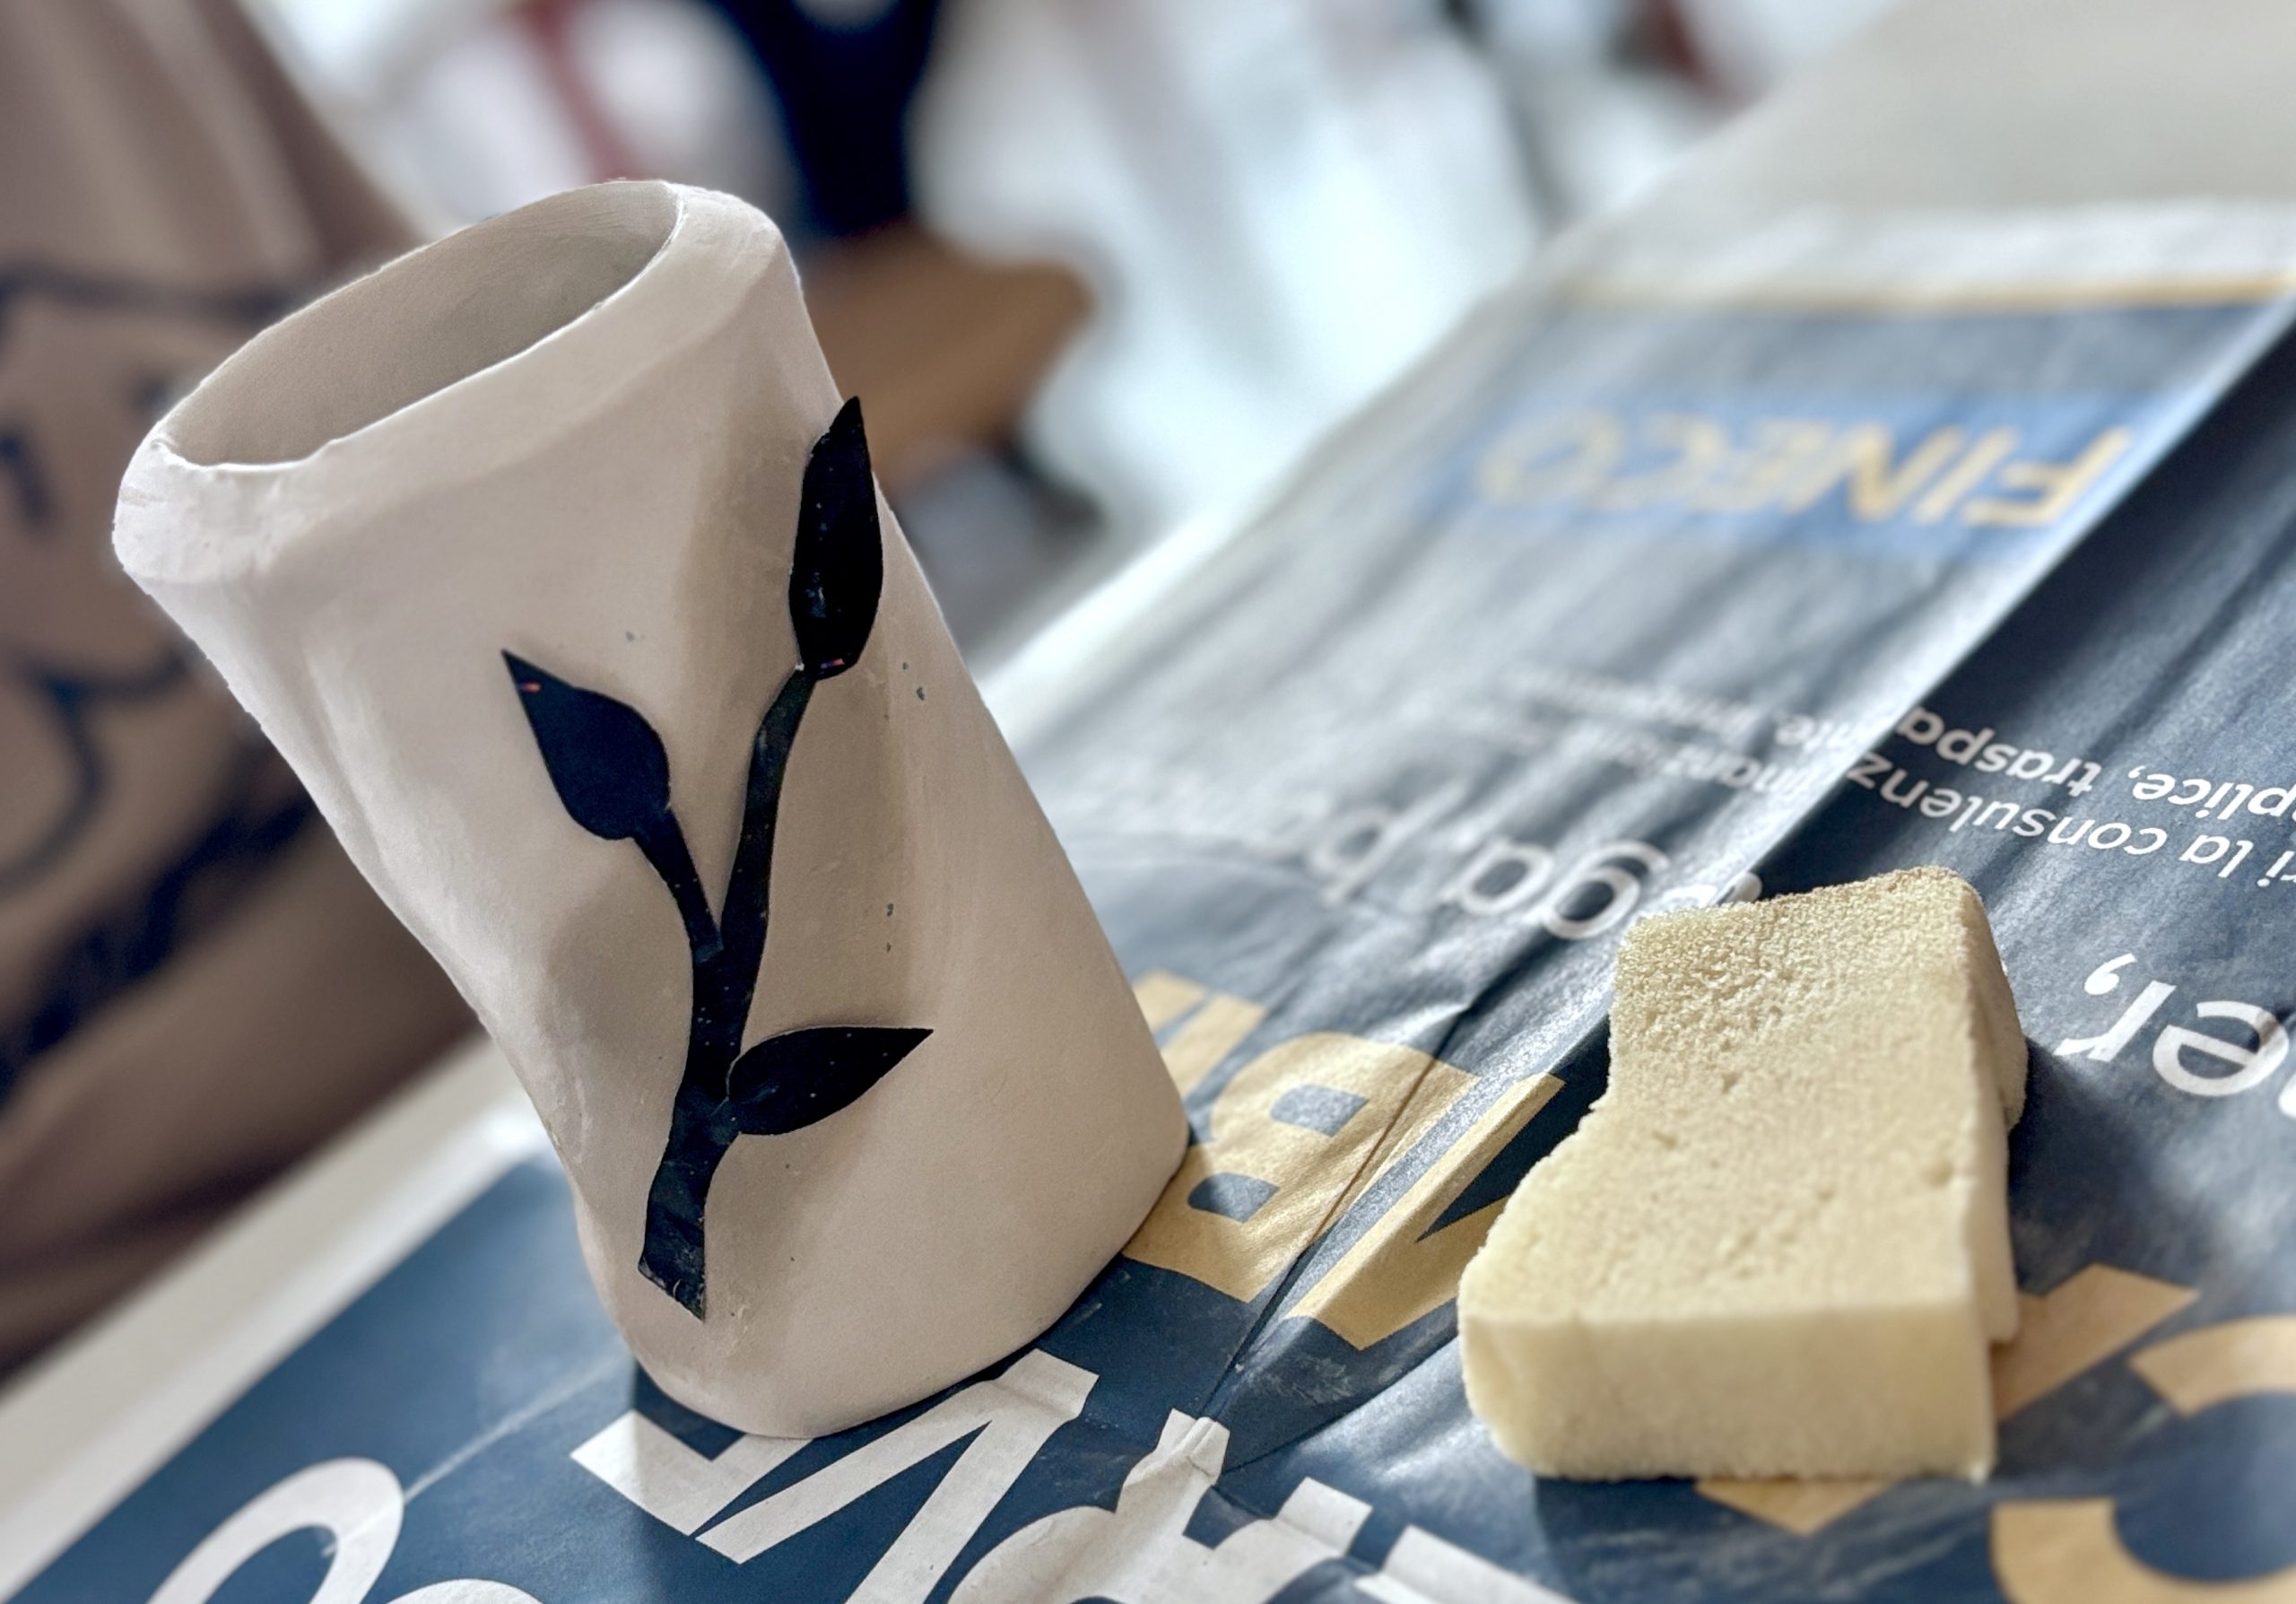
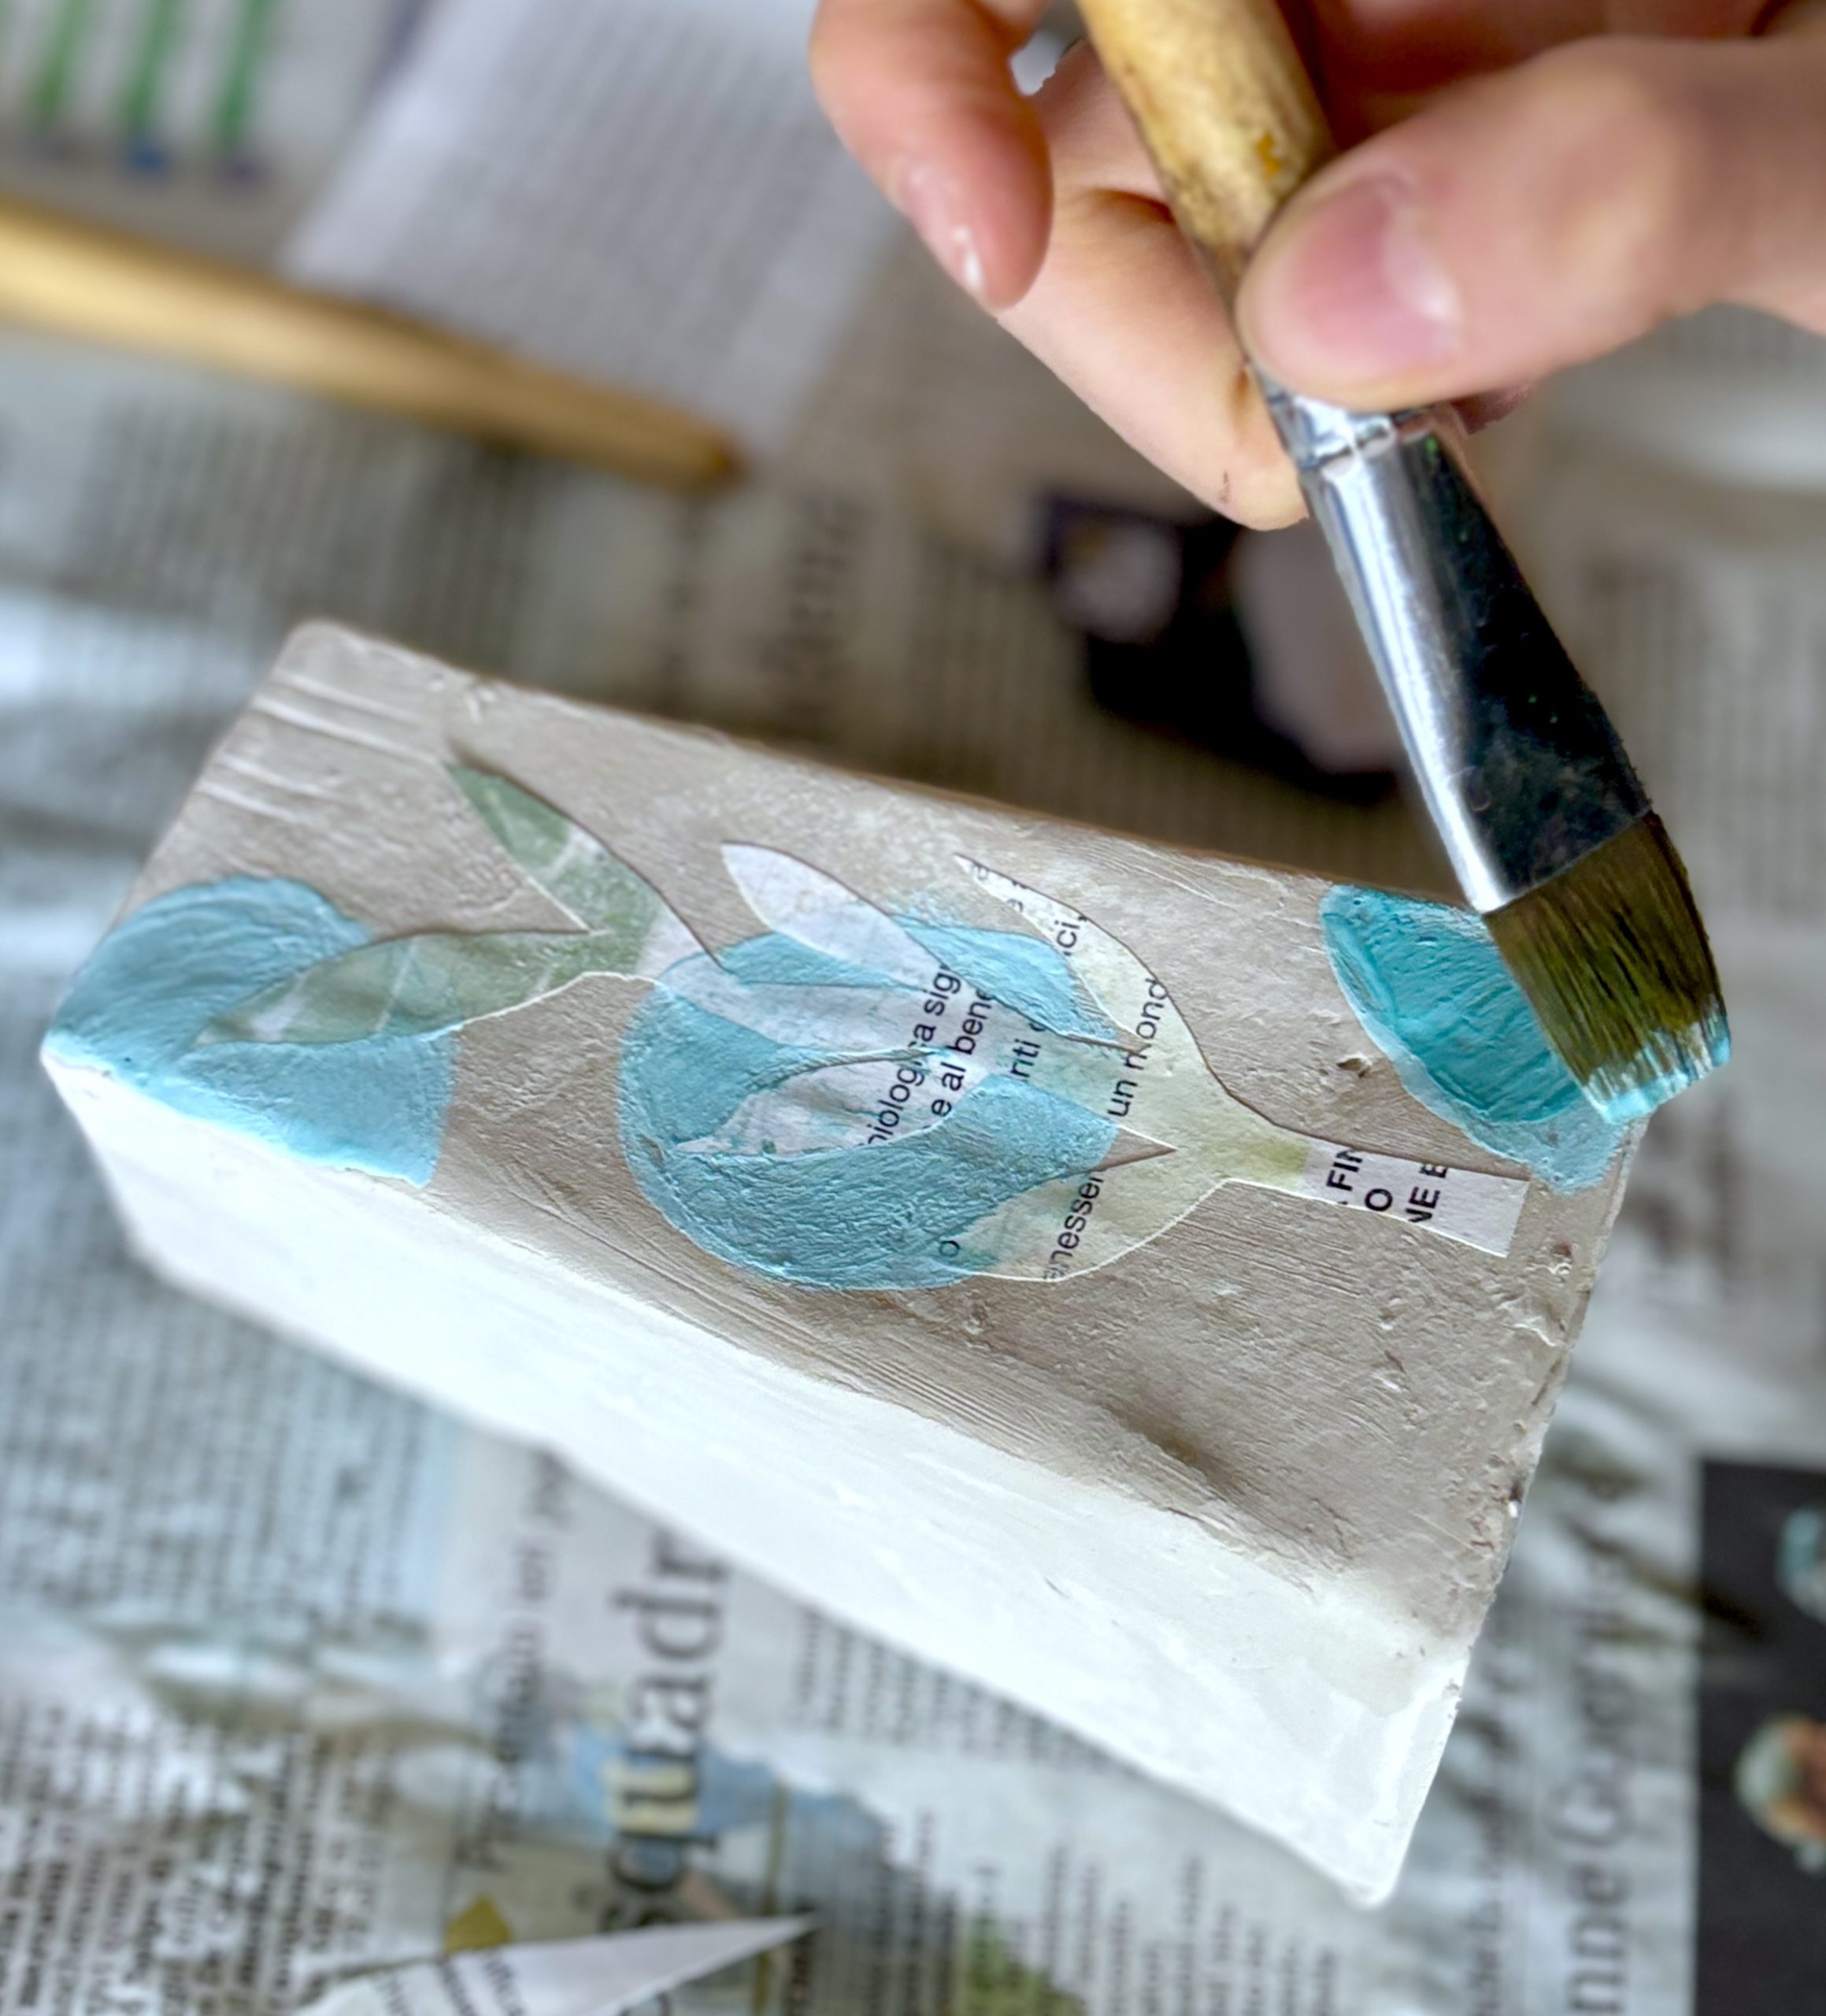
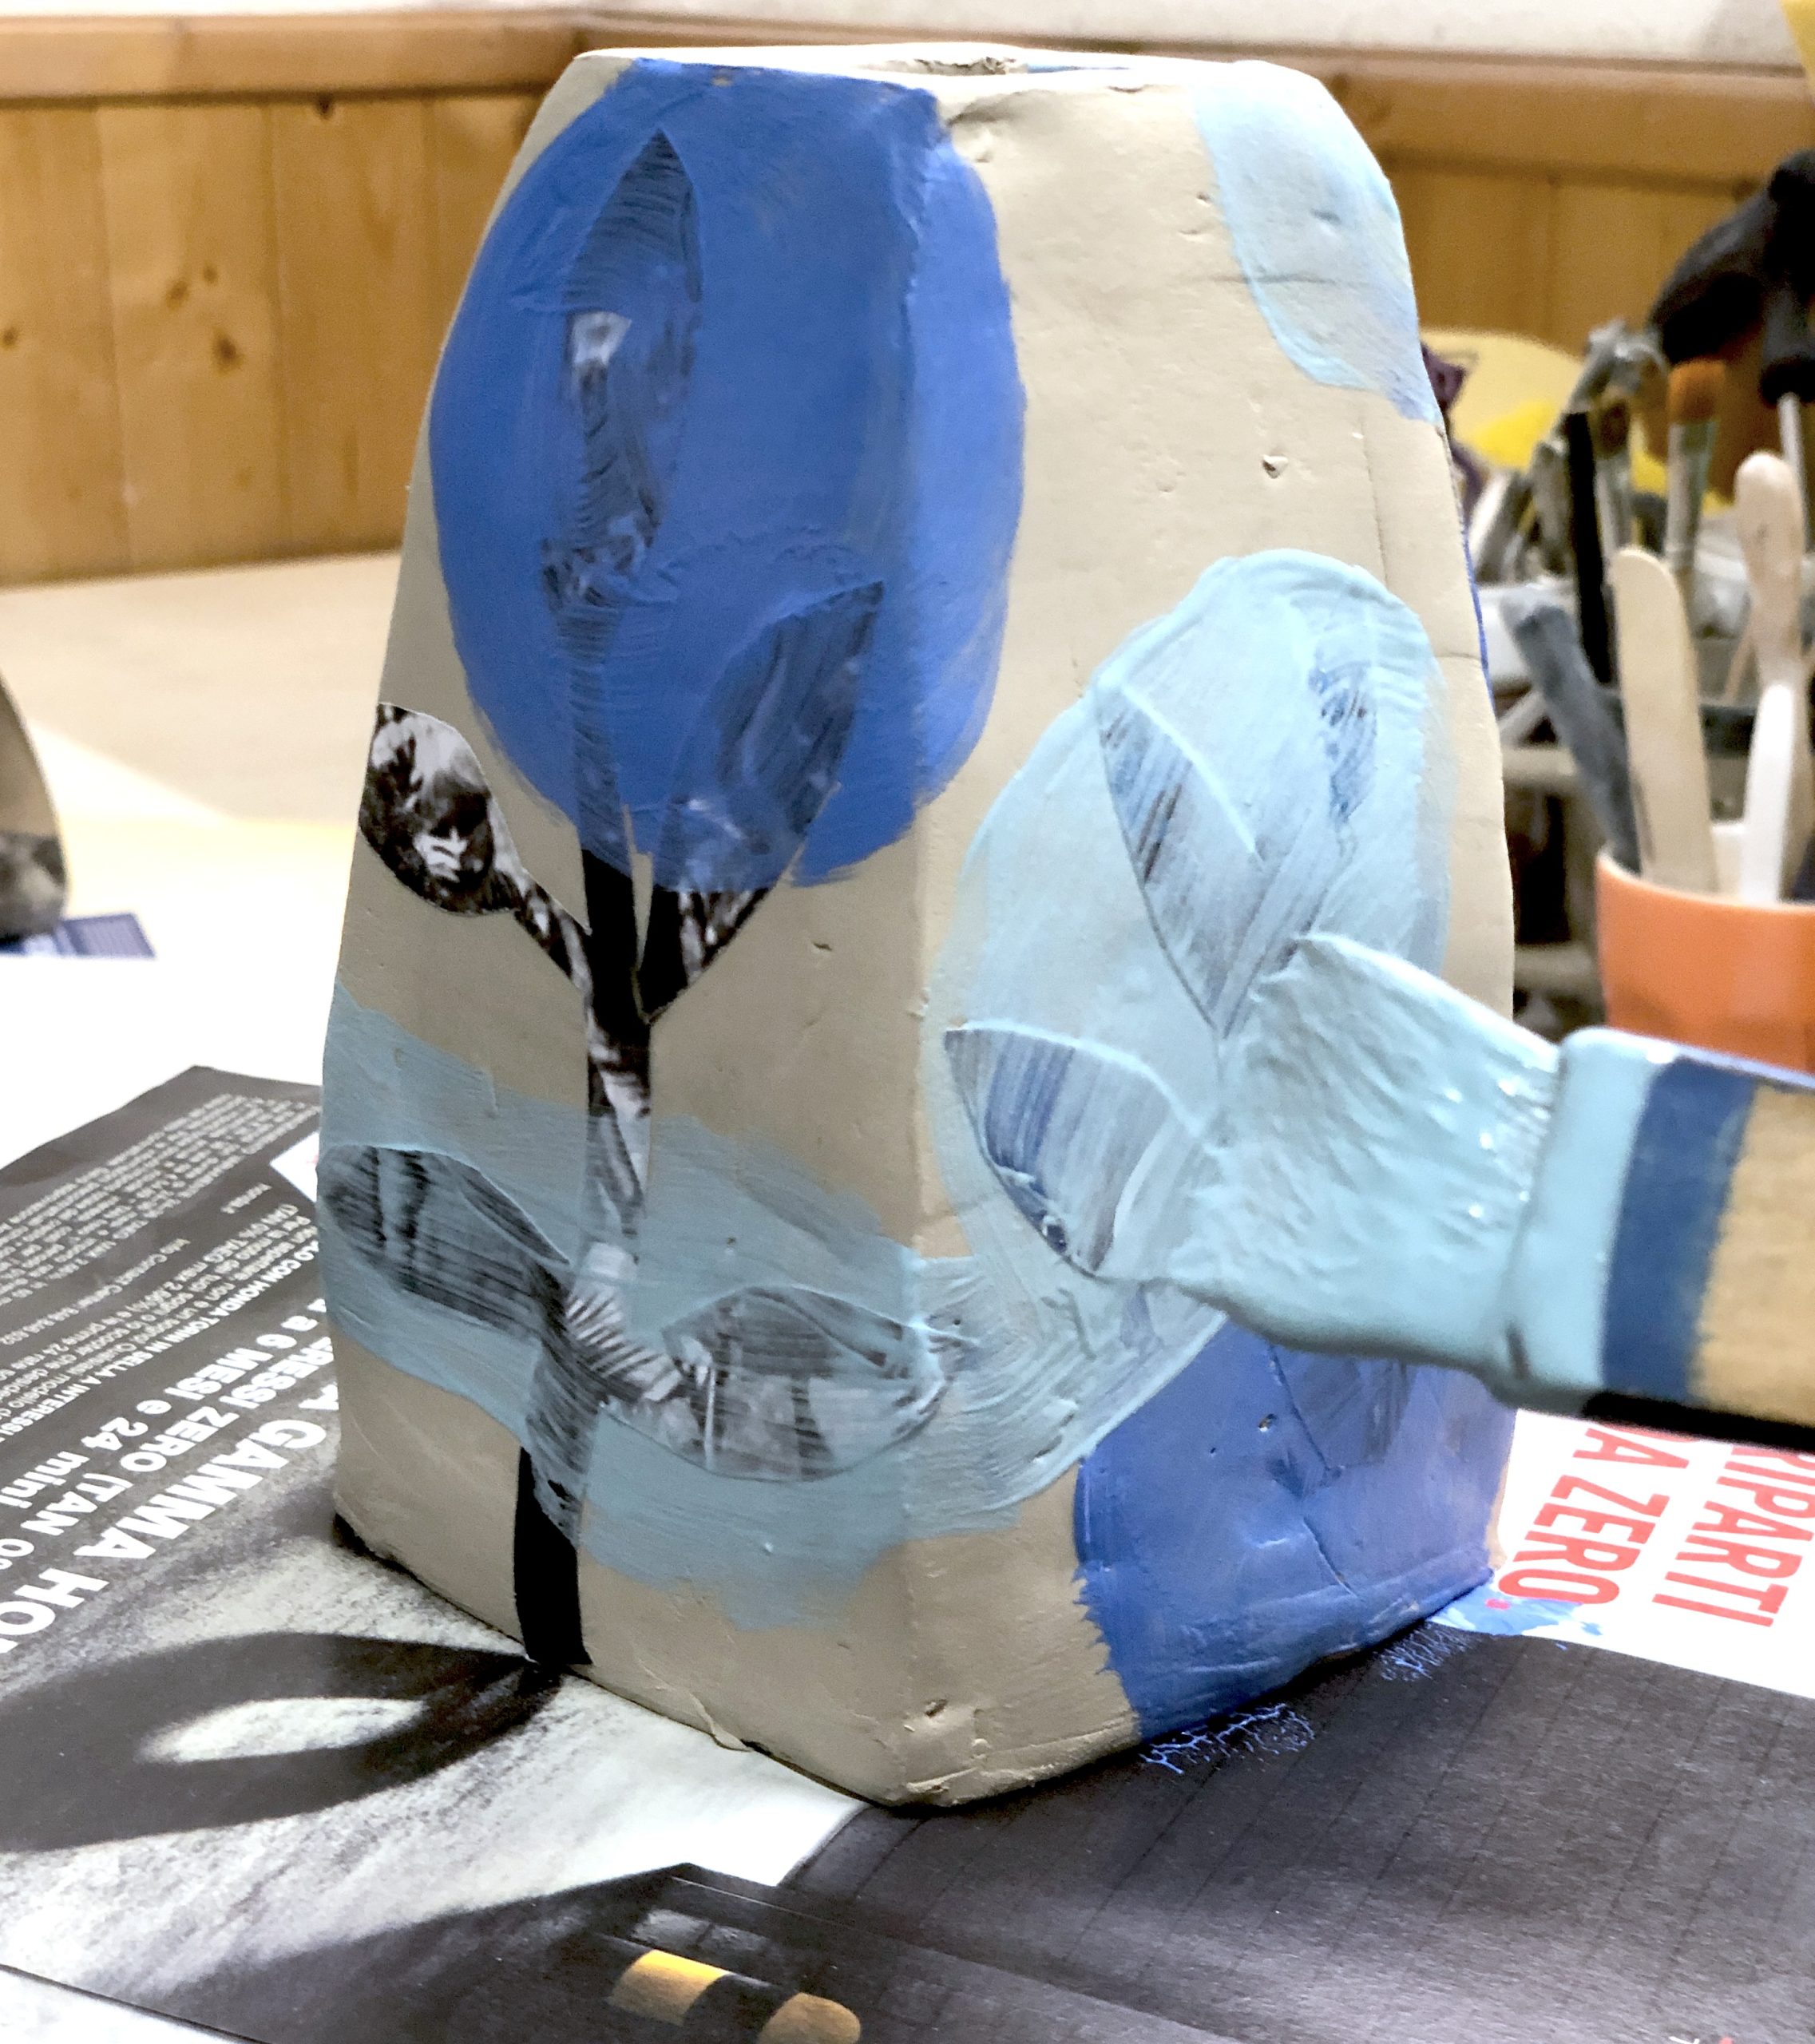
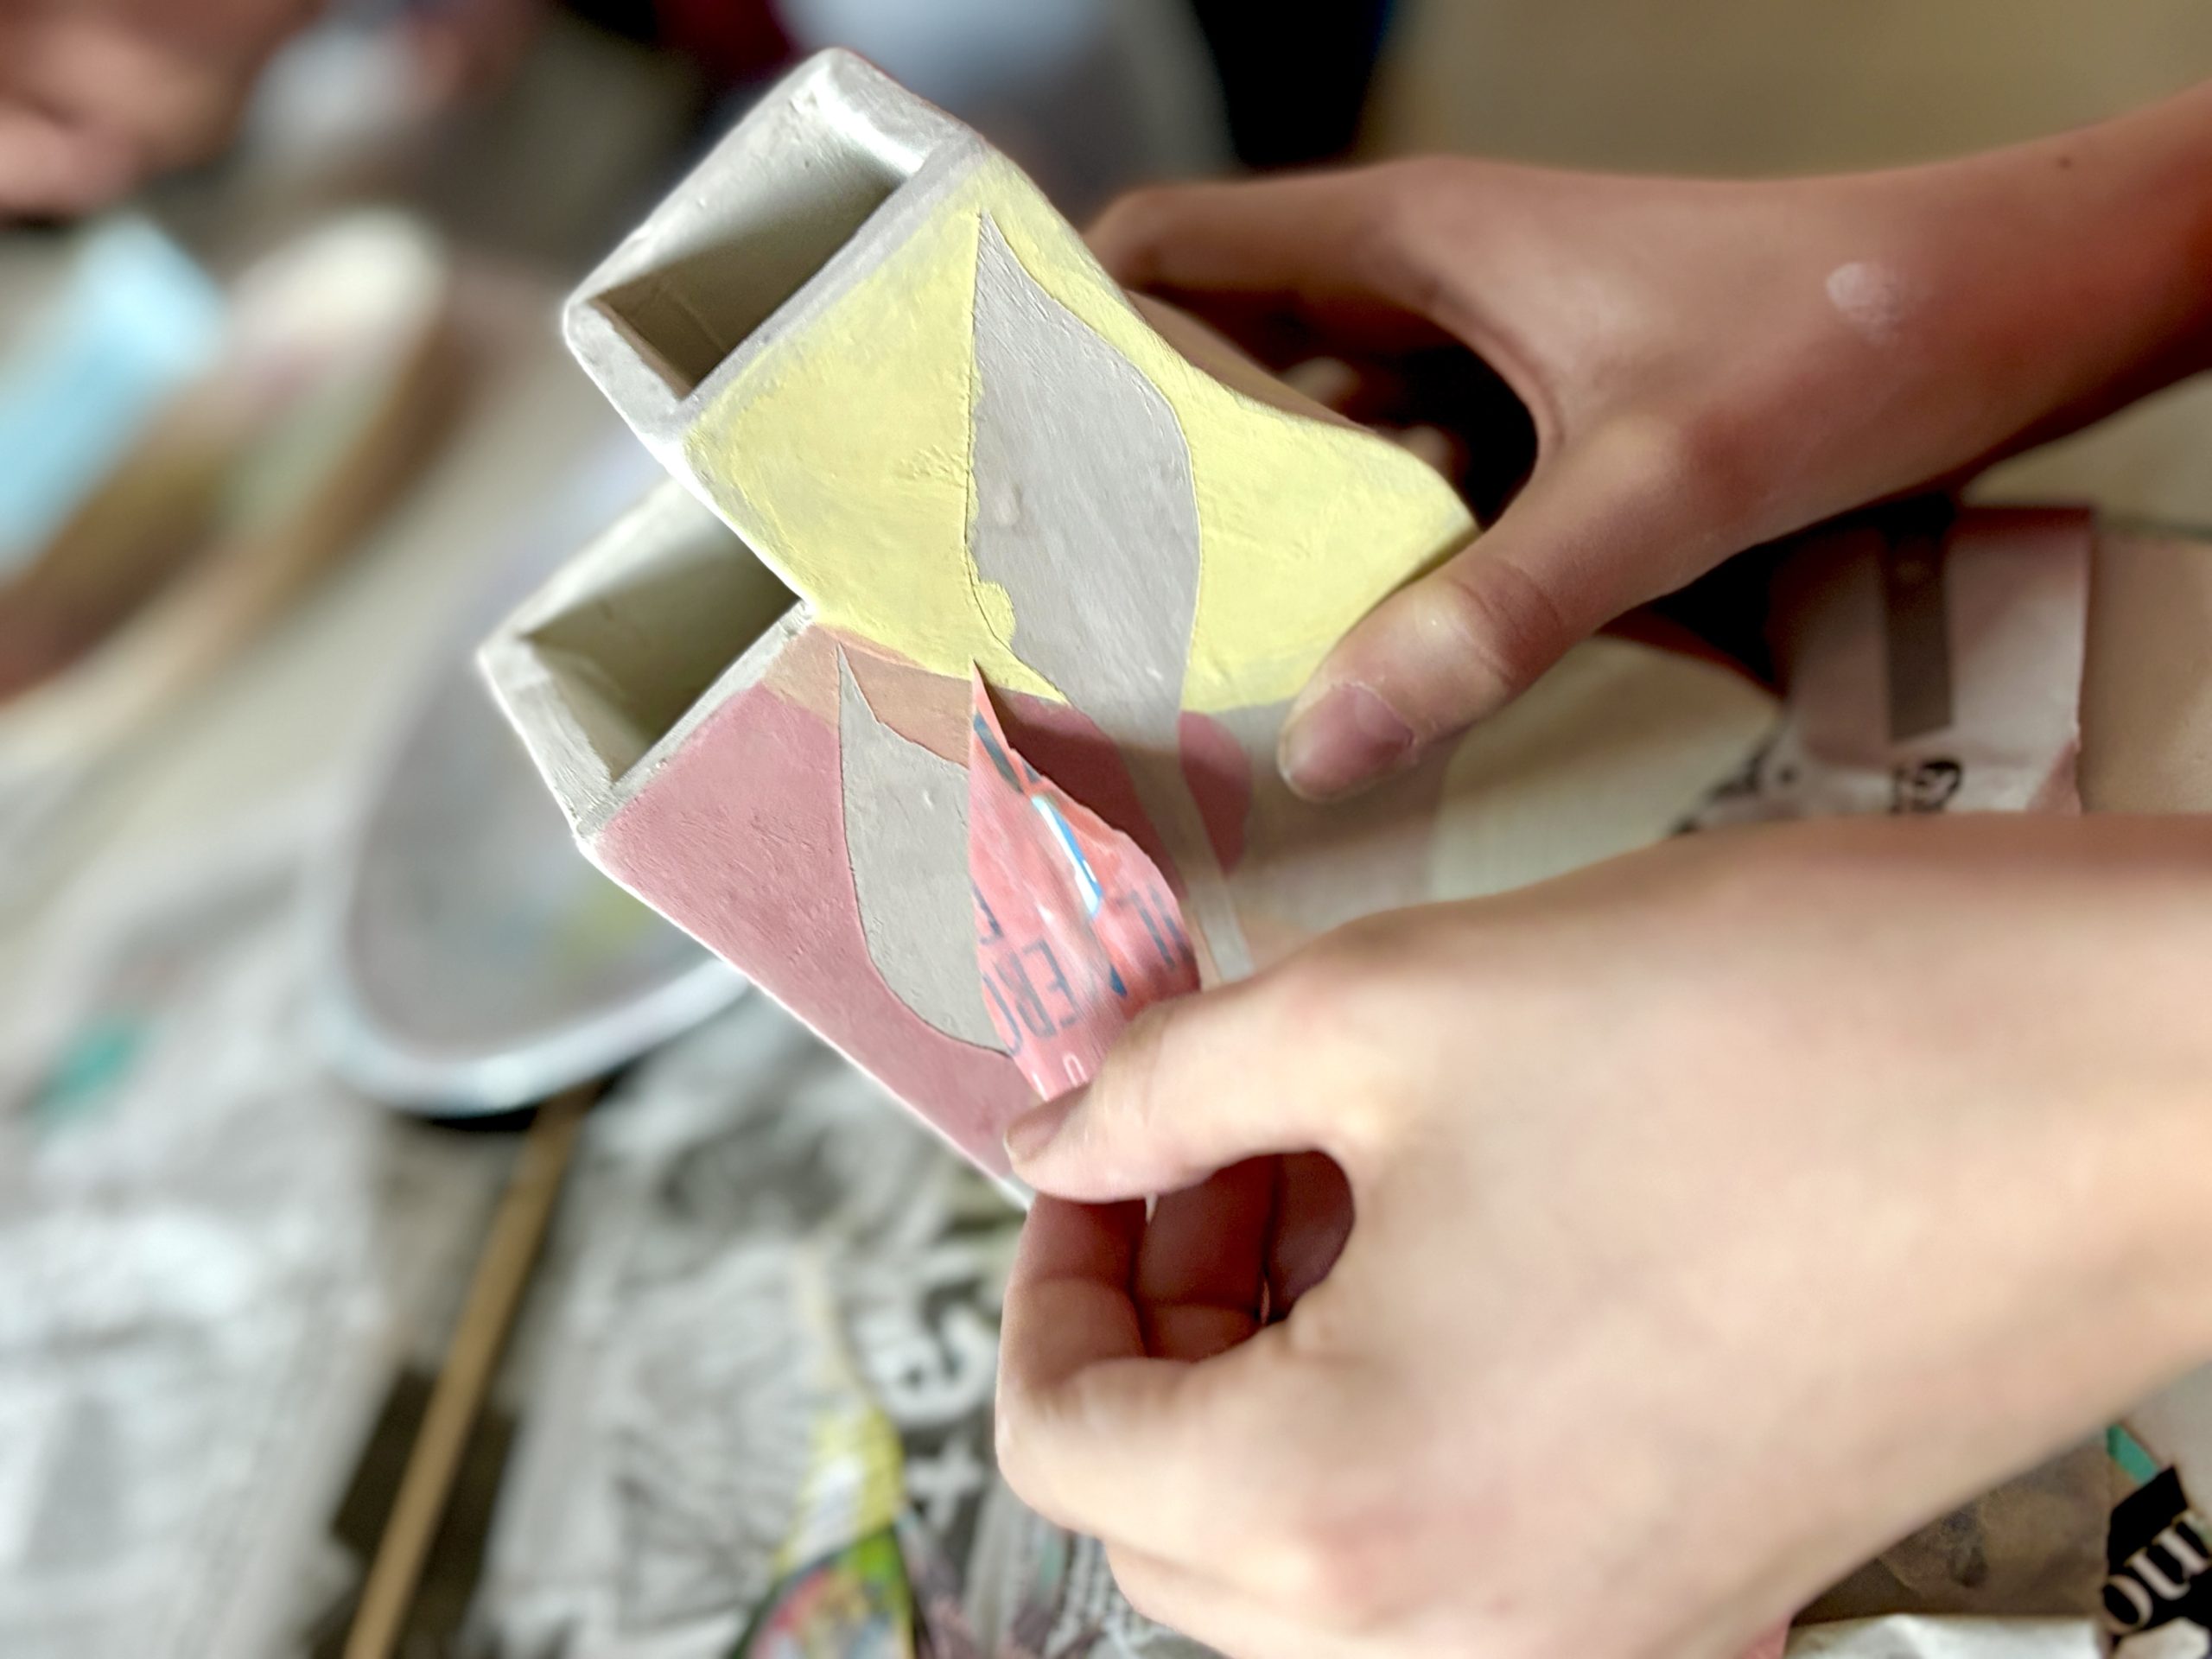
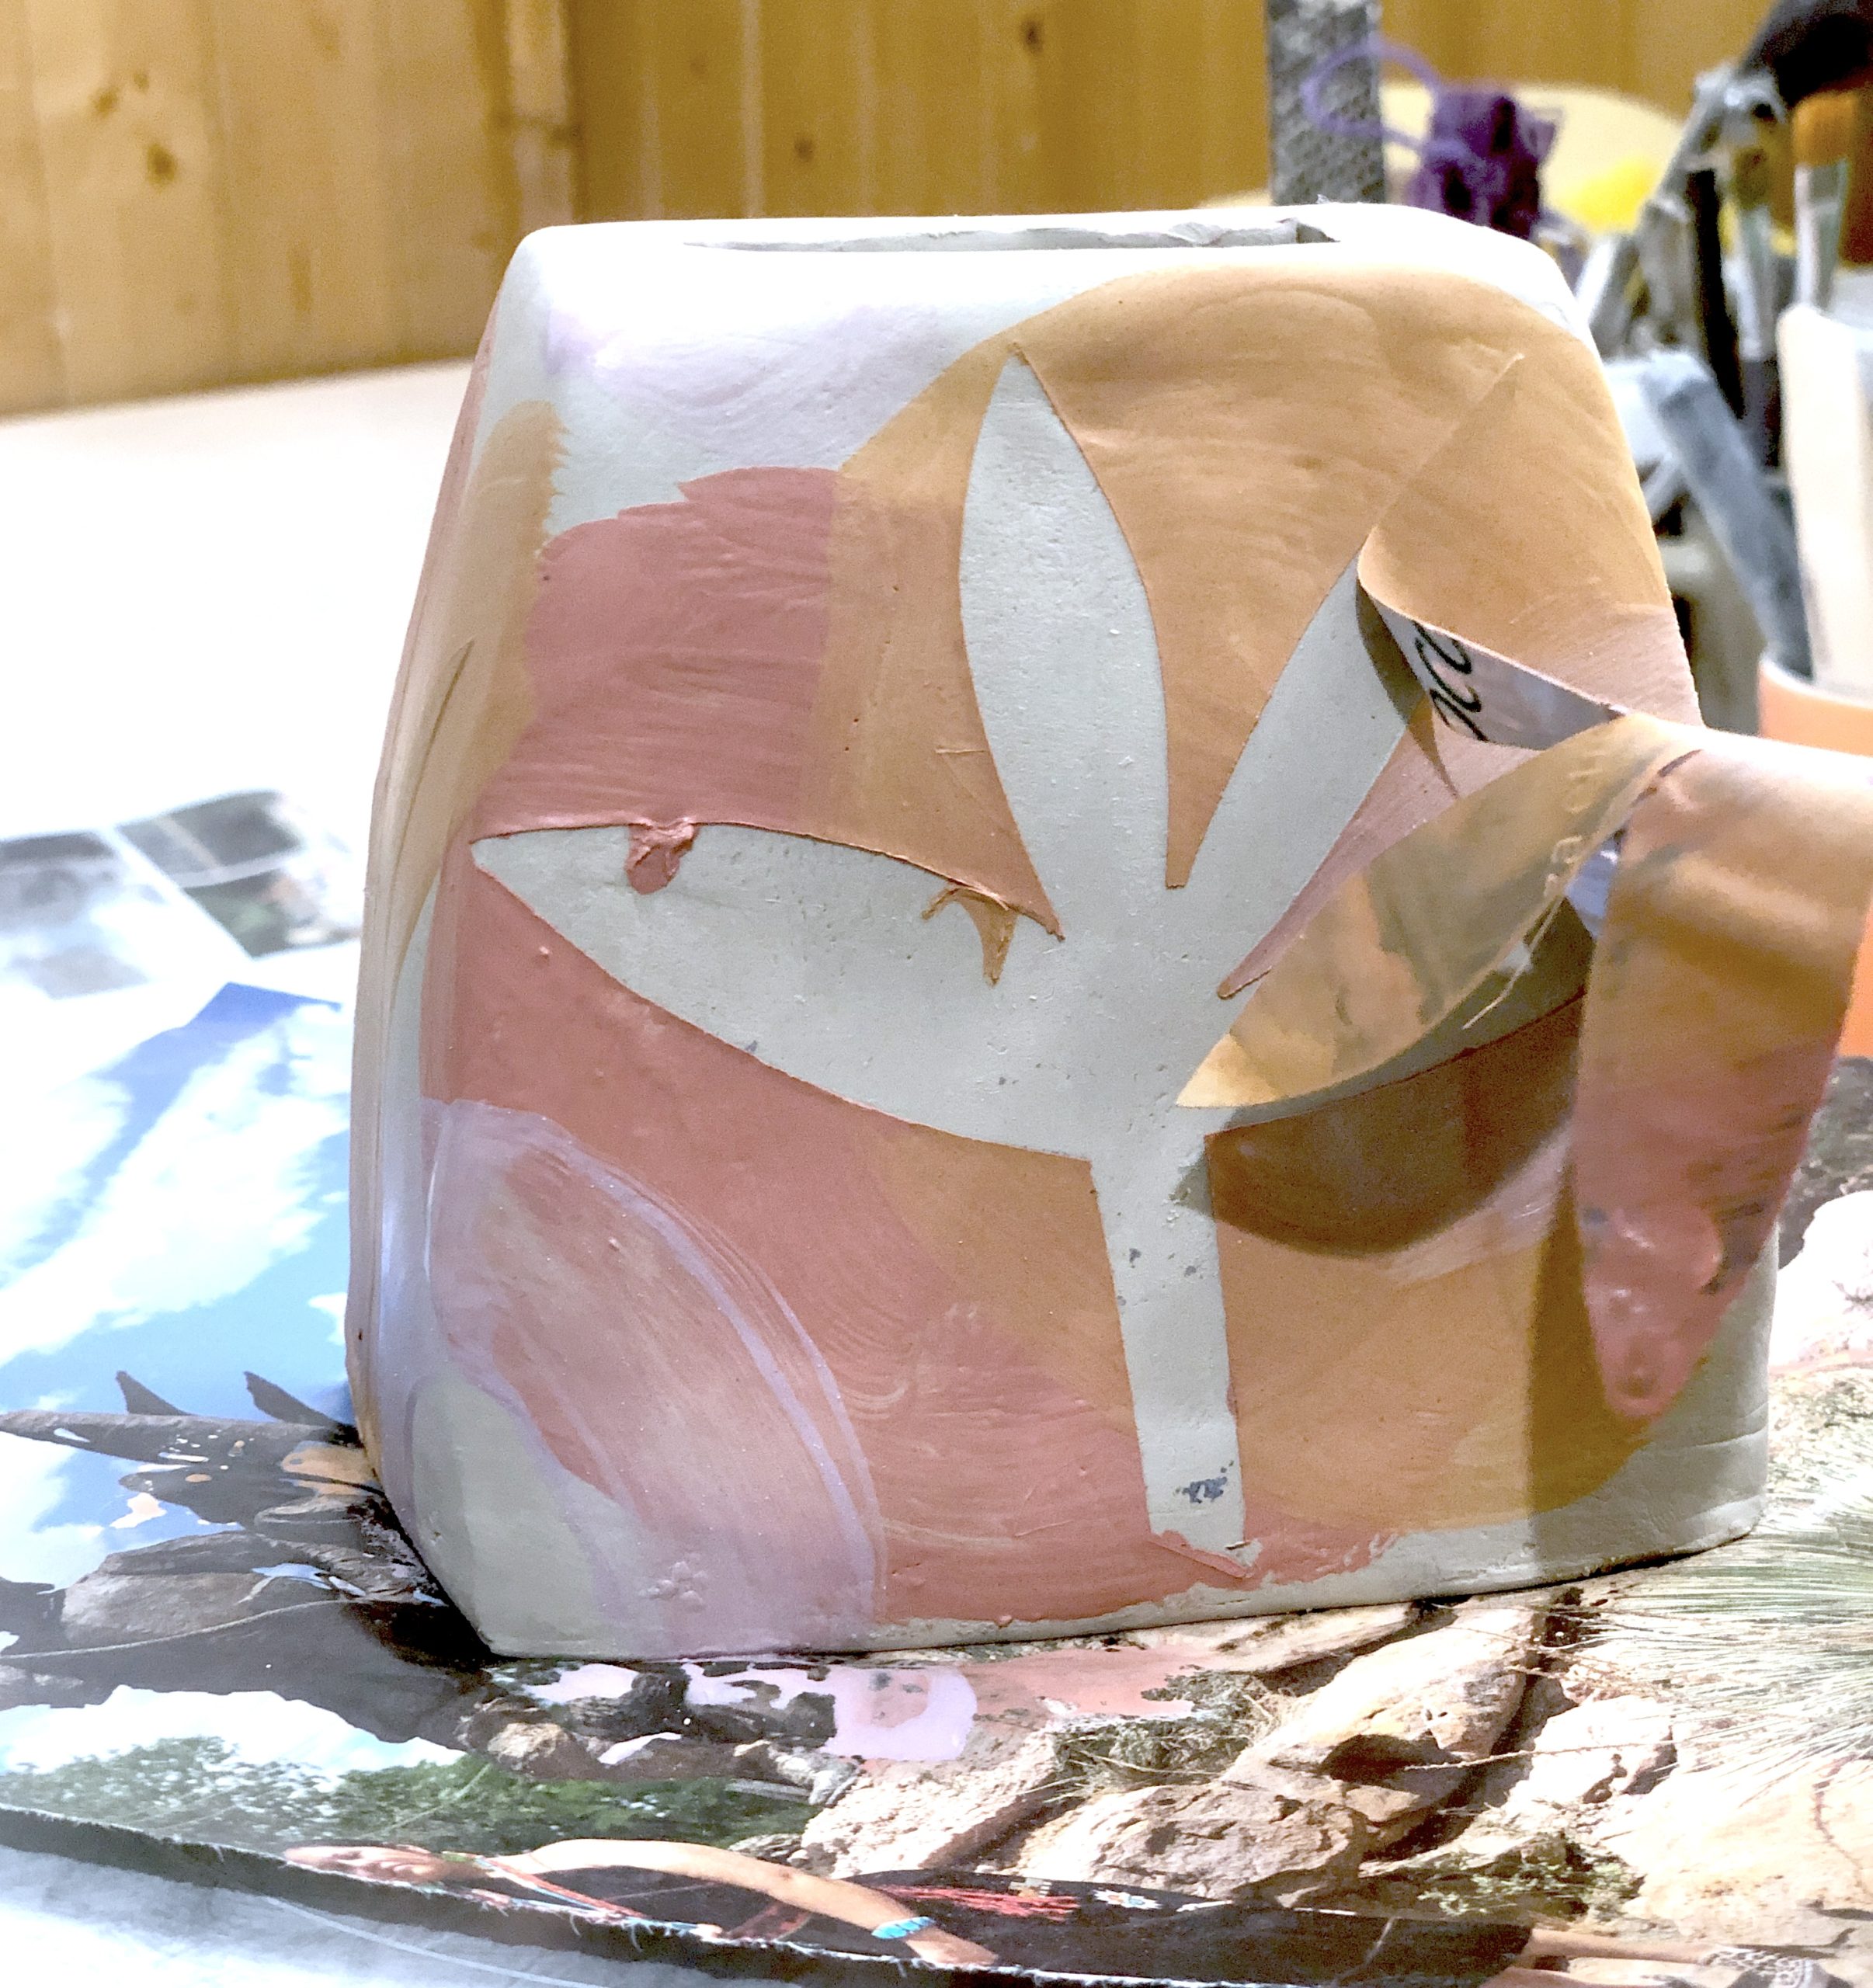
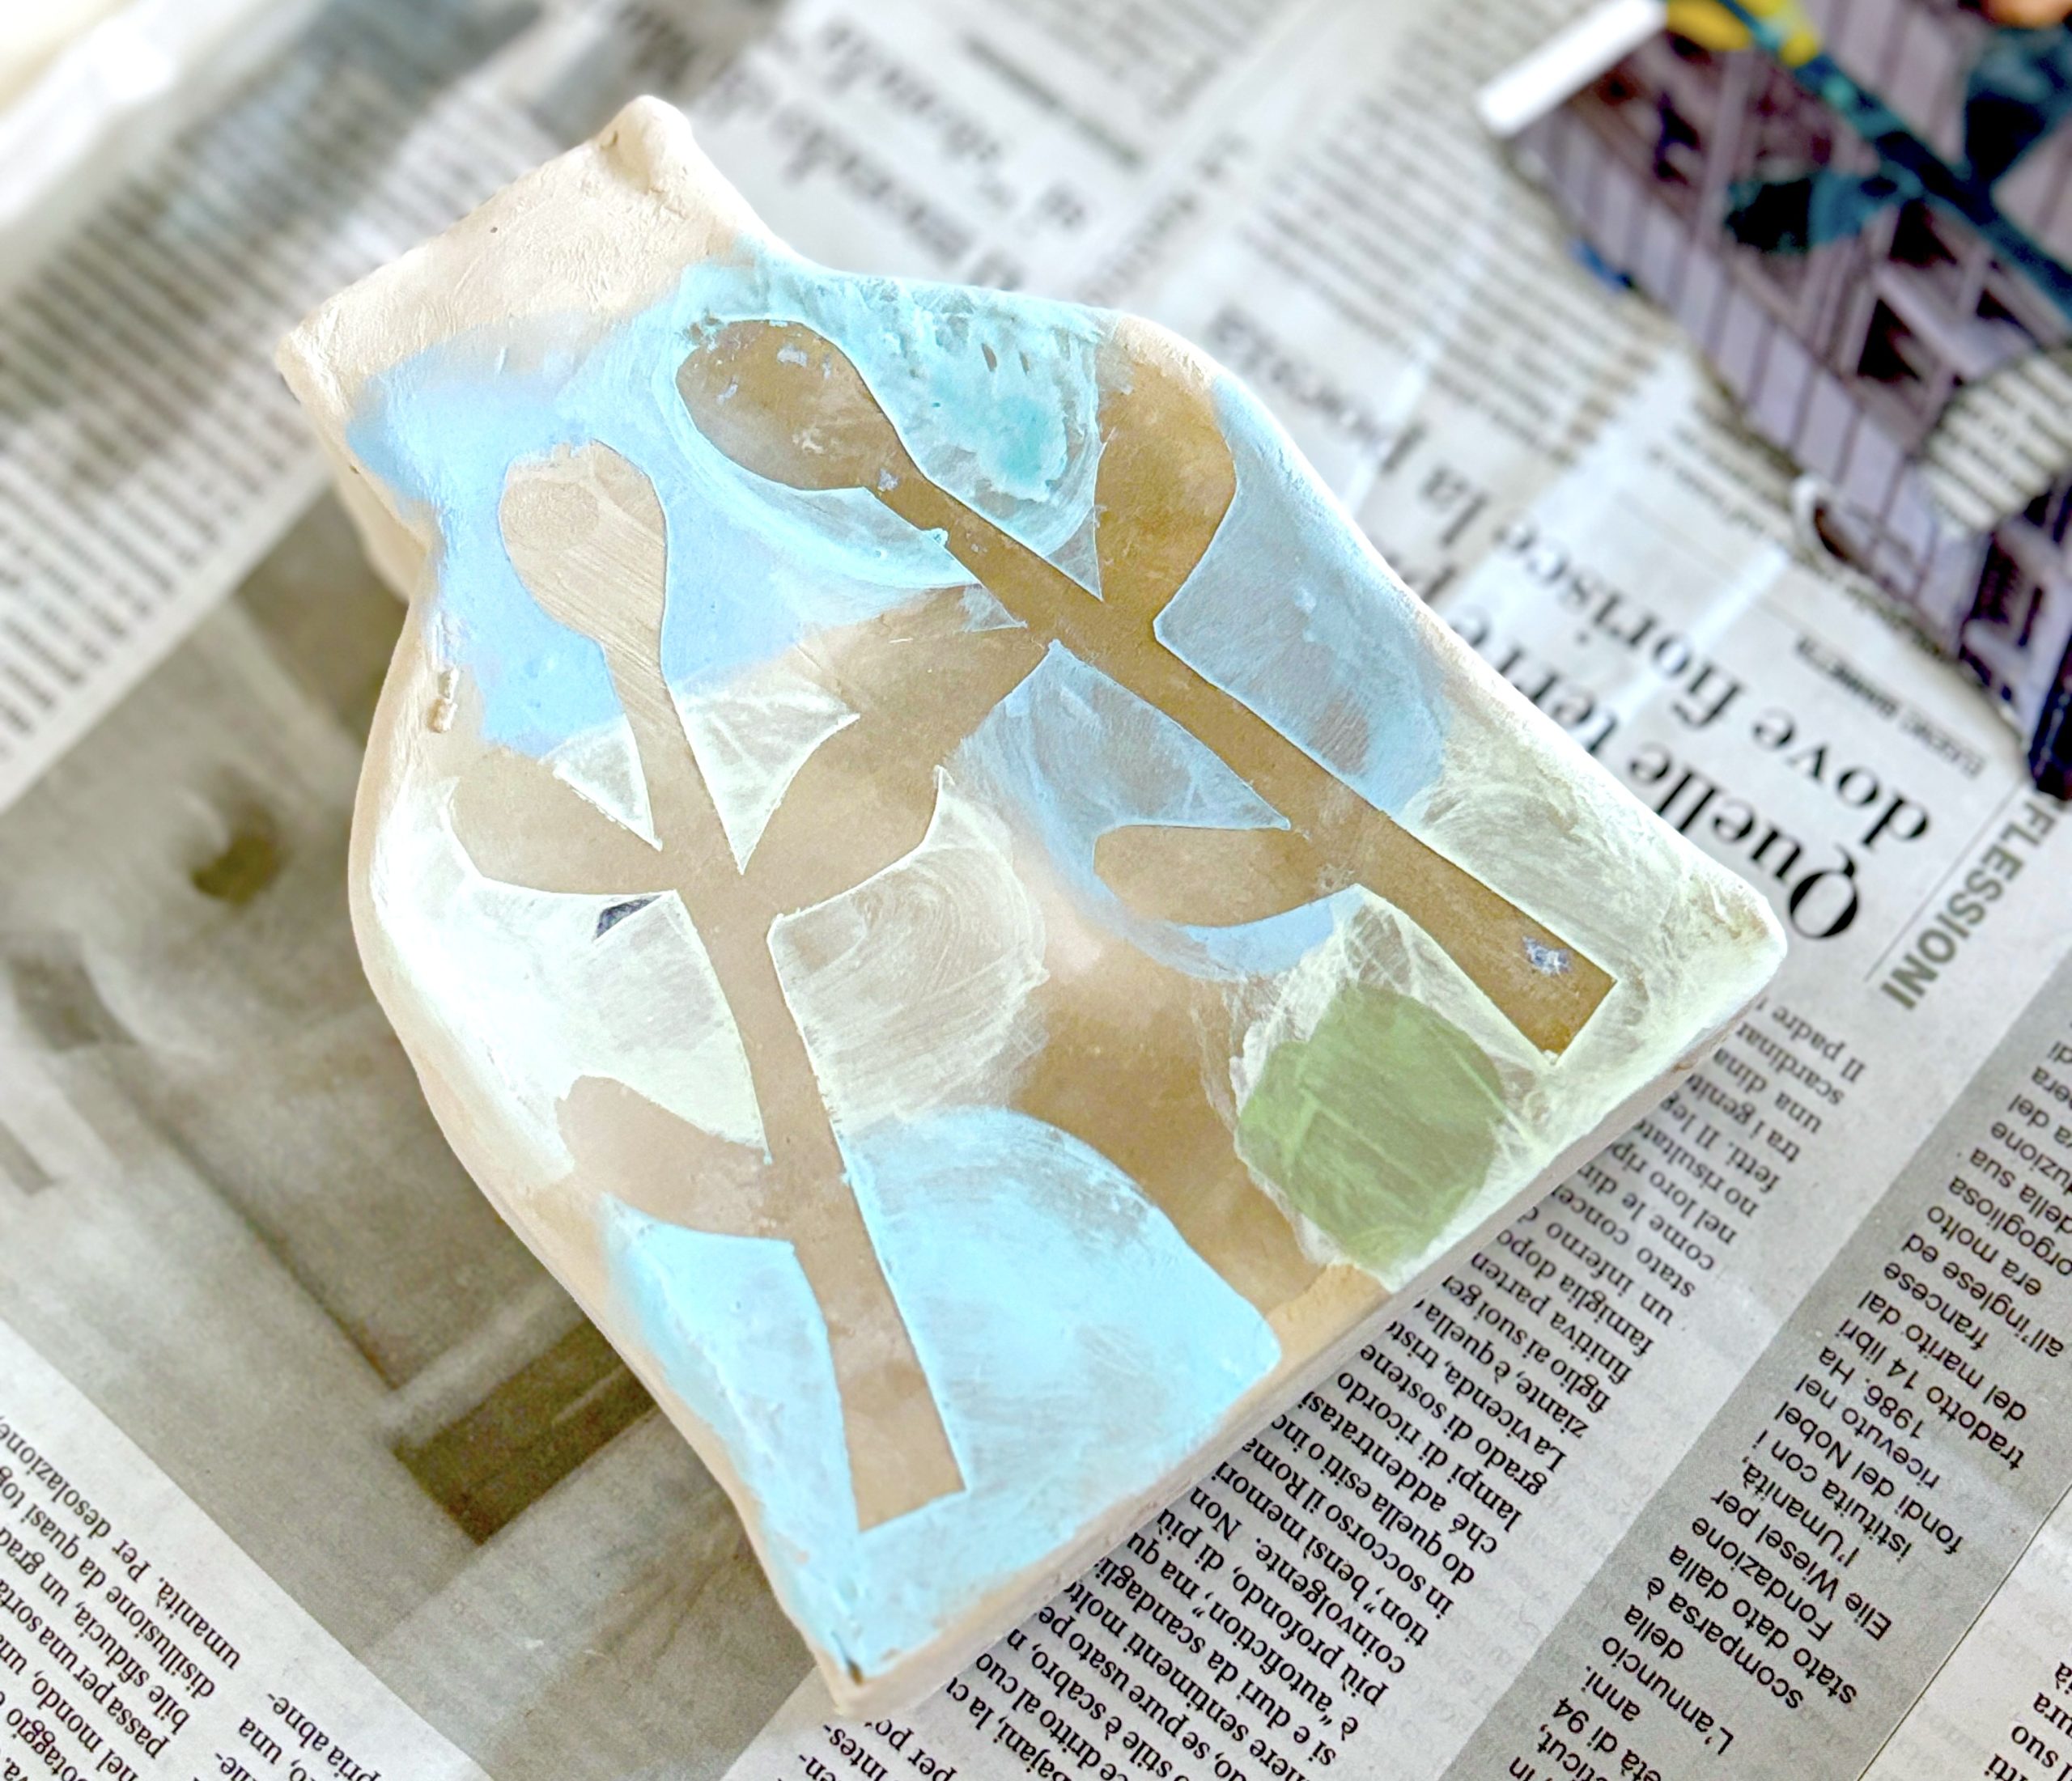
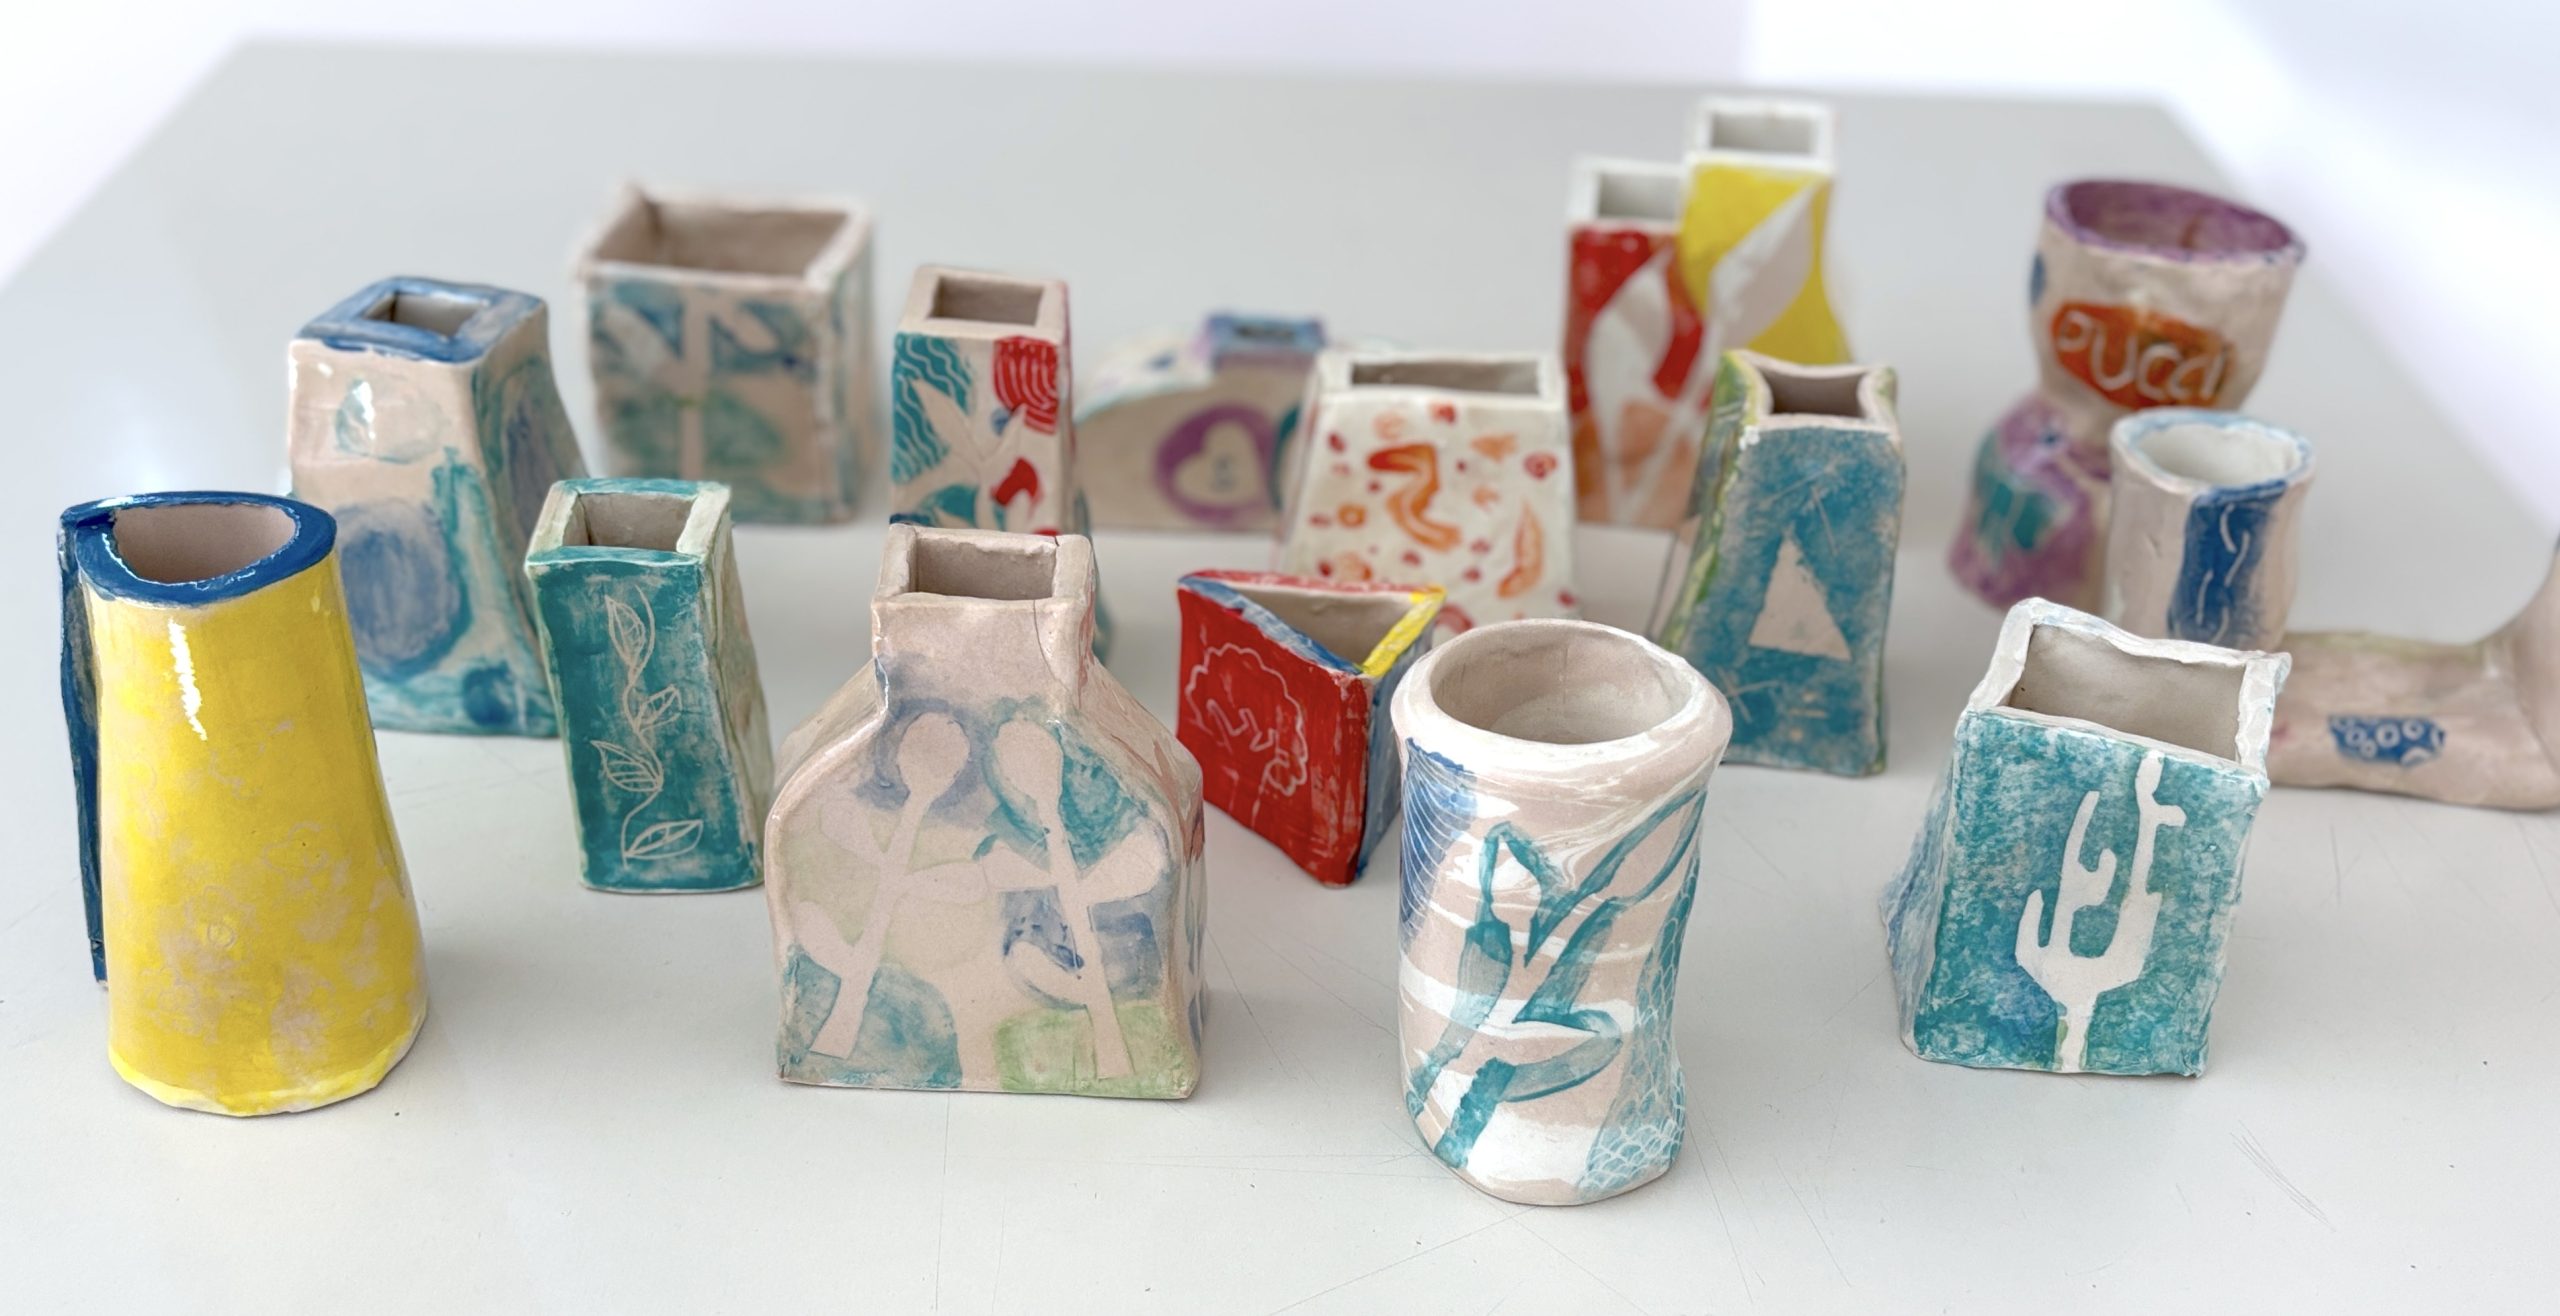
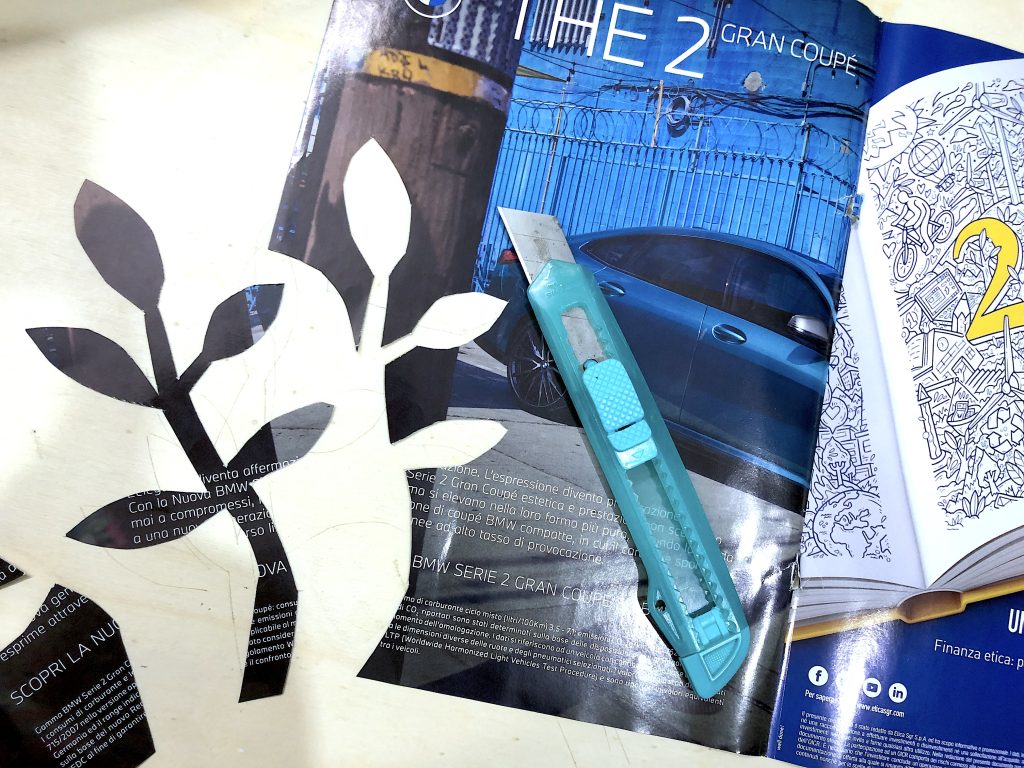
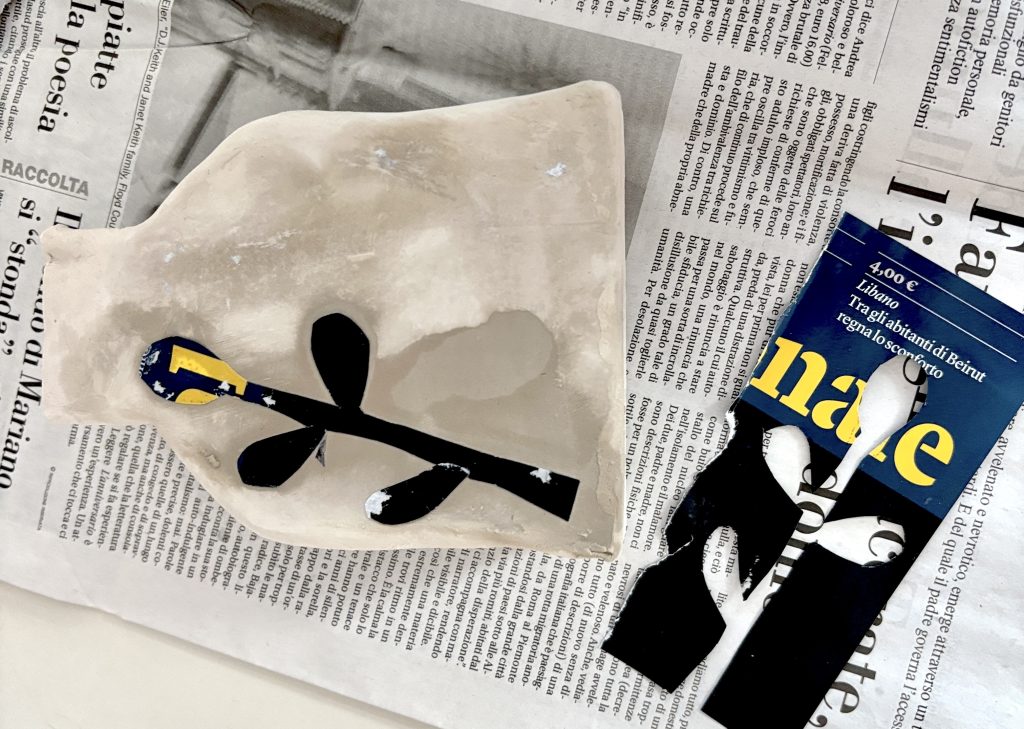
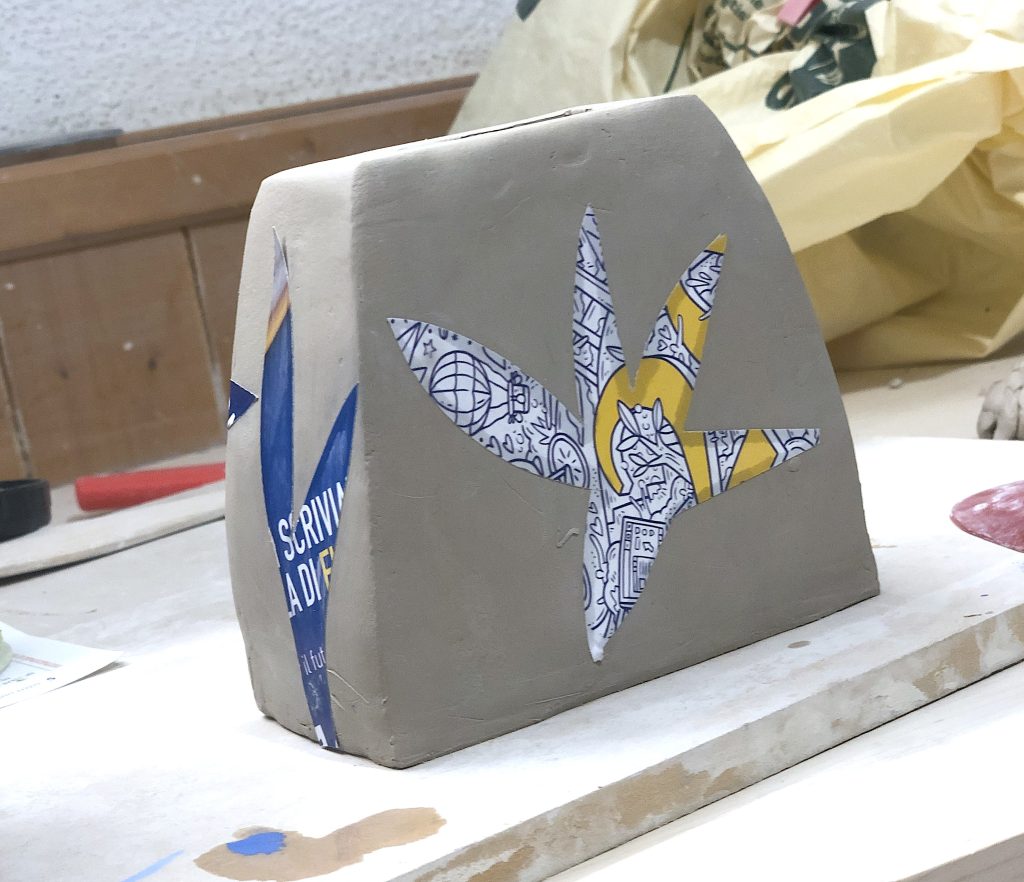
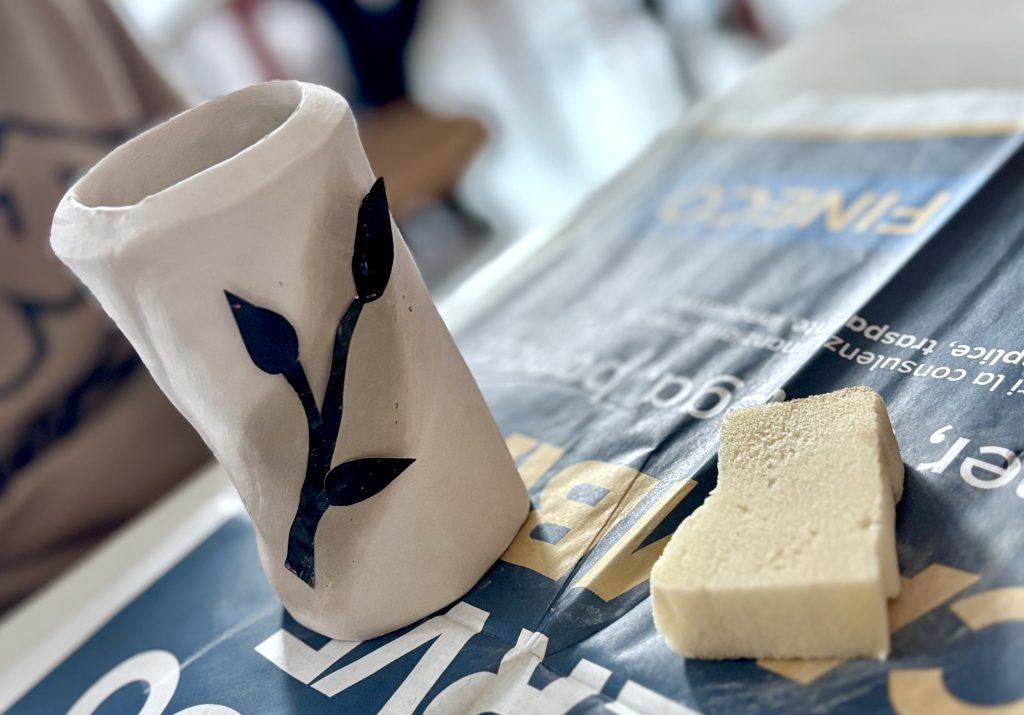
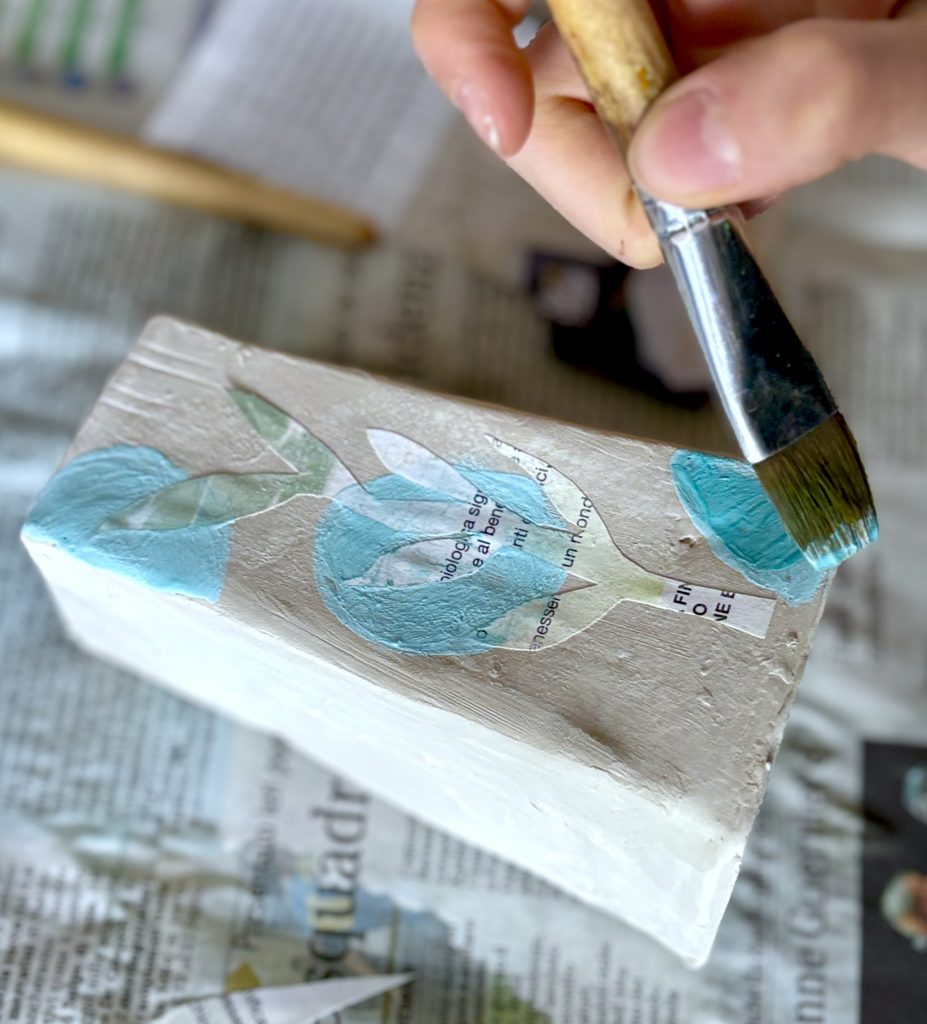
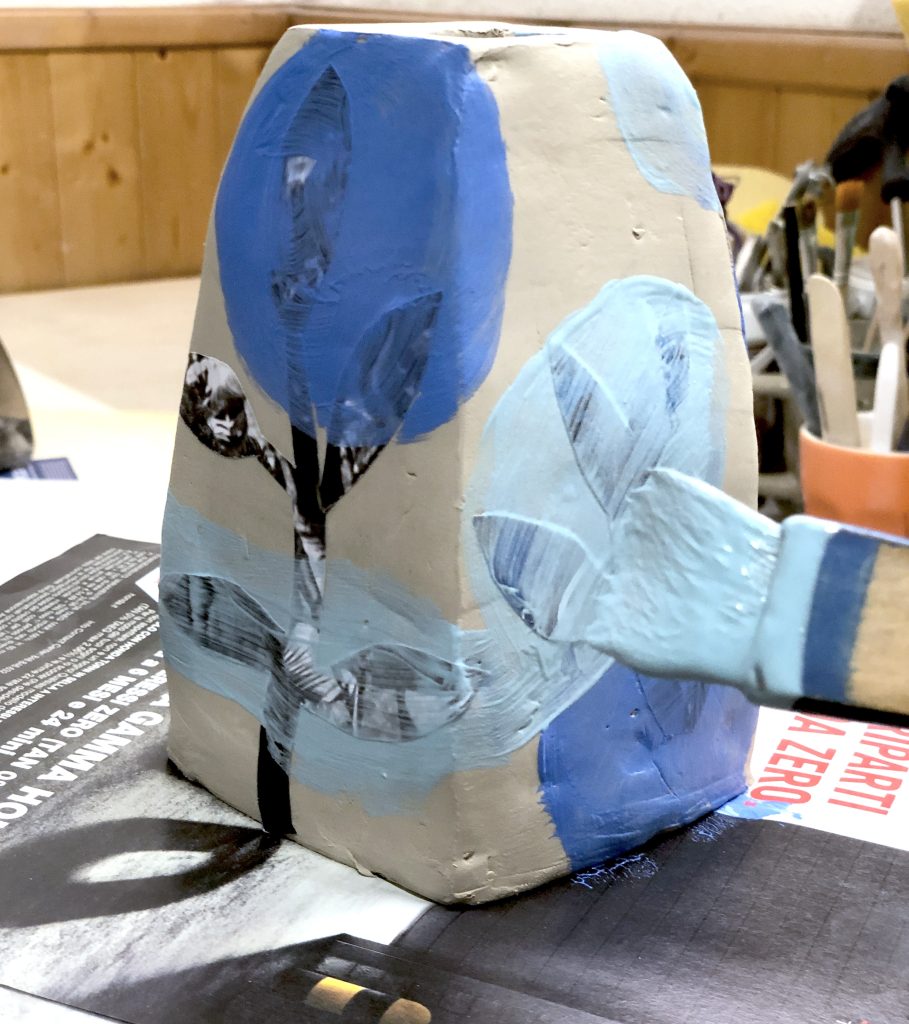
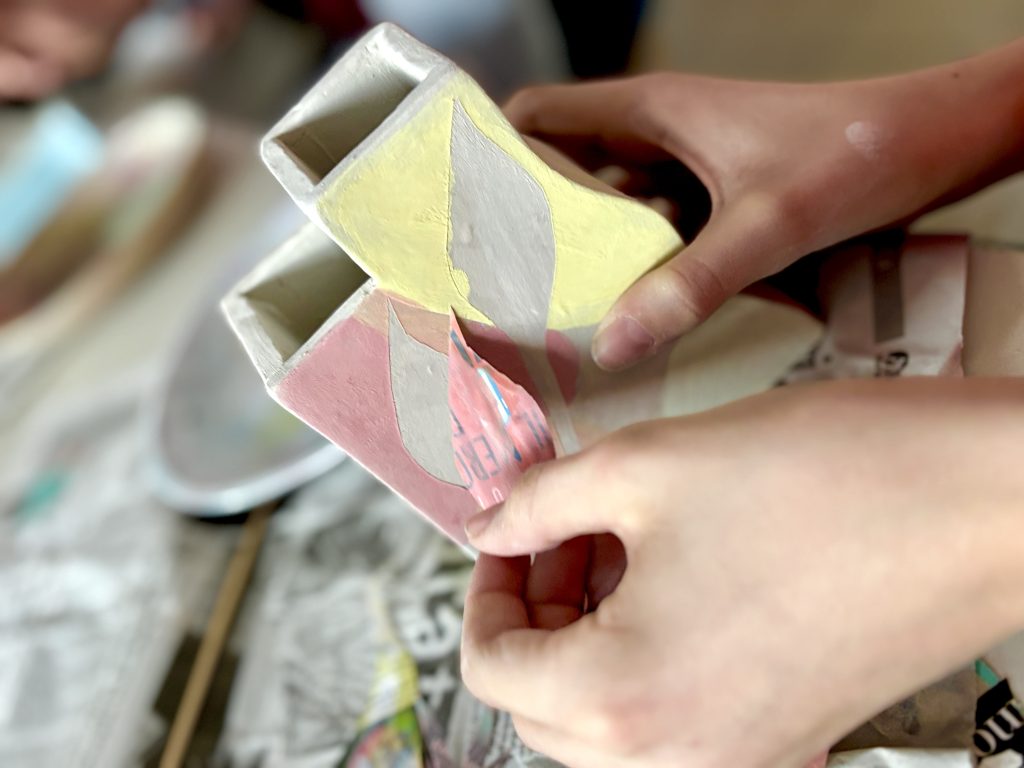
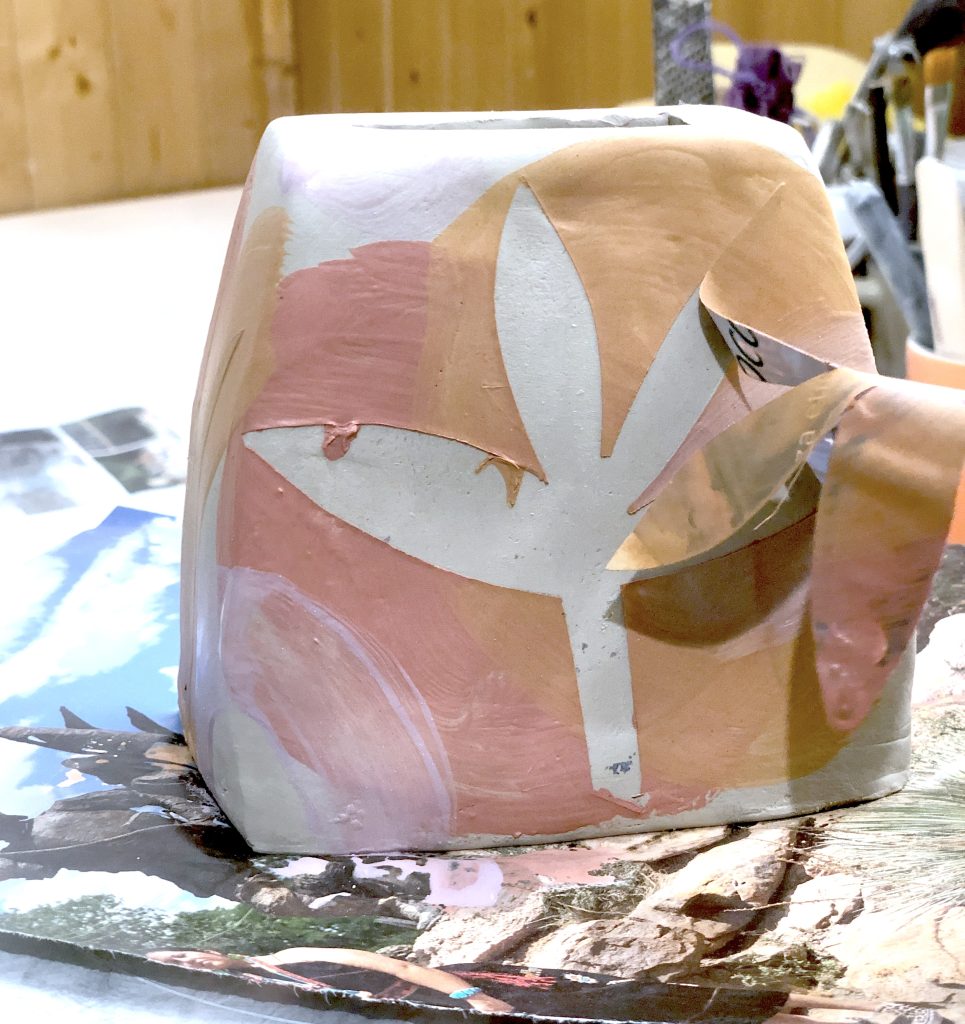
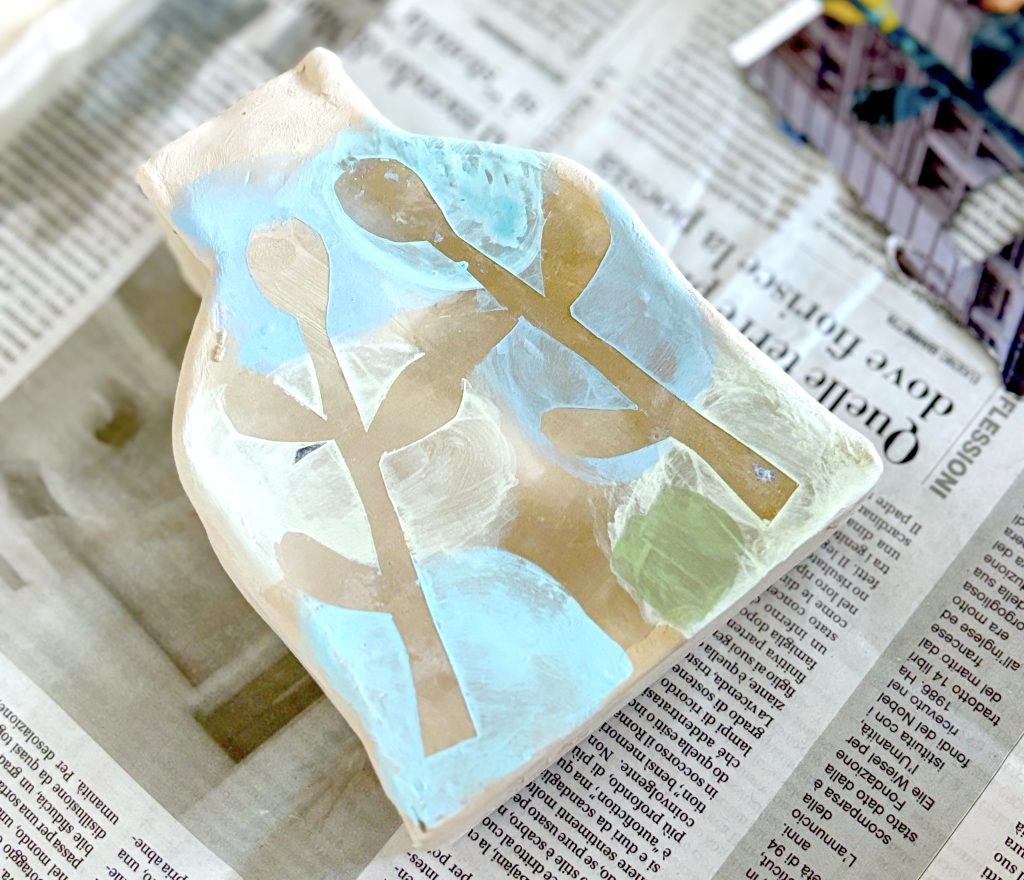
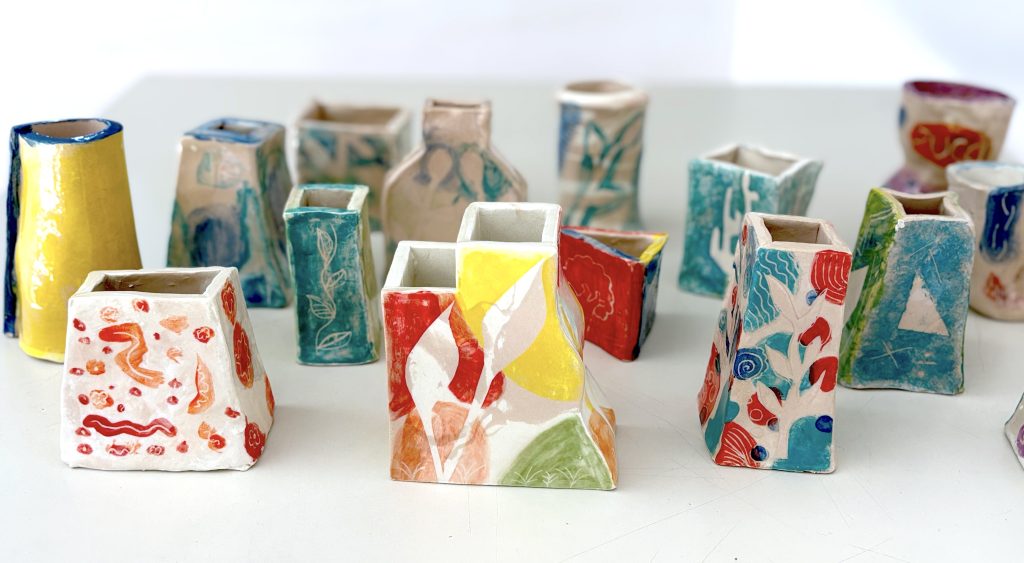
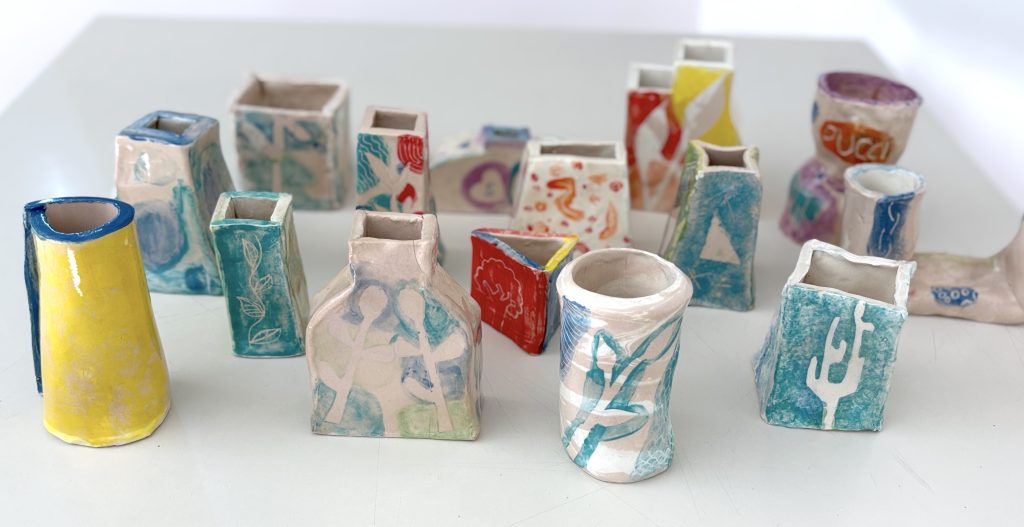
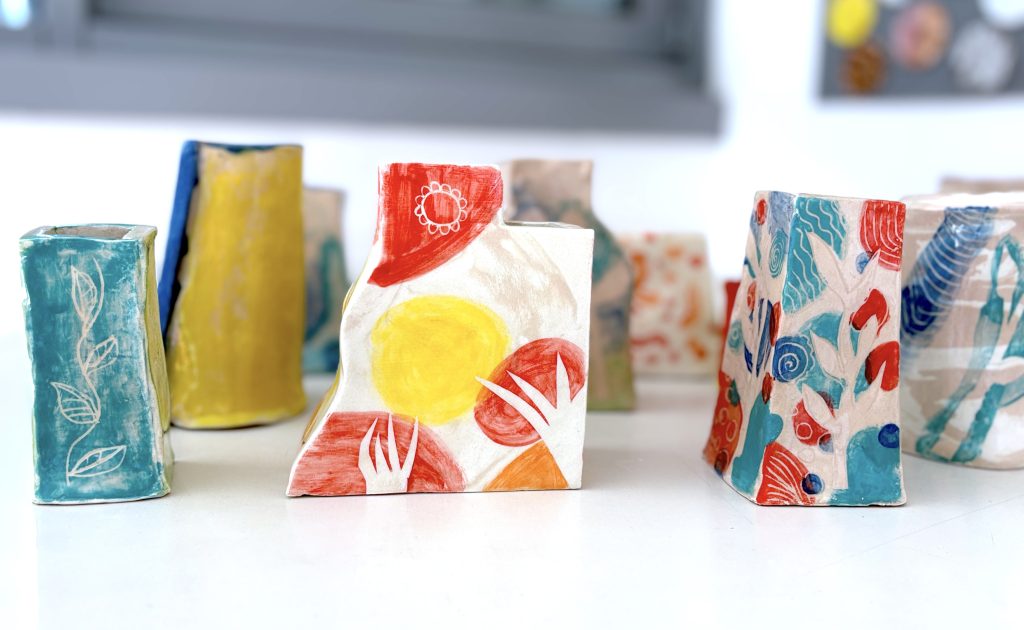
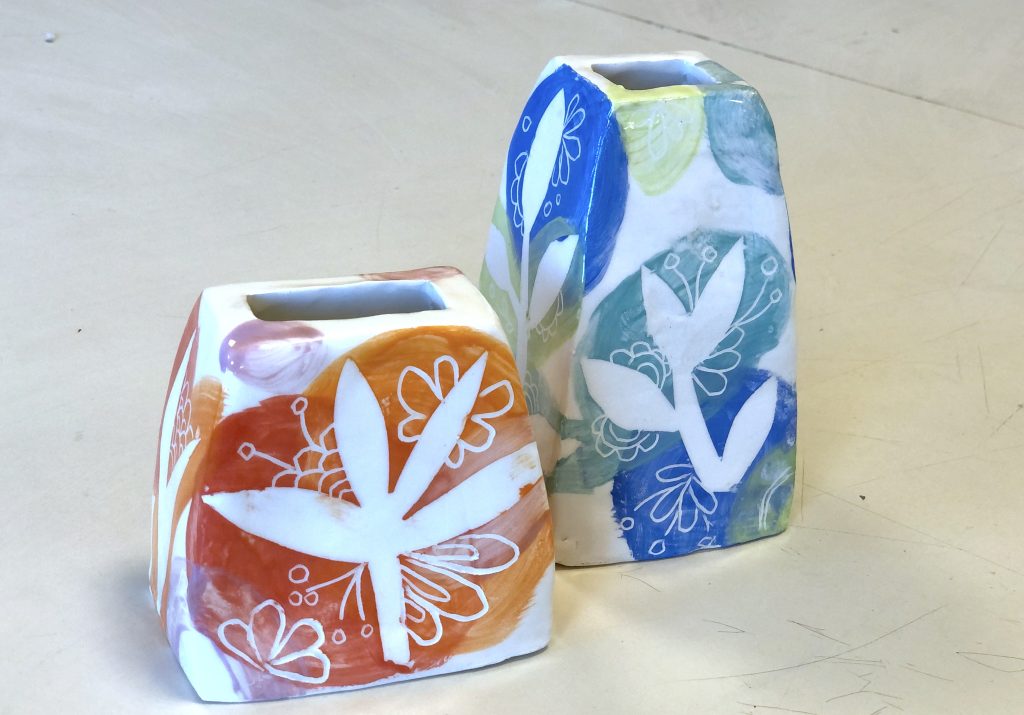
在镂空模版法中,学生从杂志页面上剪出简单图形,并蘸少量水将其贴附于陶罐表面;随后用彩色泥浆刷涂纸形图案。待其干燥后揭去纸片,便留下一个白色负形轮廓。
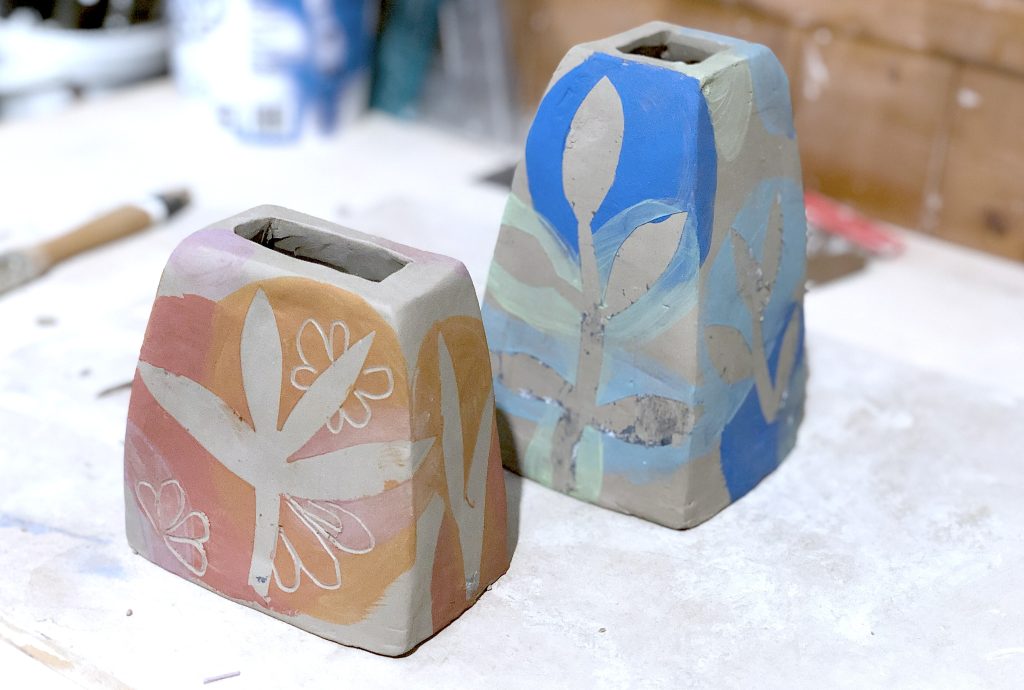
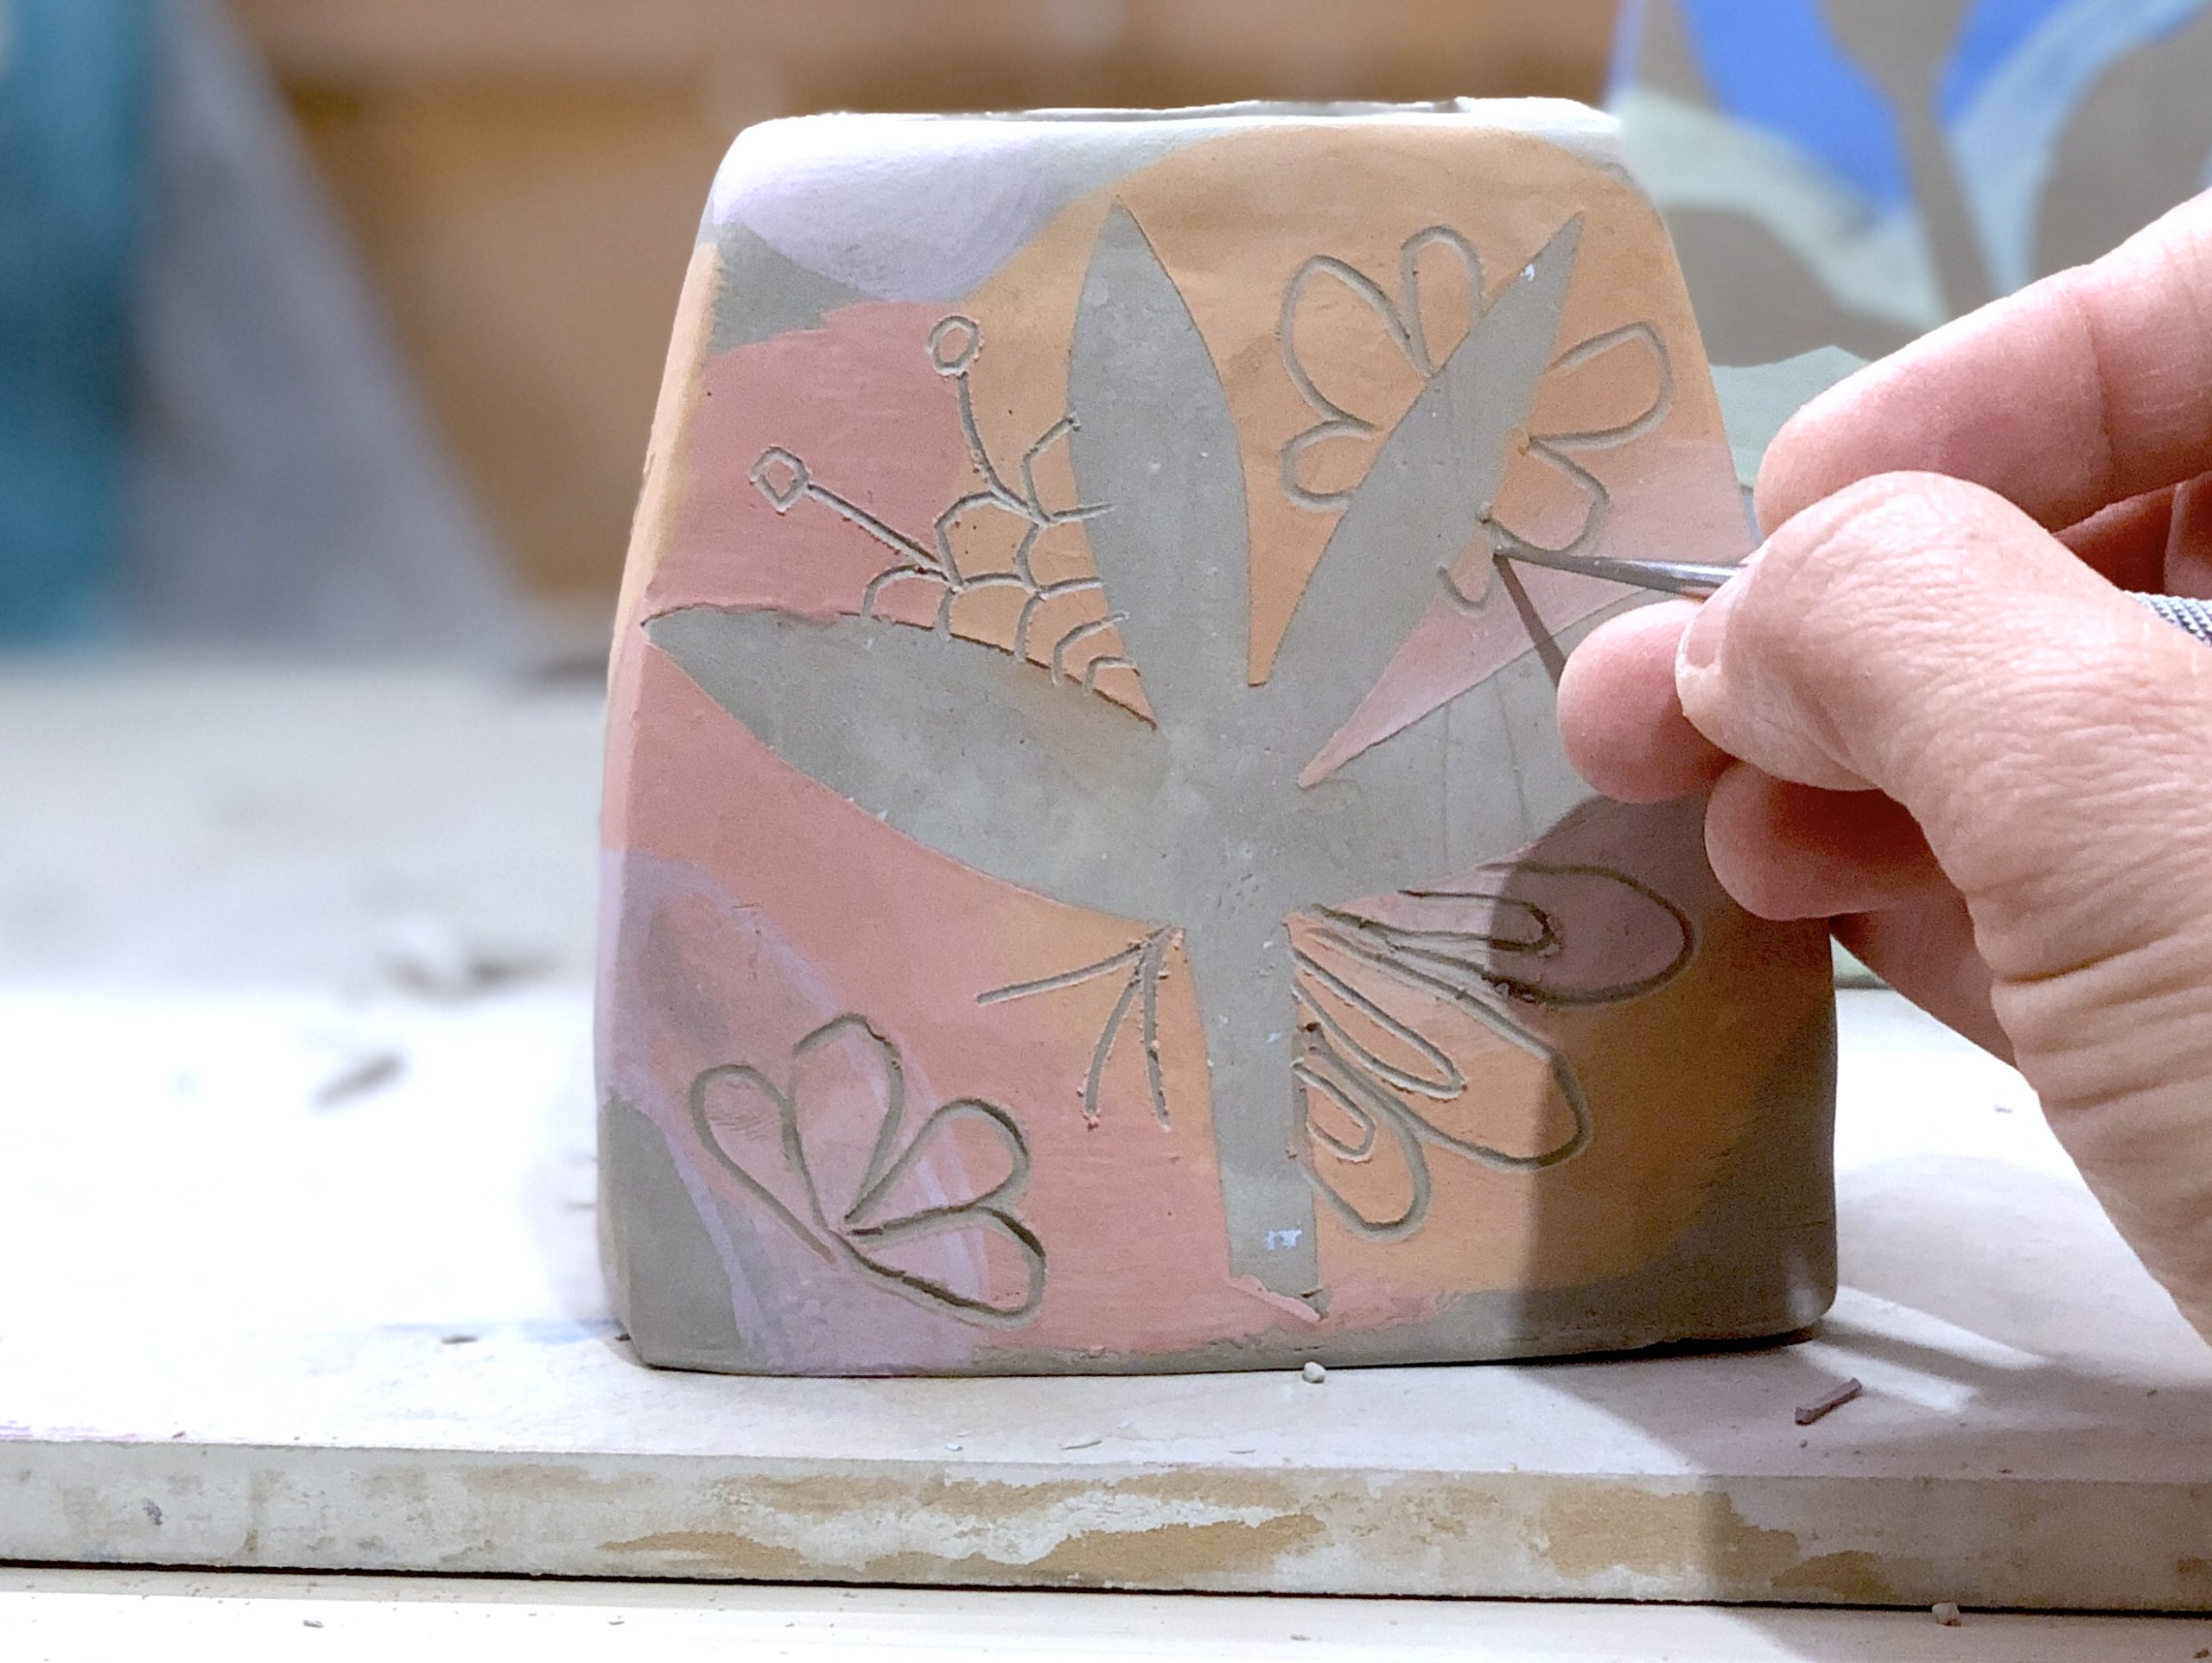
之后,在陶坯仍处于皮革硬状态时,学生们运用刻划法,在彩色区域刻划线条与纹样,以增添肌理与细节。部分学生还辅以笔绘,为装饰增添个性化元素。
最后,陶罐经历第一次烧制形成素坯,再施以透明釉料,送入窑炉进行第二次烧制。
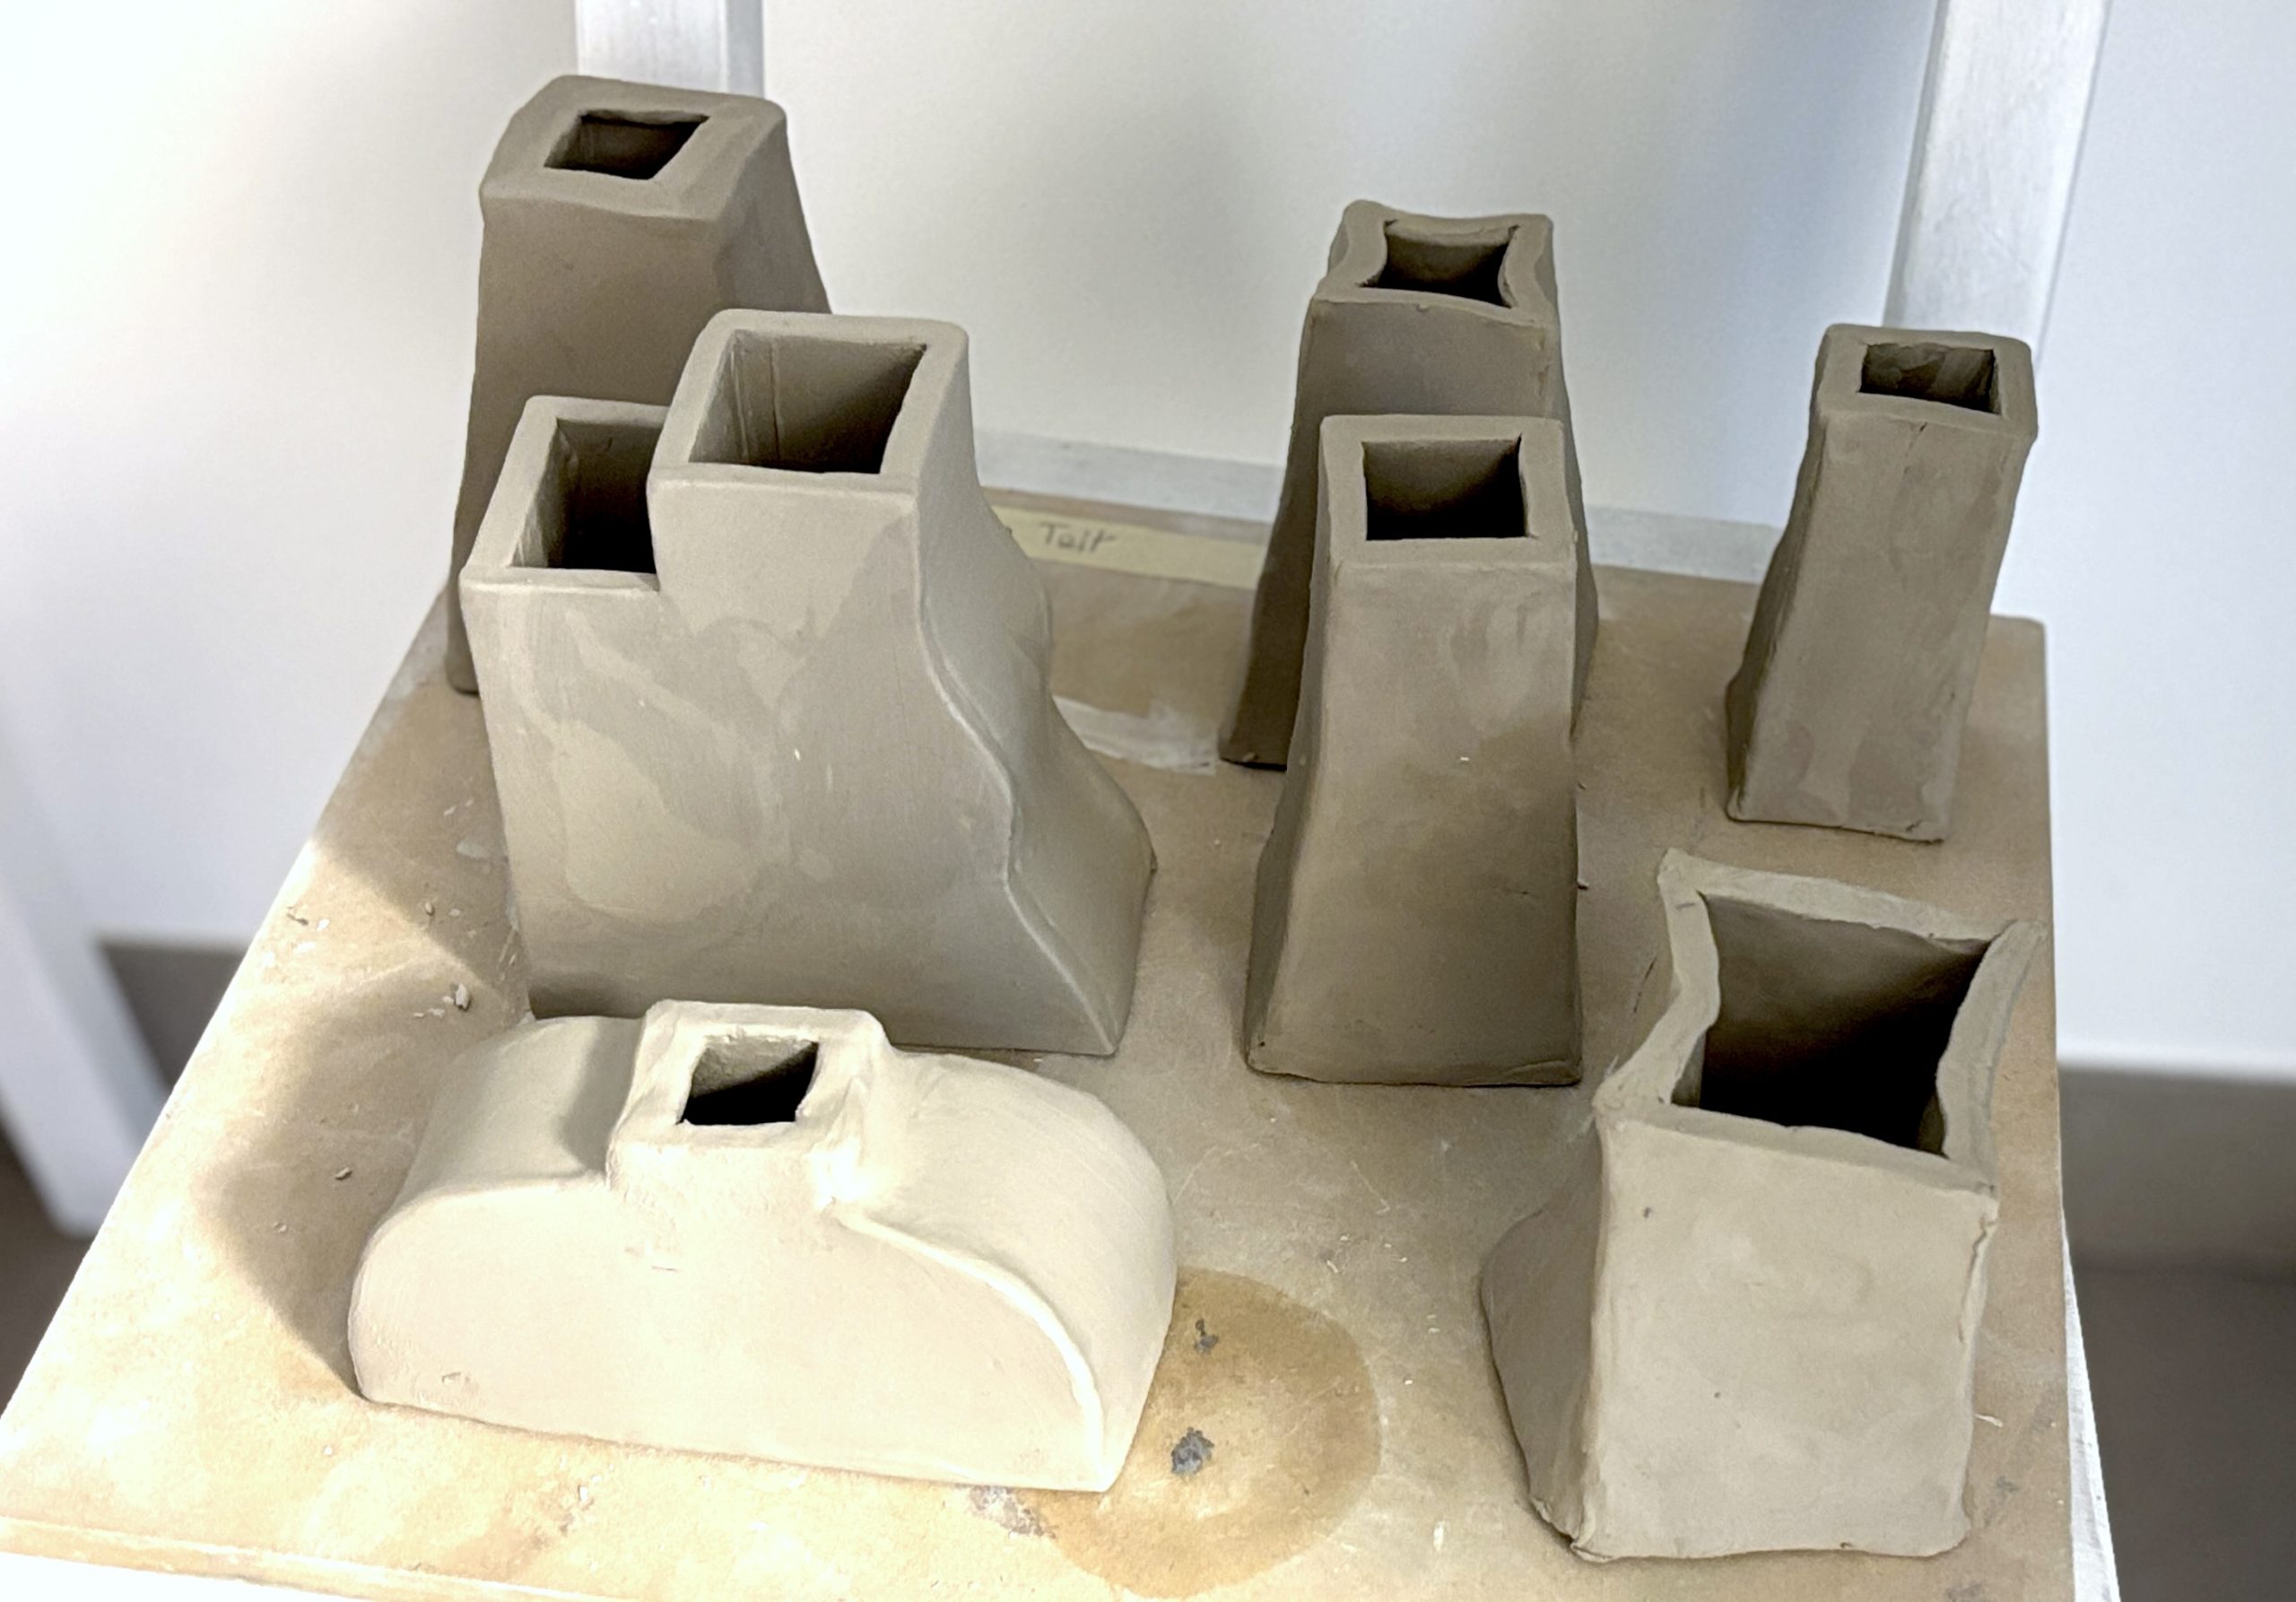
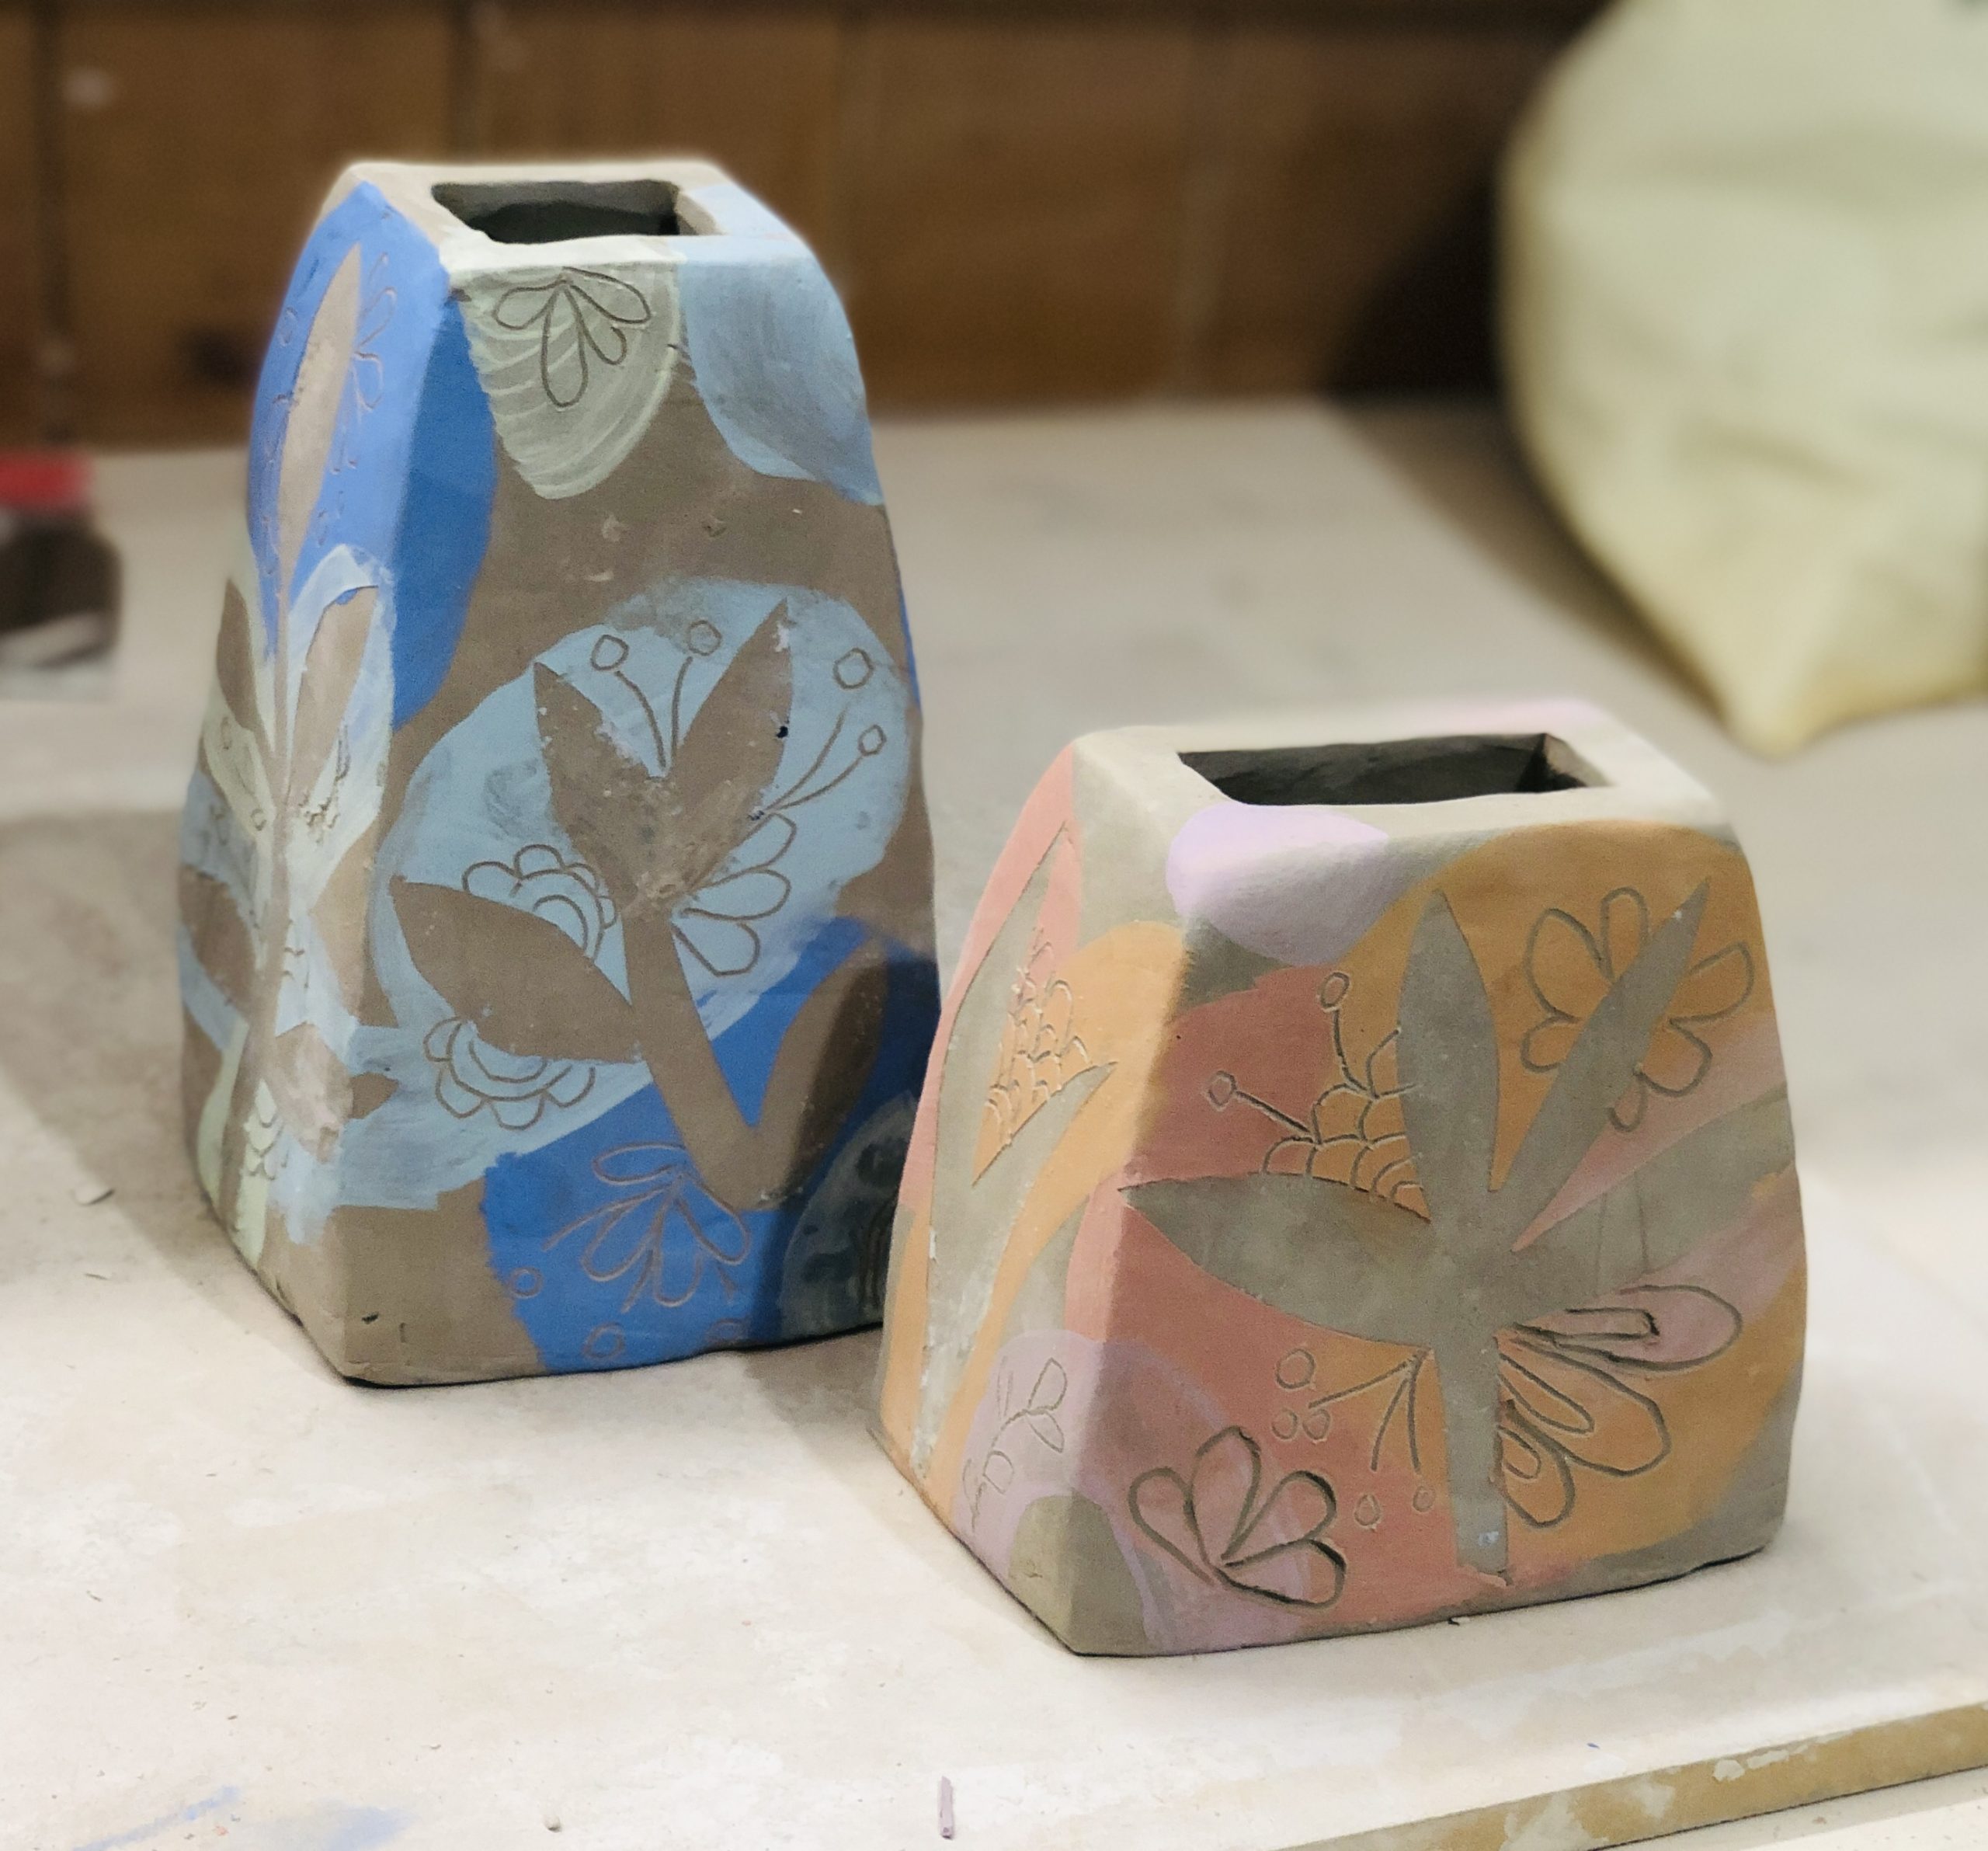
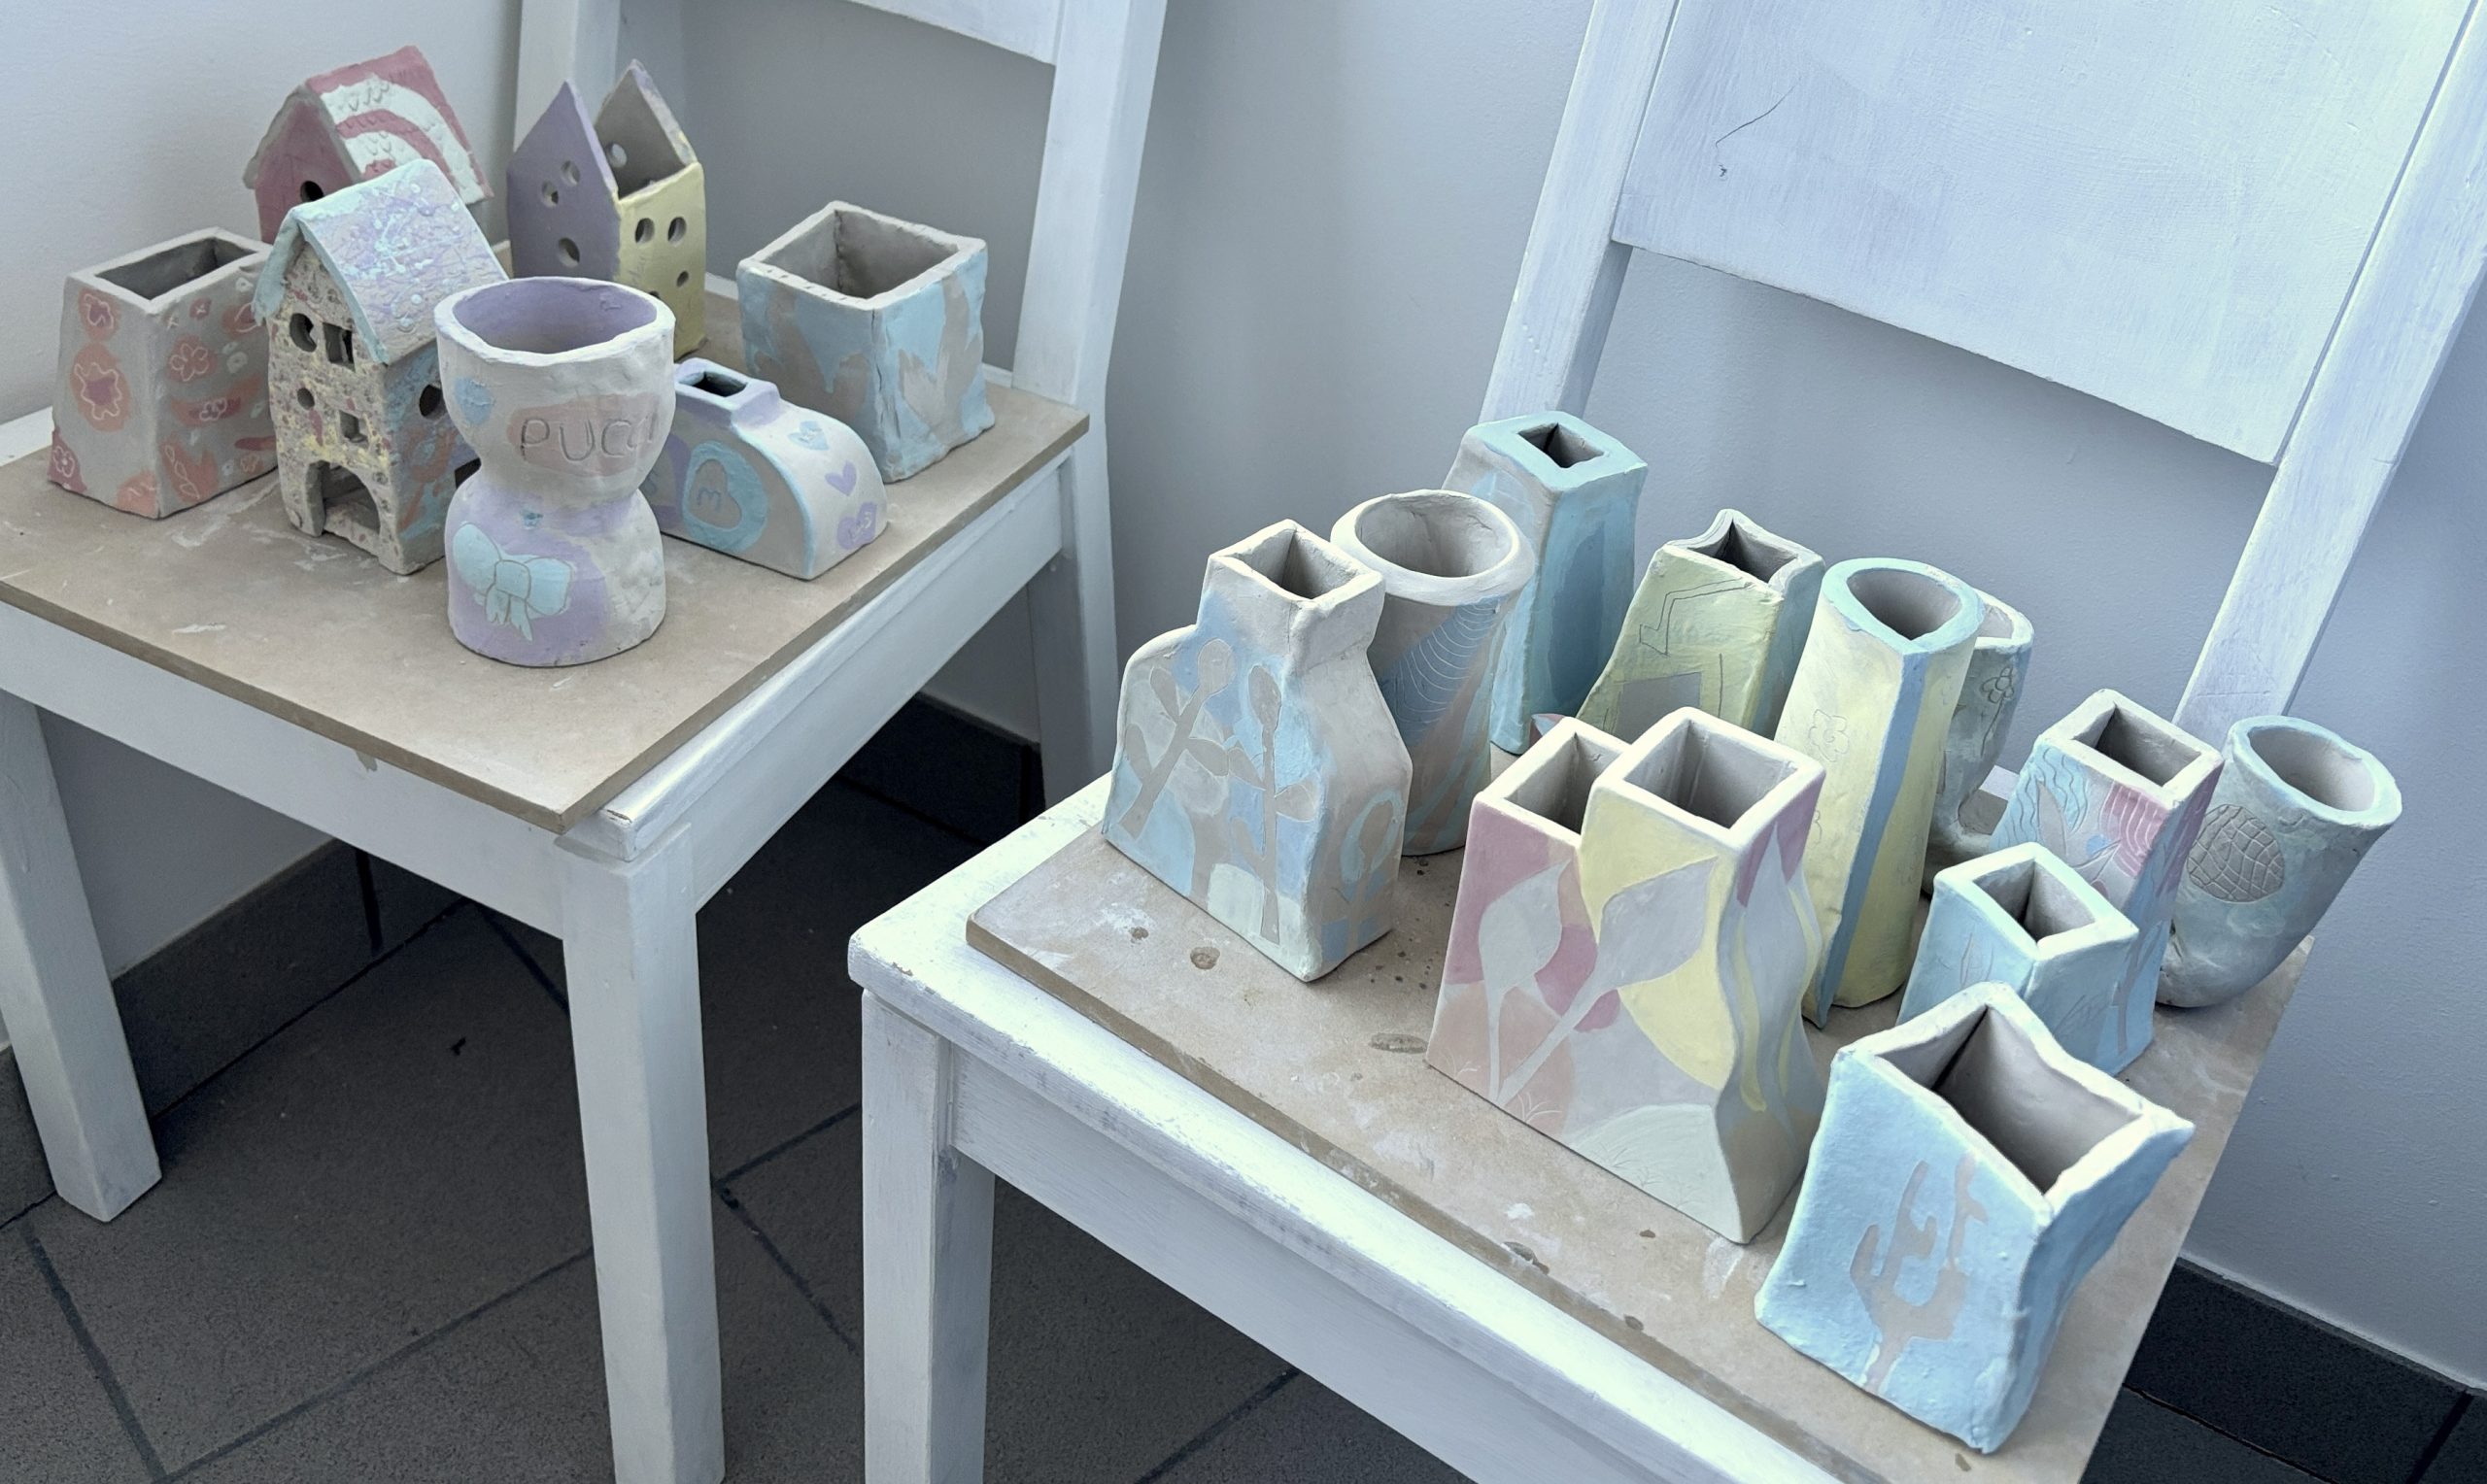
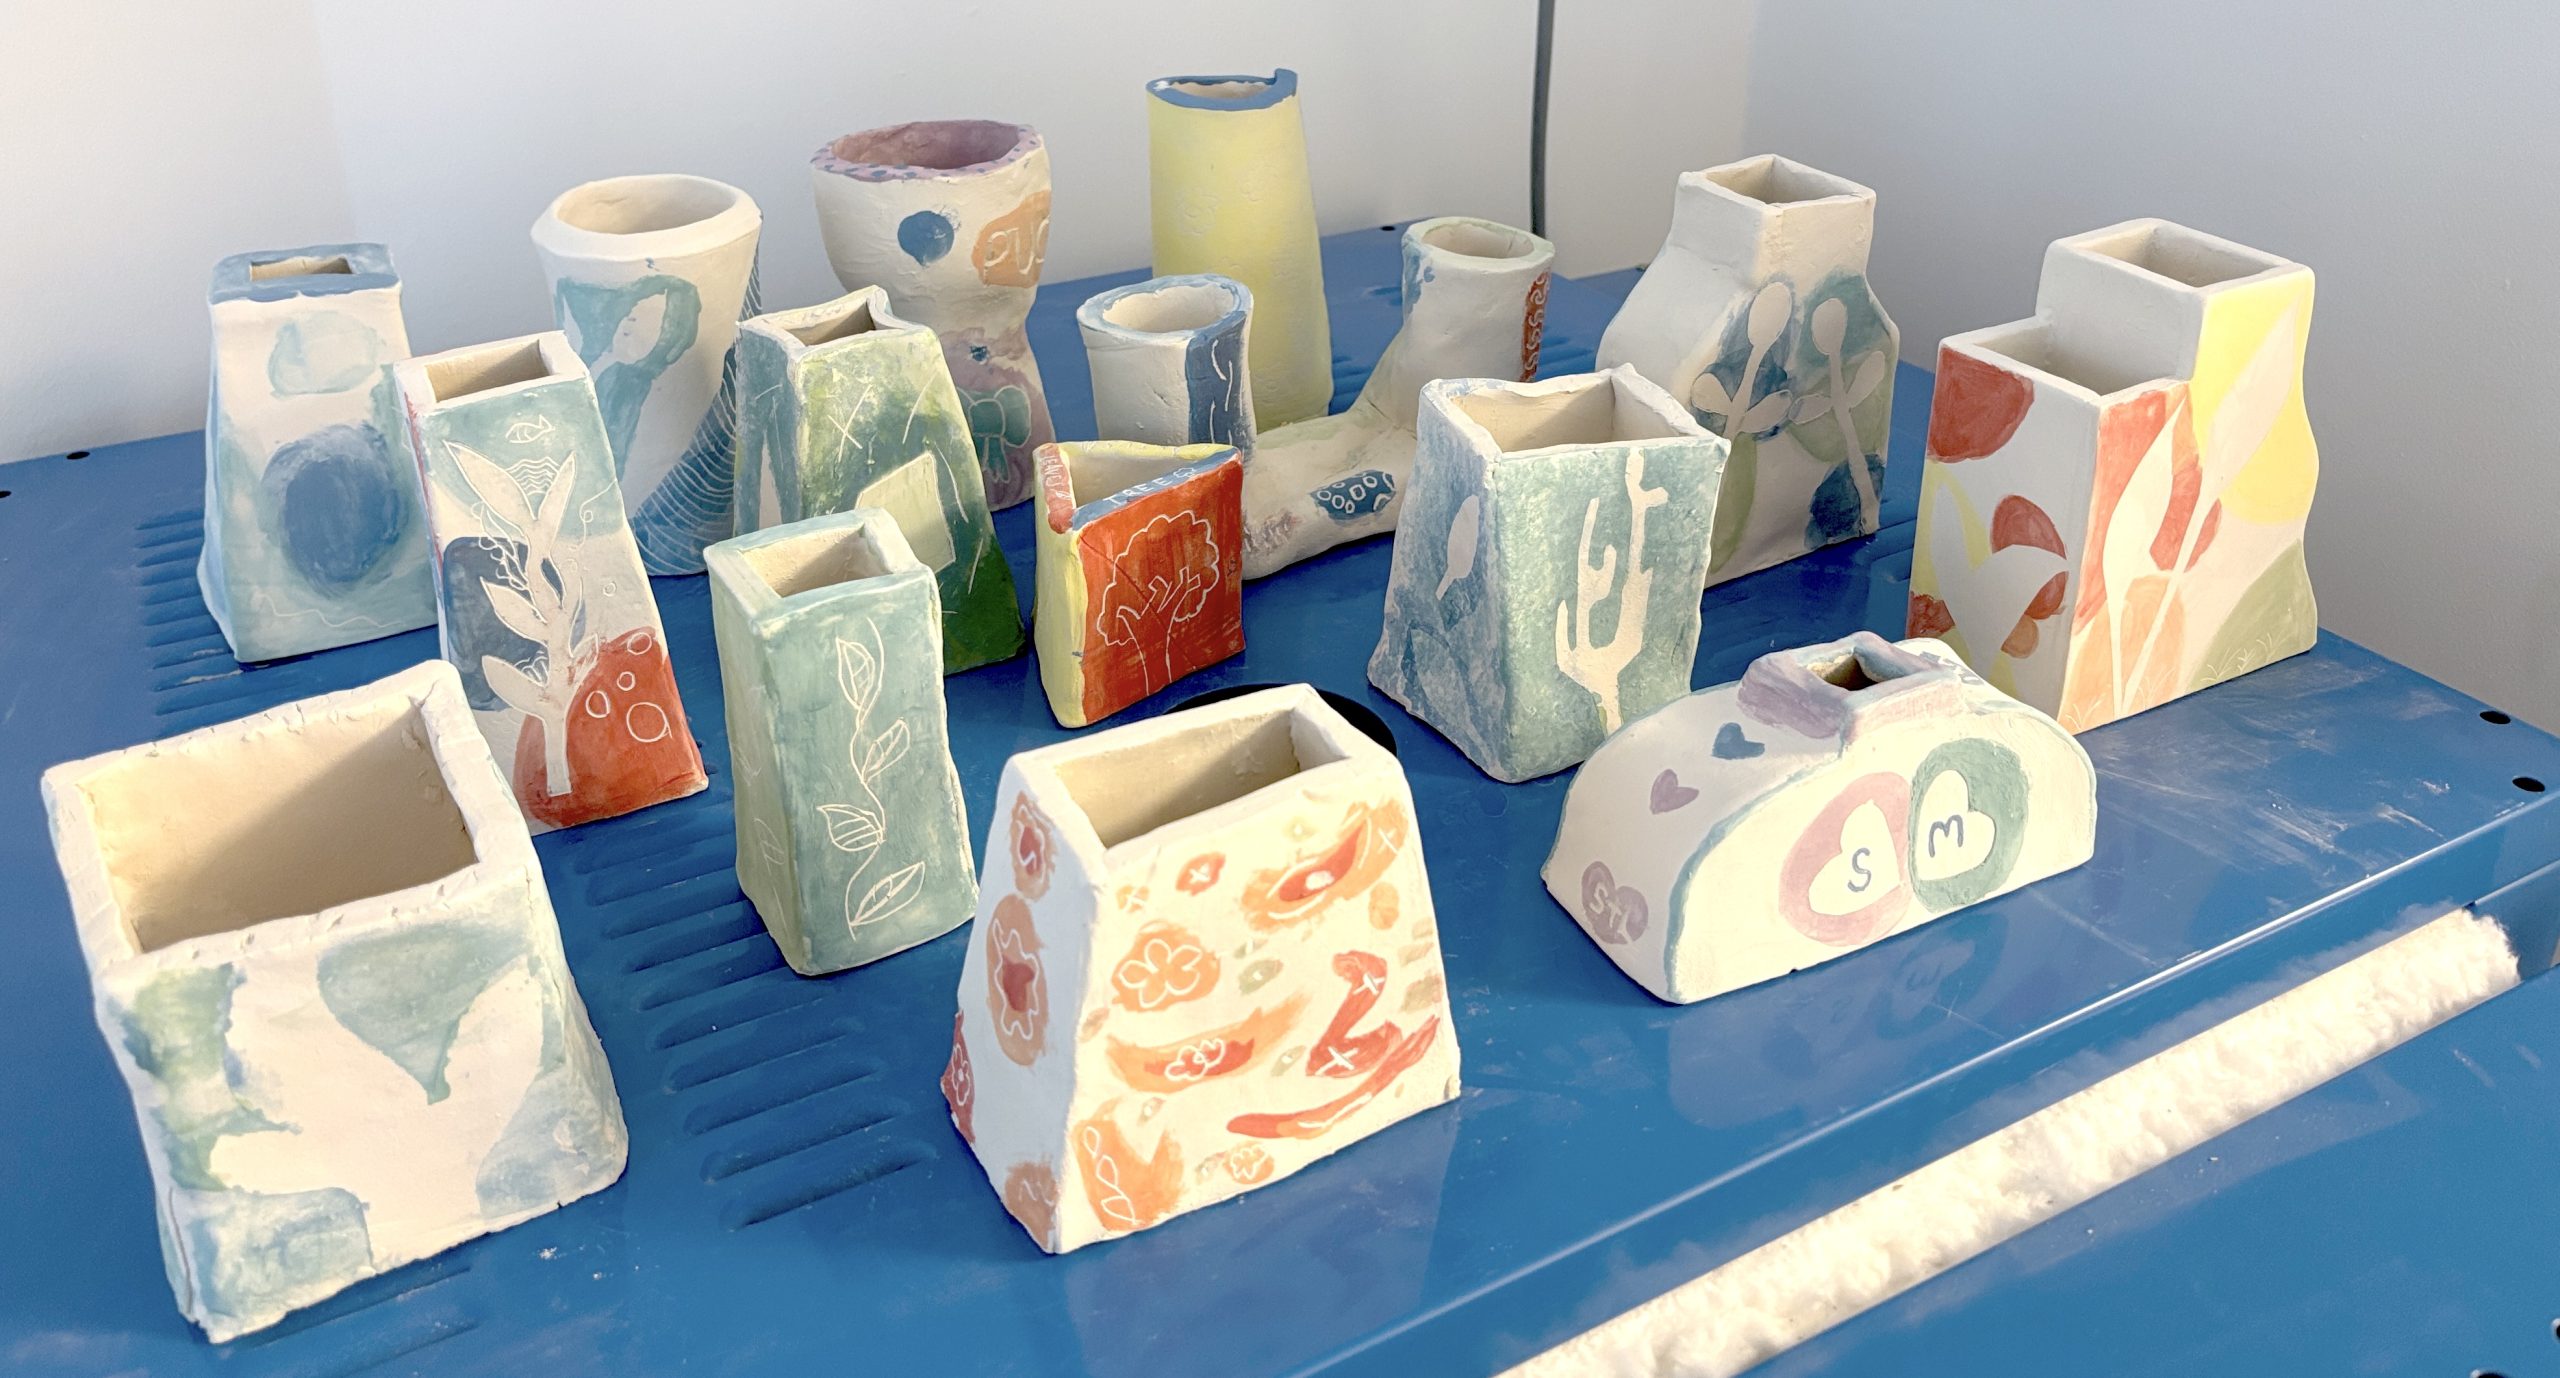
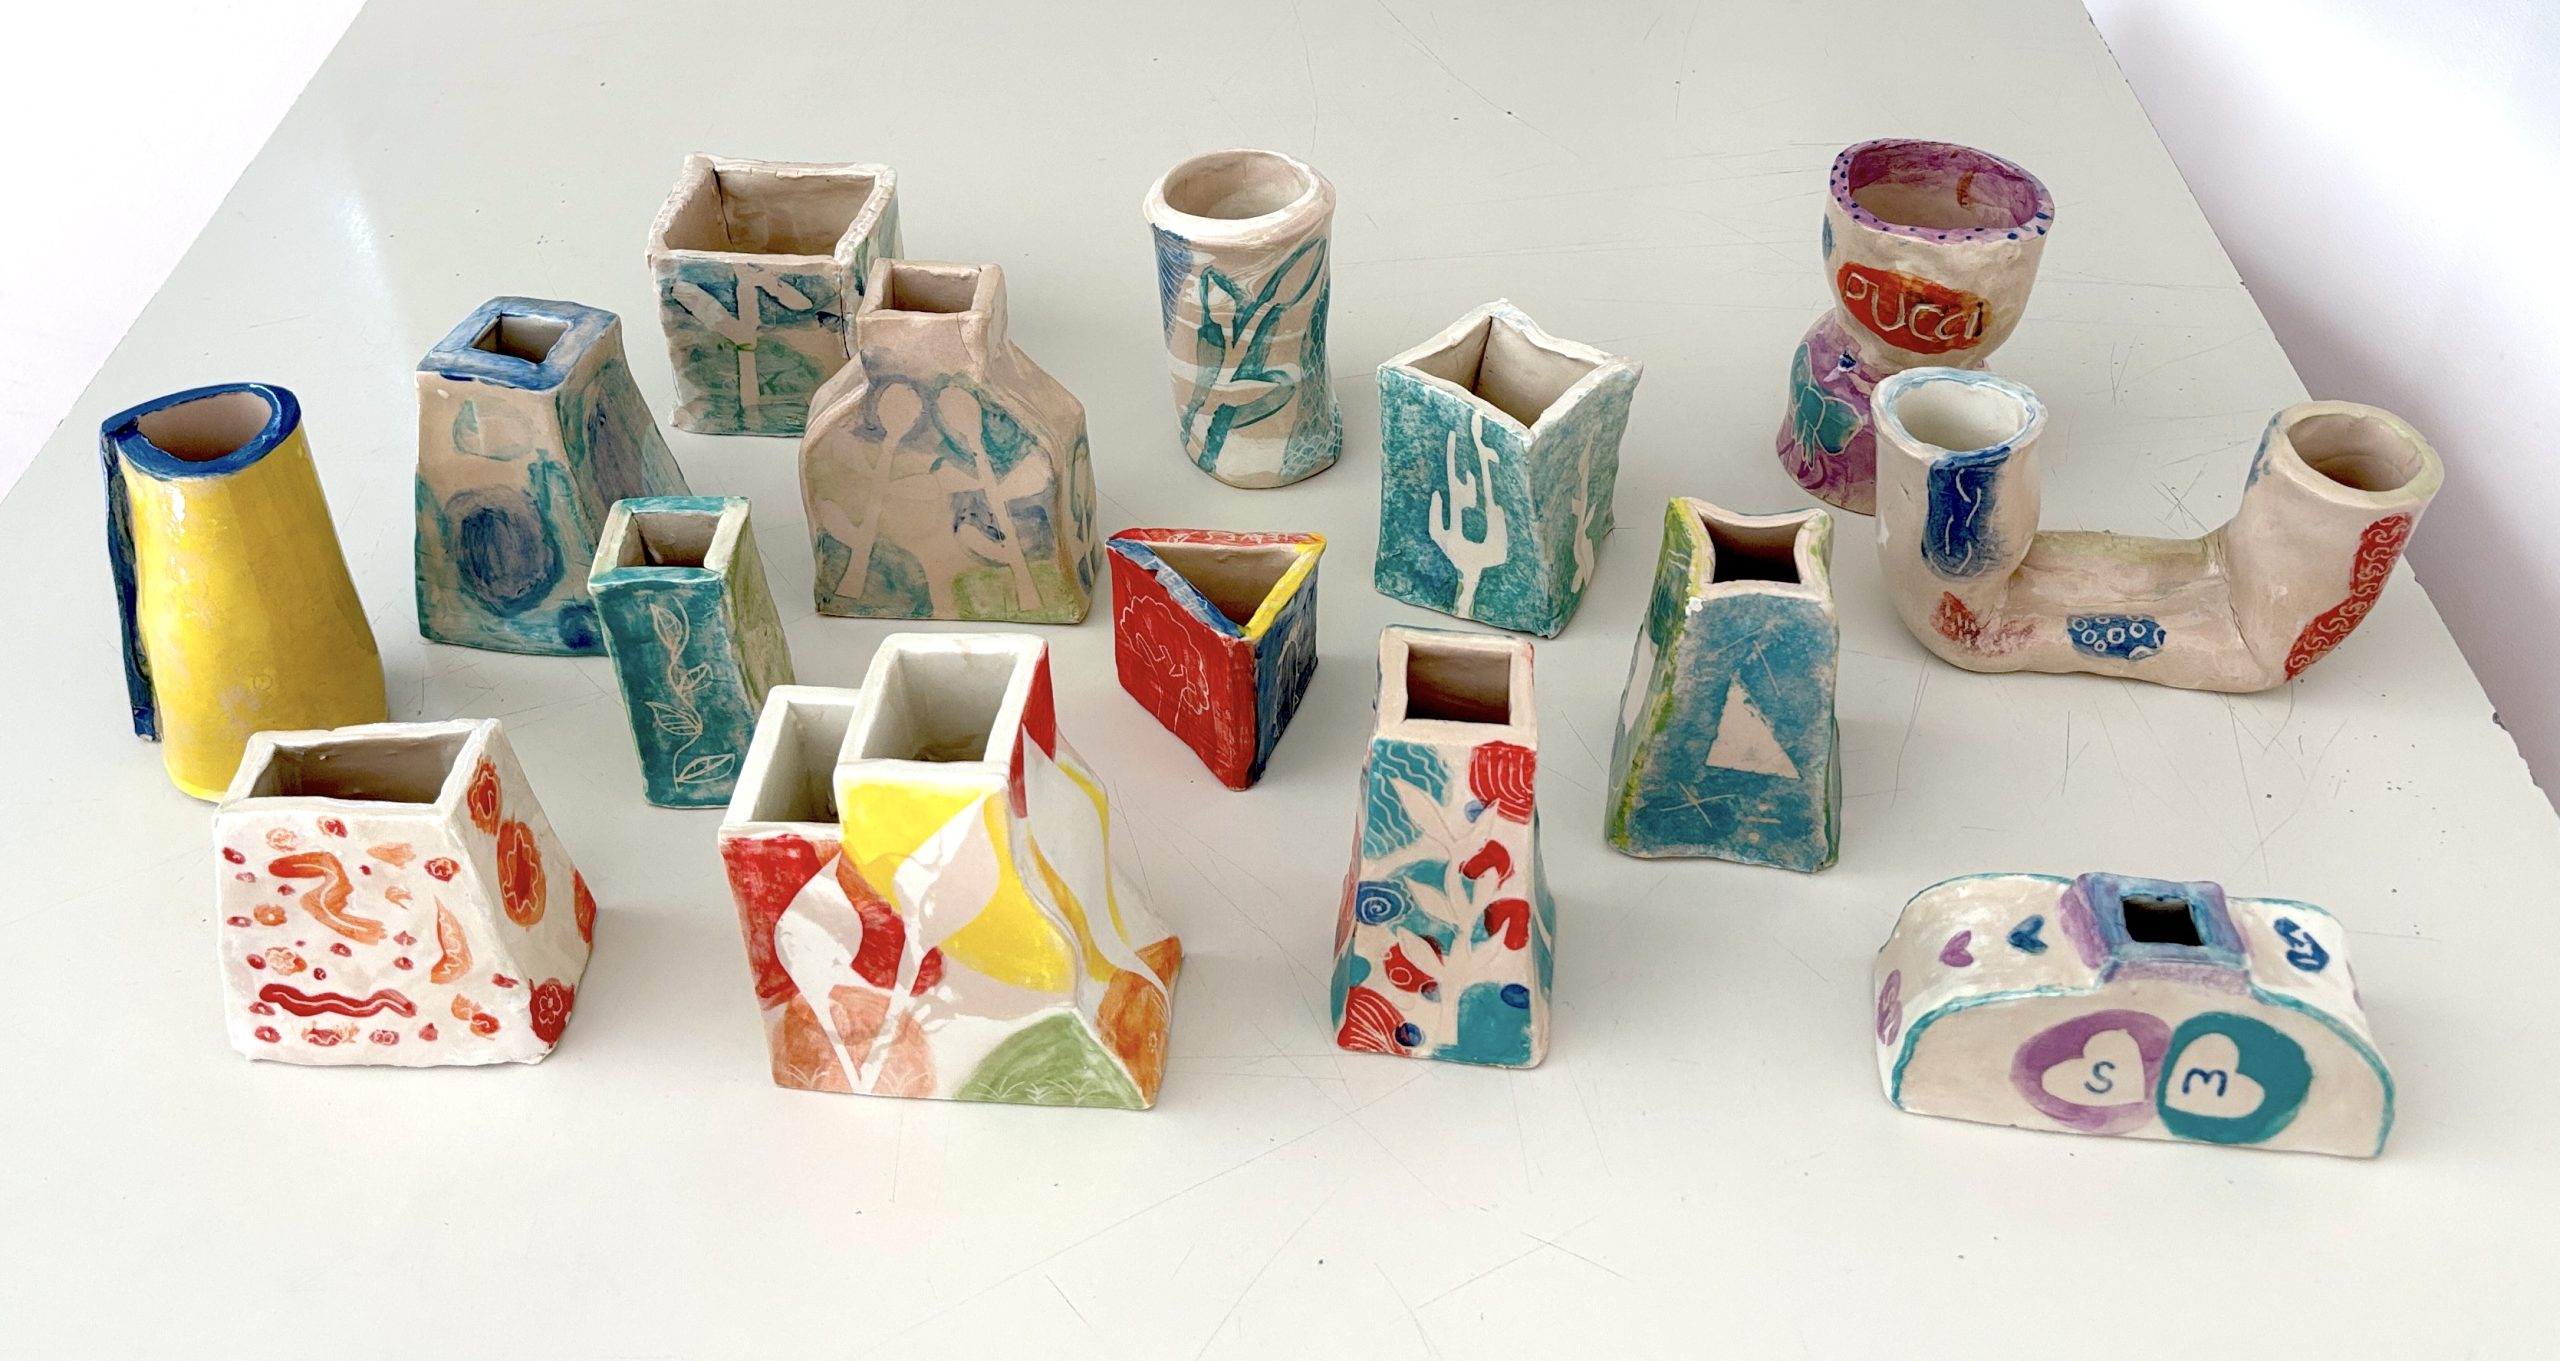
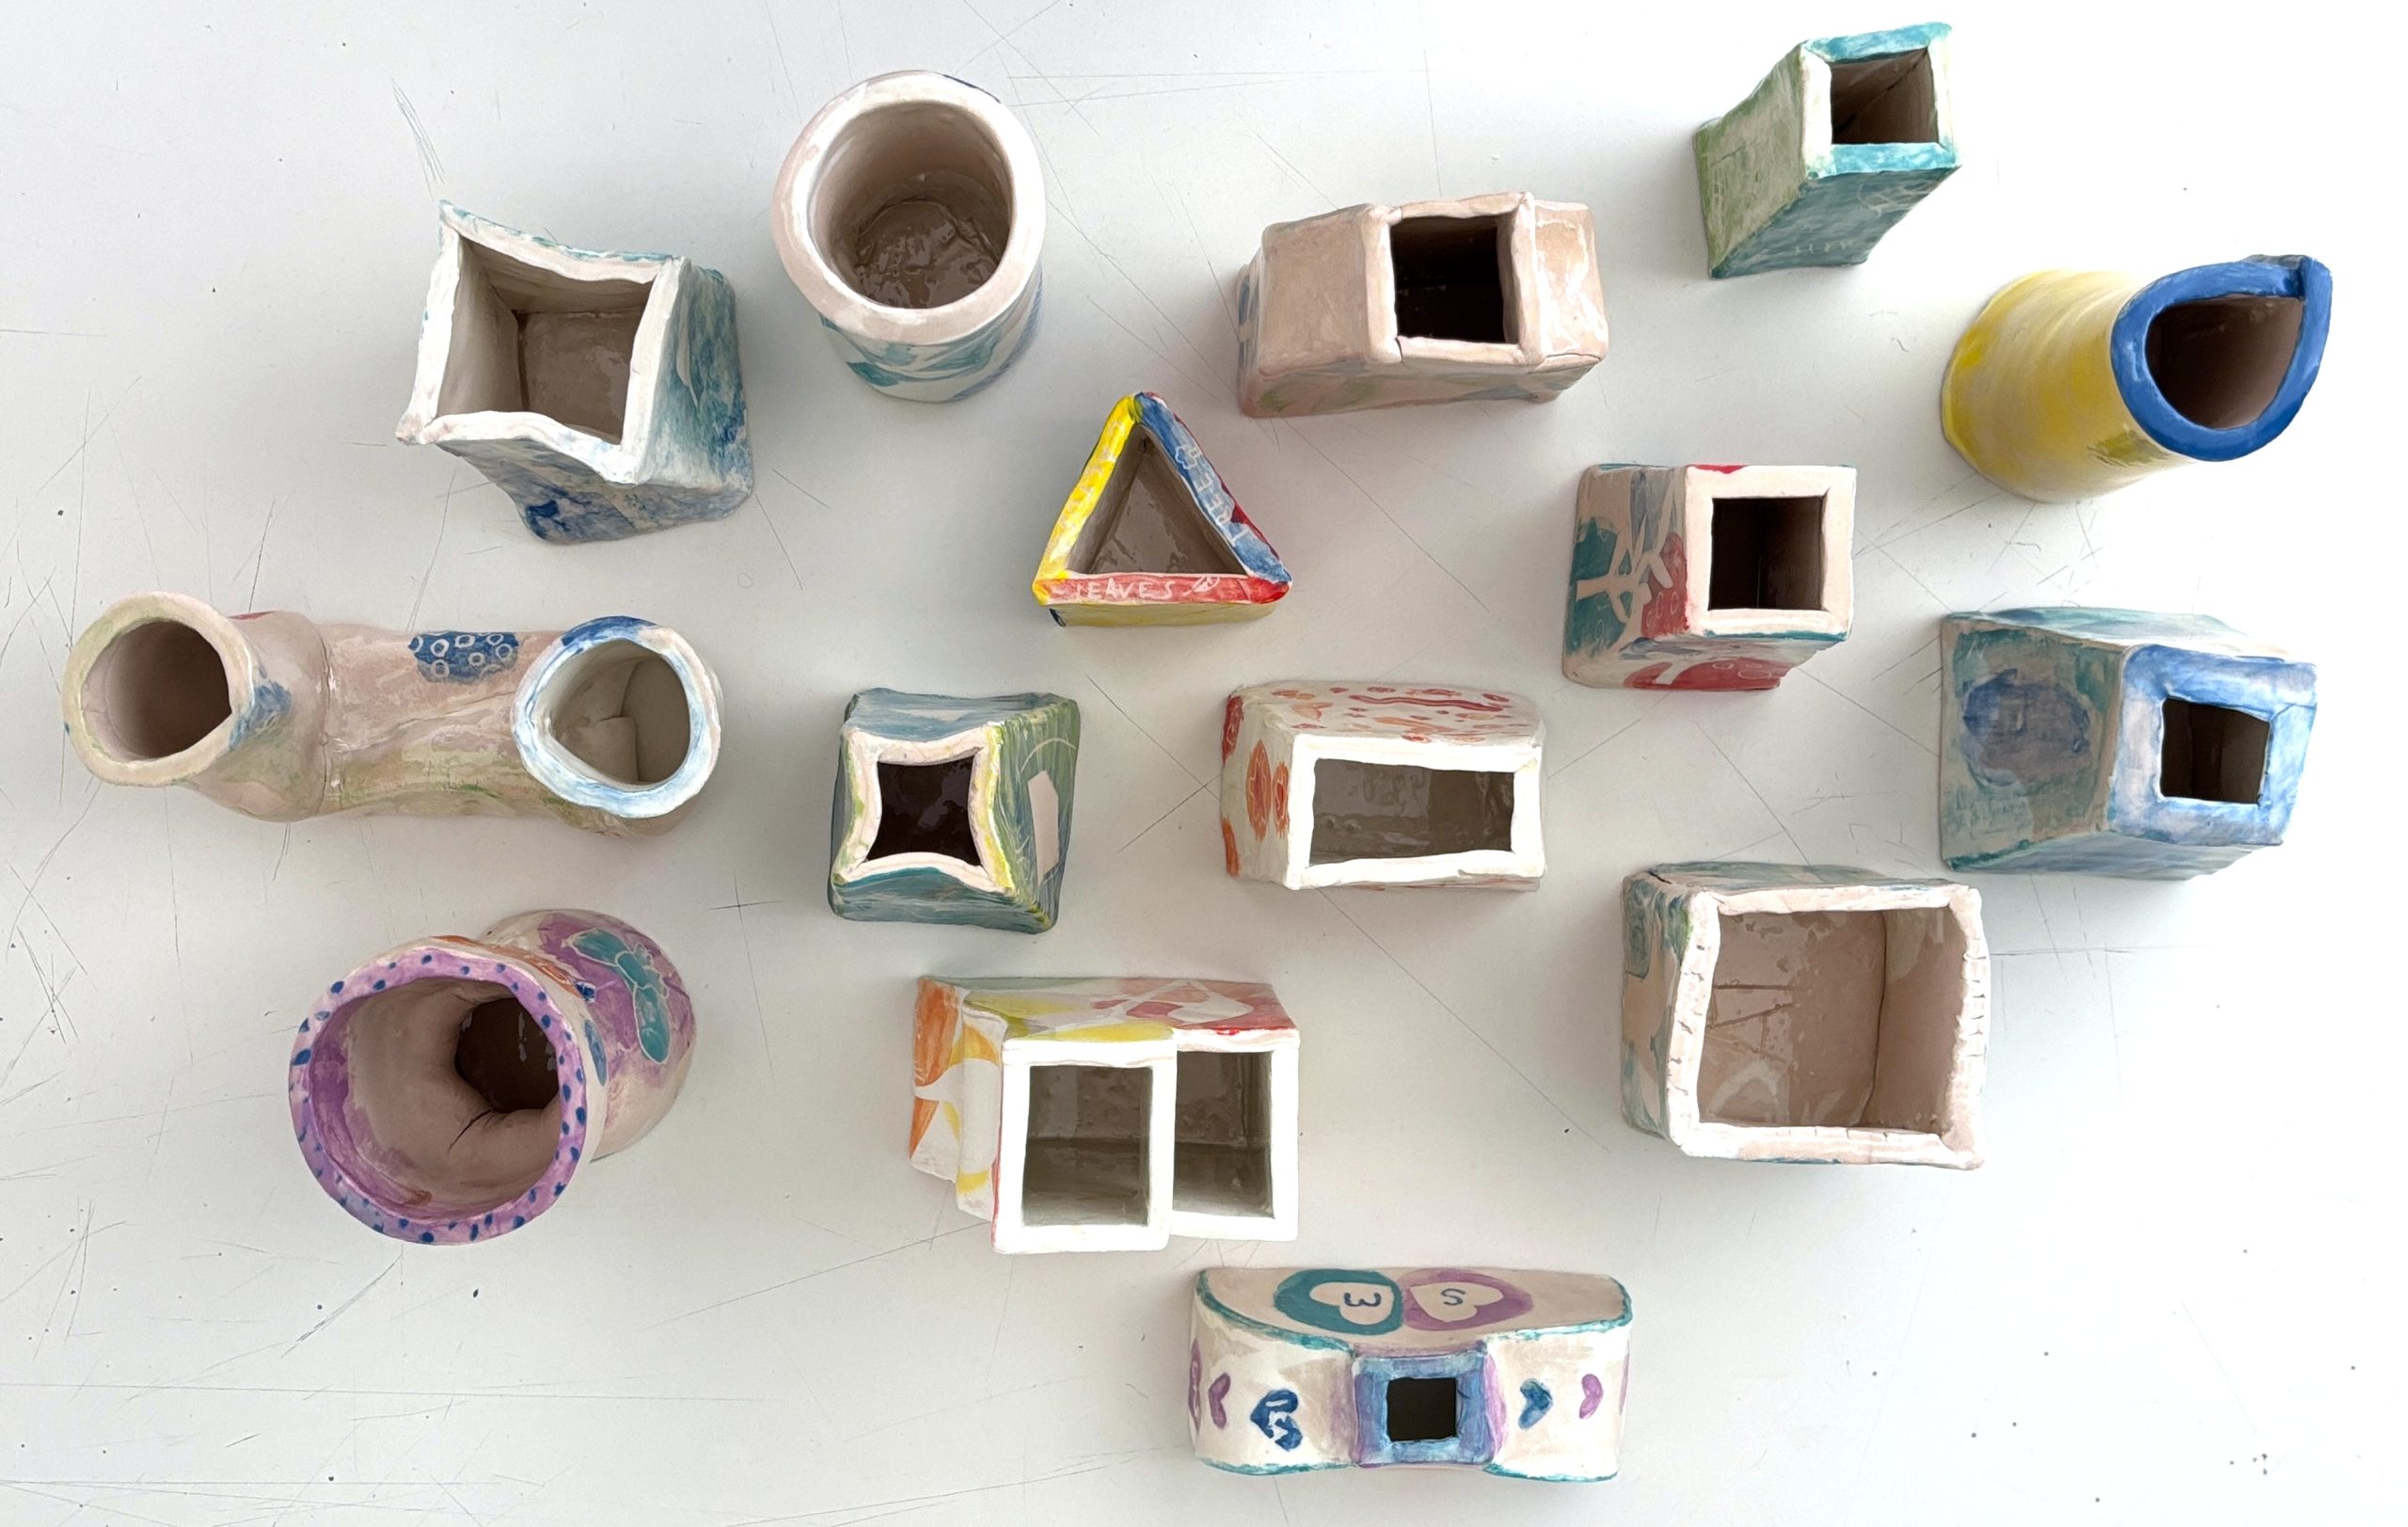
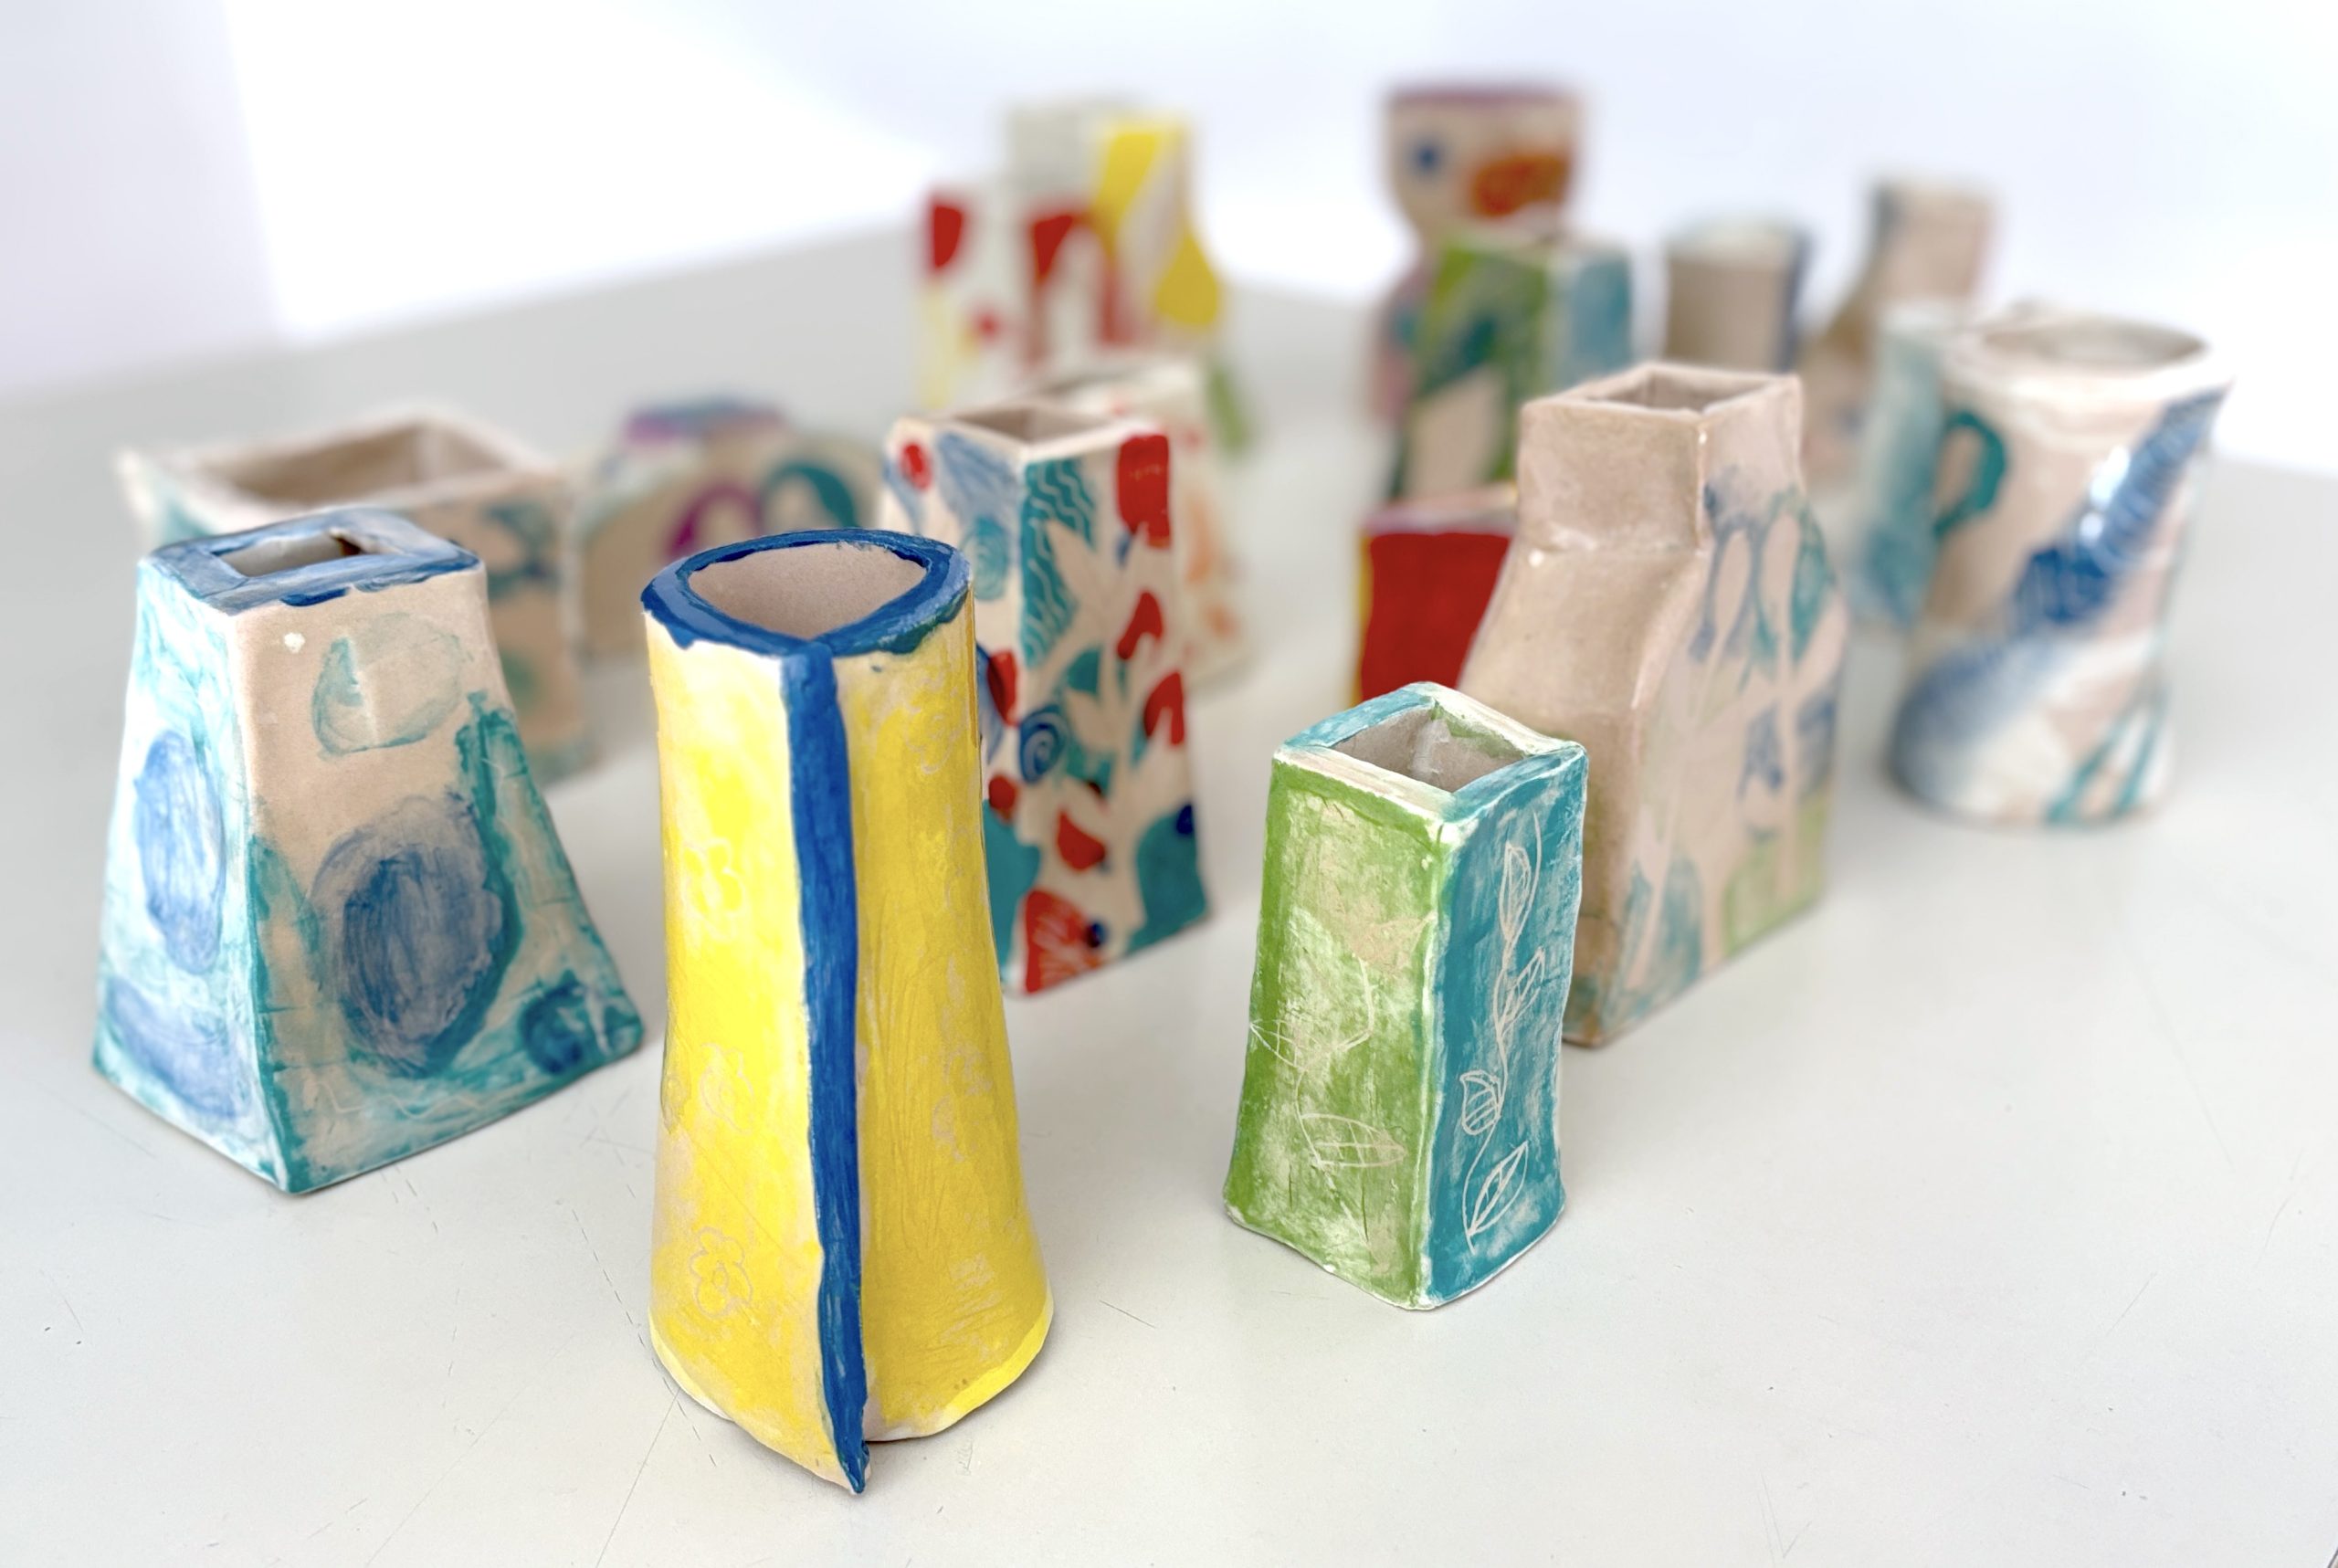
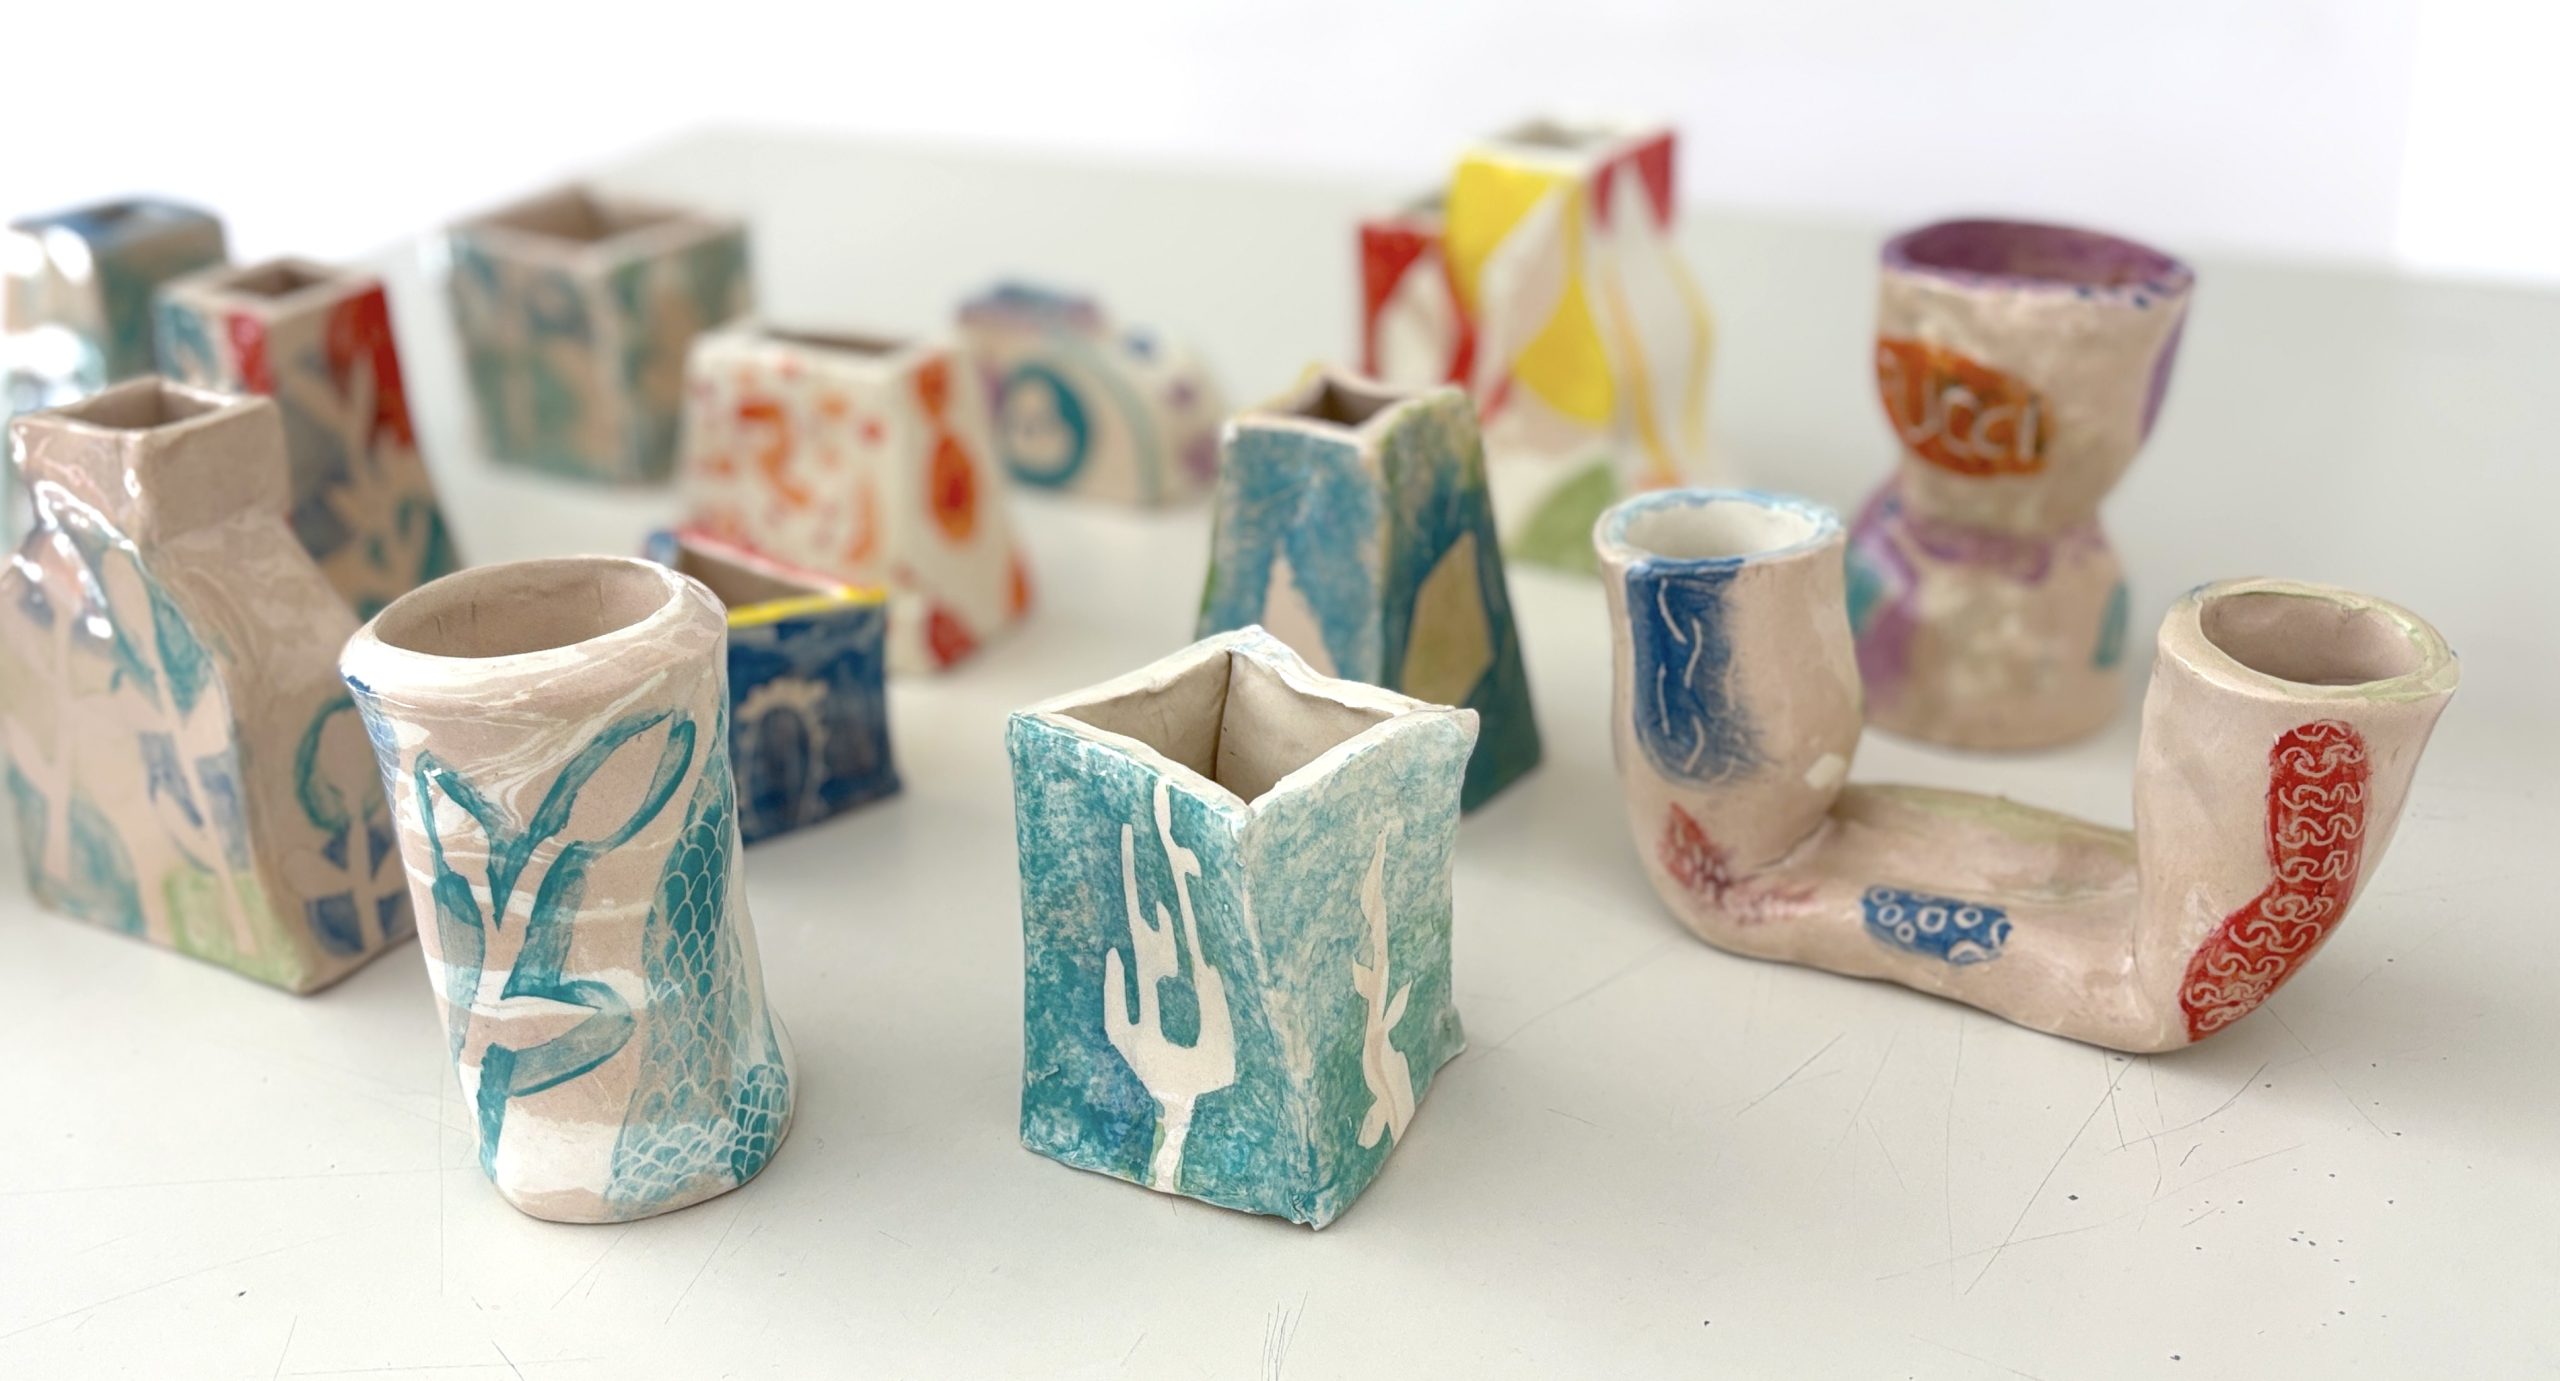
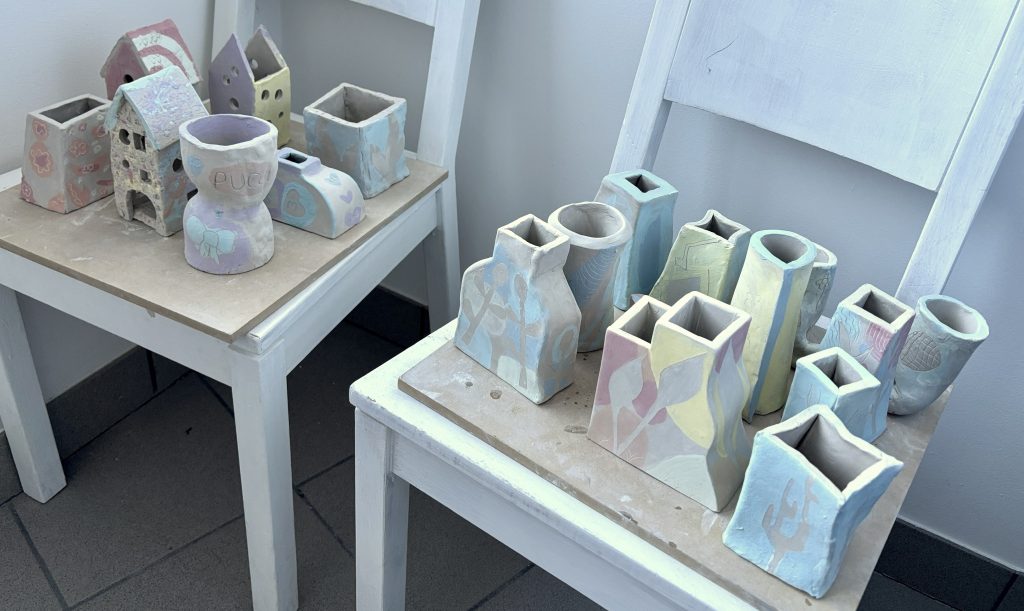
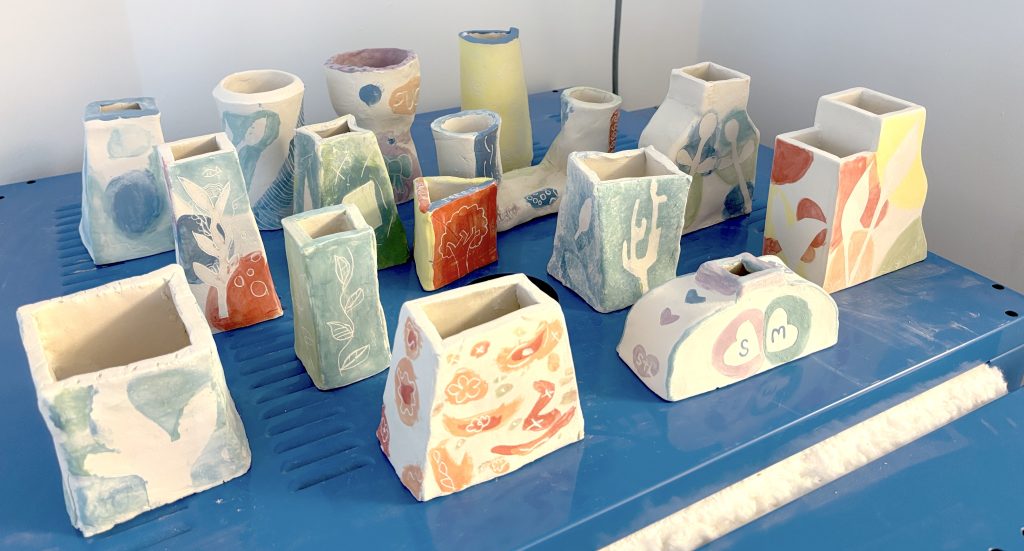
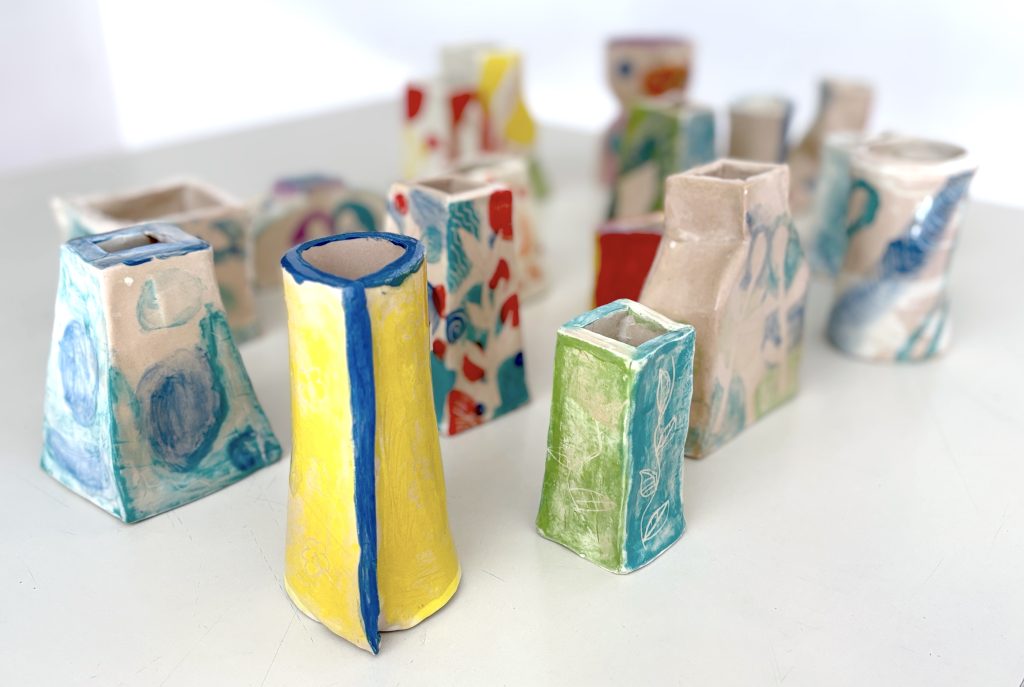
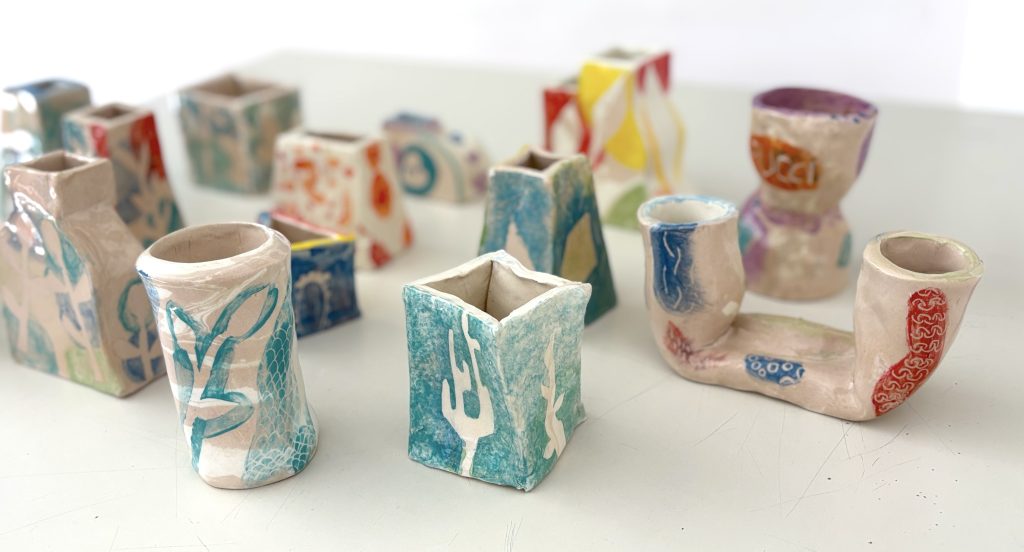
成果如何?一组独特而富个人风格的陶罐——每一只在造型、色彩与装饰上皆不相同,是每位学生创造力与努力的结晶。
With our 7th Grade students, we created clay vases using the slab technique. Each student designed and planned their own vase, starting from a paper model.
After brainstorming and sketching several ideas, students drew the templates for the different parts of their vase, trying to understand how they would fit together. To develop their project, they cut out and assembled the paper pieces with tape, building a three-dimensional prototype. This step was very useful for checking whether the project was actually feasible in clay, as well as for evaluating shapes, proportions, and dimensions.
Next, we rolled out the clay slabs using a rolling pin and wooden guides 7 mm thick. From these slabs, students cut out the shapes needed to build their vases, following their paper models. It was fascinating to see the great variety of creative solutions—each vase turned out unique in form and design.
The various parts were joined using the scoring and slip technique, which allows clay surfaces to adhere firmly to one another.
The decorations were applied when the pieces had reached the leather-hard stage, an intermediate phase of drying. We used colored slips and two main decorative techniques: stencil and sgraffito.
For the stencil, students cut out simple shapes from magazine pages and applied them to the vase surfaces with a bit of water. Colored slip was then brushed over the paper shapes. Once dry, the paper was removed, leaving a white silhouette in negative.
Afterward, while the clay was still leather-hard, students used the sgraffito technique, carving lines and patterns into the colored areas to add texture and detail. Some students completed their pieces with brushwork, adding personal touches to their decorations.
Finally, the vases underwent a first firing to obtain the bisque, were then glazed with a transparent glaze, and placed in the kiln for a second firing.
The result? A collection of unique, personal vases, each different in shape, color, and decoration—the result of every student’s creativity and effort.