明度练习
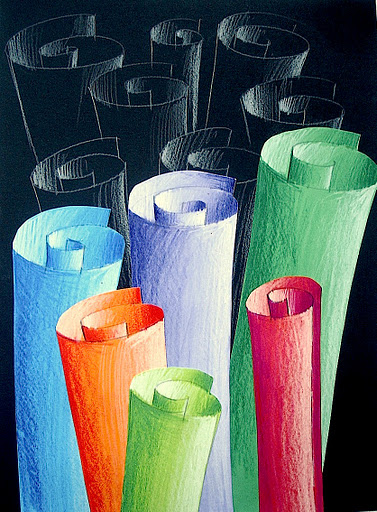
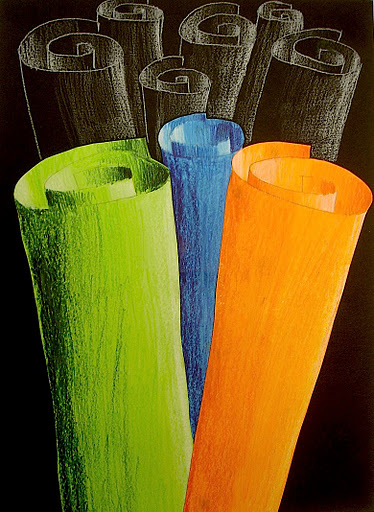
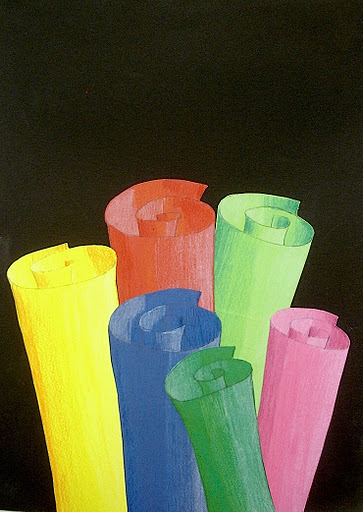
我使用了简单的硬纸板,包括黑色和彩色硬纸板;甚至彩色纸张也适用。首先,我用铅笔在彩色硬纸板上画出卷轴的轮廓。其次,我们用彩铅为卷轴上色:阴影区域用较深的色调,高光区域用较浅的色彩,最明亮处则用白色铅笔,并通过施加不同力度来营造明暗渐变效果。接着,将卷轴形状剪下,最终粘贴到黑色硬纸板上。您还可以向学生展示:将一张硬纸板卷起并从侧面打光,从而直观呈现光影效果。这样有助于他们更清晰地理解物体上亮部与暗部的位置关系。
这些在彩色硬纸板上完成的练习,有助于学生理解光线与阴影在相对复杂的物体(如卷曲的纸张或丝带)上的投射方向。待用彩铅绘出阴影、再以白色油画棒提亮高光后,将造型剪下并粘贴于黑色硬纸板之上,可进一步增强画面的纵深感。

Value exercise
I used simple cardboards, black and coloured, even sheets of coloured papers could be good. First, I drawn the scrolls on the coloured cardboards with a pencil. Second, we colored the scrolls with colored pencils: a darker tone for the shaded area, a lighter color for the highlight areas and a white pencil for the most enlightened, using different pressures to create a gradient. Then you cut the scroll’s shape and eventually paste it on the black cardboard. You can also show to your pupils the effects of light and shadow rolling up a piece of cardboard and illuminating it with a light side. They can understand better where are the lights and the shadow.
Realizzati su cartoncini colorati questi esercizi fanno comprendere la direzione della luce e delle ombre in un oggetto abbastanza complesso, come un foglio arrotolato o un nastro. Una volta colorate le ombre con le matite colorate e le luci con un pastello bianco, la forma viene ritagliata e incollata su un cartoncino nero, per dare ancora più profondità alla composizione.


