拼贴版画课
原文链接:https://createartwithme.com/collagraph-printmaking-lesson/
日期: 2012年10月13日
作者: 米歇尔·伊斯特(Michelle East)
分类: 四年级、五年级、六年级、美术课、拼贴课、拼贴版画、高中美术、初中美术、版画课
标签: 美术课、滚筒、拼贴、拼贴版画、儿童拼贴版画课、拼贴版画技法、拼贴版画、拼贴版画课、拼贴版画项目、小学美术、现成物、高中美术、初中美术、版画、面向儿童的版画艺术项目、版画、吉他主题版画、版画课、版画项目、面向儿童的教师美术项目、儿童美术教学、蛋彩颜料、水彩绘画课
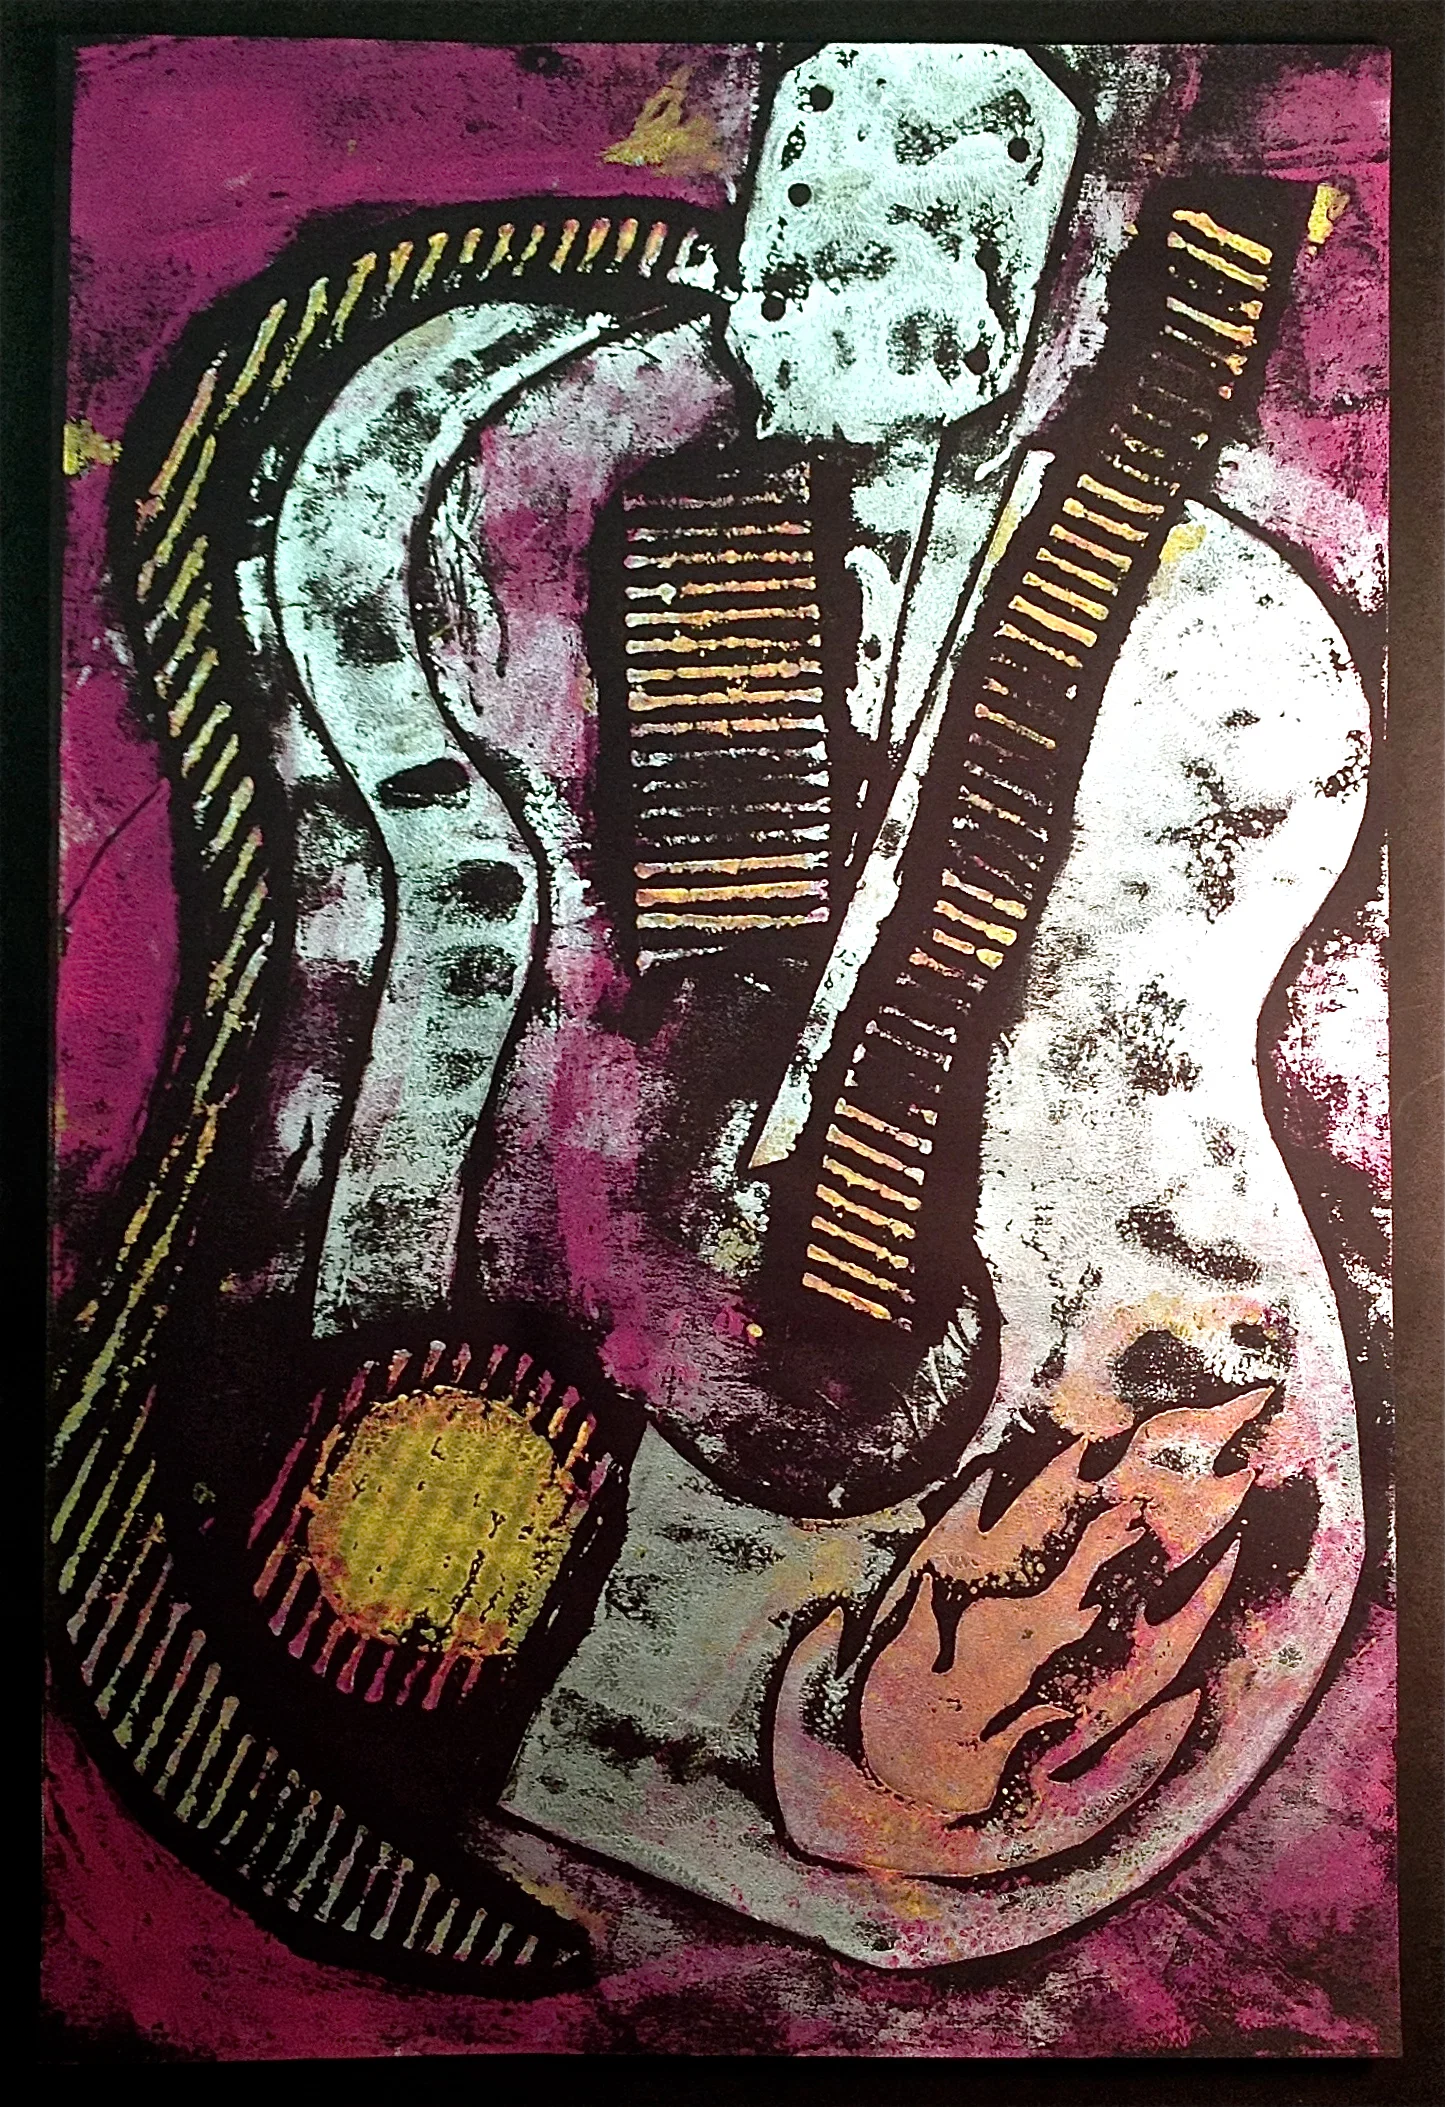
拼贴版画拼贴版画可适配任何年级,可能性无穷无尽!本课基于一种凸版印刷法。
材料: 纸板或泡沫芯板、海报板、剪刀、X-ACTO Z系列#1刻刀  、切割垫板、版画油墨(可用蛋彩颜料替代——但干燥极快)、滚筒(亦可用泡沫滚筒——Speedball莫奈丽莎3英寸海绵滚筒
 )、12×18英寸彩色纸、埃尔默牌液体胶水、清漆或透明丙烯喷雾(拼贴材料:纸张压纹器、各类薄型现成物,用于粘贴至印版上:石膏板接缝胶带、蕾丝花边、钥匙、树叶、织物等)。请注意:不同肌理将呈现不同明度效果,具体取决于表面实际转印出的颜料量。
操作步骤:
制作拼贴版画印版:
- 裁切一块纸板或泡沫芯板作为基底。
- 我会让高年级学生在动手前先设计印版草图,明确自己希望表现的形象或概念,并大致勾勒出主要轮廓;低龄儿童则可单纯享受制作印版的过程,自由选用他们感兴趣的物品进行创作——这常能带来惊喜发现。
- 利用拼贴材料制作浅浮雕图像。可使用层叠的海报板、裸露的瓦楞纸板,以及具有趣味肌理的薄型现成物。所有拼贴材料均需相对平整,厚度须小于1/8英寸,否则印刷时易出问题。
- 用埃尔默牌液体胶水将全部拼贴材料粘贴至基底上,晾干。
- 印版必须完全干燥后方可封护。正反两面均需涂覆清漆(刷涂)或喷涂透明丙烯喷雾。封护后须静置过夜,再行印刷。
手工印刷:
- 用滚筒蘸取多种颜色油墨为印版上墨(操作需迅速);
- 将纸张平铺于印版之上(纸张须预先裁切至与基底尺寸一致);
- 自纸背用磨版器(或类似木蘑菇、汤匙等可用于凹版或木刻印刷的压印工具)均匀压印;
- 将印品置于晾干架或平整台面上阴干。切勿将未干印品叠放!
- 印品干燥后签名;
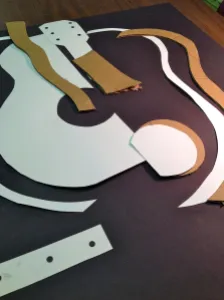
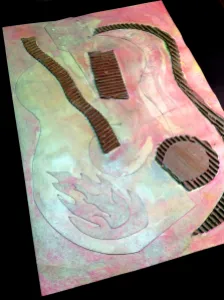
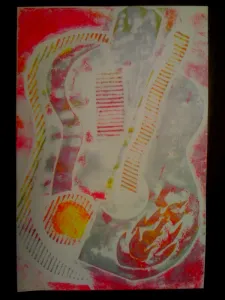
本课由米歇尔·C·伊斯特(Michelle C East)原创。若您选择转载此课(含文字或图片),请务必注明原始出处并链接至Create Art with ME*。*
Collagraph Printmaking Lesson
Original: https://createartwithme.com/collagraph-printmaking-lesson/
Date: 2012-10-13
Author: Michelle East
Categories: 4th Grade, 5th Grade, 6th Grade, Art Lessons, Collage Lessons, Collograph Prints, HS Art, MS Art, Printmaking Lessons
Tags: art lesson, brayer, Collage, collagraph, collagraph lesson for kids, collagraphy, collograph, collograph lesson, collograph project, elementary art, found object, HS art, MS Art, print, printing art projects for kids, Printmaking, printmaking guitar, printmaking lesson, Printmaking project, teacher art projects for kids, teaching art to kids, Tempera, watercolor painting lesson
Collagraph PrintCollagraph printmaking can be adapted to any grade level. The possibilities are endless! This lesson is based on a relief printing method.
Supplies: Cardboard or foam core, poster board, scissors, X-ACTO Z Series #1 Knife , cutting boards, printmaking inks (tempera paint can be substituted-dries really fast though), brayers (foam rollers can also be used- Speedball Mona Lisa 3-Inch Sponge Roller), 12×18″ colored paper, Elmer’s liquid glue, varnish or clear acrylic spray (Collage materials: paper crimpers, various THIN found objects to glue on printing plate: drywall tape, doilies, keys, leaves, fabrics, etc.) Keep in mind that various textures will give the appearance of different values depending on how much color actually prints from the surface.
Instructions:
Prepare Collagraph Printing Plate:
- Cut a piece of cardboard or foam core for the base.
- I have my older students pre-design their plate before they start so they have an image/concept they are trying to portray. They need to roughly draw in major outlines of their image. Younger children can simply enjoy the experience the process of the creating the plate using objects they find interesting. This leads to great discoveries for them.
- Create a low-relief image out of collaged materials. You can use layered poster board, exposed corrugated cardboard, &THIN found objects that have interesting textures. All collaged materials need to be relatively flat, less than 1/8th of an inch thick, or you will run into problems printing.
- Glue all collage materials to the base using Elmer’s glue. Let dry.
- The plate must be dry before sealing it. Seal the front and back of the plate using varnish (paint on) or clear acrylic spray. Dry overnight before printing.
Printing by hand:
- Ink plate with various colors using a brayer (work quickly),
- Place paper onto the plate (precut paper to size of base)
- Burnish from the back with a barren other burnishing tools that would be used in printing a linocut.
- Place on a drying rack or some flat surface to dry. Do not stack wet prints on top of each other!
- Sign prints when dry.
This lesson was created by Michelle C East. If you choose to re-blog or use this lesson in any way (written or photos), then please make sure to link/credit to Create Art with ME.**
