Abstract Art Guitar or Music Instrument Mixed Media Lesson
Original: https://createartwithme.com/abstract-art-guitar-or-music-instrument-mixed-media-lesson/
Date: 2012-10-25 Author: Michelle East Categories: 2nd Grade, 3rd Grade, 4th Grade, 5th Grade, 6th Grade, Abstract Art, Art History Lessons, Art Lessons, Collage Lessons, Drawing Lessons, Elementary Art, Mixed Media Lessons, Painting Lessons, Watercolor Lessons, Watercolor Resist Tags: 2nd grade art, 3rd grade art, 4th grade art, abstract, abstract art, abstract art lessons for kids, abstract art projects for kids, abstraction teaching kids about abstract art, art class for kids, art distortion, art lesson, art lessons for children, art lessons for kids, art projects, art projects children, Collage, cubism lesson, elementary art, for elementary, kids art class art with mixed media, kids art lessons, kids school art projects, mixed media abstract art, mixed media art projects for kids, mixed media lesson for kids, oil pastel and watercolor resist, pablo picasso, Pablo Picasso lesson, painting, teaching art to kids, Violin and grapes, Watercolor, watercolor resist
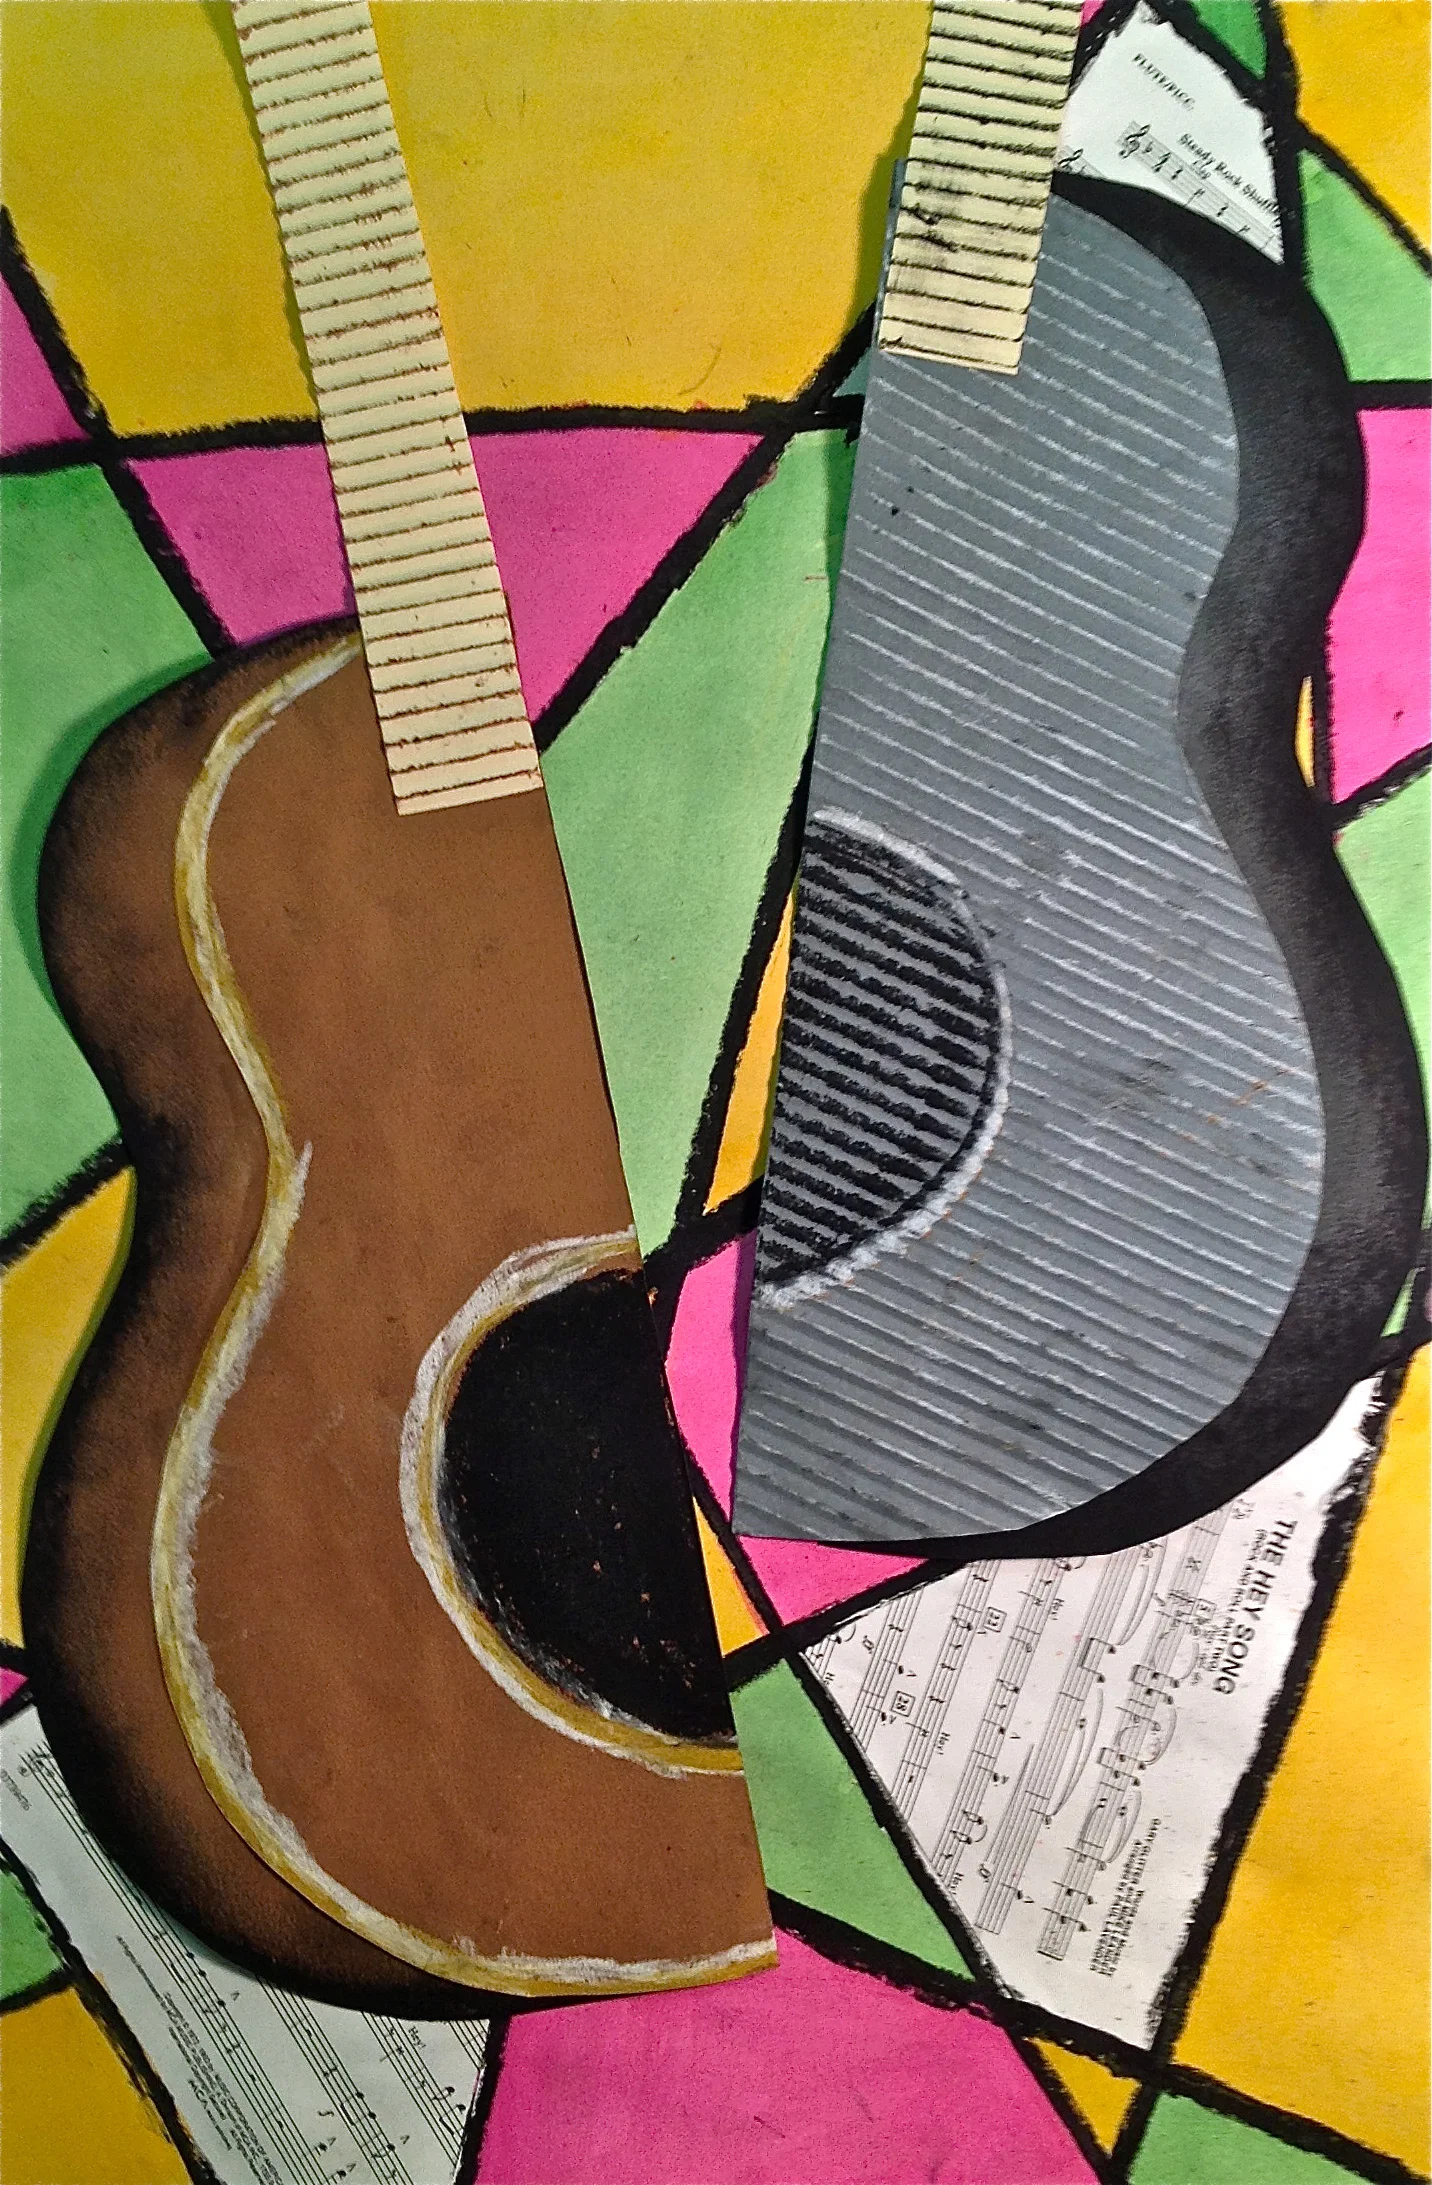

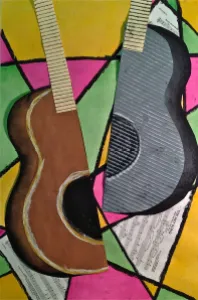
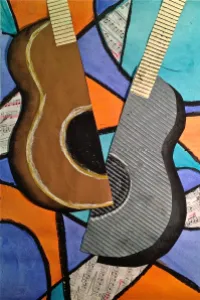
Cubism is an excellent art movement to teach children about abstract art. Abstract are is different than non-objective art (see below). This lesson is geared towards 1st-4th grade students, but can be adapted to any level above 1st grade. My Cubism Instrument Oil Pastel and Collage Art Lesson is the adapted cubism music instrument lesson I do with my middle school and high school students.
Supplies: 2 sheets of 9×12″ construction paper-diff. colors, glue, charcoal & white pastel, Aqua Net hairspray
Delivery:
- What is the difference between non-objective and abstract art?
- Non-Objective Art- Art that is not representational, containing NO recognizable figures or objects. The elements of art (lines, shape color, etc.) are the main subject. In other words, you don’t look at it & see a person or a dog or a flower.
- Abstract Art- In abstract art the artist takes recognizable objects or figures and changes them so they no longer looks realistic. The artist may leave out details, shift the point of view, exaggerate size, simplify or otherwise distort the image.
- Abstraction Techniques:
- Change the viewpoint, have multiple viewpoints.
- Change the colors to unrealistic colors.
- Distort the images: shrink, enlarge, stretch, pull, twist, etc.
- Cut the image up & re-position it on the picture plan.
- Collage additional materials onto the surface.
- Look at Pablo Picasso’s painting “Violin & Grapes”. Notice how he has abstracted the recognizable shapes by cutting them up, changing the viewpoint & changed the colors (muted). Cubism is a excellent example of abstraction in art. (Pablo Picasso Biography)
Instructions: Abstract Guitar (Length 6-7 30 min. class periods)
Choose an instrument (Saxophone, guitar, violin, piano, tuba, trumpet) to have as your main subject matter. Symmetrical instruments work the best for this project. I chose the guitar, so the rest of the directions are based on a guitar.
Guitars:
- Choose 2 sheets of 9×12″ construction paper, I used brown & grey, but really you could use any 2 colors.
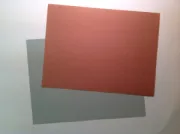
- Fold the papers in half vertically & draw half of the body of the guitar.
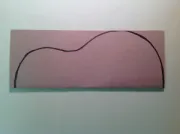
- Cut out the shapes while they are still folded in half.
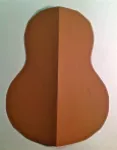
- Cut the body in half down the fold line so you have a total of 4 half guitar shapes.
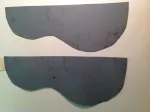
- With the same color halves facing the same direction (as in the picture above), use charcoal to color & smudge around the curved edge of the piece that will go in the back. Next use white chalk/pastel to draw an outline only (don’t smudge) around the curved edge. Also on this front body draw a half circle & fill it in with black charcoal. On the next color paper, turn them over so they look like they would complete the body. Repeat the same instructions to the other color halves.
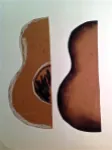
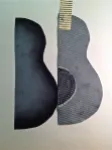
- Cut “necks” out of construction paper. My strips were 2″x8″ long, then I used a paper crimper to give it some texture. The kids LOVED doing this part!! You can also lightly rub charcoal along the crimped paper to show the lines better. Make 2 necks.
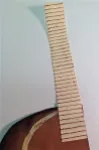
- Glue the black edged body to the front body. Also glue the neck onto the bodies.
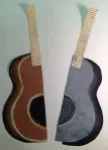
- Spray the guitars with “Aqua Net” hairspray to keep the charcoal/pastel from coming off. (This works for all charcoal & pastel drawings!)
Background:
Supplies: music sheets (one per child), 12×18″ white Tag board, watercolors, black oil pastels
- Pre-cut music sheets into triangles (older children can do it themselves). Do NOT make them all the same size or shape! I got my music sheets from our music teacher-she was going to recycle them & I asked if we could have them for collaging.
- Give each child 3-4 music sheets. Have them glue them to a 12×18″ sheet of tag board.
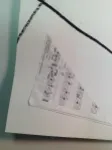
- Use an oil pastel to draw dividing lines across the background. I told students to follow the edges of the music sheets & continue the line until it hit the edge of the paper. If it looked like the lines were going to run into another music sheet, then just skip over the music sheet & continue the line on the other side. You can even add circles to brake up the space more.
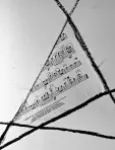
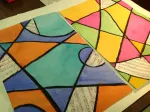
- Using watercolors, choose 3 colors to paint the background. Try to repeat the colors without having the same color right next to it. Here are 2 examples.
- Finally, glue the guitars to the background. Play around with placement until you find the most interesting one, then glue it down. Cut off any extra necks that are hanging off the edges.
This lesson was created by Michelle C East. If you choose to re-blog or use this lesson in any way (written or photos), then please make sure to link/credit to Create Art with ME.**