彩虹调色粒子
原文链接:https://tabithaannthelostsock.blogspot.com/2016/04/rainbow-p.html
日期: 2016-04-05
标签: 艺术、烧杯、色彩、小学、实验课、教案、调色、彩虹、科学
2017–18 学年
菲尔利普斯女士二年级班
伊莱娜、迈尔斯、宰娜,
马特、约翰,
亚历克斯、阿莉扎伊、艾登·Q.,
利齐、雅各布与迭戈
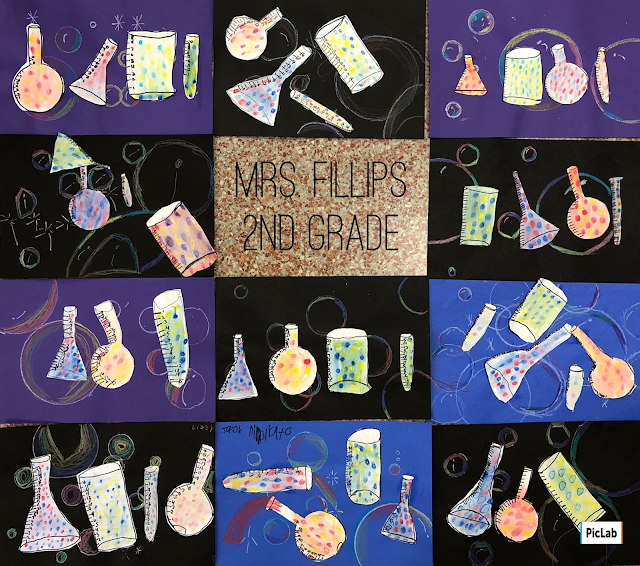
丹尼尔与加勒特
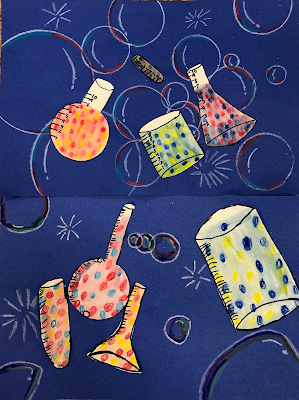
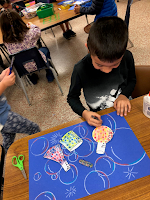
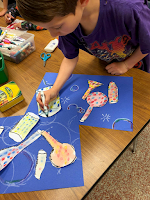
麦克米利安女士二年级班
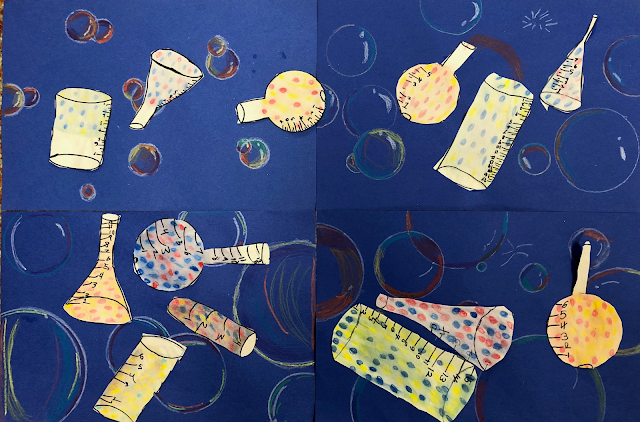
莱拉、卡娜,
梅利克与萨米娅
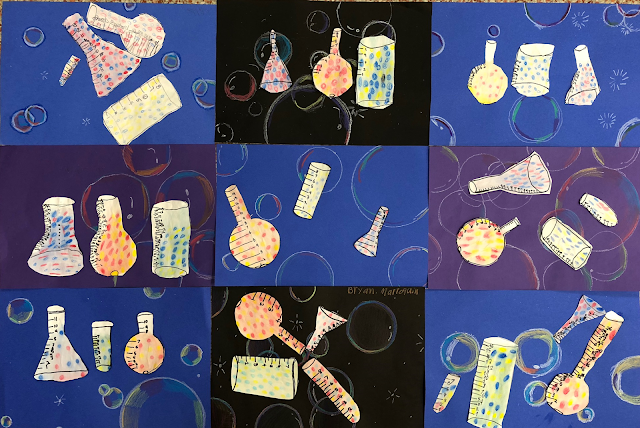
费思、布鲁克林、普里斯西拉,
杰奎琳、伊丽莎白、奥布里,
奥利维亚、布莱恩与托比亚斯
多女士二年级班
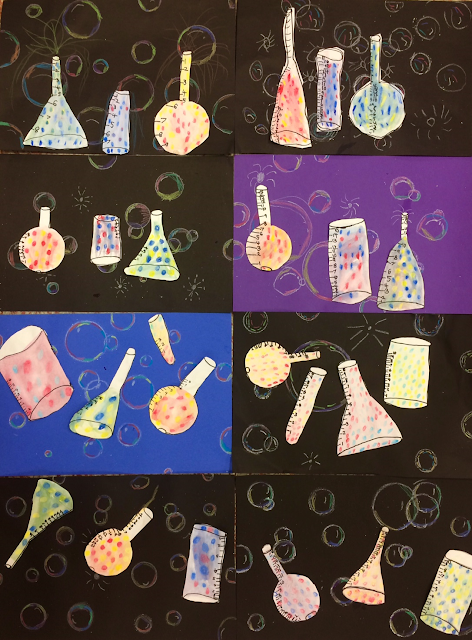
阿舍、迈克尔,
吉内特、莉莉,
安妮、明慧,
奥利维亚与艾登。
2016–17 学年
梅女士三年级班
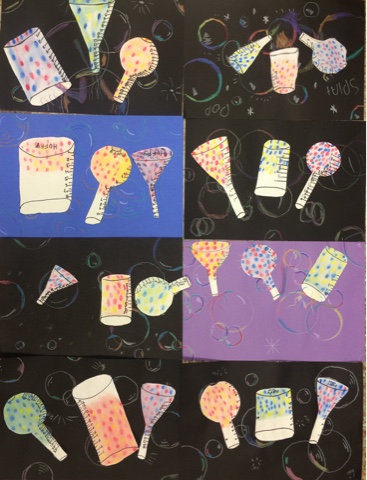
马赛厄斯女士三年级班
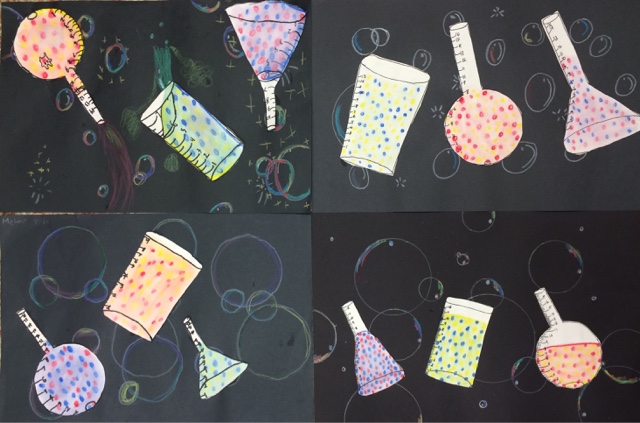
塔姆、匿名学生,
梅拉妮与奥斯汀
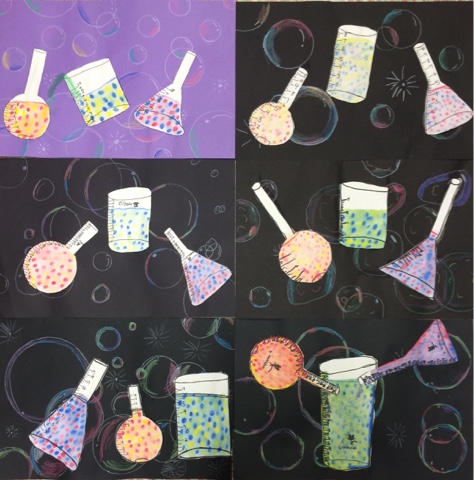
匿名学生、佐伊,
阿多尼斯、匿名学生,
以撒与Y.(合作完成)
怀特女士2016年二年级班
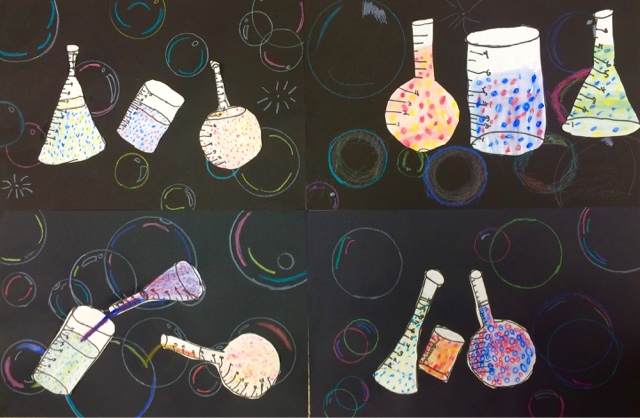
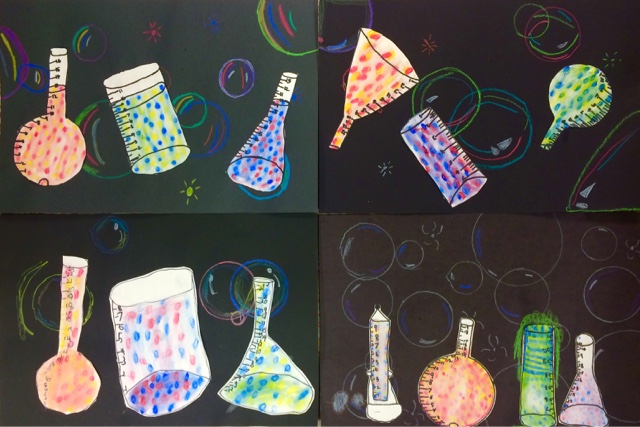
亚历克西斯、梅拉妮,
海莉、杰琳,
瓦莱里、艾玛,
泽维尔与贾斯汀
约翰逊女士二年级班
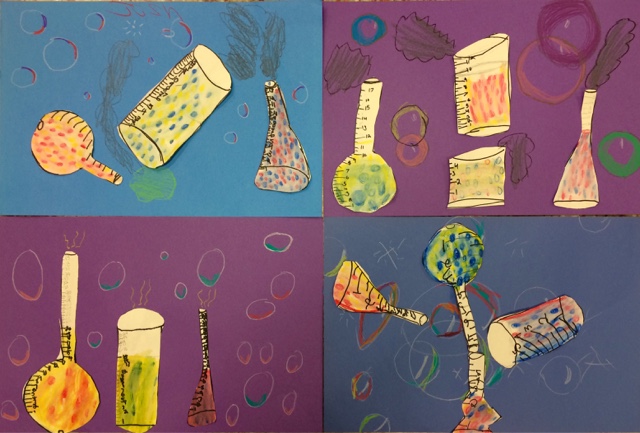
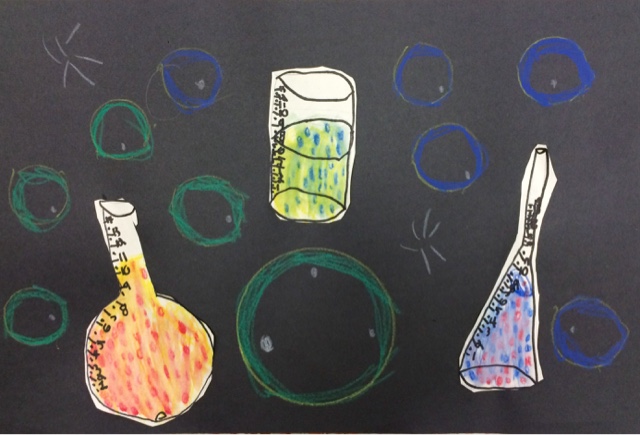
乔什、匿名学生、谢尔比,
匿名学生2号与约瑟夫。
帕克女士二年级班
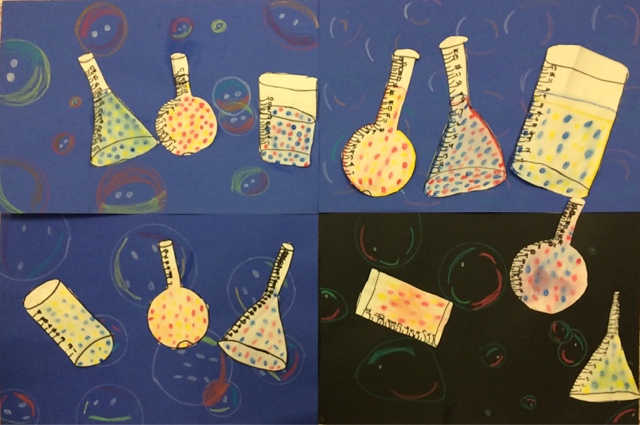
艾米丽、乔西琳、德博拉与乔乔
首先我要说明:本项目并非我原创。杰出的美术教师卡西·史蒂芬斯(Cassie Stephens)设计了这一课程,我一见倾心。她在自己的博客中对每一步都做了极为详尽的讲解……
http://cassiestephens.blogspot.com.au/2016/02/mad-scientist-creations-for-first-grade.html
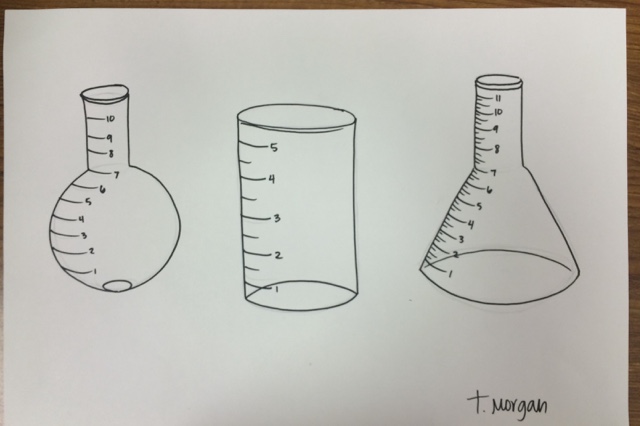
从基础形体入手
超爱这首歌!!
以一种超级酷的方式讲授三原色。
https://www.youtube.com/watch?v=yu44JRTIxSQ
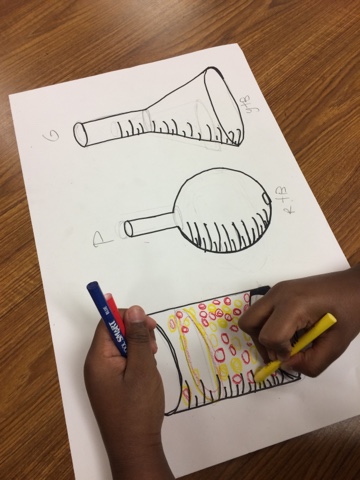
克雷格女士二年级班
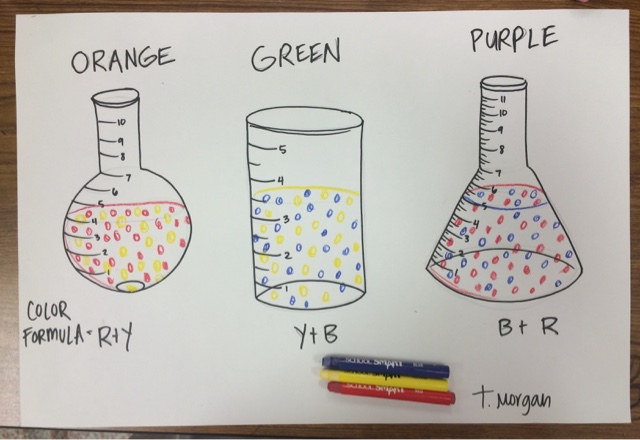
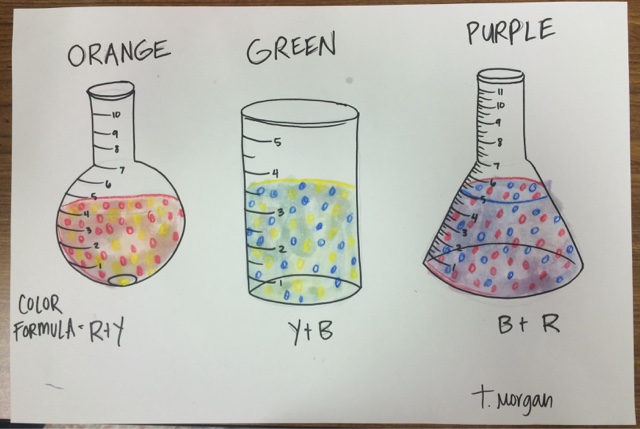
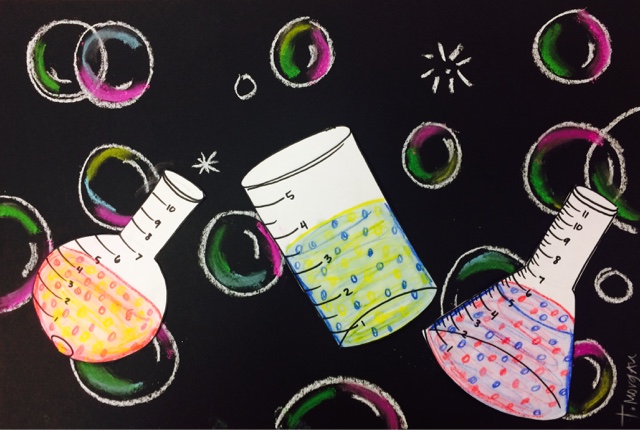
使用水彩铅笔或蜡笔,在每个烧杯中绘制两种颜色的“分子”,直至填满烧杯。
再用水和画笔在烧杯内混合颜色。
待其晾干。
气泡背景
观看我的视频,学习如何在深色纸上绘制气泡……
https://www.youtube.com/watch?v=4lwshx8d5ao
使用彩色卡纸蜡笔
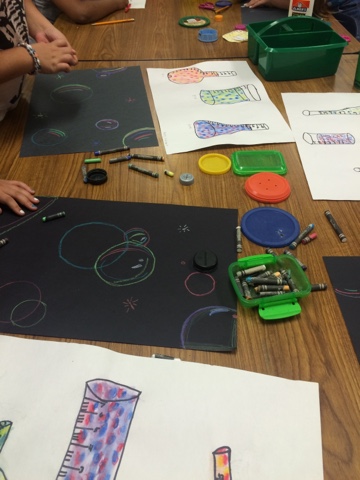
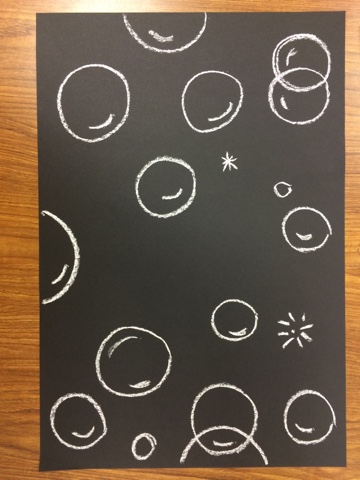
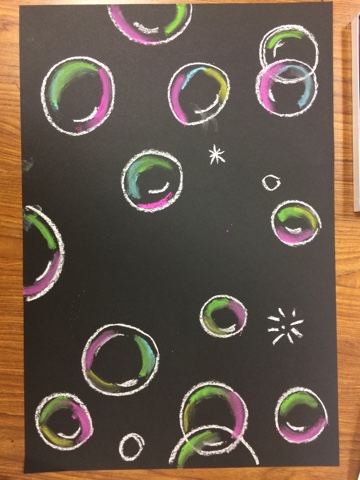
用白色蜡笔、彩铅或油画棒画出圆形。
可描摹轮廓,但用油画棒描摹会过于凌乱。
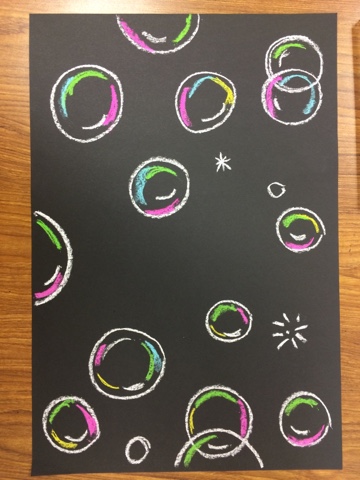
添加较浅的油画棒颜色,表现气泡的虹彩效果。
注意:仅沿气泡外缘以弧线方式添加。
建议先观察真实气泡的图片。
分别晕染每种颜色。
(抱歉我的指甲很丑——美术教师的真实生活!)
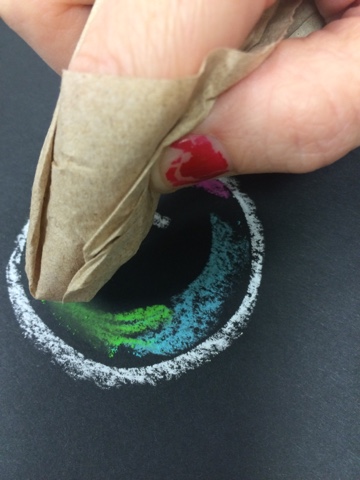
用纸巾包裹食指,以指尖轻柔按摩每个气泡,每次只晕染一种颜色。我从绿色开始(见上图)。
全部绿色晕染完毕后,将手指移至纸巾洁净部位,再晕染下一种颜色。
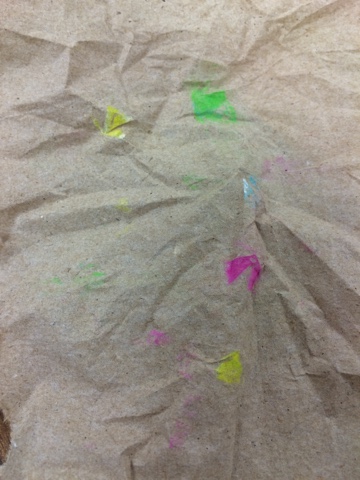
每个指尖位置对应一种颜色,因此不会混色。
将晾干的烧杯剪下并粘贴固定。你的“色彩实验”即告完成。
彩虹调色粒子
Original: https://tabithaannthelostsock.blogspot.com/2016/04/rainbow-p.html
Date: 2016-04-05
Tags: art, beaker, color, elementary, lab, lesson, mix, rainbow, science
2017-18
Mrs. Fillips 2nd grade class
Ilana, Miles, Zaina,
Matt, John,
Alex, Alizay, Aiden Q.,
Litzy, Jacob& Diego
Daniel and Garrett
Mrs. McMillian's 2nd class
Leila, Kana,
Melik &Samiya
faith, Brooklyn, Priscilla,
Jacqueline, Elizabeth, Aubrey,
Olivia, Bryan &Tobias
Mrs. Do's 2nd grade class
Asher, Michael,
Ginette, lily,
Annie, minghui,
Olivia & Aiden.
2016-17
Mrs. May's 3rd grade
Mrs. Matthai's 3rd grade
Tam, anonymous,
Melanie & Austyn
Anonymous, , Zoey,
Adonis, anonymous,
Isaac & y. Cooperation
Mrs. White's 2nd grade class 2016
Alexis, Melanie,
Hailey, jaelynn,
Valery, Emma,
Xavier & Justine
Mrs. Johnson's 2nd grade class
Josh, Anonymous, Shelby,
Anonymous 2 & Joseph.
Mrs. Patker's 2nd grade
Emily, Jocelyn, Debora & JoJo
First off I want to say that I am not the creator of this project. THe amazing art teacher Cassie Stephens created it and I fell in love with it. She goes in to way deeper explanination of every step in her blog here...
http://cassiestephens.blogspot.com.au/2016/02/mad-scientist-creations-for-first-grade.html
Getting Started with Forms
Love This SONG!!
Teached the three primary colors in a super cool way.
https://www.youtube.com/watch?v=yu44JRTIxSQ
Mrs. Craig's 2nd grade
Using watercolor pencils or crayons, make molocules of 2 color in each beaker to fill it up.
Then use water and paint brush to mix the colors in the beaker.
Let dry.
Bubble Background
Watch my video on how to draw bubbles on dark paper...
https://www.youtube.com/watch?v=4lwshx8d5ao
With construction paper crayons
Draw circles with a white crayon, colored pencil or pastel.
They can be traced, but it is too messy to trace with pastel.
Add lighter pastel color to show iridescence.
Make sure you are adding it with curved lines only around the outside of the bubble.
It will help to view images of real bubbles first.
Blend each color individually.
(sorry about my ugly nails, life of an art teacher!)
Put paper towel around your pointer finger and massage one color on each bubble. I started with green (see above).
When done with all green move finger to a clean part of towel and do next color.
Each finger spot has its own color so it won't mix.
Cut out the dry beakers and glue down. Your experiment is complete.


