幼儿园彩虹画
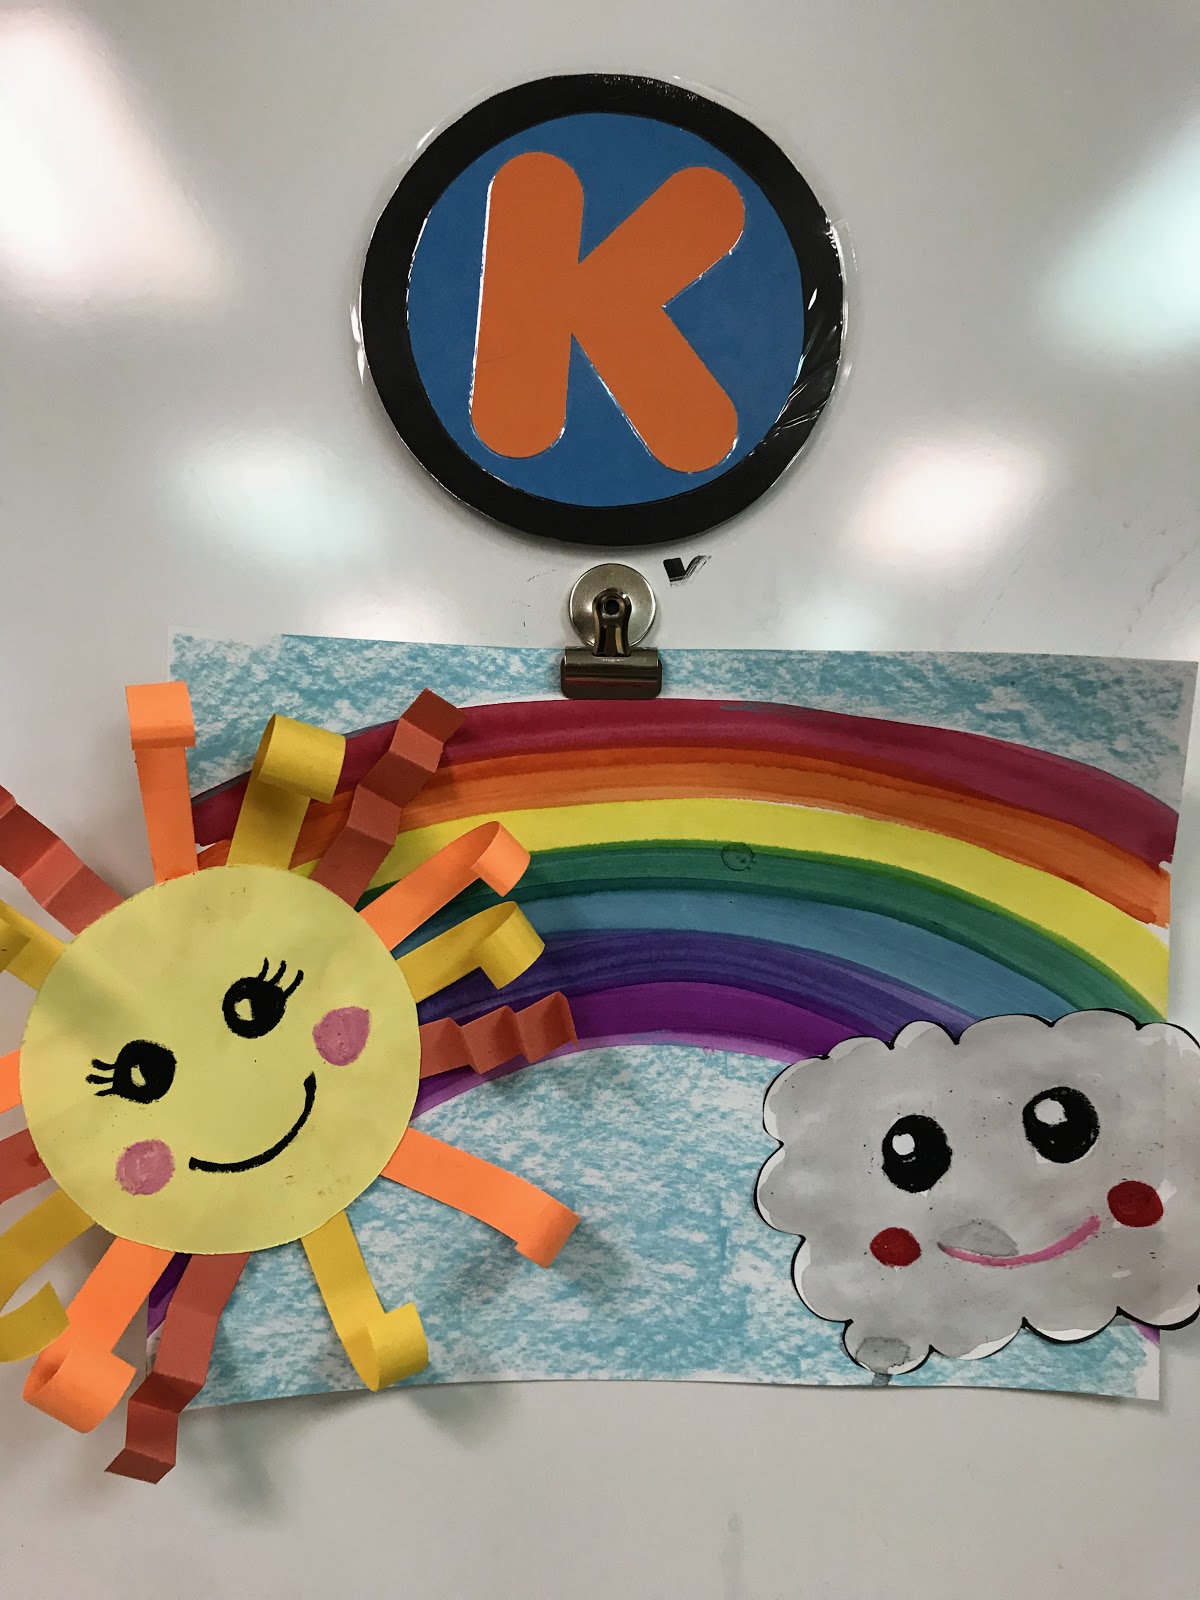
过去几周,幼儿园的孩子们一直在创作这件可爱的小作品!这个超萌的创意,又一次来自才华横溢的艺术教师 Cassie Stephens。点击她的名字,即可欣赏她精彩绝伦的艺术教学风采!
今年早些时候,我们曾用彩虹色纸制作过一朵可爱的小云朵;因此本课既是对彩虹颜色顺序的复习,也锻炼了多种其他能力!!
以下是我们的制作步骤!
材料:
Sax 80磅纸
Jack Richeson 半湿润水粉颜料块
Sargent Art 粉笔画棒
Tru-Ray 彩色卡纸
Fiskar 儿童剪刀
第一天:绘制彩虹。听起来很简单,对吧?哈哈!你们试试让二十多个小小孩第一次拿起画笔作画,再回来告诉我感受!😂 过程超级有趣!!😄 我们先讲解如何握笔,再介绍如何使用水杯和水粉颜料块——口诀是“一蘸、一擦、一转”;接着按顺序逐个颜色来画。“一蘸、一擦、一转”在绘画过程中被反复强调:我告诉孩子们,先将画笔“蘸”入水中,再于杯沿“擦”去多余水分,最后轻轻在水粉颜料块上“转”出颜料。
接下来正式开画!这就像一次引导式绘画:我画红色,你们也画红色,依此类推。每画完一种颜色,我就在教室里走动巡视,确保每位孩子都按指令操作,没有画错内容!😆
注意:此过程未拍摄照片!实在没时间!! lol
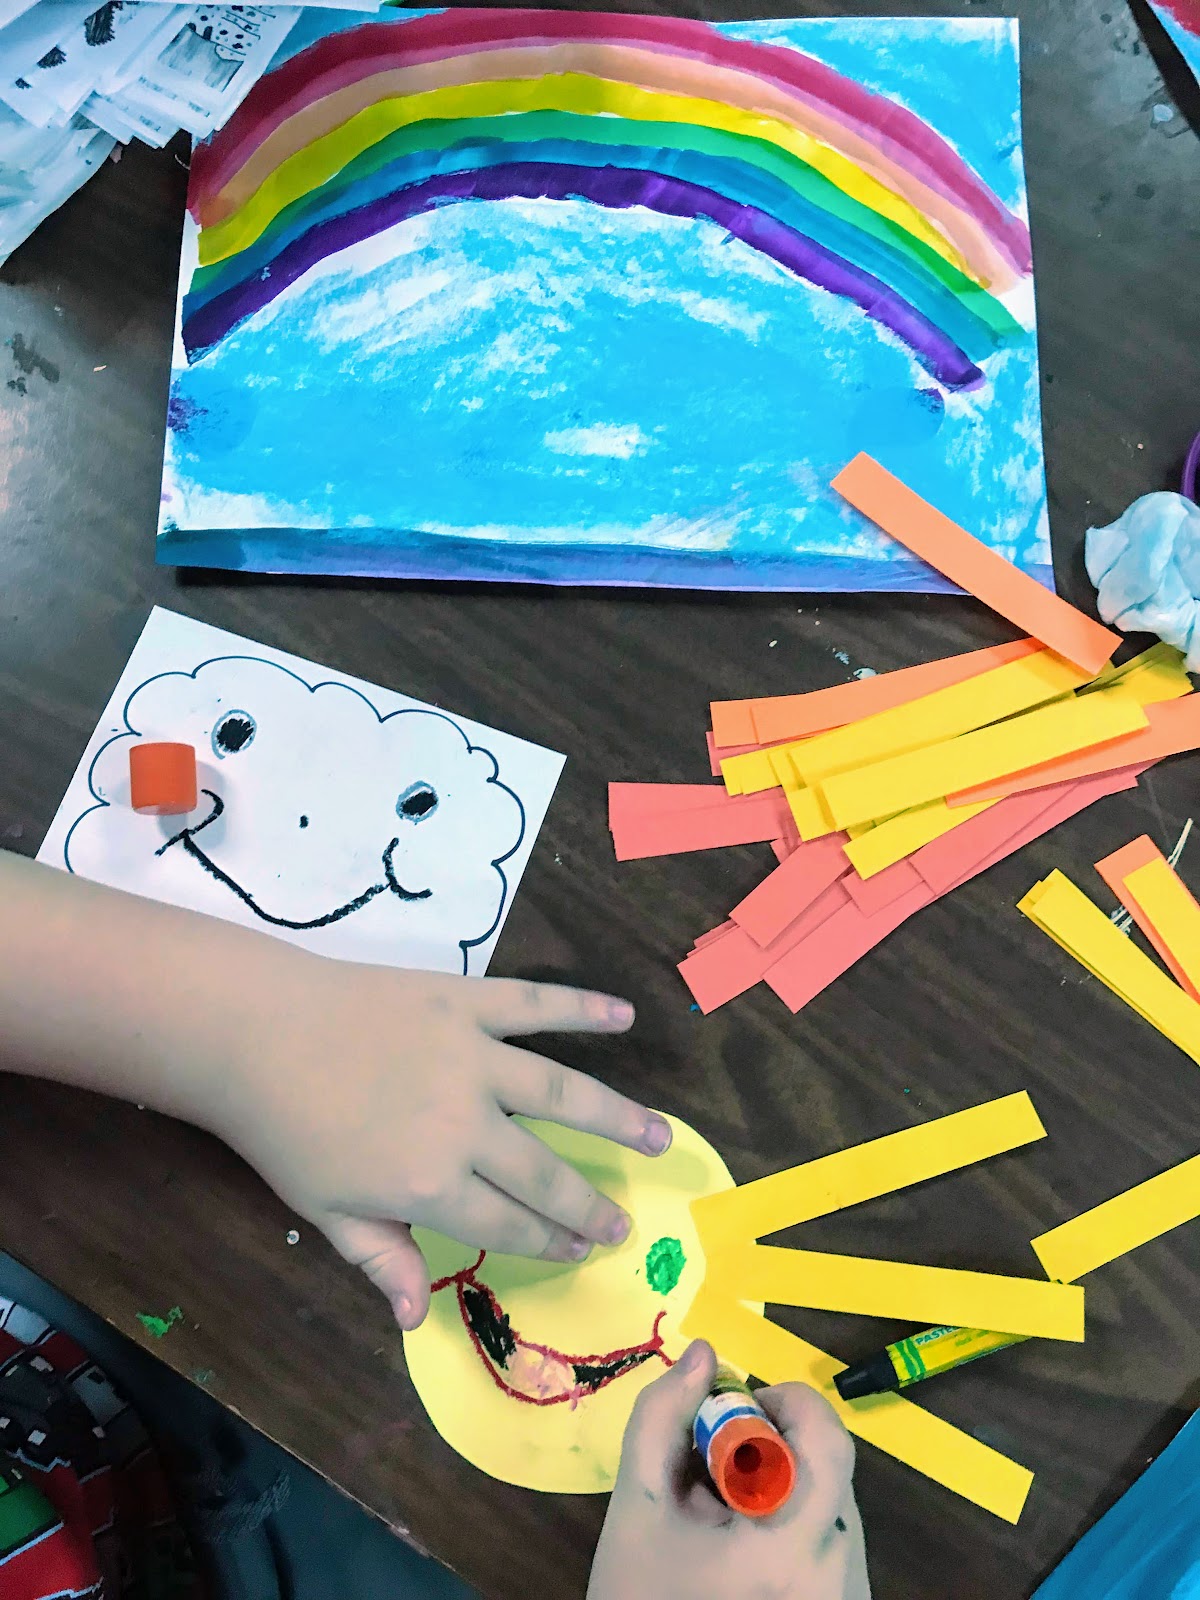
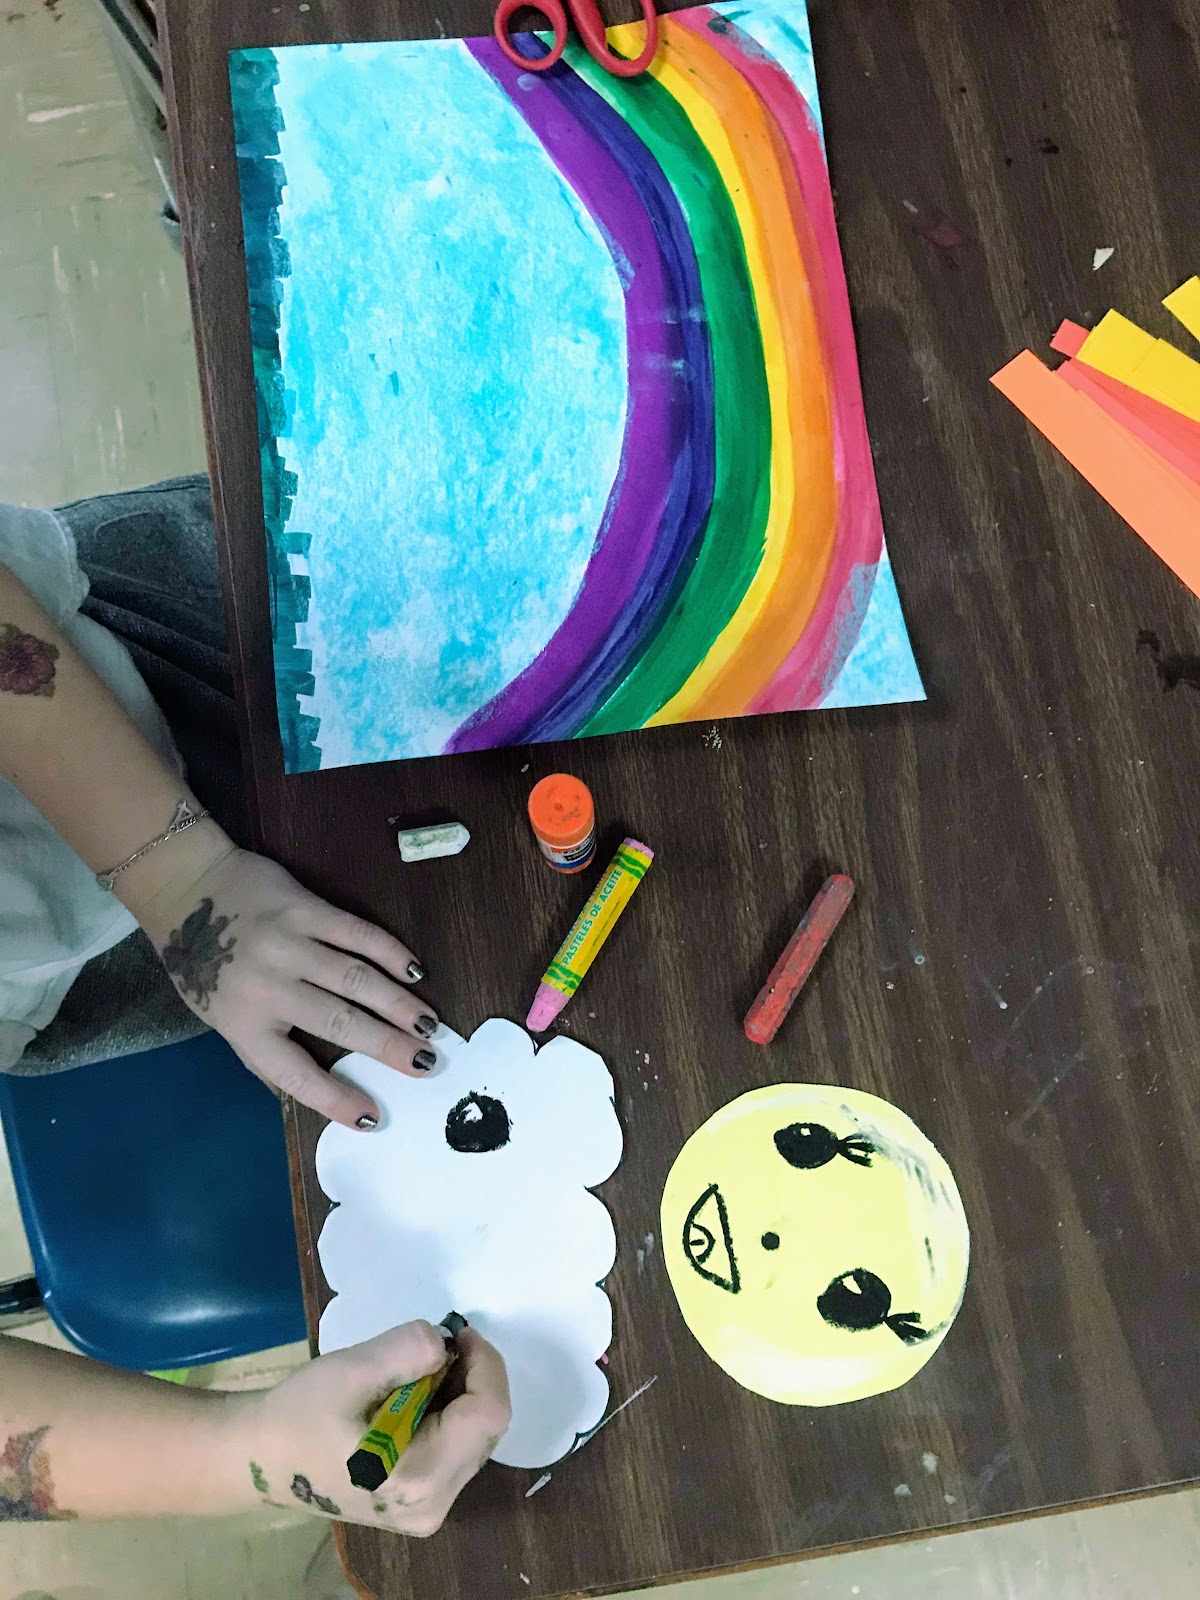
第二天:我们用蓝色粉笔画天空,再添上带光芒的太阳和一朵开心的小云朵。孩子们为太阳和云朵画出的各种小表情,真是趣味十足!
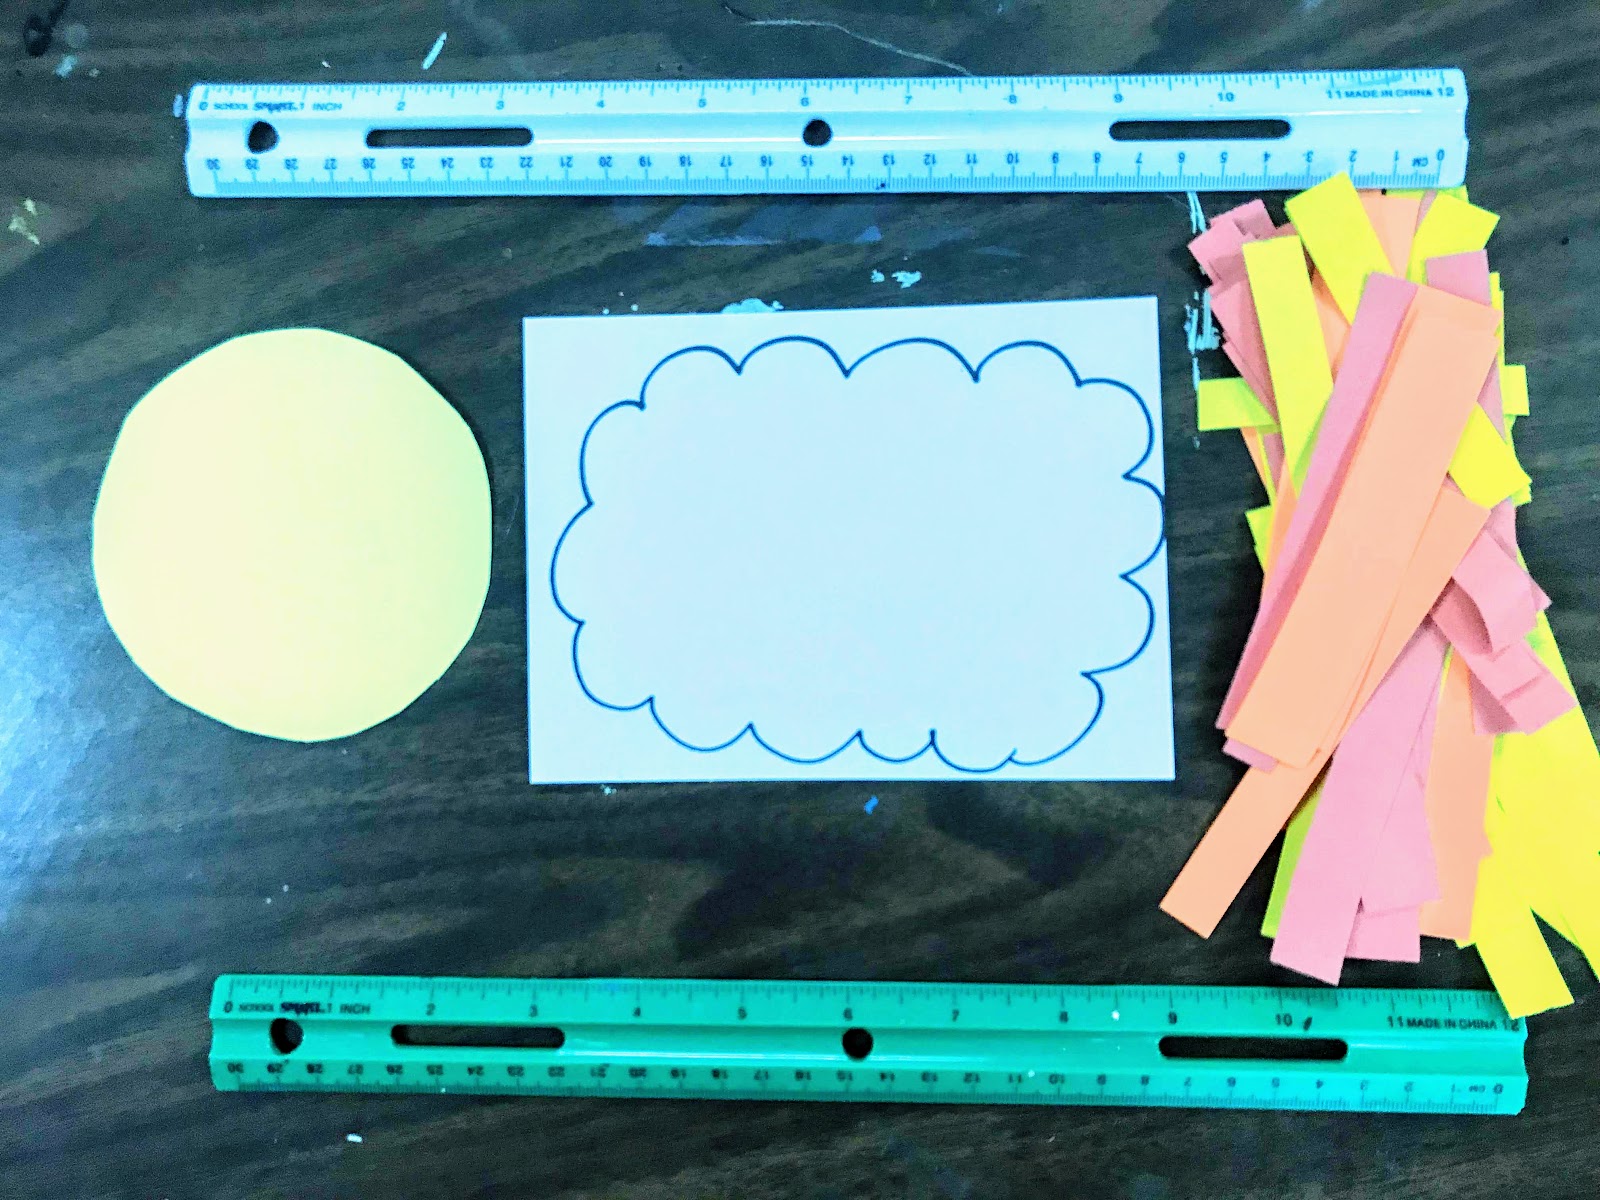
以下是我分发给孩子们使用的范例图。
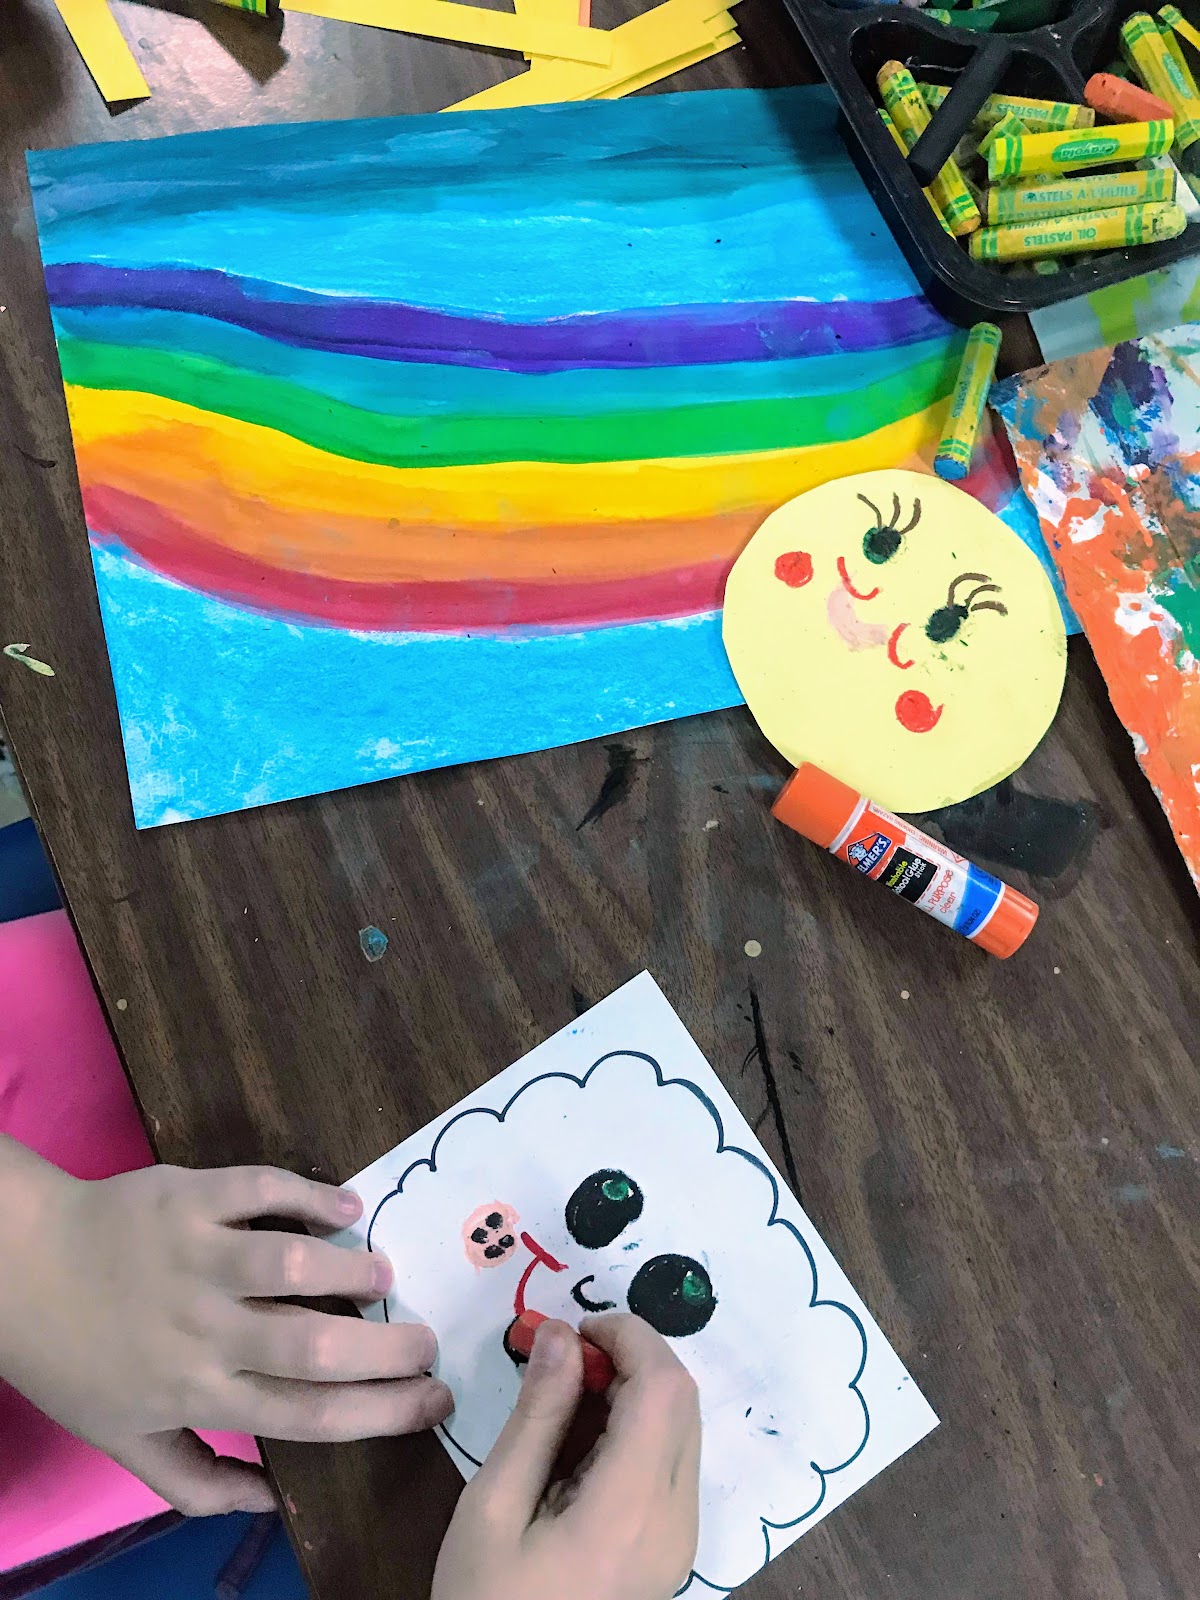
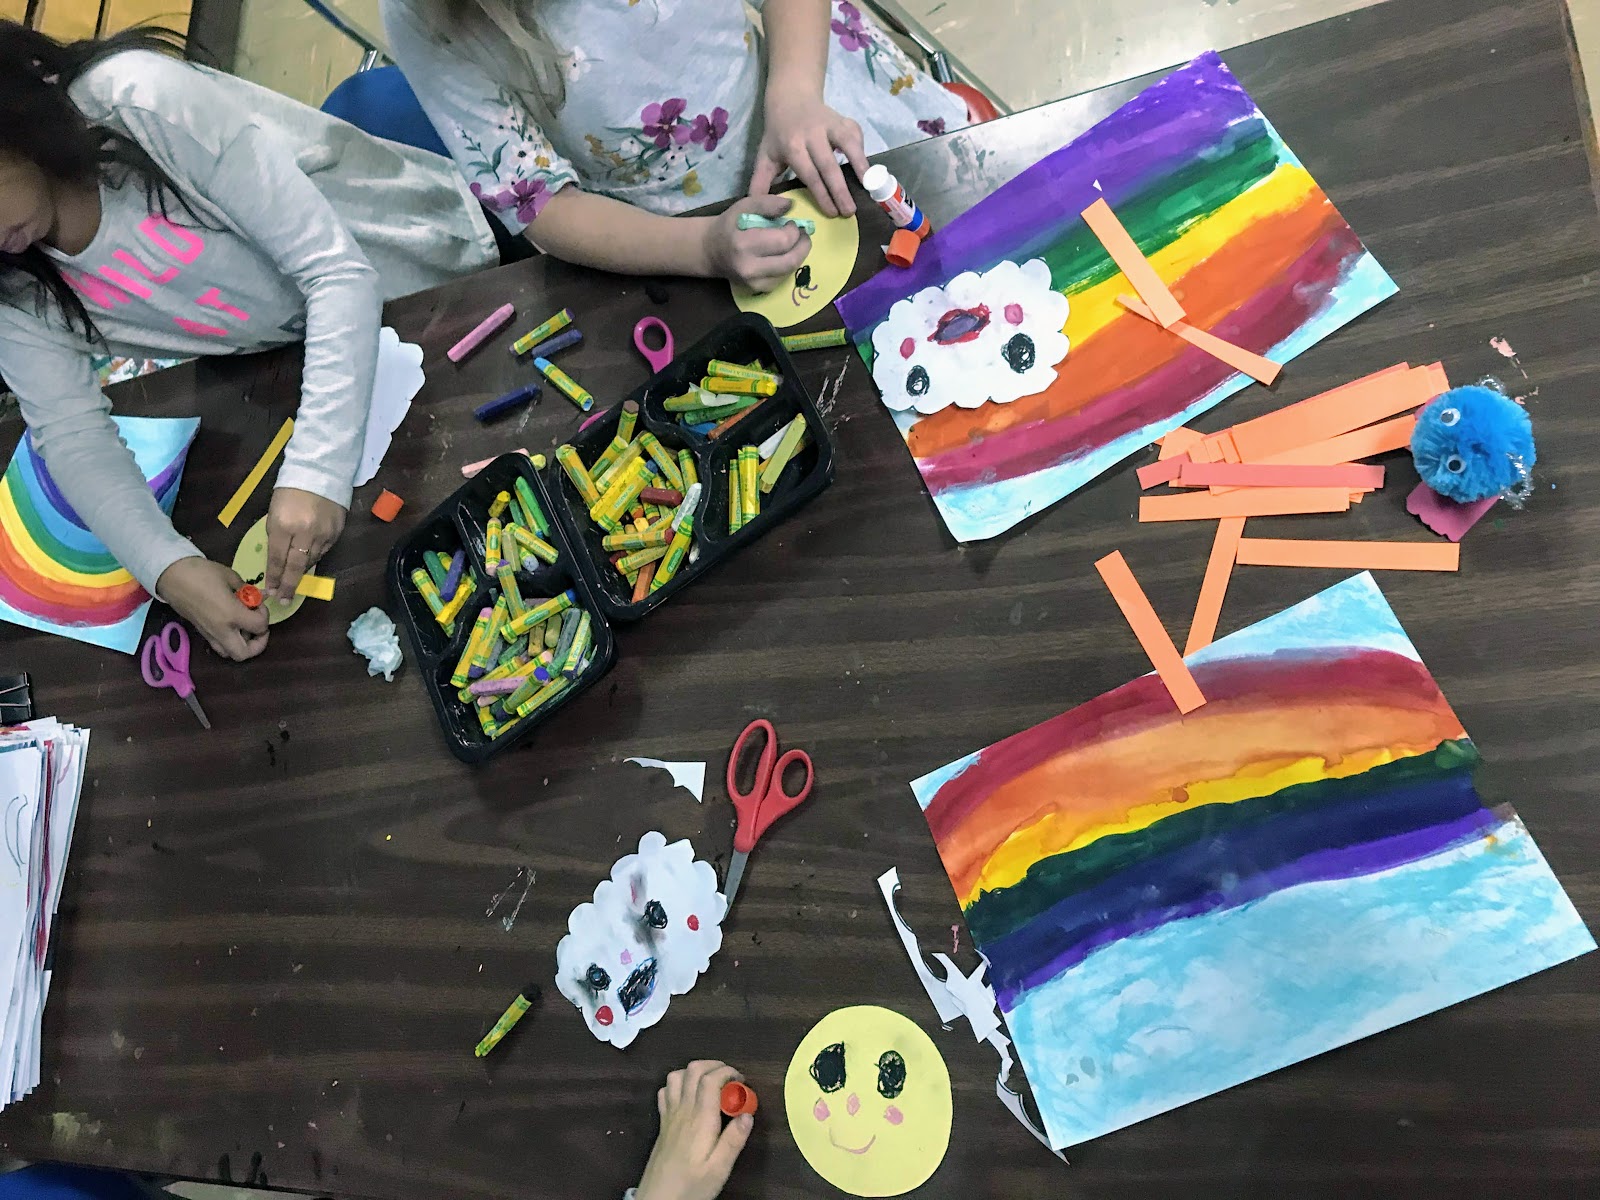
这是加西亚老师(Mrs. Garcia)班上的孩子,正在热火朝天地进行第二天的创作!太棒了!!
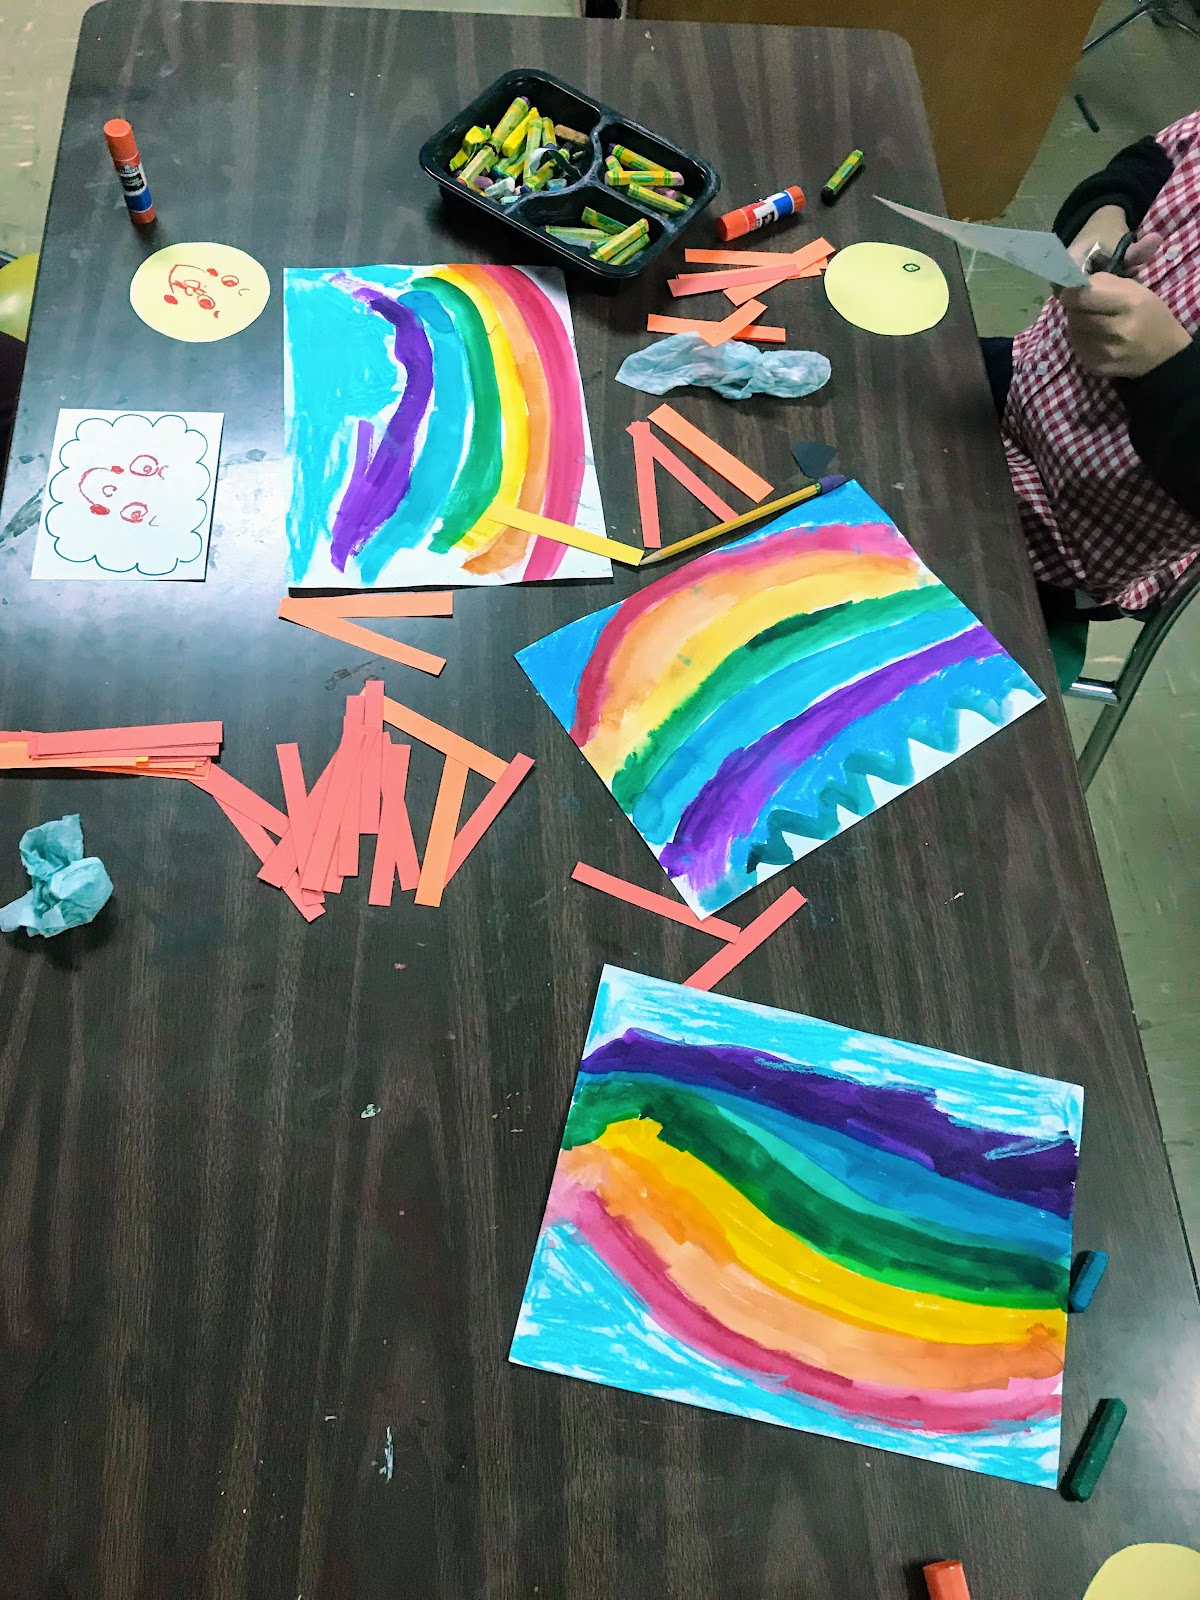
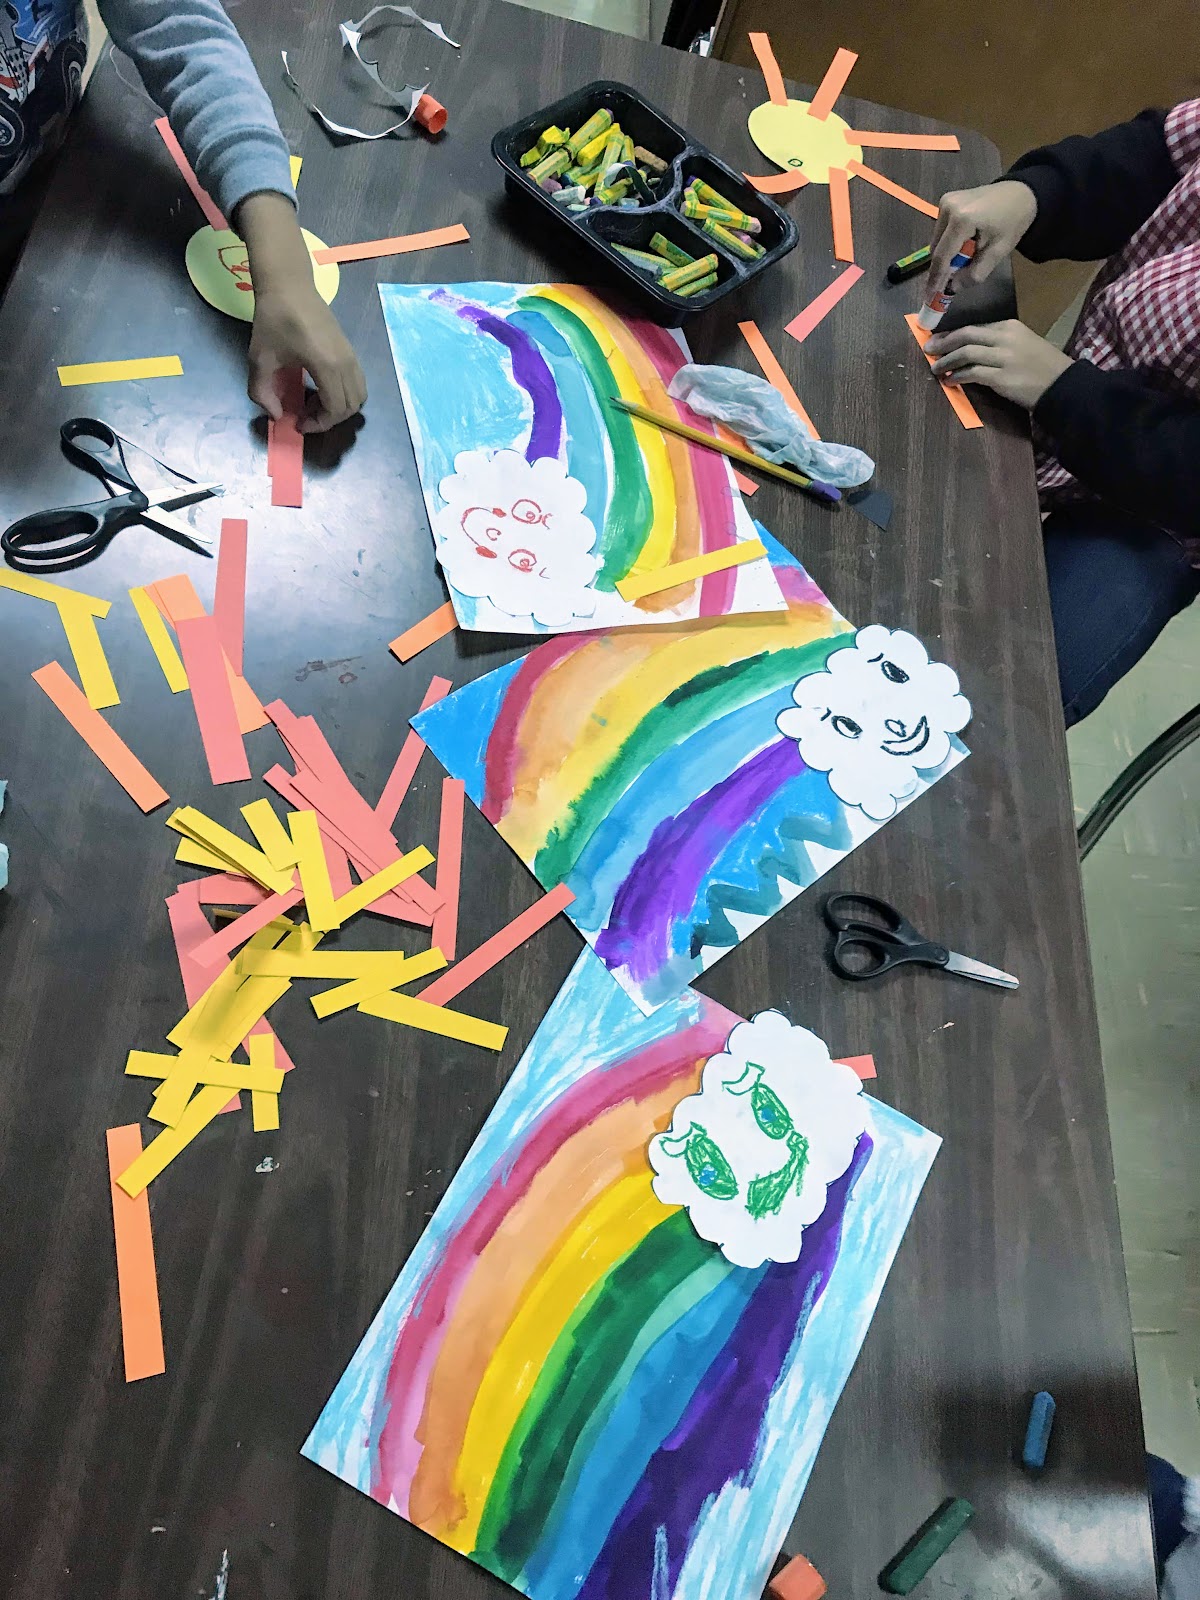
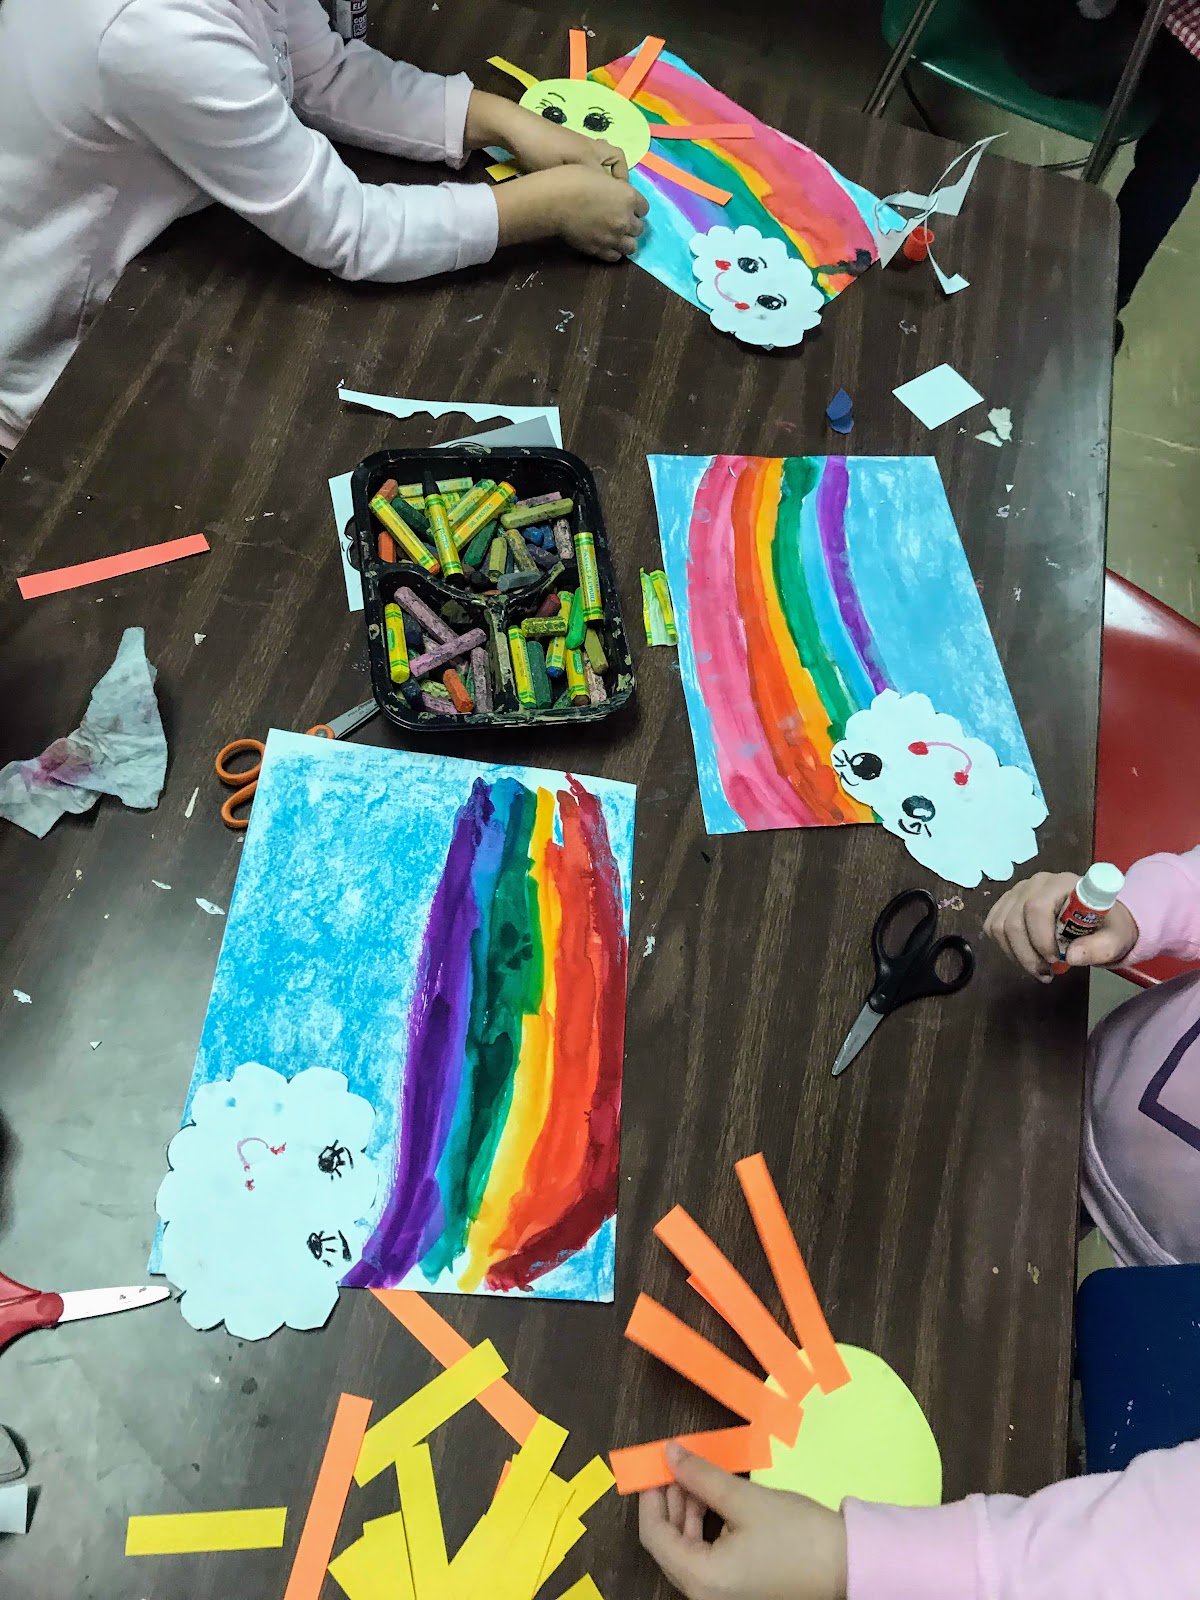
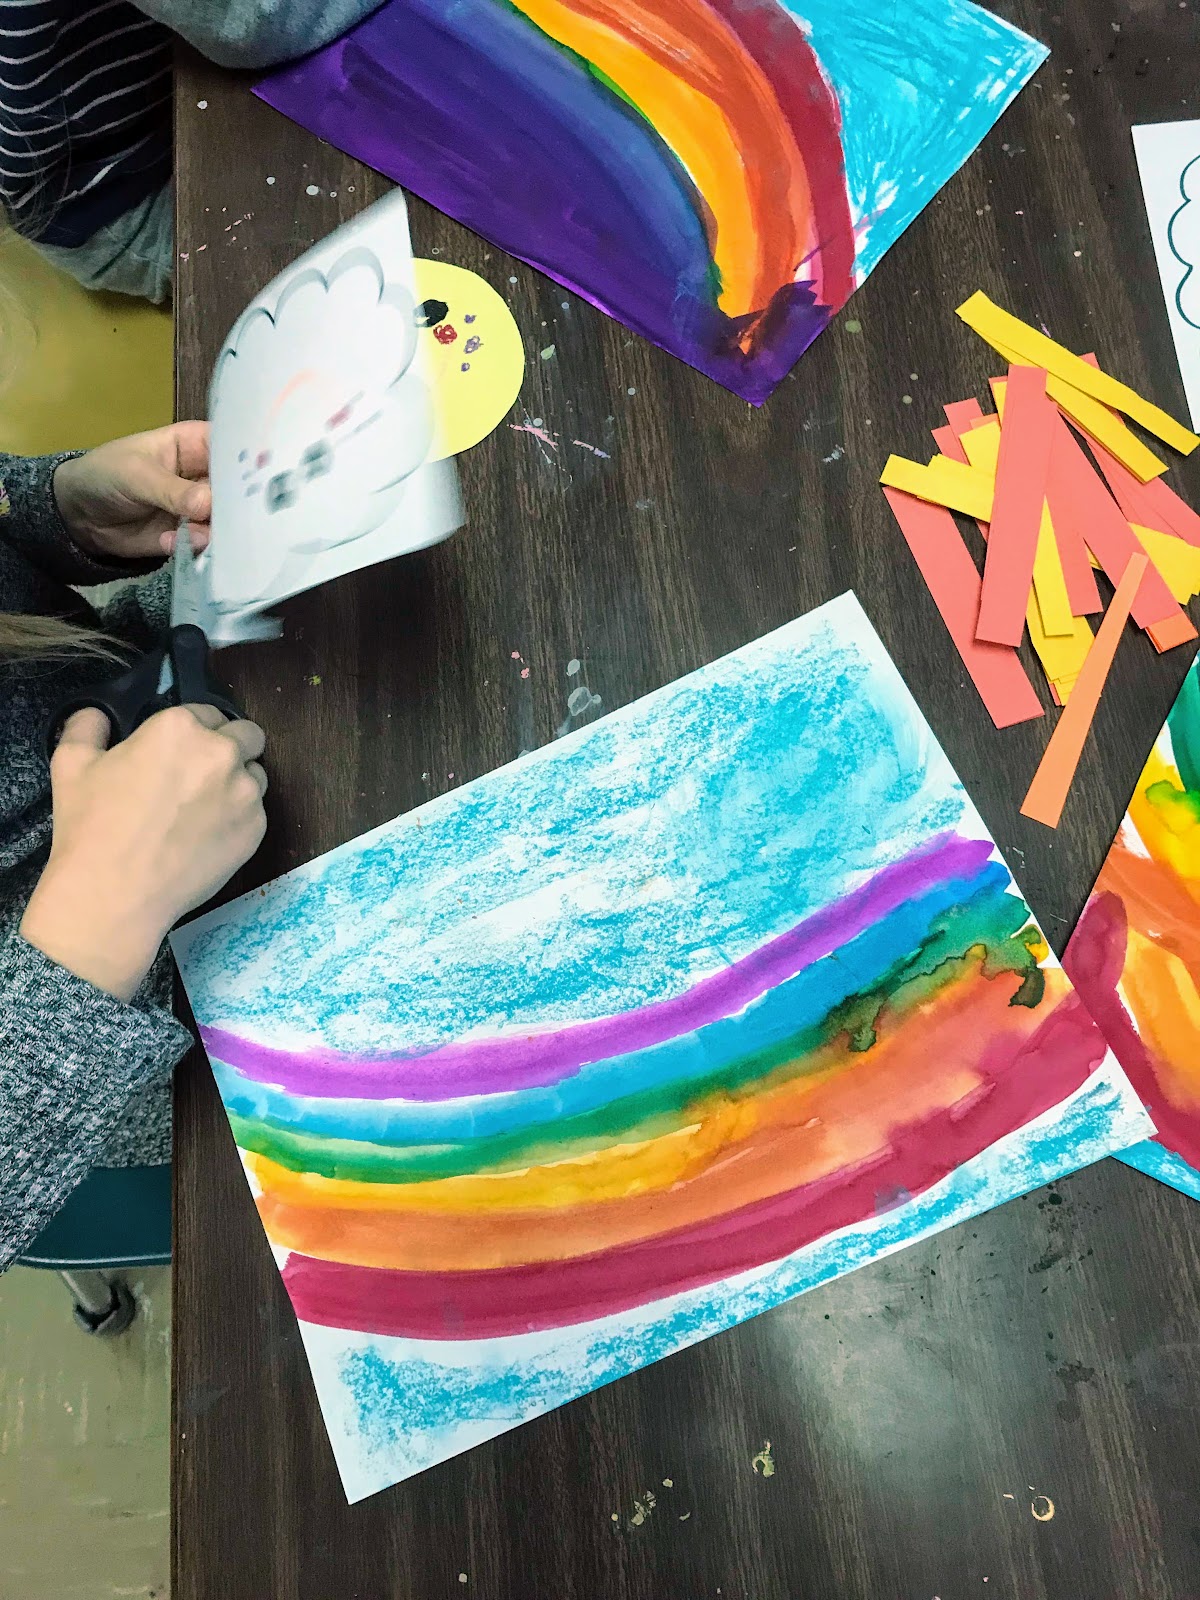
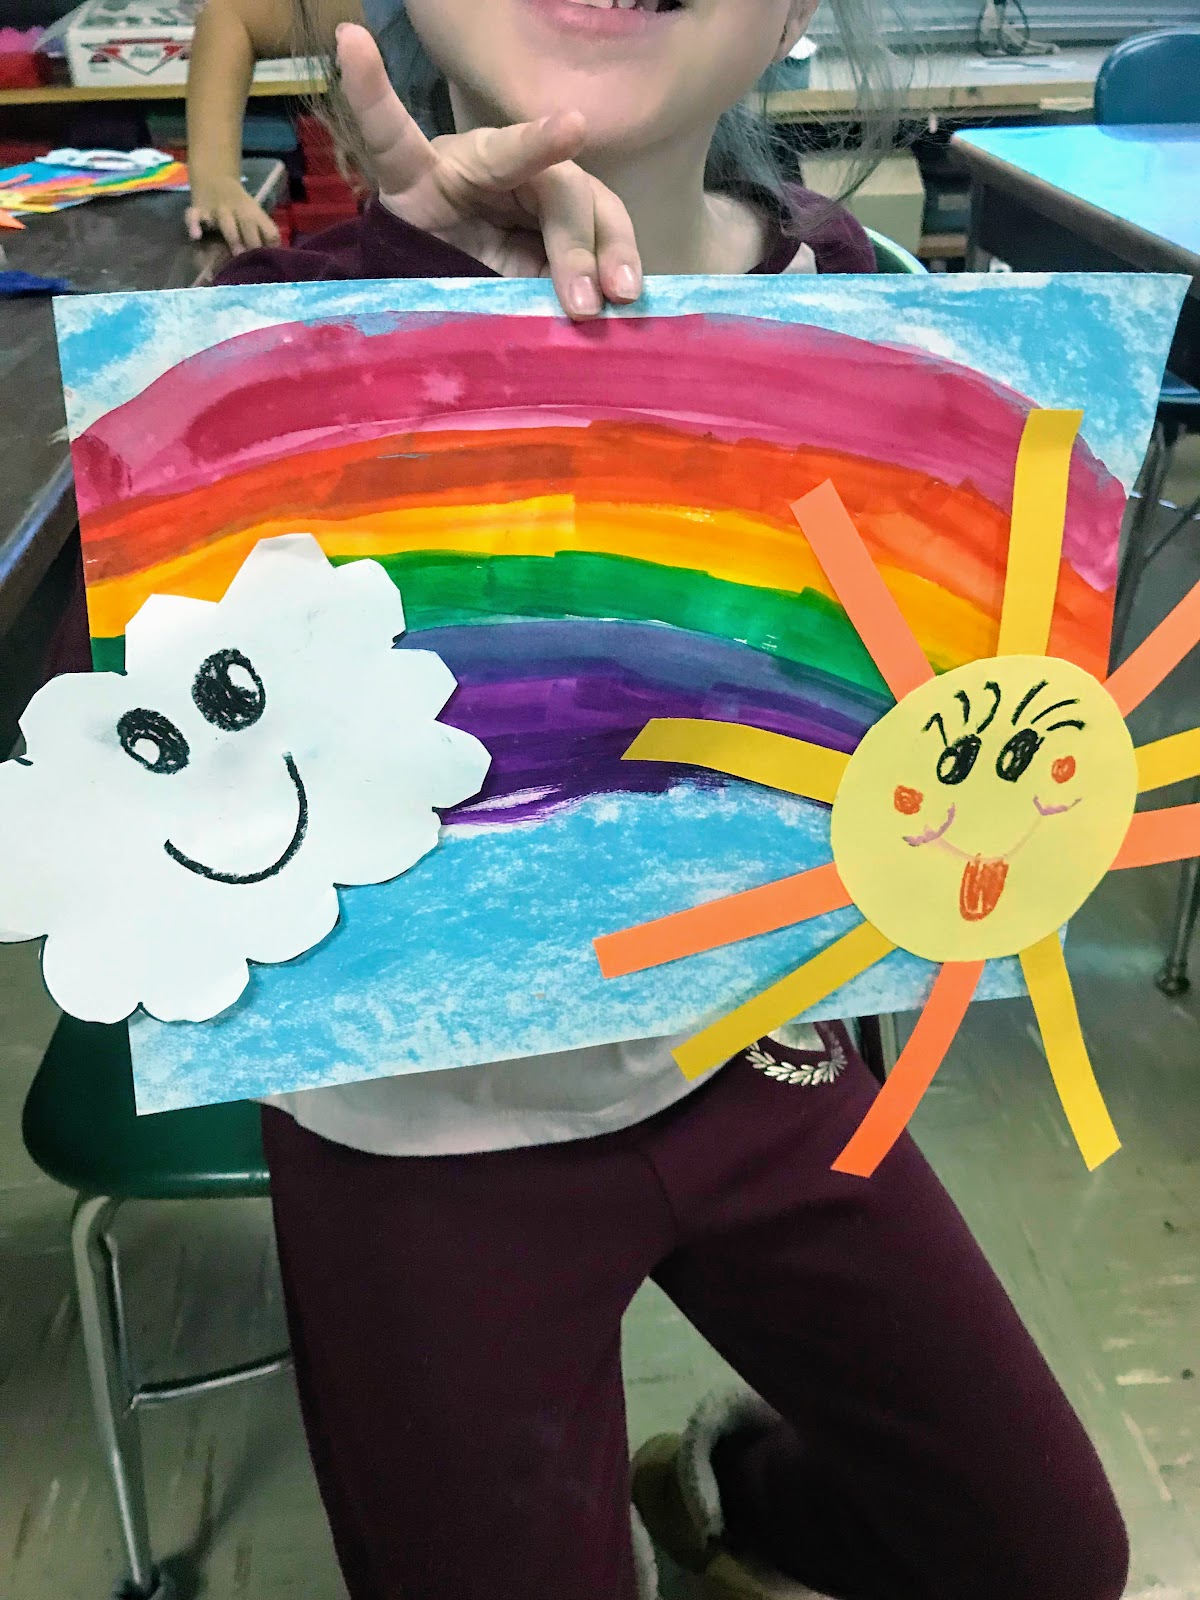
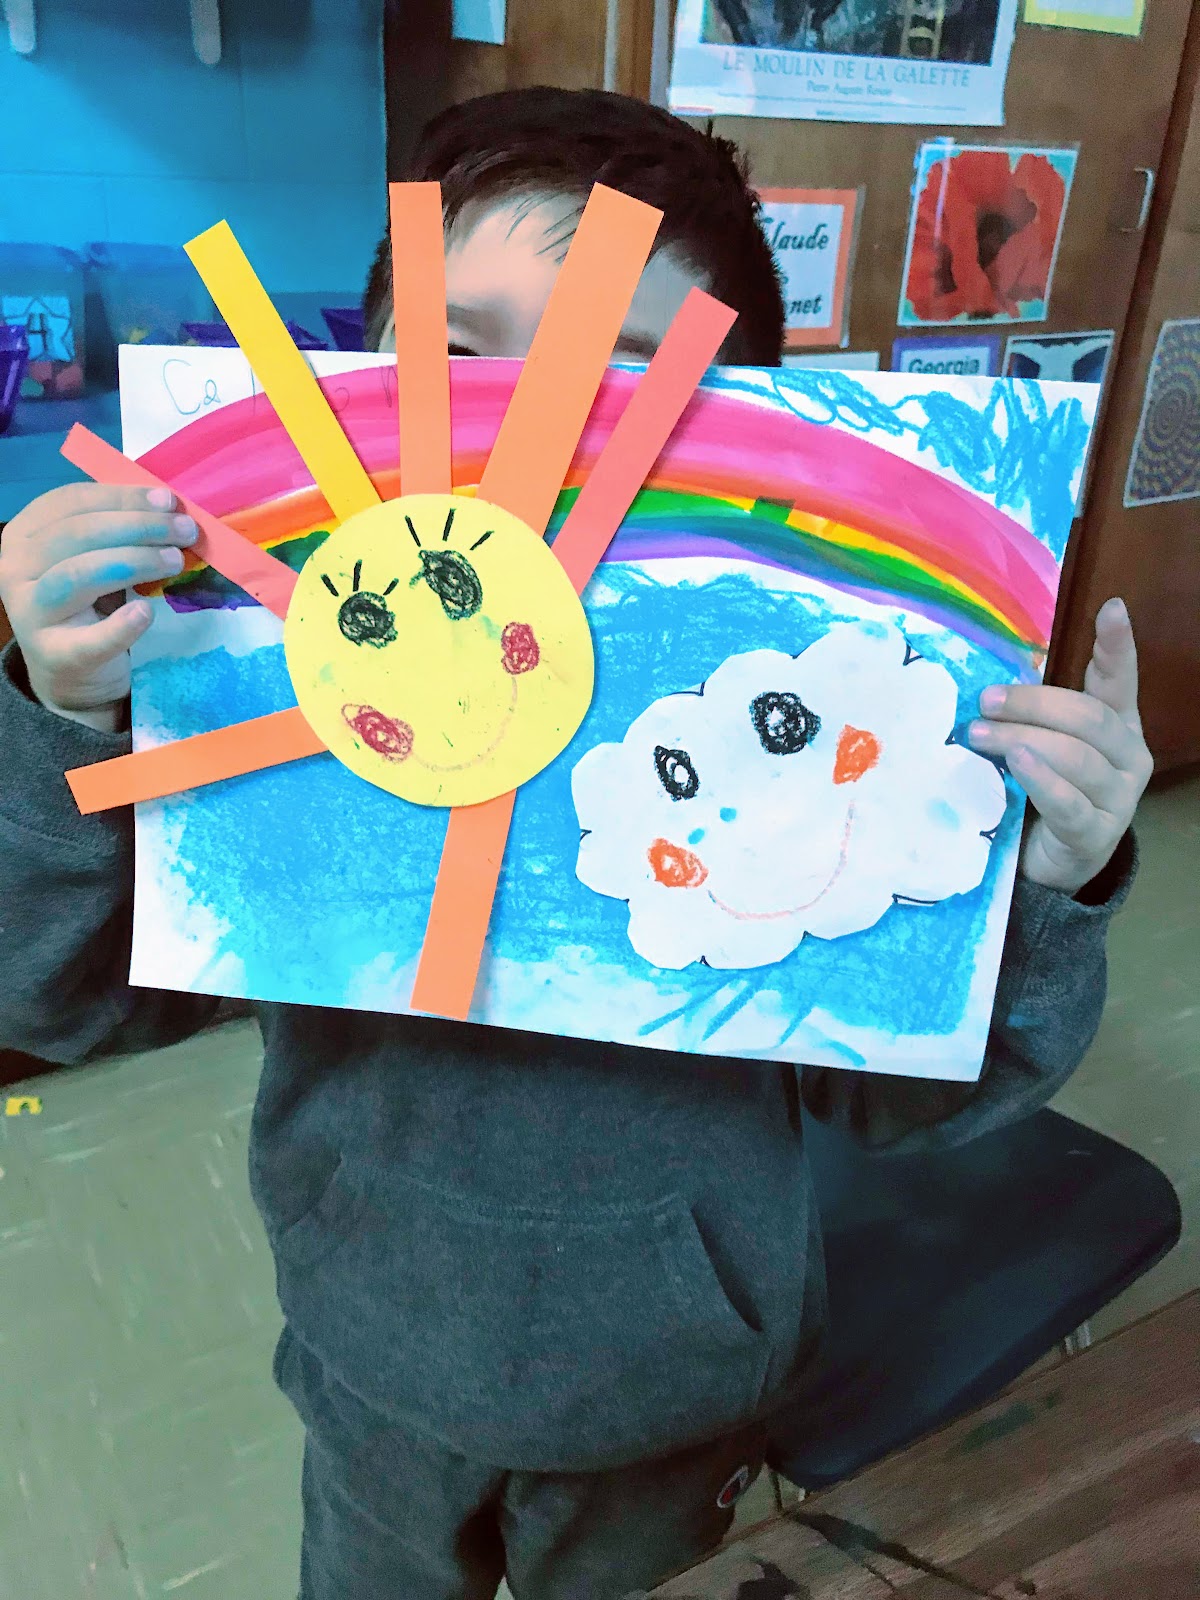
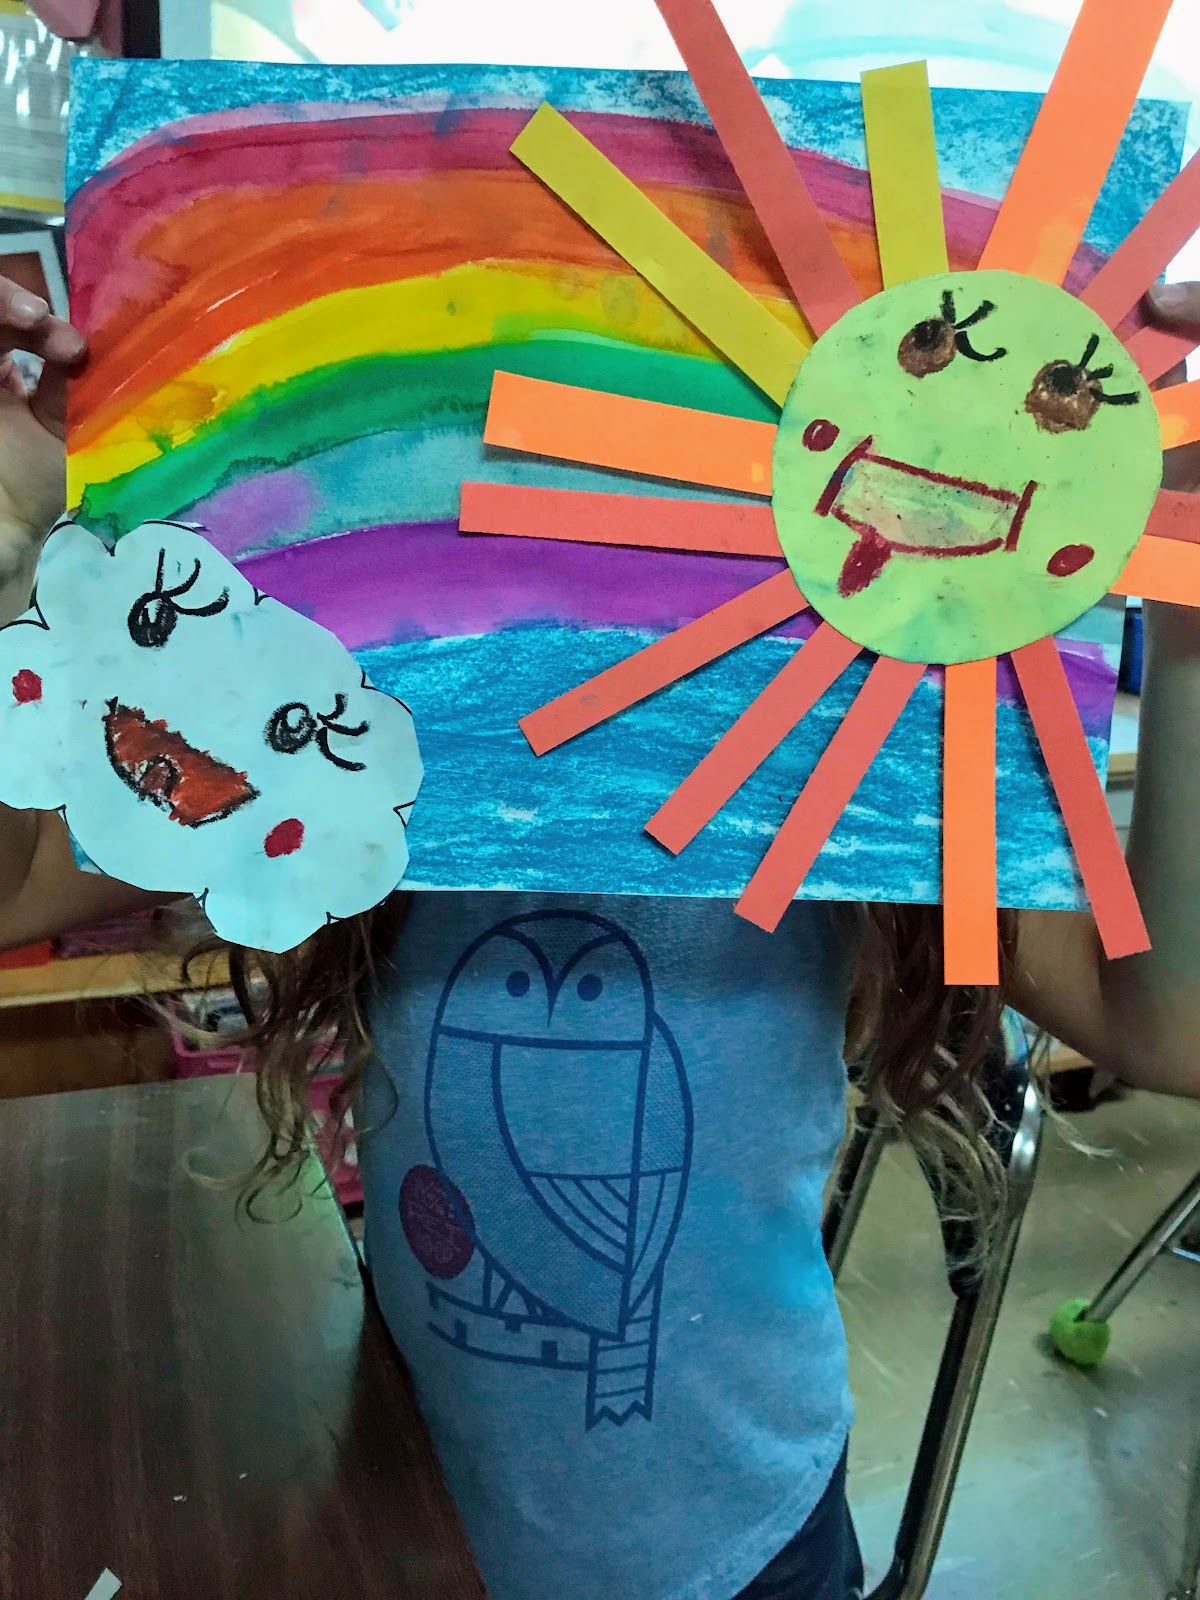
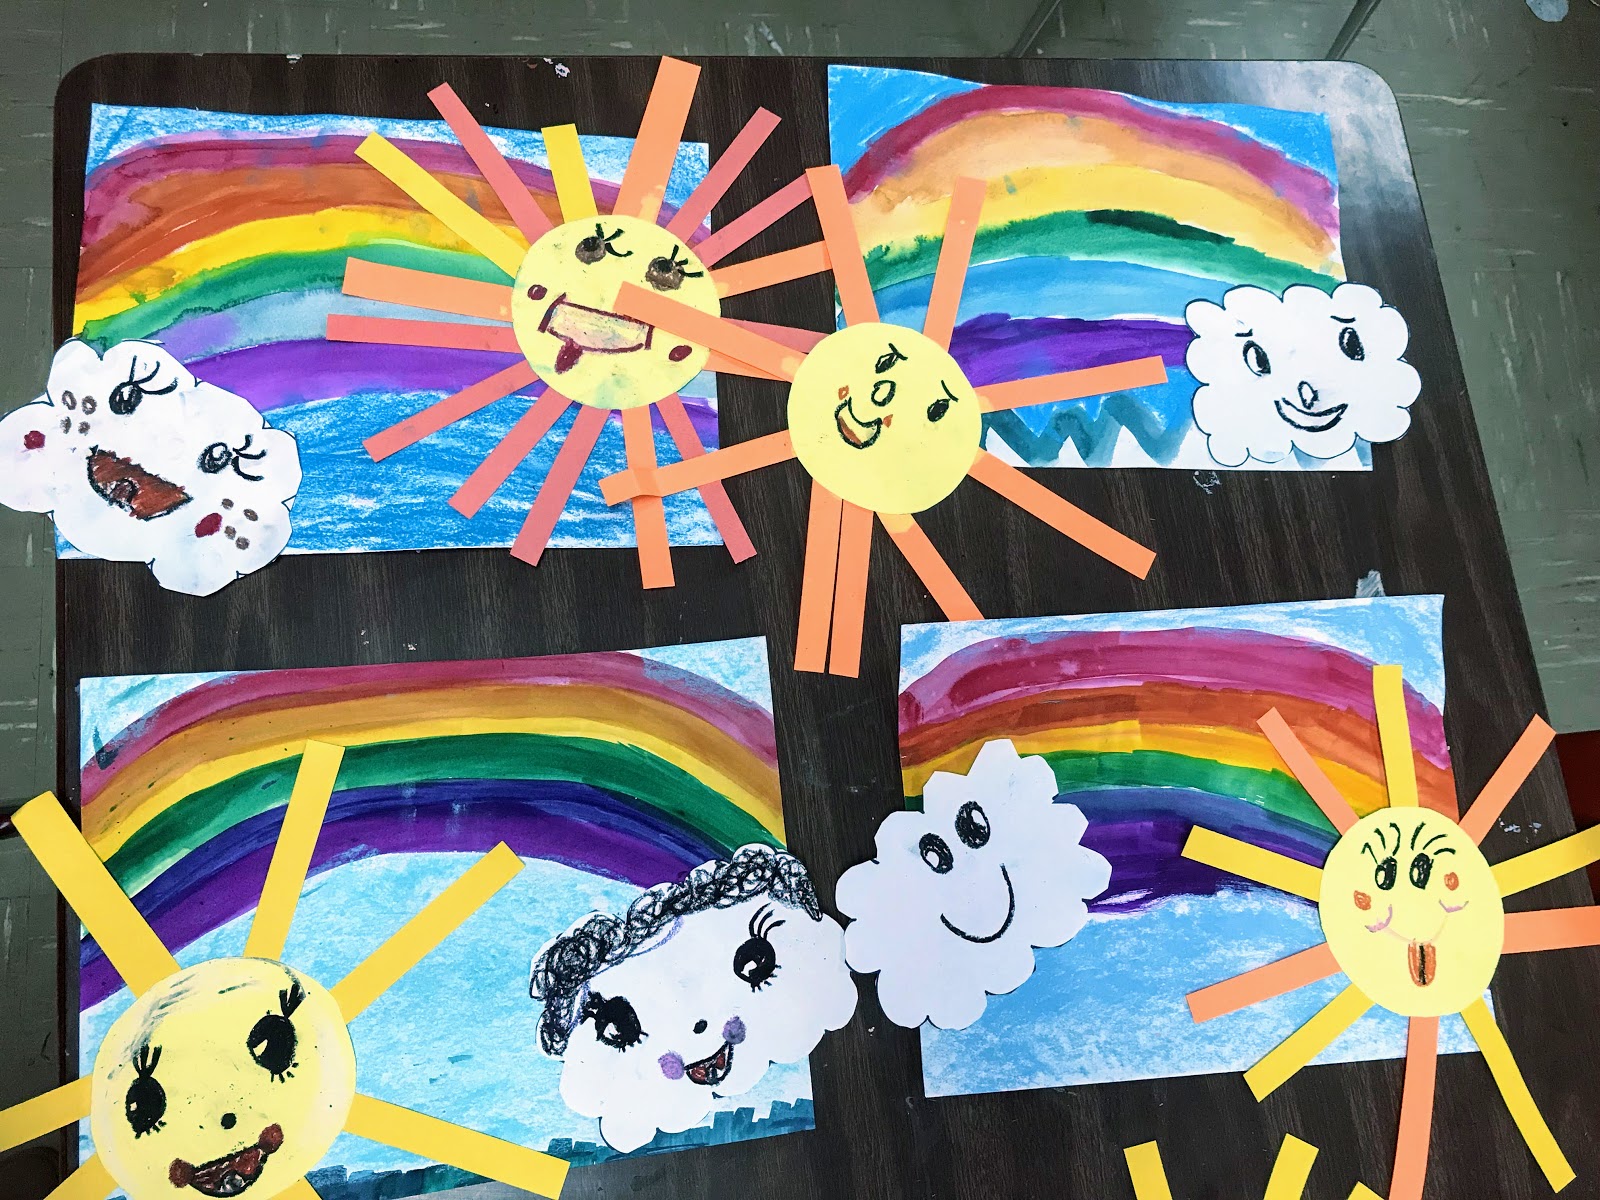
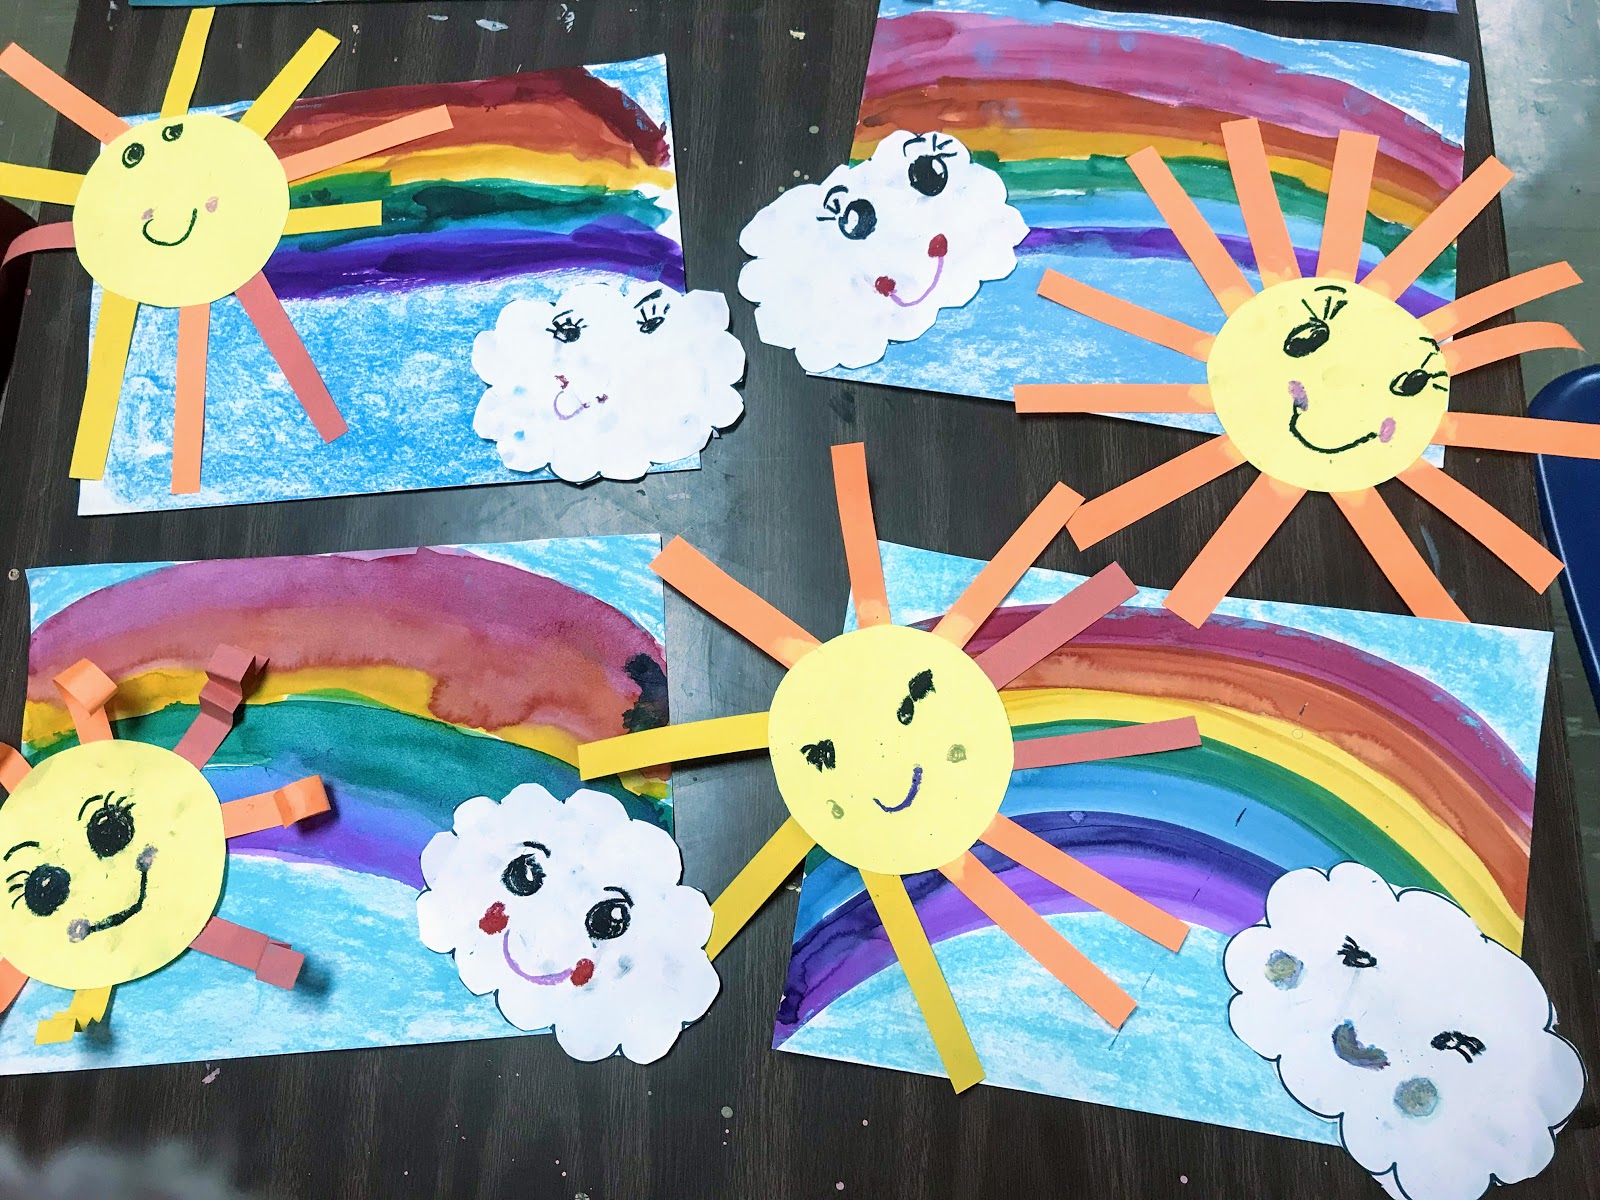
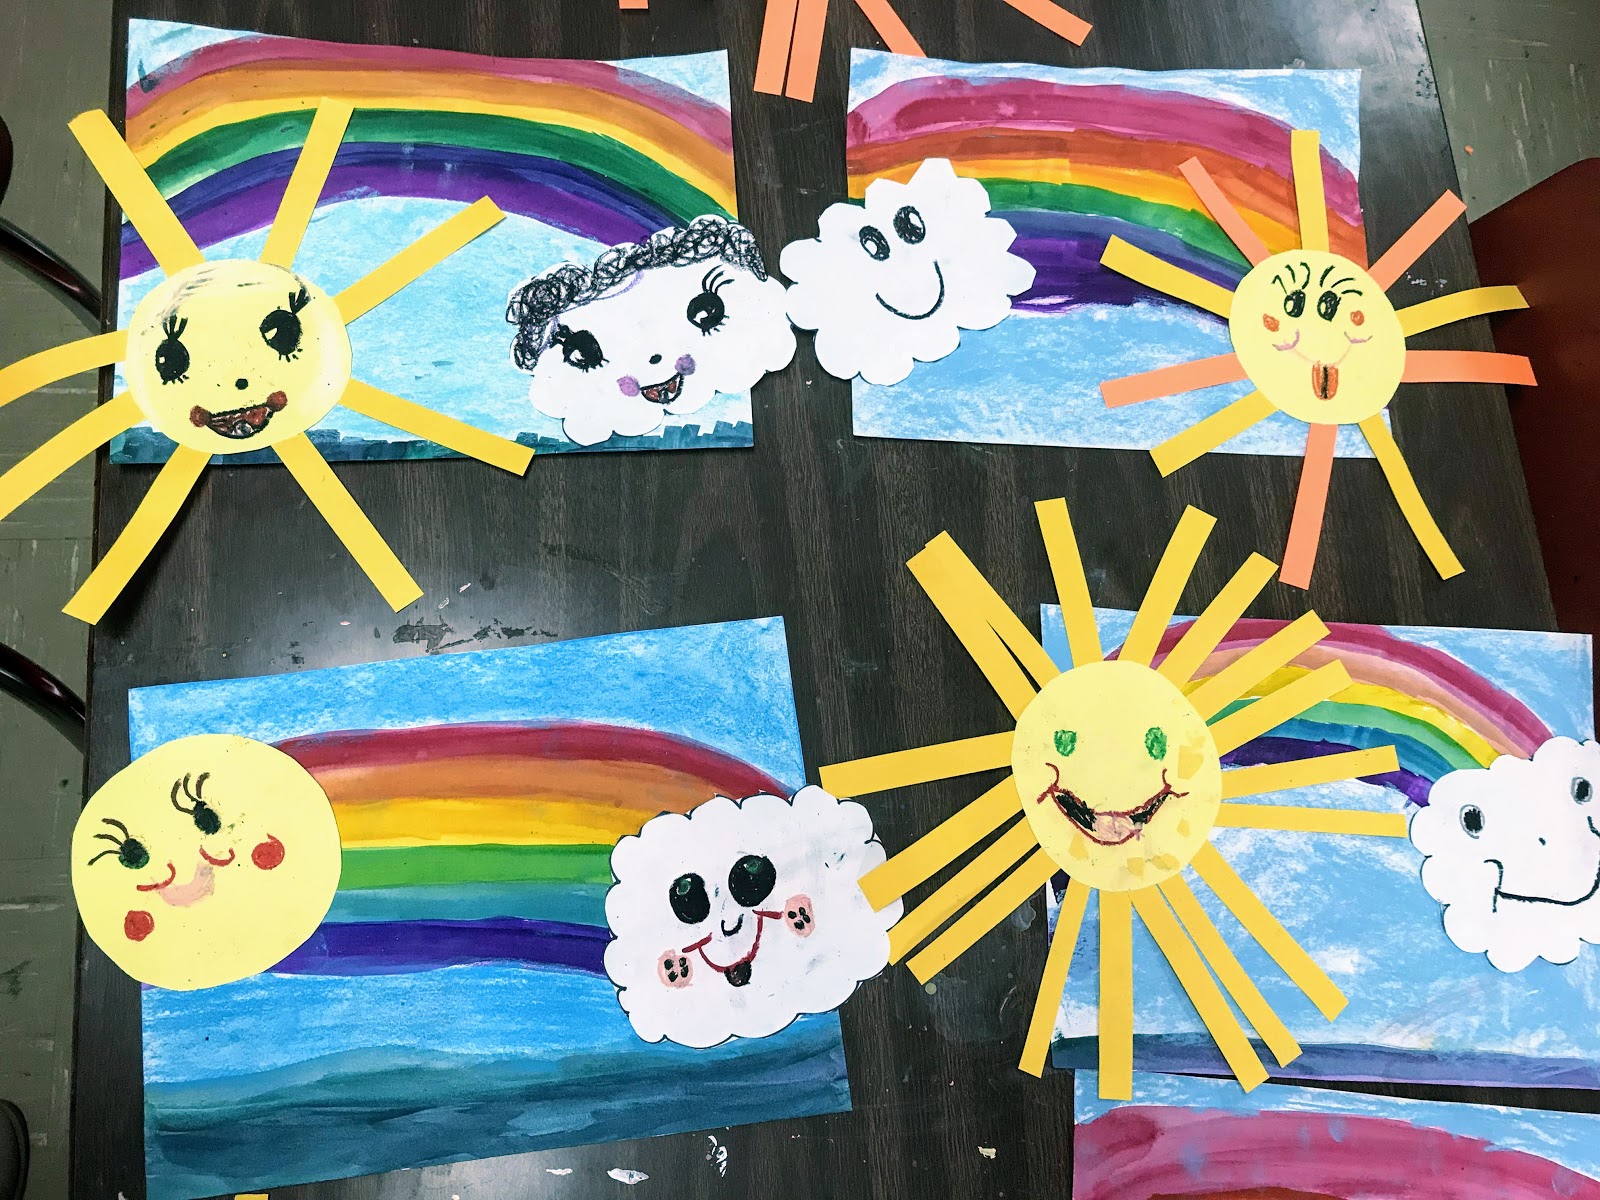
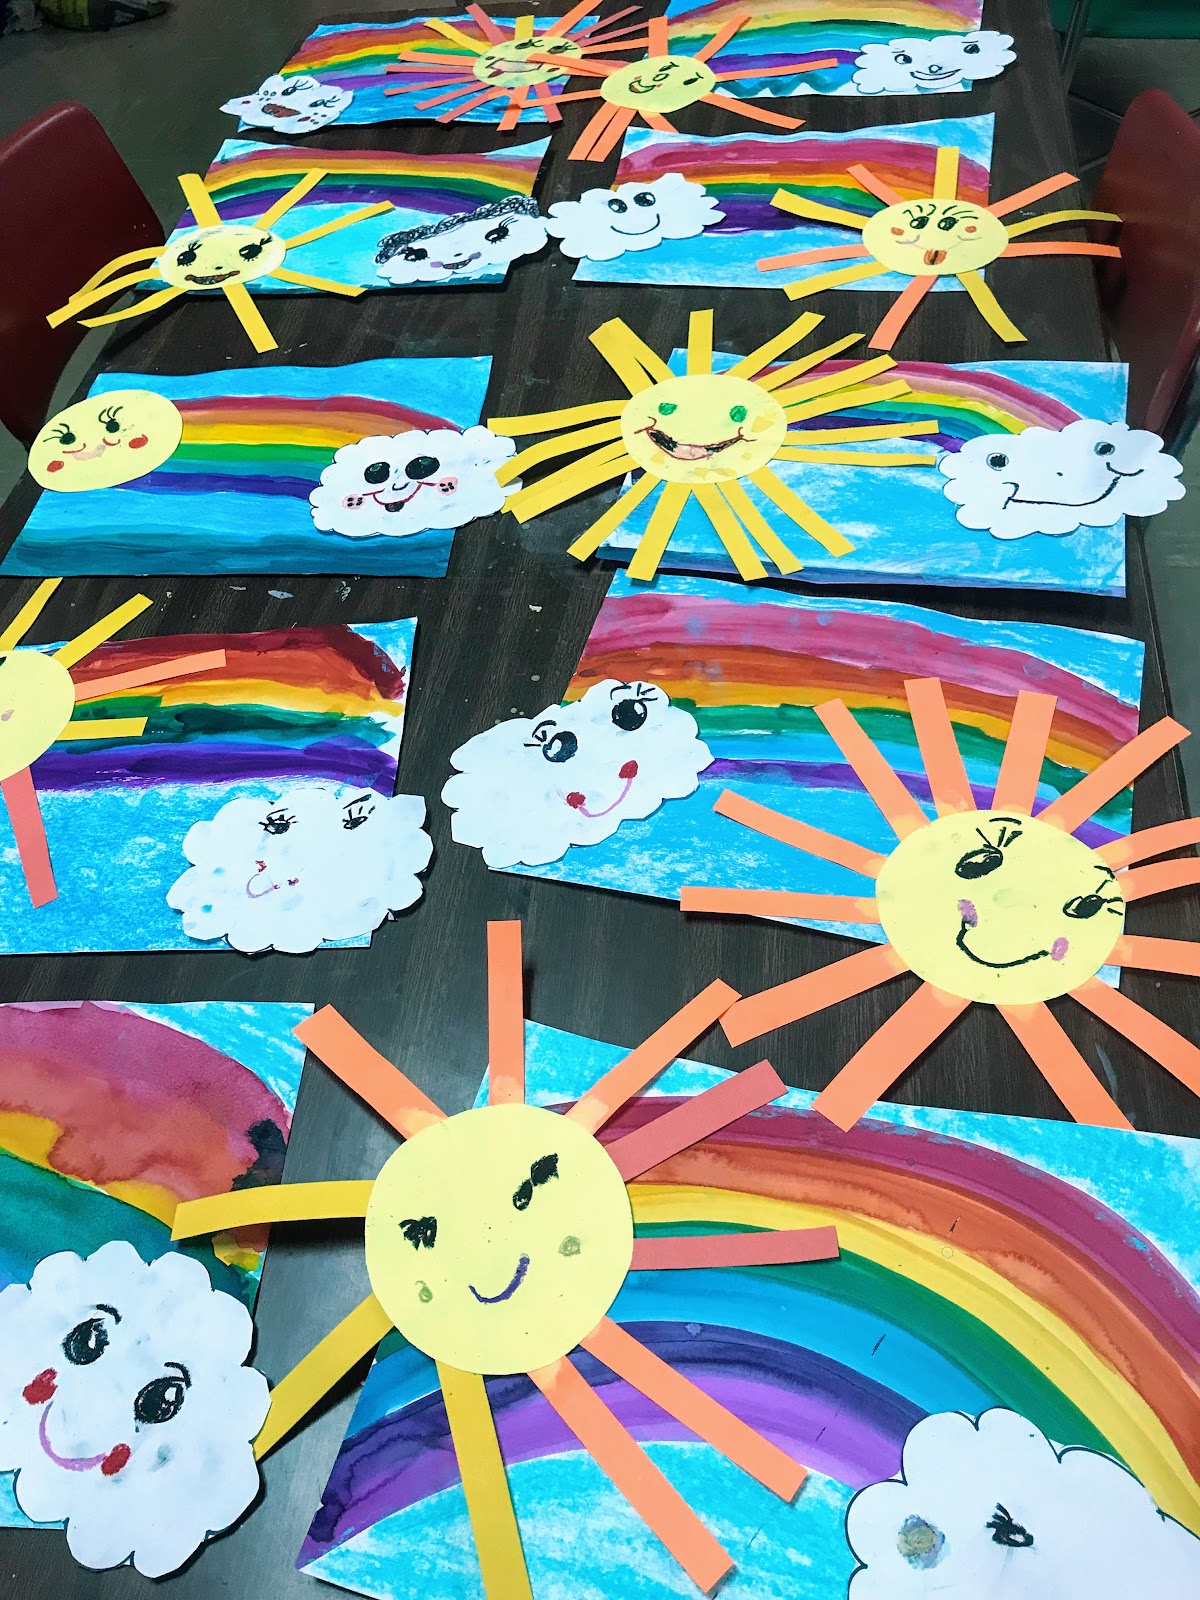
目前还有几位小朋友需要完成粘贴部件、卷曲或揉皱太阳光芒、把云朵涂成灰色等步骤,之后作品就全部完工啦!
🌈🌈敬请期待更多精彩艺术作品!🌈🌈
幼儿园彩虹画
For the past couple of weeks, kindergarten has been working on this precious little piece of art! I got this adorable idea, yet again, from the fabulous art teacher, Cassie Stephens . Click on her name to get a little sample of her amazing art teacherin' talent!
Earlier in the year, we made a cute little cloud with rainbow paper, so this lesson is a review on rainbow order, and works on all kinds of other skills!!
Here's how we made ours!
Materials:
Sax 80lb paper
Jack Richeson Semi-Moist tempera cakes
Sargent Art Chalk pastels
Tru-Ray Construction paper
Fiskar Scissors
Day 1: Paint the rainbow. This sounds easy right? Haha! Y'all try getting 20 something tiny humans to paint for the first time, and get back with me! 😂 It's super fun!! 😄We talk about how to hold a paintbrush, we talk about how to use our paint cup and tempera cakes "we dip,wipe, and swirl", and then we paint one color at a time. Dip, wipe, swirl is repeated A LOT while we paint. What that is referring to is, I tell the kids to DIP their paintbrush in the water, WIPE it on the rim of the cup, and gently SWIRL it on the tempera cake.
Now on to painting! It's like doing a directed drawing. When I paint red, you paint red, and so on. Between each color, I'm walking about the room making sure everyone is following directions, and not painting something they're not supposed to! 😆
Notice I have no pictures for this process! No time!! lol
Day 2: We add blue chalk for the sky, a sun with rays, and a little happy cloud. It's fun to see the little expressions the kinders put on their suns and clouds!
Here's an example of what I passed out for them to use.
Here's Mrs. Garcia's class, hard at work on day 2! Bravo!!
We still have a few that need to glue things on and curl or crinkle our sun's rays,paint our cloud gray, and then they'll be finished!
🌈🌈Stay tuned for some awesome art!🌈🌈