泥板陶瓷字母:肌理与色彩
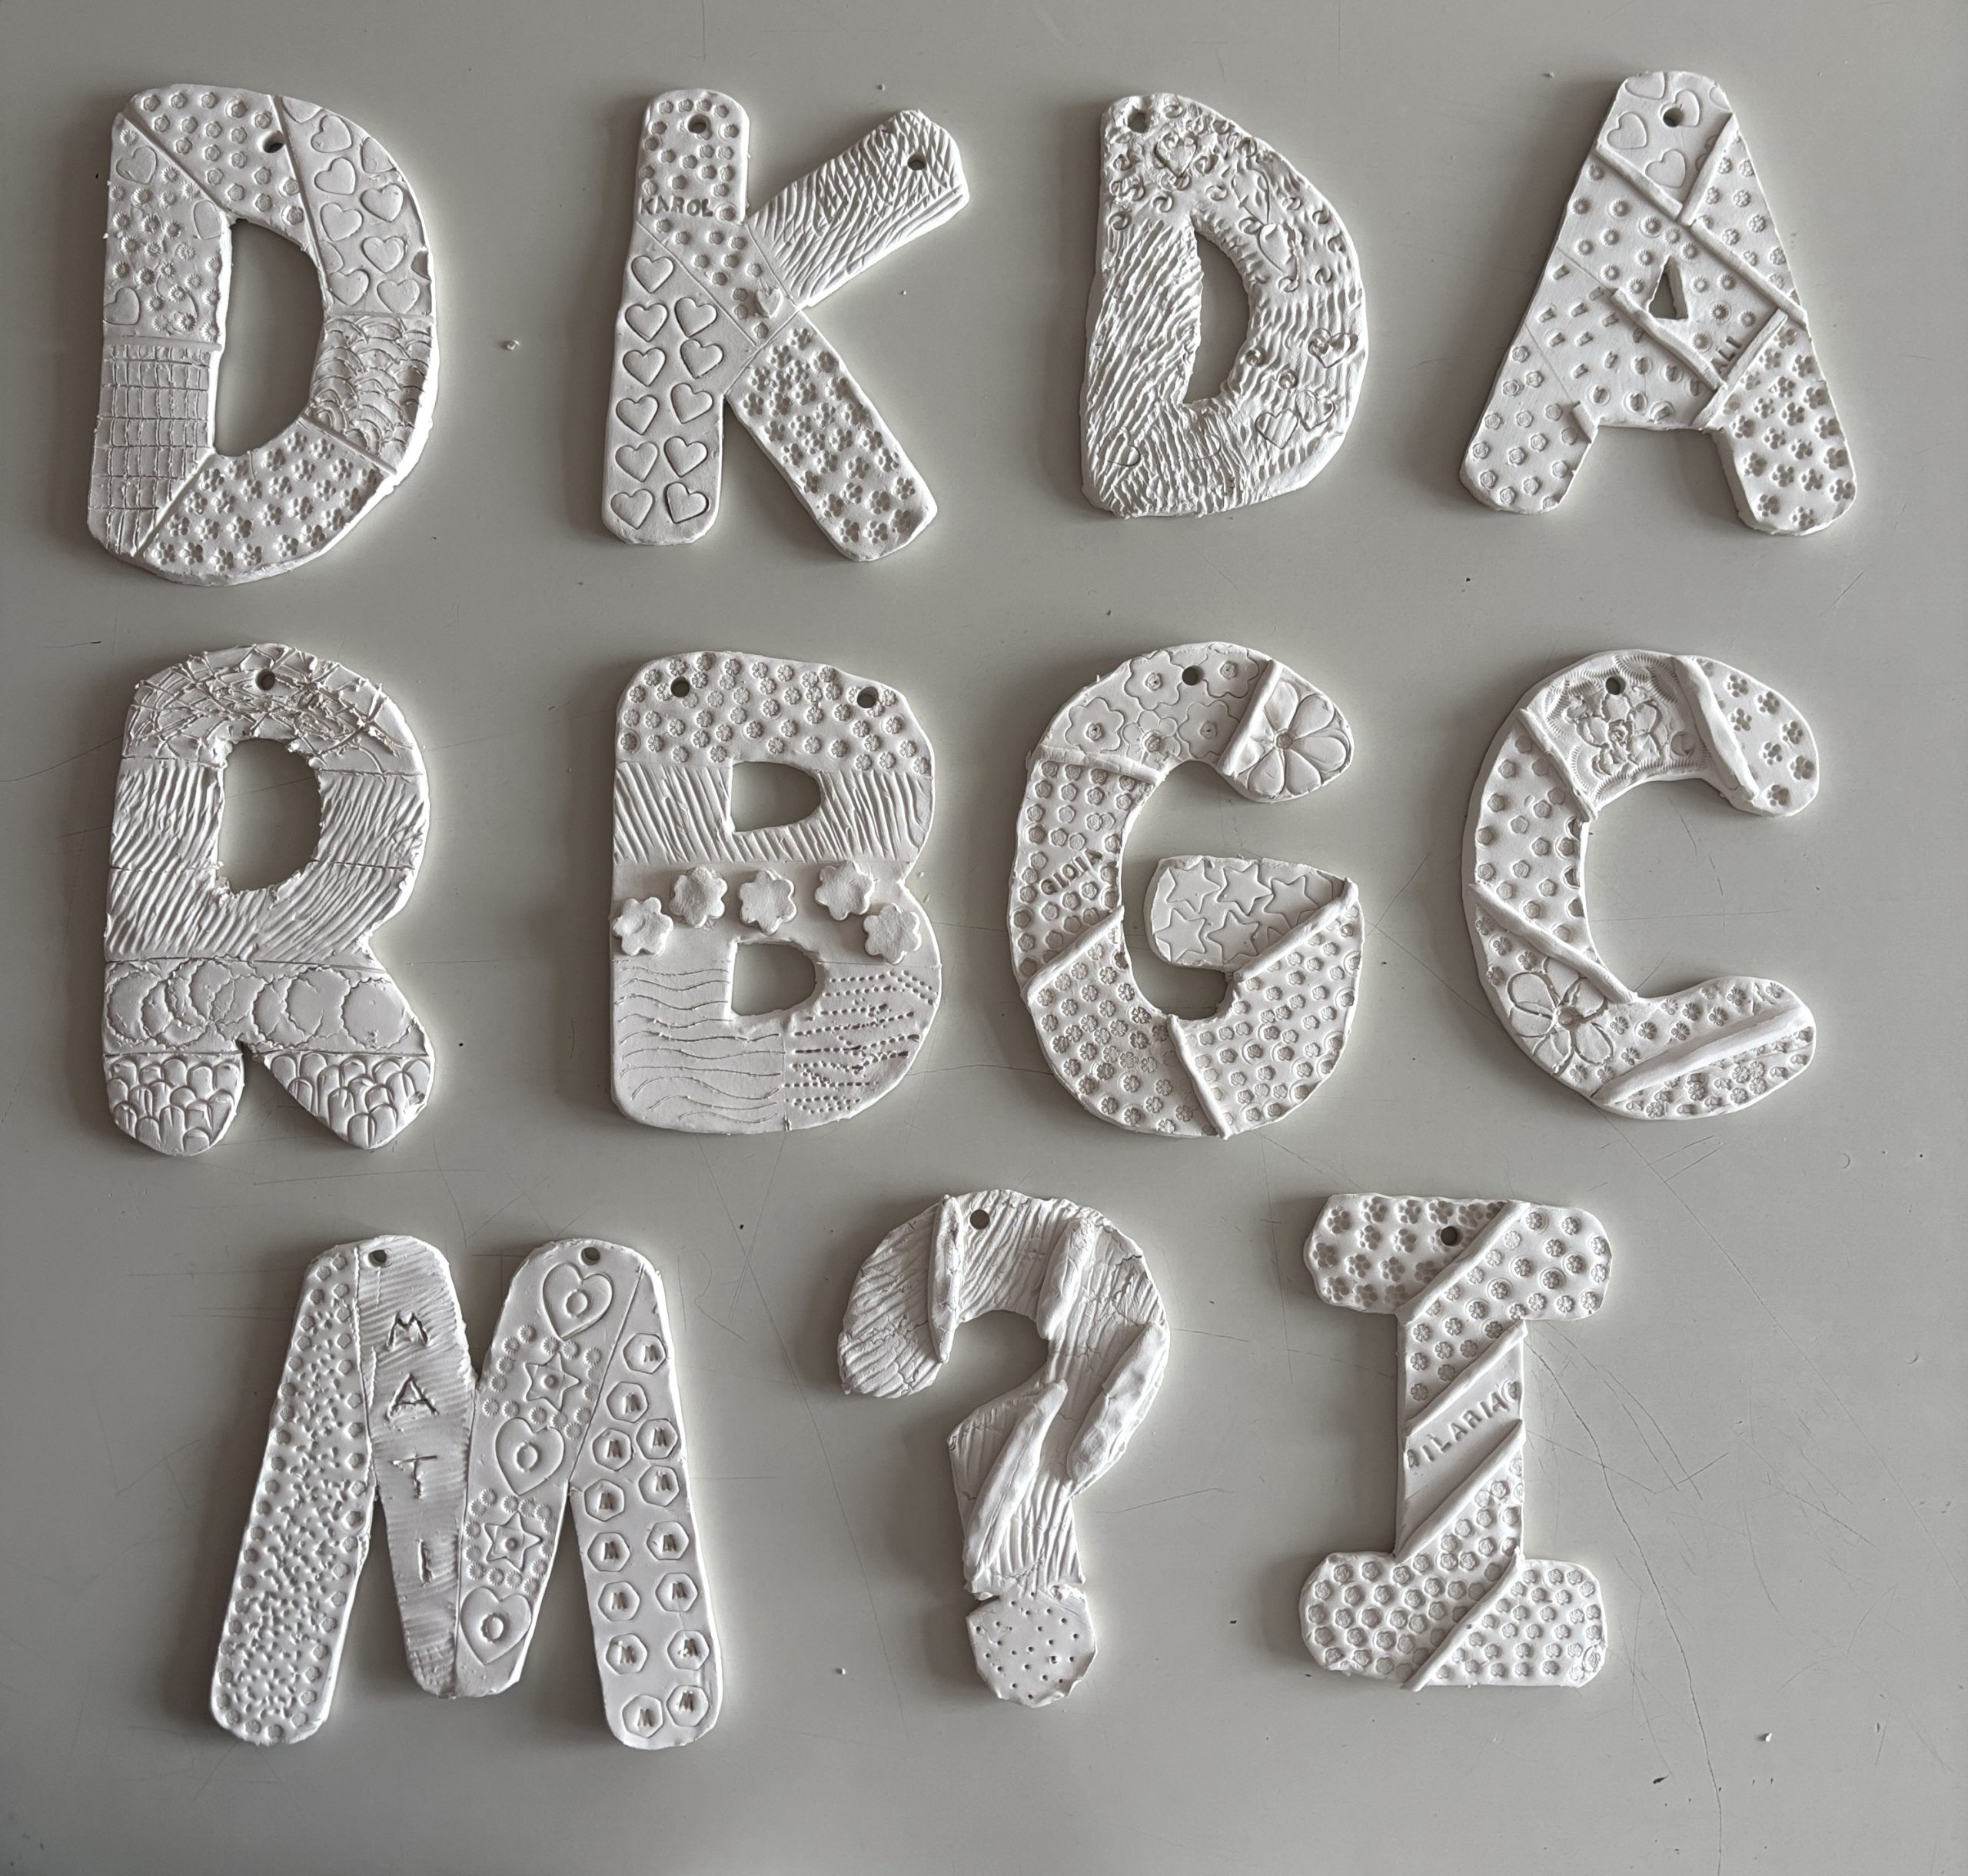
今年,面向六年级学生开设的基础陶艺课中,我们探索了泥板成型技法,重点在于 clay(陶泥)表面三维肌理的塑造。我们决定制作大型个性化大写字母,成品可悬挂在卧室或入户门上。通过本次工作坊,学生们锻炼了动手能力、触觉感知力,并提升了二维与三维设计能力,同时学习了如何把控陶艺材料的干燥周期及其烧成过程中的形态变化。
所需材料:
- 陶泥
- 擀面杖及两根8毫米厚木条(作擀泥厚度限位器)
- 纸张、铅笔、剪刀(用于手绘或剪裁字母模板),或直接使用已印好的字母模板复印件
- 肌理雕刻与压印工具(印章、环形刻刀、锥针,以及木质、塑料或金属制的小物件)
- 吸管或打孔器(用于穿孔)
- 彩色泥釉(釉下彩)、海绵及亮光透明釉
- 陶瓷电窑
制作步骤
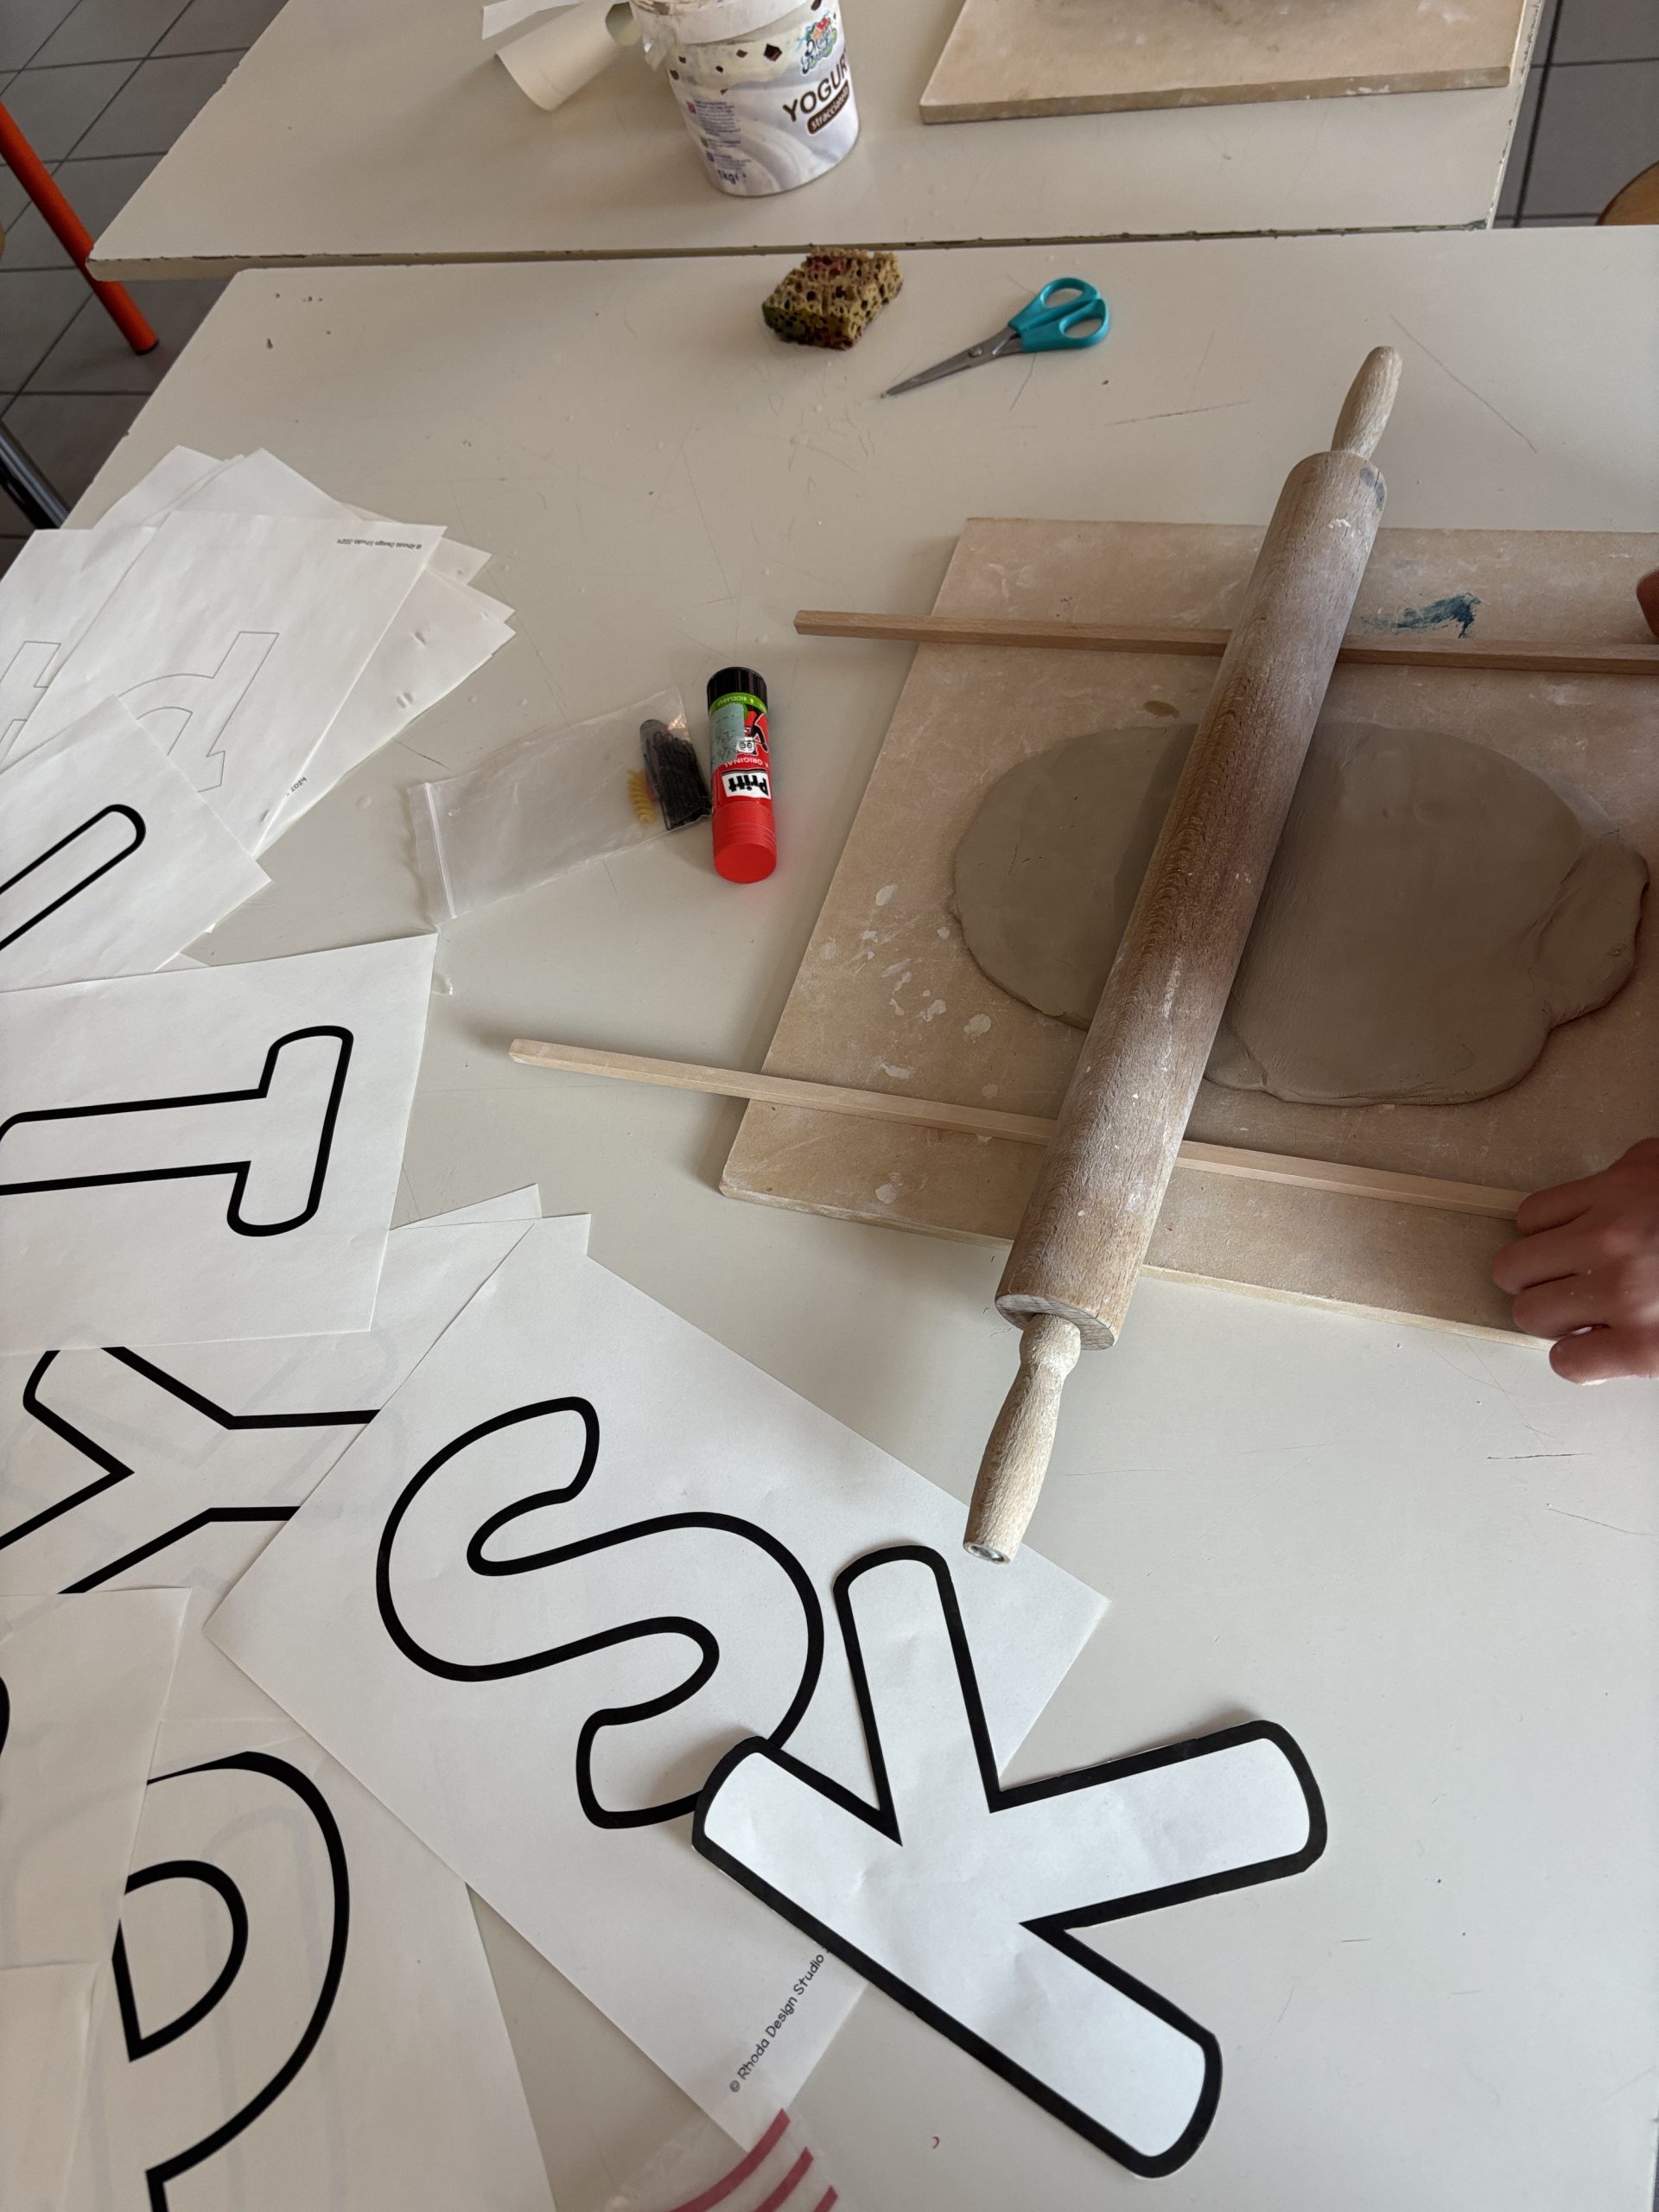
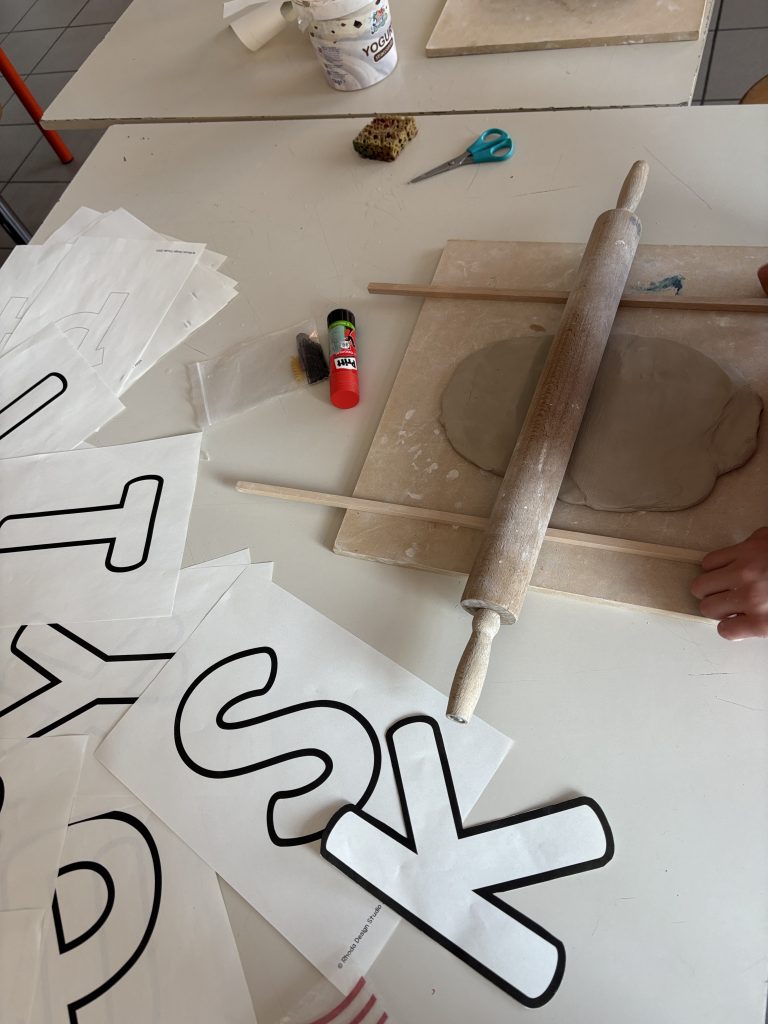
项目伊始,每位学生先为自己名字的首字母制作模板:或在纸上徒手绘制,或从复印好的字母图样中剪下,以获得精准的轮廓参照。
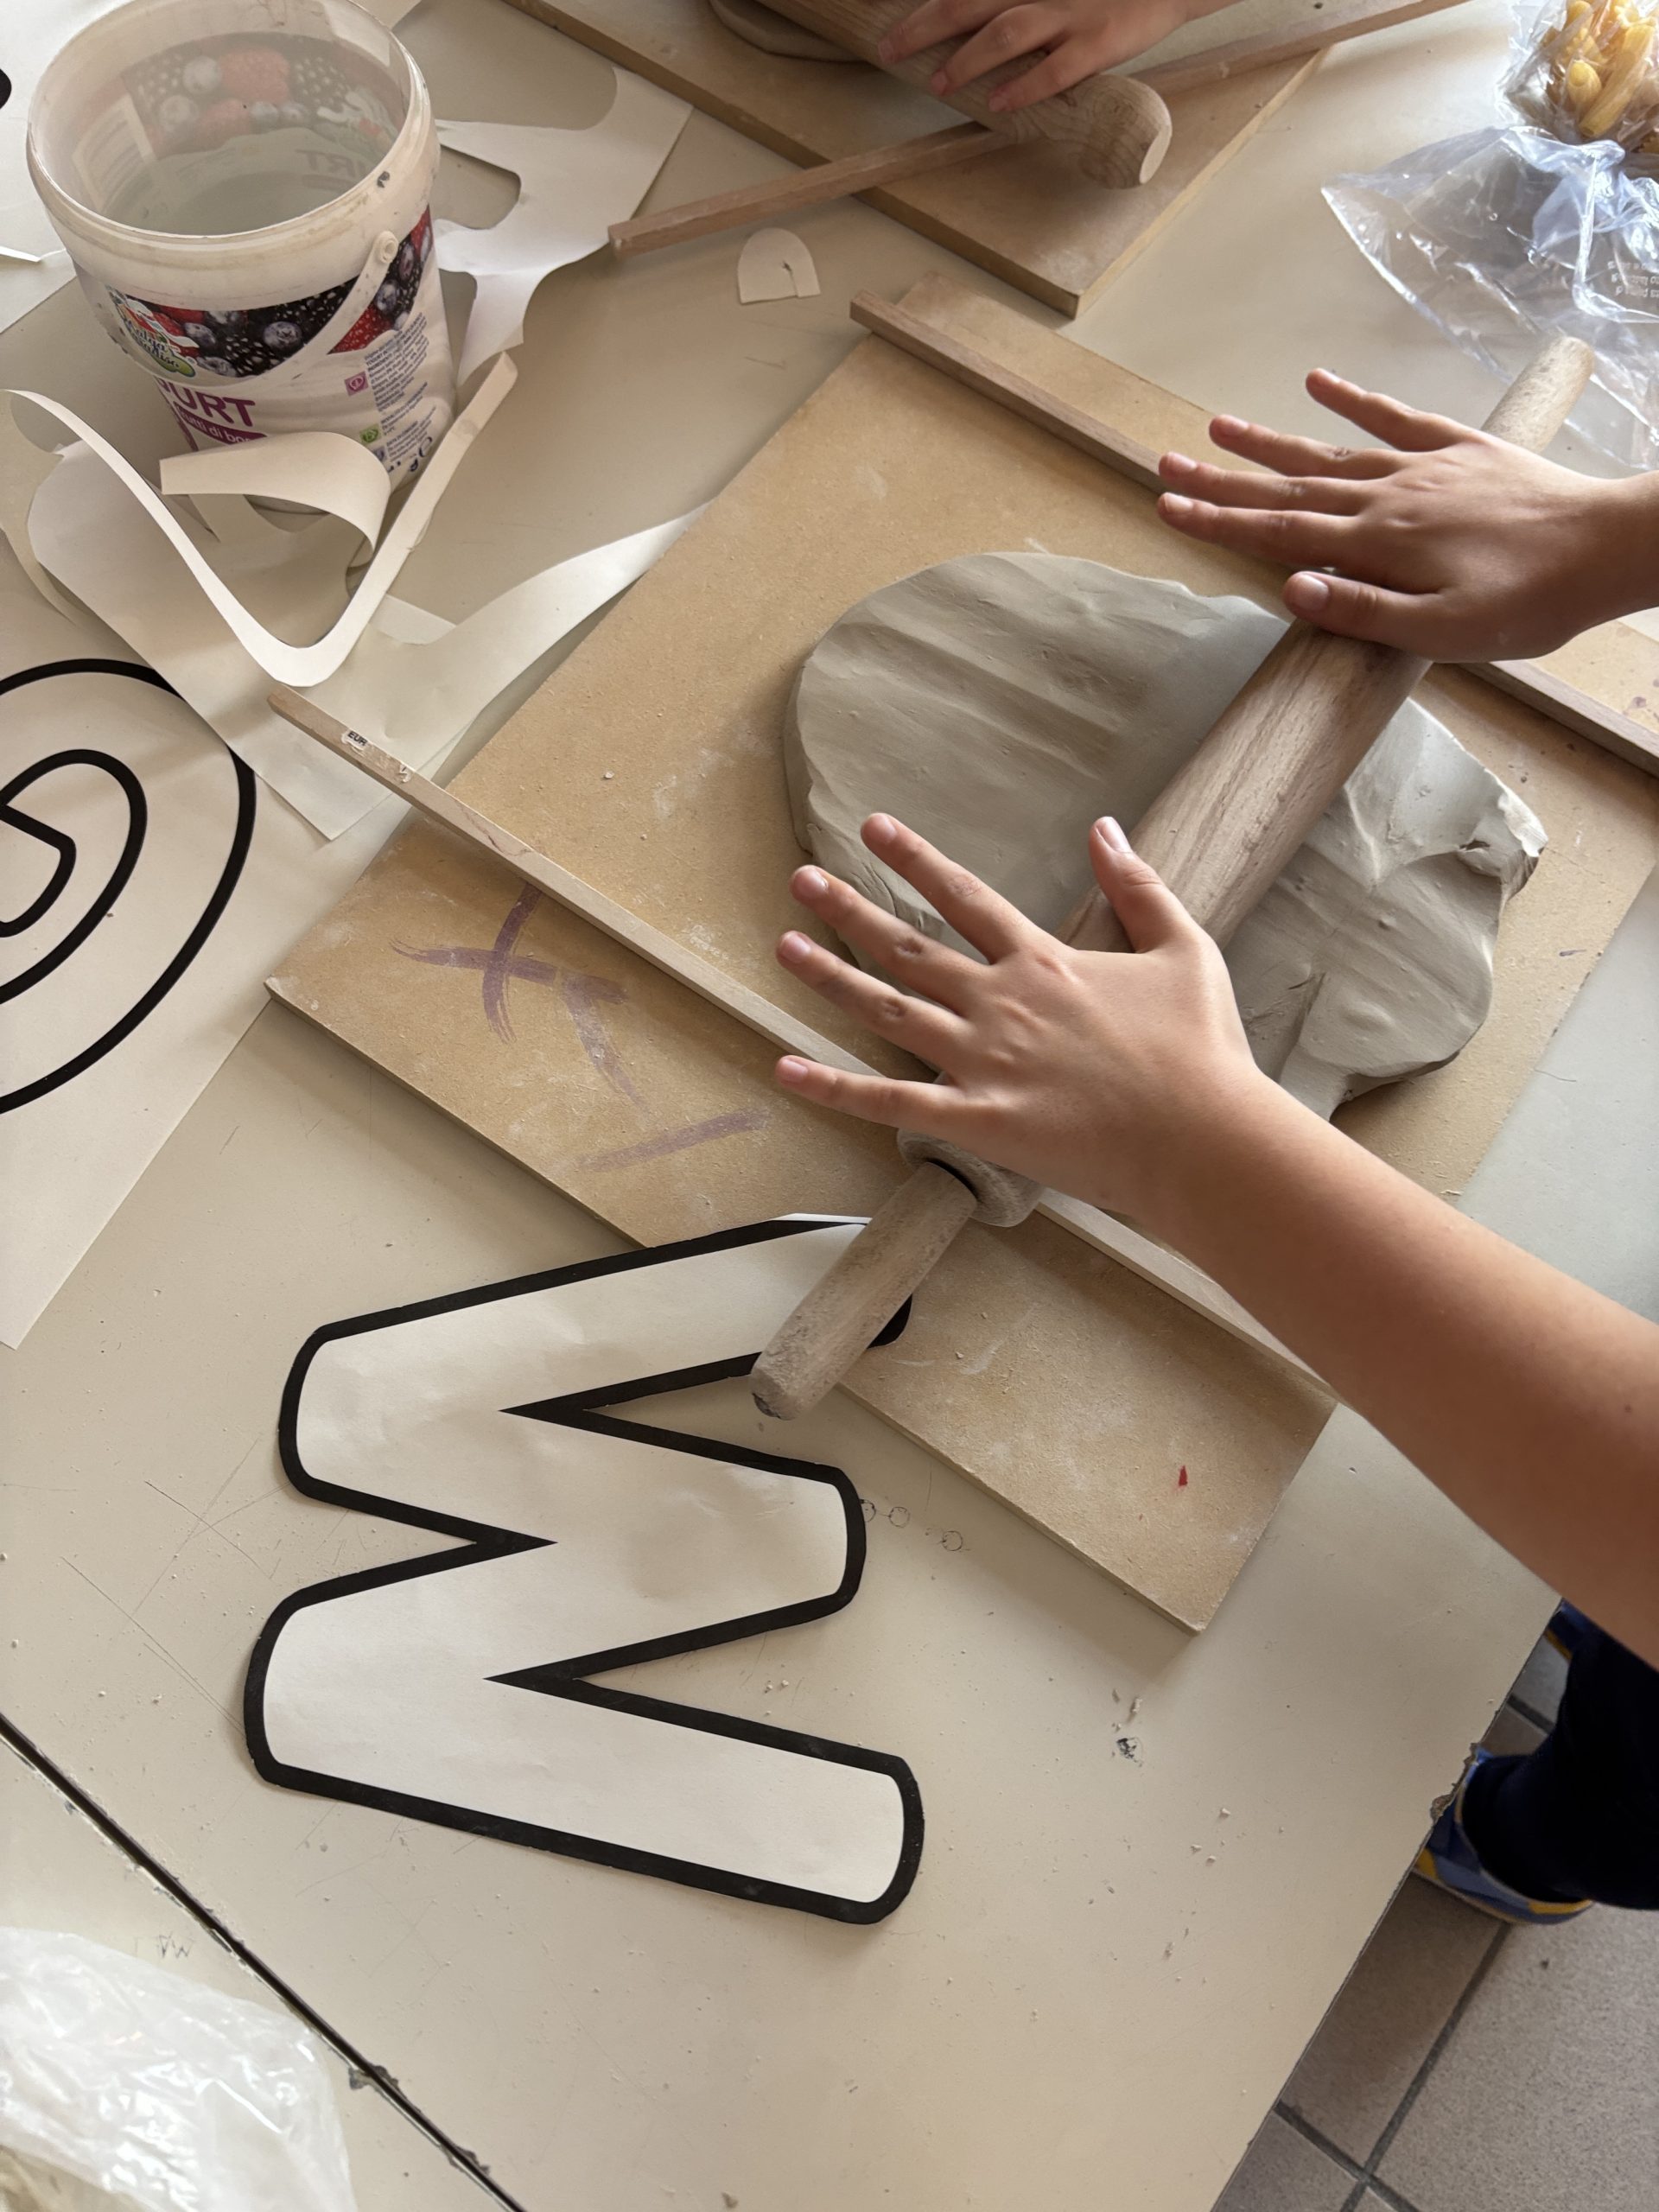
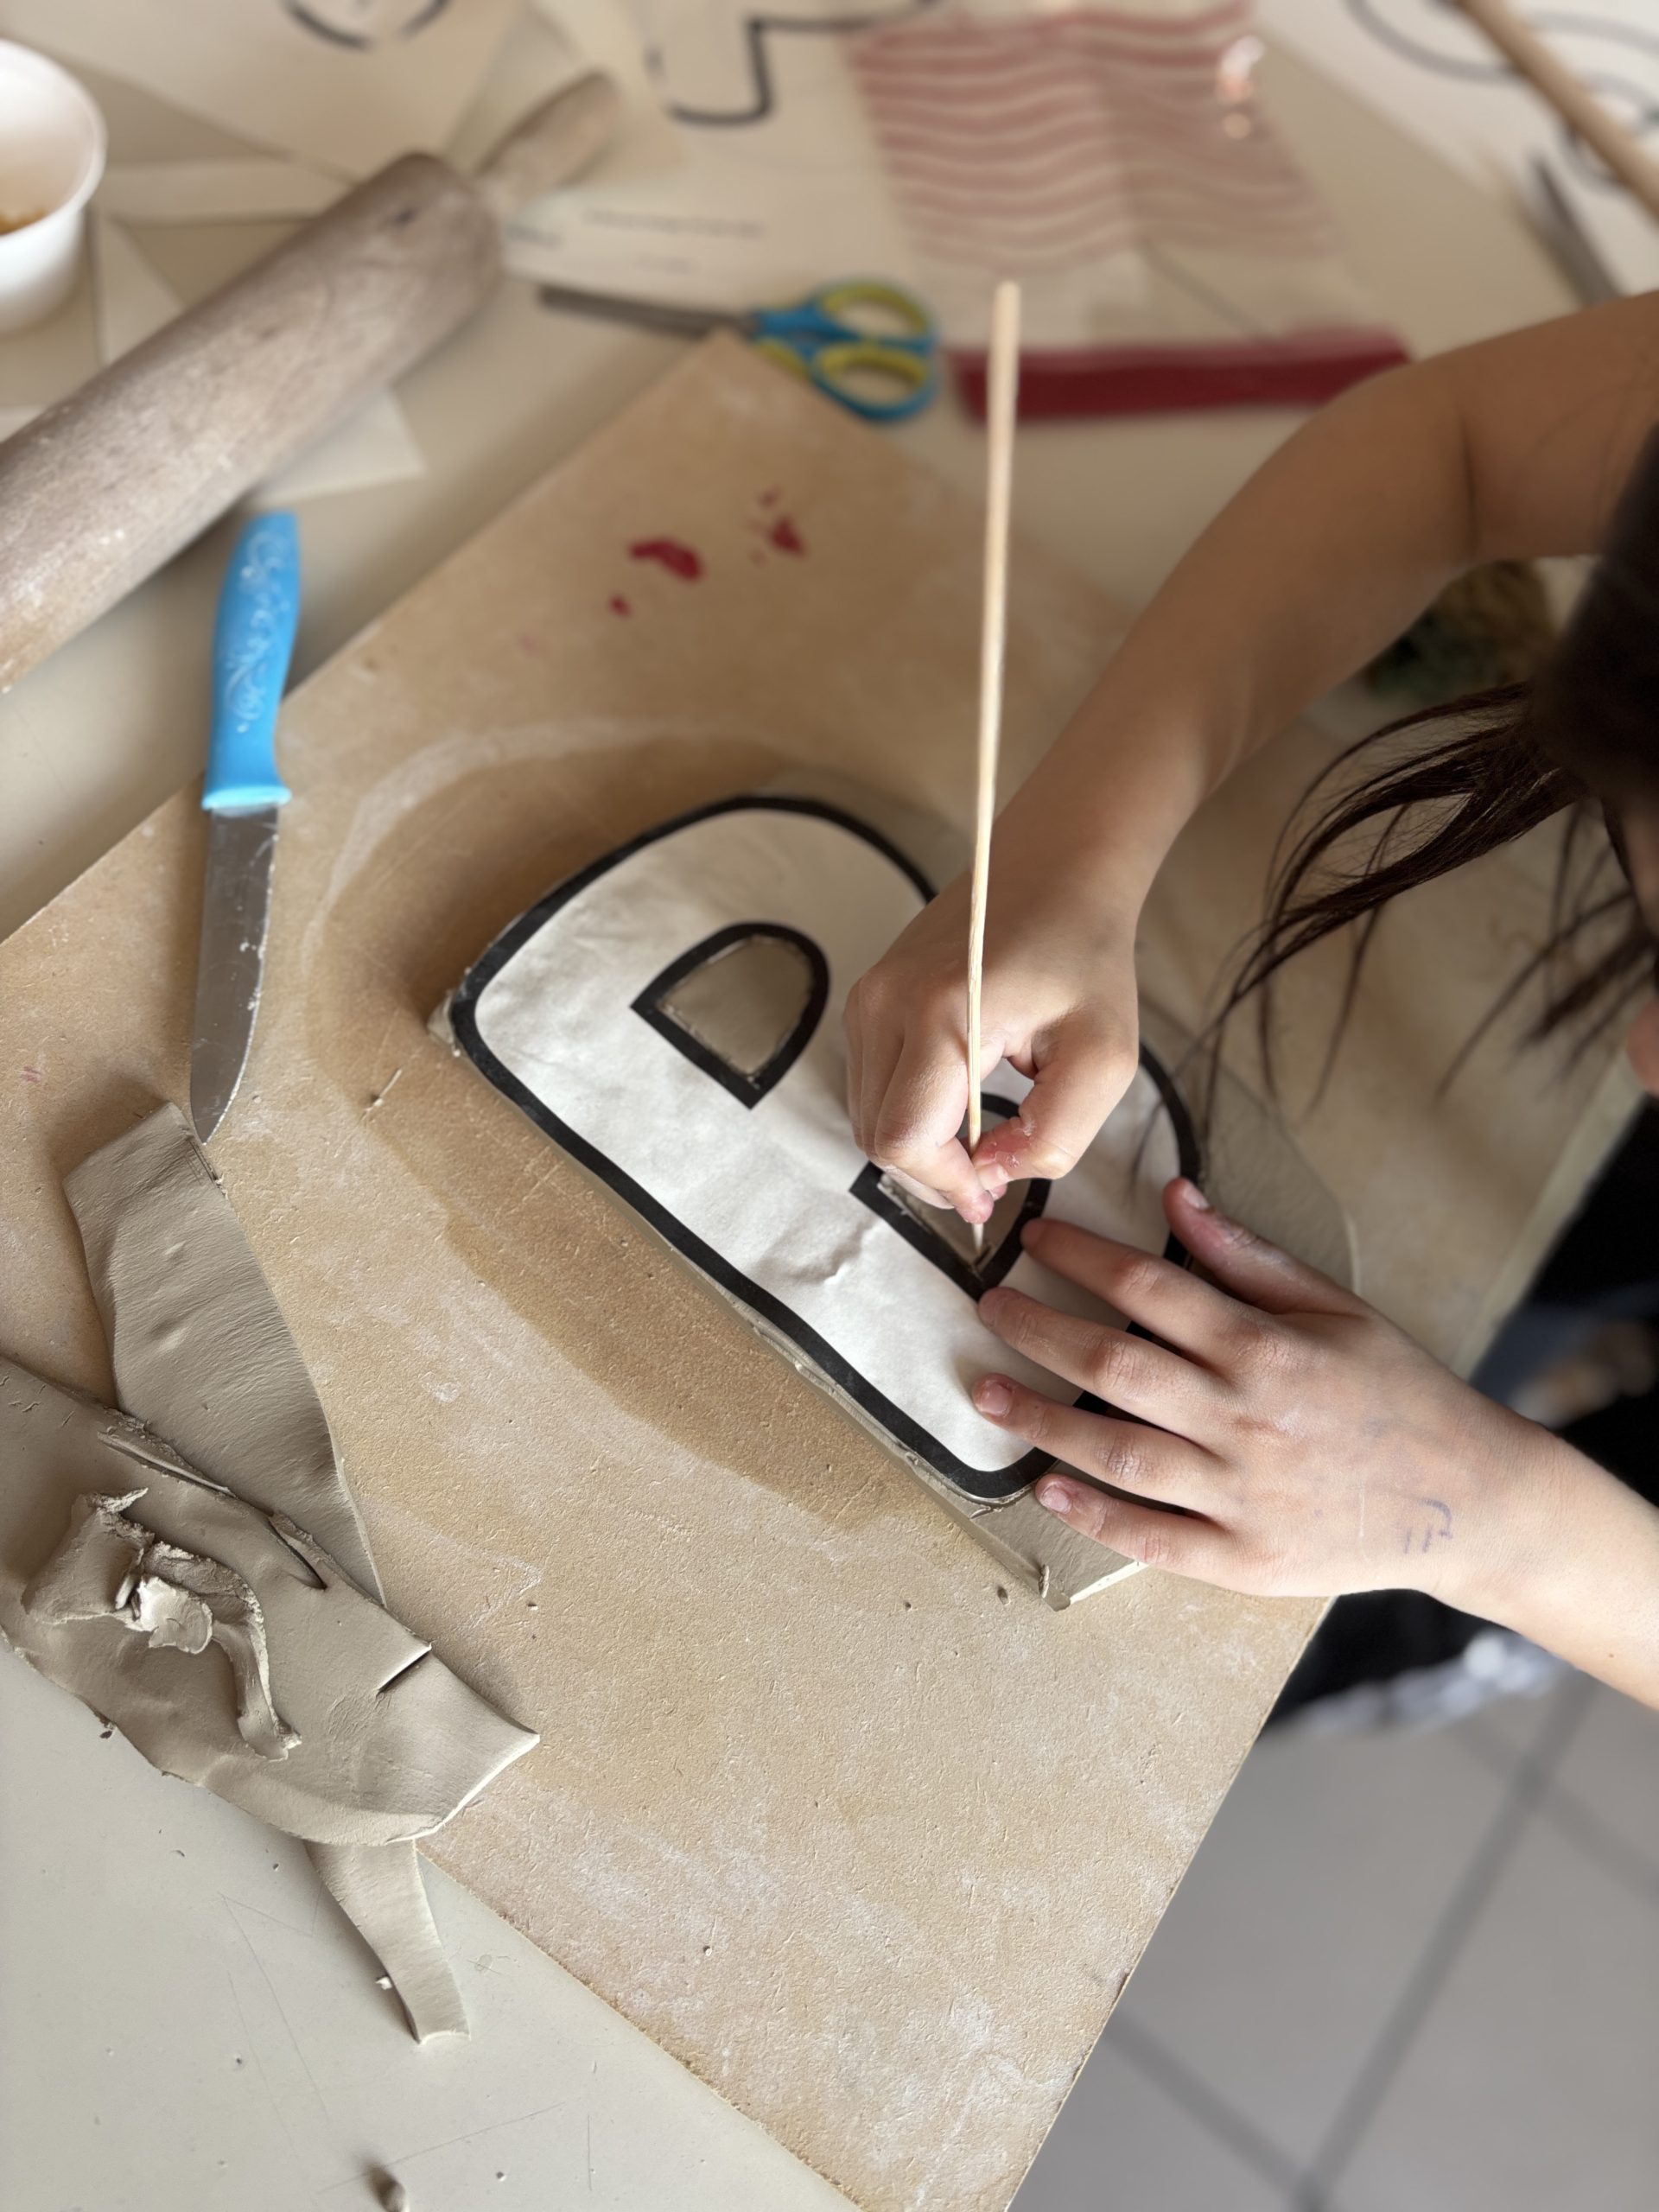
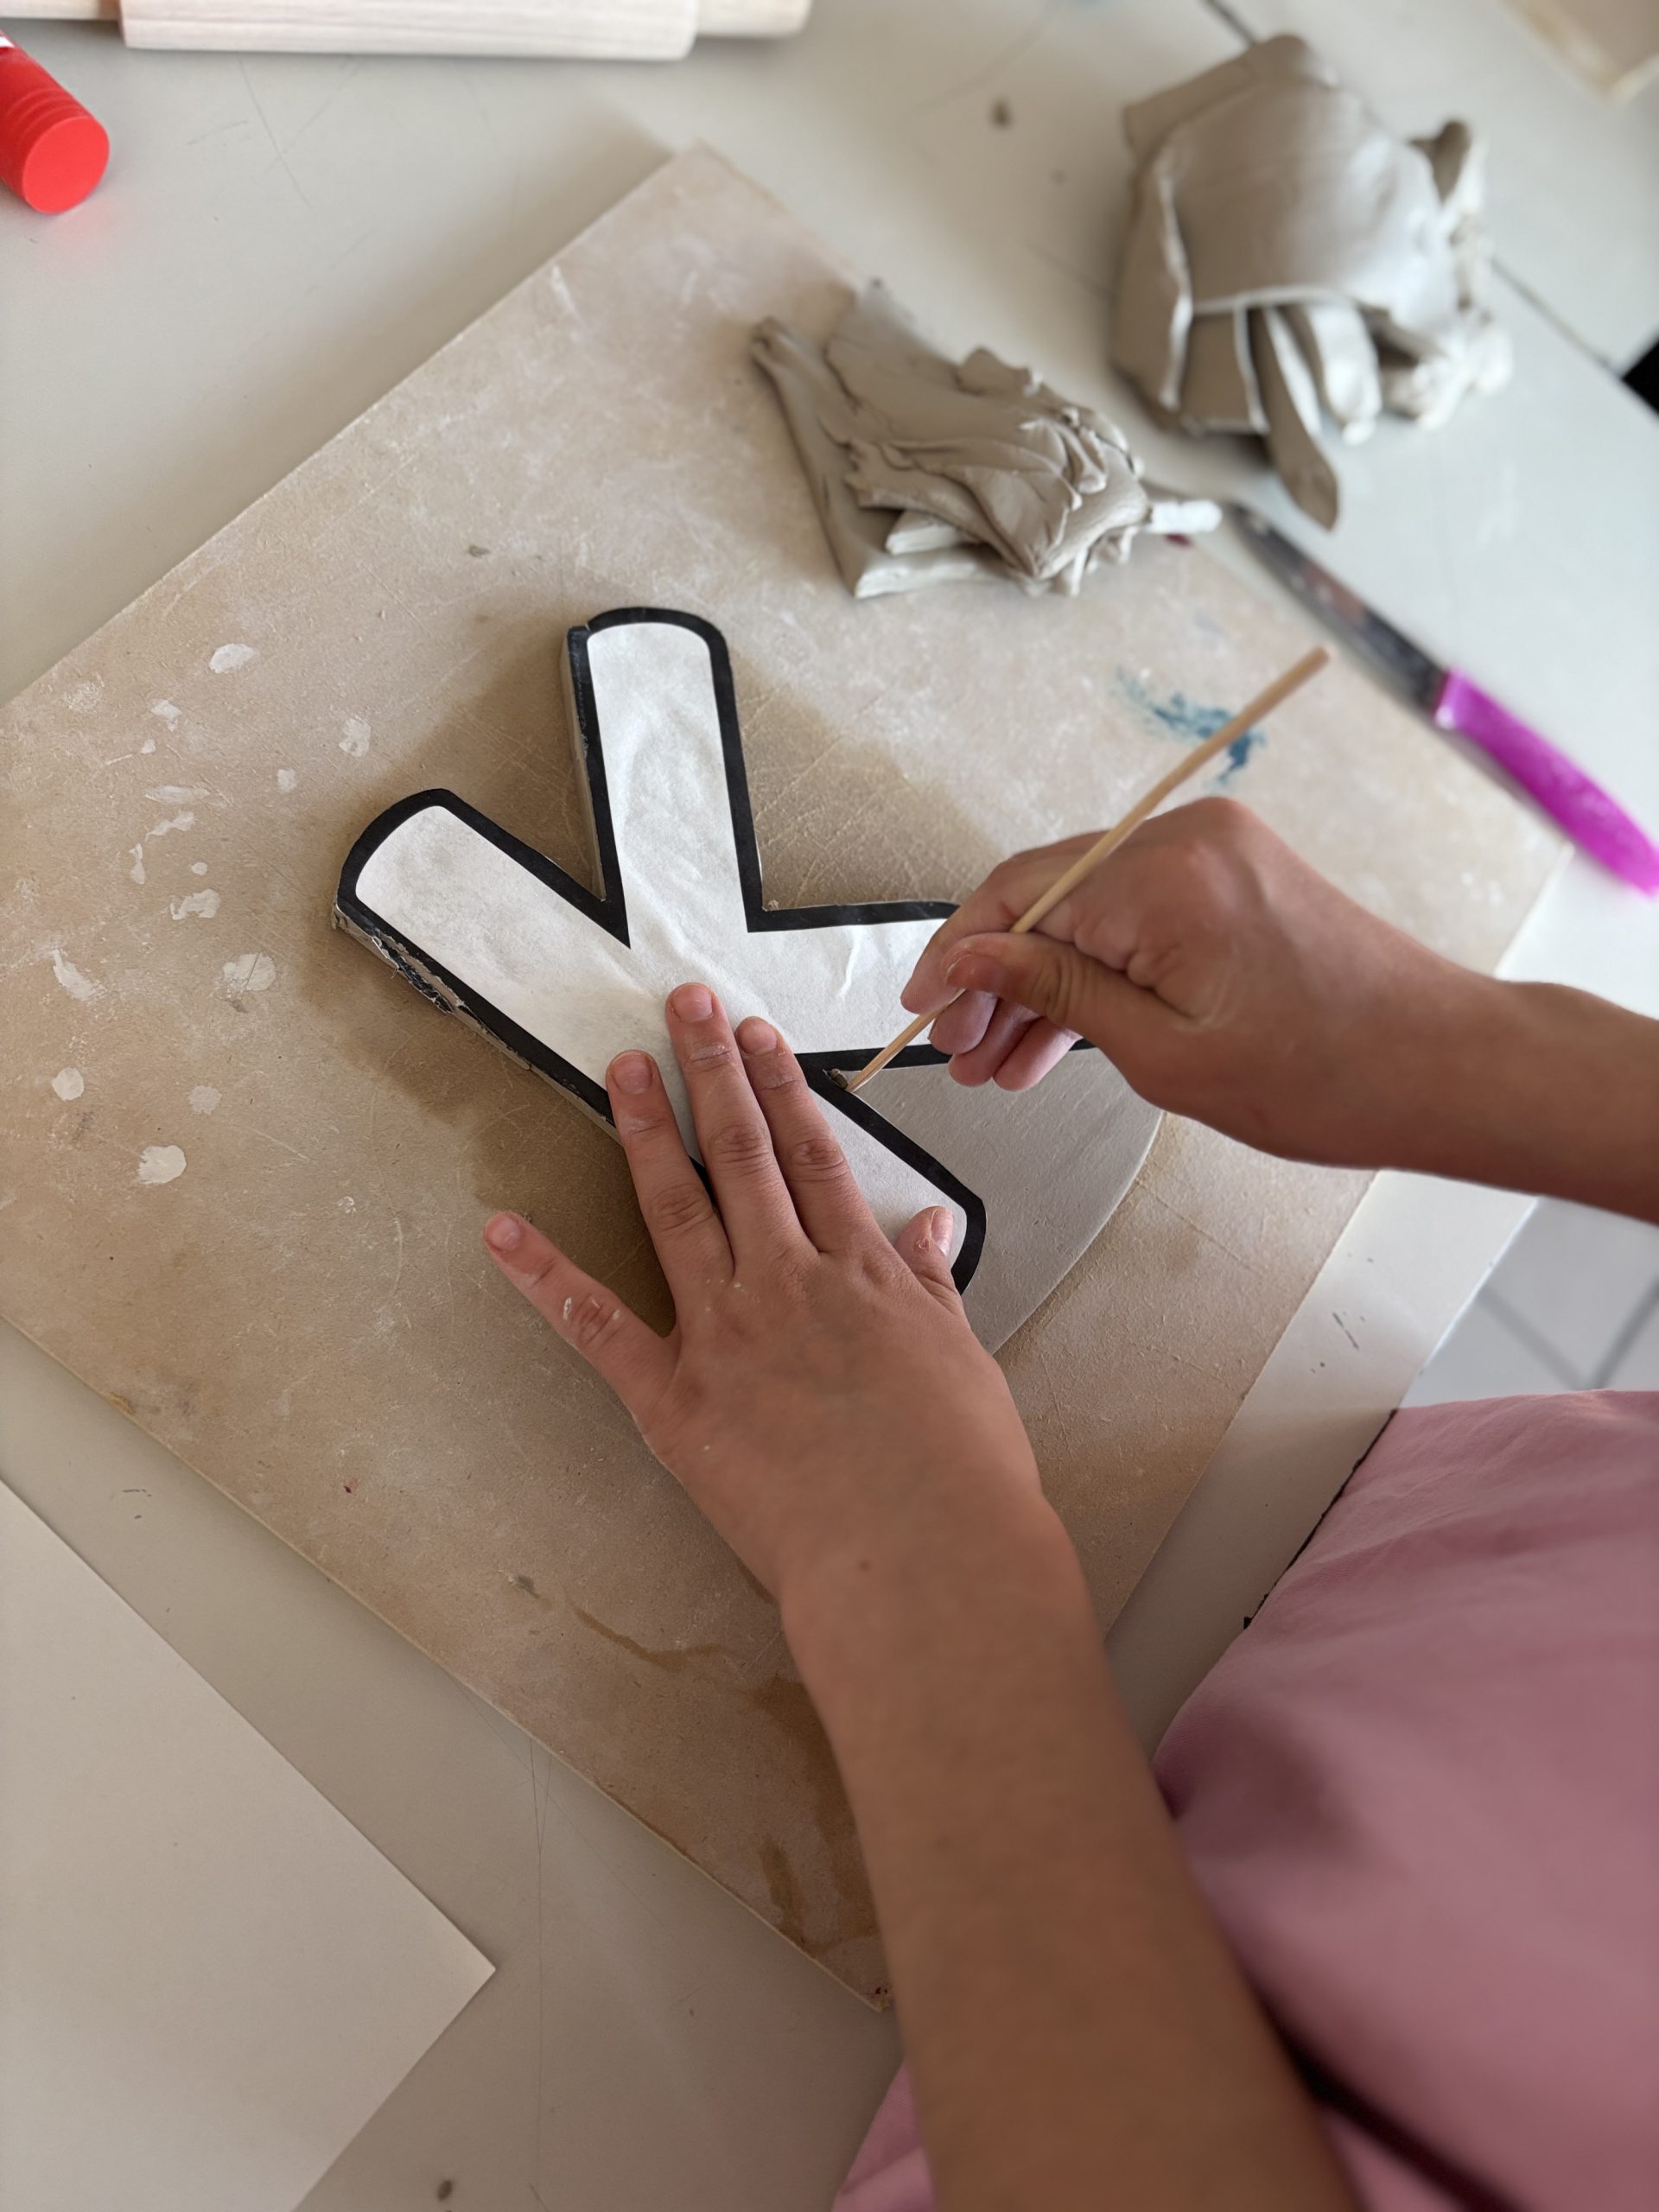
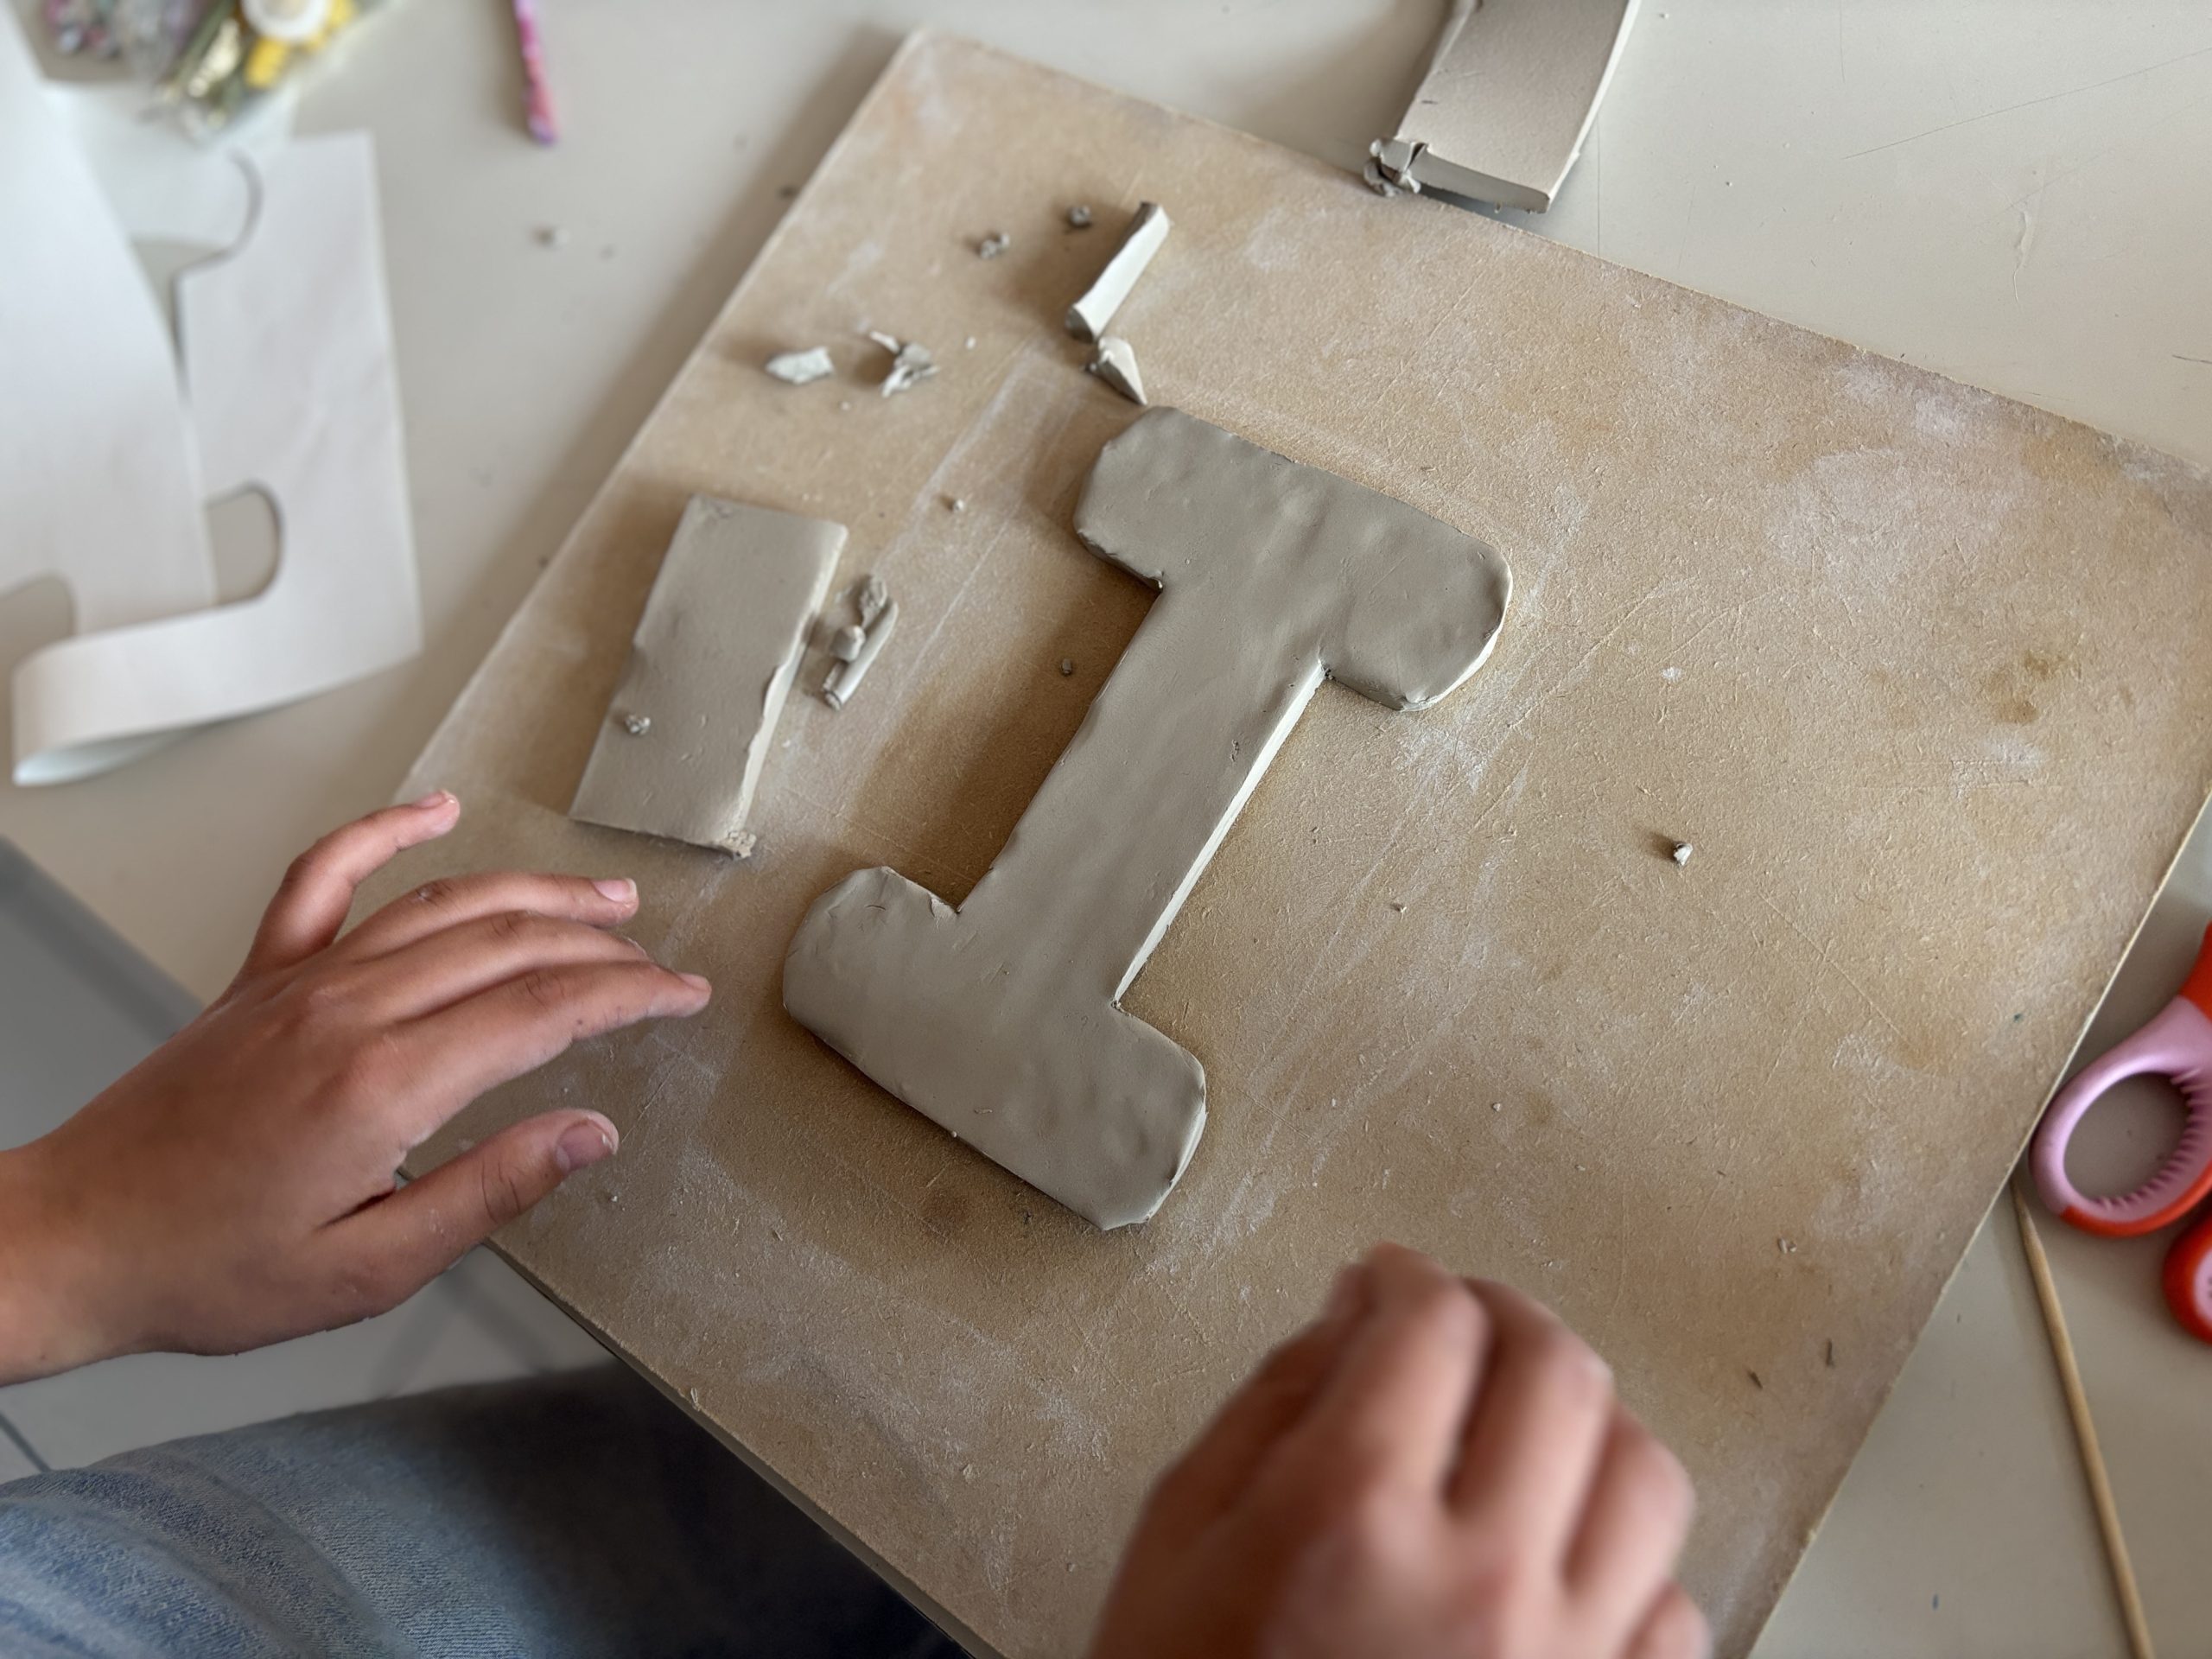
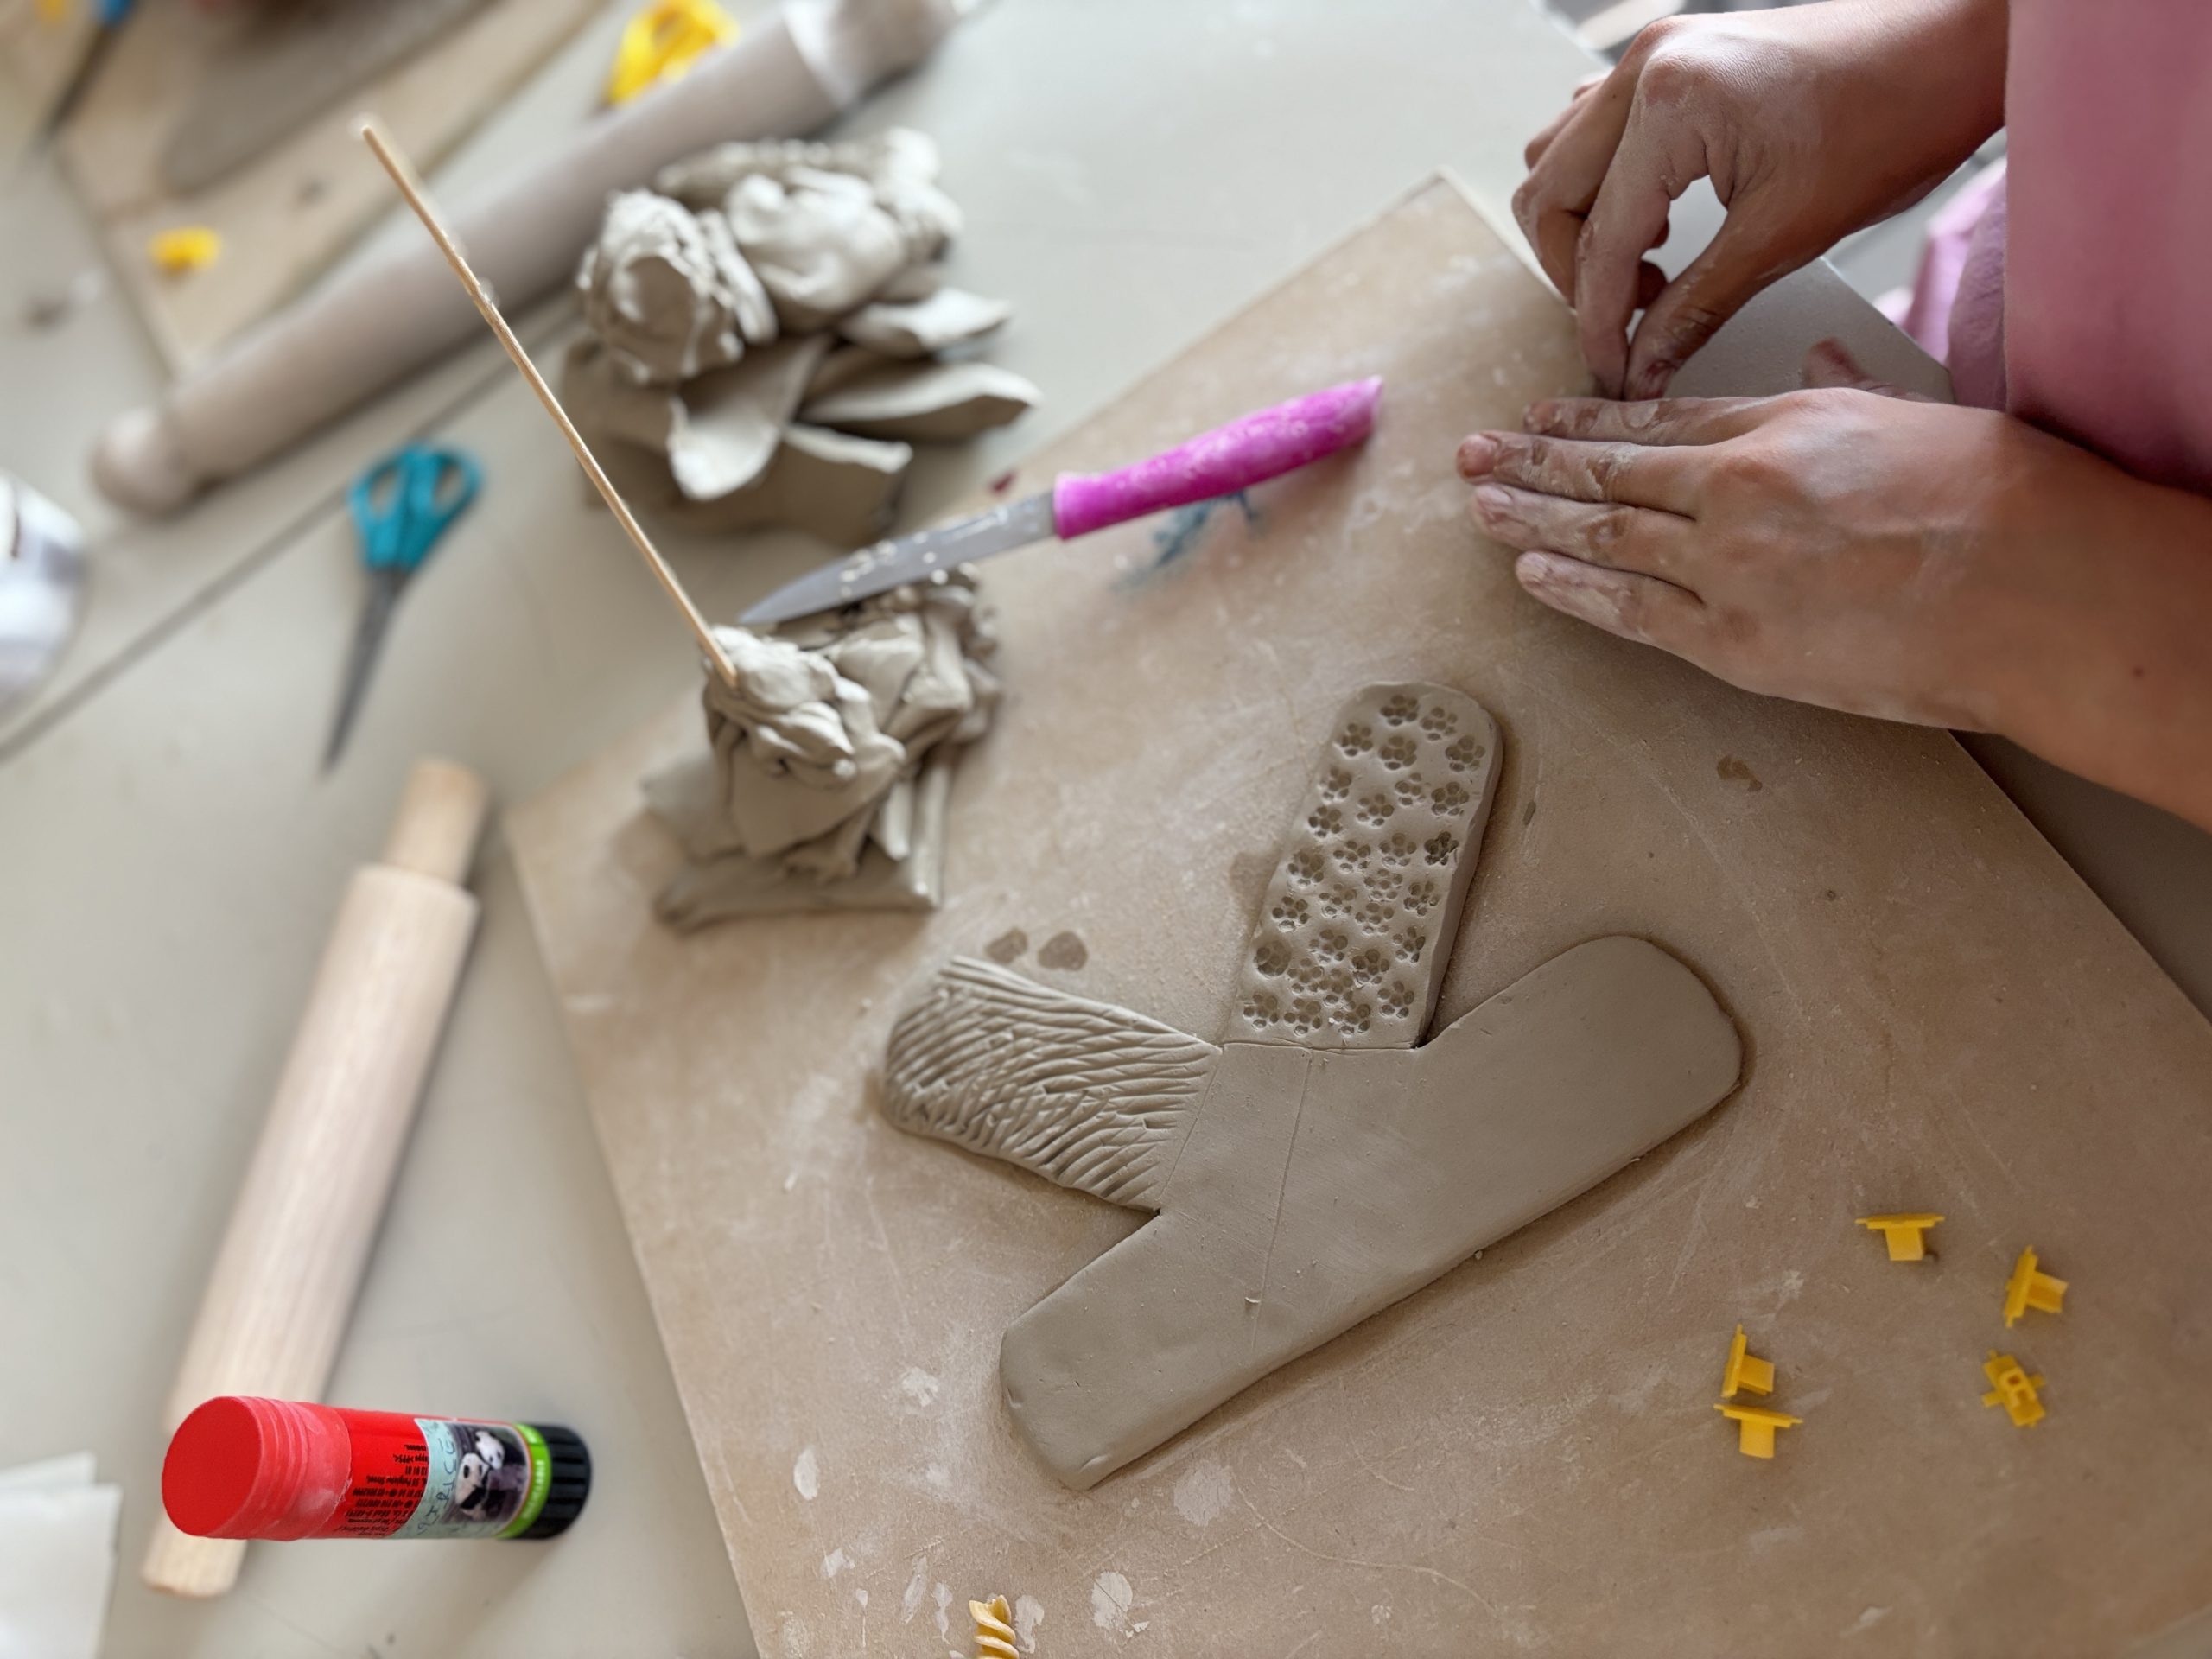
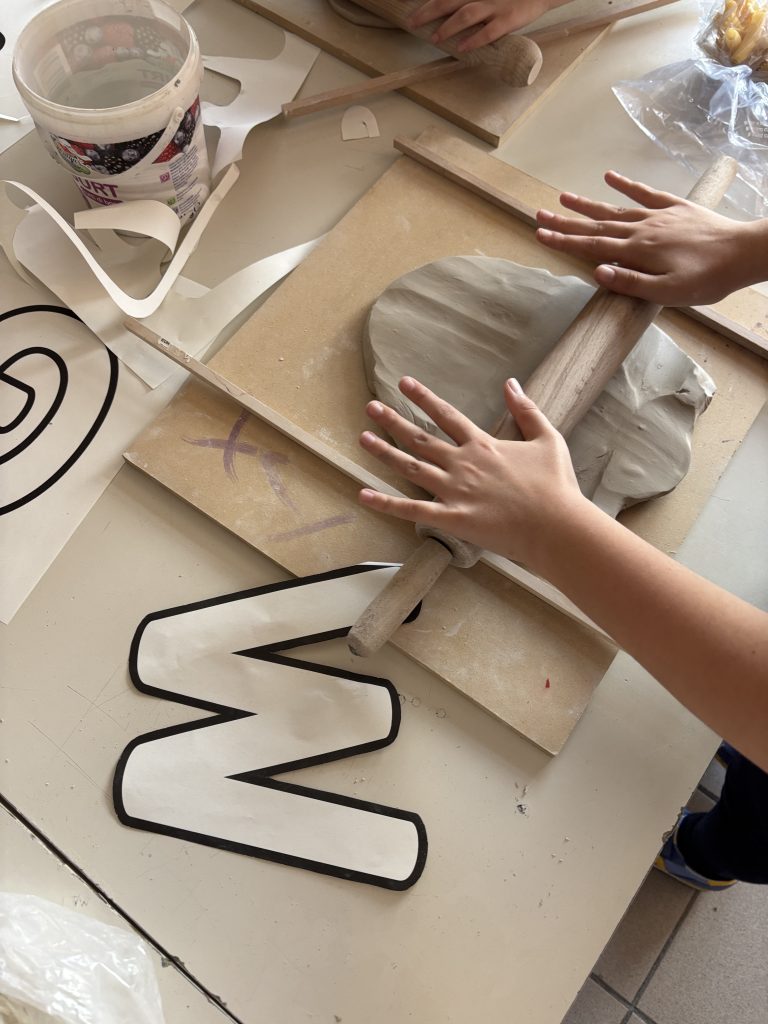
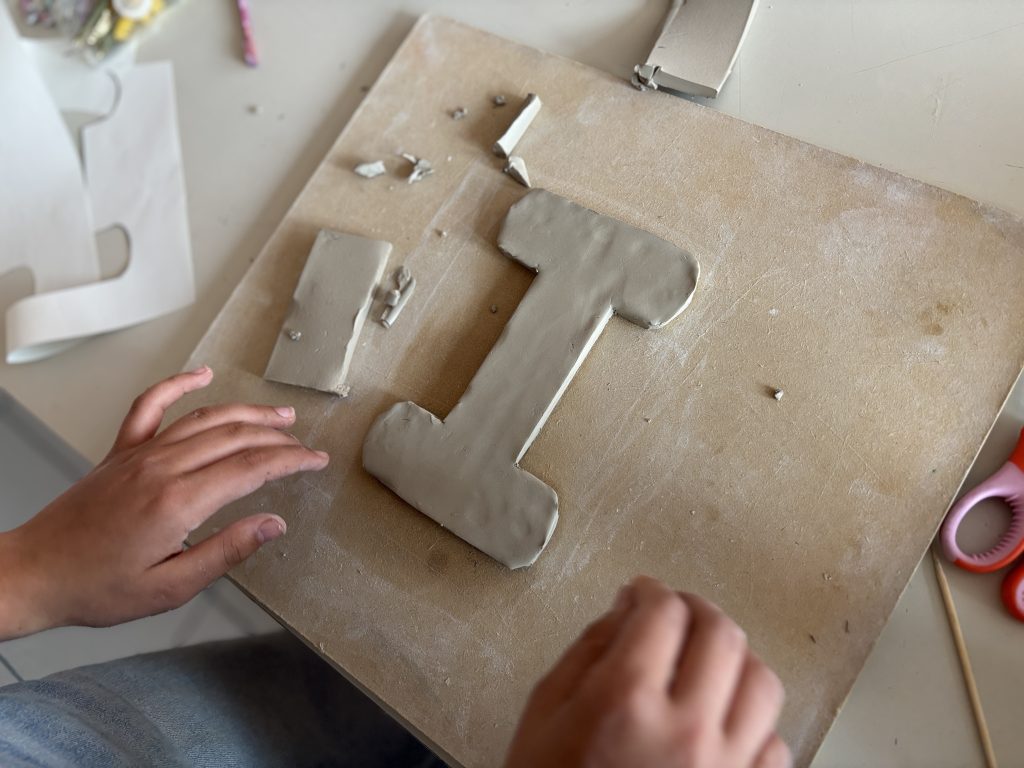
随后进入陶泥塑形阶段。为确保泥板厚度均匀,我们用擀面杖擀泥,并在两侧放置两根8毫米高的木条作为限位器。待泥板表面平整、厚薄一致后,将其覆于纸模板之上,沿轮廓线剪切出字母形状。
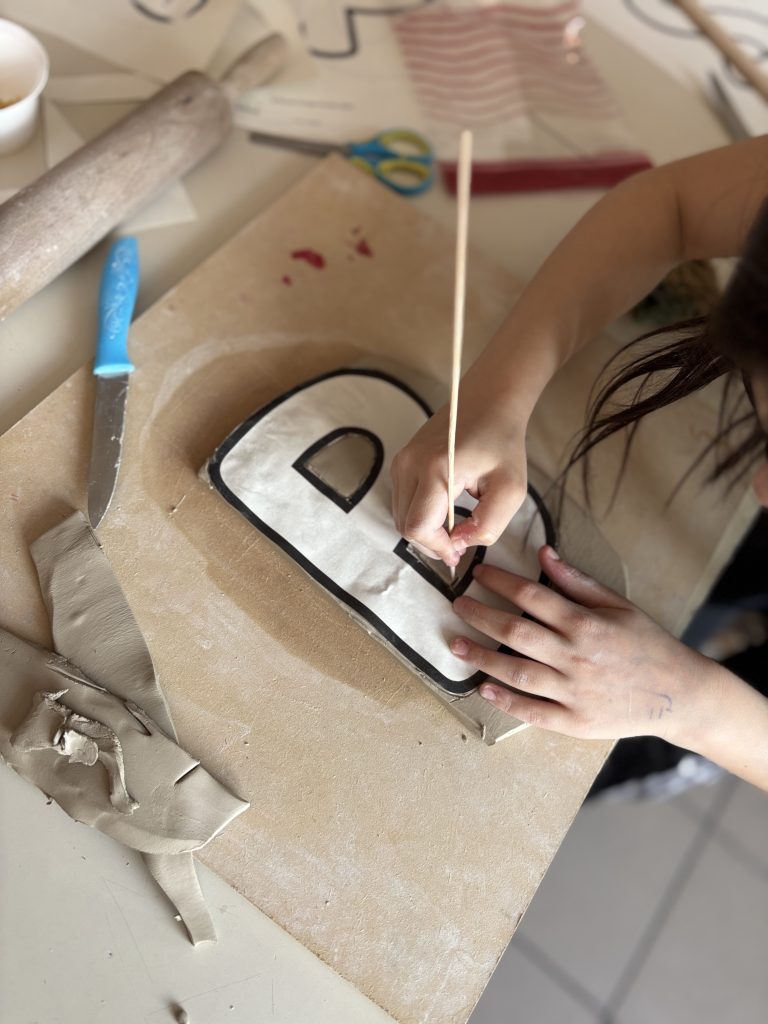
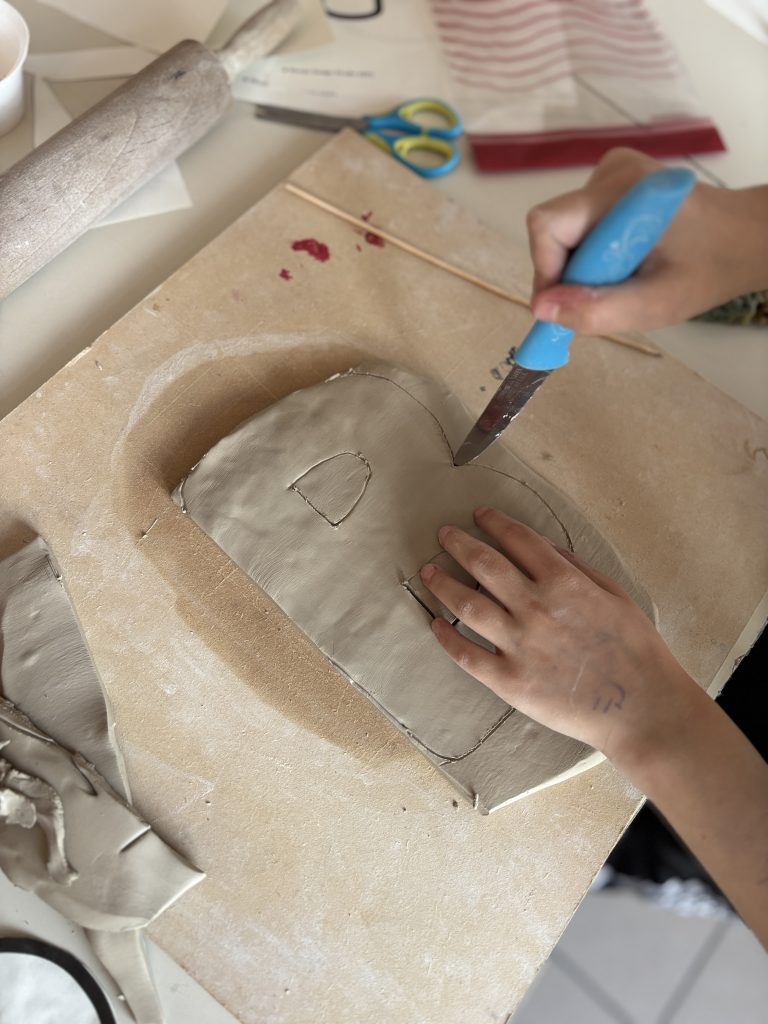
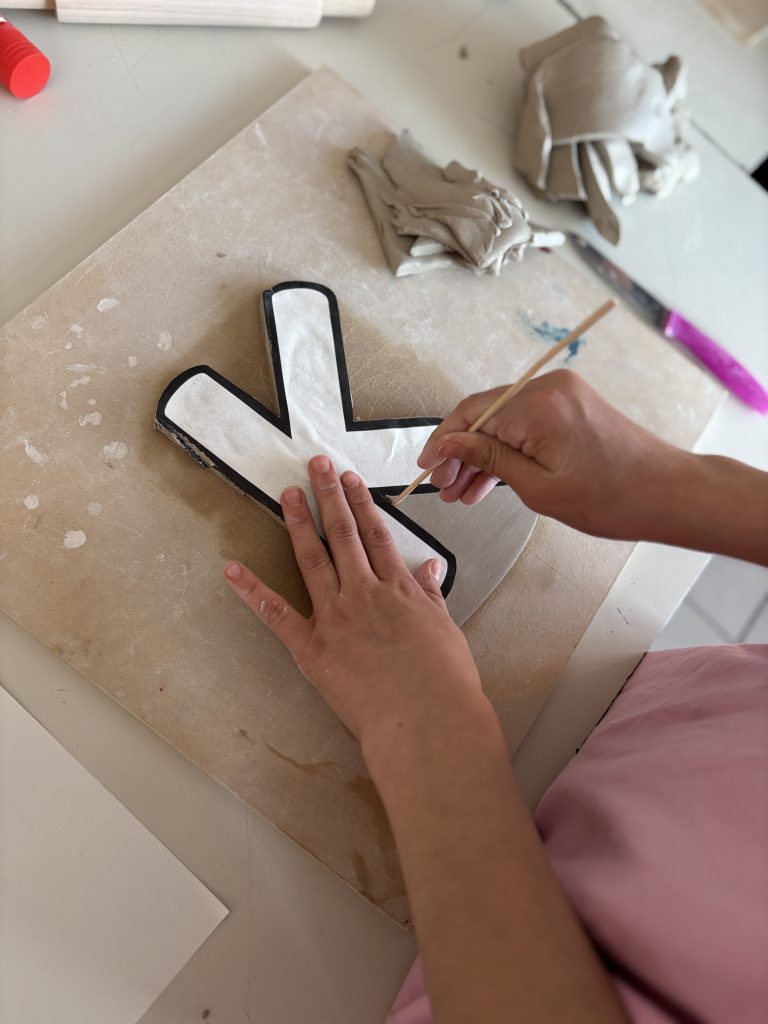
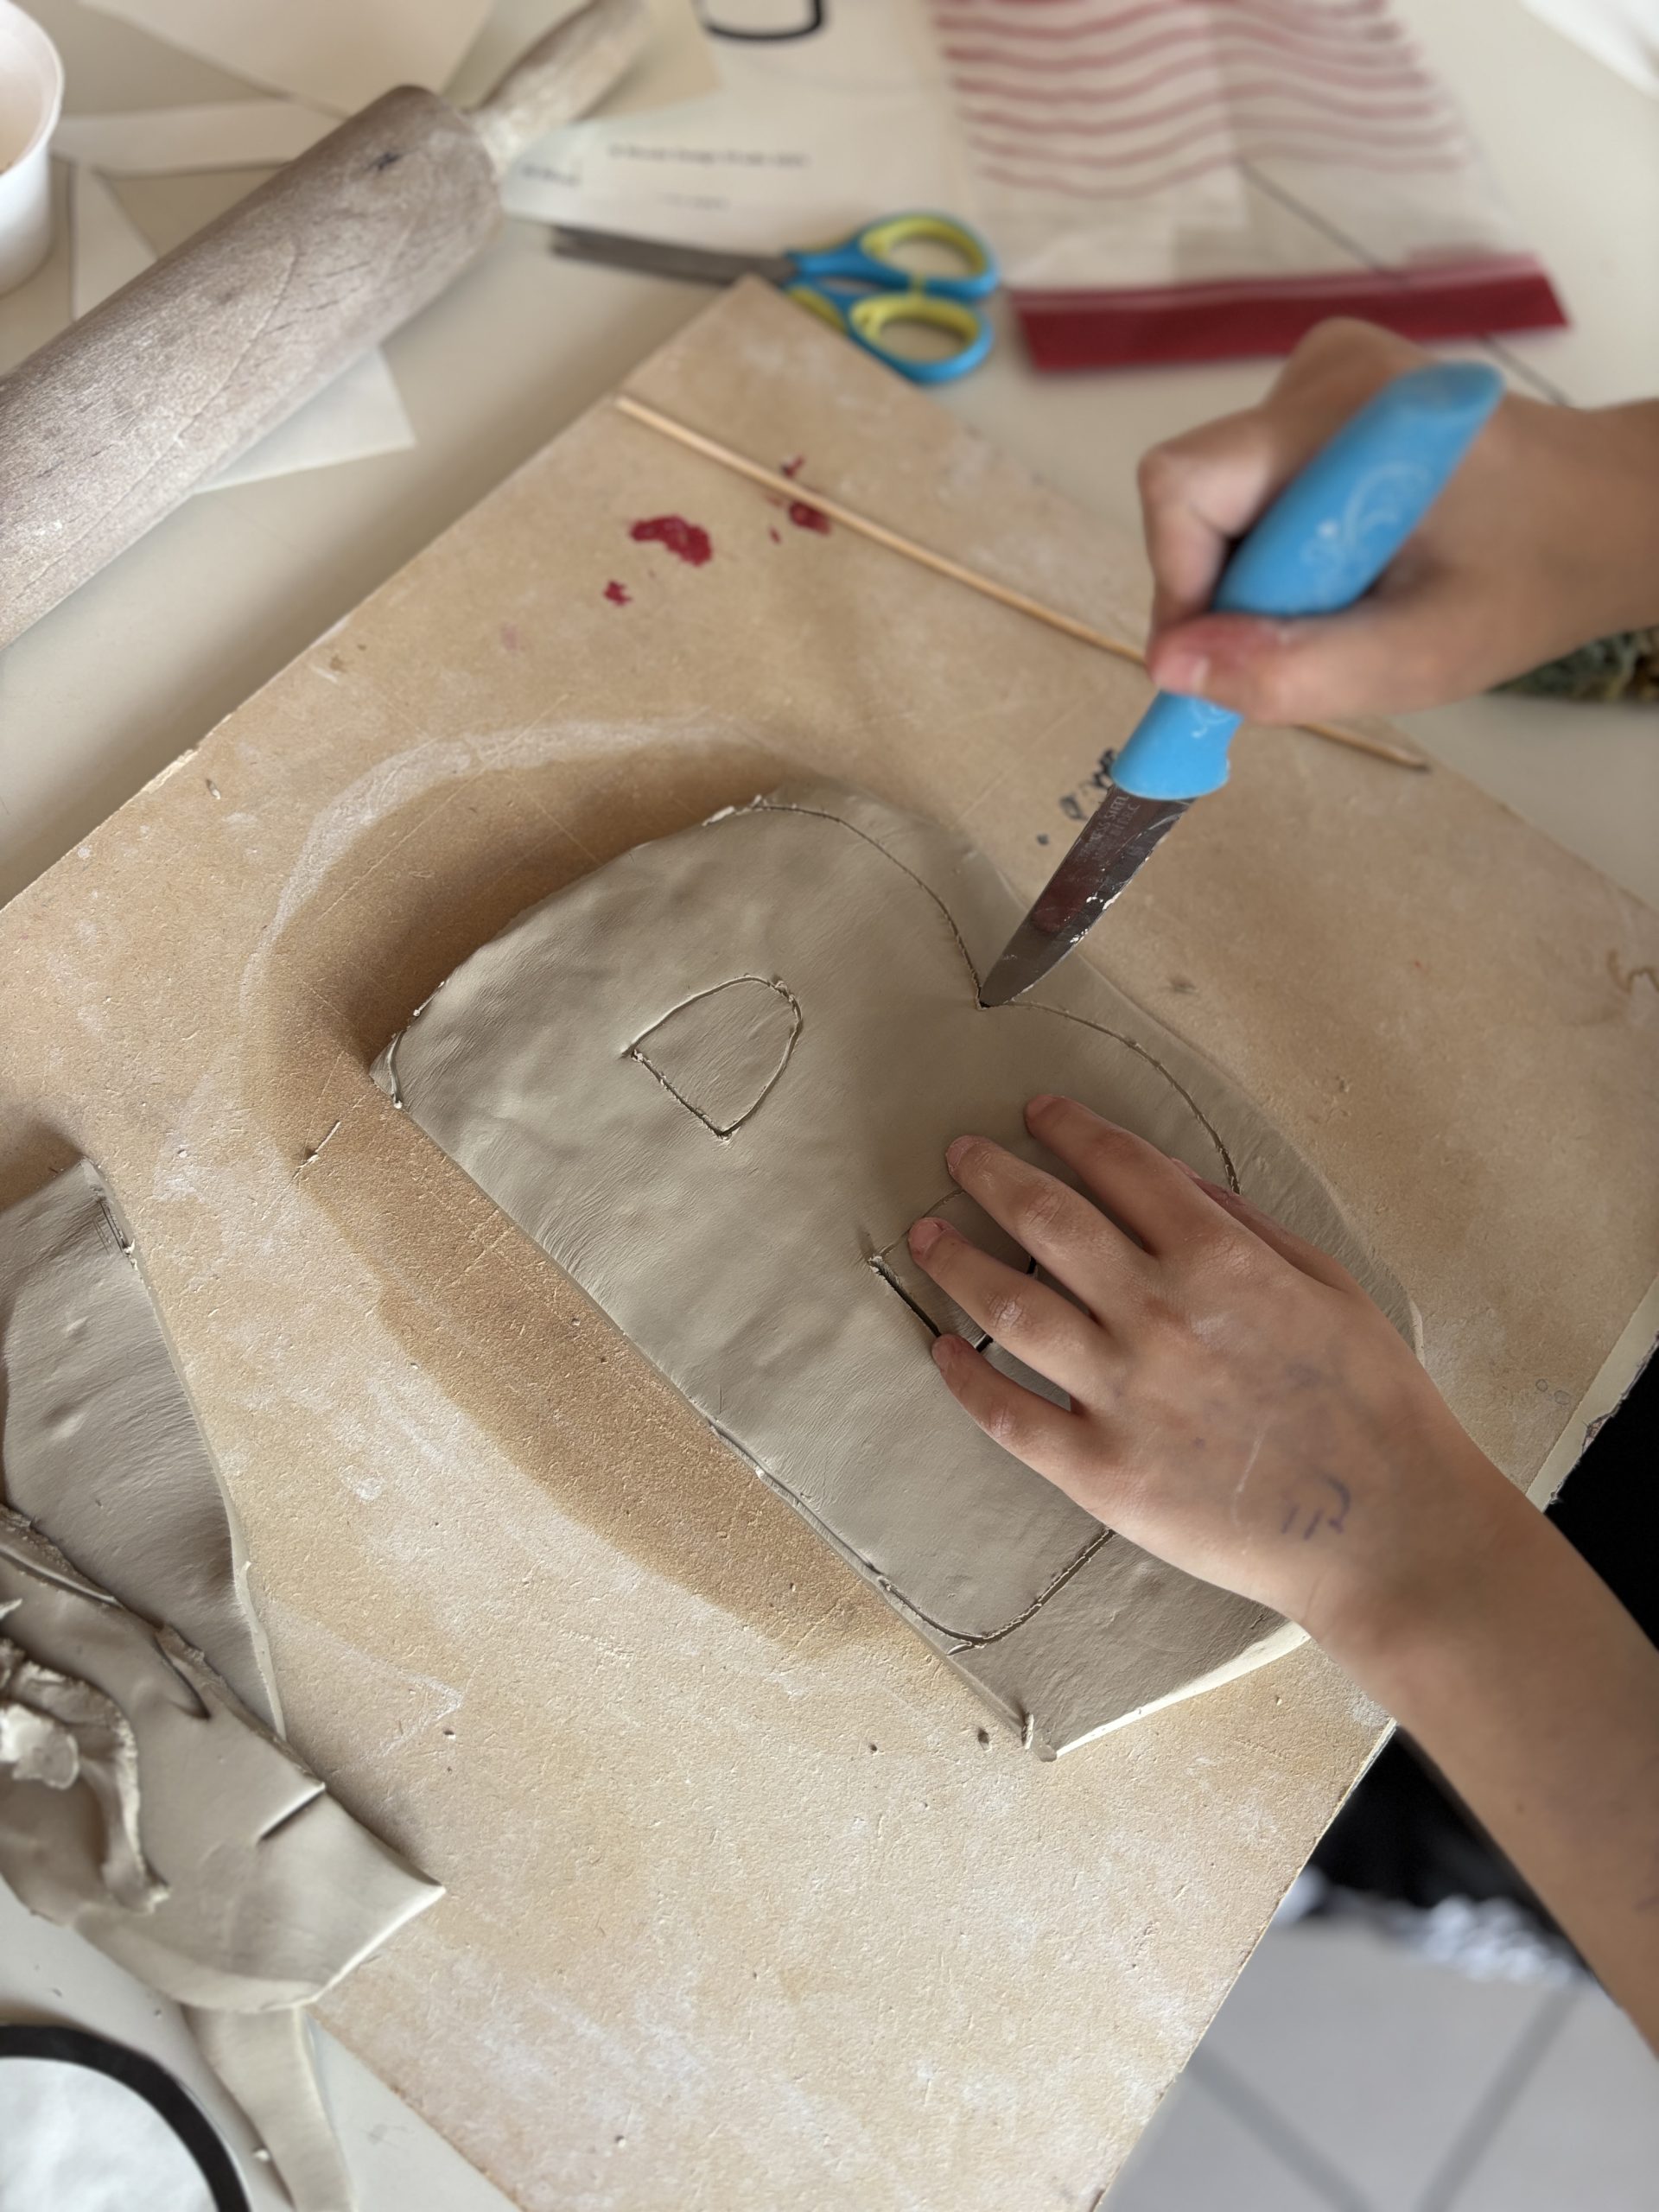
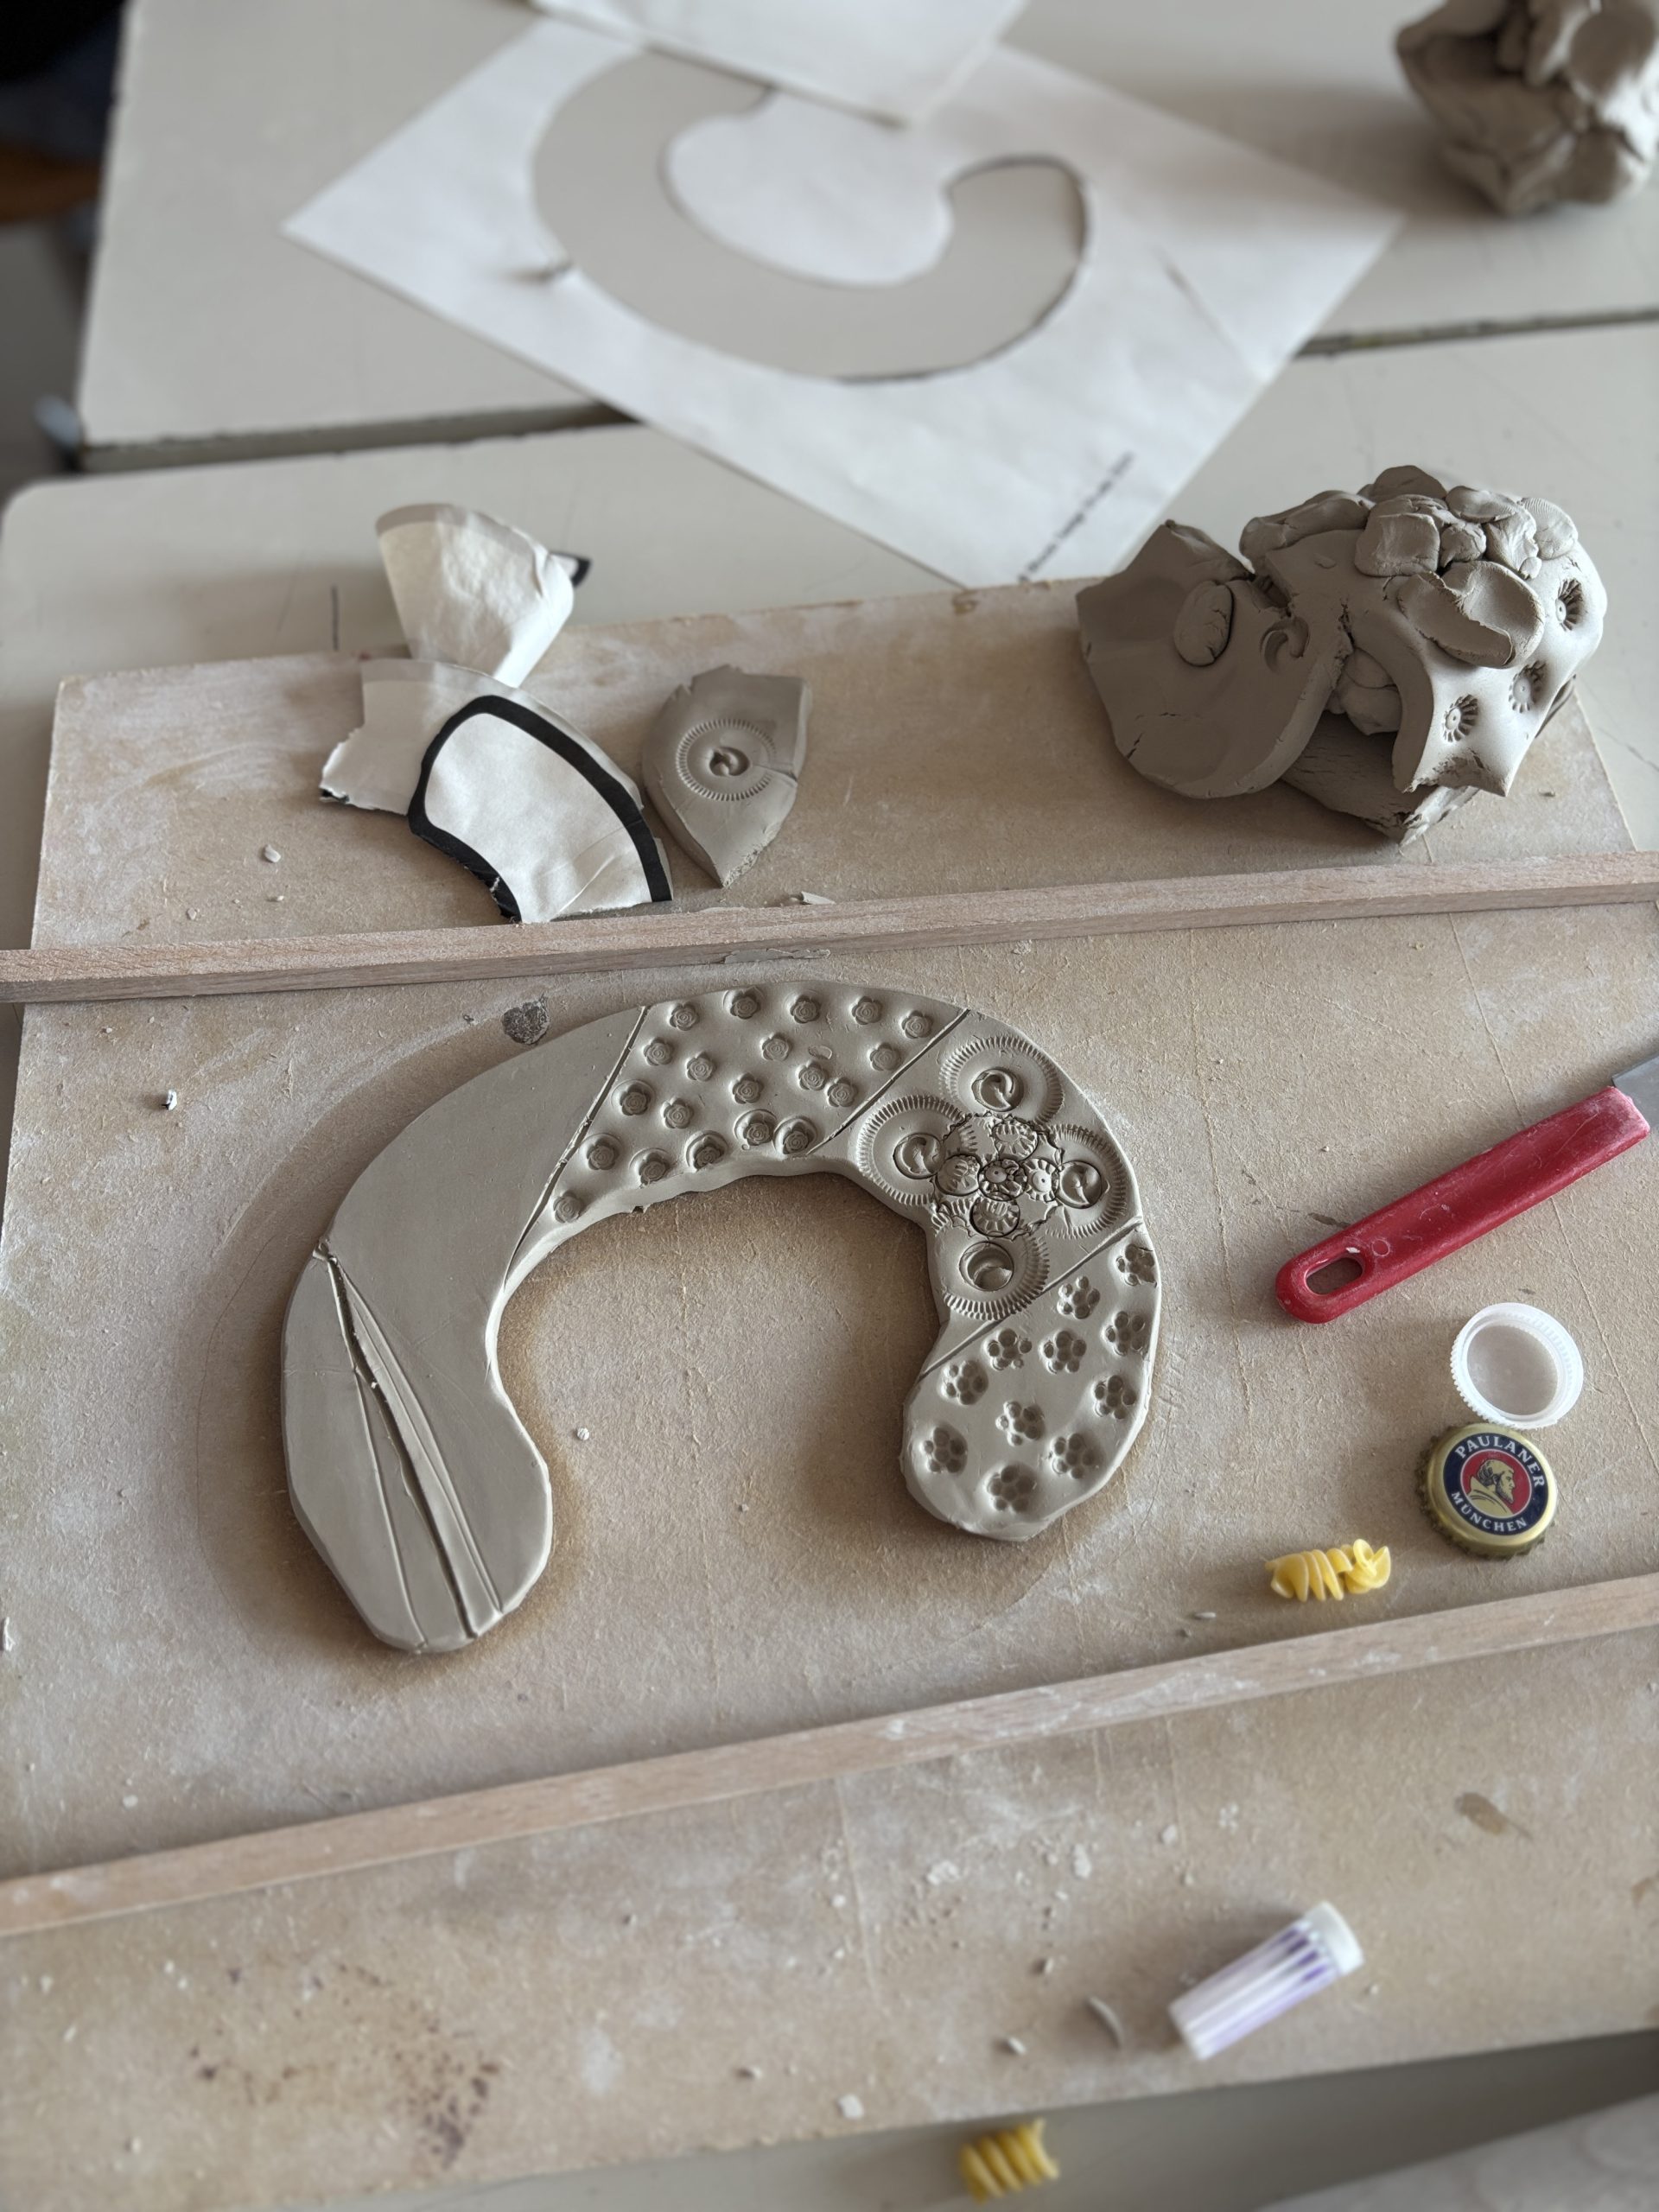
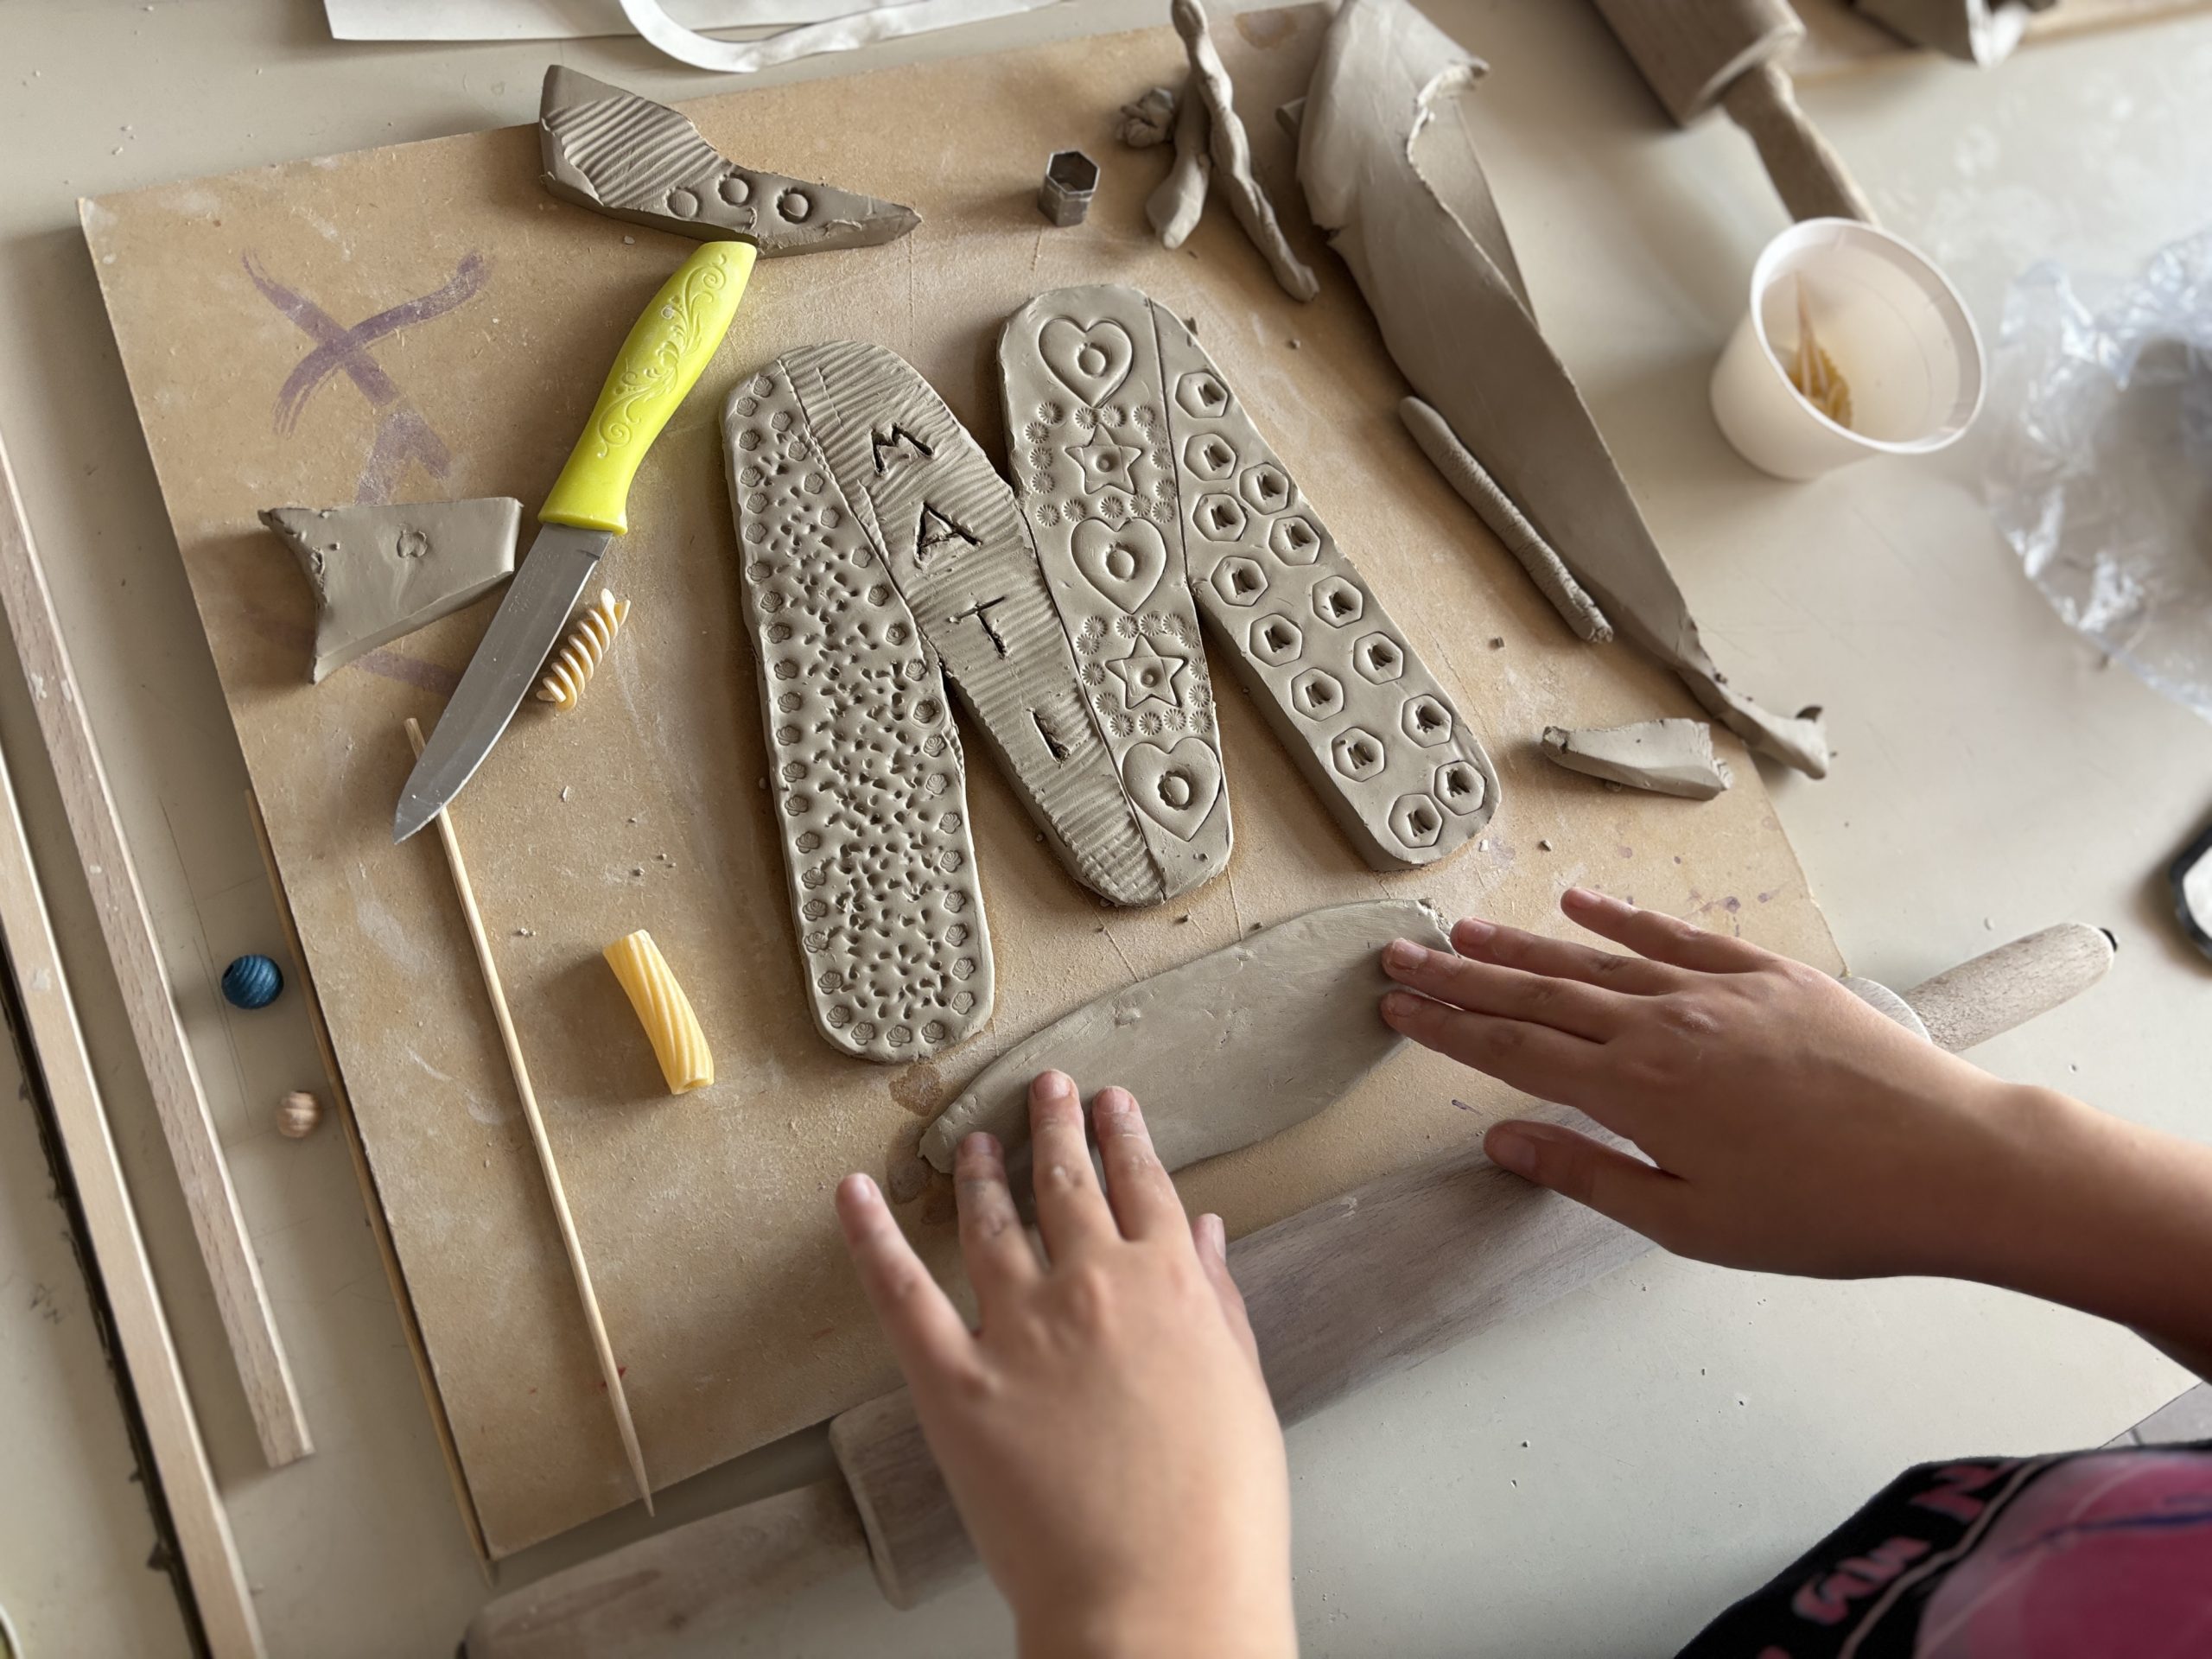
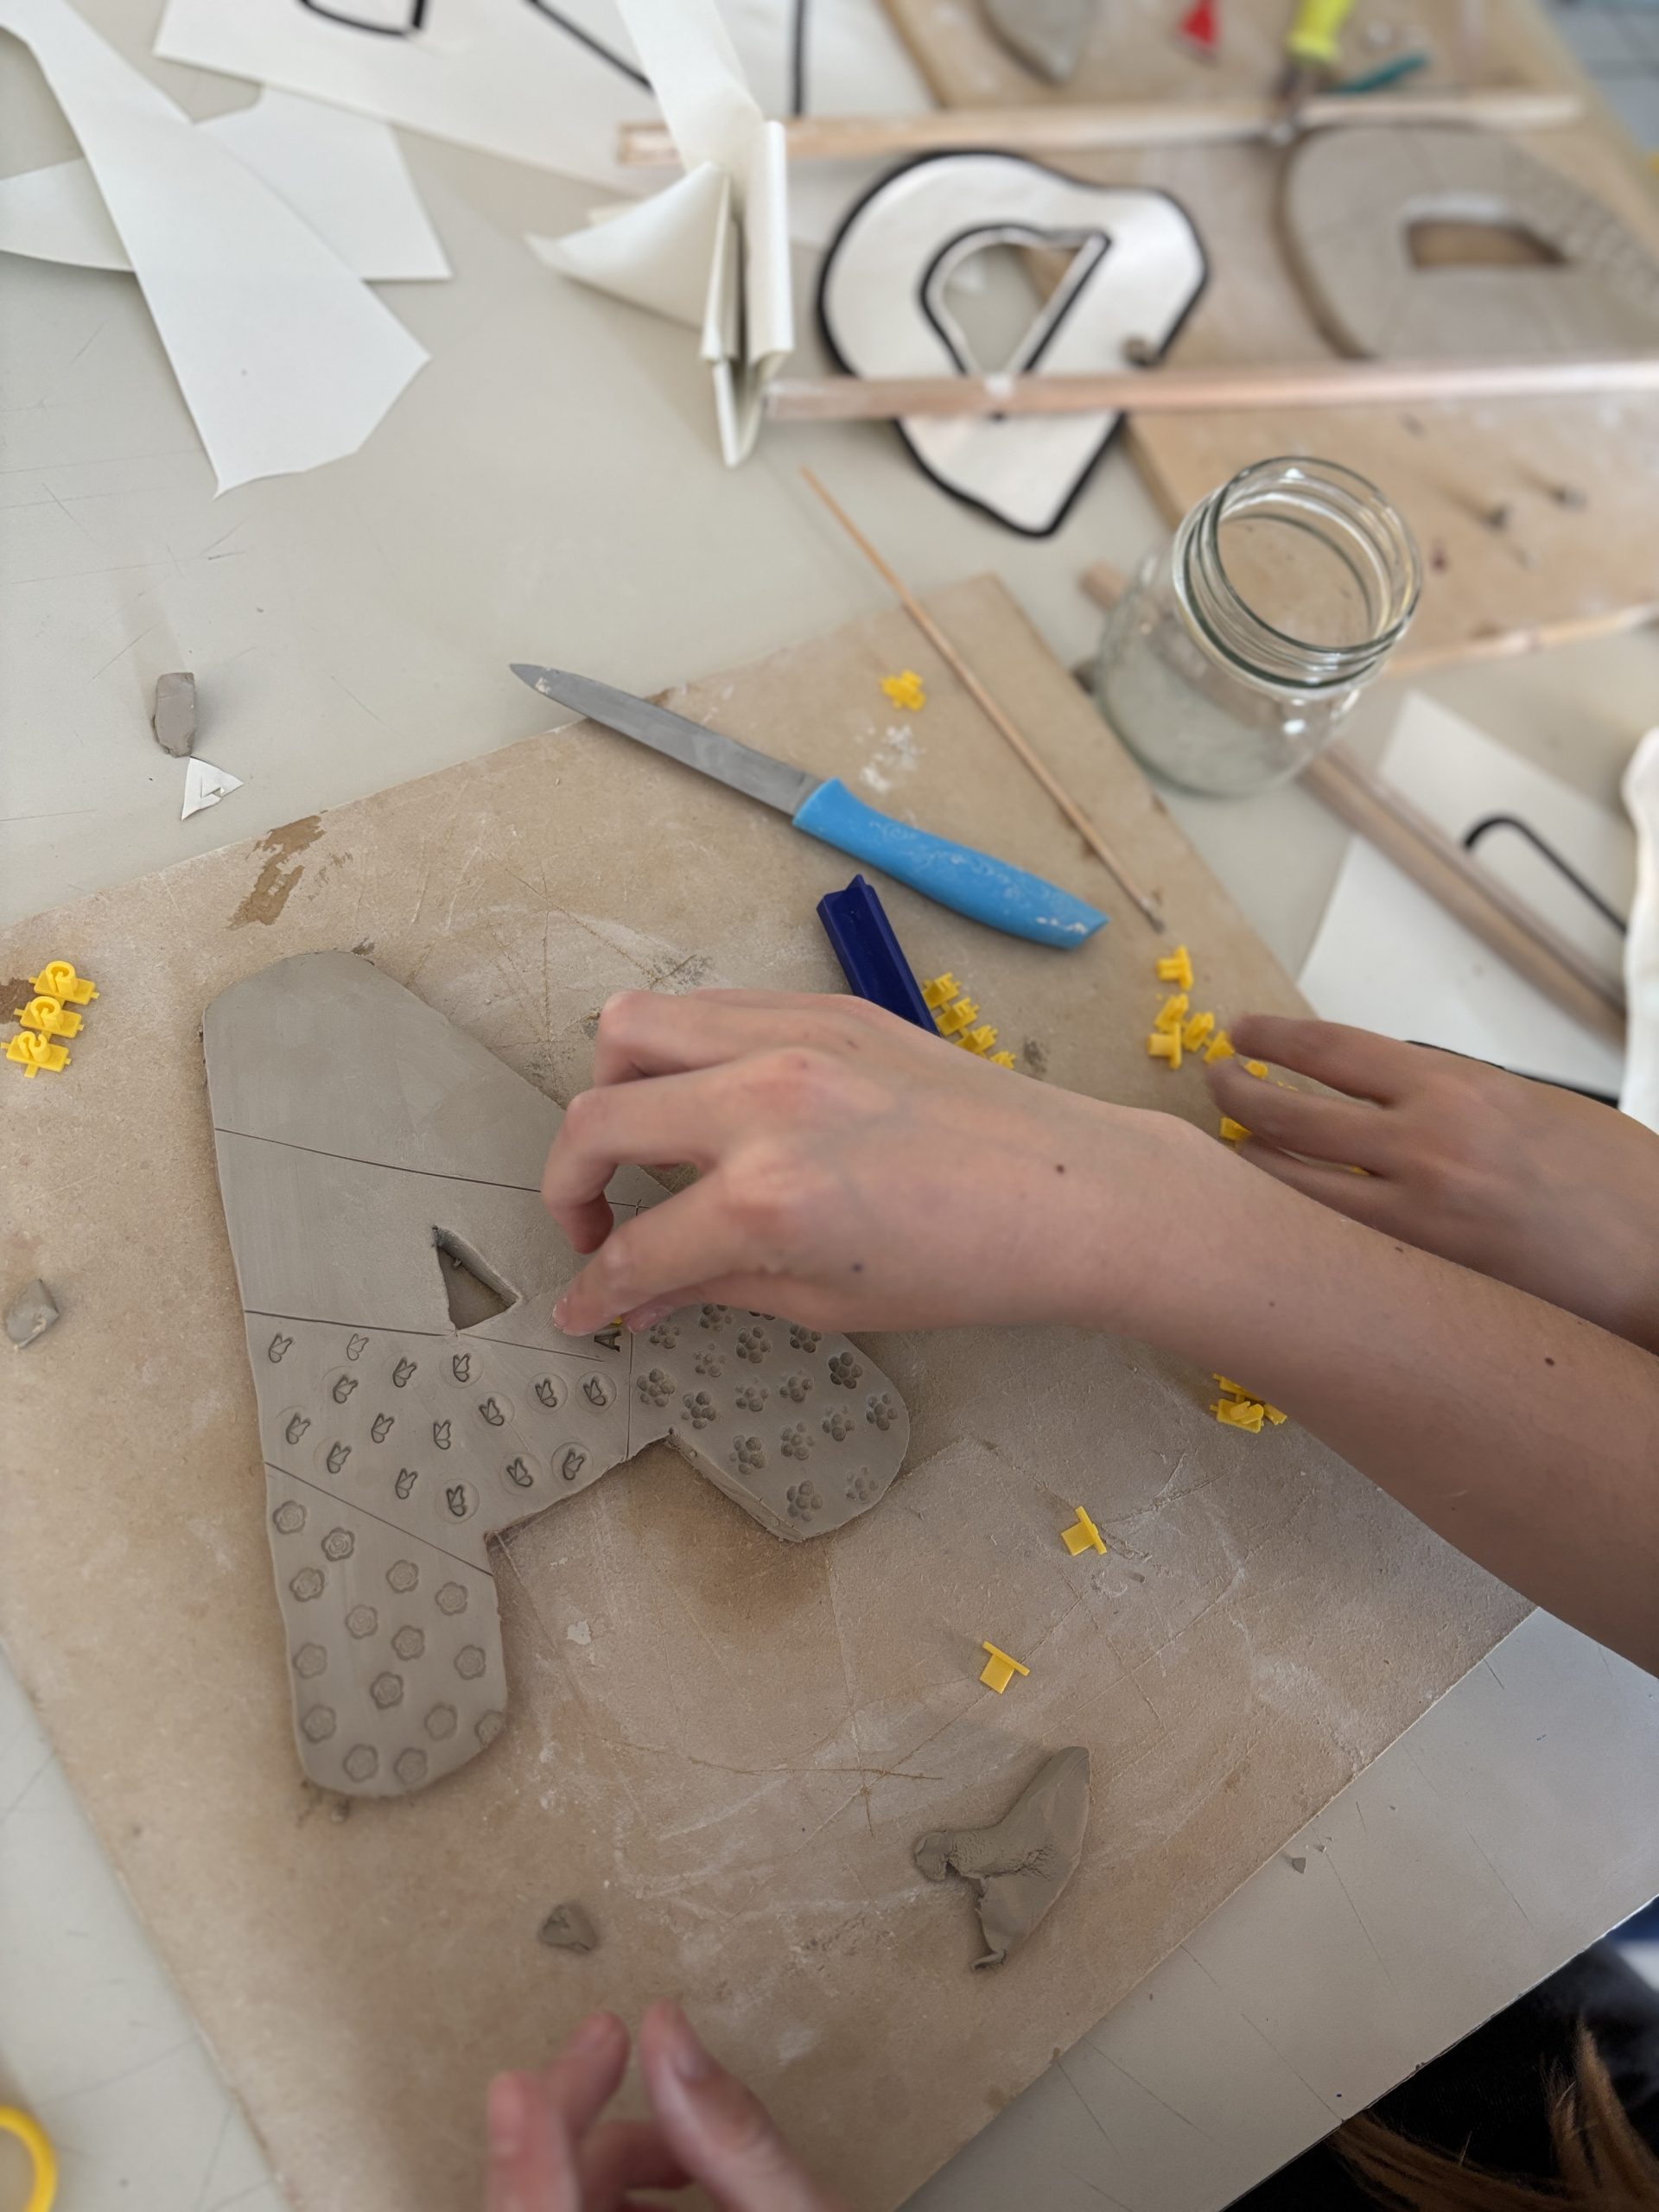
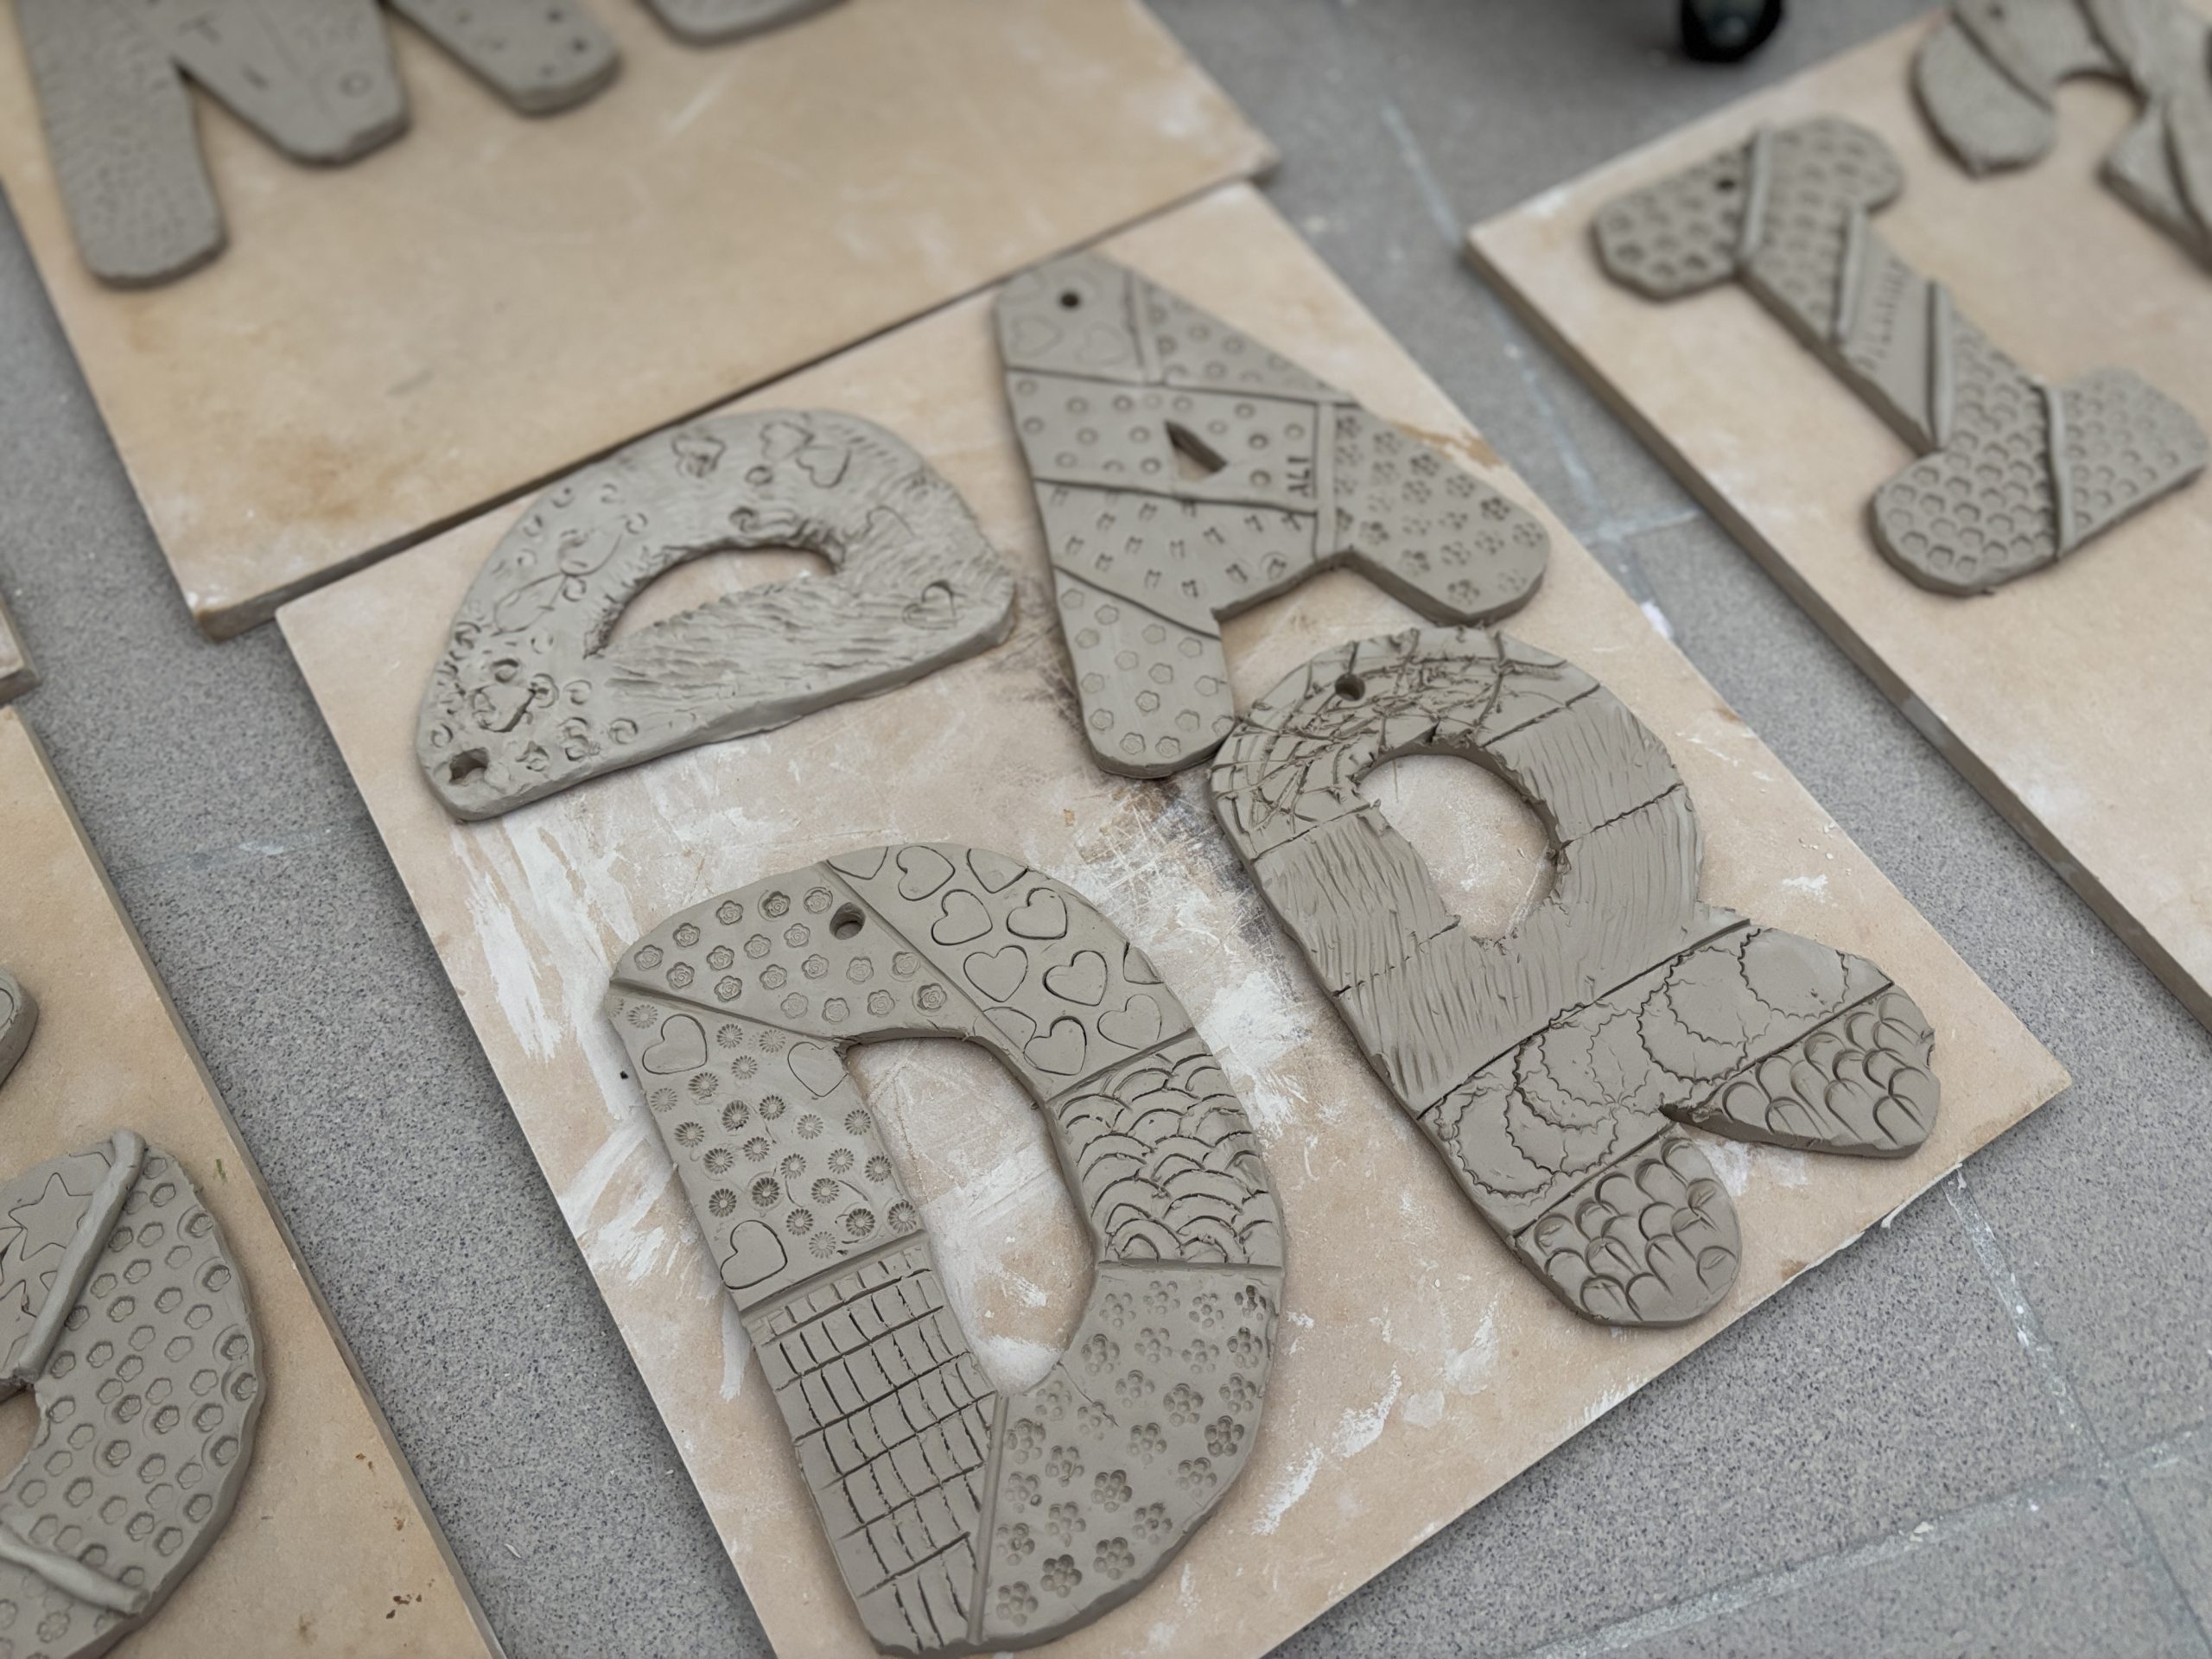
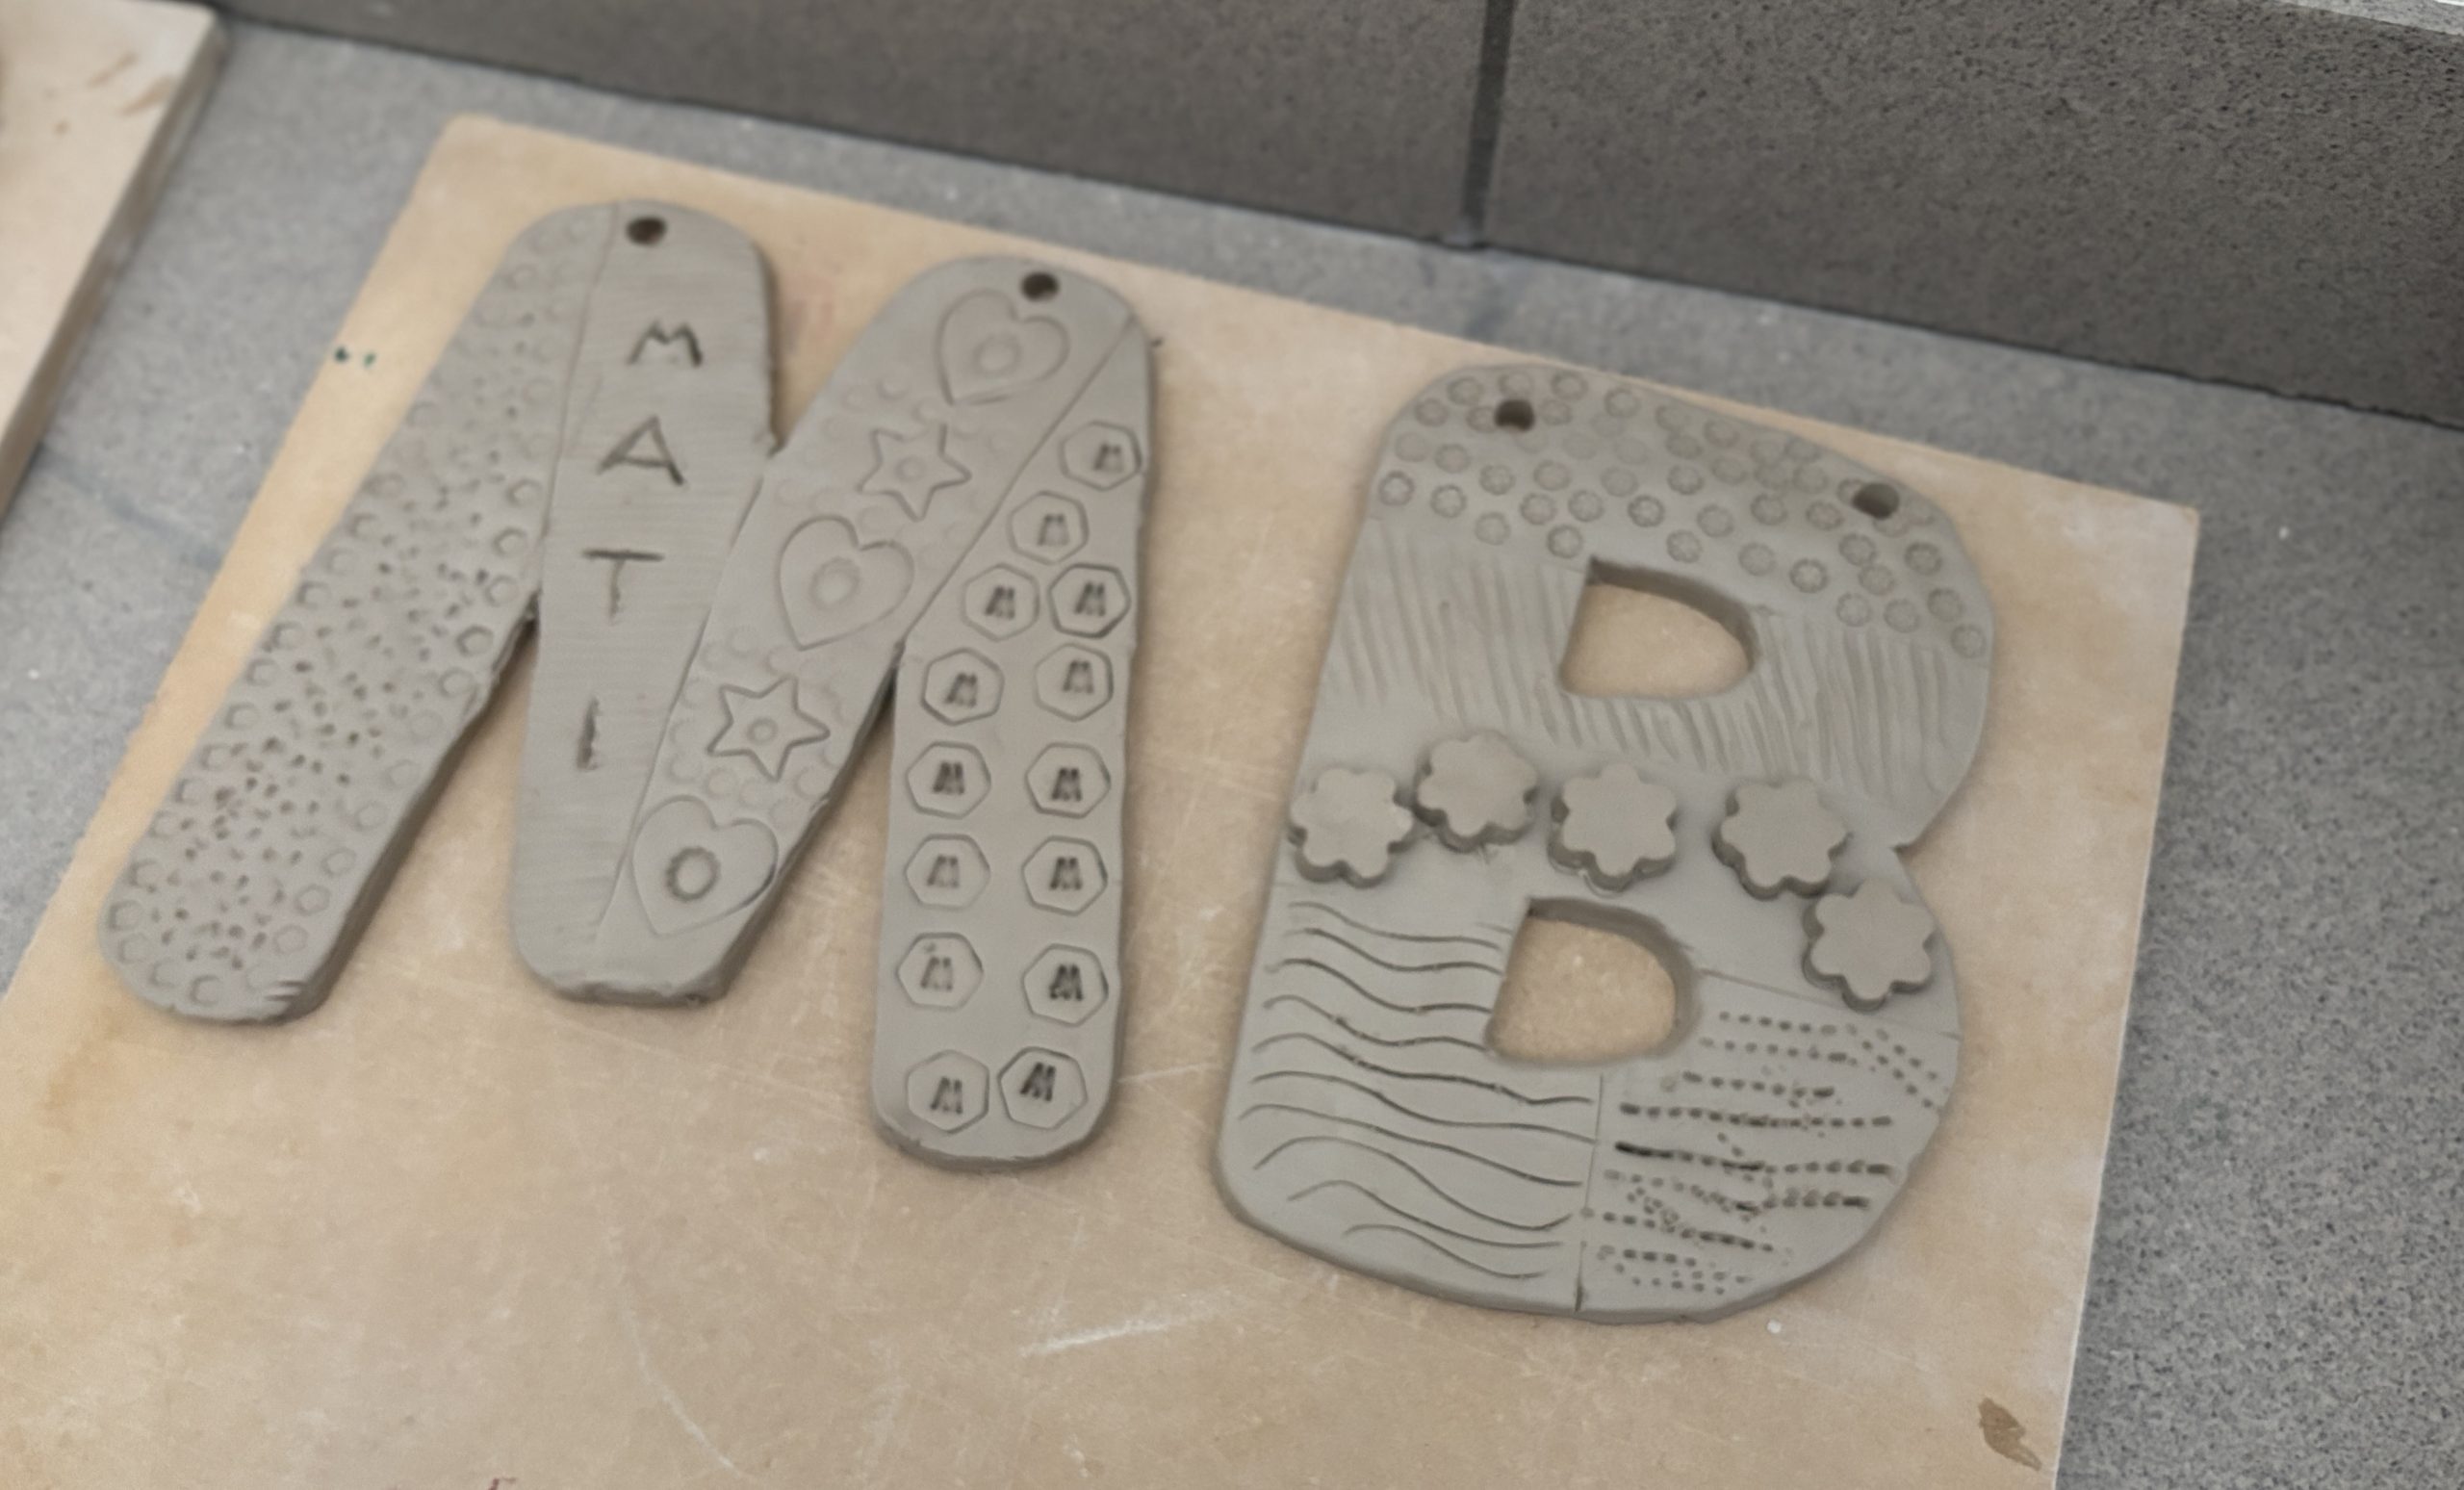
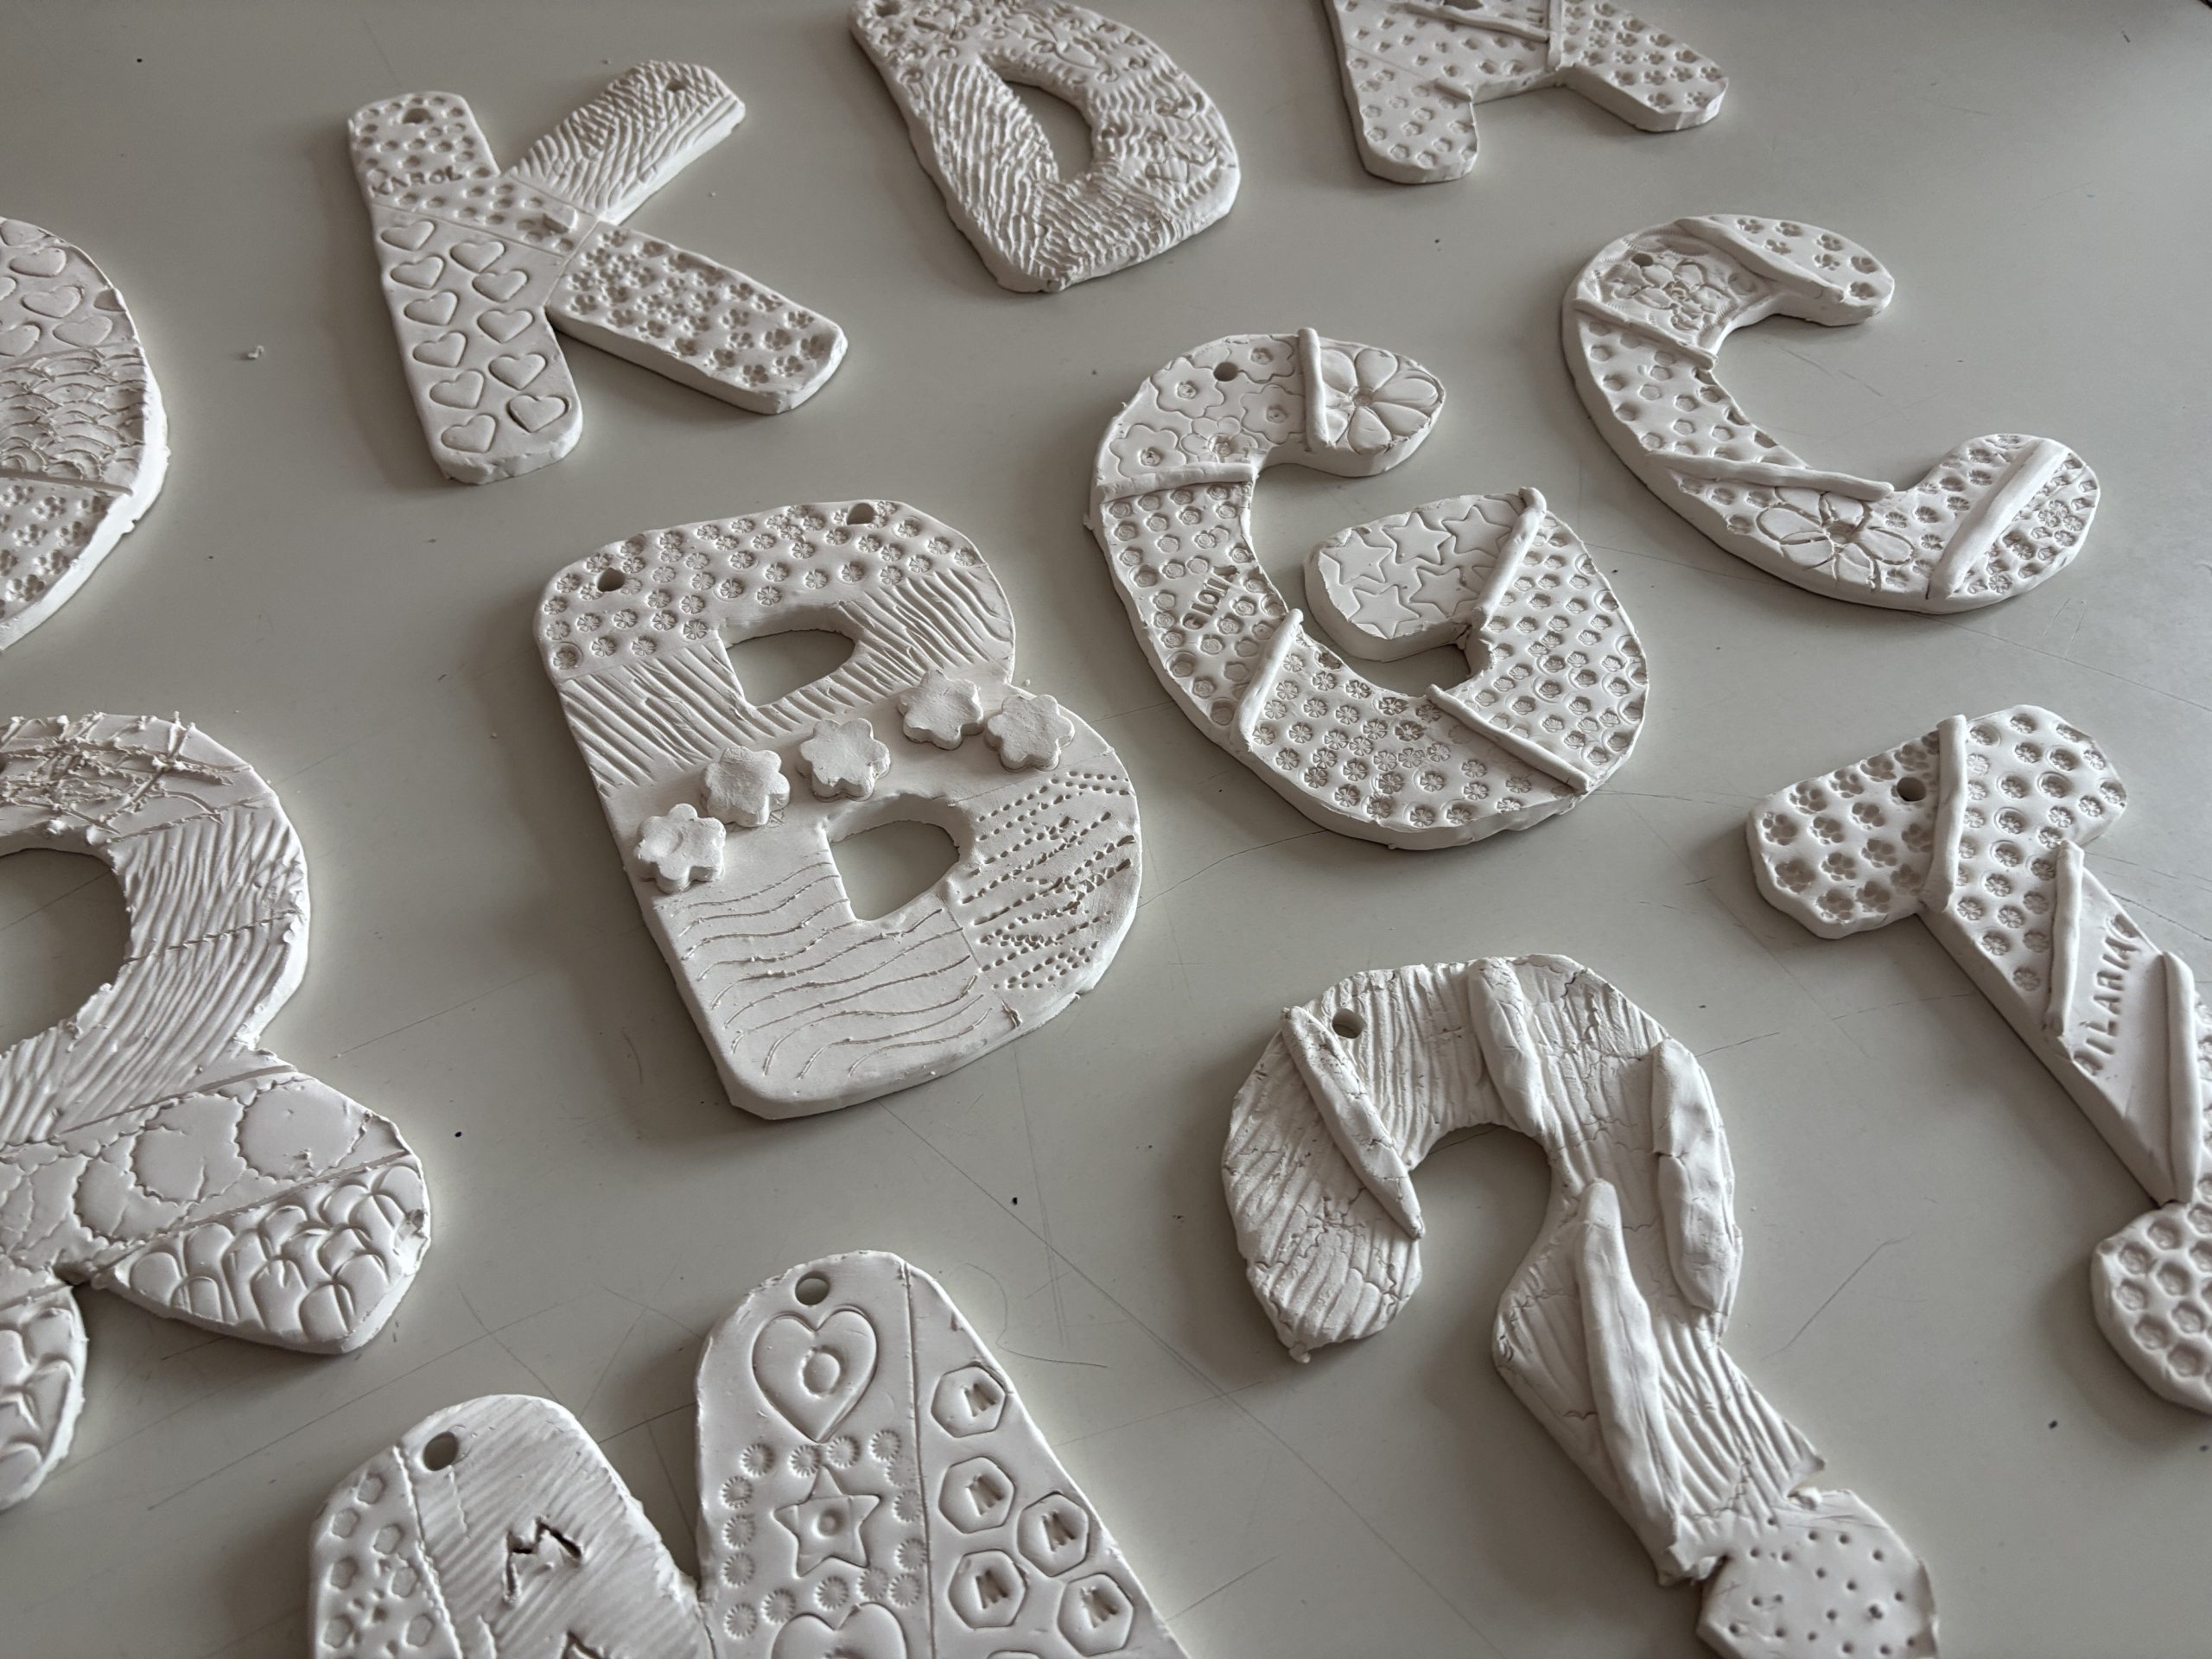
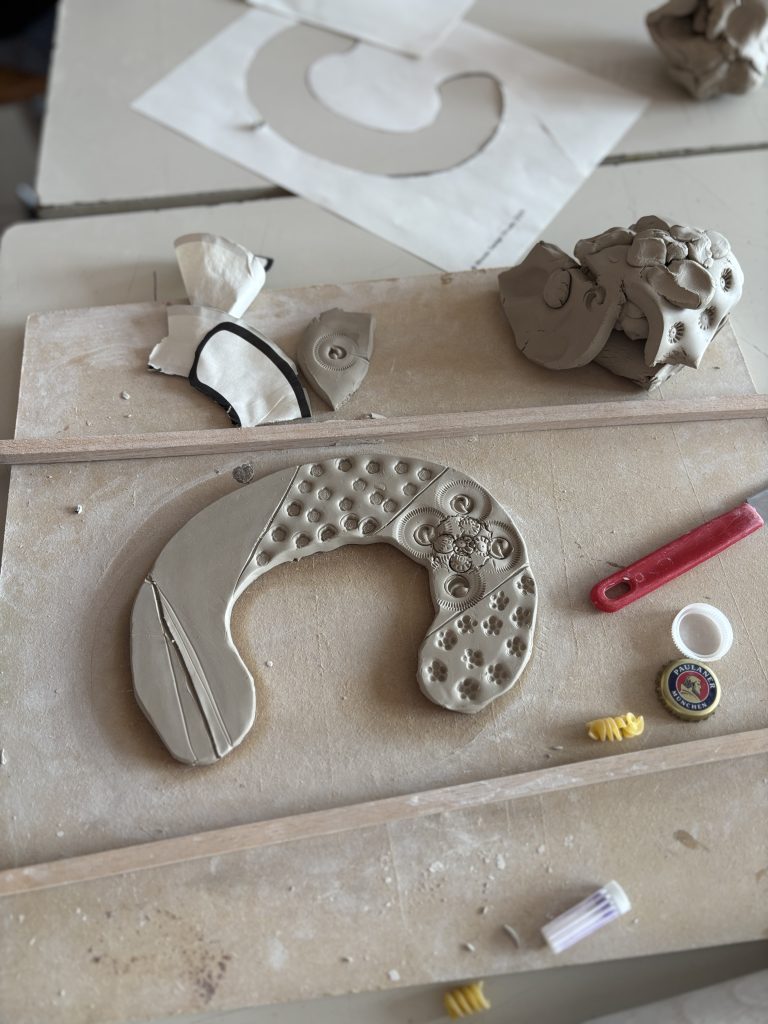
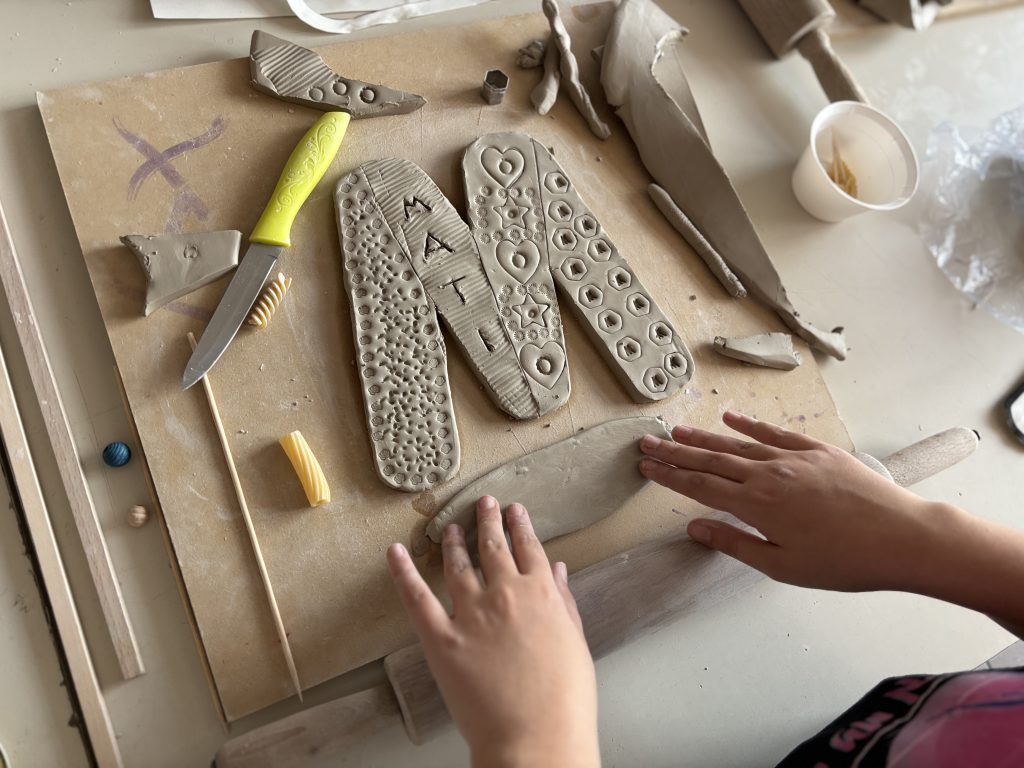
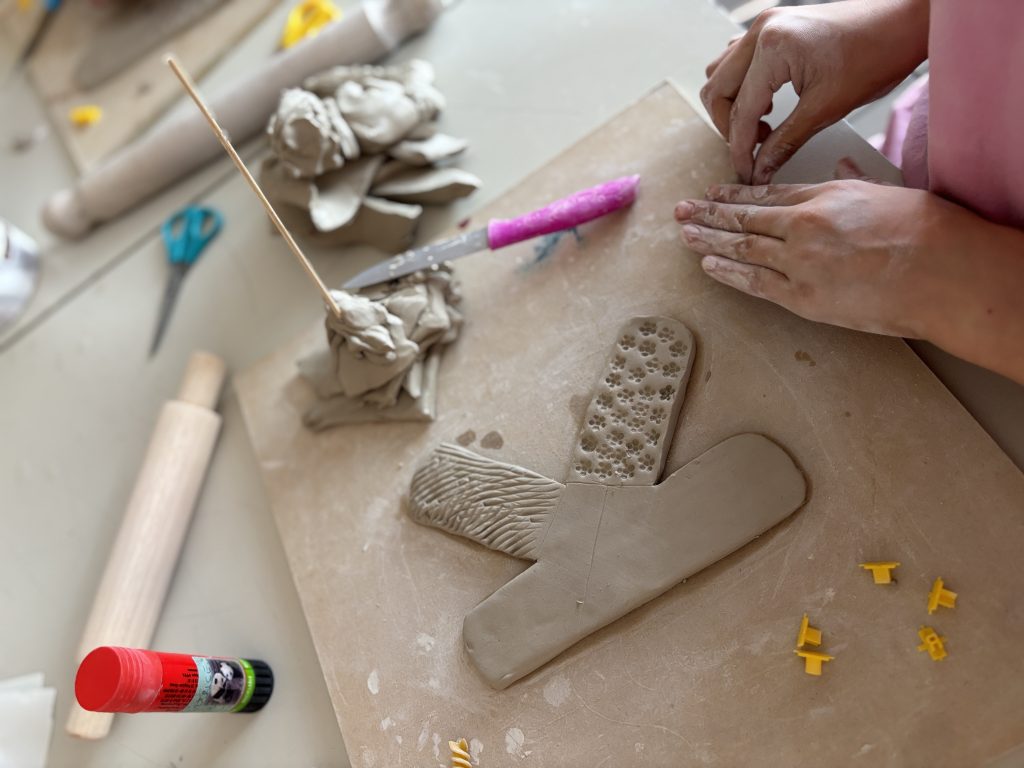
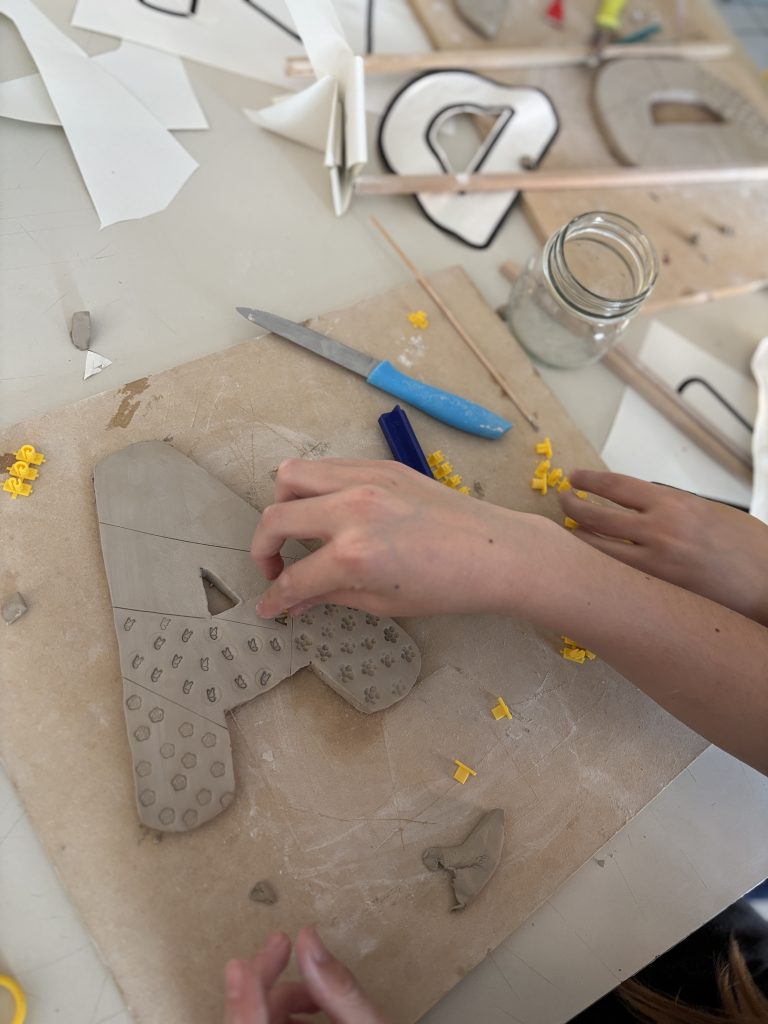
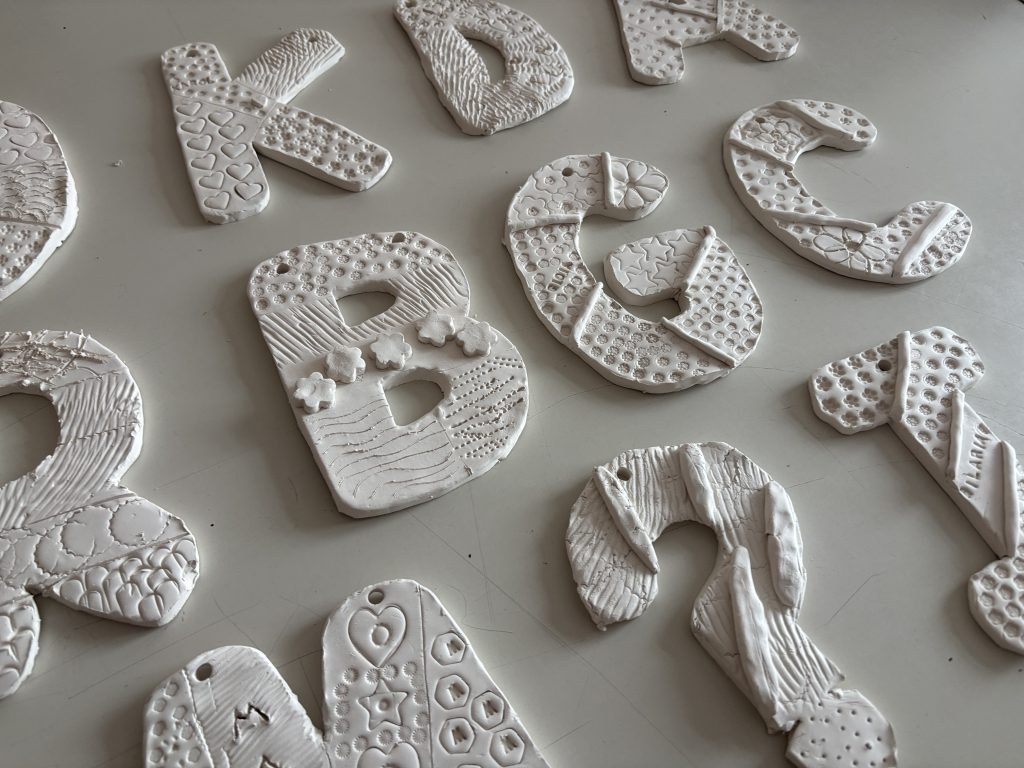
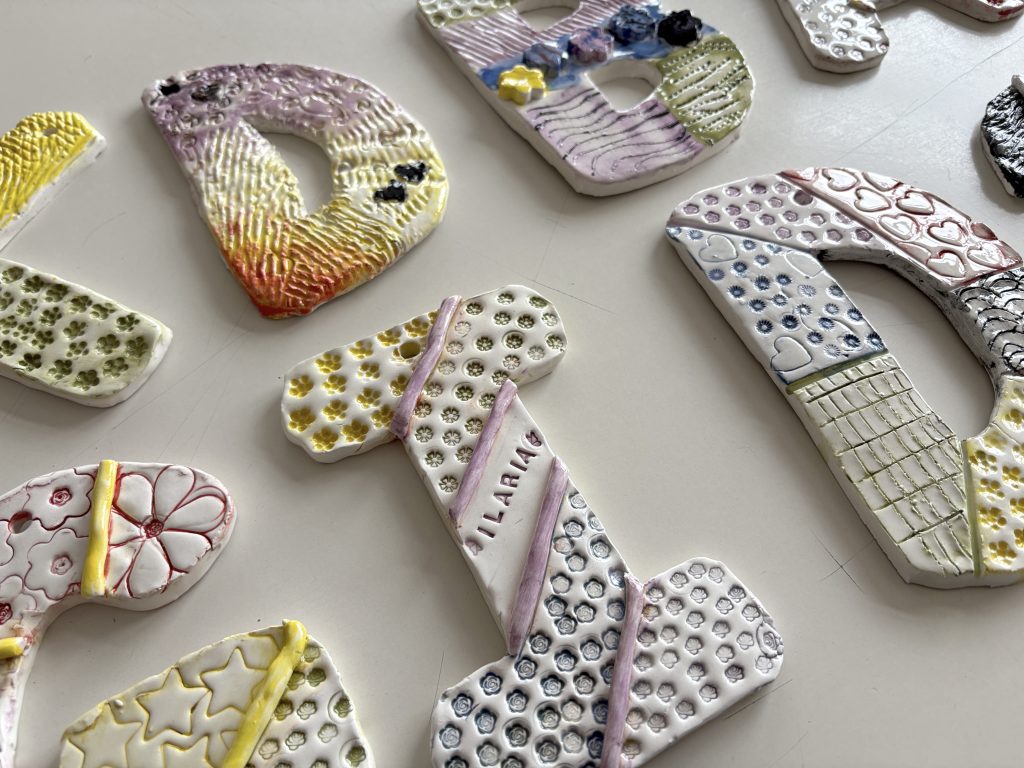
最具创意的环节是表面个性化肌理处理。我们在湿润陶泥上直接雕刻、压印文字或图案,丰富字母表面;为使构图清晰有序,还预先用刻线划分出不同肌理区域。
在坯体晾干前,我们已规划好悬挂方式:用空心锥形工具在字母上部戳出一至两个孔洞,预留足够空间,以便完工后穿入丝带。
坯体随后置于空气中缓慢阴干,再送入电窑进行首次素烧(bisque firing)。
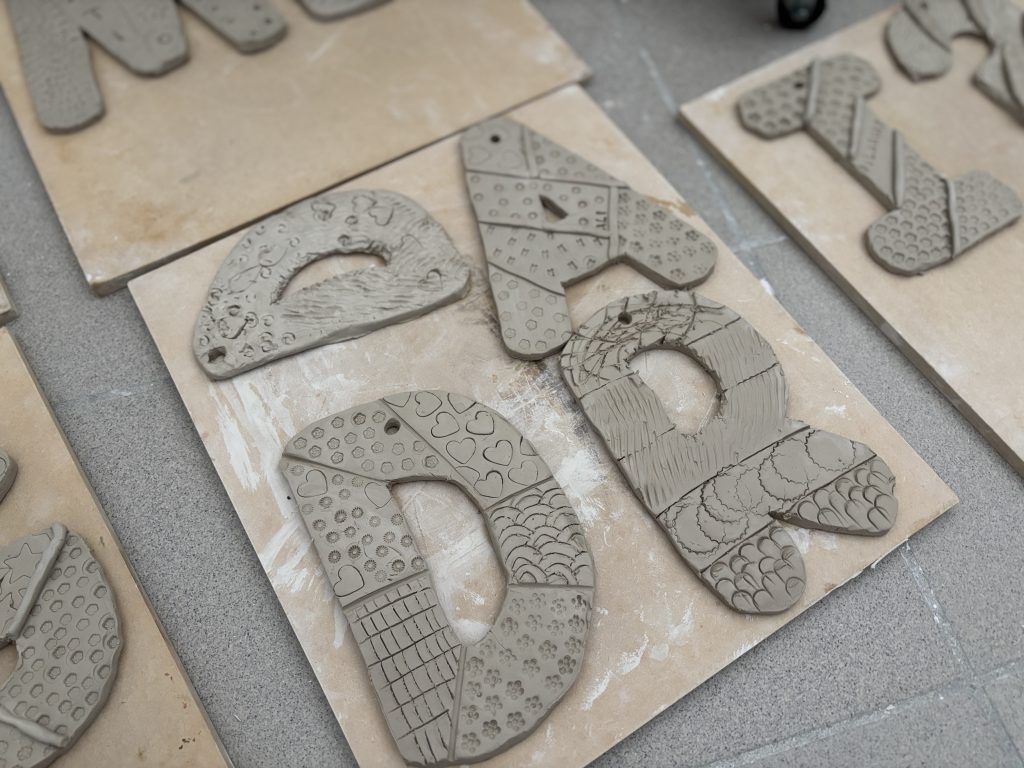
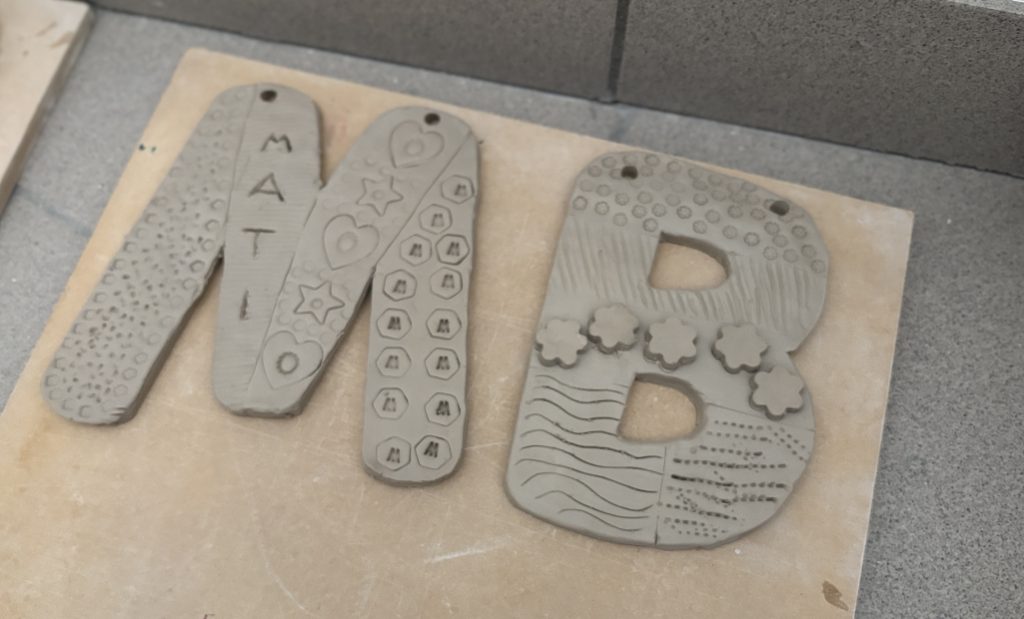
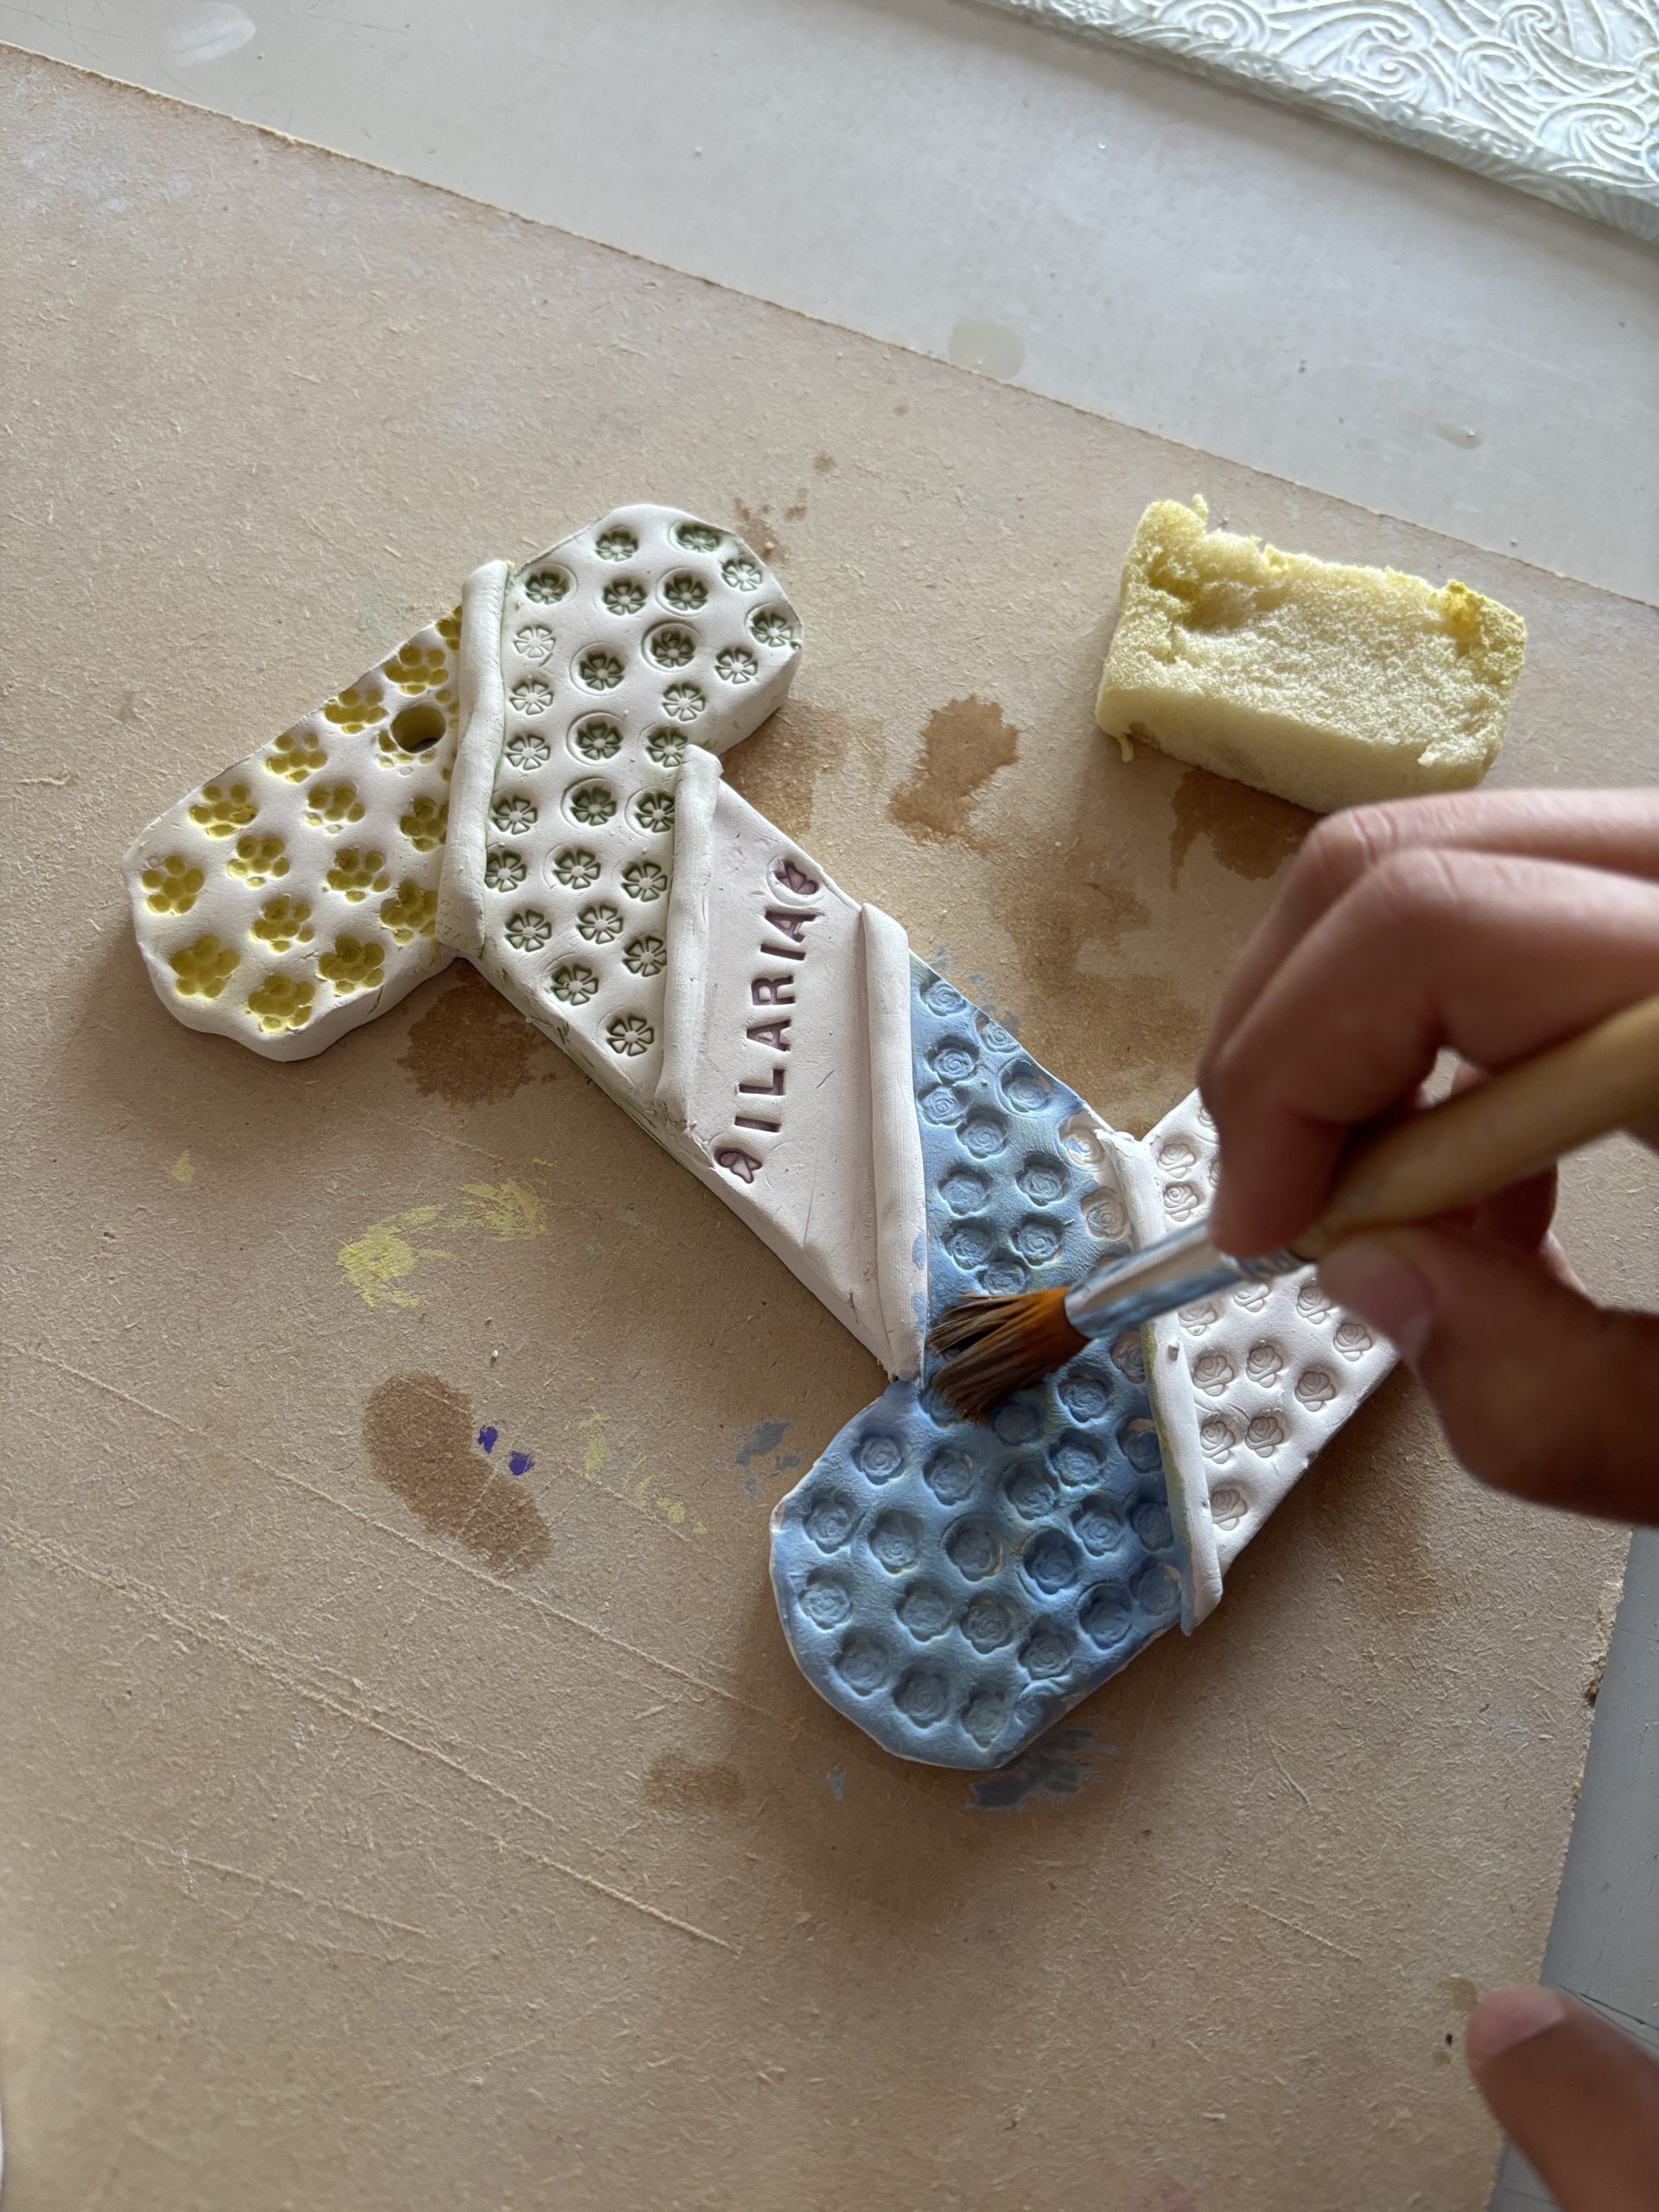
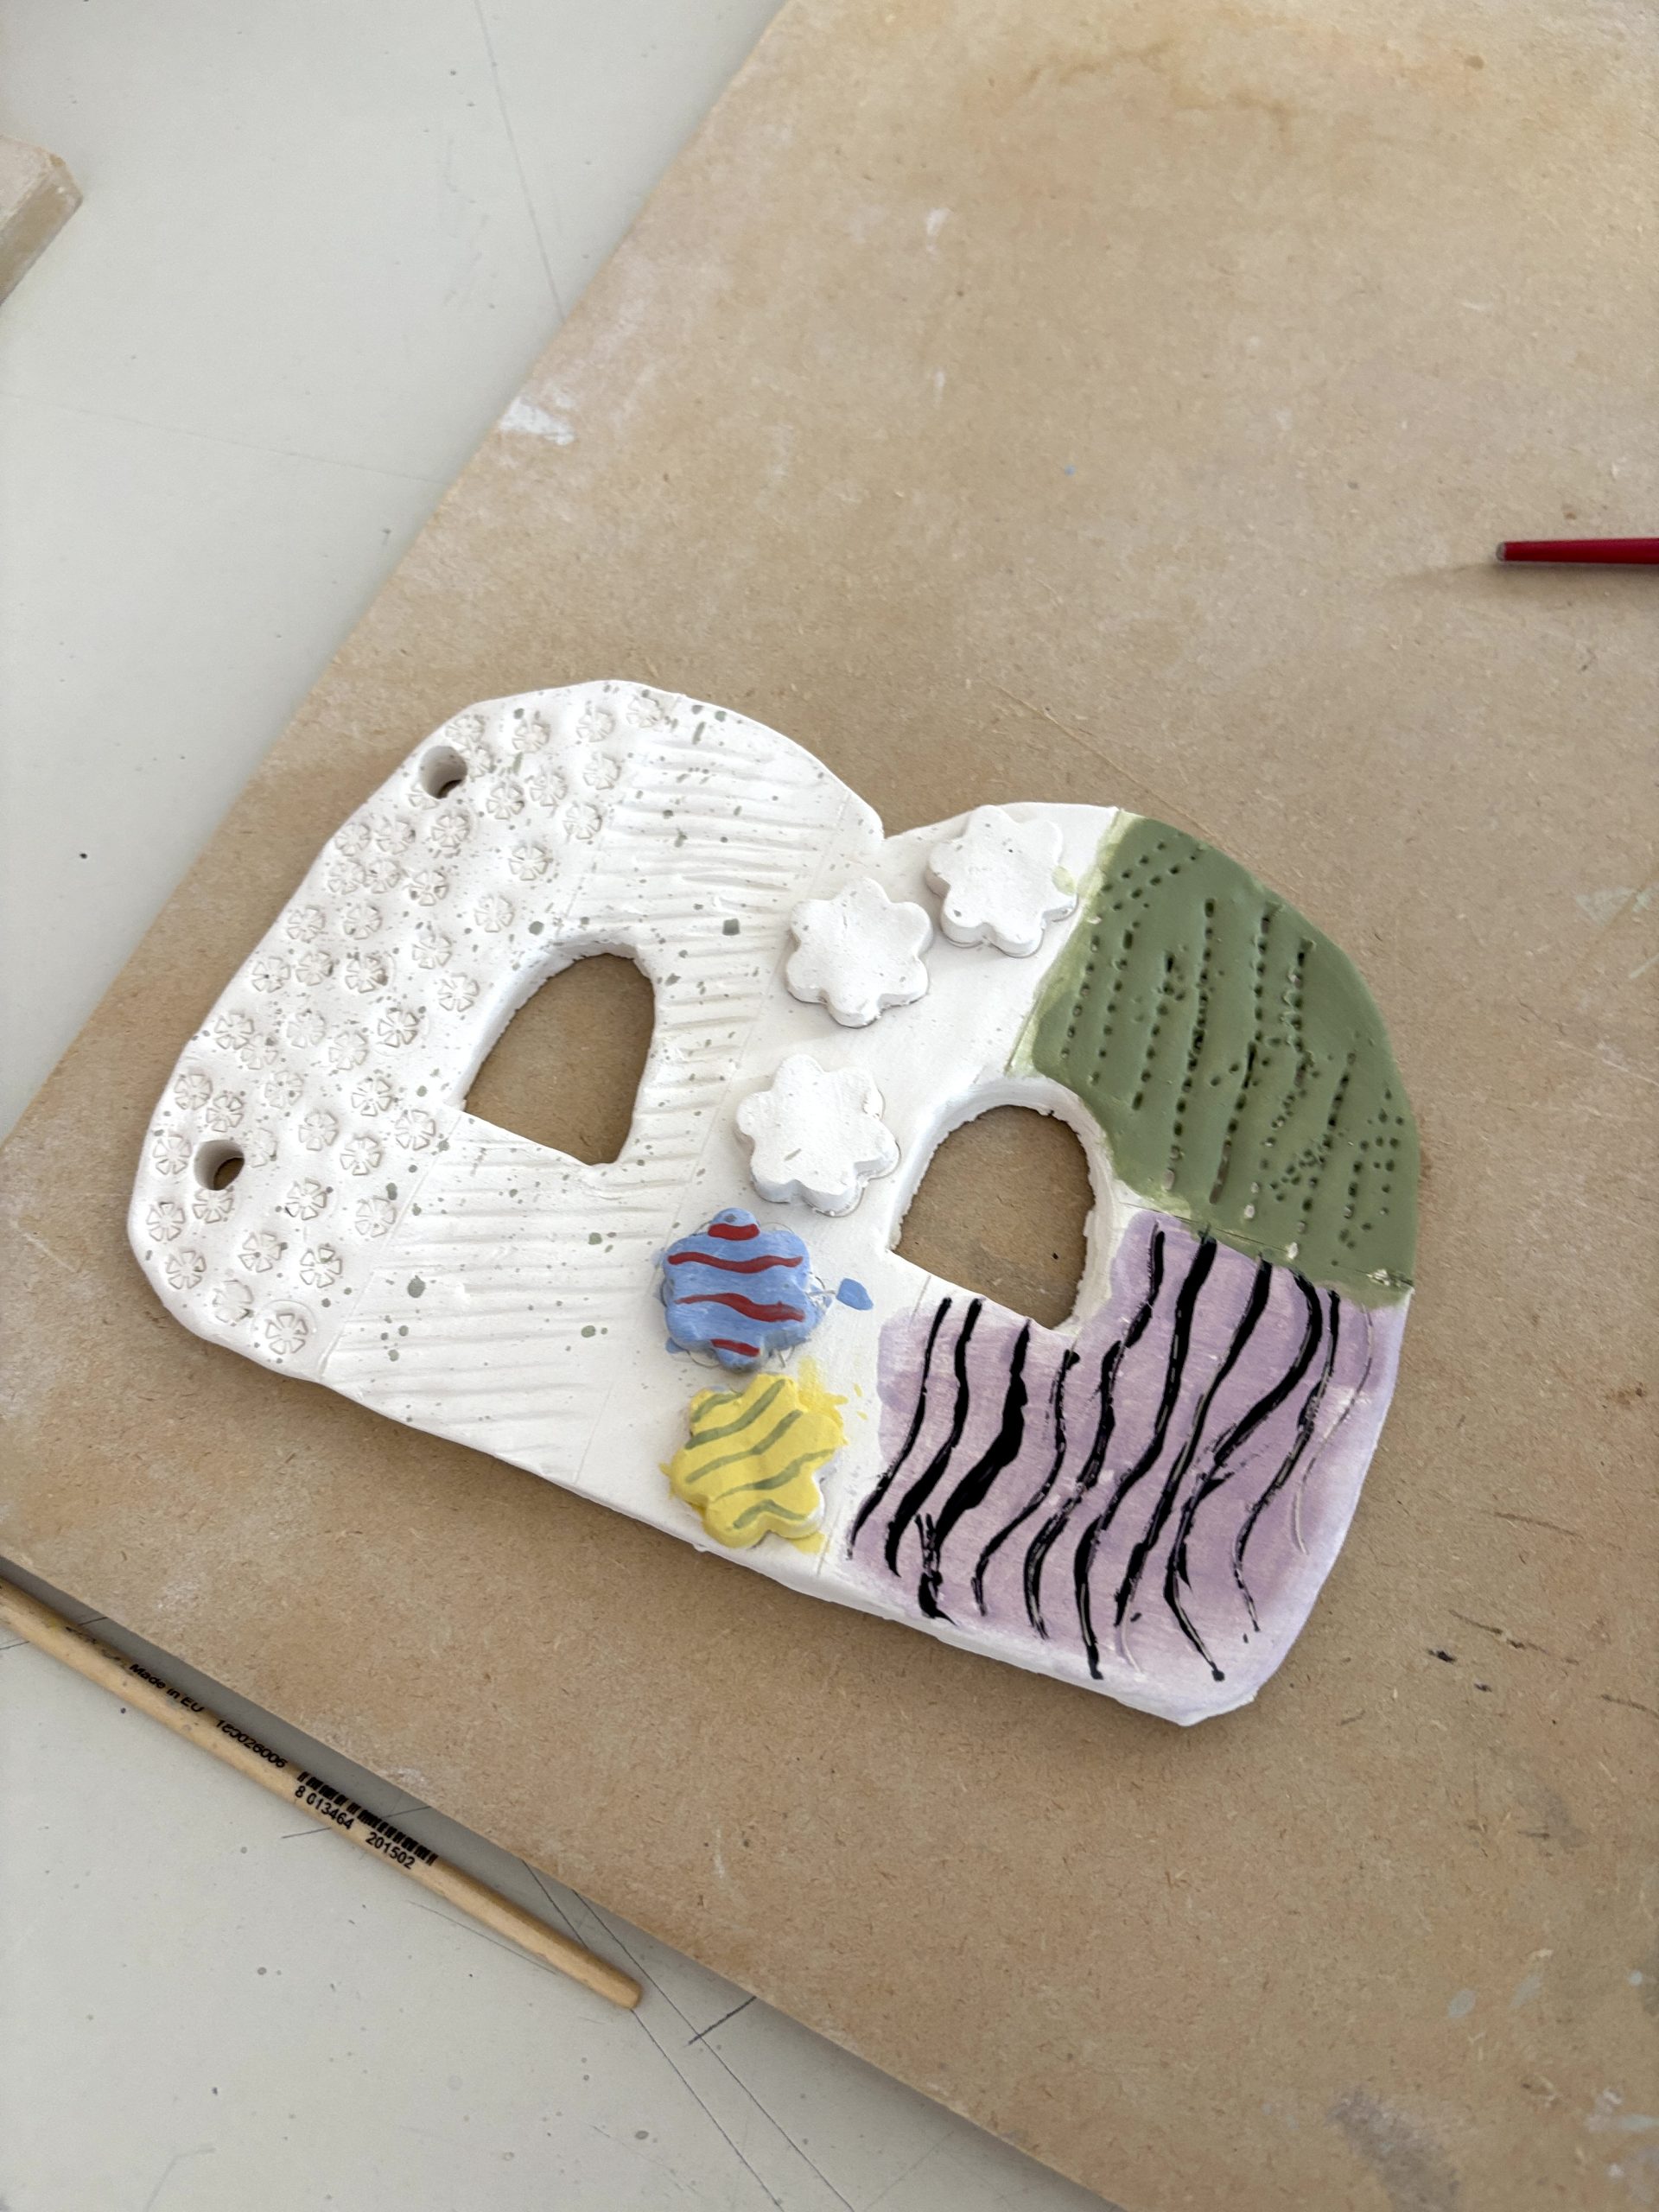
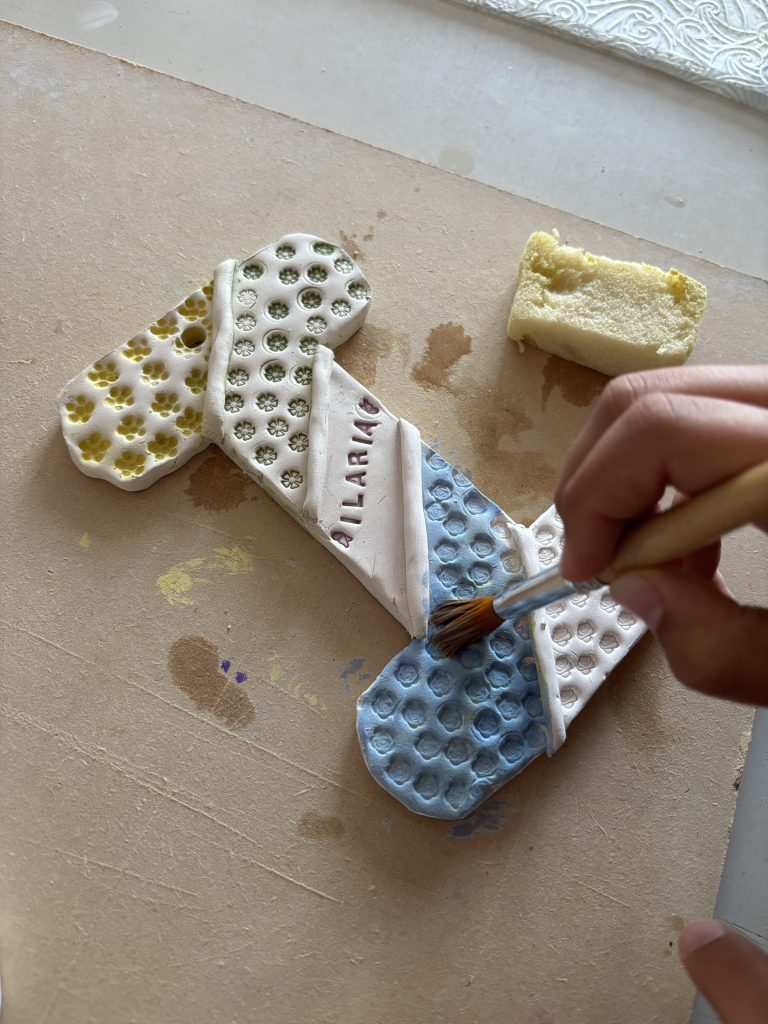
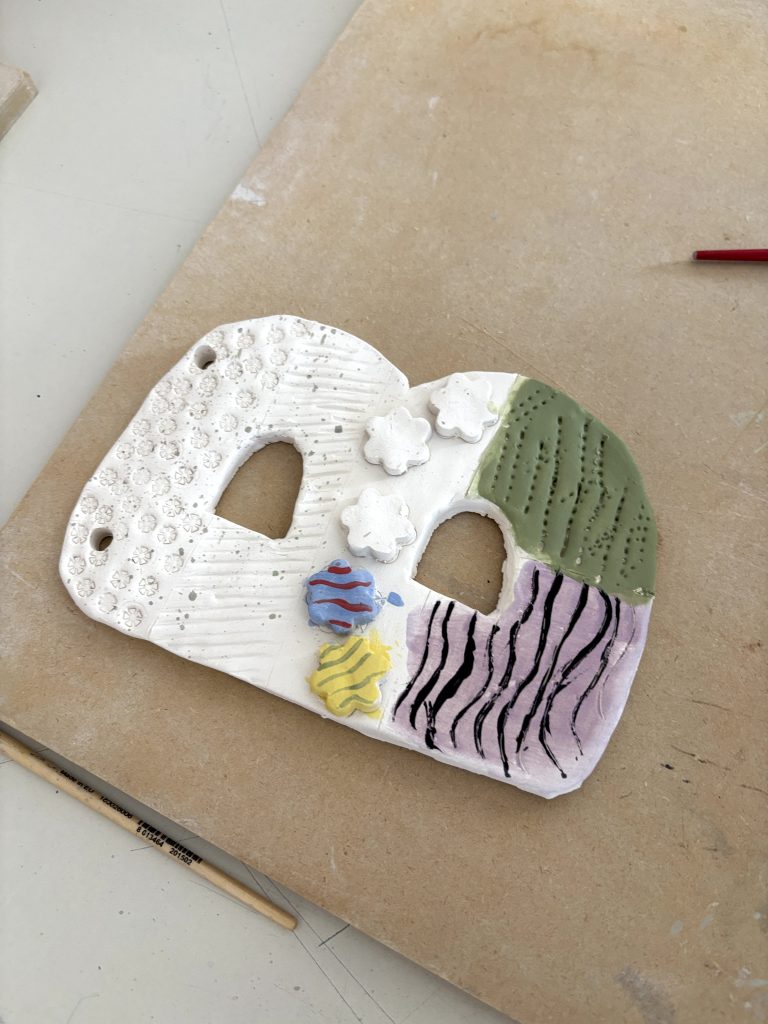
素烧完成、取出坯体后,我们开始用彩色泥釉进行装饰。许多同学尝试了擦除法:先将泥釉整体涂覆,使其充分渗入刻痕肌理;随即用湿润海绵快速擦拭表面——如此一来,颜料仅保留在凹陷处,从而凸显浮雕细节。另有同学则选择自由挥洒,直接用泥釉平涂实心区域。
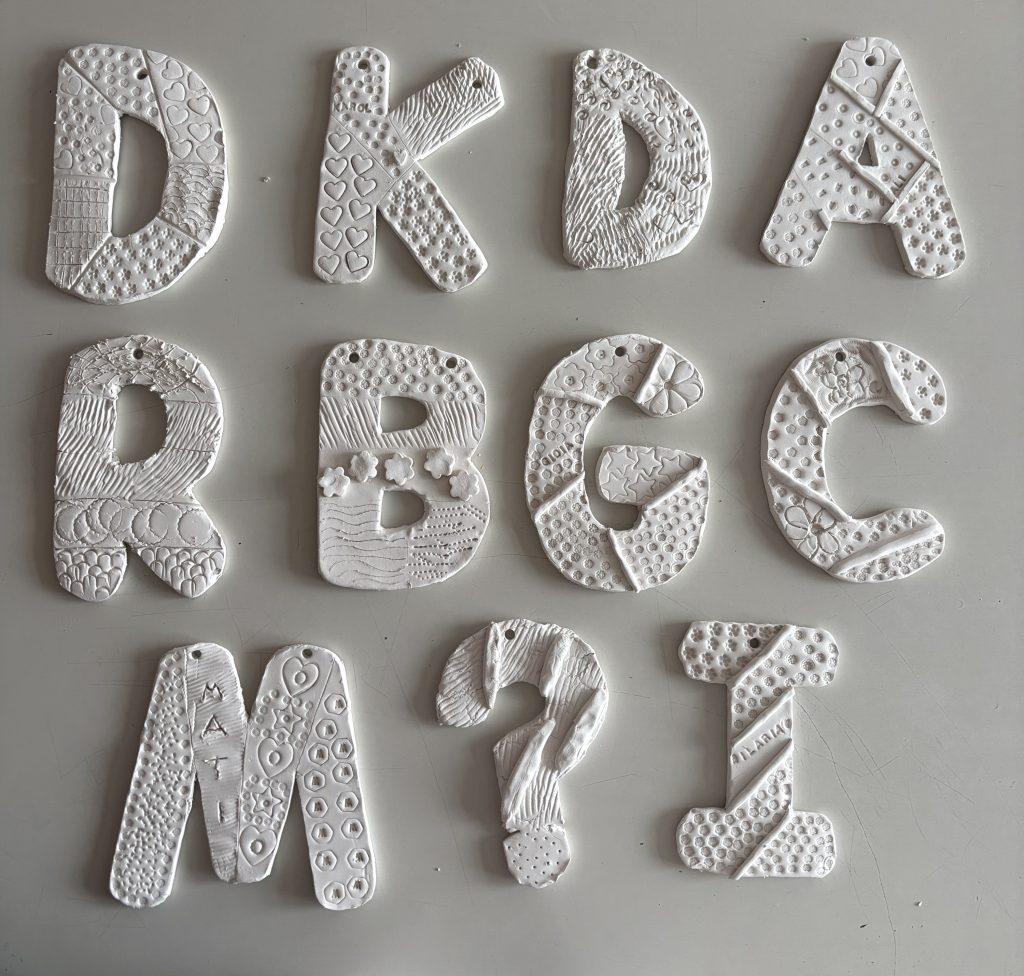
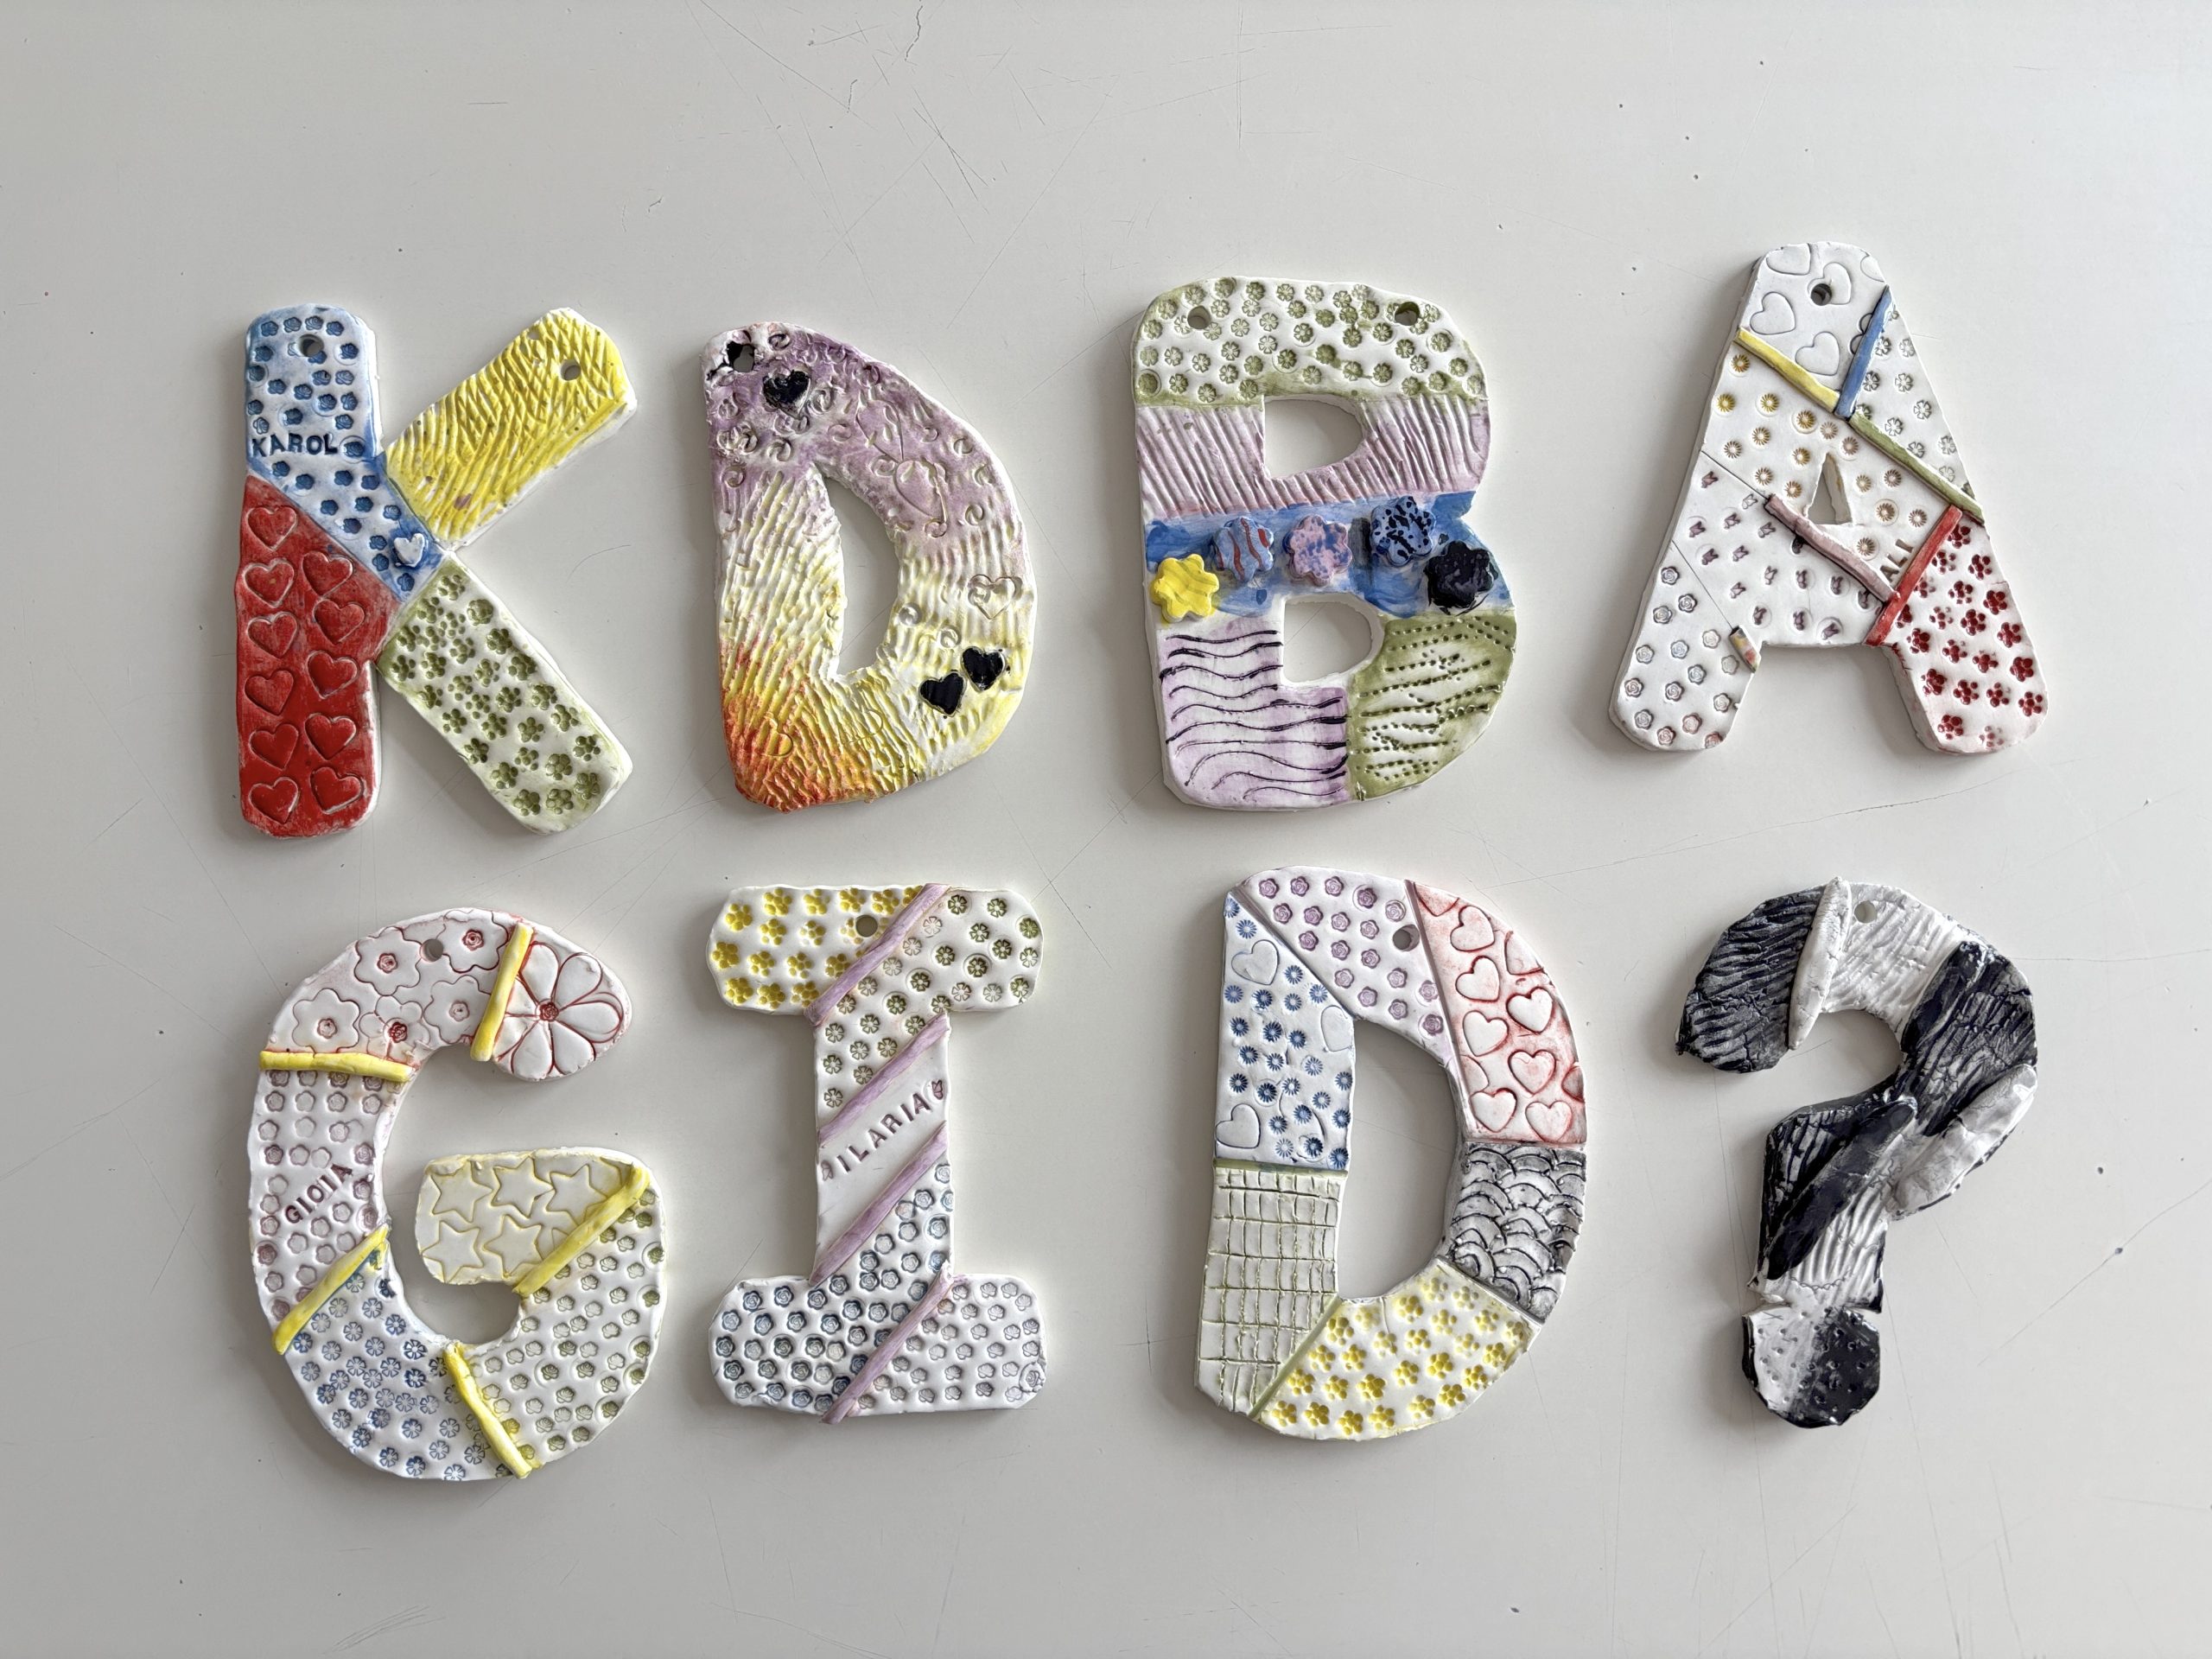
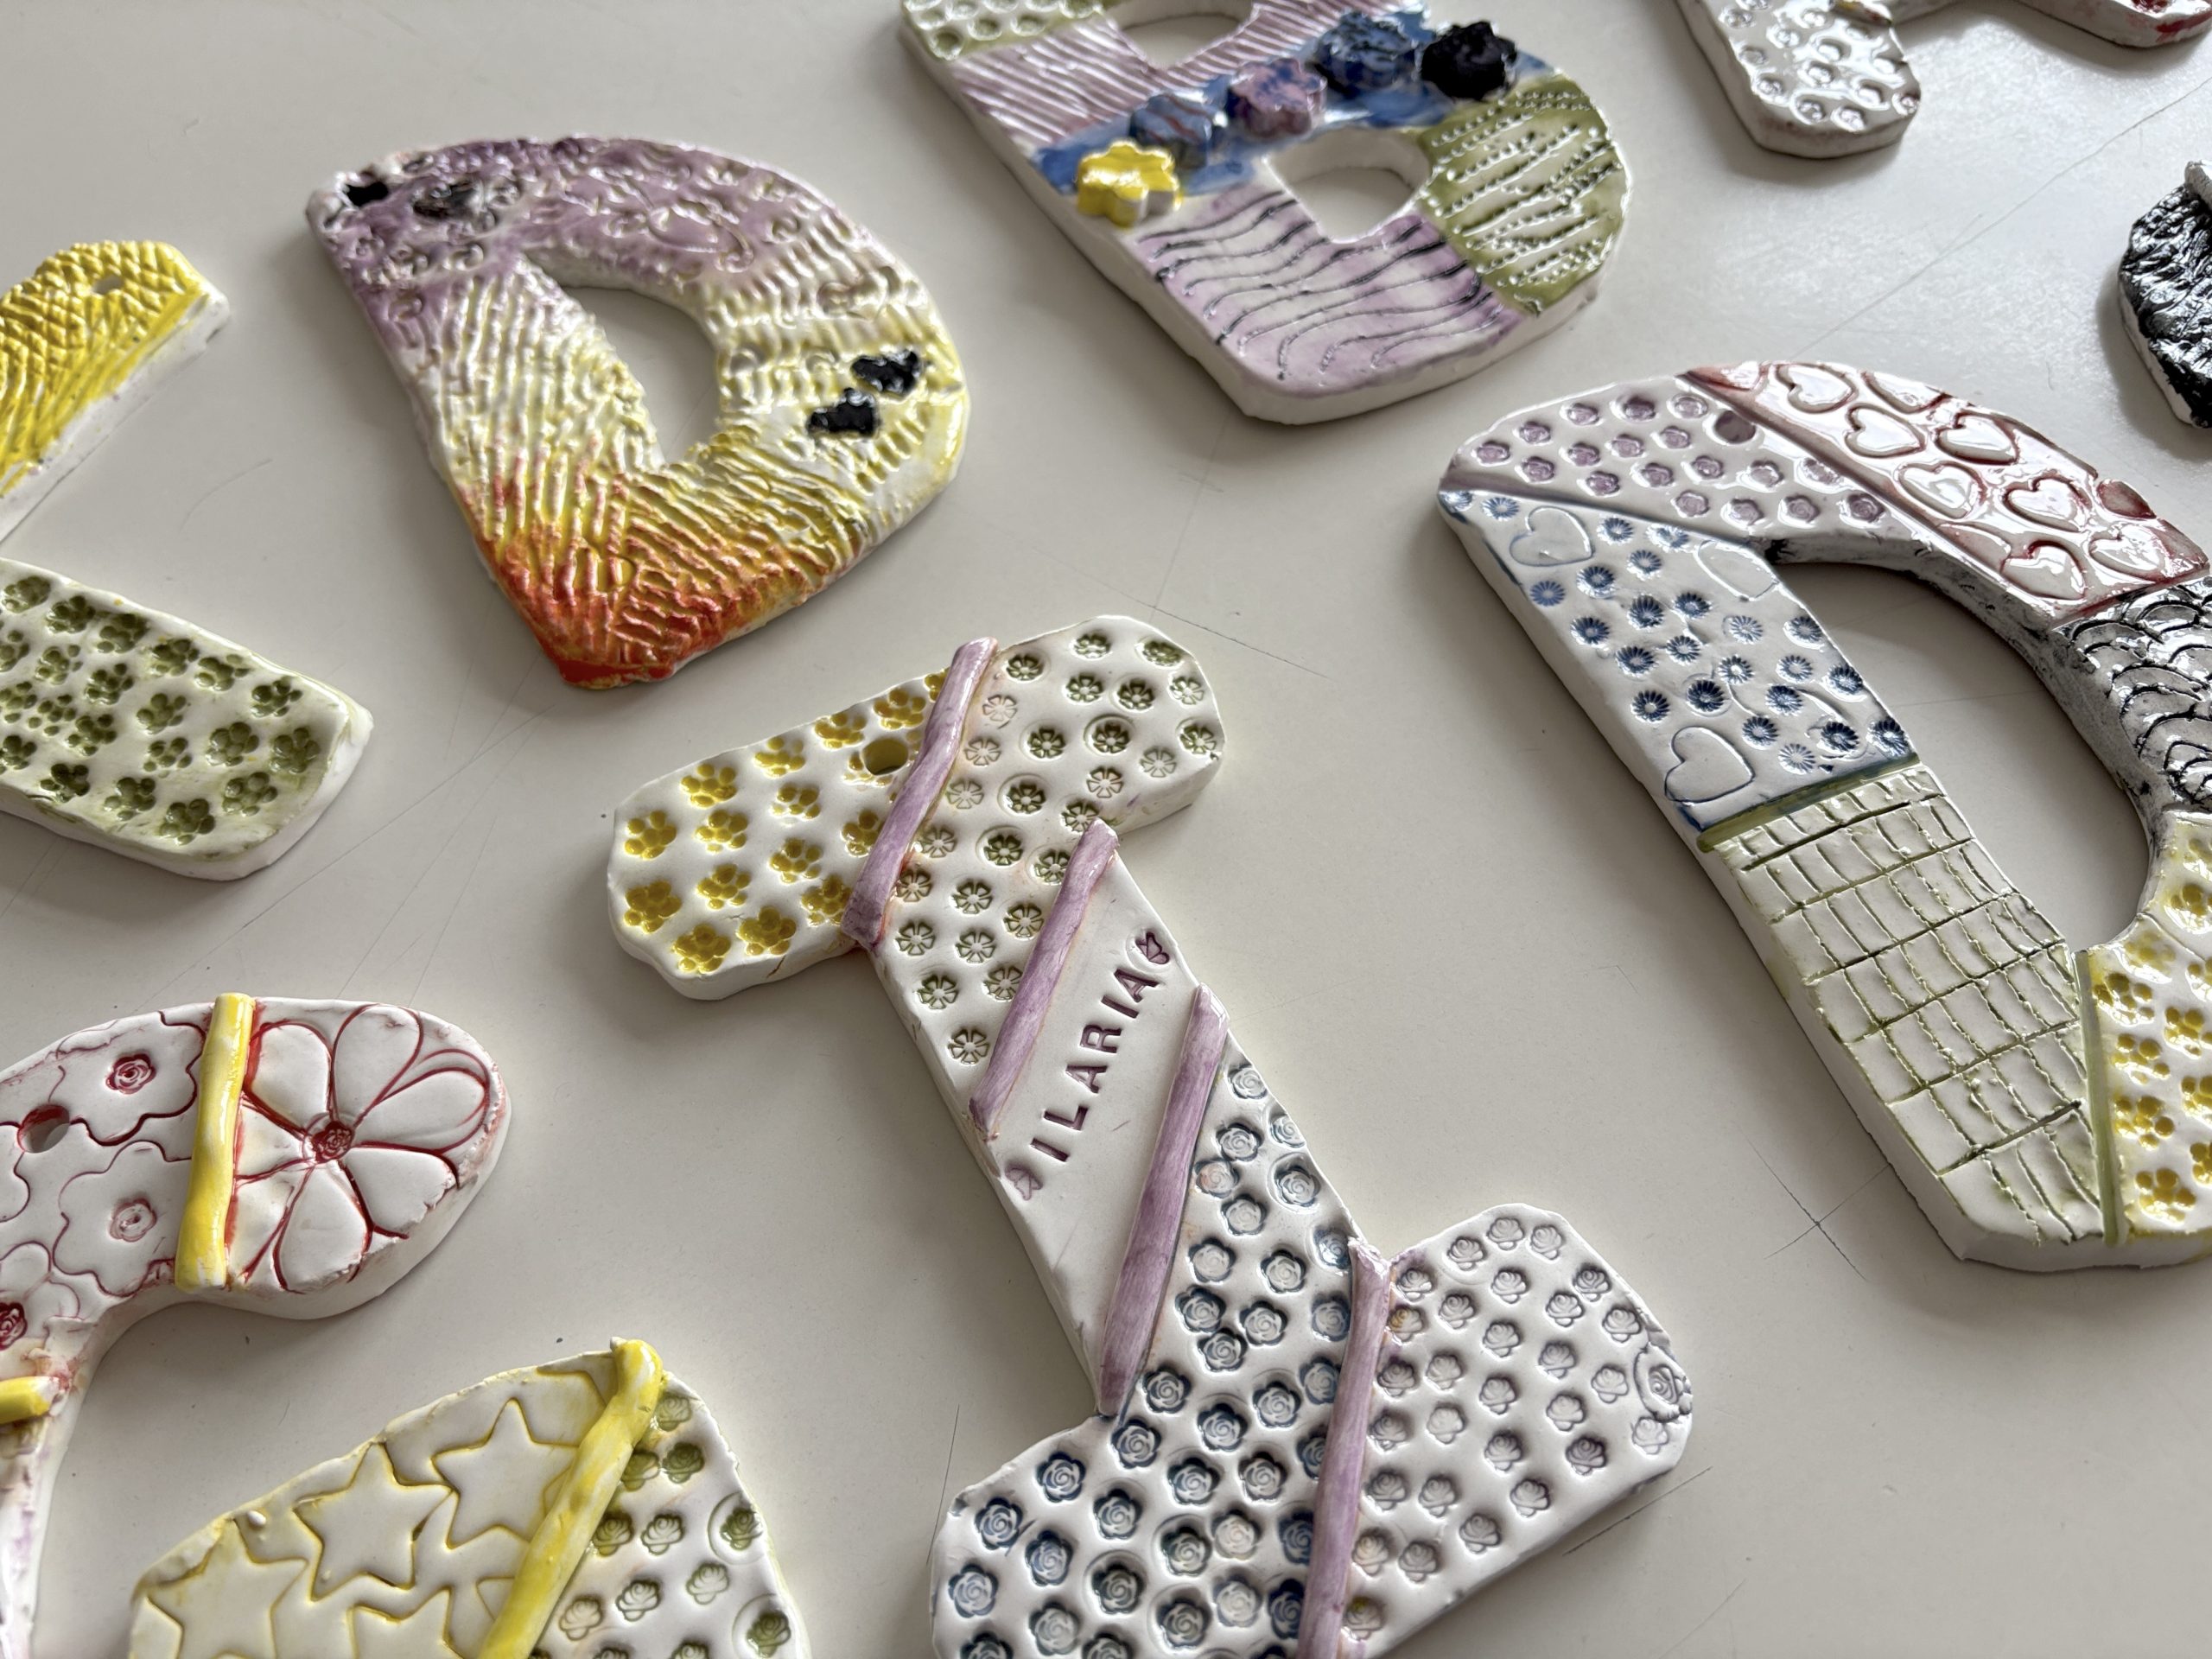
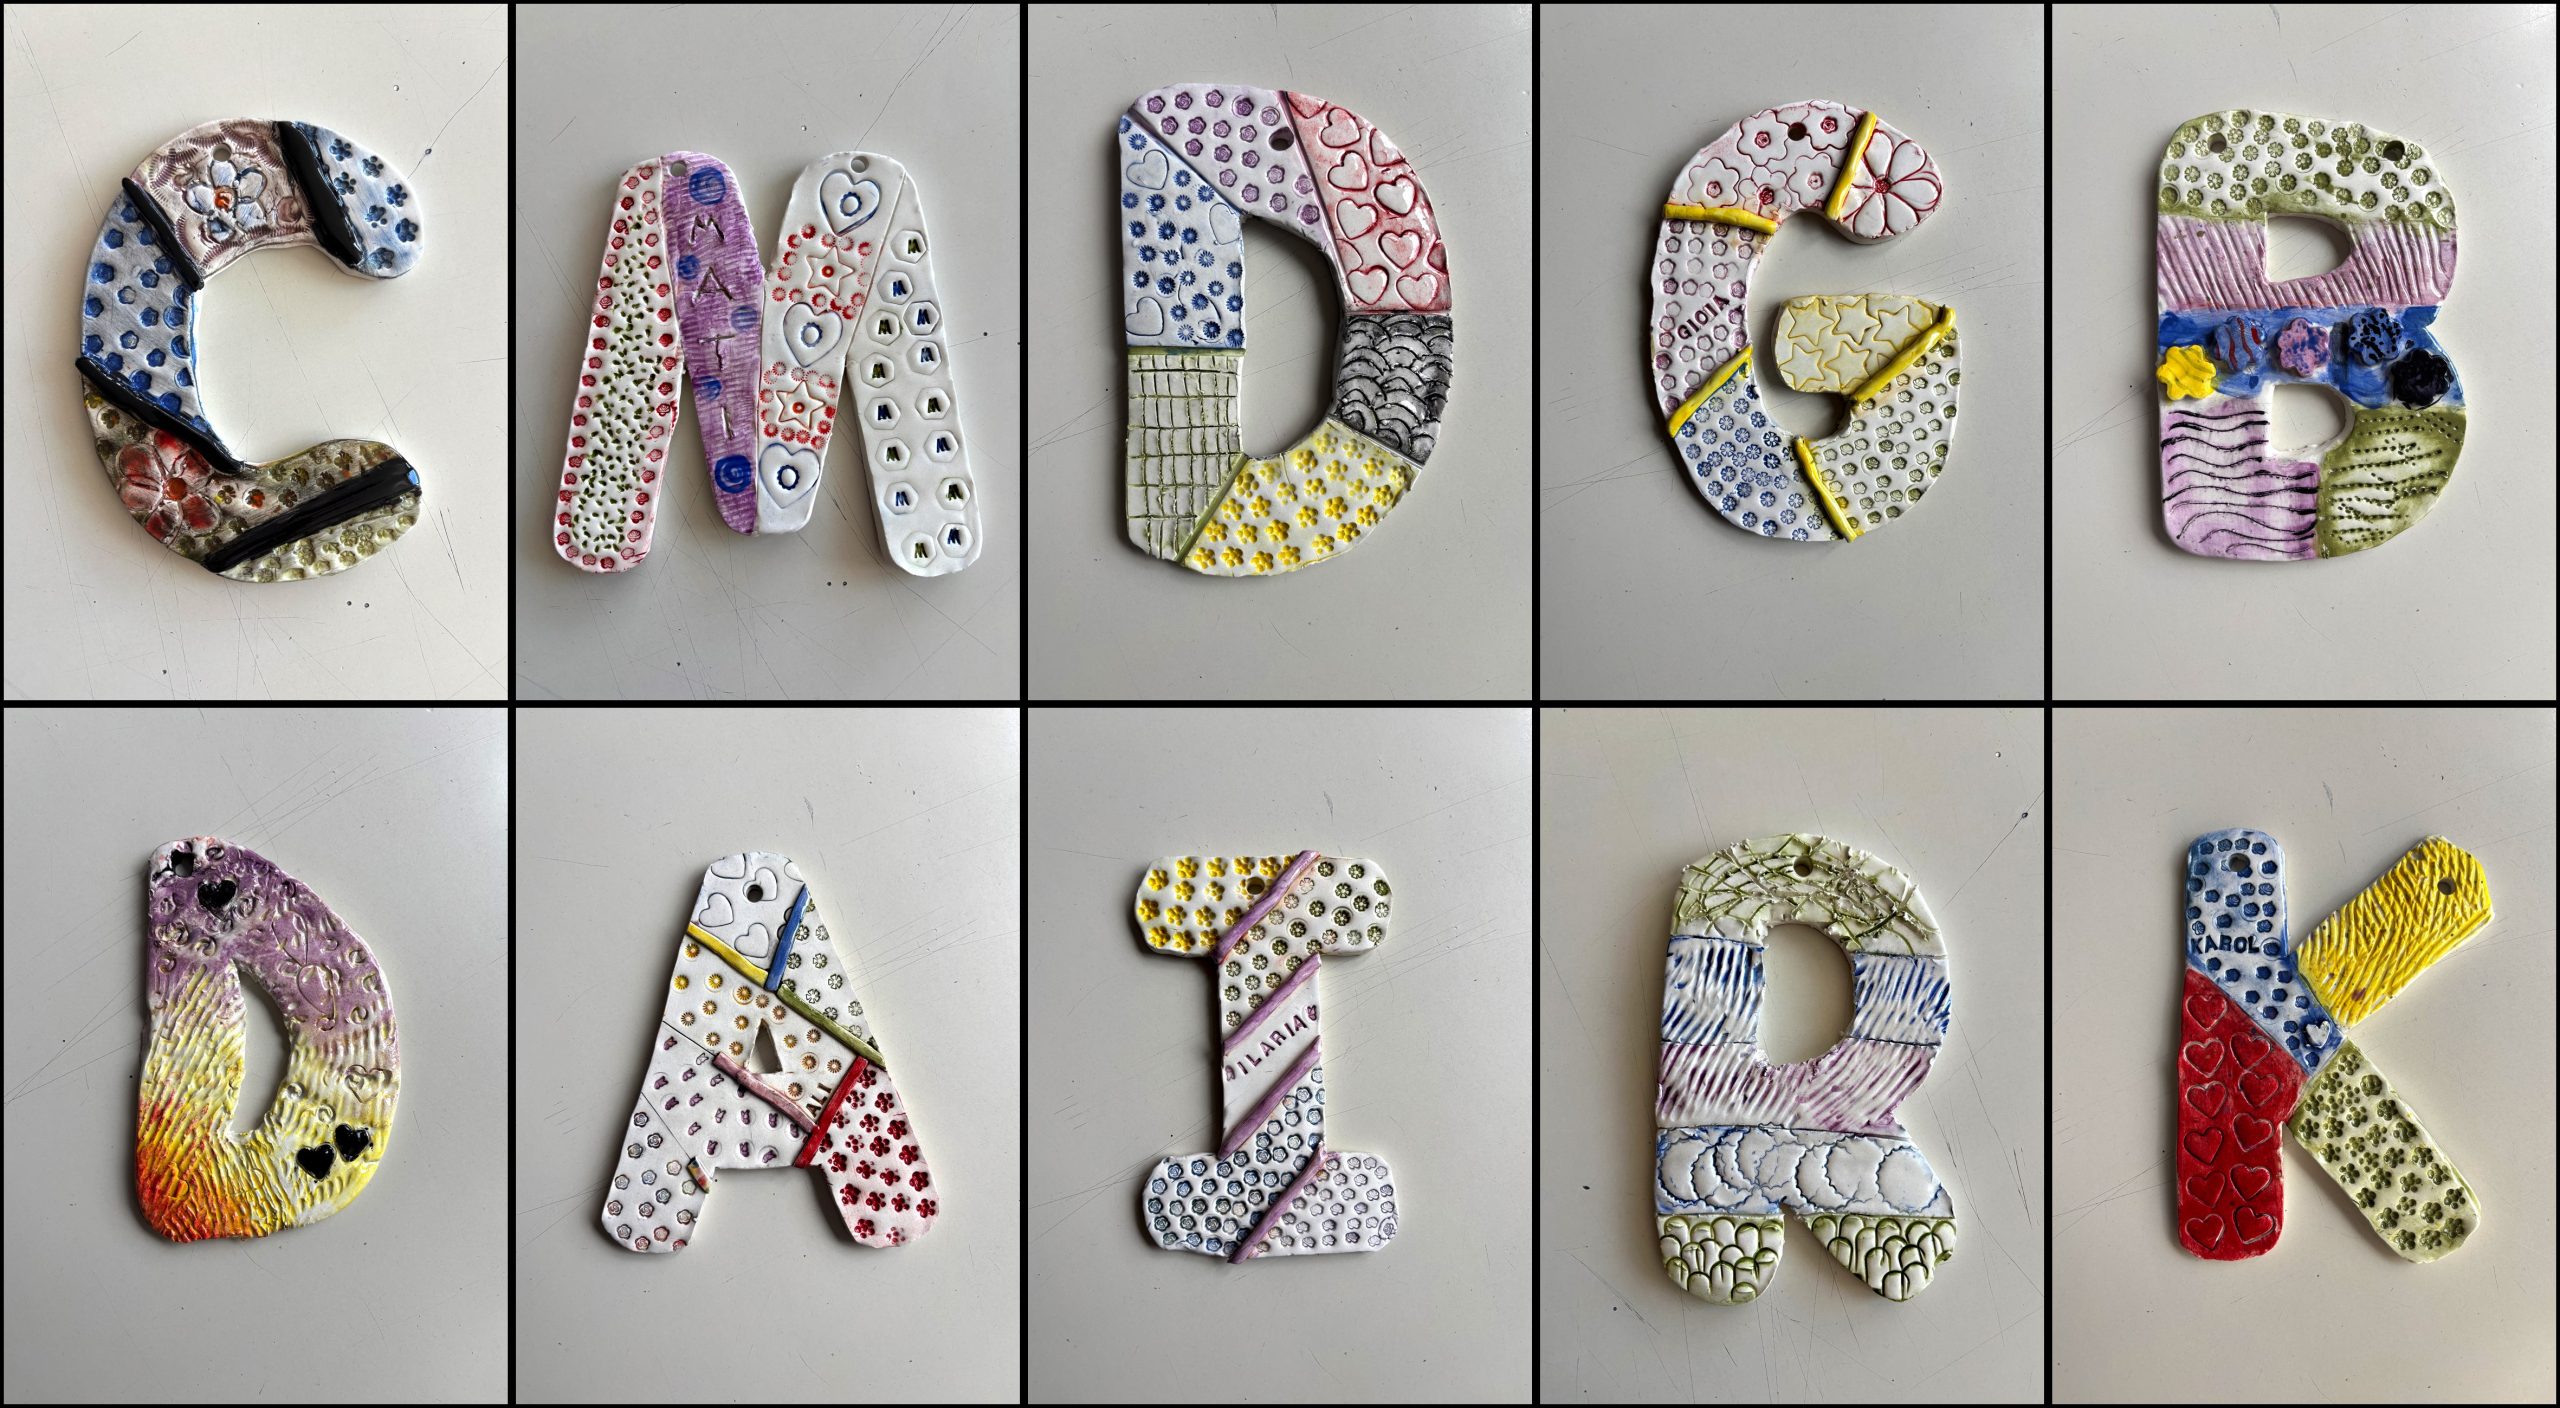
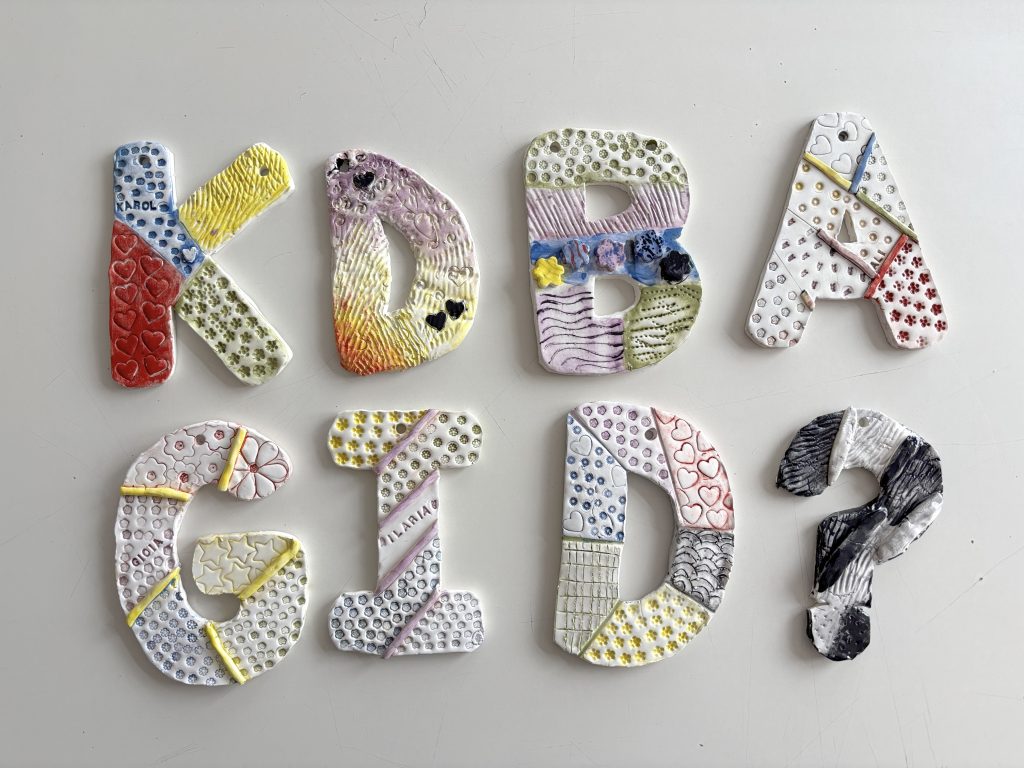
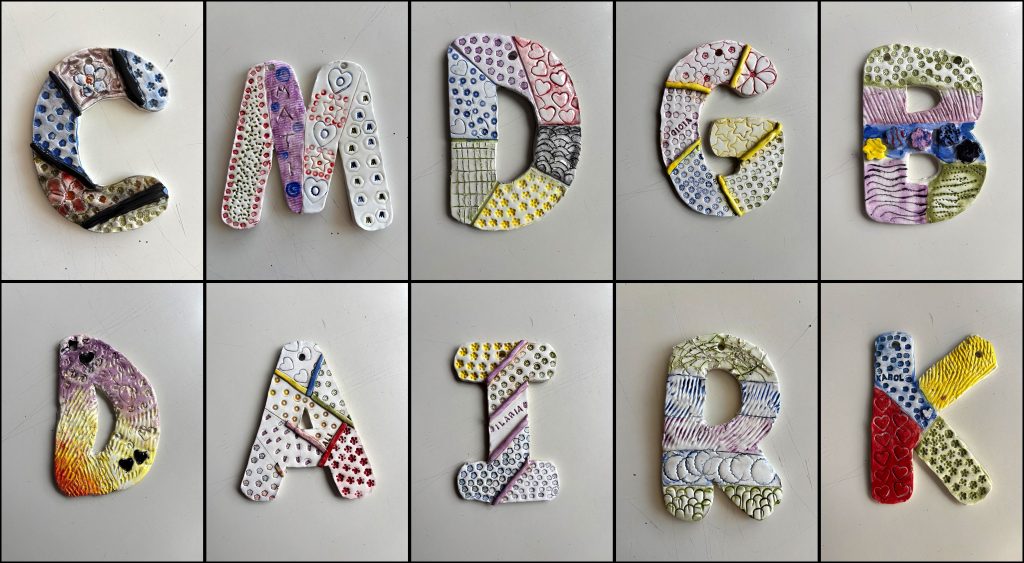
工作坊尾声,我们在全部表面施一层亮光透明釉,以增强光泽并实现防水效果,继而进行第二次烧成(釉烧)。最终成果——这些闪亮、缤纷、即刻可挂的字母作品,就此诞生!
Slab Ceramic Letters: Texture and Color
This year, in the basic ceramics course organized for 6th-grade classes, we explored the slab technique, focusing on creating three-dimensional textures on clay. We decided to make large, personalized capital letters, perfect for hanging in a bedroom or on a front door. Through this workshop, we developed manual skills, tactile perception, and competence in two-dimensional and three-dimensional design, while learning how to manage drying times and the transformations of ceramic materials.
Materials Needed:
- Clay
- Rolling pin and 8 mm wooden slats (roller guides)
- Sheets of paper, pencils, and scissors for the template, or ready-made photocopies with letters
- Tools for engraving and impressing textures (stamps, loop tools, awls, small objects made of wood, plastic, or metal)
- Straw or hole punch tool for the holes
- Colored engobes (underglazes), sponge, and glossy transparent glaze
- Ceramic kiln
Step-by-Step Process
To begin our project, each student created the template for the initial letter of their name, either drawing it freehand on a sheet of paper or cutting it out from a photocopy to have a precise guide.
Next, we moved on to manipulating the clay. To obtain an even thickness, we rolled out the clay with a rolling pin using two 8 mm-high wooden guides on the sides. Once we obtained a smooth and regular slab, we placed our paper template on top and cut out the letter following the outlines.
The most creative phase was personalizing the surface using textures. We enriched the letters with engravings, lettering, and shapes impressed or stamped directly onto the fresh clay. To organize the design, we drew demarcation lines to clearly separate the different textured areas.
Before leaving the pieces to dry, we thought about how to hang them: with the help of a hollow-tip tool, we made one or two holes in the upper part of the letter, creating enough space to thread a ribbon through once the work was finished.
The pieces were then left to dry slowly in the air and placed in the kiln for the first bisque firing.
Once the bisque-fired pieces were taken out of the kiln, we moved on to decorating them with colored engobes. Many of us experimented with the wipe-off technique: we applied the color, making it penetrate deep into the carved textures, and immediately afterward, we cleaned the surface with a damp sponge. This way, the color remained only in the recessed areas, highlighting the relief details. Other students, instead, preferred to freely paint the solid areas with the engobe.
At the end of the workshop, after applying a layer of glossy transparent glaze over the entire surface to make it bright and waterproof, we ran the second firing. And here are our finished letters—shiny, colorful, and ready to hang!