小型明度渐变风景画(附视频教程)
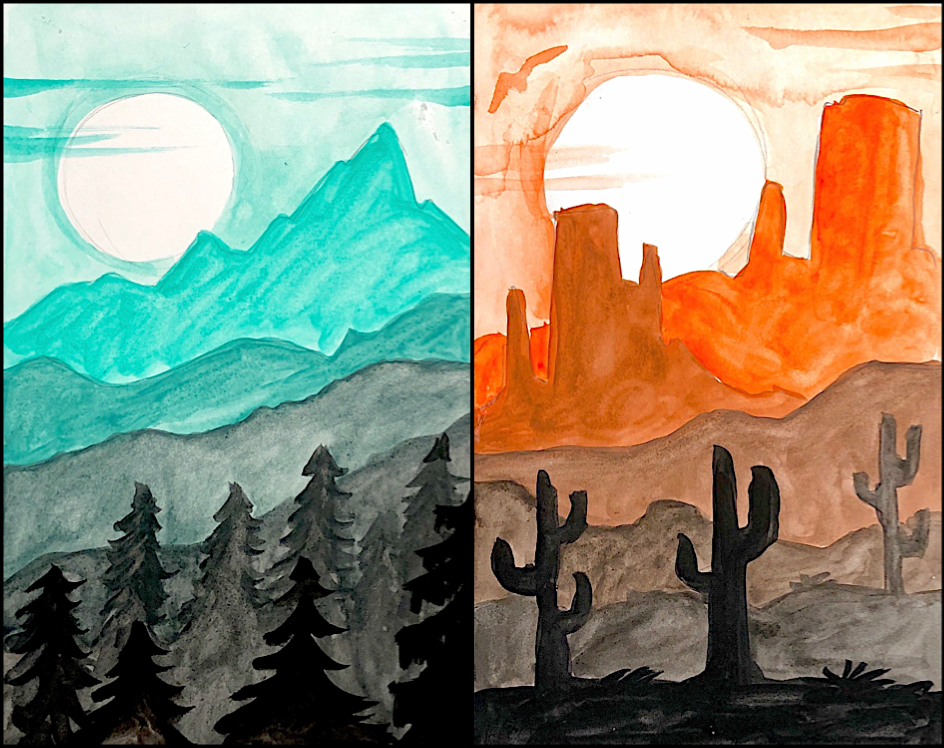
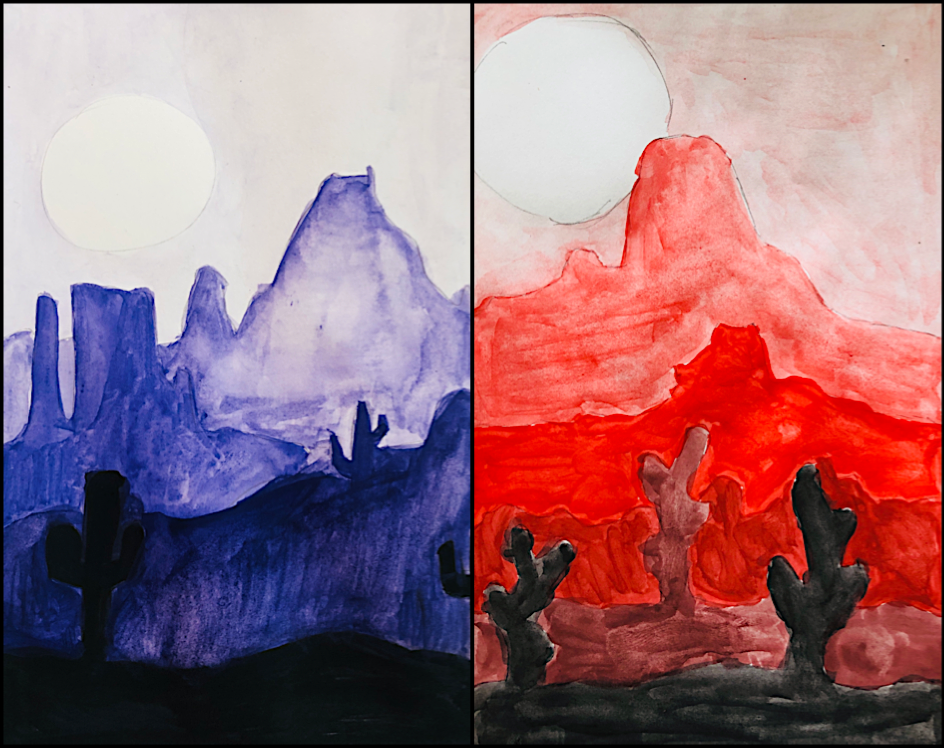
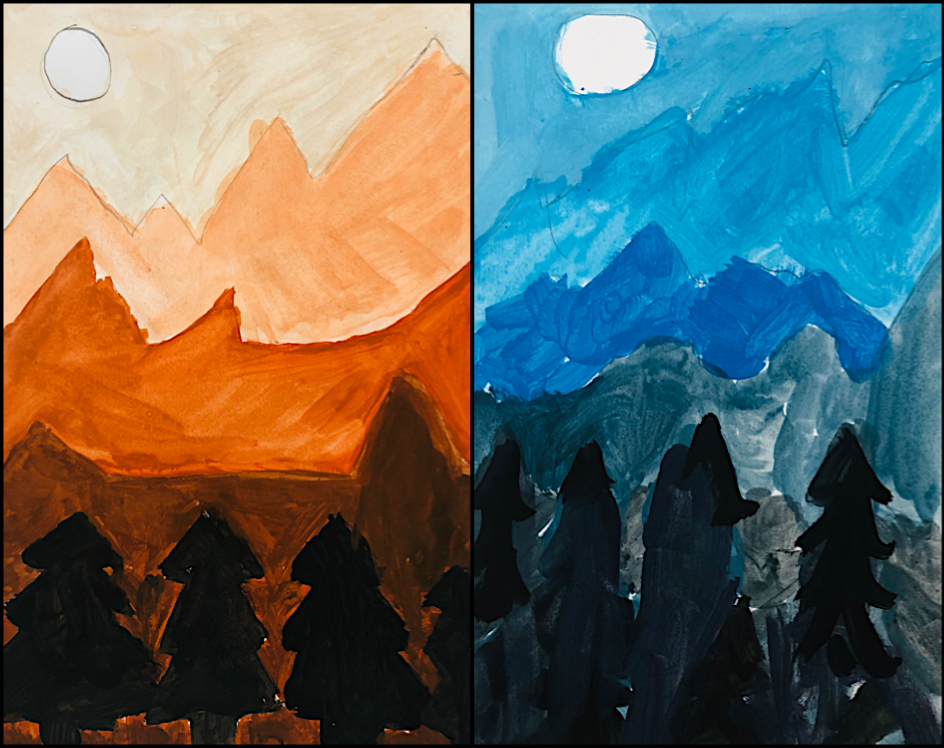
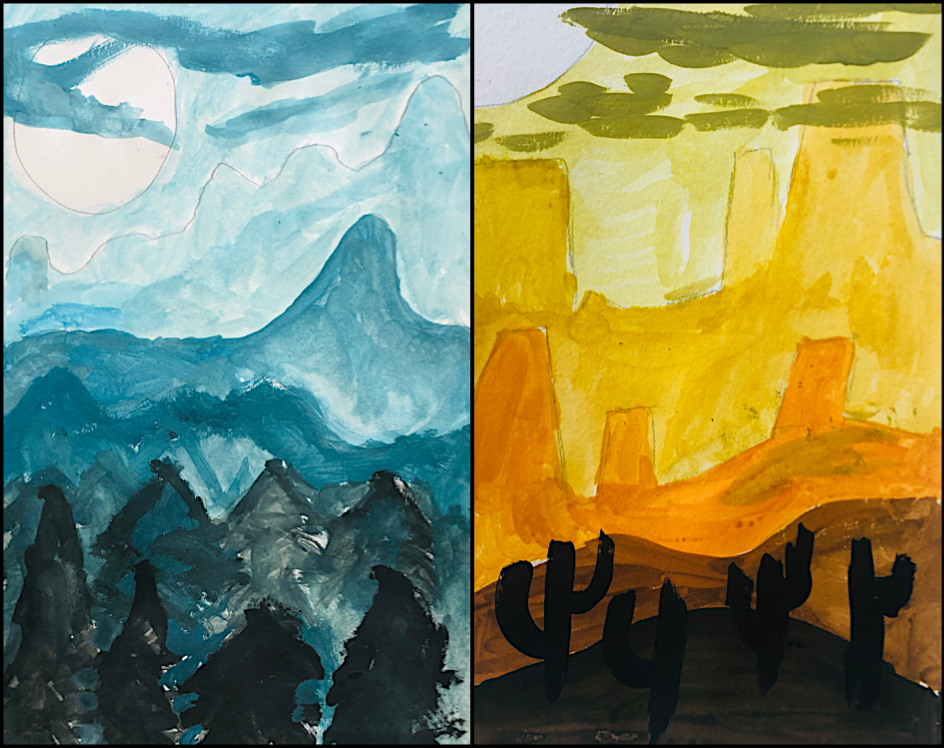
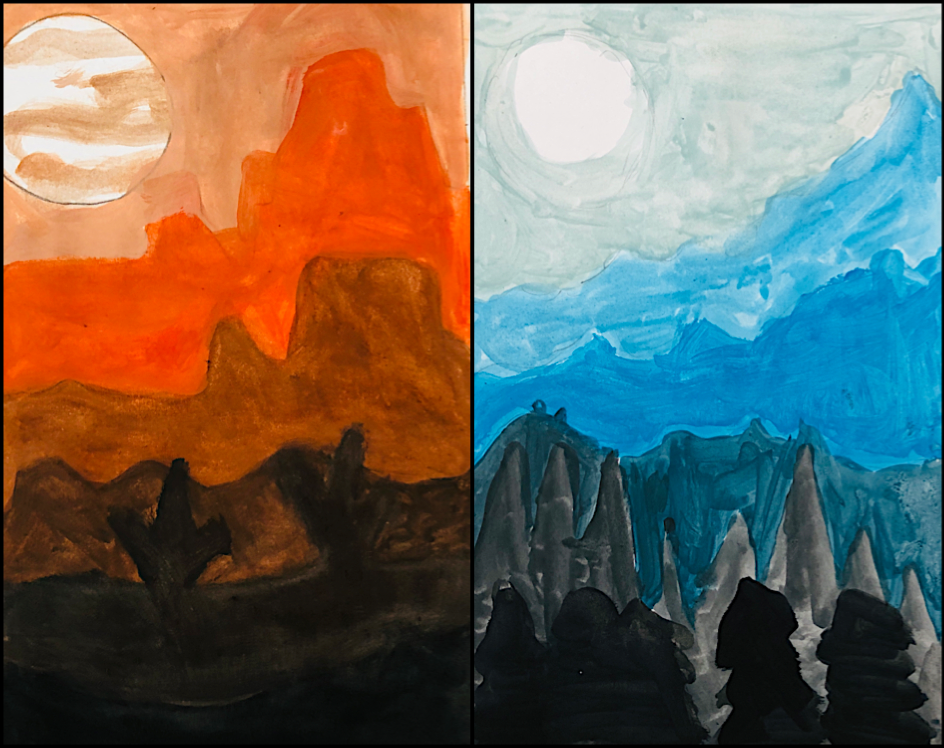
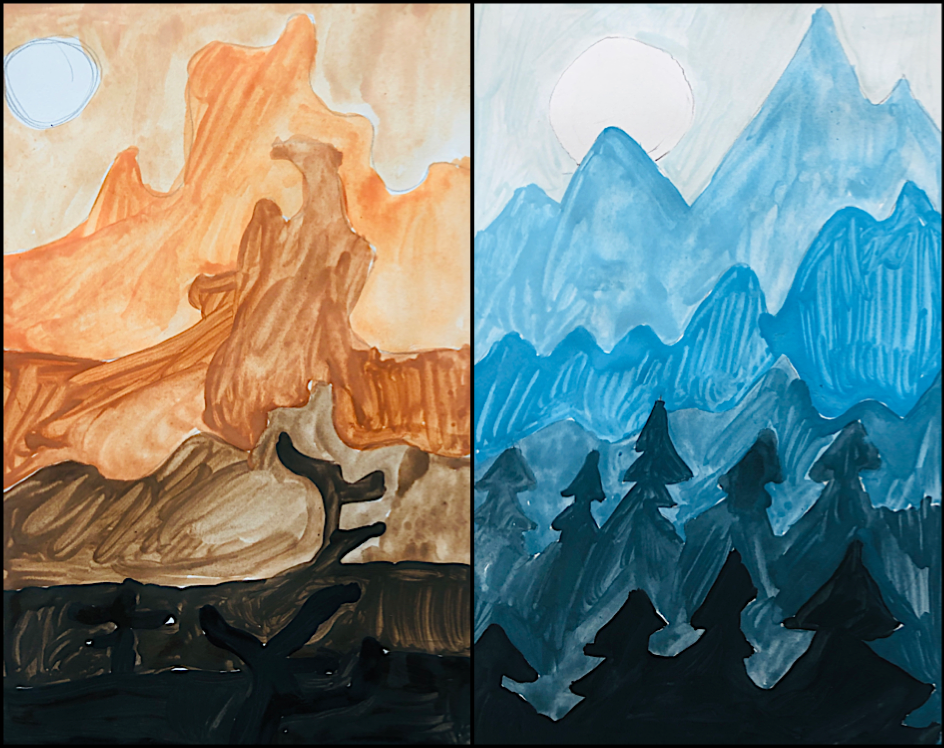
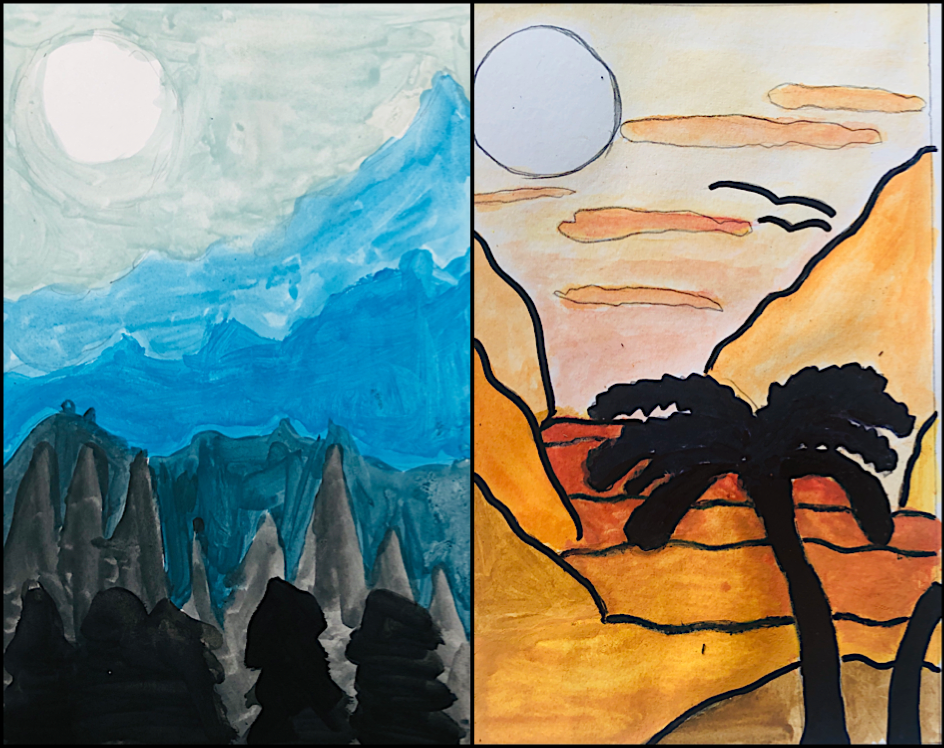
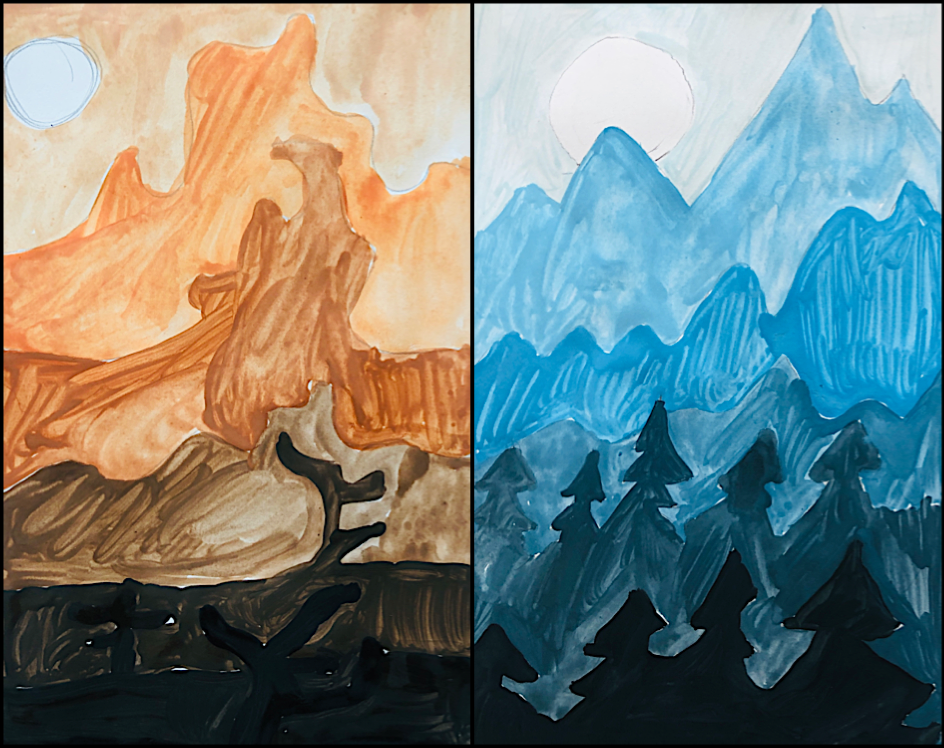
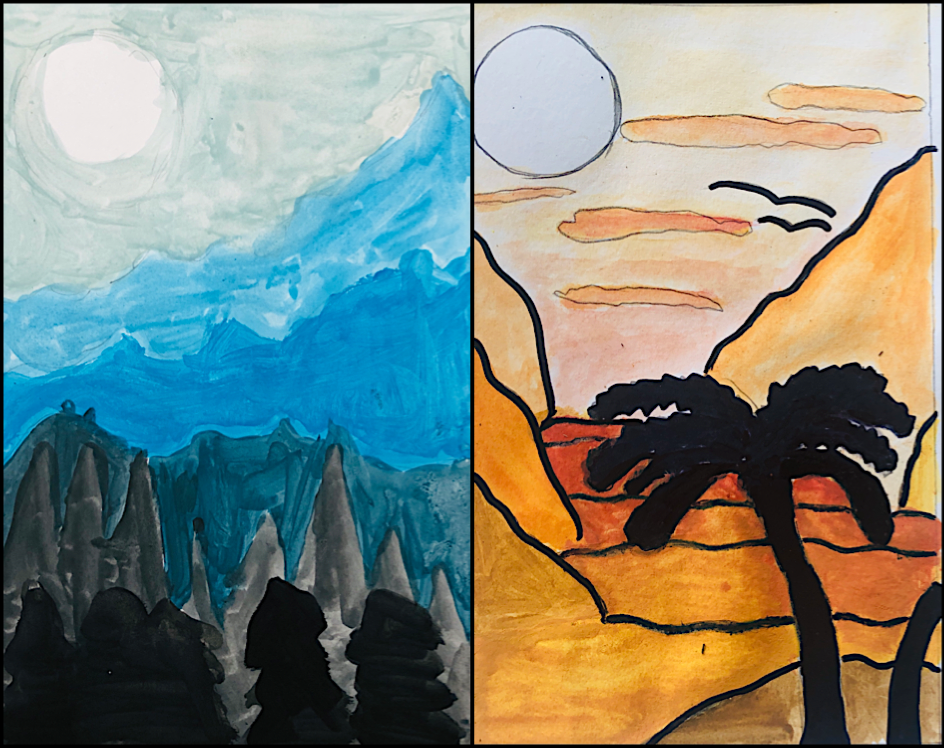
这些小幅风景画由七年级学生用水彩绘制,是在学习了风景画及运用明度渐变表现空间关系之后完成的。下方为分步教学视频,可供参考。
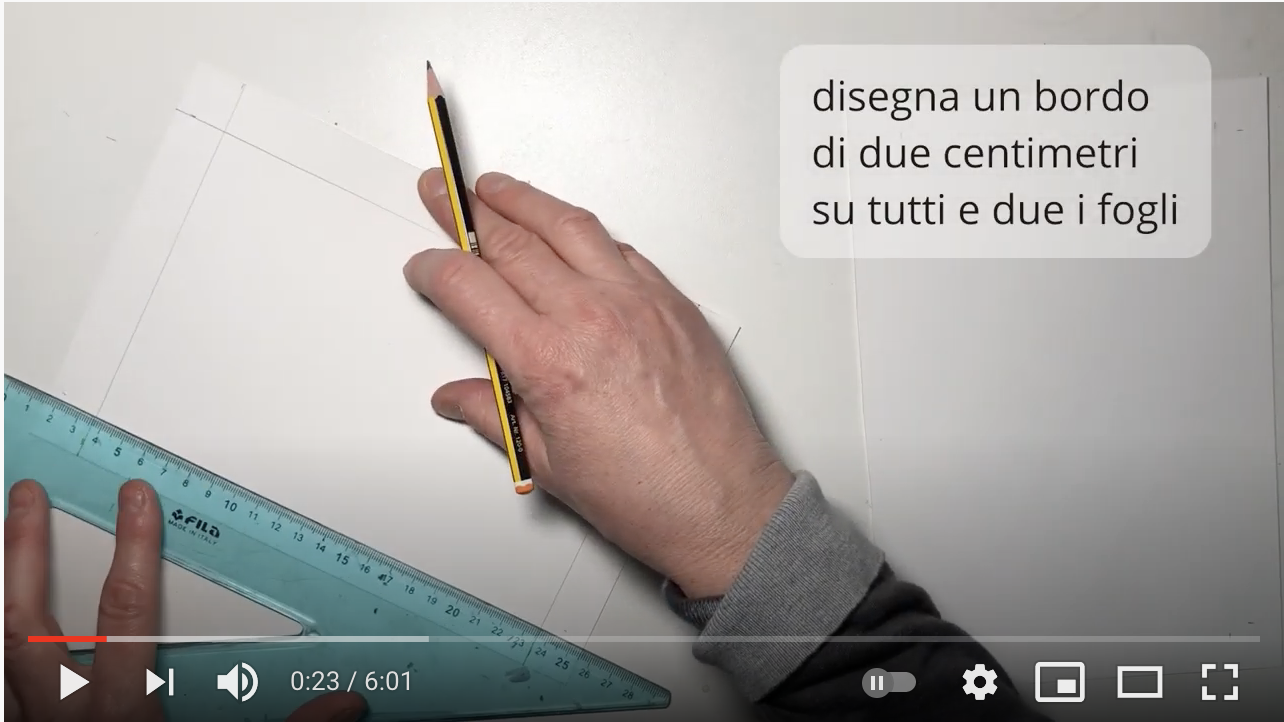
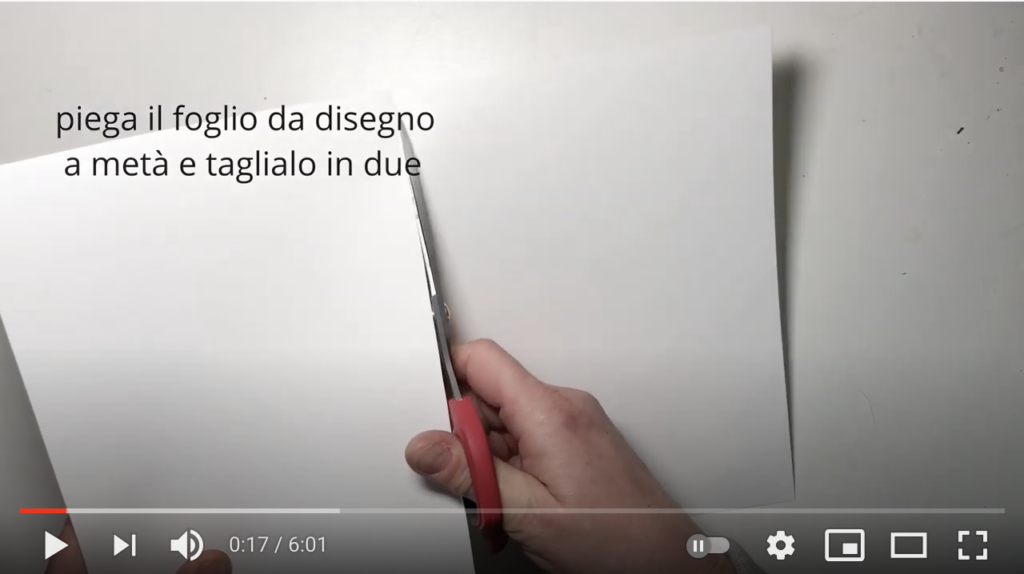
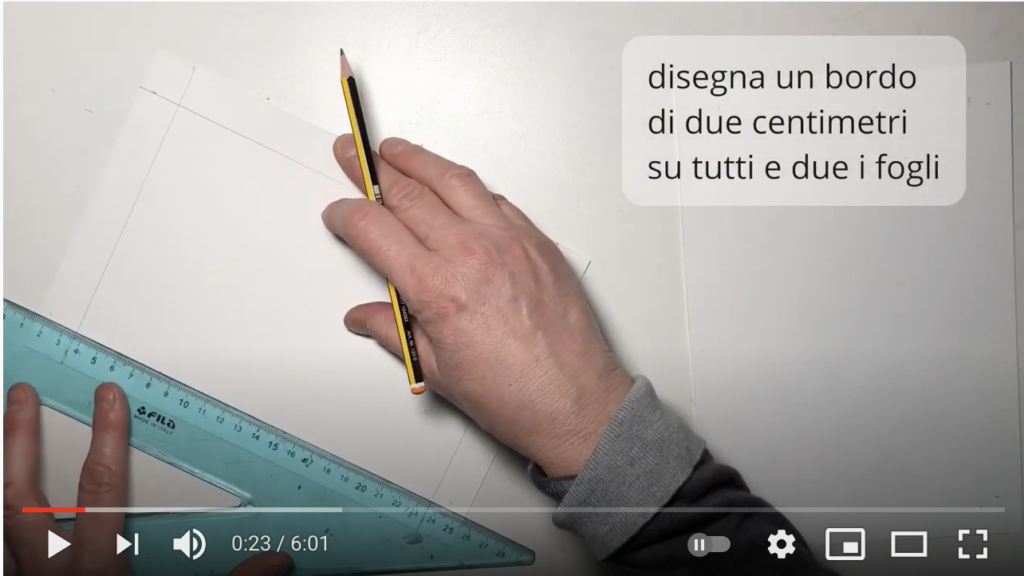
你需要一张画纸,并沿中线对折后裁成两半。随后,在每张纸上画出两厘米宽的边框。
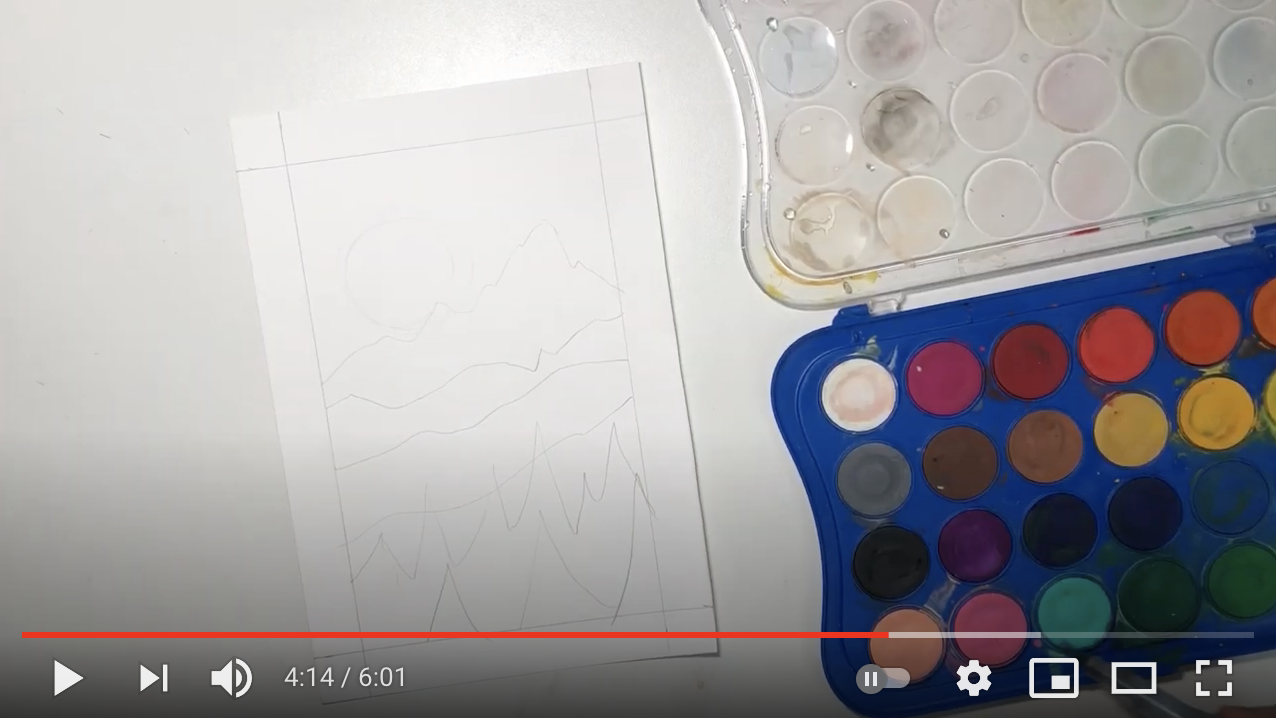
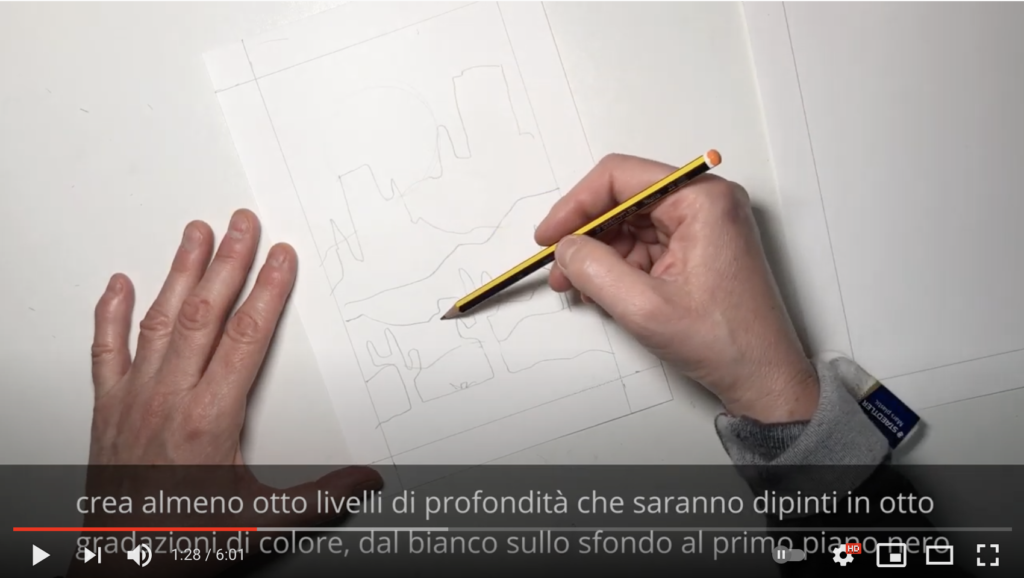
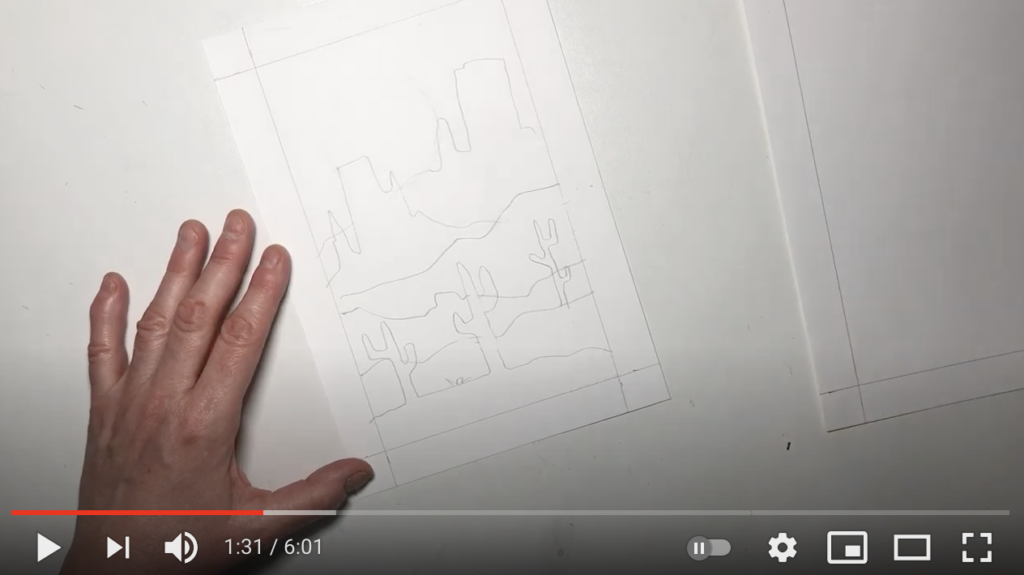
我们来绘制两幅小幅风景画:第一幅我建议画沙漠风景——前景为仙人掌,背景为岩石山峦,整体使用暖色系着色;第二幅则为山地风景——前景为冷杉树,背景为山脉,整体使用冷色系着色。风景内容可自由发挥,例如湖泊、丘陵、植被剪影或城市天际线等,但我建议至少呈现八个层次的空间深度。
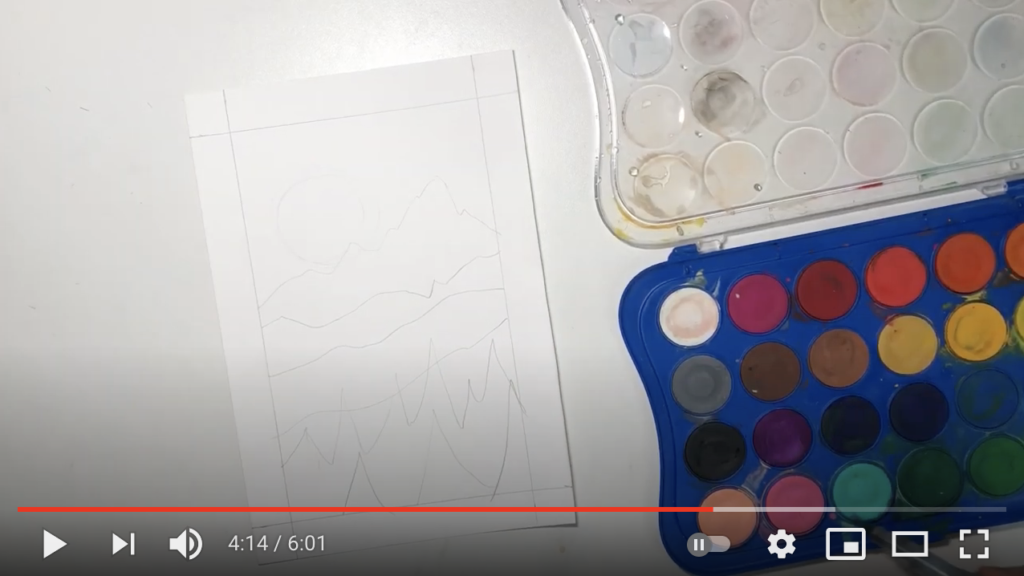
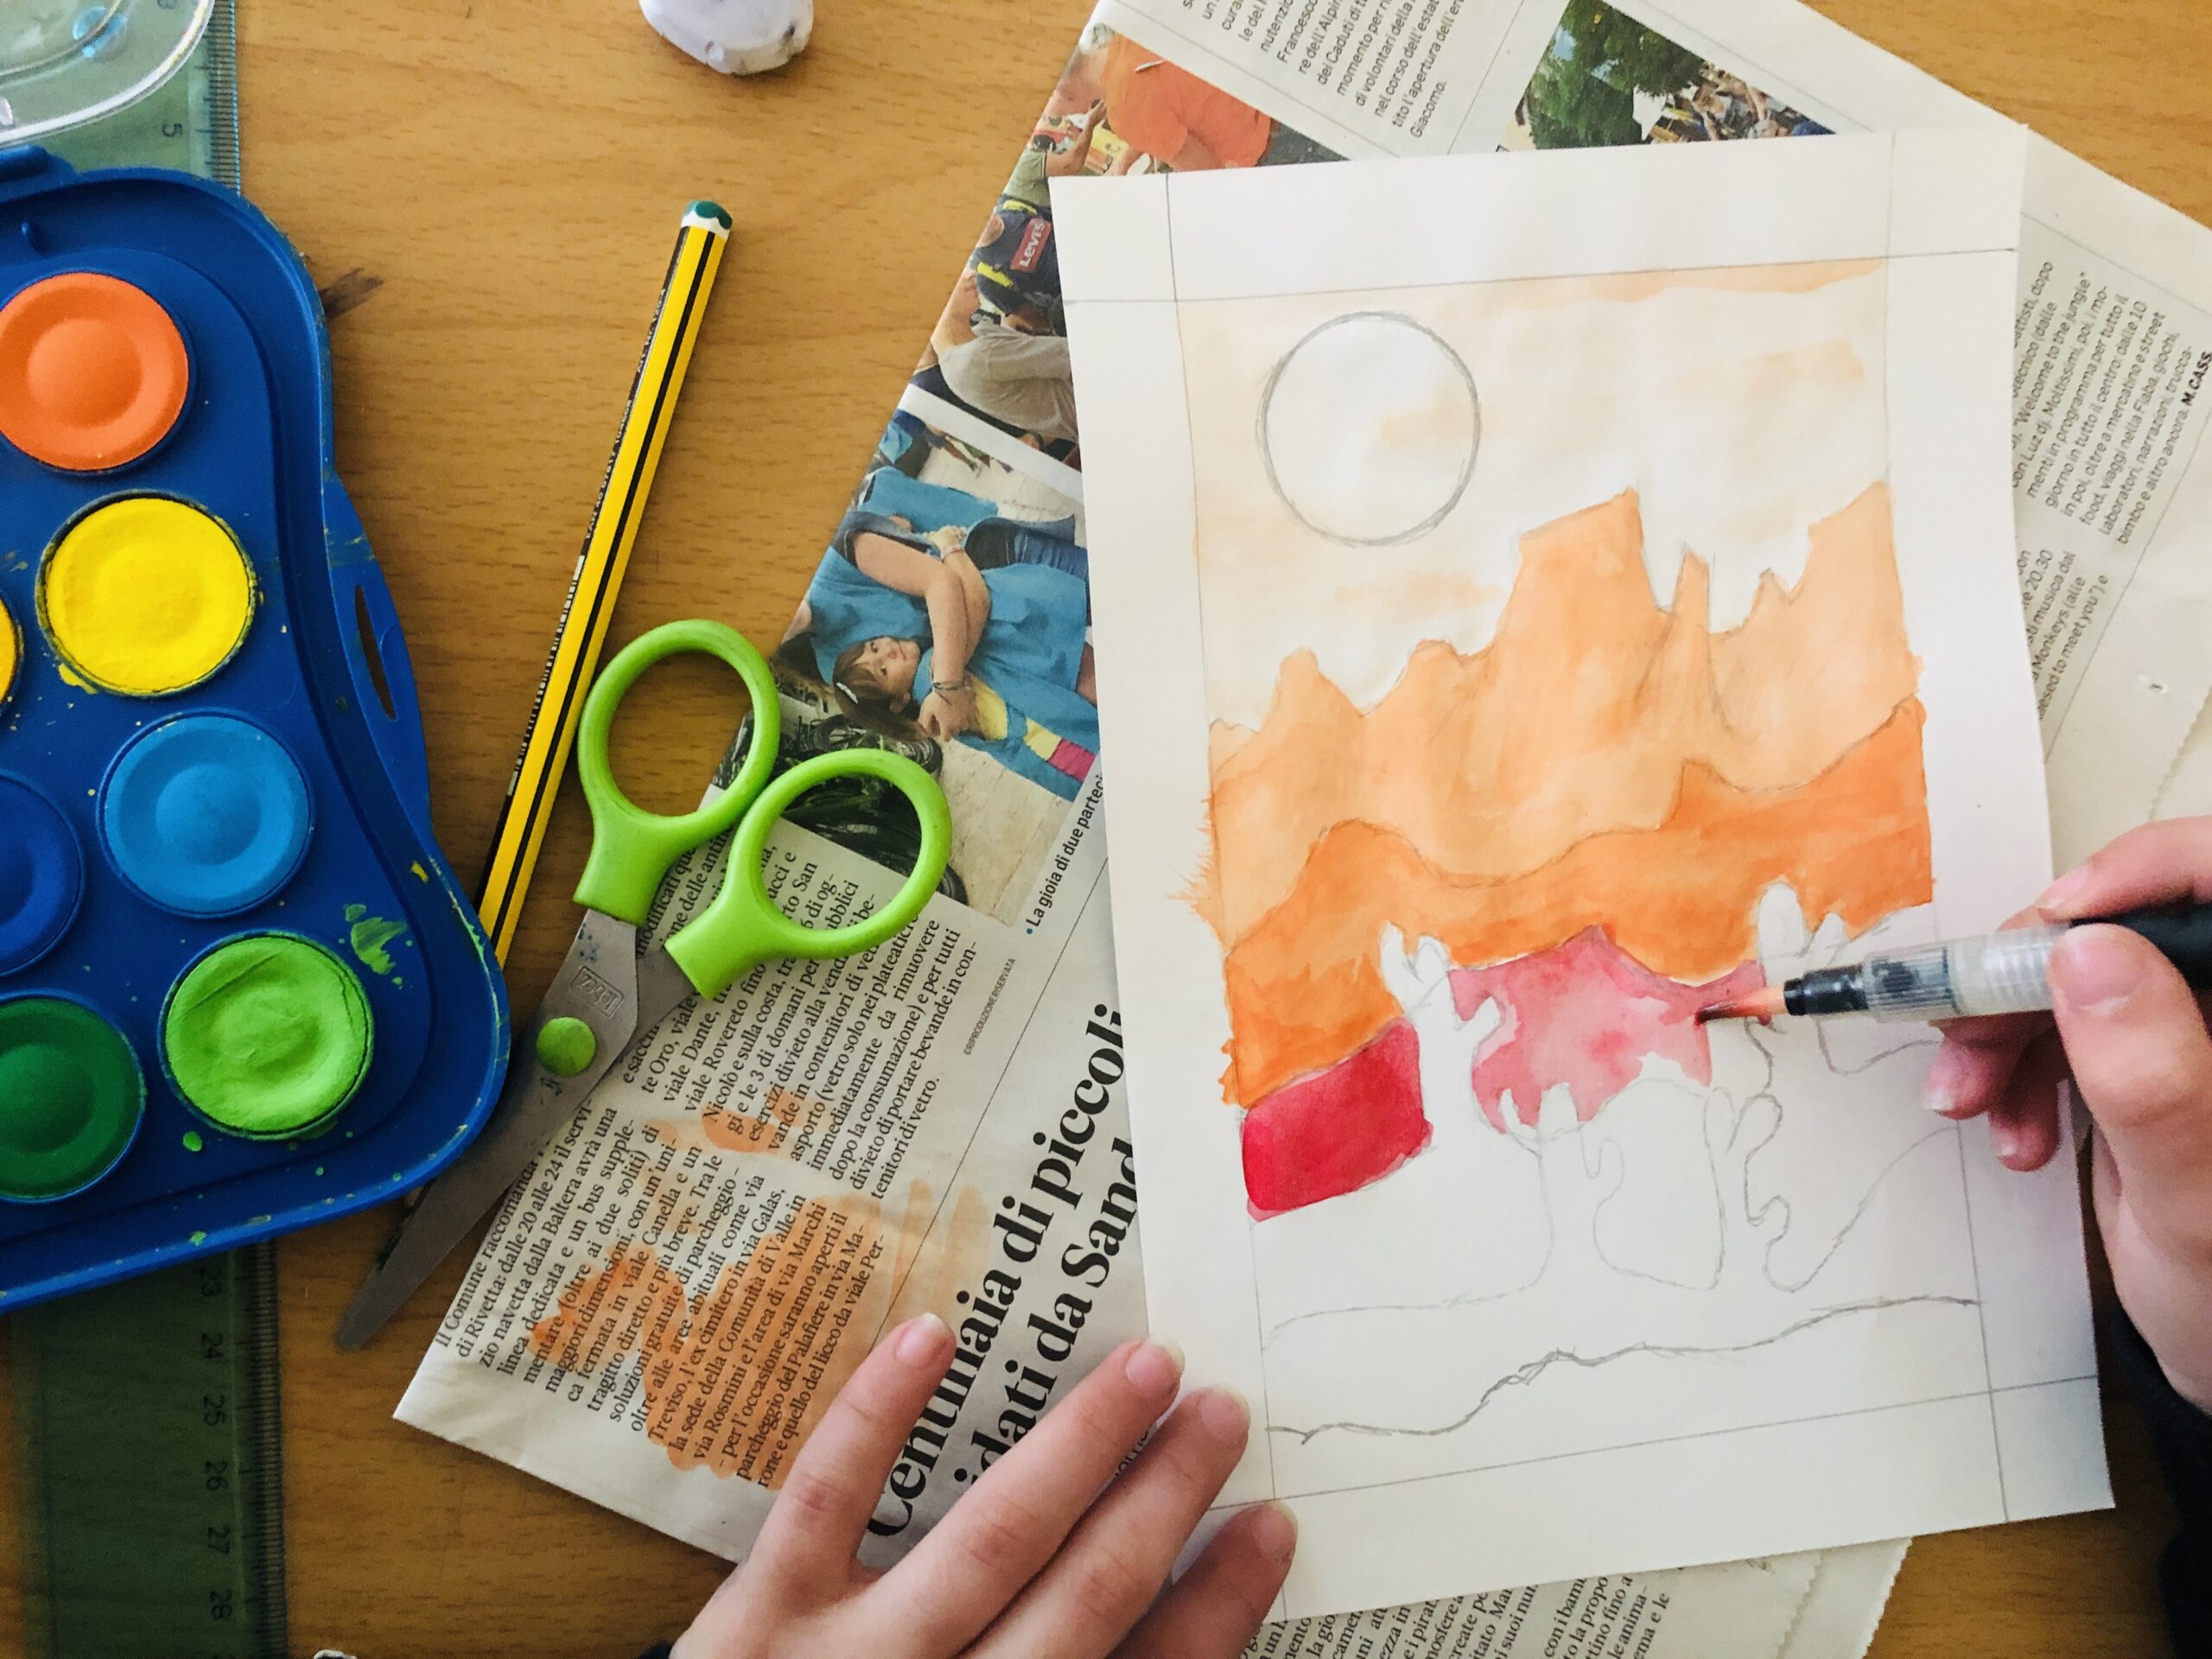
接着选定一种颜色,从背景开始作画:先用大量水稀释该色,调出极浅的色调进行涂绘。随后逐层向前推进,逐步减少水量、增加颜料浓度,使色彩饱和度不断提高。
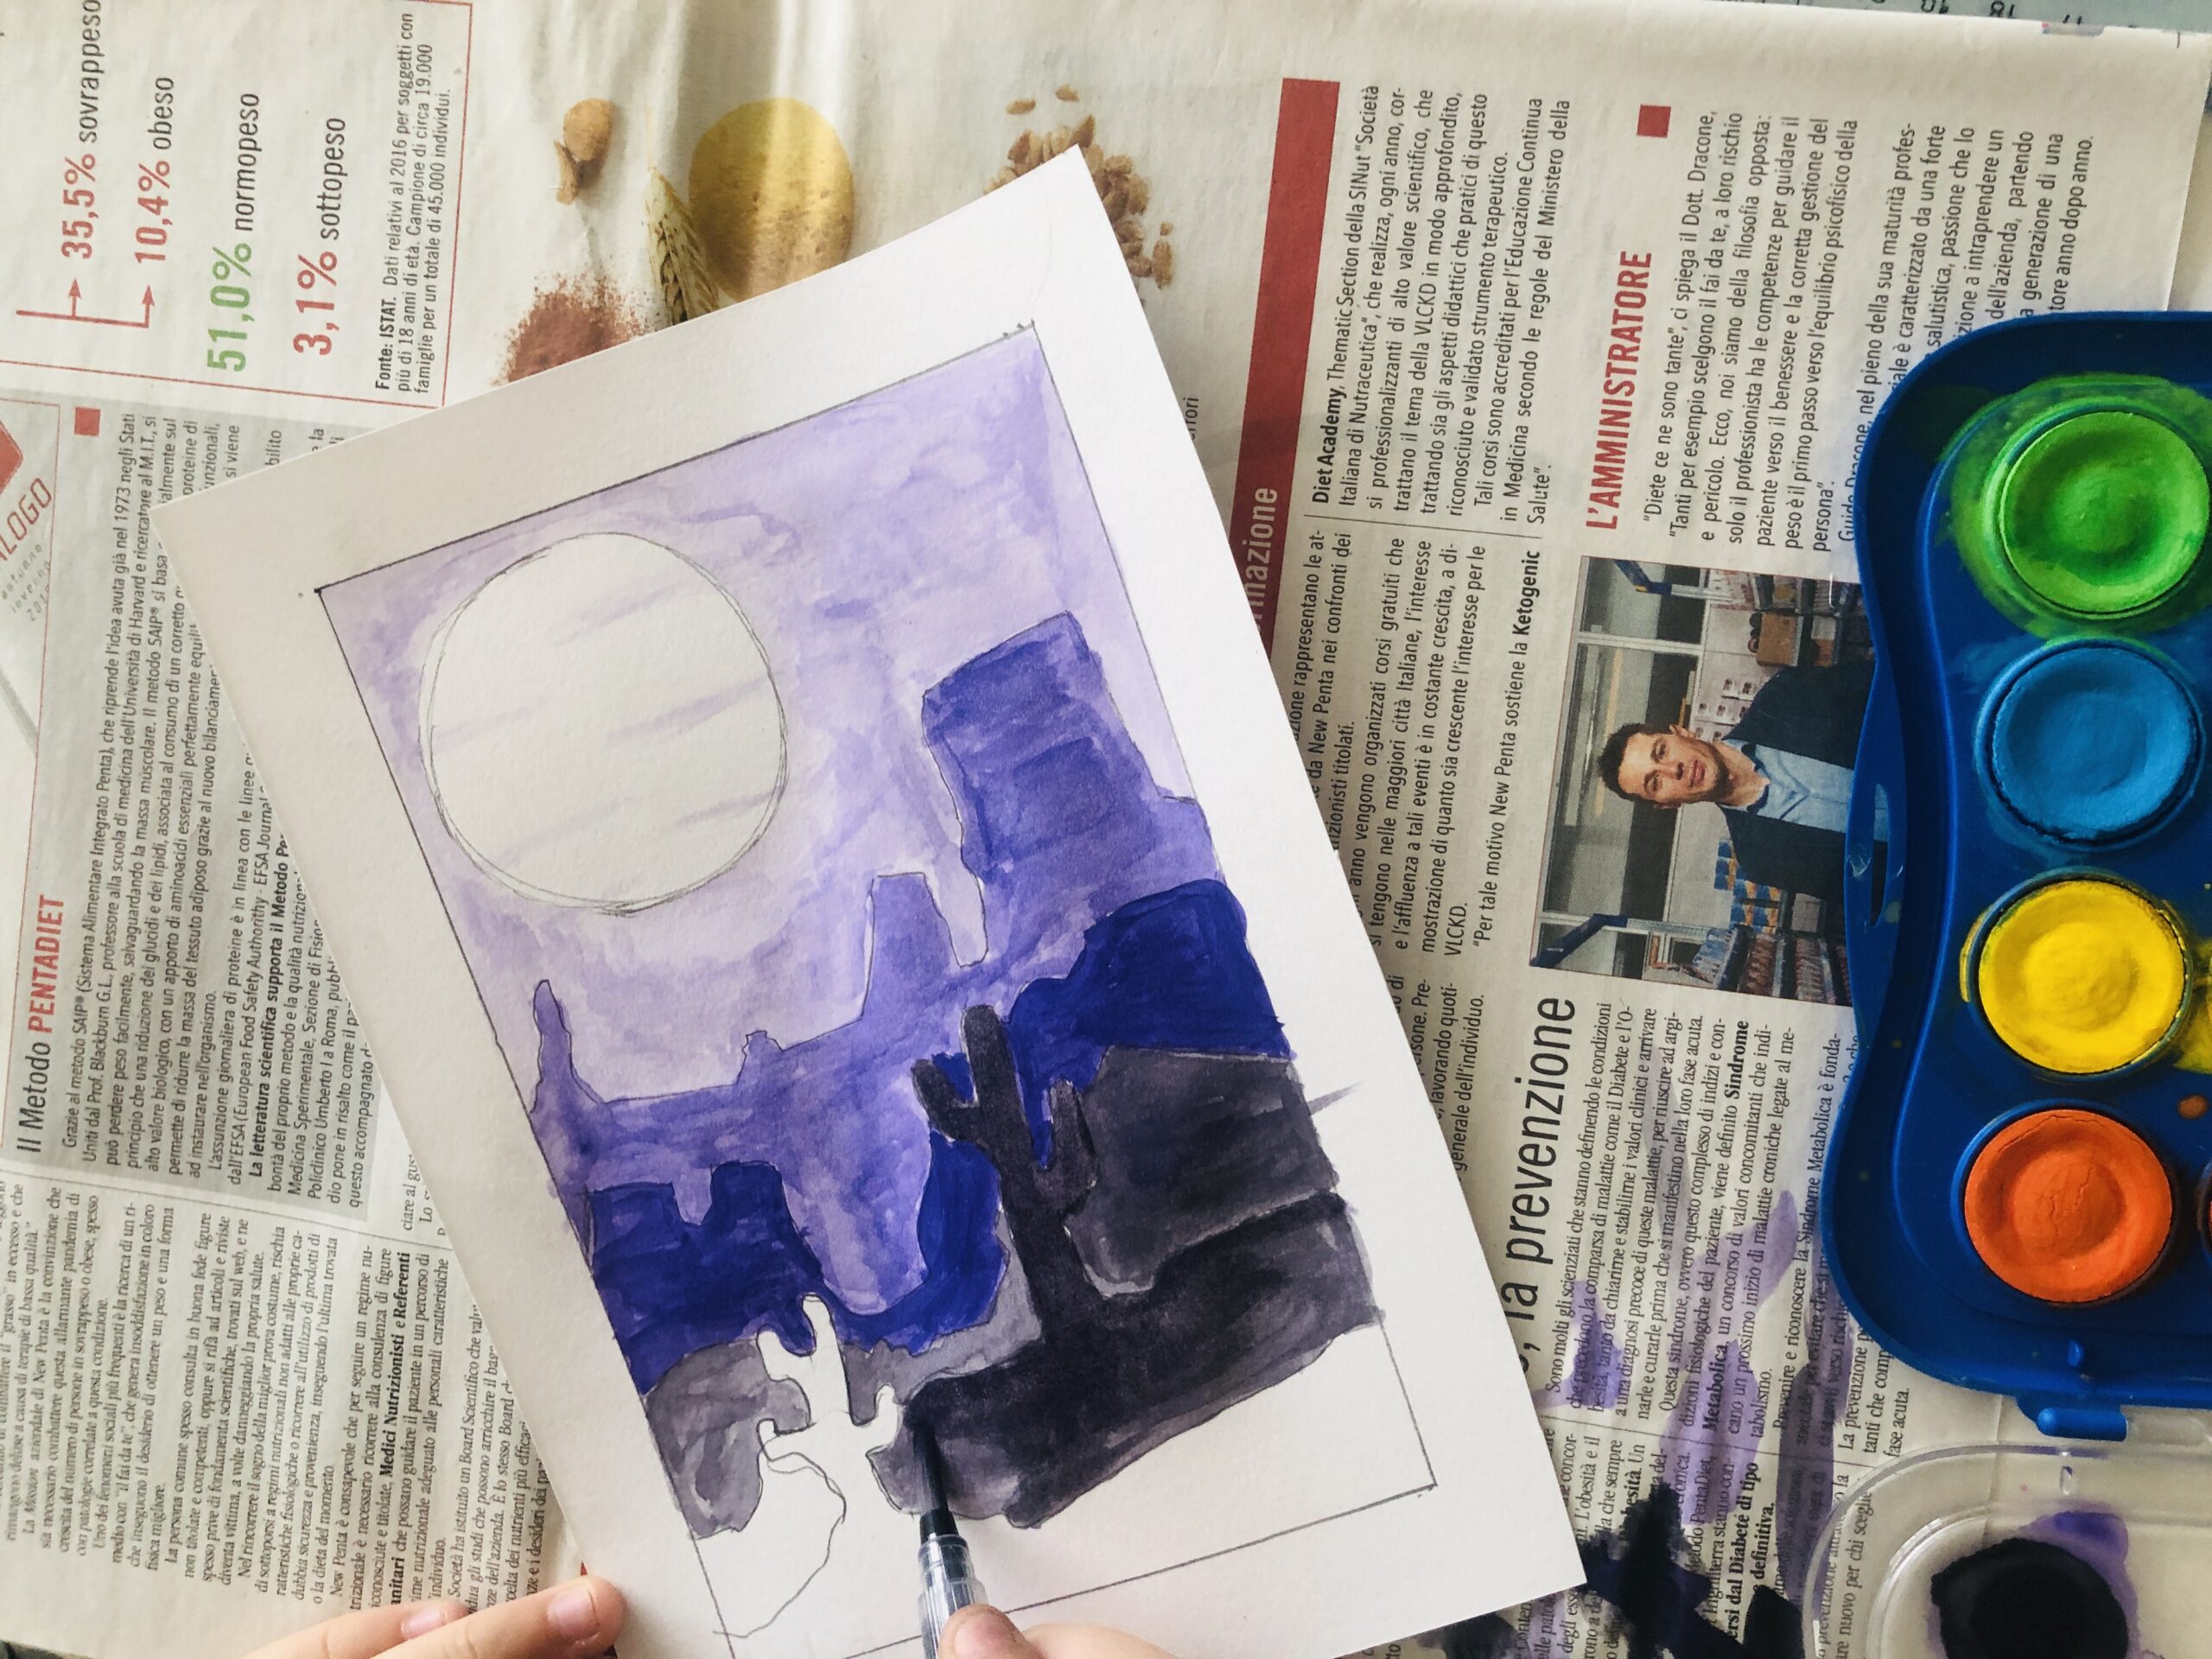
当达到该纯色的最大饱和度后,再加入极少量黑色,以获得更深的明度层次。最后,可用纯黑色描绘最前方的景物。
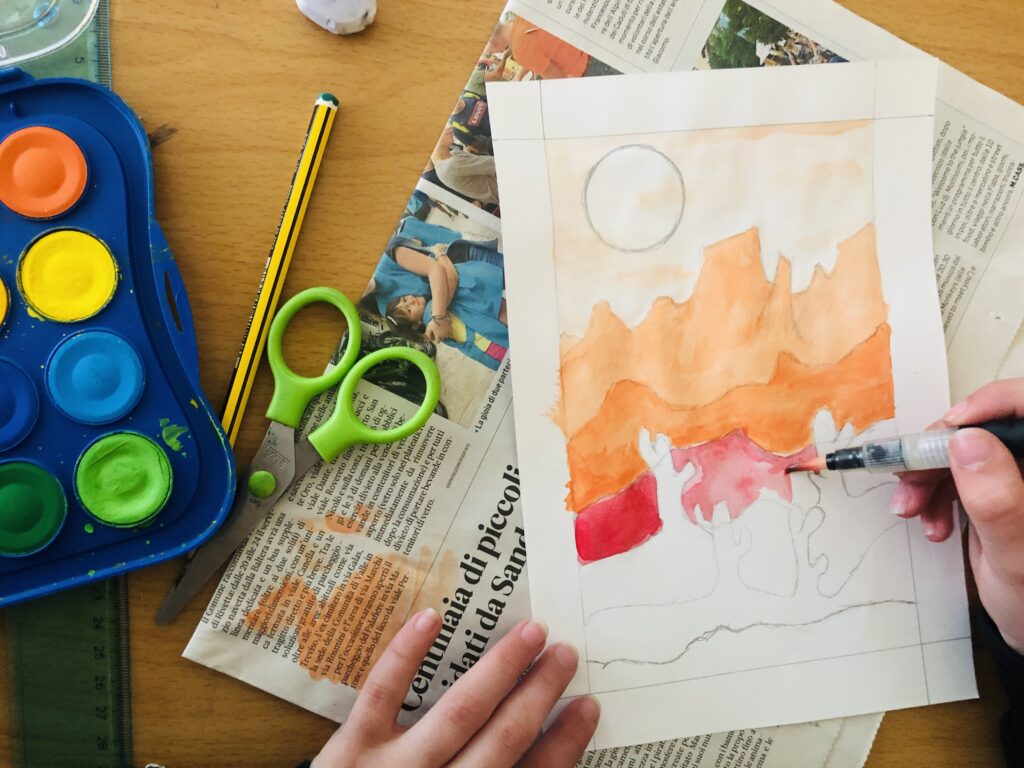
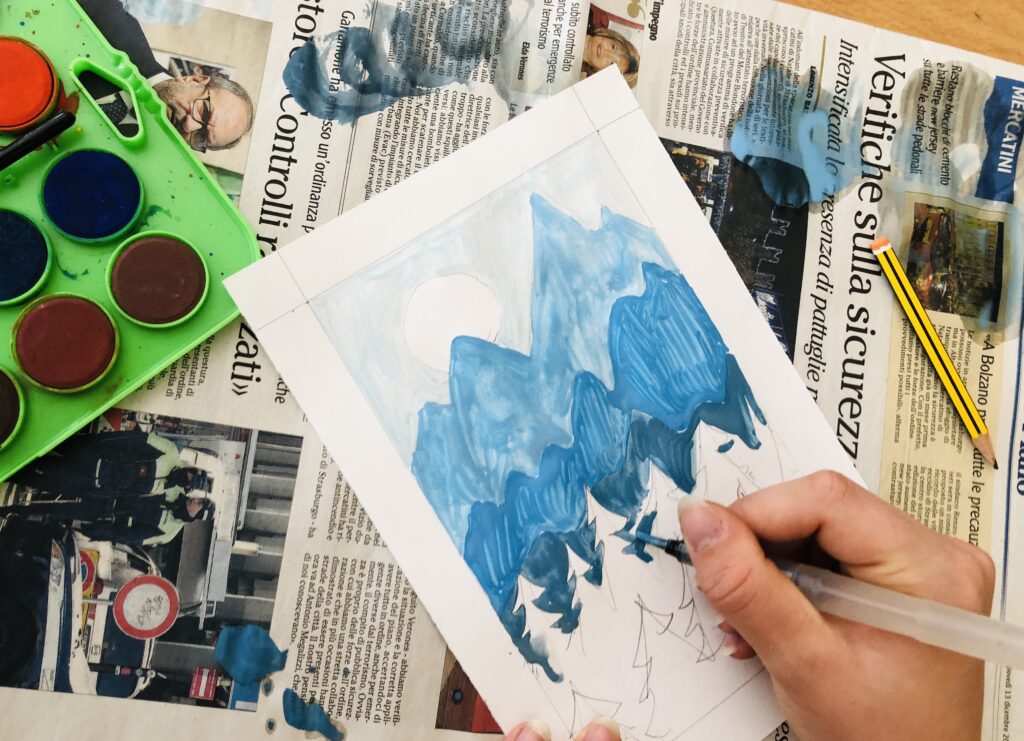
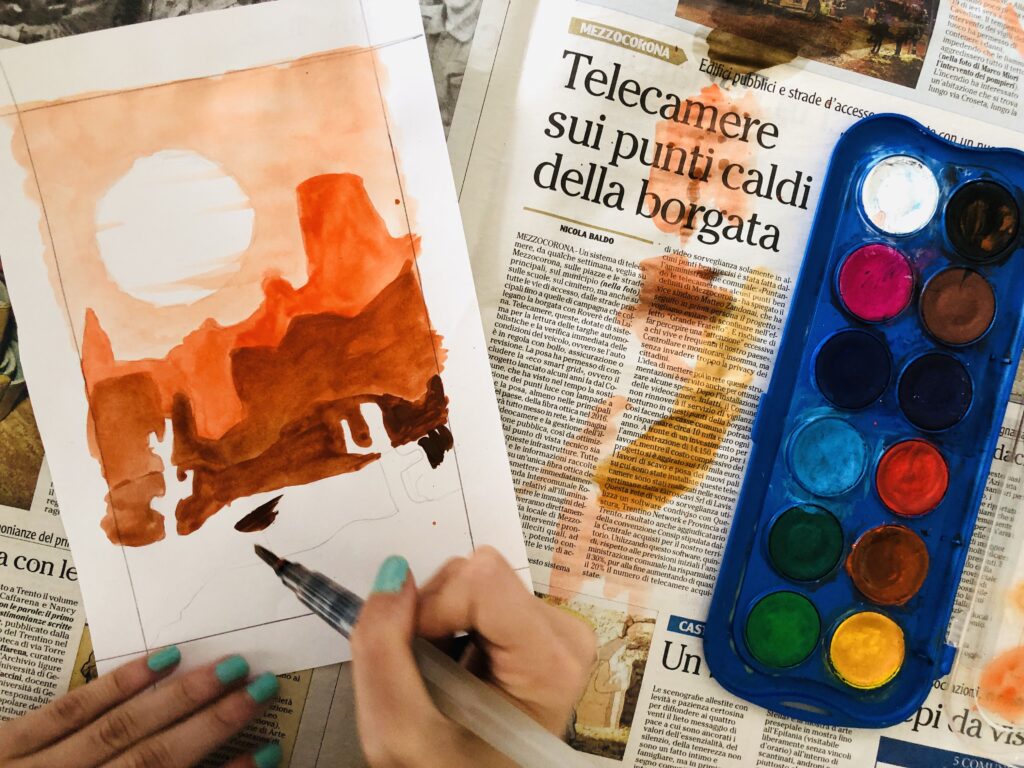
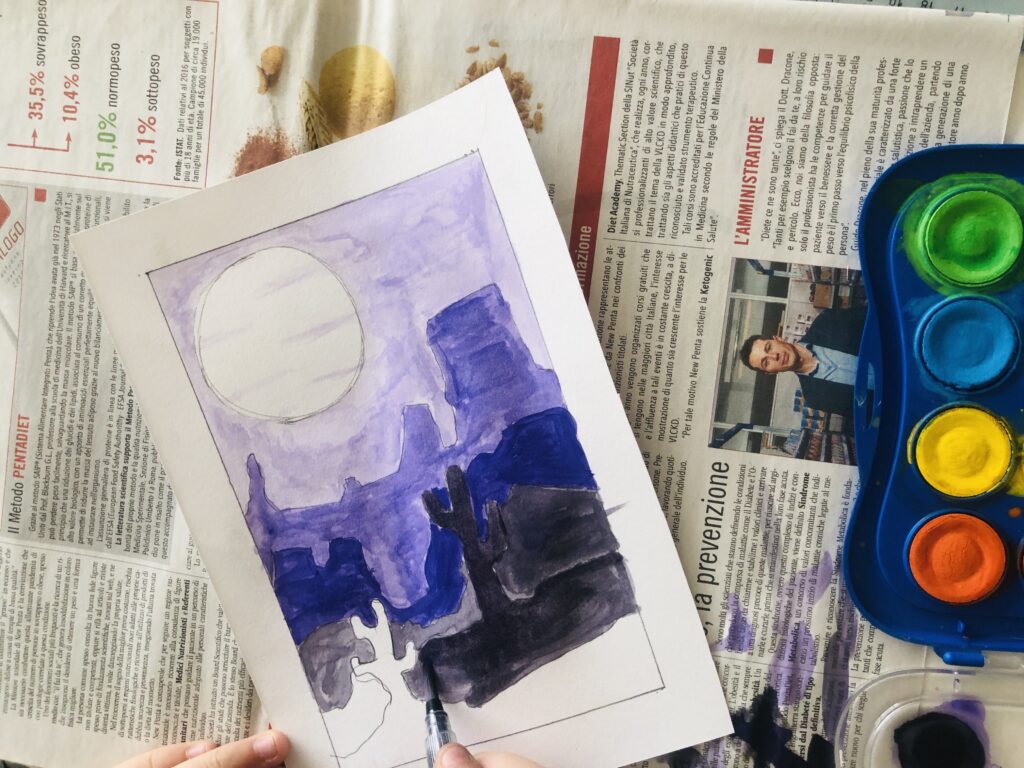
以下是学生们完成的风景画作品
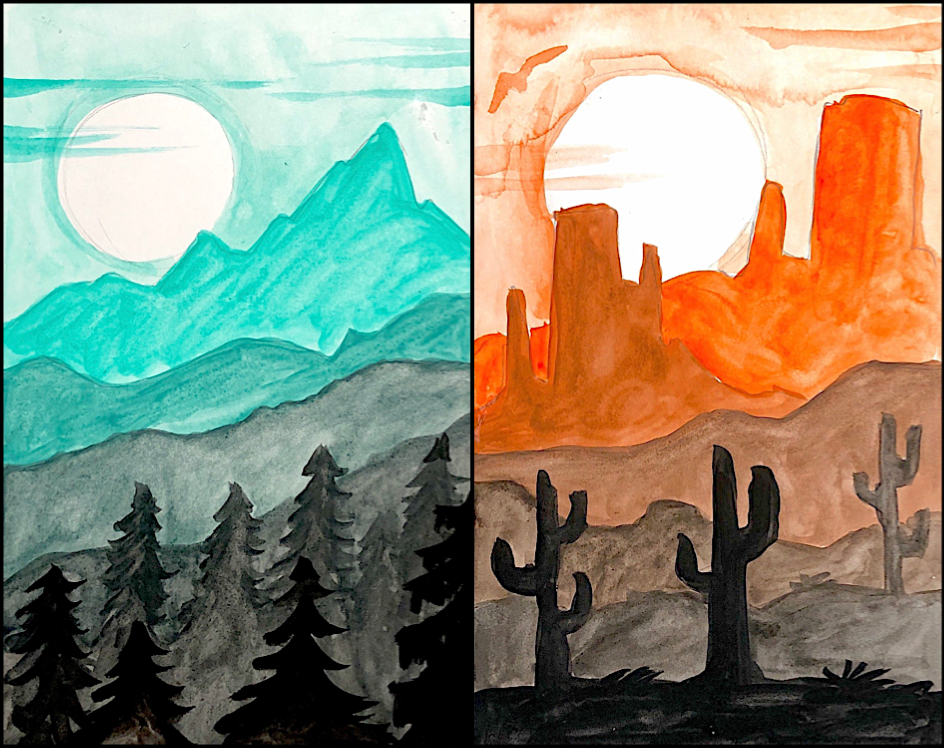
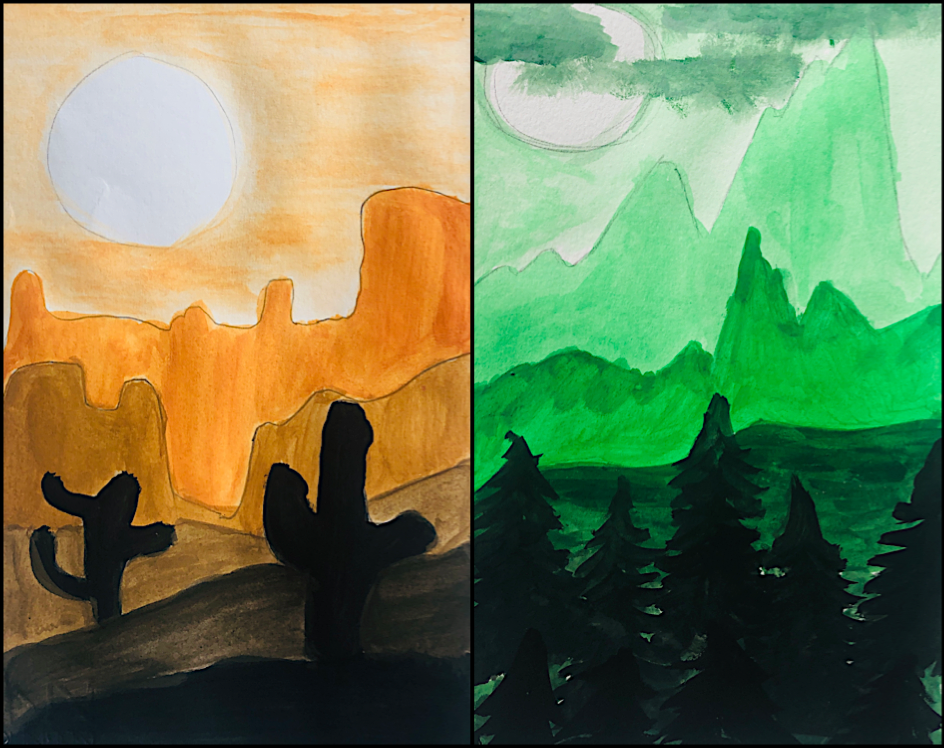
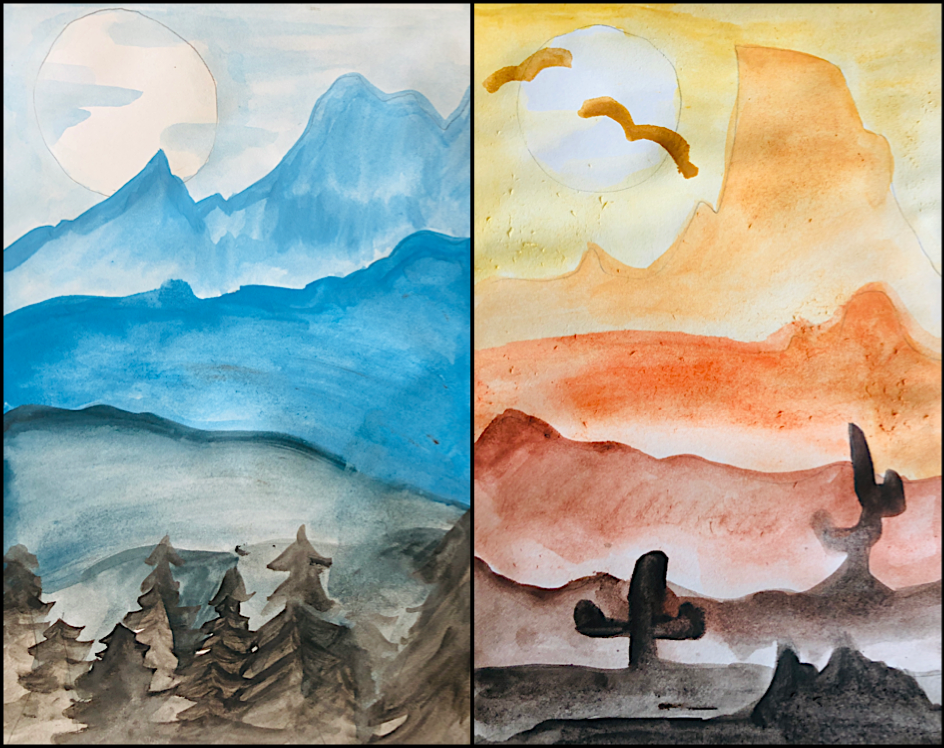
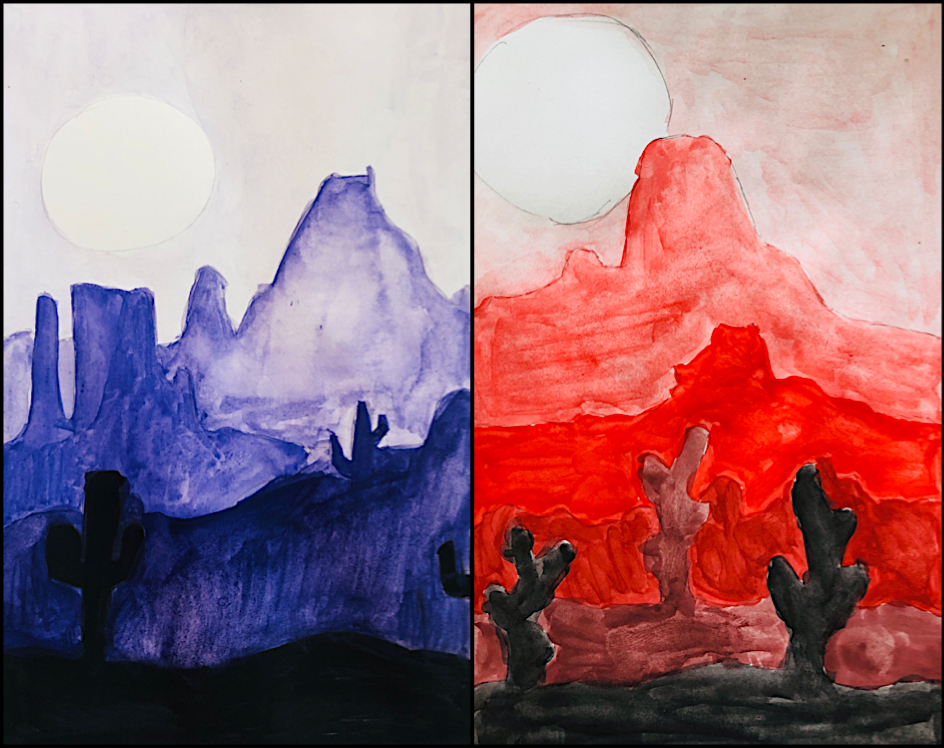
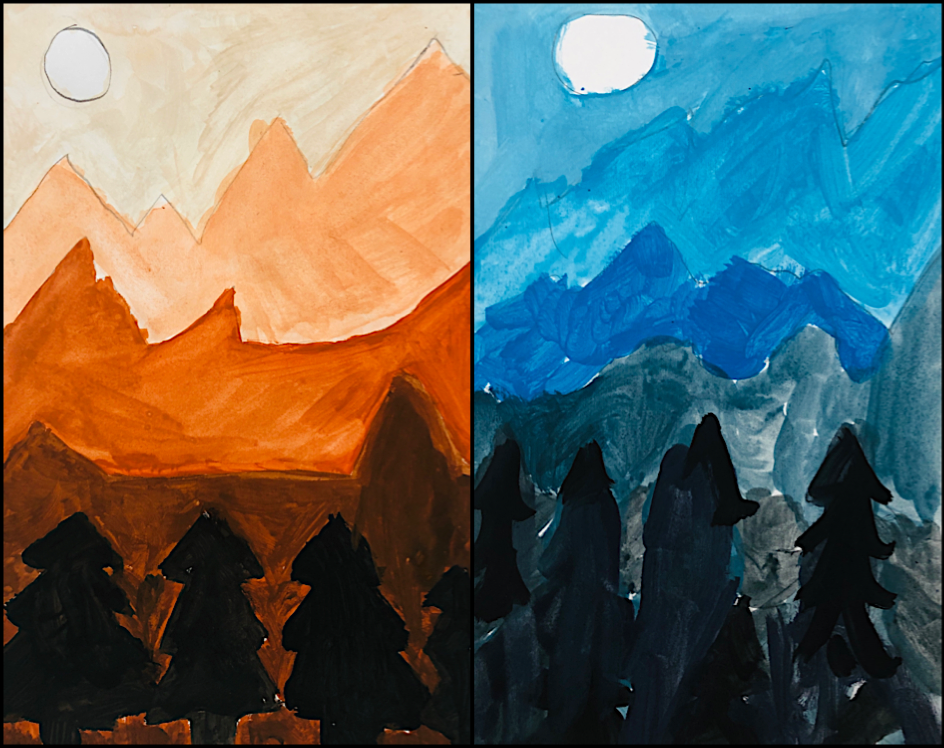
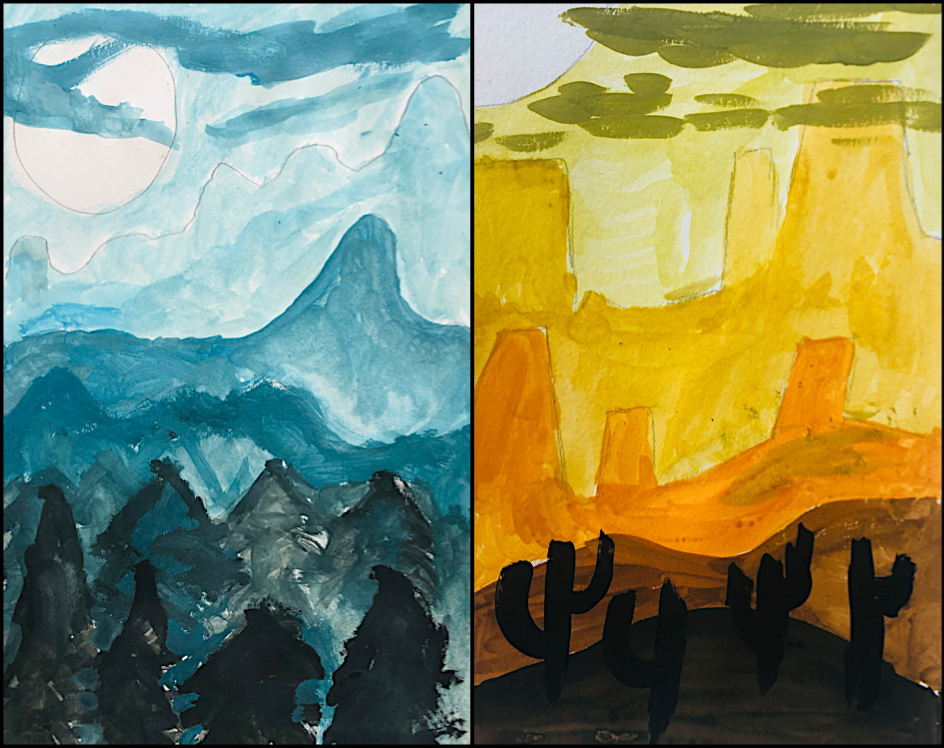
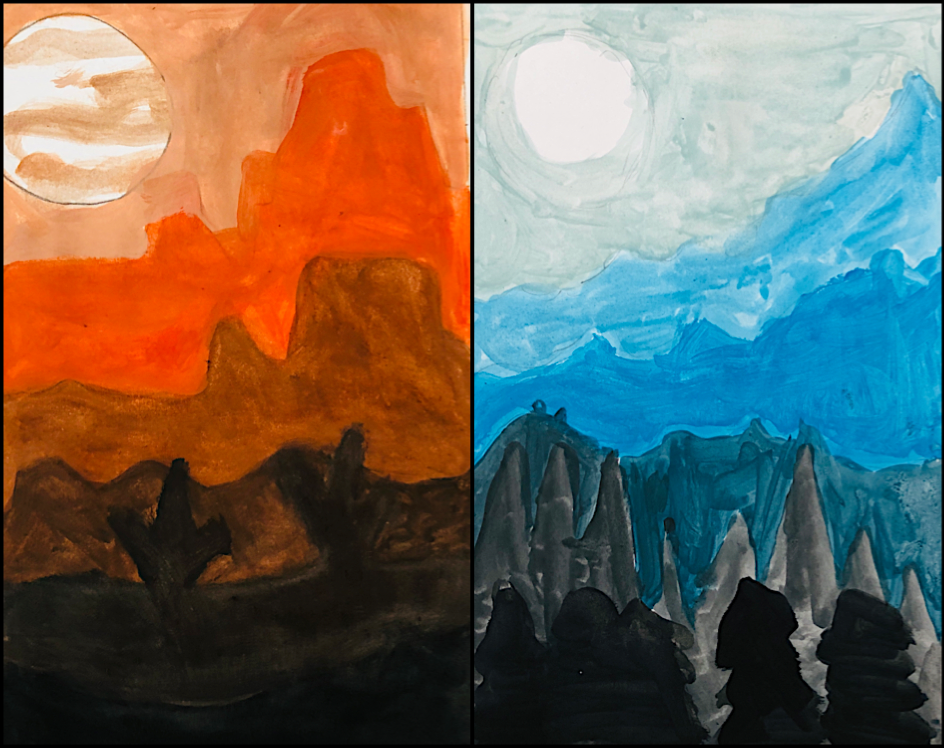
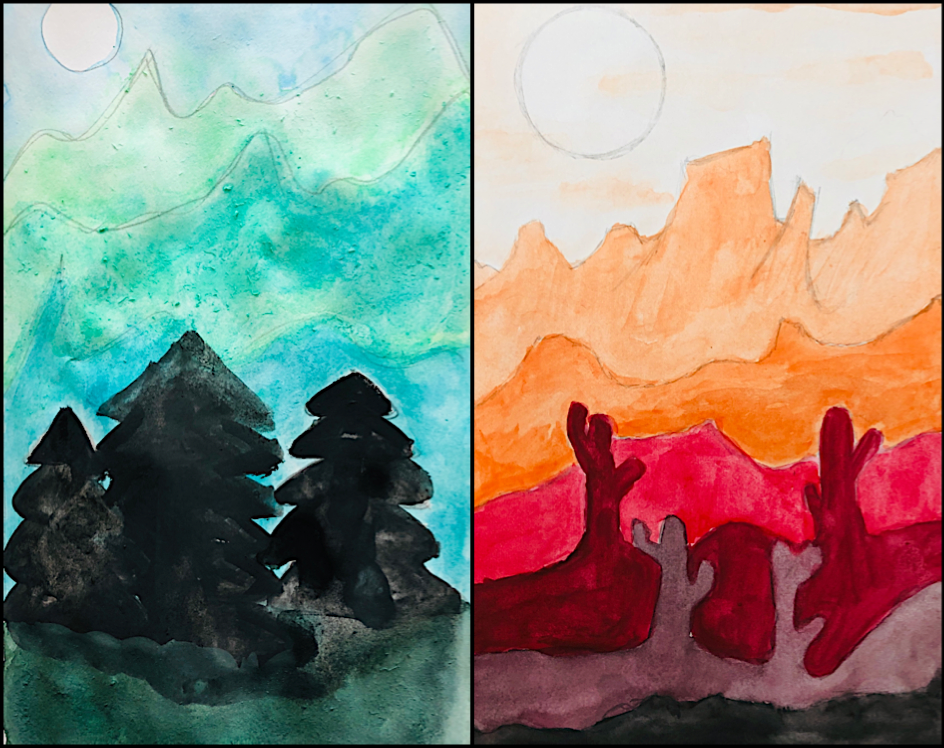
Small Value Scale Landscapes with video tutorial
These small landscapes have been painted with watercolors, by 7th-grade students after a lesson about landscape and the representation of space with value scale. Here below a video tutorial to follow step by step
You need a drawing sheet to divide in half. Cut it in two on the central fold. After that, you draw a two-centimeter frame on each sheet.
Let’s draw two small landscapes: I proposed a first desert landscape with cacti in the foreground and rocky mountains in the background, to be colored with warm shades. The second painting is a mountain landscape with fir trees and mountains, to be colored with cold shades. Landscapes can be different, even with lakes, hills, vegetation silhouettes or city skylines, but I suggest drawing at least EIGHT LEVELS of depth.
Then you choose a color and start painting the background with a very light shade, which is obtained by adding a lot of water to the chosen color. You proceed by adding more and more color, increasing the color saturation as you paint the layers towards the foreground.
Once the maximum saturation of the pure color is reached, a very small part of black is added to obtain the darkest shades. In the end, pure black can be used to paint the foreground.
Here are the landscapes created by the students