层叠孔洞的空间深度
原文链接:https://tabithaannthelostsock.blogspot.com/2023/09/layered-holes.html
日期: 2023-09-09
标签: 深度、孔洞、层、膜、重叠、帕德罗斯、空间、托马斯、禅绕画
艺术家聚焦
托马斯·帕德罗斯(Tomas Padros)
以「膜艺术禅绕画」(MembranArt Zentangle)闻名 https://www.google.com/search?q=tomas+padros+membranart&tbm=isch&ved=2ahUKEwiyrY7wk6OBAxX0Mt4AHTvwD4QQ2-cCegQIABAA&oq=tomas+padros+membranart&gs_lcp=CgNpbWcQAzoFCAAQgAQ6BAgAEB46BwgAEBgQgARQmgVYhCpgwDRoAHAAeACAAWyIAYoLkgEEMjIuMZgBAKABAaoBC2d3cy13aXotaW1nwAEB&sclient=img&ei=GVj_ZPI89OX4tg-74L-gCA&bih=783&biw=1440&hl=en
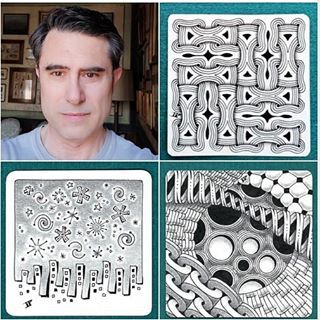
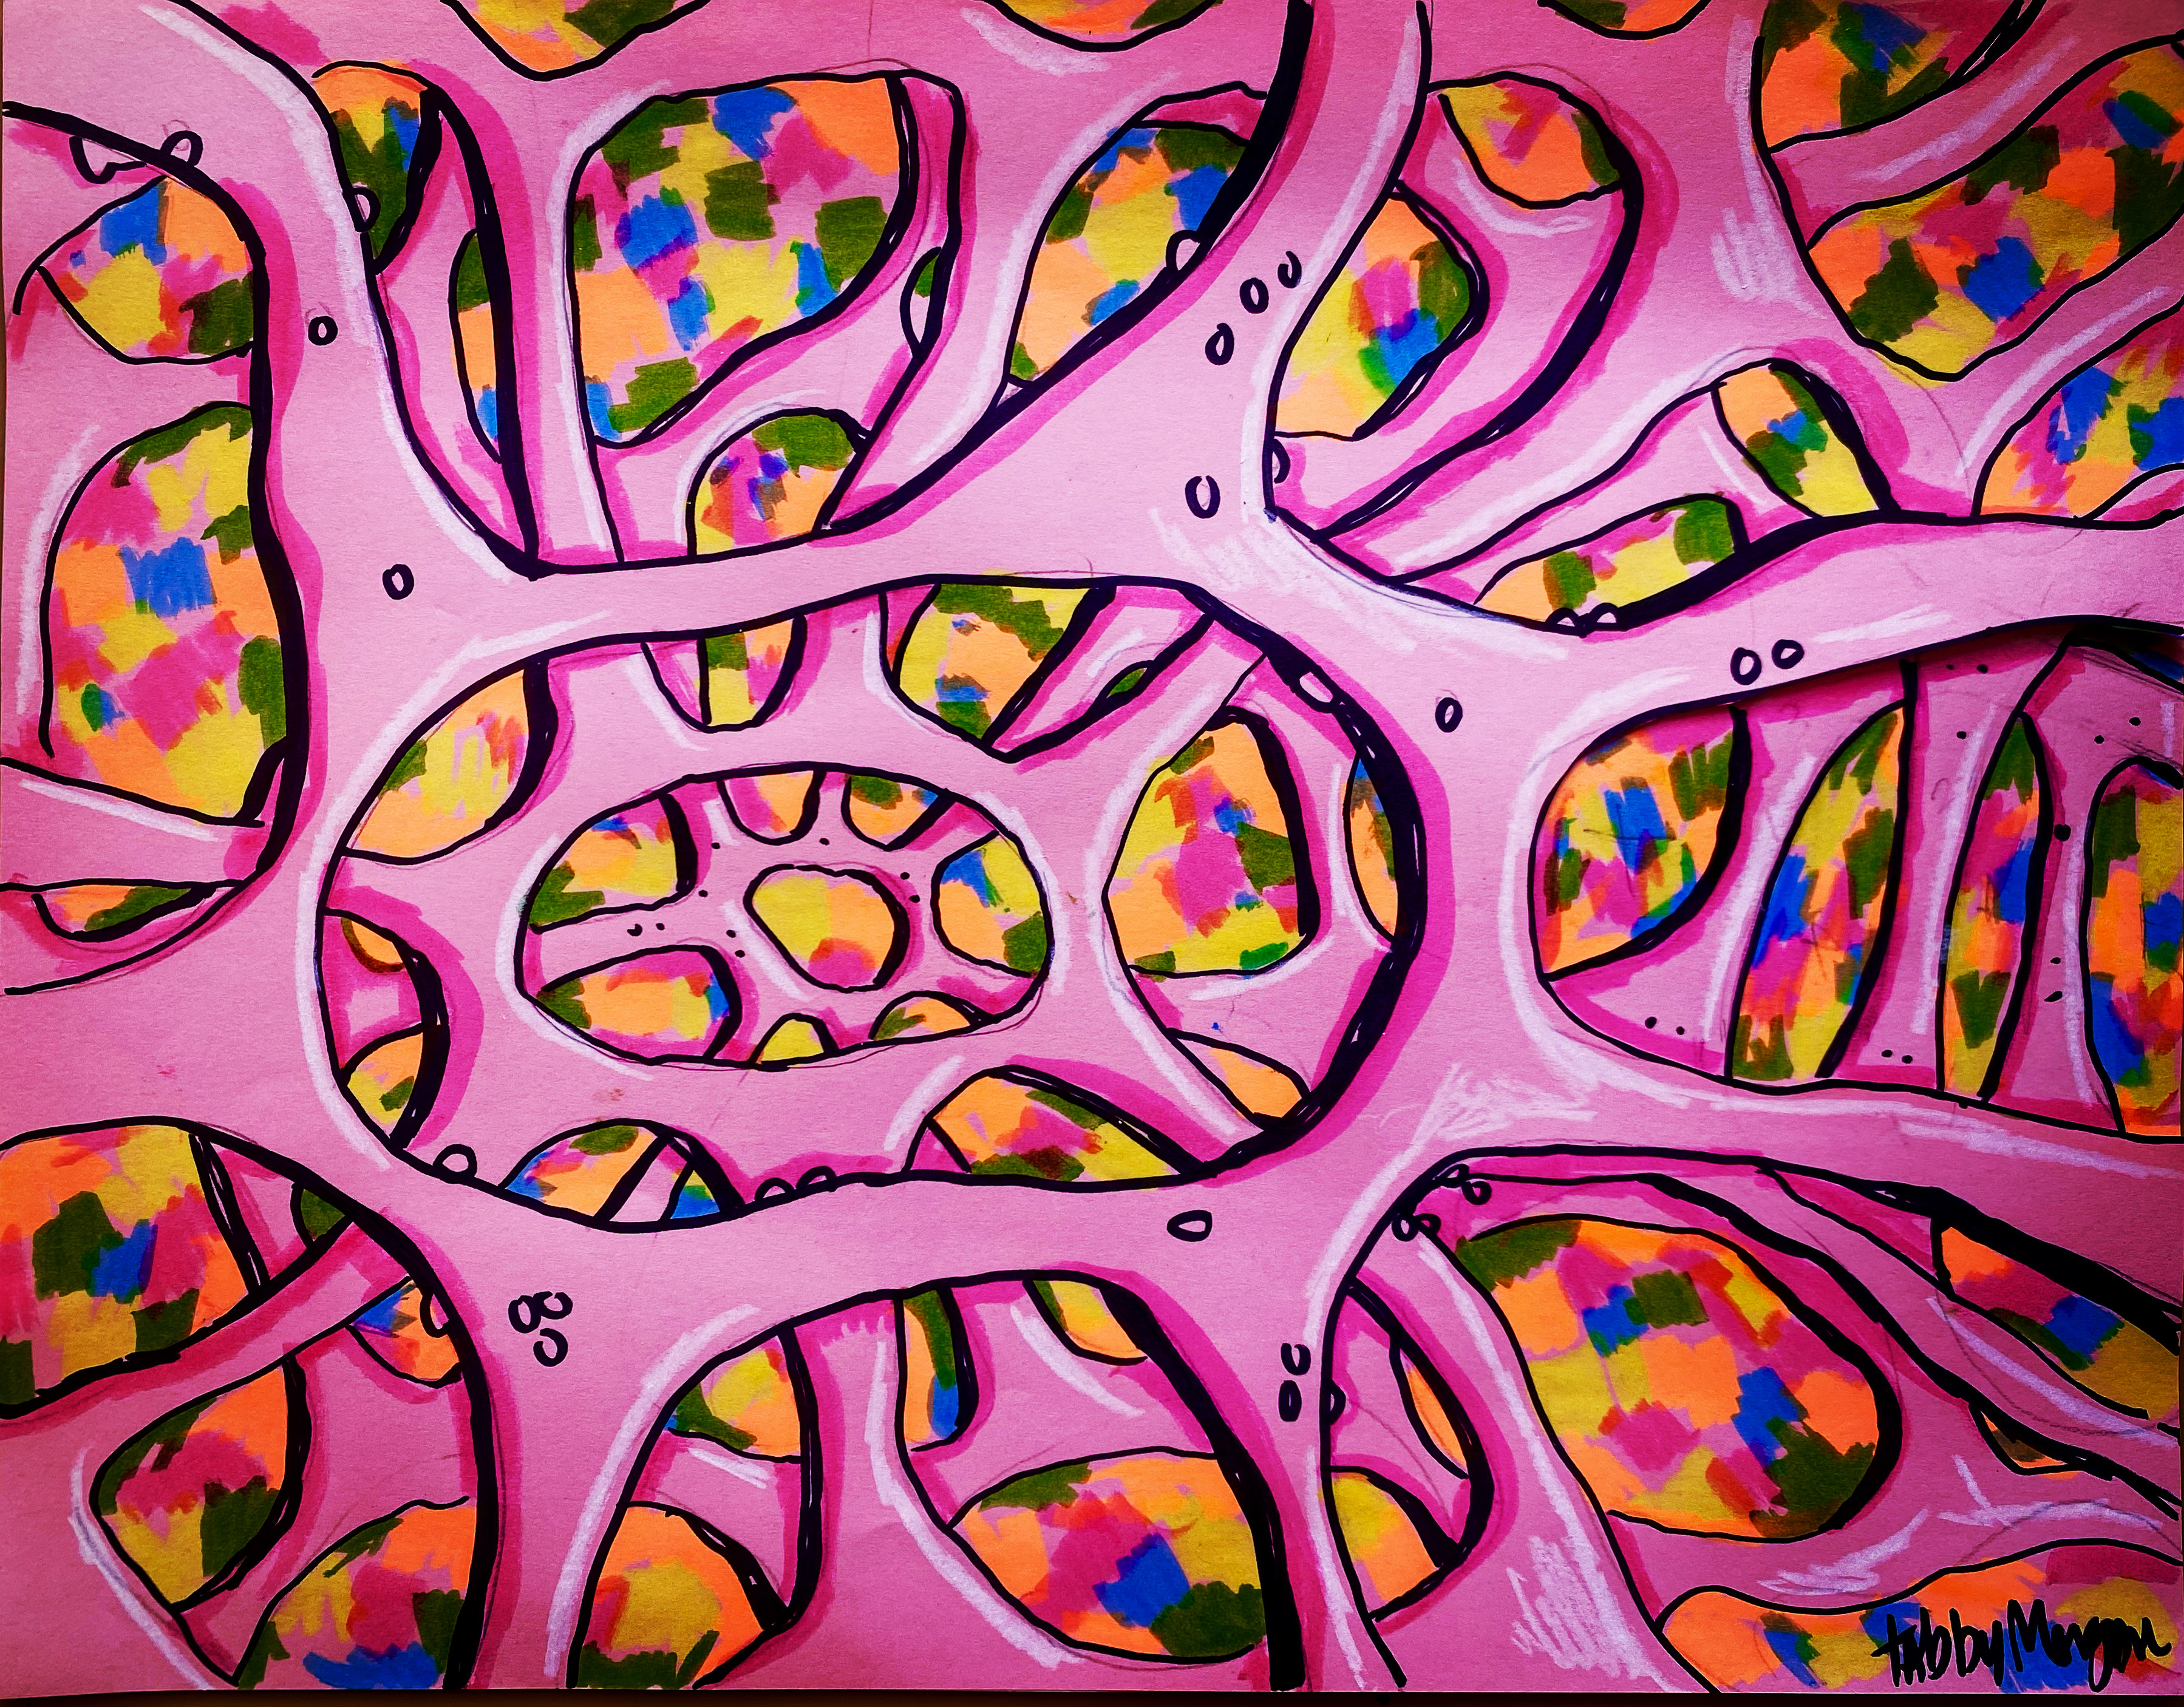
他是营造深度与空间的大师,其作品令人感觉既深远又开阔。
他运用重叠与明度来表现形体。
他还注重通过改变大小来呈现视觉透视。
视觉透视是一种使物体看起来离观者更近或更远的表现手法。
他的膜艺术灵感源自科学……
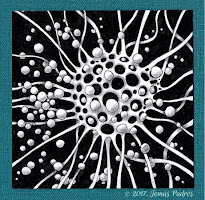
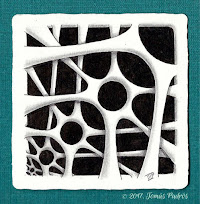
细胞膜:
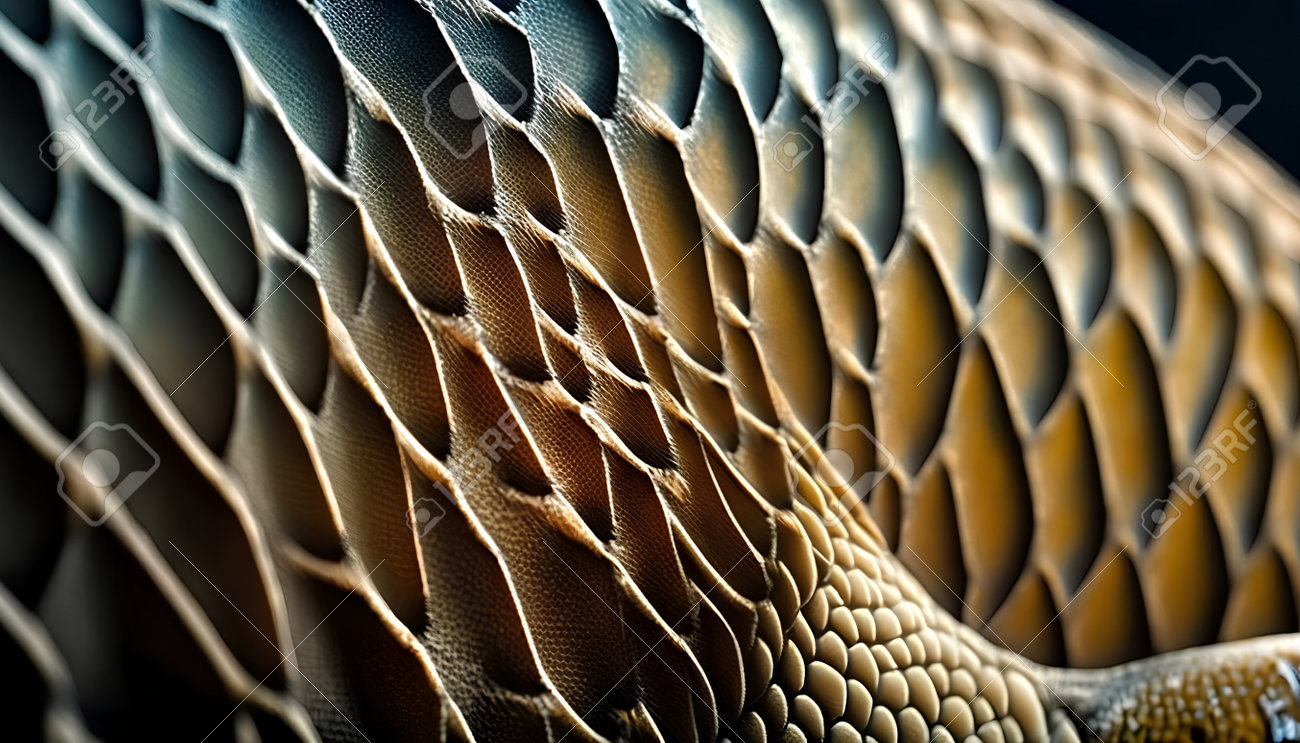
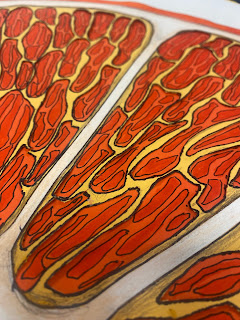
金色蛇皮纹理
蜗牛表皮的特写
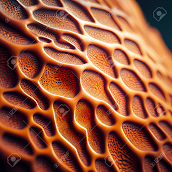
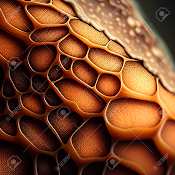
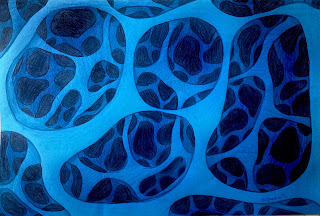
抽象细胞膜
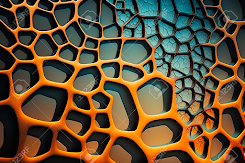
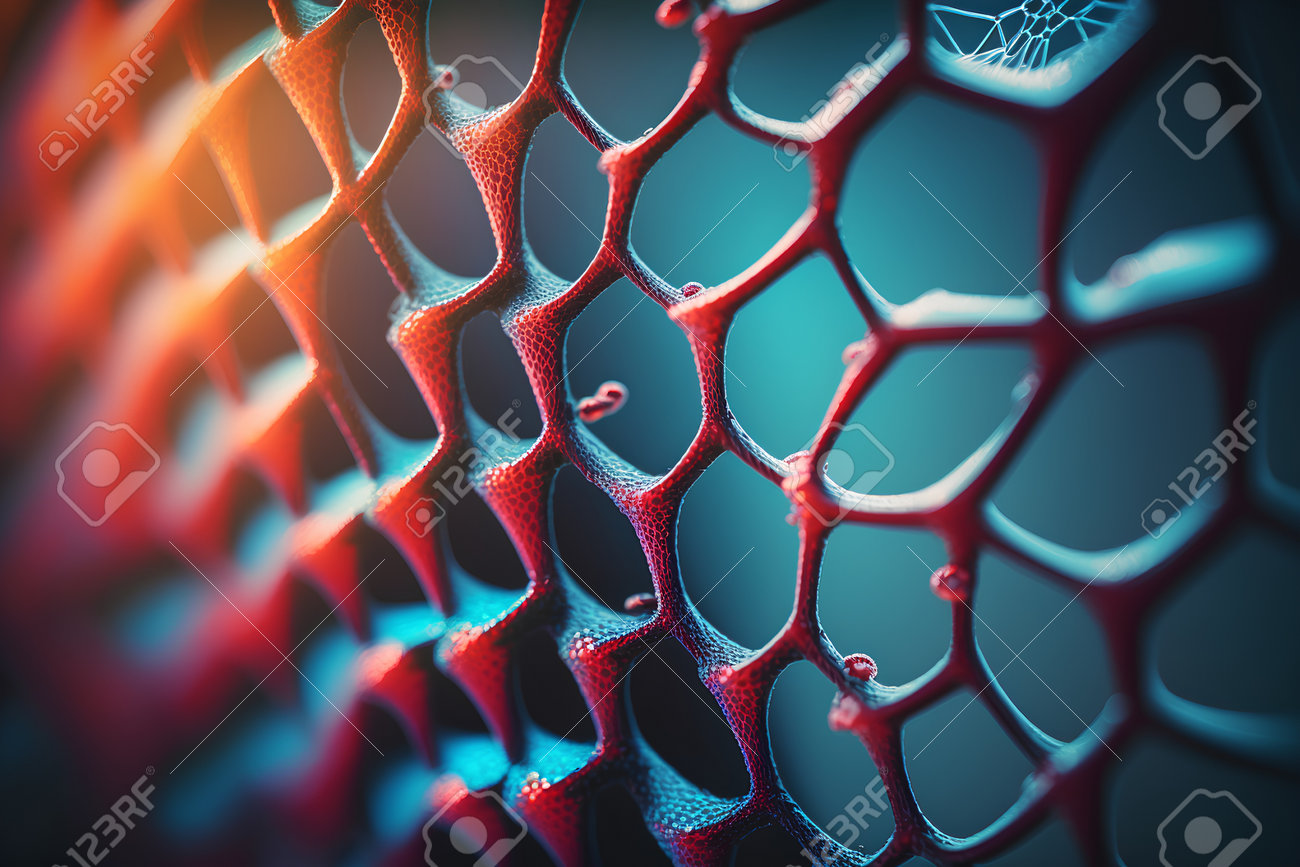
课堂笔记要点:
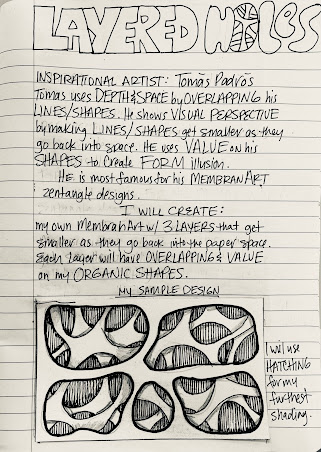
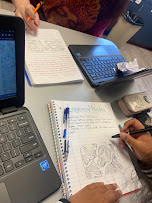
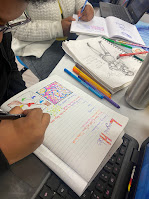
记笔记非常重要。
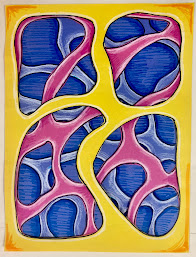
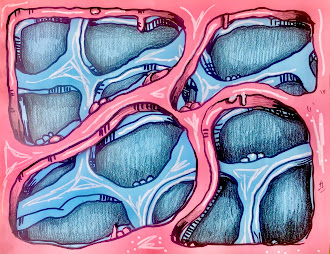
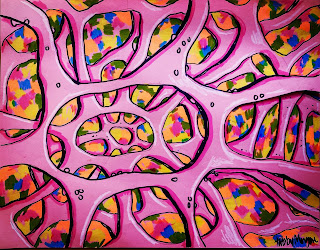
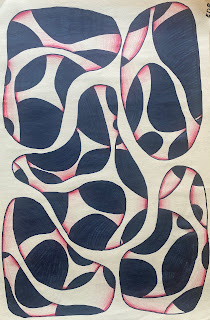
学生范例
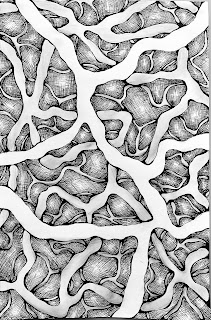
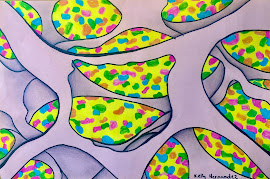
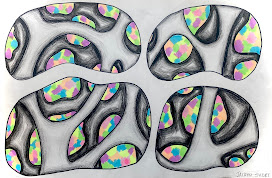
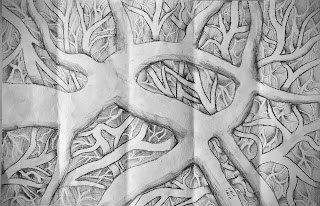
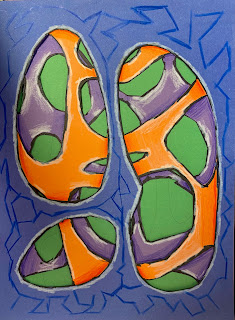
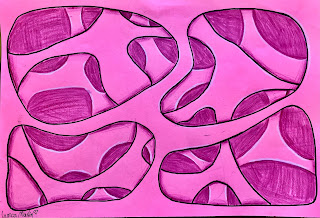
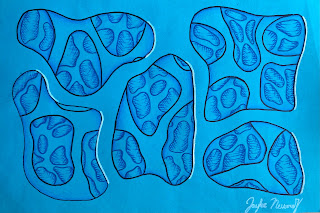
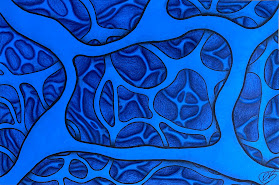
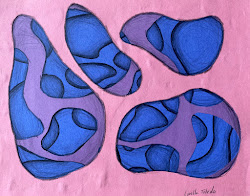
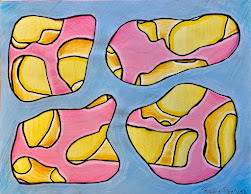
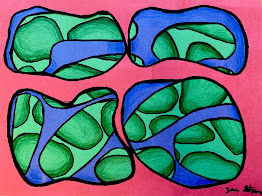
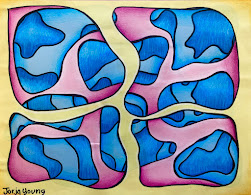
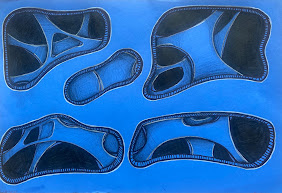
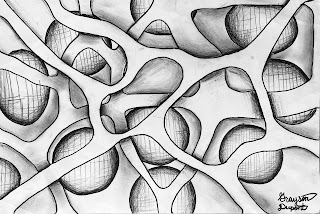
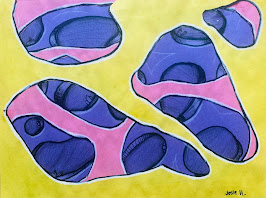
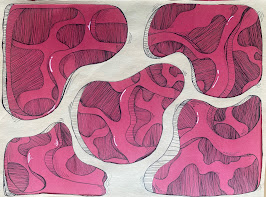
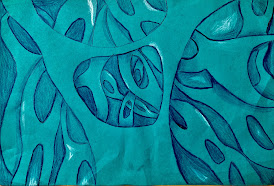
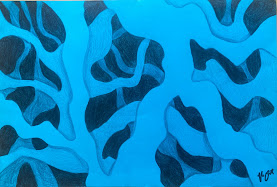
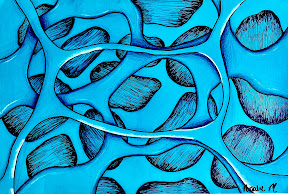
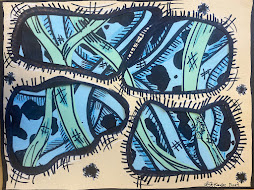
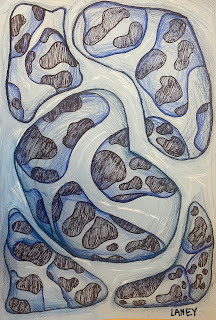
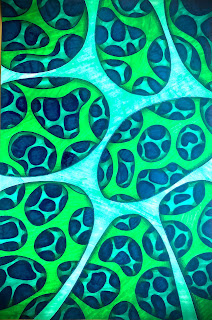
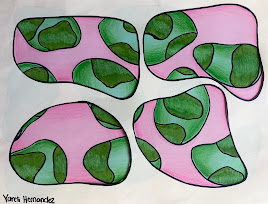
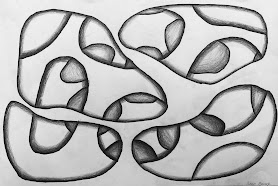
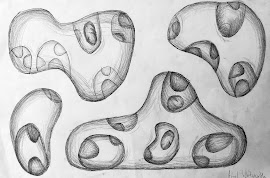
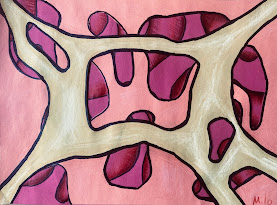
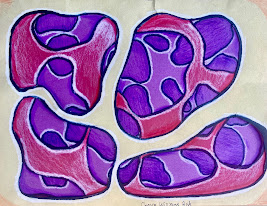
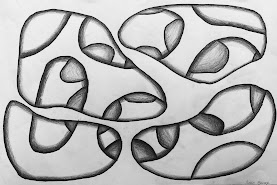
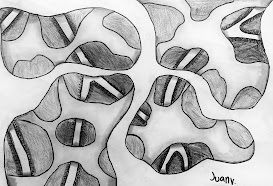
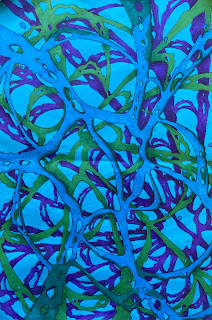
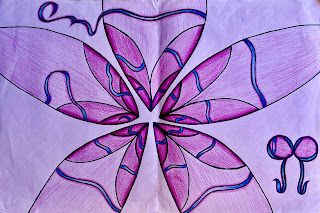
我们的作业
我们将聚焦于用一种构思,以两种方式呈现。
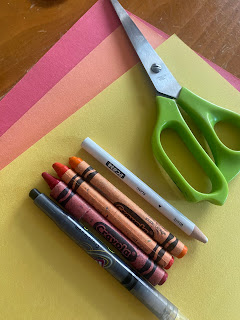
我们将用三层不同颜色的卡纸制作一幅膜艺术作品;
完成后,再用单色纸将其绘制出来。
用卡纸构建作品
核心概念:
空间/深度、正负空间、重叠、有机形状、
明度(高光/阴影)、色彩
什么是有机形状?
有机形状又称曲线形,由曲线、角度或二者组合构成。其主要特征是弯曲的外观与流畅平滑的轮廓线。它们看起来自然,常见于树叶、花朵、植物和动物之中。
步骤一:
取三张纸——
一张较浅、一张较深、一张中等明度。
注意:
为营造深度/空间,我们将遵循视觉透视法则:
越近的物体越大;
越远的物体越小。
*随着每一层向下叠加,孔洞将逐渐变小,数量则增多,
因为我们的视点正向纵深退去。
步骤二:
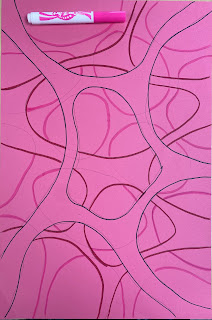
在每张纸上绘制孔洞……
顶层
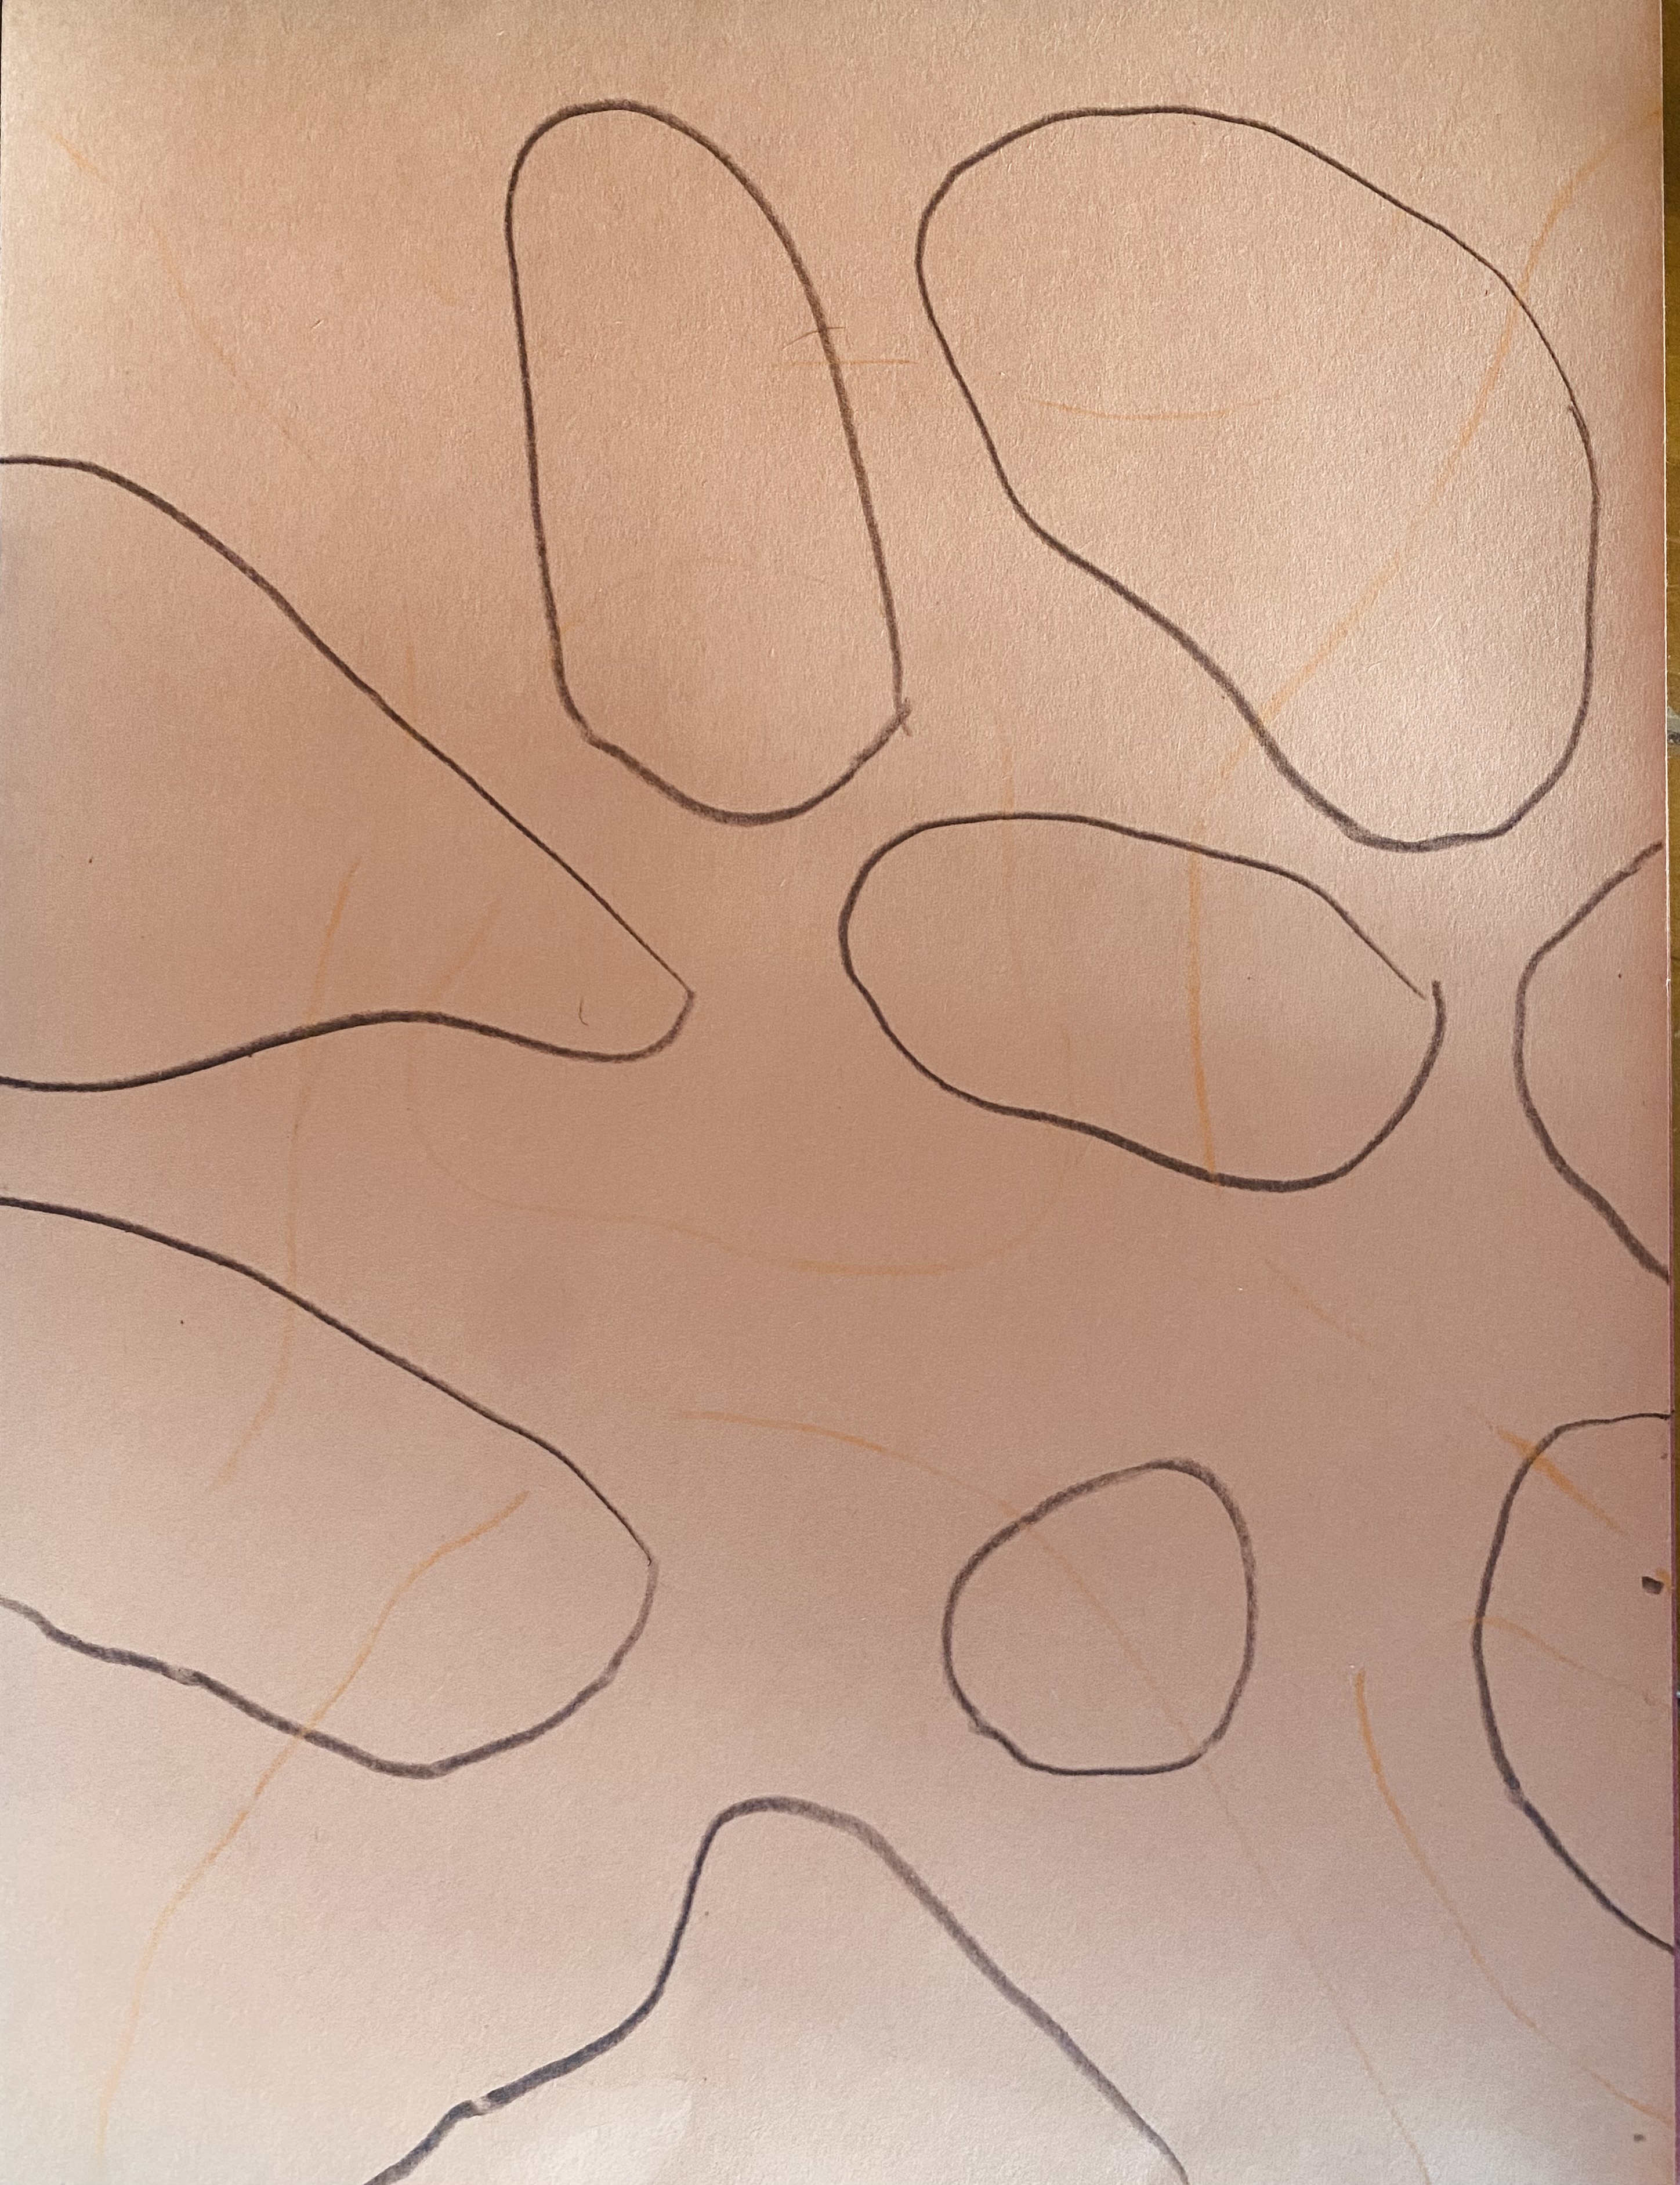
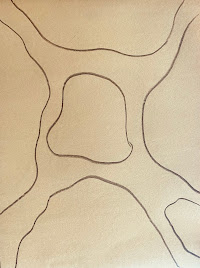
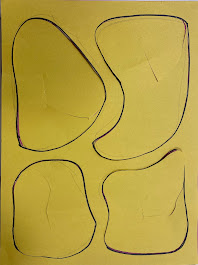
浅色纸——绘制4–6个大型有机形状。部分形状可延伸出纸边,但应避开四角。
中层
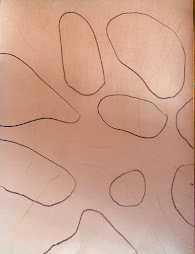
中等明度纸——绘制8–10个中型有机形状。部分形状可延伸出纸边,但应避开四角。
底层
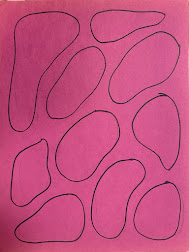
深色纸——绘制15–20个小有机形状
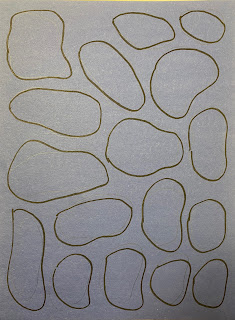
步骤三:
仅从顶层与中层纸上剪出孔洞。
*用剪刀尖端夹住并剪开,以便进入孔洞内部。
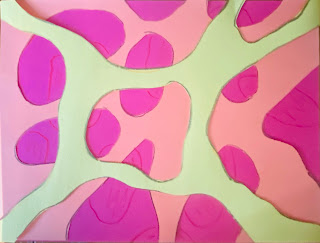
步骤四:底层
对底层进行高光与明暗处理。
建议在粘贴上层前完成此步,更为便捷。
你将使用白色、黑色,以及与纸张同色系的一种深色调。
孔洞外缘为白色/高光;
孔洞内圈为较深色(黑色),并向中心渐变为中等明度。
我使用了红色与黑色蜡笔,以及白色彩铅(Prisma Color)。
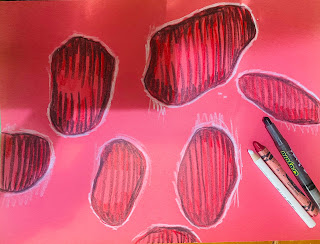
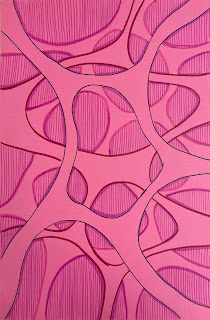
步骤五:中层
将中层粘贴至深色/底层之上。
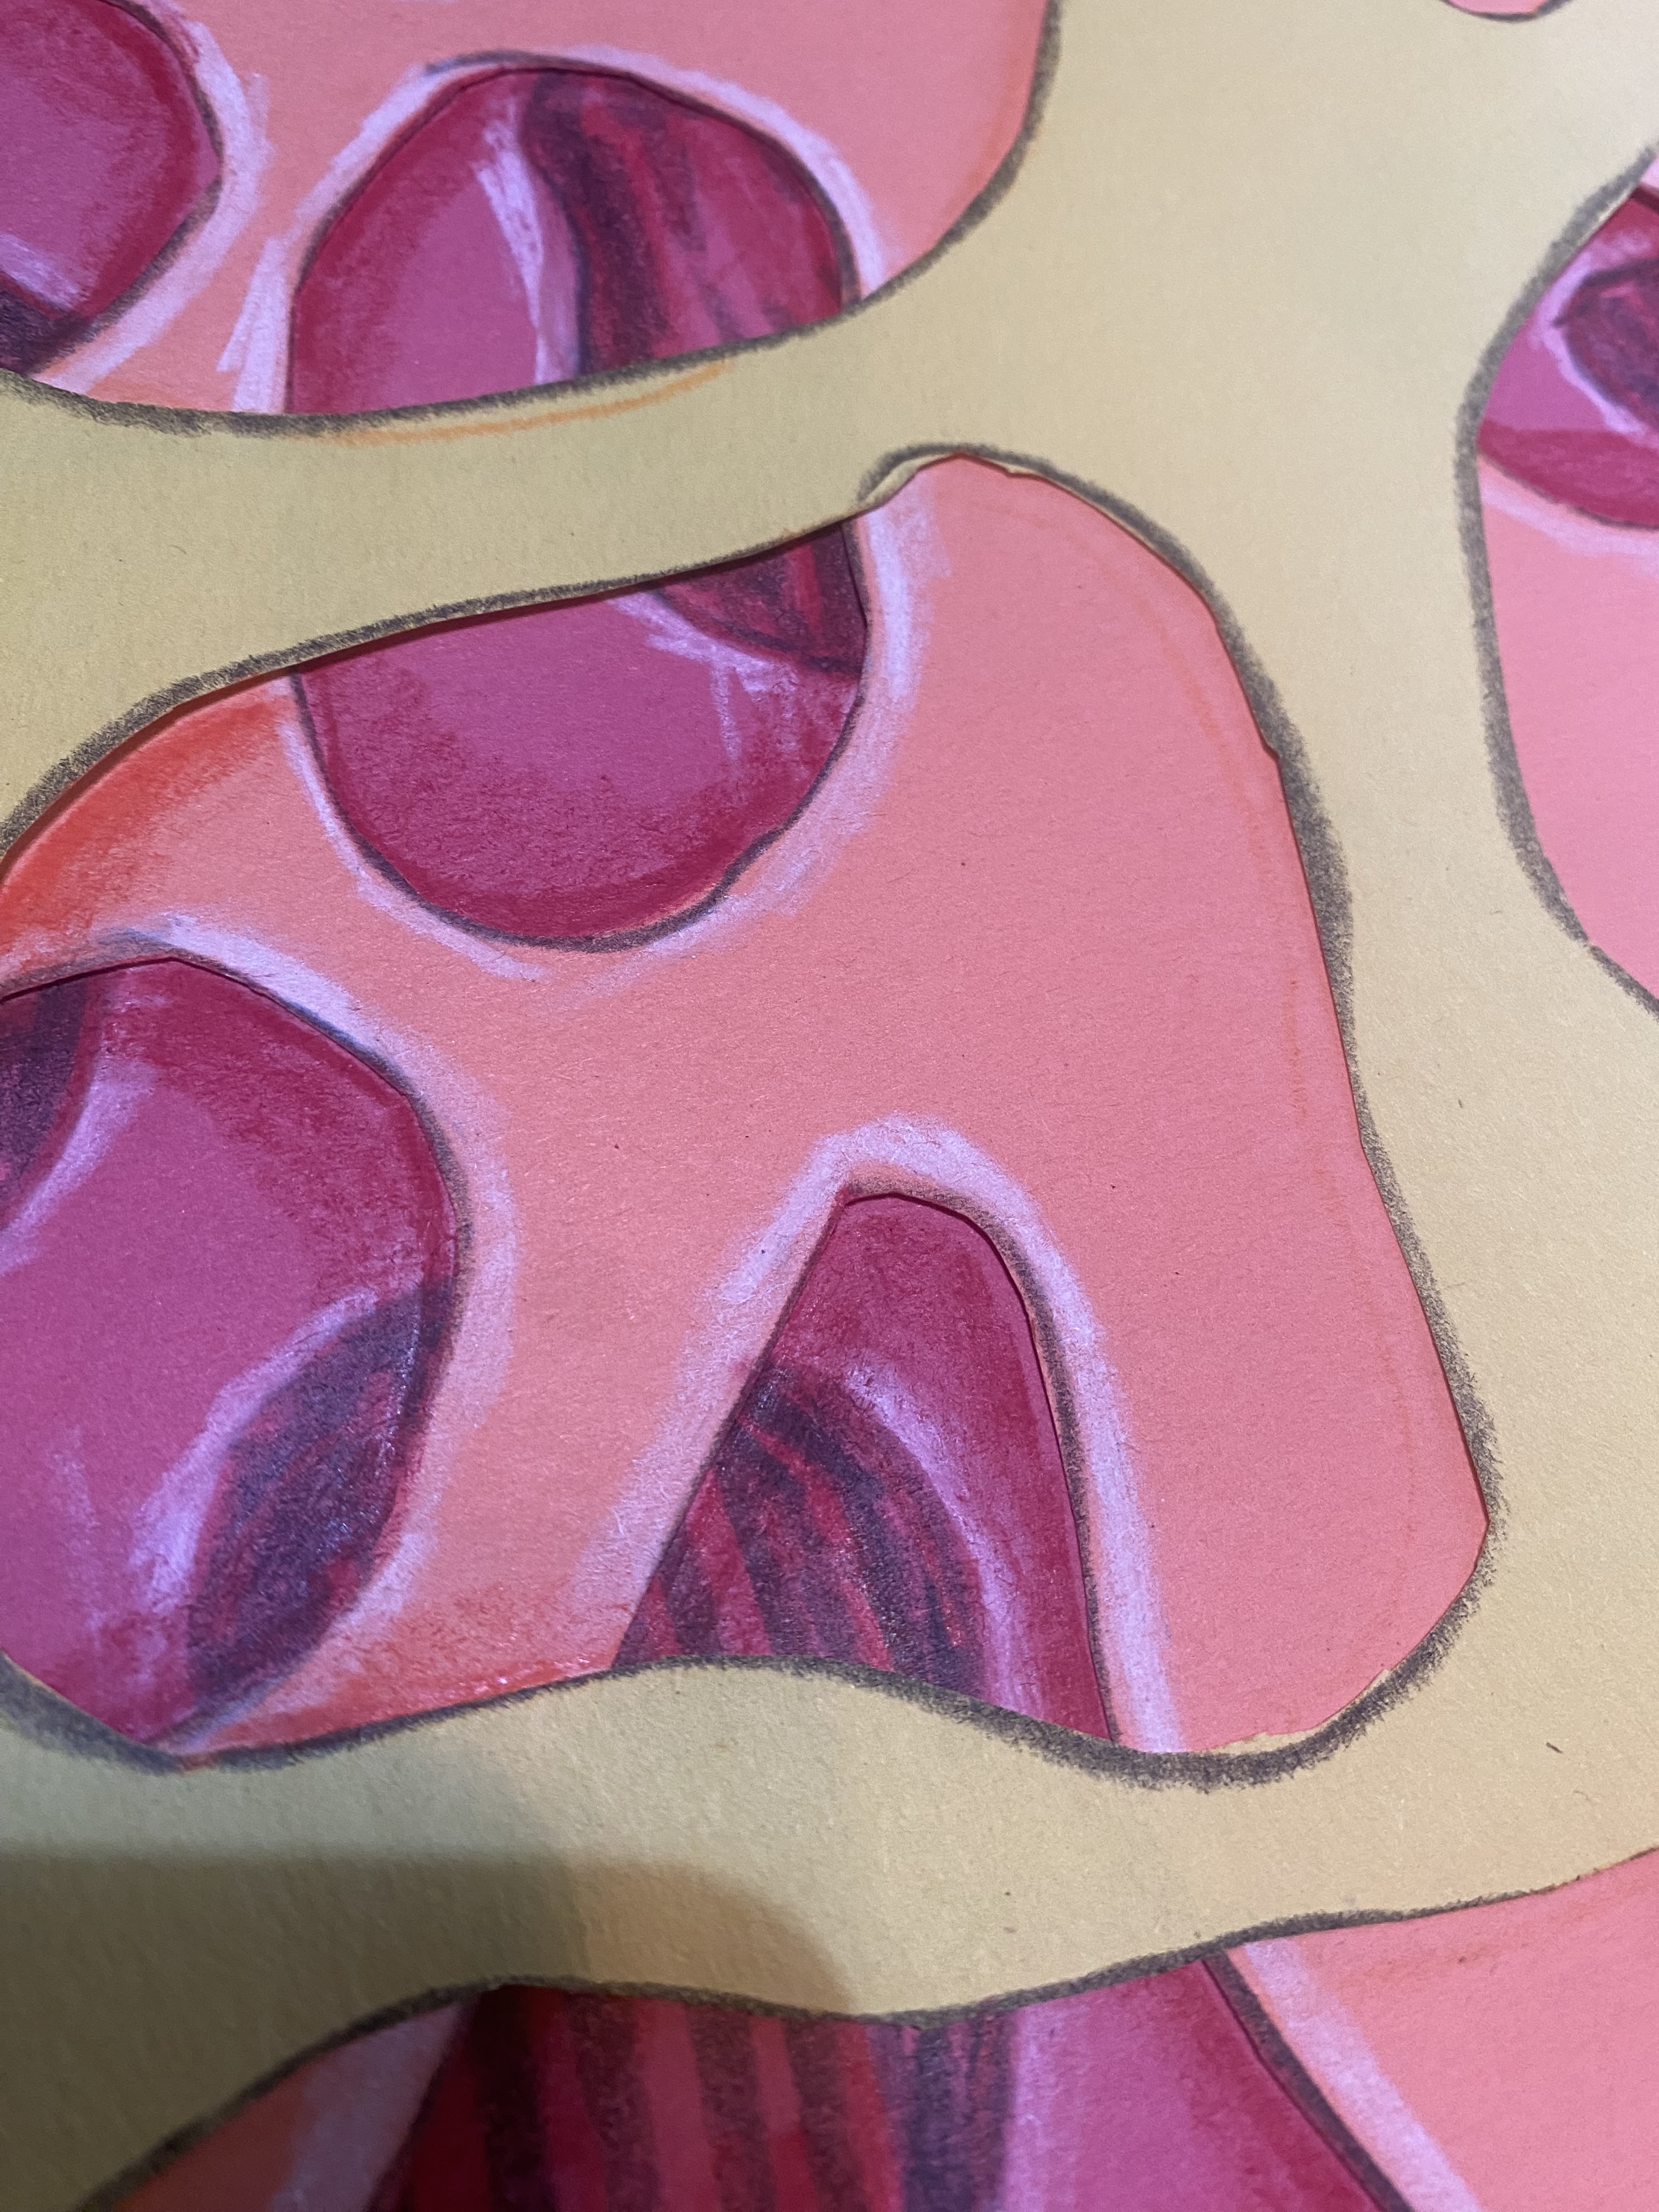
对中层孔洞边缘进行高光/提白处理。
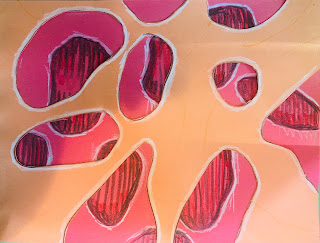
对孔洞内侧进行明暗/加深处理,
以在底层投下投影(落影)。
你将使用与中层纸张同色系的一种深色调。 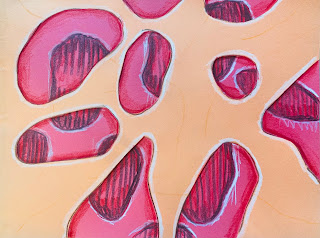
步骤四:顶层
将最浅色/顶层粘贴至中层之上。
对顶层孔洞边缘进行高光/提白处理。
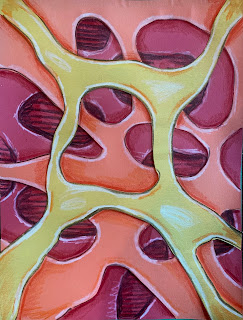
对孔洞内侧进行明暗/加深处理,
以在中层投下投影(落影)。
你将使用白色,以及与顶层纸张同色系的一种深色调。 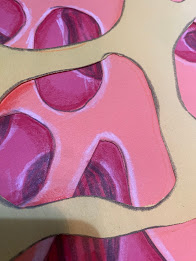
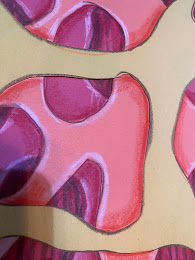
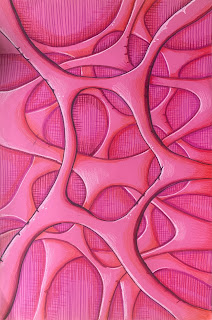
此处我先统一为所有图层添加白色高光,
再用更深的色调进行明暗处理。
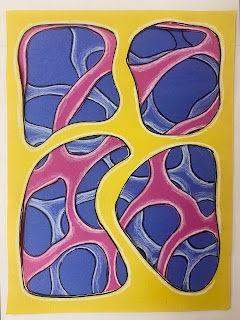
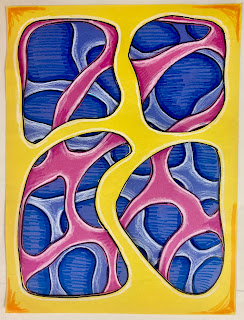
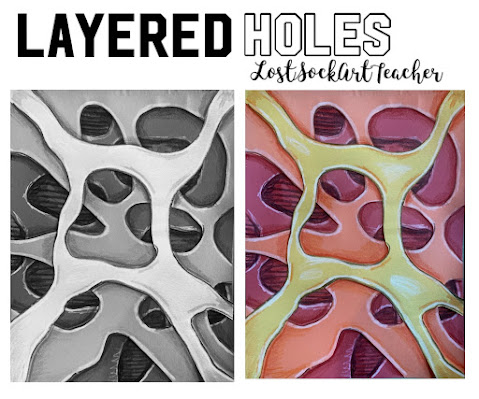
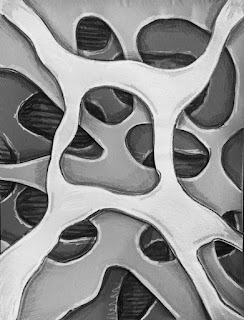
这是同一幅作品的灰度版本。
更容易看出明度随纵深推移而逐层变暗。
手绘呈现
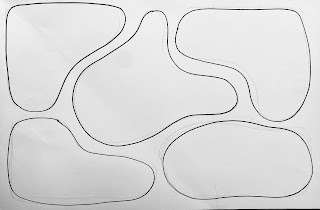
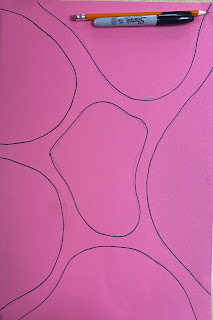
为顶层绘制有机形状,各形状之间留极小空隙。
共4–6个形状。
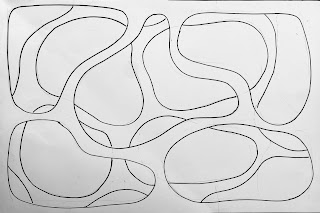
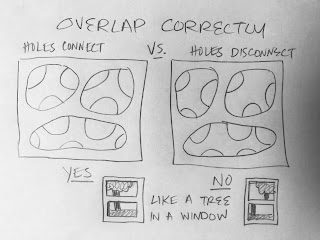
请注意……
将第一层想象成一扇带圆形窗框的窗户。
确保第二层的“视野”与其连通。
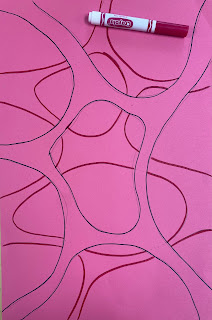
继续绘制第二层。
共8–10个形状。
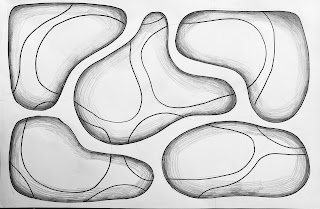
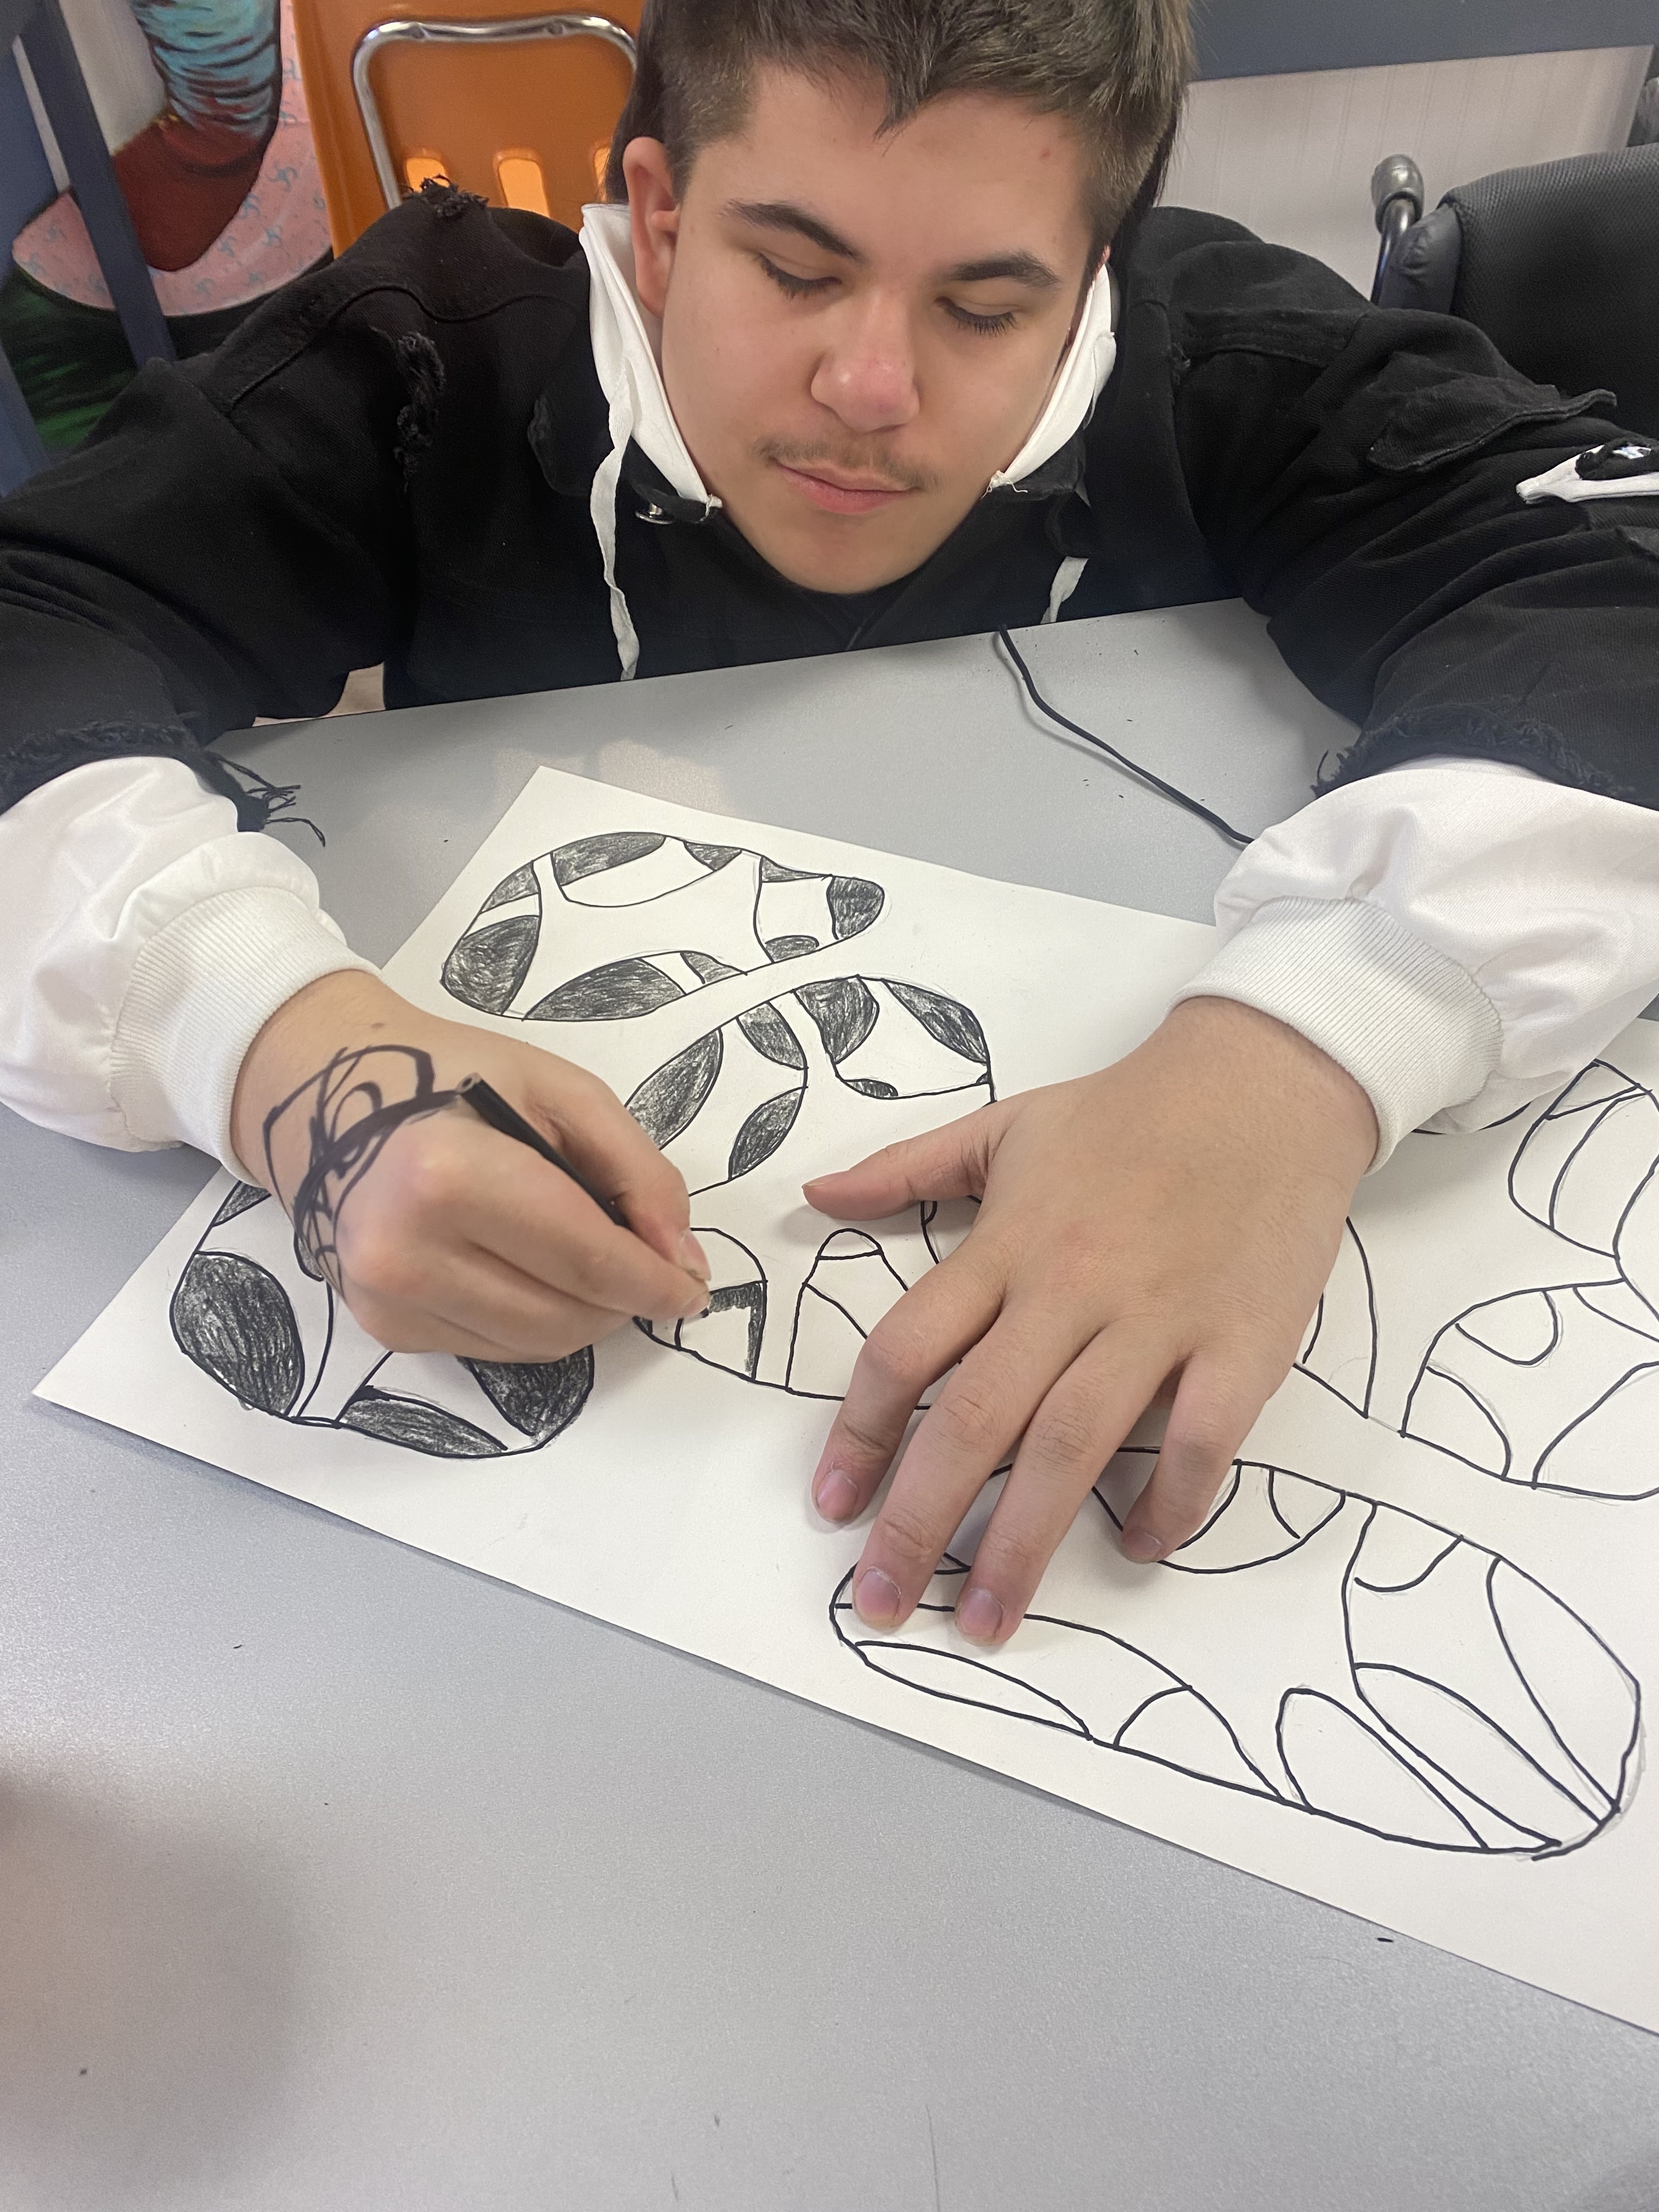
用铅笔为第一层所有内部区域整体铺调子(排线)。
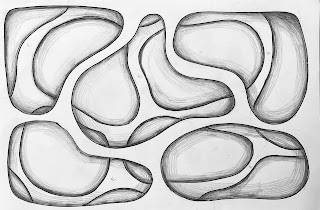
用铅笔为第二层所有内部区域整体铺调子(排线)。
并在所有重叠区域添加投影(落影)的铅笔调子。
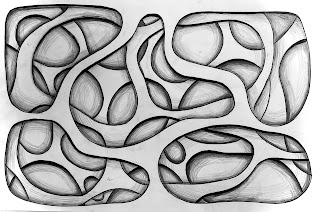
为全部负空间添加铅笔调子(排线)。
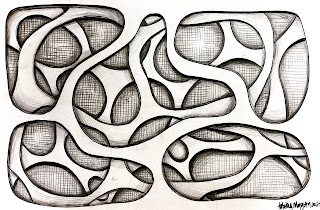
可选步骤:
我在完成前,用交叉排线等肌理化排线进一步加深背景空间。
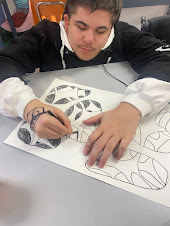
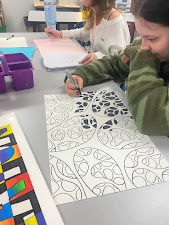
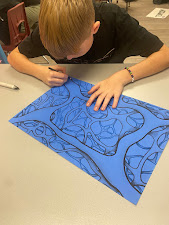
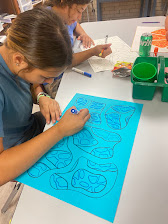
也可尝试在彩色纸上进行单色明暗处理。
其他受启发的艺术家
这一创意最初以手绘形式展开……
许多美术教师与学生都曾实践过该主题。
以下为其中几位……
初阶明暗处理
铅笔是最易上手的明暗工具:可擦除错误,并可用擦笔(卷纸笔)晕染过渡;
通过控制按压力度即可获得不同深浅。
其次较易掌握的是彩铅、蜡笔或粉笔。
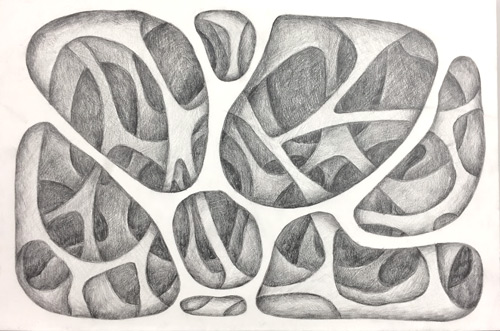
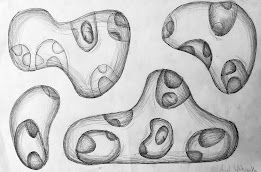
朱莉安娜·昆斯特勒(Julianna Kunstler),美术教育家
*她使用铅笔与擦笔营造明度变化。
进阶明暗处理
用钢笔或墨水表现明度,难度远高于铅笔。
必须借助排线、交叉排线、点描法或涂 scribble 法。
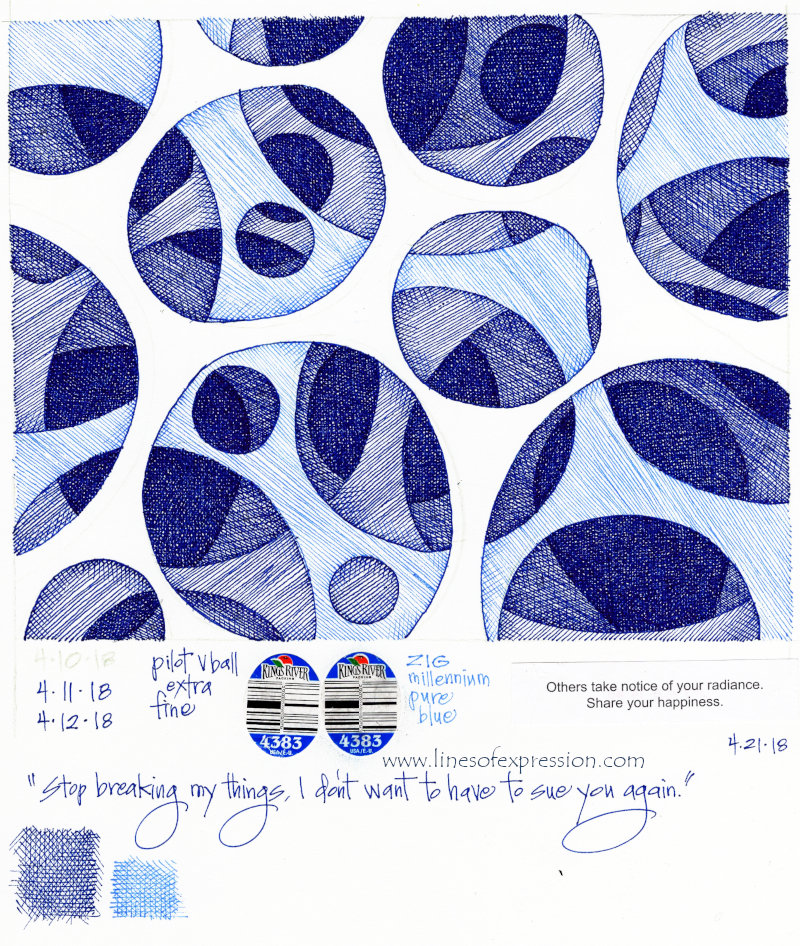
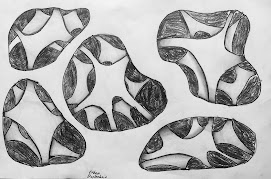
丽贝卡·约翰逊(Rebecca Johnson),来自「线条表达」(Lines of Expression)
*她运用钢笔与墨水的明暗技法营造明度变化。
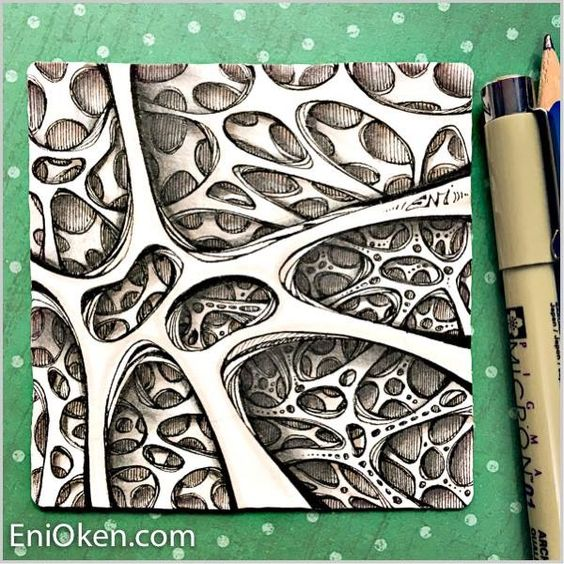
但还有更多范例在此处。
层叠孔洞的空间深度
Original: https://tabithaannthelostsock.blogspot.com/2023/09/layered-holes.html
Date: 2023-09-09
Tags: depth, holes, layer, membrane, overlapping, padros, space, tomas, zentangle
ARTIST FOCUS
Tomas Padros
Famous for his MembranArt Zentangle
He is a master at DEPTH and SPACE, making his art feel like it goes deep and wide.
He uses OVERLAPPING and VALUE to show FORM.
He also focuses on changing SIZE to show VISUAL PERSPECTIVE.
VISUAL PERSPECTIVE is a way to make things seem close or far from the viewer.
His MembranArt is inspired by Science...
CELL MEMBRANE:
Golden Snake Skin
Skin of a Snail close up
Abstact Cell Membrane
TAKE NOTES:
TAKING NOTES IS IMPORTANT.
Student Examples
OUR ASSIGNMENT
We will focus on using
ONE IDEA in TWO WAYS.
We will build a MembranArt out of 3 various colored ayers of Construction Paper.
After this, we will draw it on one color paper.
BUILDING with CONSTRUCTION PAPER
Key Ideas:
Space/Depth, Positive and Negative Space, Overlapping, Organic Shapes,
Value (highlight/shadow), Color
What are ORGANIC SHAPES-
Organic shapes are also called curvilinear that are made up of curves, angles or both. Their main characteristics are curving appearance and smooth flowing outline. They look natural and are mostly found in leaves, flowers, plants and animals.
STEP 1-
Get three pieces of paper.
1 lighter, 1 darker, 1 mid
NOTE-
To create DEPTH/SPACE, we will follow the rules of
OPTICAL PERSPECTIVE:
things CLOSER are BIGGER
things FARTHER are SMALLER.
*As each layer goes down, the holes will be smaller and there will be more of them
since our perspective gets further away.
STEP 2-
Draw holes on each paper....
TOP LAYER
Lighter color- make 4-6 large organic shapes. Some can go off edge of paper, but avoid corners.
MIDDLE LAYER
Mid color- make 8-10 medium size organic shape. Some can go off edge, but avoid corners.
BOTTOM LAYER
Darker color- make 15-20 small organic shapes
STEP 3-
Cut out holes from Top and Middle Layer only.
*pinch and snip with scissor to get inside the holes.
STEP 4- BOTTOM LAYER
Highlight and Shade the bottom layer.
It is easier to do this before you glue a layer on top.
You will use white, black, and a shade in the same family as the color of your paper.
The outside rim of the hole will be white/highlighted.
The inner area of the circle/hole will be darker (black) and fade to medium in the middle.
I used red & black crayon and white Prisma Color.
STEP 5- MIDDLE LAYER
Glue the middle layer to darker/bottom layer.
Highlight/Whiten around the rim of the holes on mid layer.
Shade/Darken around the inside of the hole
to create a cast shadow onto the bottom layer.
You will use a shade in the same family as the color of your paper.
STEP 4- TOP LAYER
Glue lightest/top layer onto the middle layer.
Highlight/Whiten around the rim of the holes on top layer.
Shade/Darken around the inside of the hole
to create a cast shadow onto the middle layer.
You will use white and a shade in the same family as the color of your paper.
Here I highlighted all layers with white first,
then did shading with darker shades.
This is the same piece as above, but transformed into greyscale.
It is easier to see how the values get darker as they go back.
DRAWING it OUT
Draw organic shapes for top later, leaving minimal gaps in between.
4-6 shapes
Be careful…
Think of the 1st layer as a window with round frames.
Keep View into 2nd layer connected.
Continue with layer 2.
8-10 shapes
Pencil Shade the entire inner area of the first layer.
Pencil Shade the entire inner area of the second layer.
Pencil shade any areas of overlapping with CAST SHADOWS.
Add pencil shading to all negative spaces.
OPTIONAL
I darkened the back space by adding more textural shading using hatching before done.
Or try it on colored paper using monochromatic shading.
OTHER Artists INSPIRED
This idea originally was done as drawings...
Many art Teachers/Students have done this idea.
Here are a few...
BEGINNER SHADING
Using pencil is the easiest way to shade. You can erase mistakes and blend with a stump.
You use pressure to make darker areas.
Next easiest is colored pencil, crayon or chalk is easiest to shade.
Julianna Kunstler, Art Educator
*They use pencil and blending stumps to create value
ADVANCED SHADING
Using pen or ink to do value is way more challenging than pencil.
You must use hatching, crosshatching, stippling or scribbling.
Rebecca Johnson from Lines of Expression
*She uses pen and ink shading techniques to create value
But there are WAY MORE HERE.