对称倒影防染画
原文链接:https://tabithaannthelostsock.blogspot.com/2013/02/symmetrical-reflection-resist.html
日期: 2013-02-28
标签: 美术教案、海滩、蜡笔防染、湖泊、初中、自然、池塘、倒影、对称、水
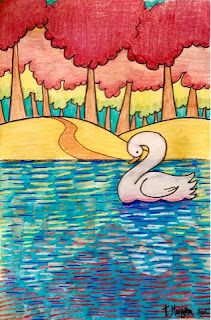
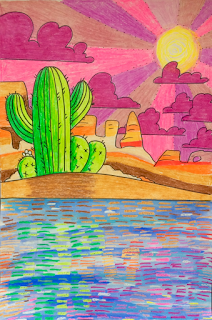
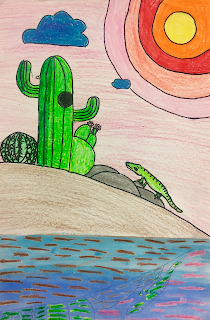
这项作业在我所教的六年级学生中久经考验,效果稳定。
我称之为“对称倒影防染画”。
-
将一张厚纸沿中线对折,折痕即为“水面线”。
-
学生构思一个漂浮于水面之上的物体,或位于水边的景物。
注意:构图中不需画出水面本身,只需画出水面之上的部分(如天空、陆地、风景等)。
该场景可设在海滩、河边或池塘边。
-
在纸张上半部分绘制构图,使构图底部恰好落在折痕线上。
-
用记号笔勾勒构图轮廓。
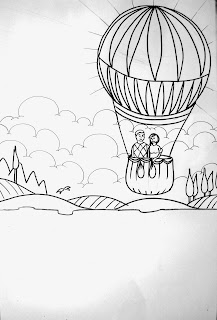
- 保持纸张对折状态,将绘有构图的一侧贴在窗玻璃或透写台上,用铅笔轻轻在背面描出构图。此即“水中倒影”。
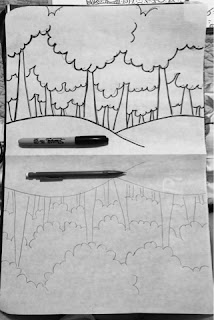
-
展开纸张。
-
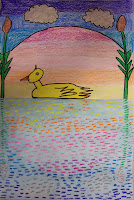
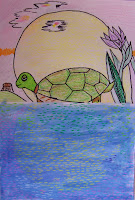
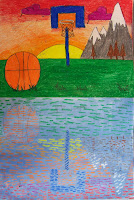
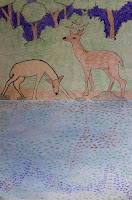
使用不溶于水的蜡笔,在原构图(上半部分)的记号笔线稿内涂色。
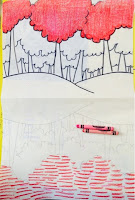
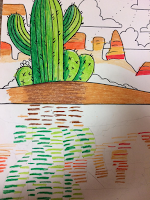
- 每完成上半部分某区域的涂色后,须用同色蜡笔,在下半部分对应的“倒影”图像上用力画出密集、粗重的水平线条。线条之间需留出空隙,使纸面白底显露。若原构图中某些倒影部分本为白色,则也需在对应倒影区域画上水平线(否则下一步水彩会将其染成蓝色而非留白)。
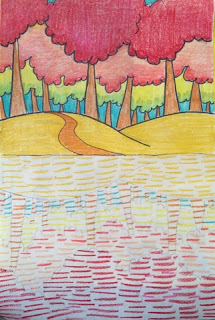
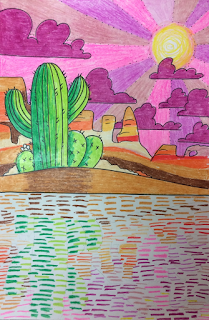
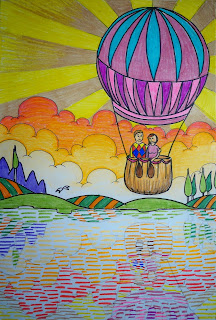
- 在画面下半部分(即倒影区域)直接用蓝色水彩颜料作画。蜡质线条将阻隔水彩渗透,从而保留理想中的倒影效果。
待画面完全干燥后,作品即告完成!耶!!!
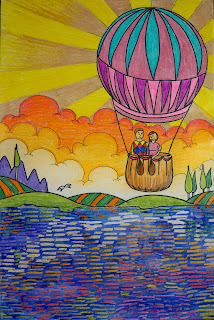
以上步骤出自塔比莎·摩根(Tabitha Morgan)——美术总监
托马斯老师所带四年级班级
2017年
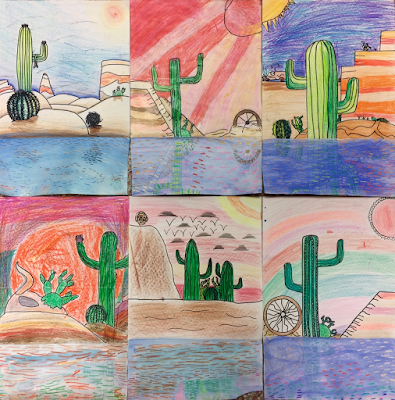
托马斯老师所带四年级班级
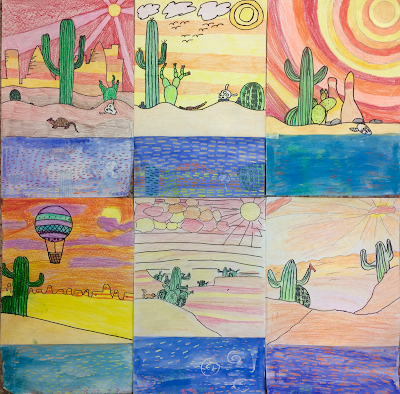
亚历山德拉、达妮埃拉、无名、
圣地亚哥、索菲与贾斯琳
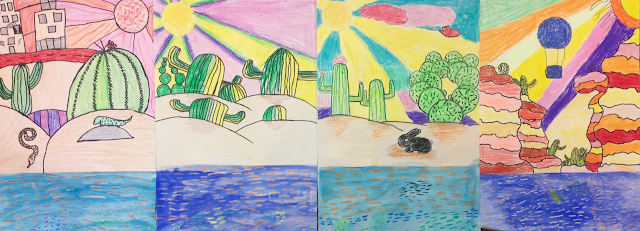
四年级
2017年
四年级
乔西琳——
特伦特-克劳斯
瓦莱里-克劳斯
无名-克劳斯
海莉-梅莱斯基
塞莱娜-戴维森
瑞娅-戴维森
2017年
艾哈迈德老师所带四年级班级
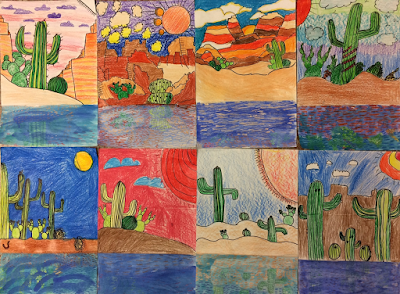
海文、杰克、马丁、伊莎贝尔、
雷吉、米、杰琳与泽维尔。
2017年
六年级
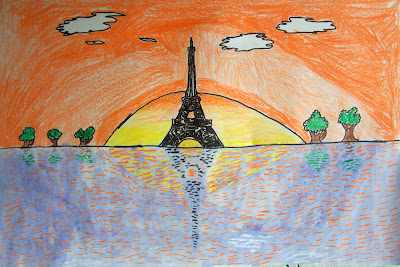
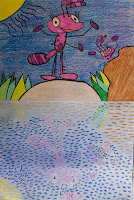
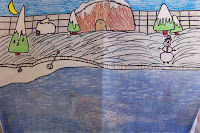
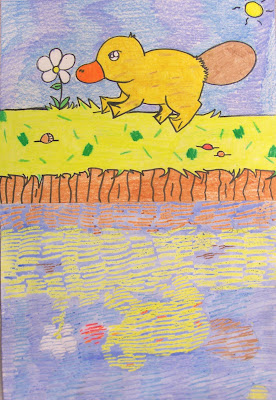
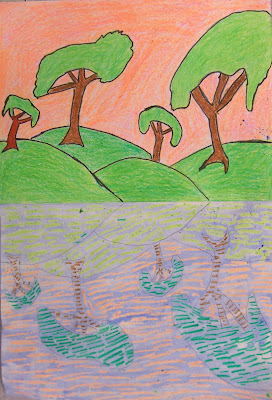
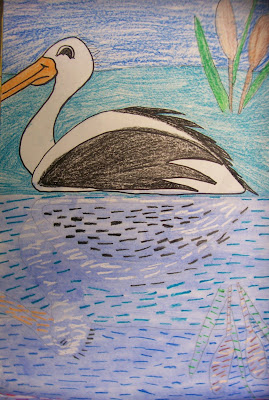
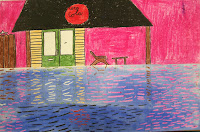
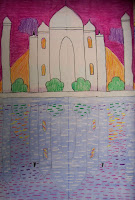
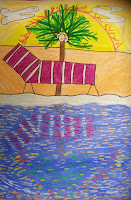
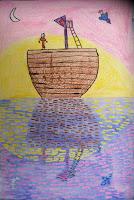
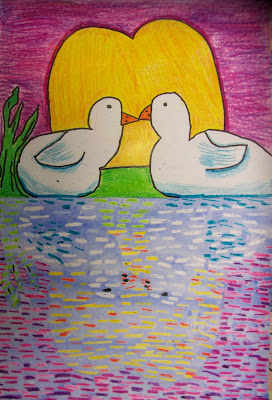
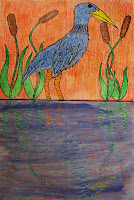
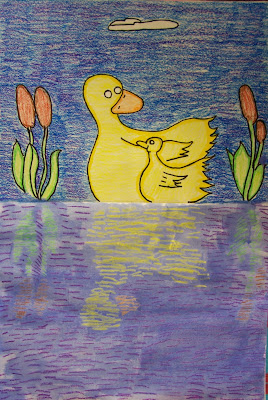
点击此处观看该技法教学视频……
https://www.youtube.com/watch?v=Rh3_hhm0j7Q
替代性计算机机房课程
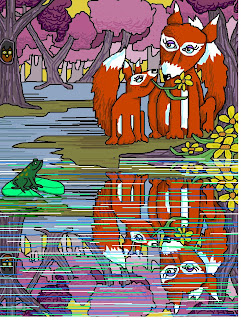
在绘图软件中设计一幅图画;复制图像;水平翻转;将翻转后的图像与原图底部相连;再于下半部分(即倒影区域)绘制蓝色与白色相间的水平线条,模拟水波纹效果。
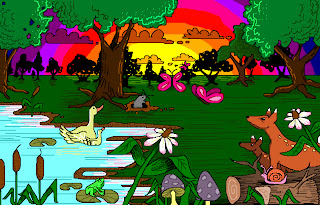
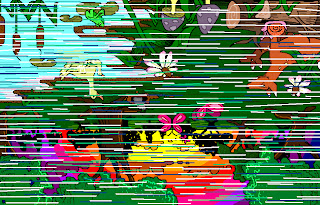
另请访问以下链接,了解更进阶的倒影防染技法课程……
更适合高中阶段教学……
http://tabithaannthelostsock.blogspot.com/2013/01/water-reflection-crayon-resist.html
对称倒影防染画
Original: https://tabithaannthelostsock.blogspot.com/2013/02/symmetrical-reflection-resist.html
Date: 2013-02-28
Tags: art lesson plan, beach, crayon resist, lake, middle school, nature, pond, reflection, symmetry, water
This assignment is one that is tried and true for my with my 6th graders.
I call it Symmetrical Reflection Resist.
-
Fold a heavy weight white paper in half to create a water line.
-
Students prepare a design of something floating on the water or something by the water.
Note: the water should not be in the plan, just what is above the water (sky, land, landscape)
This design can be on the beach, by the river, or by a pond.
-
Draw the design on the top half of the paper, letting the bottom of the design to sit on the fold line.
-
Out line design in sharpie.
- While paper is folded, hold design side at window or tracing table and trace the design onto the reverse side lightly with a pencil. This will be the water reflection.
-
Open paper.
-
Using non-washable crayons, color parts of design on the original sharpie drawing.
- After coloring each section at top original side, use the same color crayon to draw hard strong horizontal lines on the same image on the reverse "water reflection"side.Leave some spaces inbetween the lines so that paper shows through. YOu will also have to do this for any part of the reflection that was white on the original design (or it will turn blue instead of white on the next step).
- Use blue watercolor on the bottom half of the painting directly on top of crayon. The wax will resist the watercolor and leave the reflection as desired.
YOU ARE DONE WHEN DRY! yeahhhhh!
Above steps are art of Tabitha Morgan- Art Director
Mrs. Thomas's 4th grade
2017
Mrs. Thomas's 4th grade
Alexandra, Daniela, NoName,
Santiago, Sophie & Jaslene
4th grade
2017
4th grade
Jocelyn-
Trent- Clouse
Valery- clouse
NoName- Clouse
Hailey- Meleski
Selena- Davidson
Ria- Davidson
2017
Mrs. Ahmed's 4th grade
Heaven, Jake, Martin, Isabel,
Reggie, My, Jaelynn & Xavier.
2017
6th grade
Watch video on this technique here...
https://www.youtube.com/watch?v=Rh3_hhm0j7Q
Alternative Computer Lab Lesson
Design a picture in paint, copy image, reverse horizontally, connect to bottom, then draw blue and white horizontal lines on the bottom half to look like water ripples.
Also, visit here for a more advanced lesson on reflection resists...
better for a high school lesson...
http://tabithaannthelostsock.blogspot.com/2013/01/water-reflection-crayon-resist.html


