视频教程:夜景风景
以下是一则由查德·布朗为其YouTube频道theartproject.com制作的实用视频教程。诚邀您访问该频道,观看本视频及他视频中呈现的其他精彩美术项目。
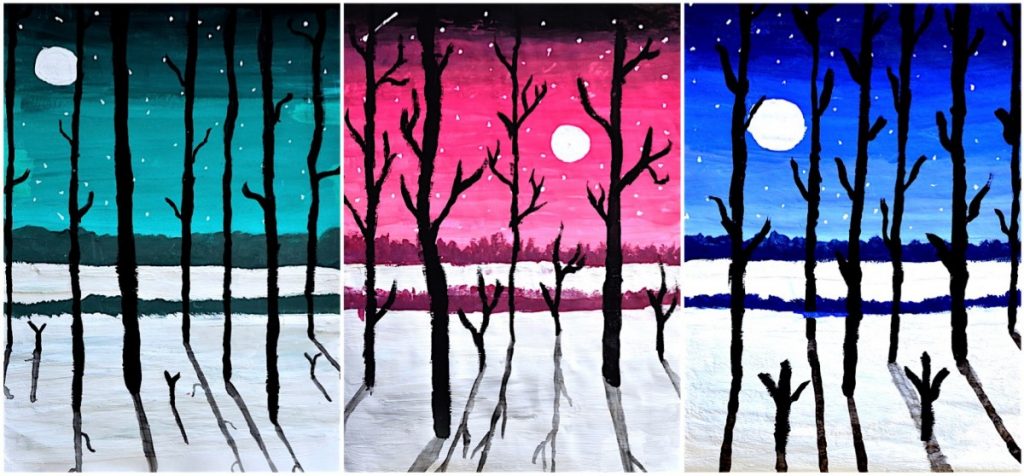
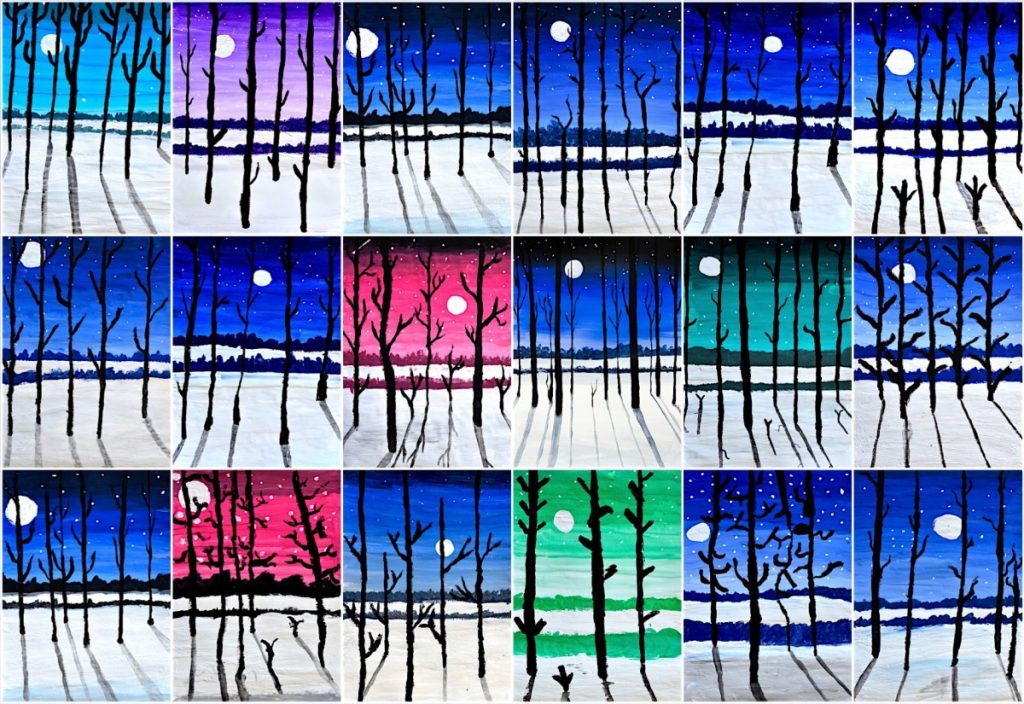
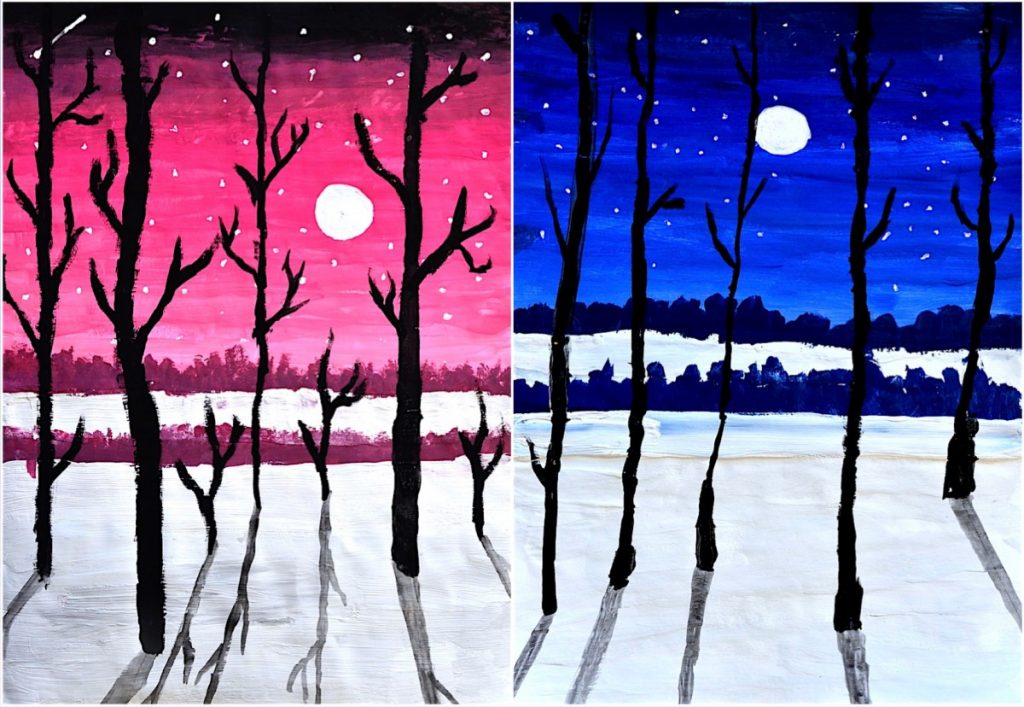
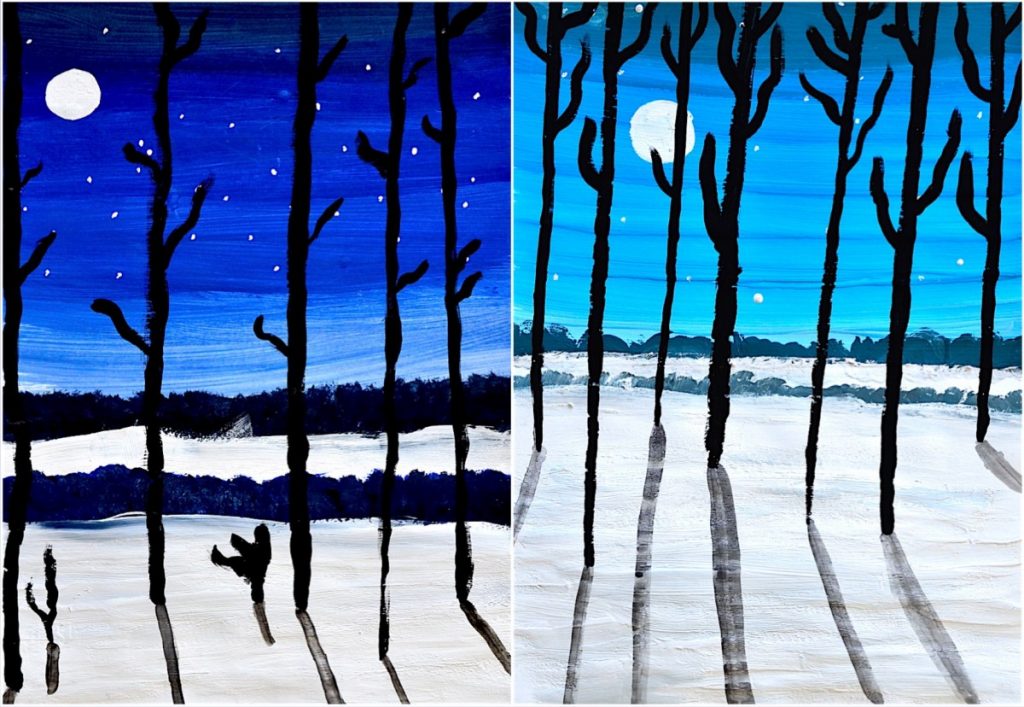
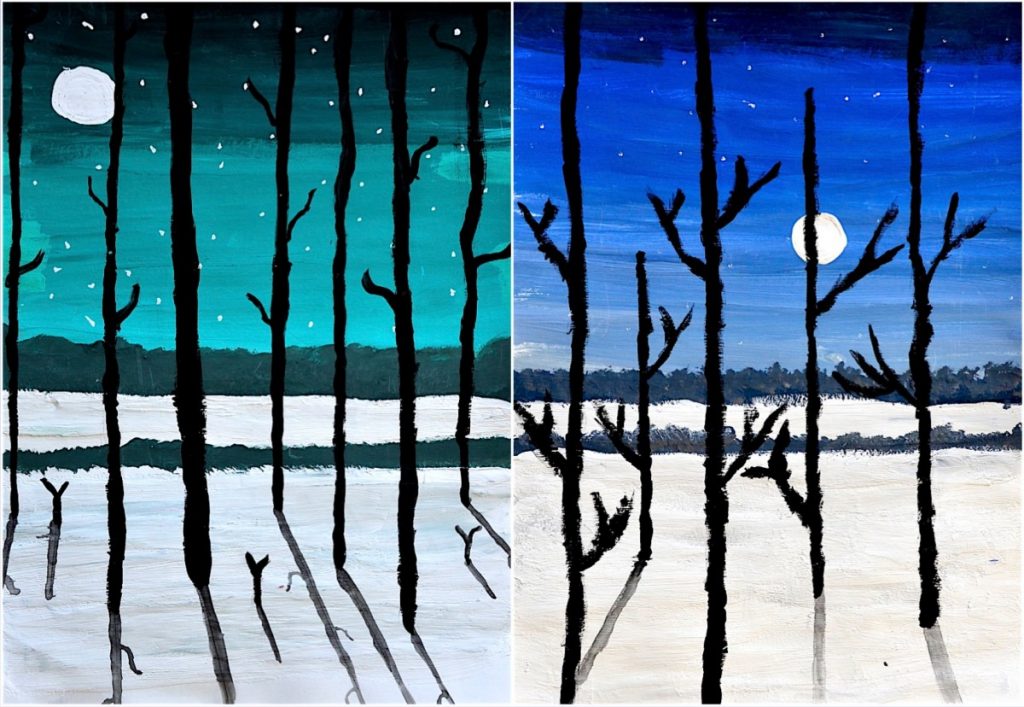
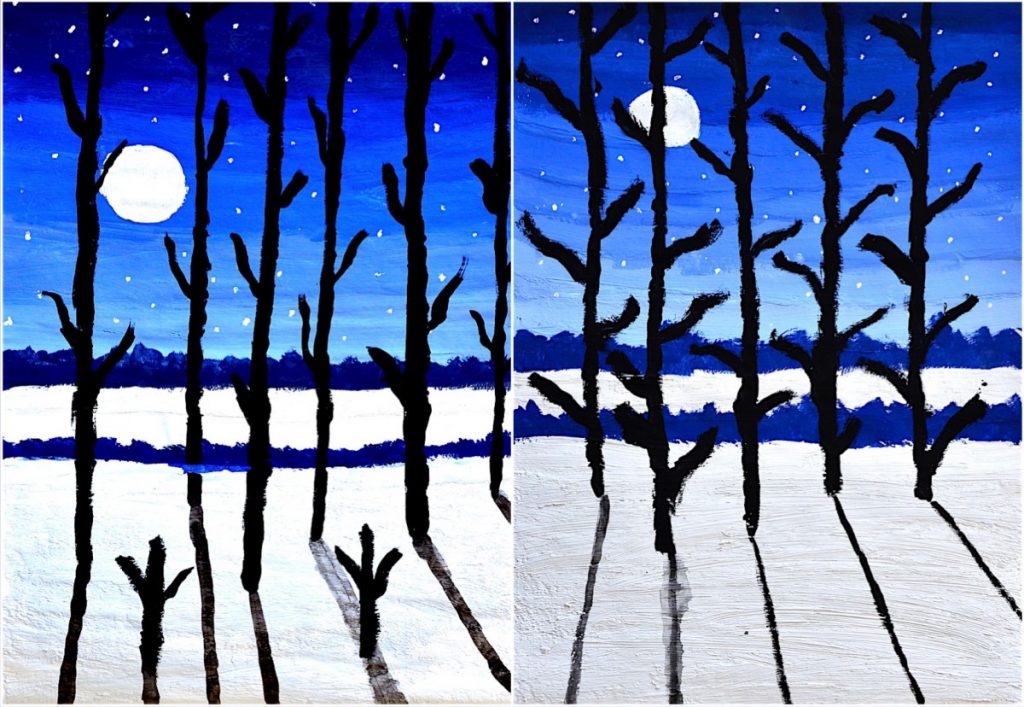
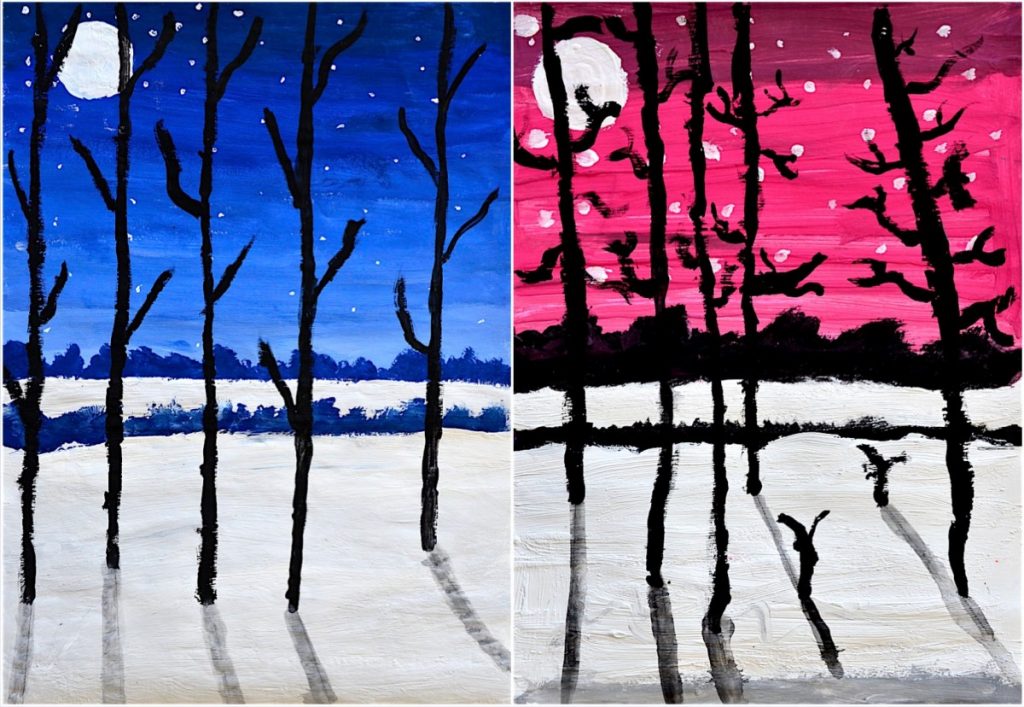
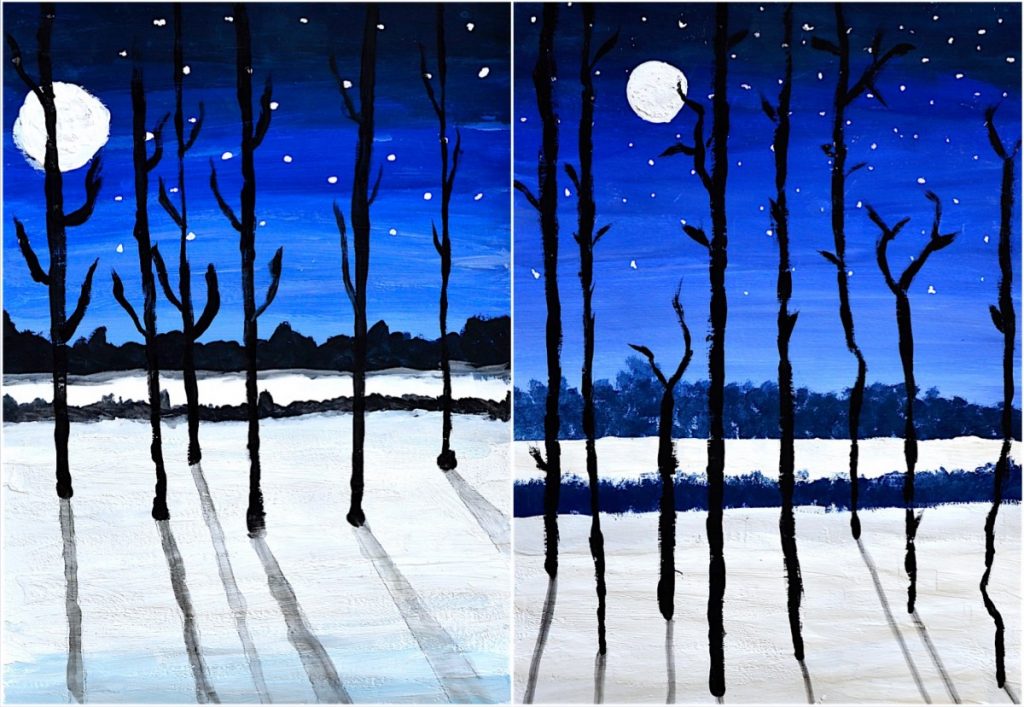
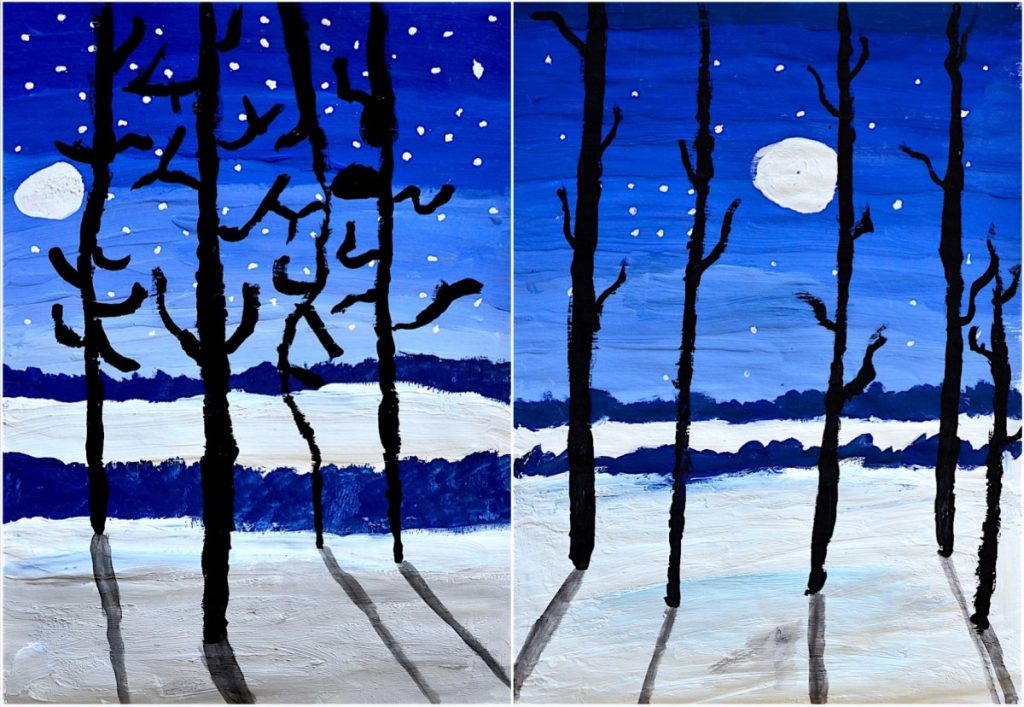
这幅由七年级学生创作的浪漫夜景风景画,以蛋彩颜料绘制,并以水彩作最终润色。尽管最终效果颇为精致,但绘制过程十分简单——您只需按步骤逐一操作即可。
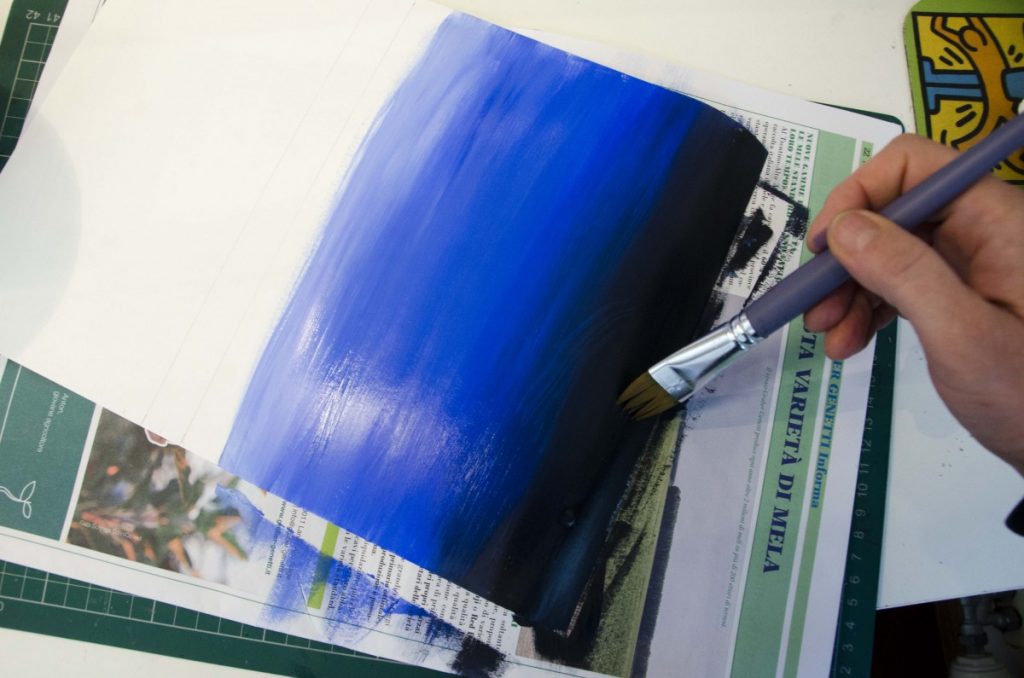
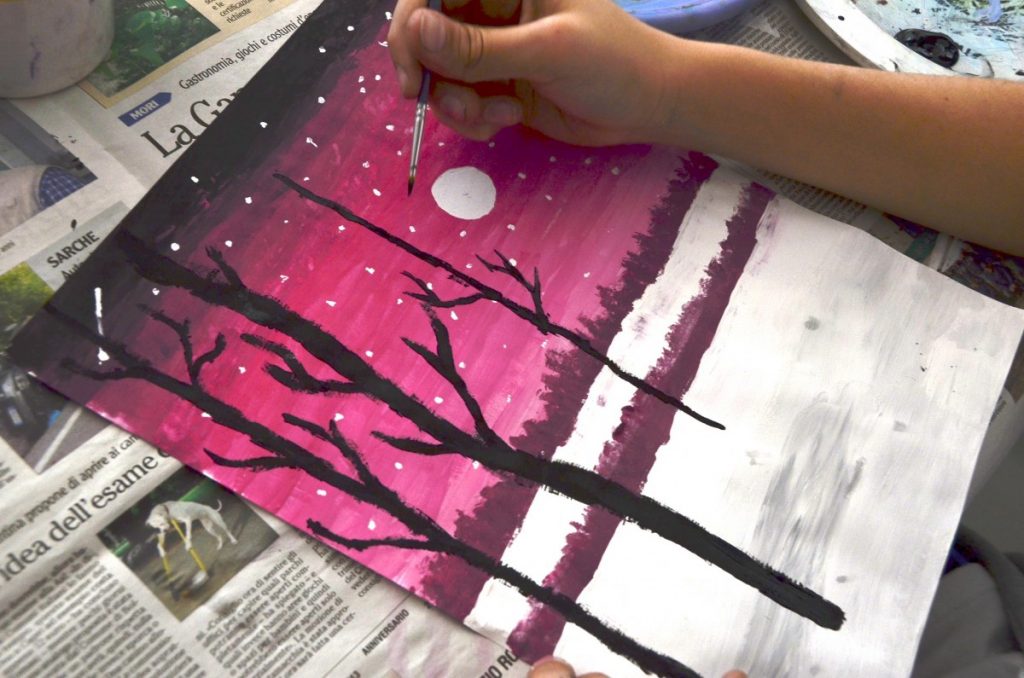
首先,选择一种冷色(绿色、紫色或蓝色),制作明度渐变色阶:从最浅的色调开始,逐步加深明暗/排线,直至最深的色调。待颜料干透后,用白色颜料画出月亮和几颗小星星。
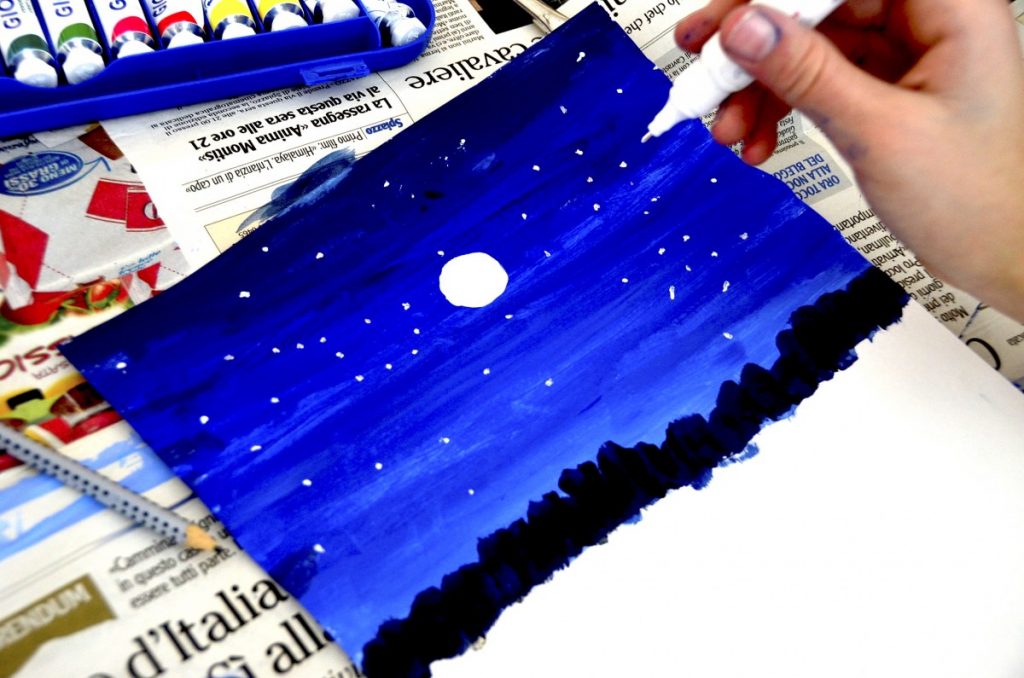
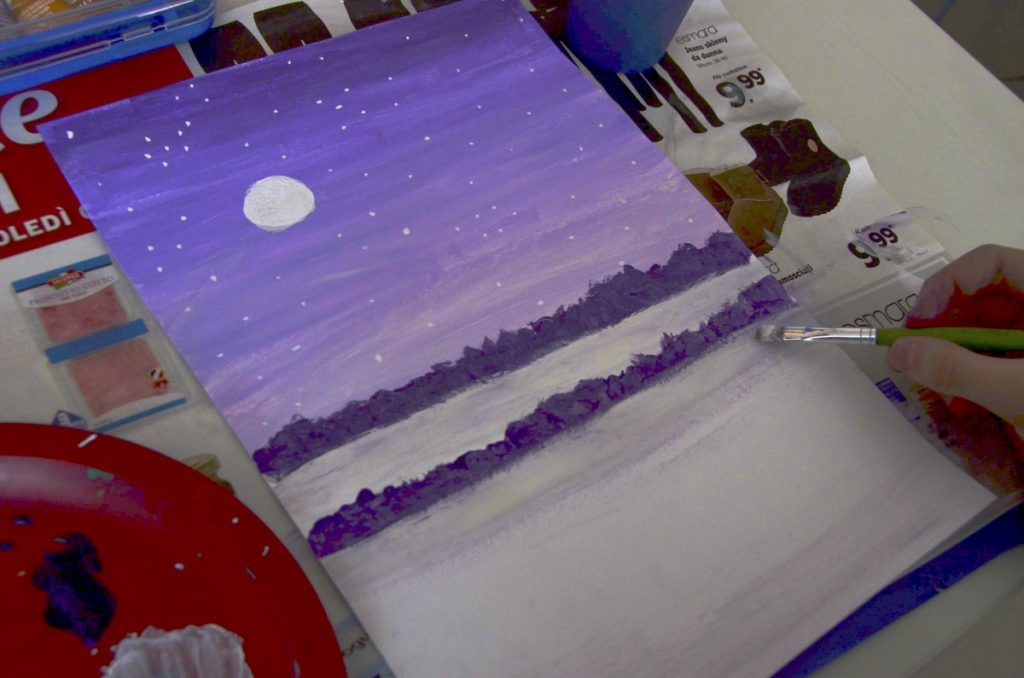
接着,沿地平线用天空最深的色调绘制森林。前景中的积雪则用浅灰色绘制。
随后,用细画笔蘸取黑色颜料,勾勒出树木的剪影。
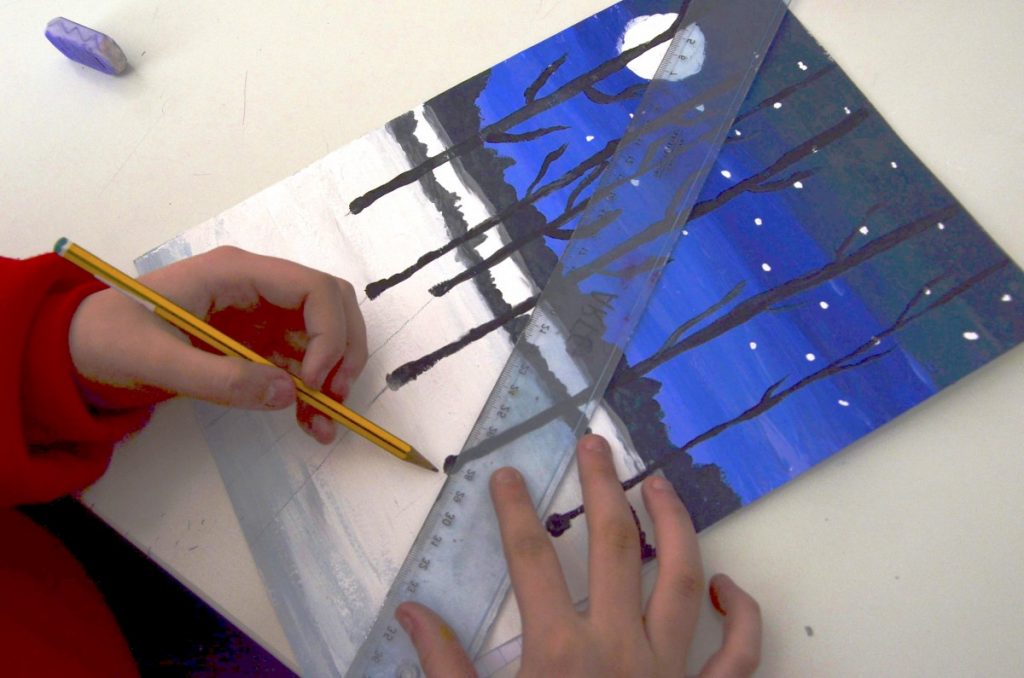
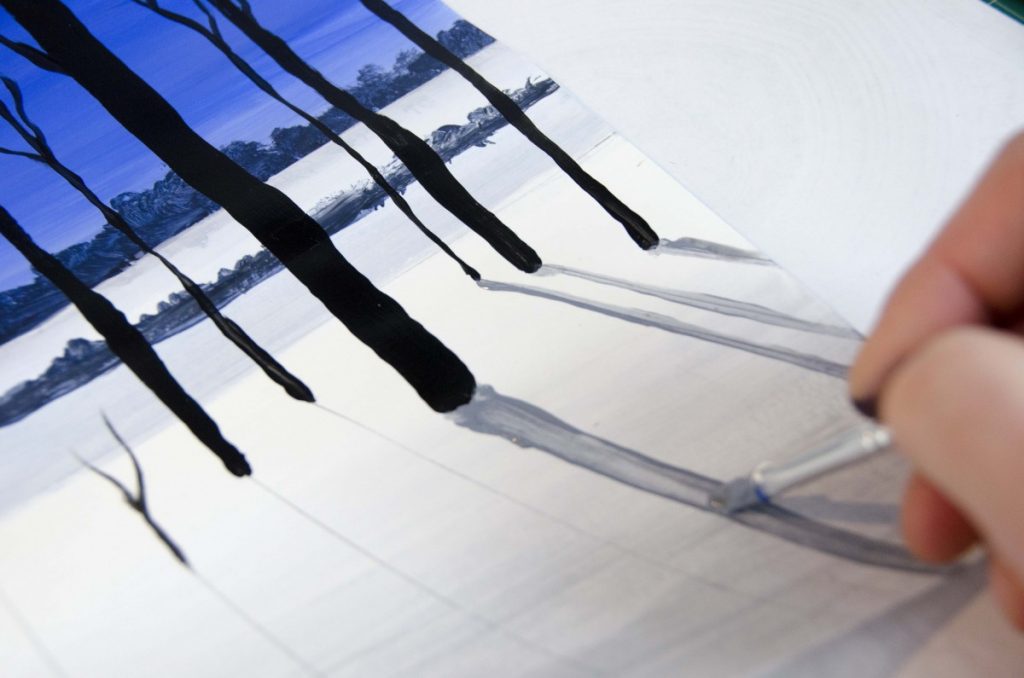
最后,用铅笔从光源——即月亮——向每棵树的树根处画出阴影投射方向线;再沿着这些线条,以水彩薄涂一层轻透的灰色。至此,一幅静谧的夜景风景画便完成了。
Video tutorial: Nocturnal Landscape
Here below an useful video tutorial created by Chad Brown for his YouTube channel theartproject.com . I invite you to visit it and watch this and the other interesting art projects he proposes in his videos.
This romantic nocturnal landscape created by 7th grade students, has been painted with tempera paint with a final touch in watercolor. Despite the sophisticated final result the process is very simple, all you need is to follow the instructions step by step.
First you choose a cool color (green, purple or blue) and create a value scale, starting from the lighter color and shading it toward the darker color. When the color is dry you paint the moon and some little stars with white paint.
After that you paint the forest along the horizon, using the darkest tone of the sky. The snow in the foreground is painted with a light grey.
Subsequently you paint the the trees’ silhouettes with a thin paintbrush and black paint.
Finally you draw the direction of the shadows drawing lines with pencil from the moon, the light source, to the base of every tree. Along this line you paint a light and transparent tone of grey with watercolors and the silent, nocturnal landscape is finished.