夜猫头鹰
原文链接:https://tabithaannthelostsock.blogspot.com/2017/10/nightowls.html
日期: 2017-10-11
标签: 艺术、艺术海报、秋季、廉价、简易、小学、秋日、儿童、课程、Lost Sock 美术教师(塔比莎·摩根·西顿)、夜晚、夜行性、猫头鹰、吓人、星星、塔比莎·摩根·西顿、教师付费资源平台(Teacher Pay Teacher)
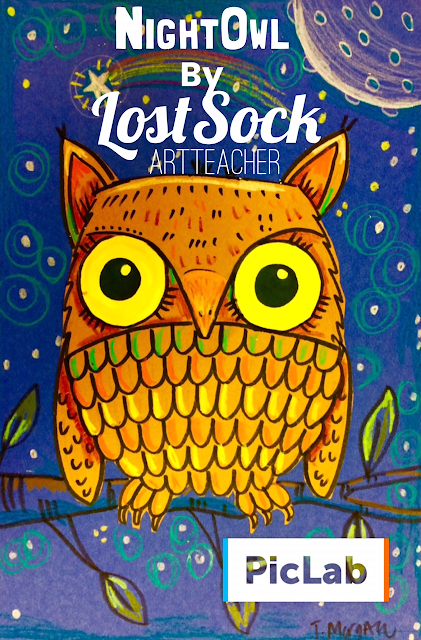
我们观看了 YouTube 上关于猫头鹰的视频。
观看链接如下……
https://www.youtube.com/watch?v=m0XgSrdYQRY&list=PL4AE49DD6487CE892&index=88
https://www.youtube.com/watch?v=13yxEVwdUbw&list=PL4AE49DD6487CE892&index=89
接着,我们在谷歌图片中浏览了真实的猫头鹰照片。
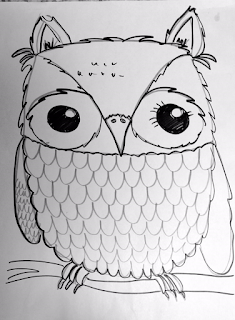
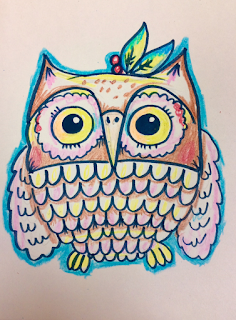
我们师生共同分步绘制猫头鹰(教师引导式)。
完成后,鼓励学生参考猫头鹰真实图片幻灯片,用自己的创意与想象力再次绘制。
首先选取一张中性色纸。
用极轻的笔触在纸上画出猫头鹰,使其充满整个画面。
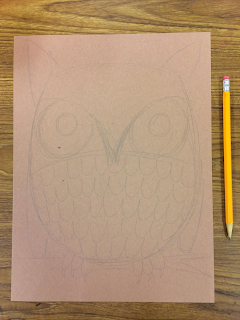
务必先轻画,确认无误后再用记号笔加粗线条。
此举可减少挫败感,并突出画面中的亮点。
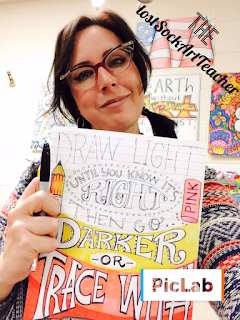
本海报可在我的教师付费资源平台(TeacherPayTeachers)店铺购买:
https://www.teacherspayteachers.com/Store/The-Lost-Sock-Art-Teacher
我们使用圆规模板来选定眼睛的合适尺寸;选用橙色或黄色纸,描出两个圆形并剪下作为眼睛。
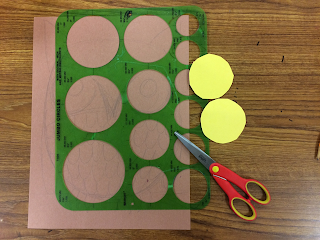
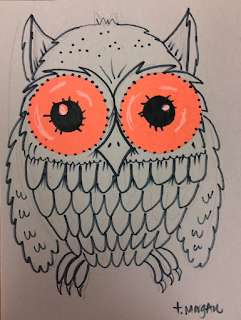
将剪好的眼睛粘贴在铅笔所绘的眼睛之上。
再用黑色记号笔加深细节线条。
为你的绘画添加肌理与细节。
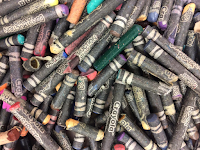
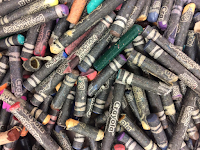
我超爱建筑纸专用蜡笔!!
这类蜡笔专为深色纸张设计,显色效果极佳。
用这些蜡笔为猫头鹰的细节增添明亮色彩。
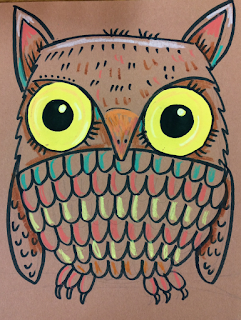
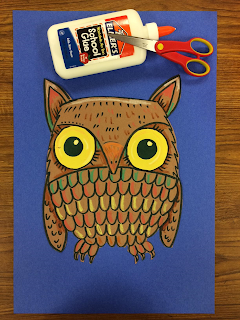
将猫头鹰剪下,粘贴到一张更大面积的“夜色”底纸上;
可选黑色、蓝色、紫色或灰色纸张。
胶水用量多 ≠ 粘得牢!请在猫头鹰边缘点涂若干胶点,再按压固定。
本海报可在我的教师付费资源平台(TeacherPayTeachers)店铺购买!
https://www.teacherspayteachers.com/Store/The-Lost-Sock-Art-Teacher
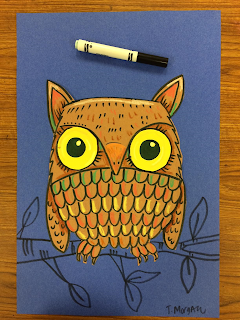
用黑色记号笔为猫头鹰添加一根栖息的树枝。
你也可以在枝条上画出树叶;还可添加月亮、飞鸟,或任由想象力自由发挥。
再次使用建筑纸专用蜡笔丰富背景!注意避开已有的黑色线条——这类蜡笔覆盖力强,容易盖住原有线条。
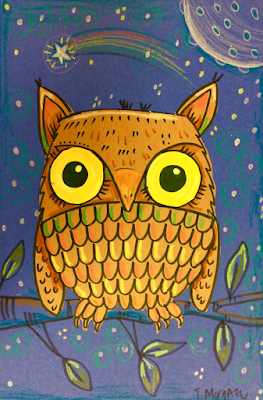
完成啦!
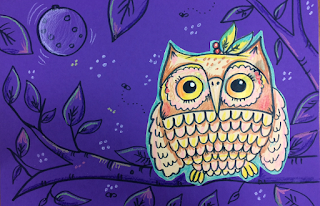
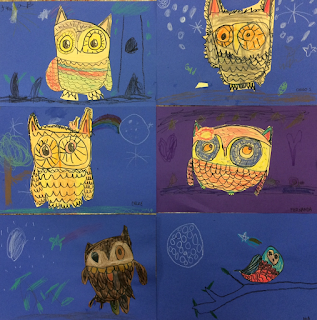
布鲁姆老师的一年级班级(见下图)
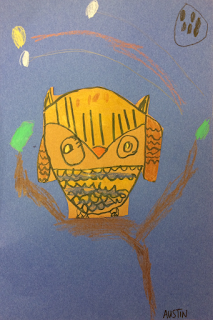
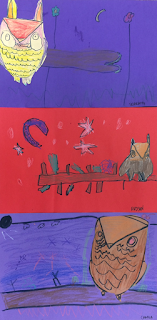
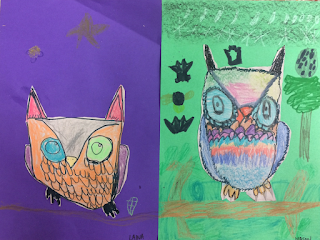
胡德克老师的一年级班级(见下图)
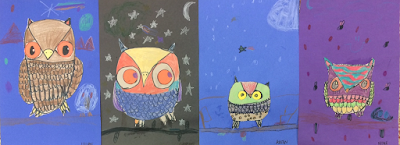
托雷斯老师的一年级班级(见下图)
另见我早年为小学生设计的猫头鹰绘画版本:
http://tabithaannthelostsock.blogspot.com/2014/11/night-owls-for-fall.html
夜猫头鹰
Original: https://tabithaannthelostsock.blogspot.com/2017/10/nightowls.html
Date: 2017-10-11
Tags: art, art posters, autumn, cheap, easy, elementary, fall, kids, lesson, Lost Sock art Teacher, Night, nocturnal, owls, scary, stars, Tabitha Morgan Seaton, teacher pay teacher
We watched videos on YouTube about owls.
See them here...
https://www.youtube.com/watch?v=m0XgSrdYQRY&list=PL4AE49DD6487CE892&index=88
https://www.youtube.com/watch?v=13yxEVwdUbw&list=PL4AE49DD6487CE892&index=89
Then we looked at real images of owls on google pictures.
We sketched out our owls together step by step (teacher led).
After this, students were encouraged to draw it again using their own ideas and imaginations while looking at a slideshow of real owls.
Begin by selecting a piece of neutral paper.
Draw the owl very lightly on the paper, filling up the space.
Always draw light until you know it's right, then go darker with a marker.
This subtracts from frustration and adds emphasis to what's good.
Get this poster here at my TeacherPayTeacher store.
https://www.teacherspayteachers.com/Store/The-Lost-Sock-Art-Teacher
We used a circle tracer to select the right size for the eyes. Use orange or yellow paper, trace circles and cut out 2 circle eyes.
Glue them on top of the eyes you drew with pencil.
Use a black marker to make your details darker.
Add texture and detail to your drawing.
I love construction paper crayons!!
They are designed to show up well on darker colored paper.
Use these crayons to add bright color to the details of your owl.
Cut out your owl and glue it down to a larger night color paper;
Black, blue, purple or grey.
More glue does not equal better hold! Use dots around edges of owl then stick it down.
Get this poster here at my TeacherPayTeacher store!
https://www.teacherspayteachers.com/Store/The-Lost-Sock-Art-Teacher
Use a black marker to add a limb for your owl to stand on.
You can also draw leaves coming off the limb. You can draw a moon, birds or whatever your imagination leads you to.
Use construction paper crayons again to add to the background! be careful not to cover up your black lines. These crayons are good at covering up that stuff.
You are done!
Mrs. Bluhm's 1st grade class (below)
Mrs. Hudeck's 1st grade class (below)
Mrs. Torres's 1st grade class (below)
See another version of drawing owls here that I did year ago for elementary.
http://tabithaannthelostsock.blogspot.com/2014/11/night-owls-for-fall.html


