四年级雪景剪影
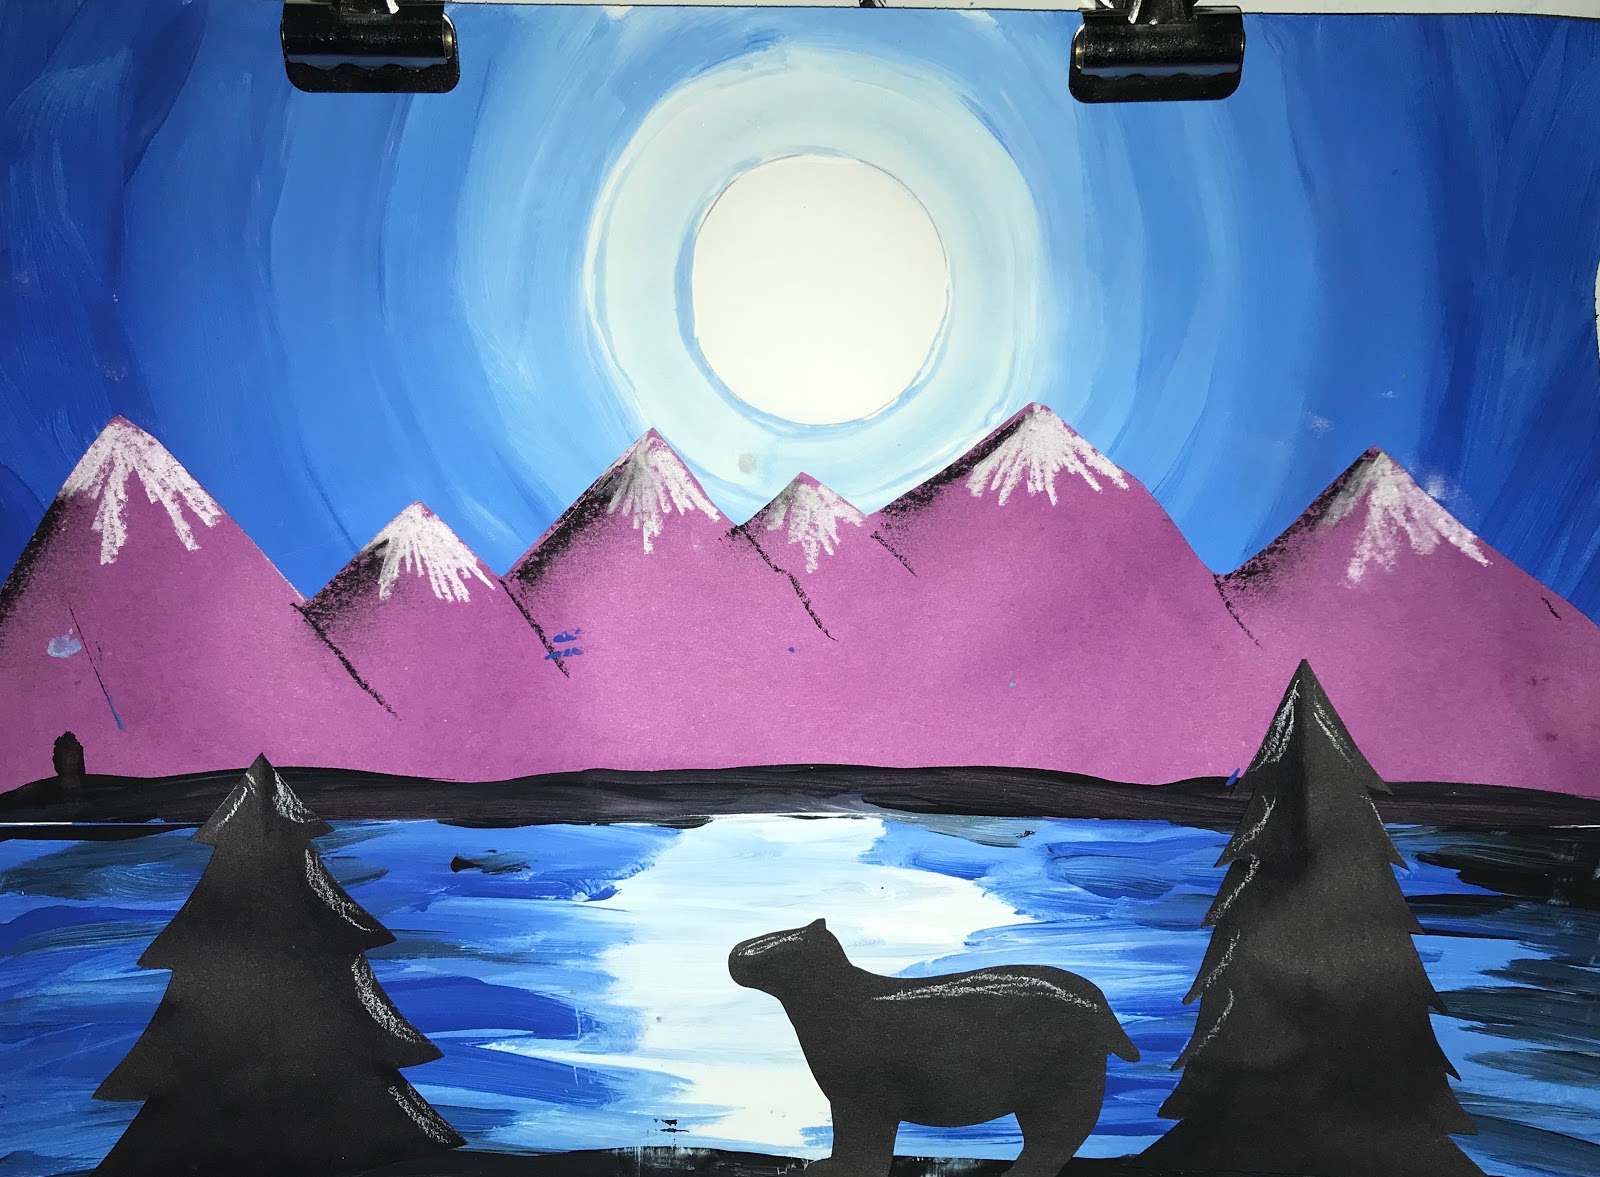
上周,四年级学生开始创作这幅清新可爱的冬日风景画。我最初在 Step by Step Painting 网站上看到原作,便想将其改编为适合四或五年级的美术课!
以下是我们的教学步骤:
材料:
Crayola Artista II 蛋彩颜料
Tru Ray 彩色卡纸
Sax 90磅绘画纸
Big Kid's Choice 画笔
第一课时:用全部45分钟绘制天空。我们仅绘制了纸张上半部分!
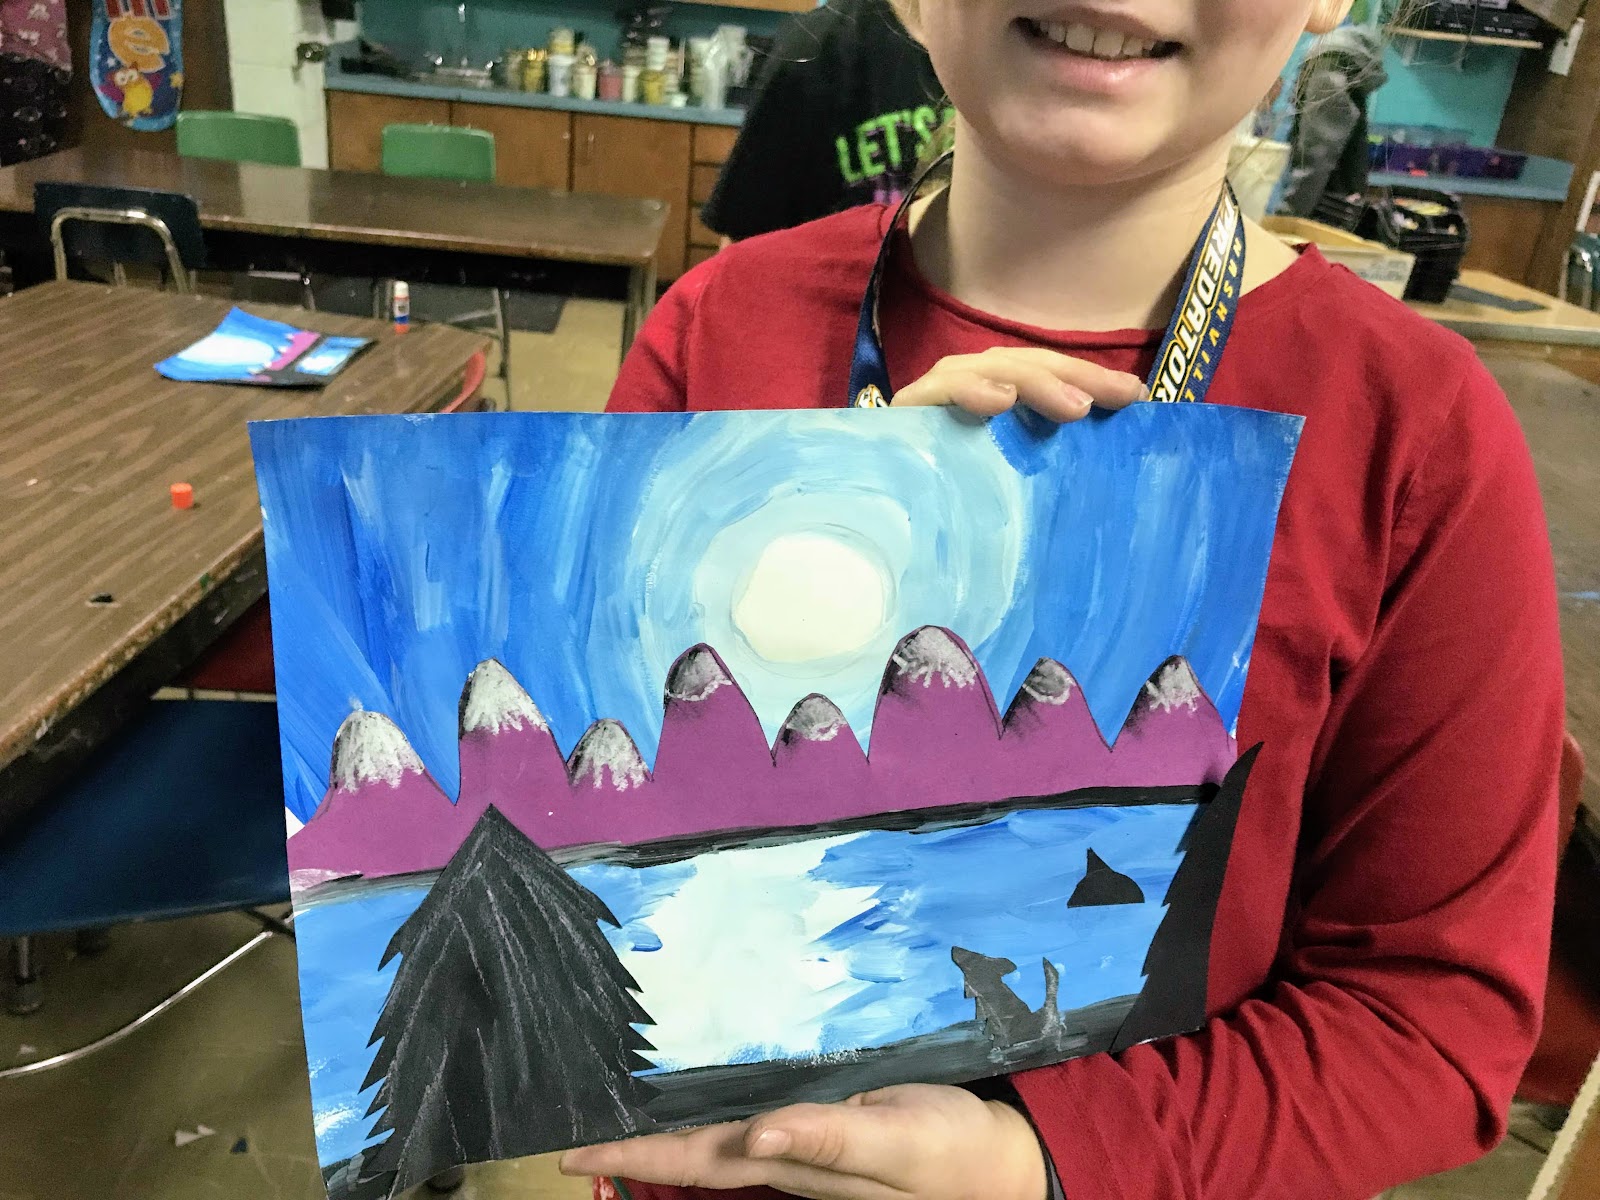
先描出一个圆形作为月亮,再叠加三层白色颜料和约三层蓝色颜料。用棉签在白色环形区域点出蓝色小点,在蓝色环形区域点出白色小点。最外层蓝色环仅涂纯蓝色。
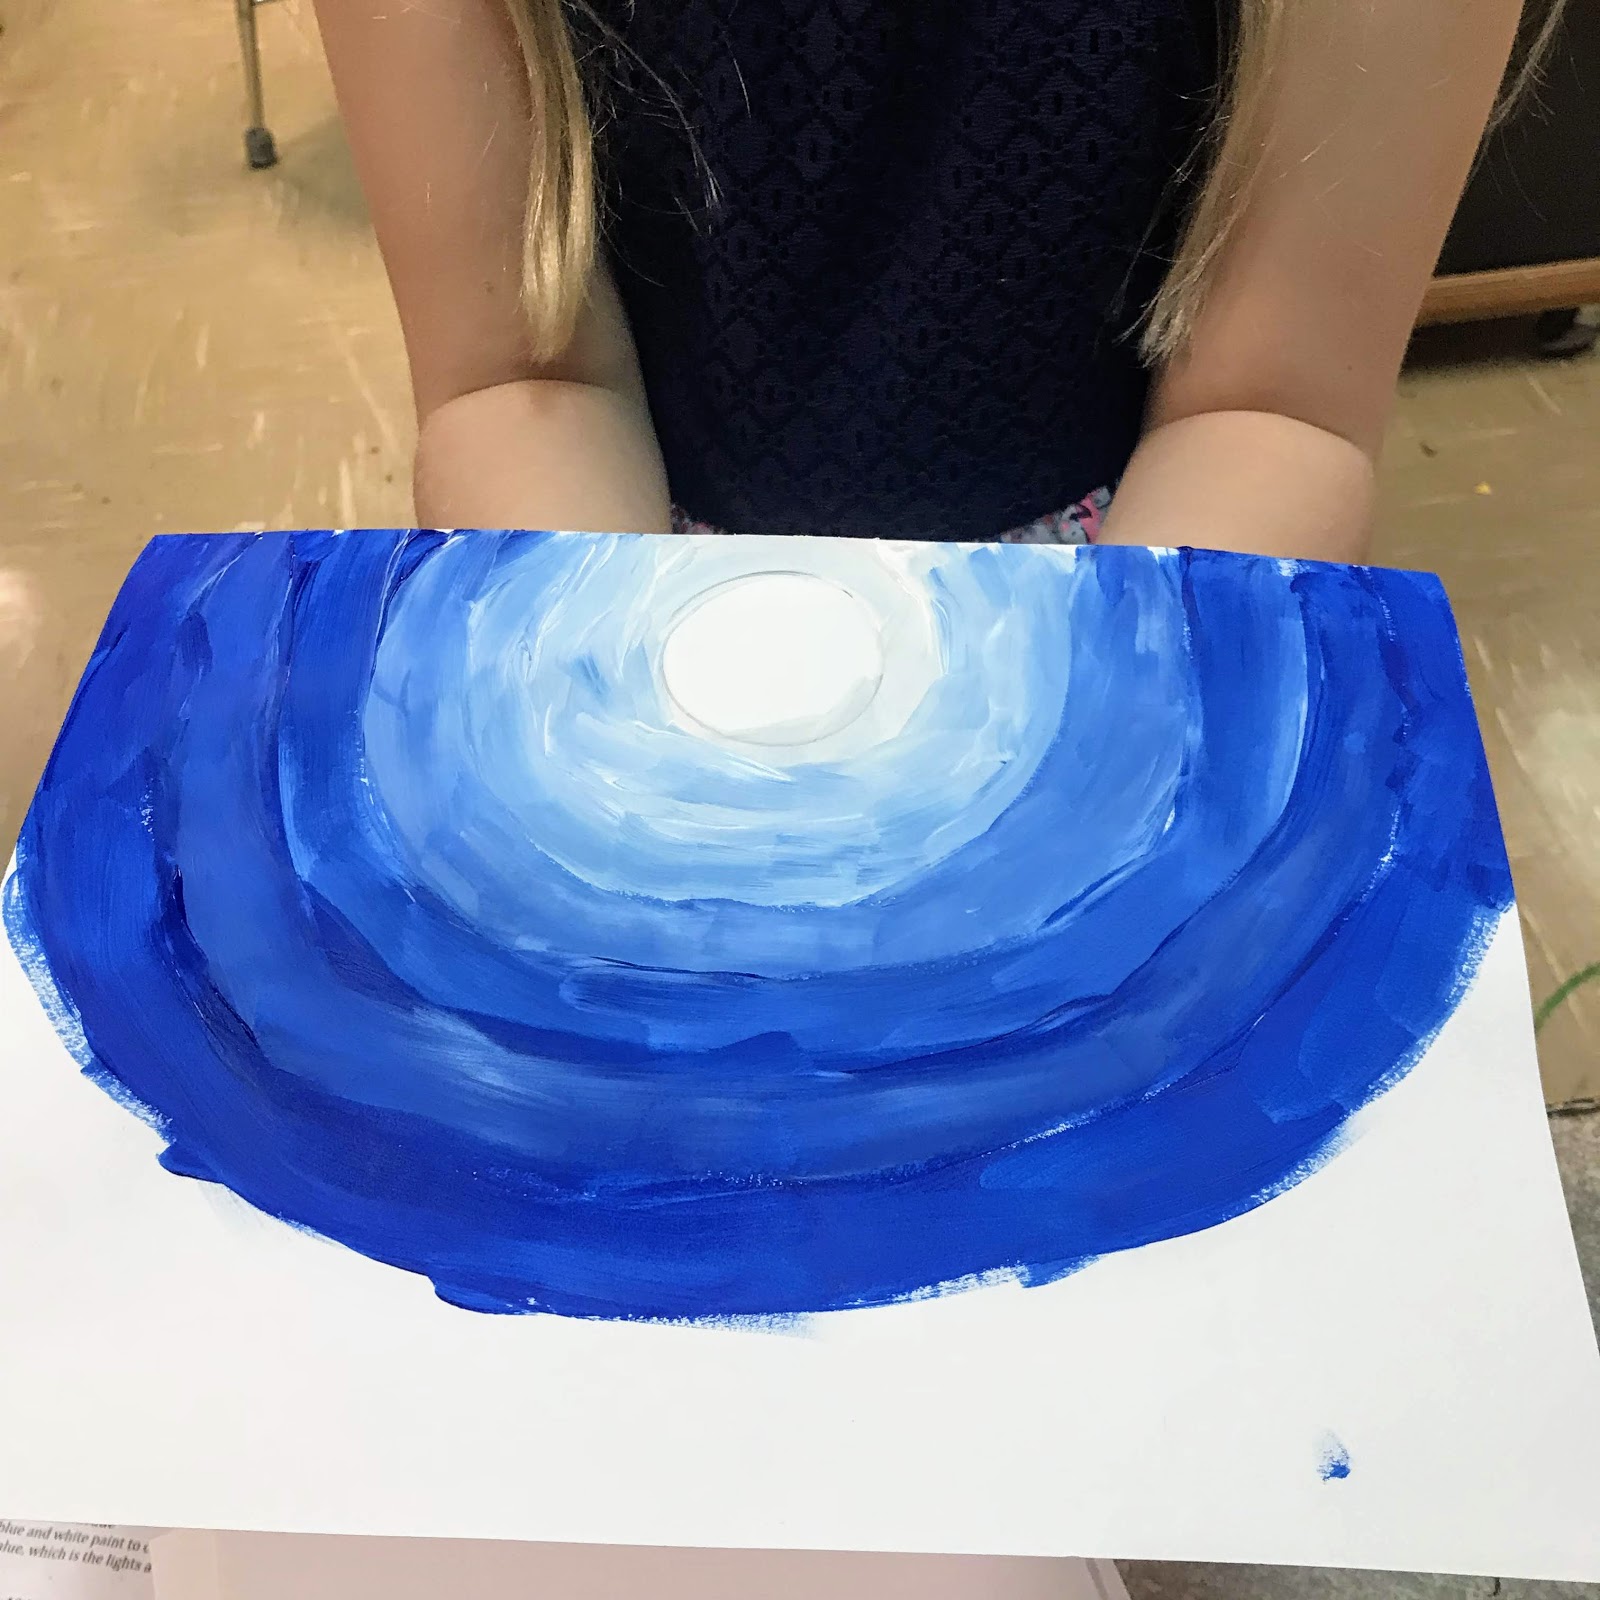
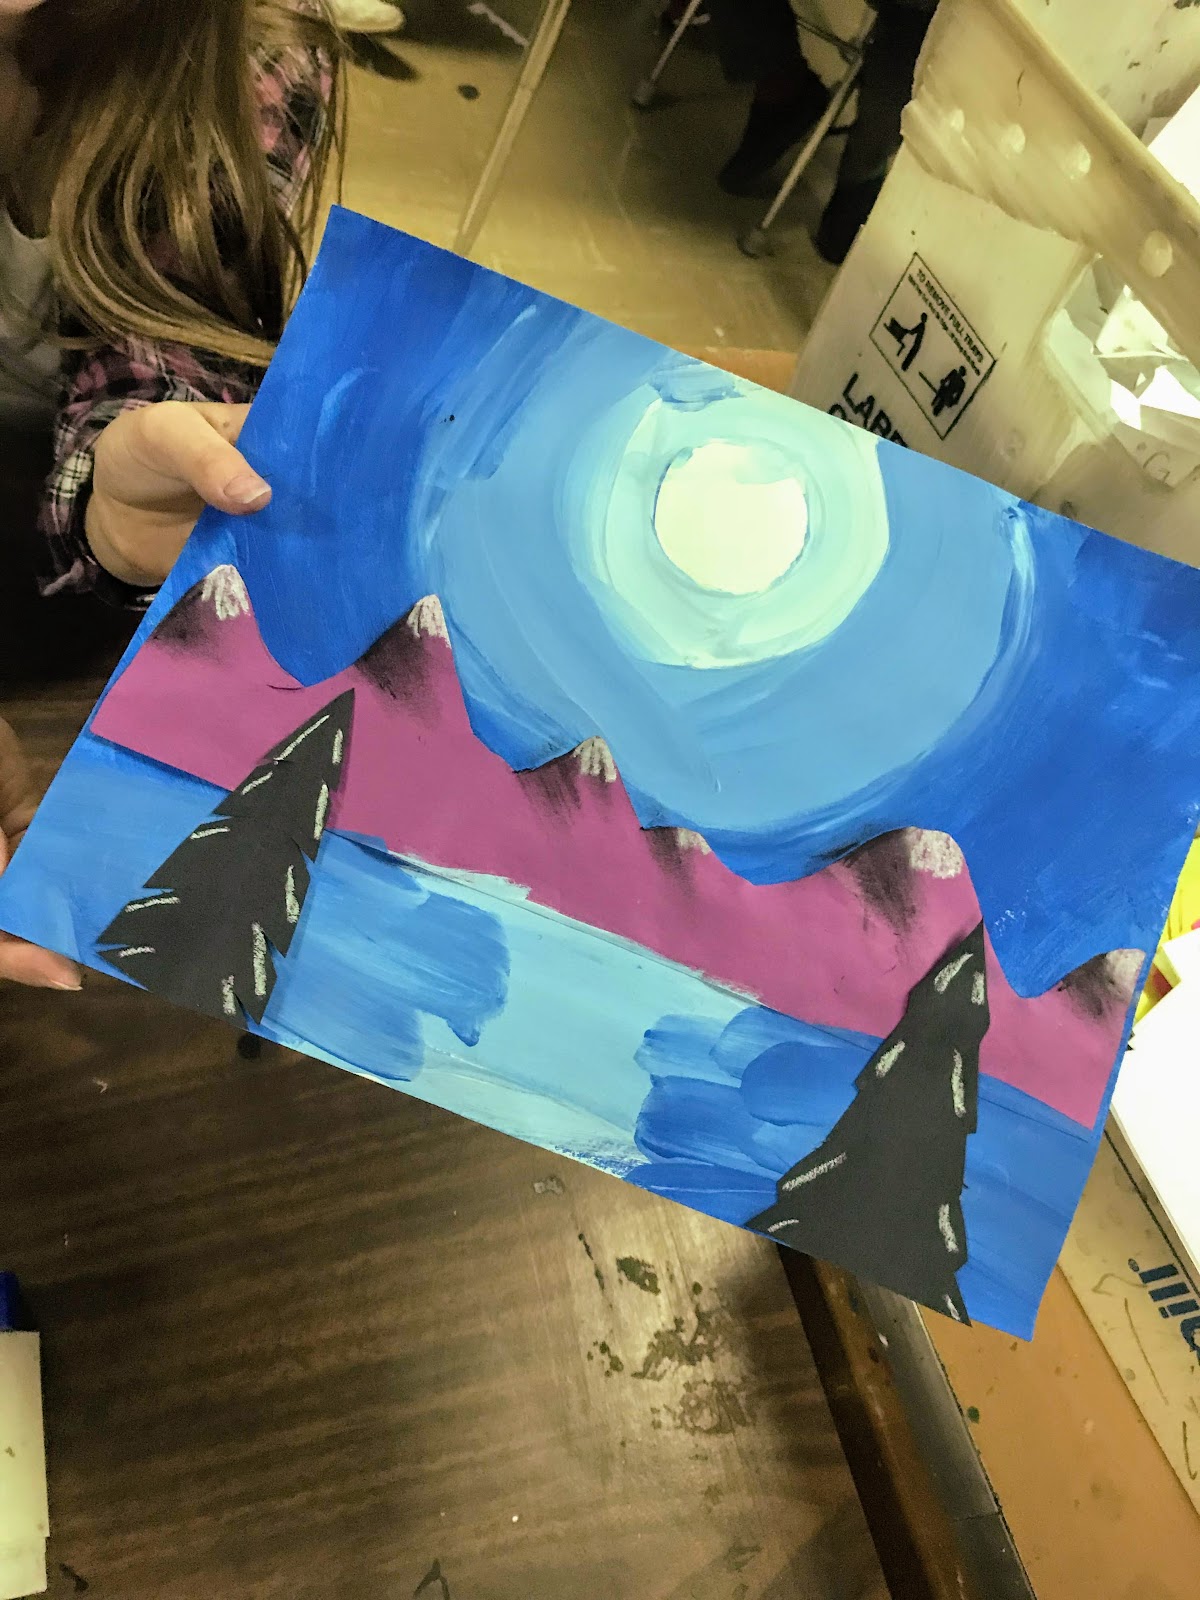
这是艾莉(Ellie)创作的一幅精彩范例!
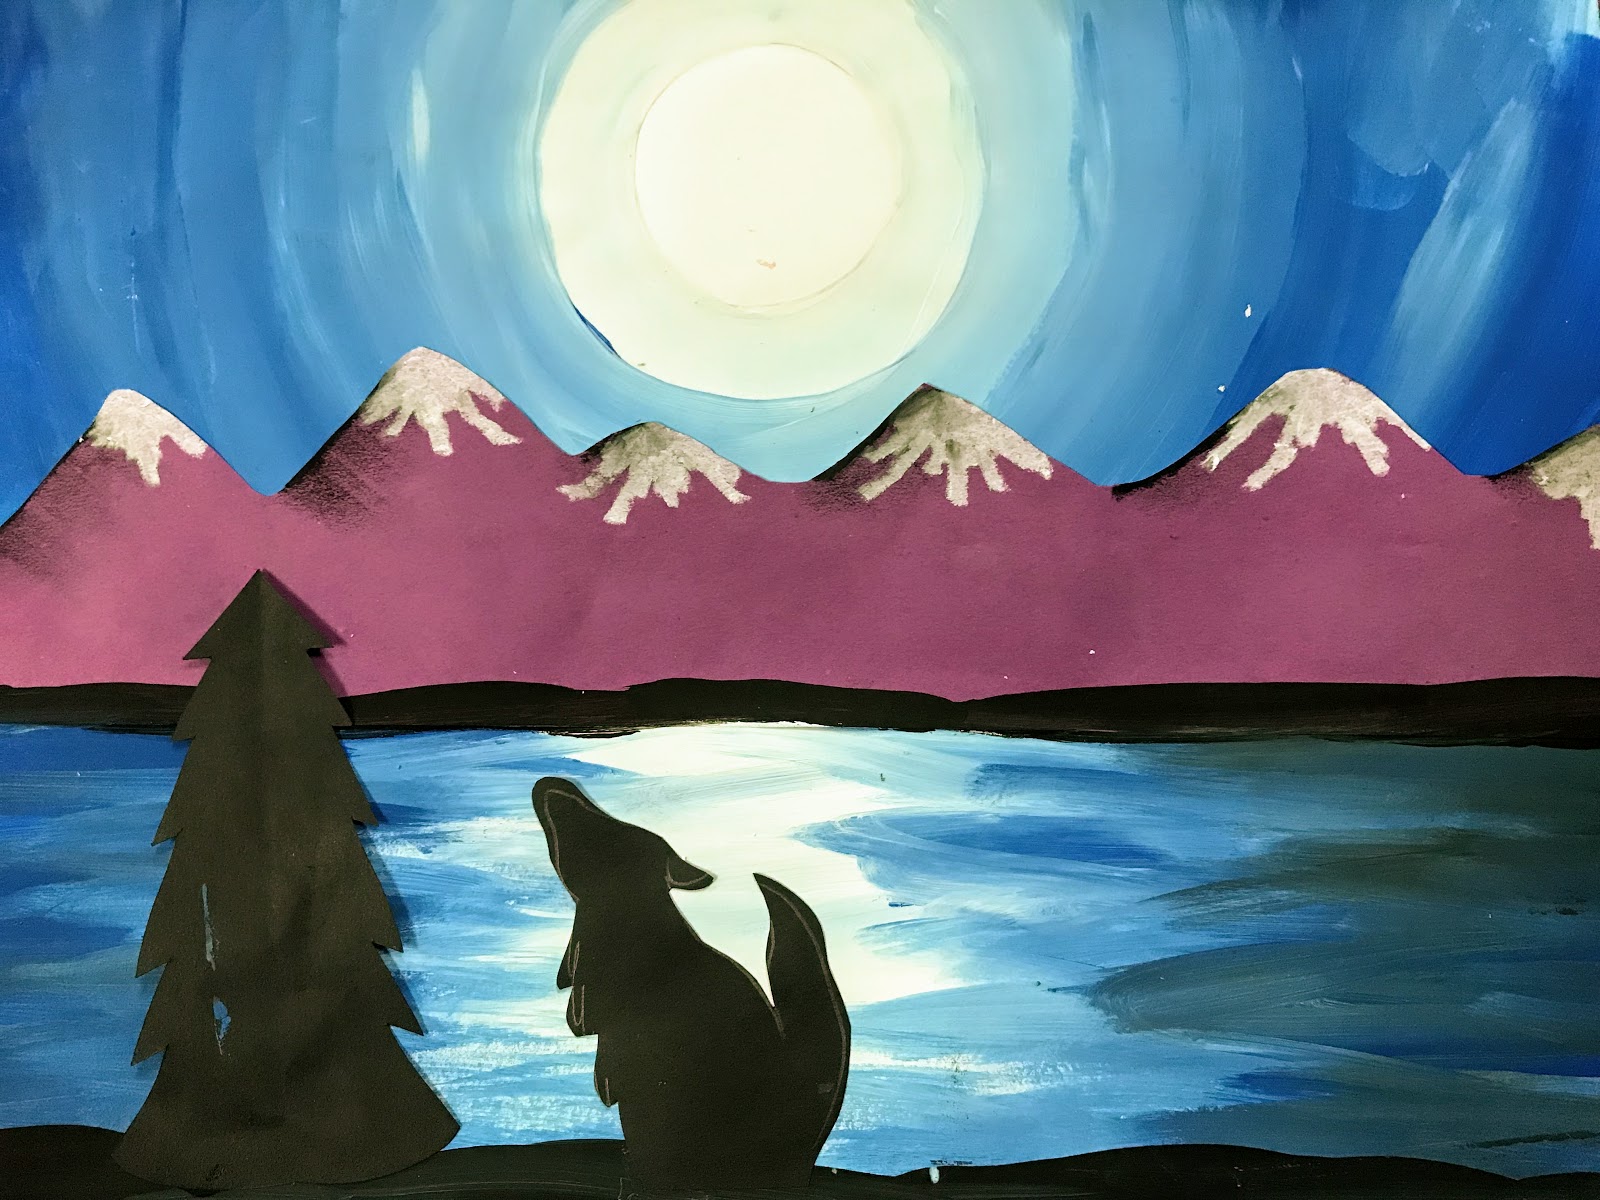
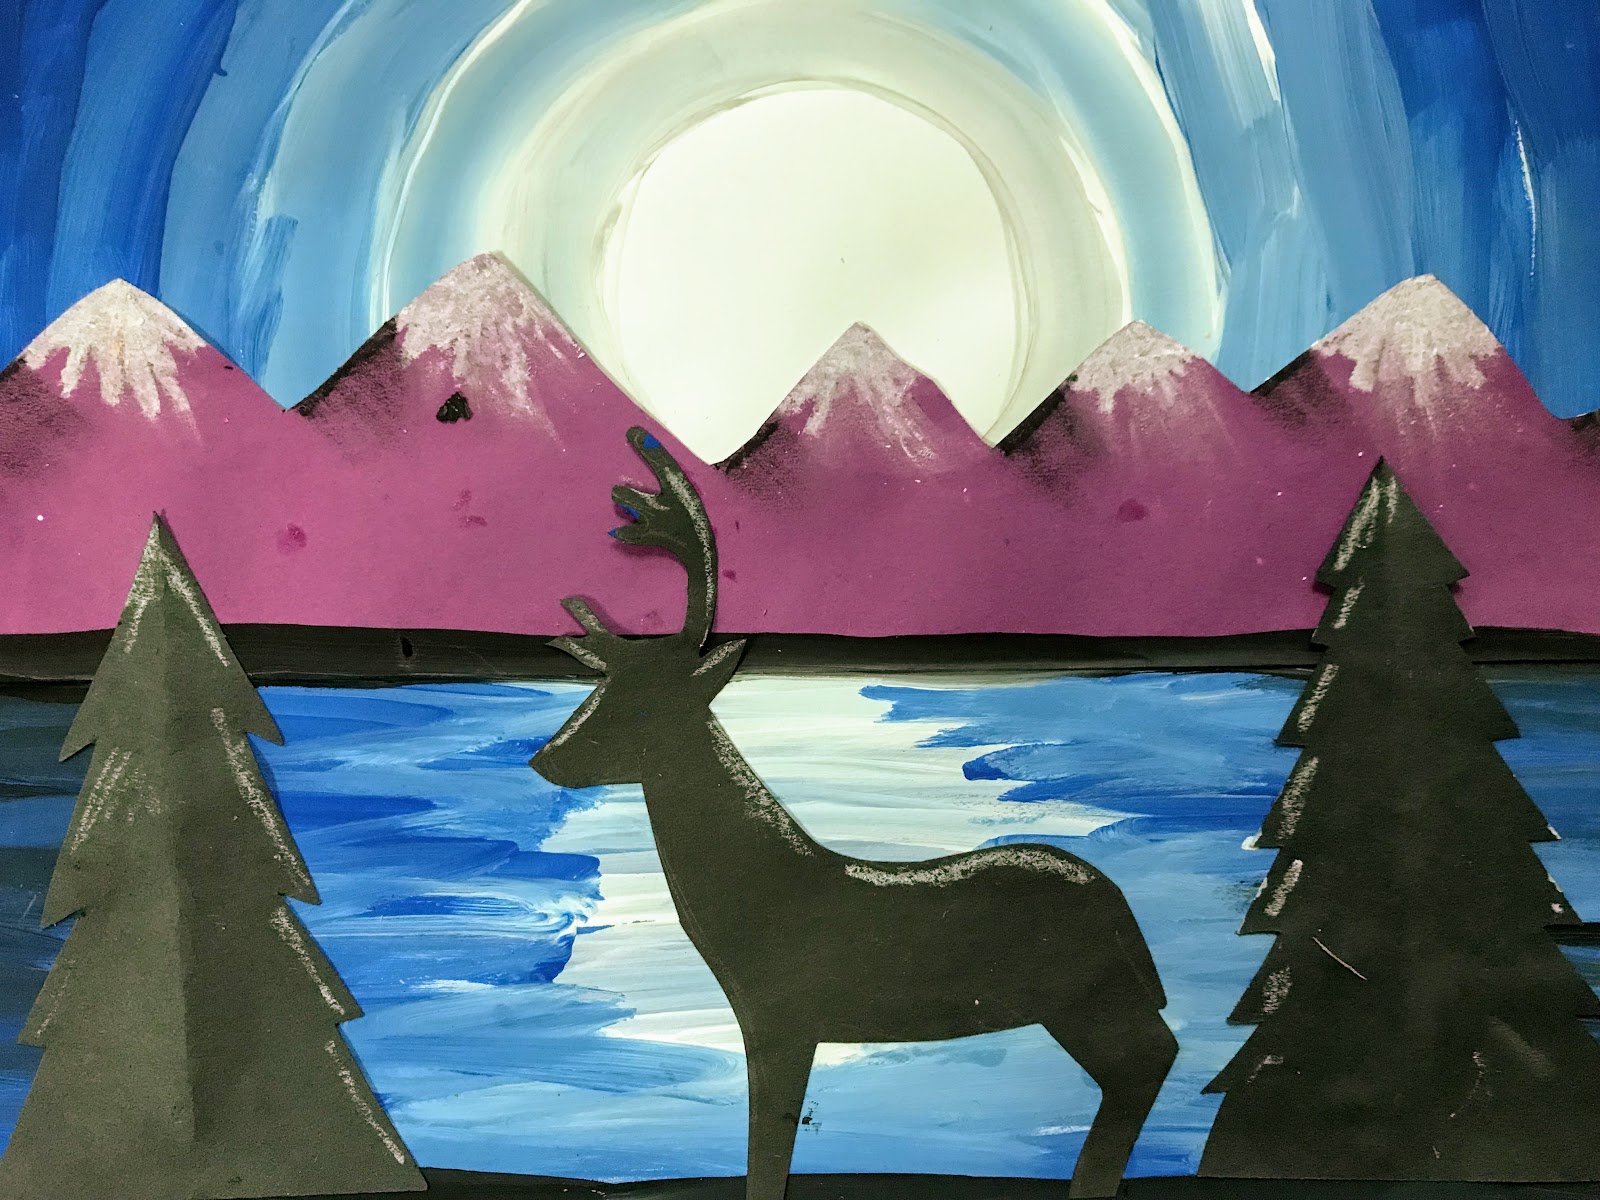
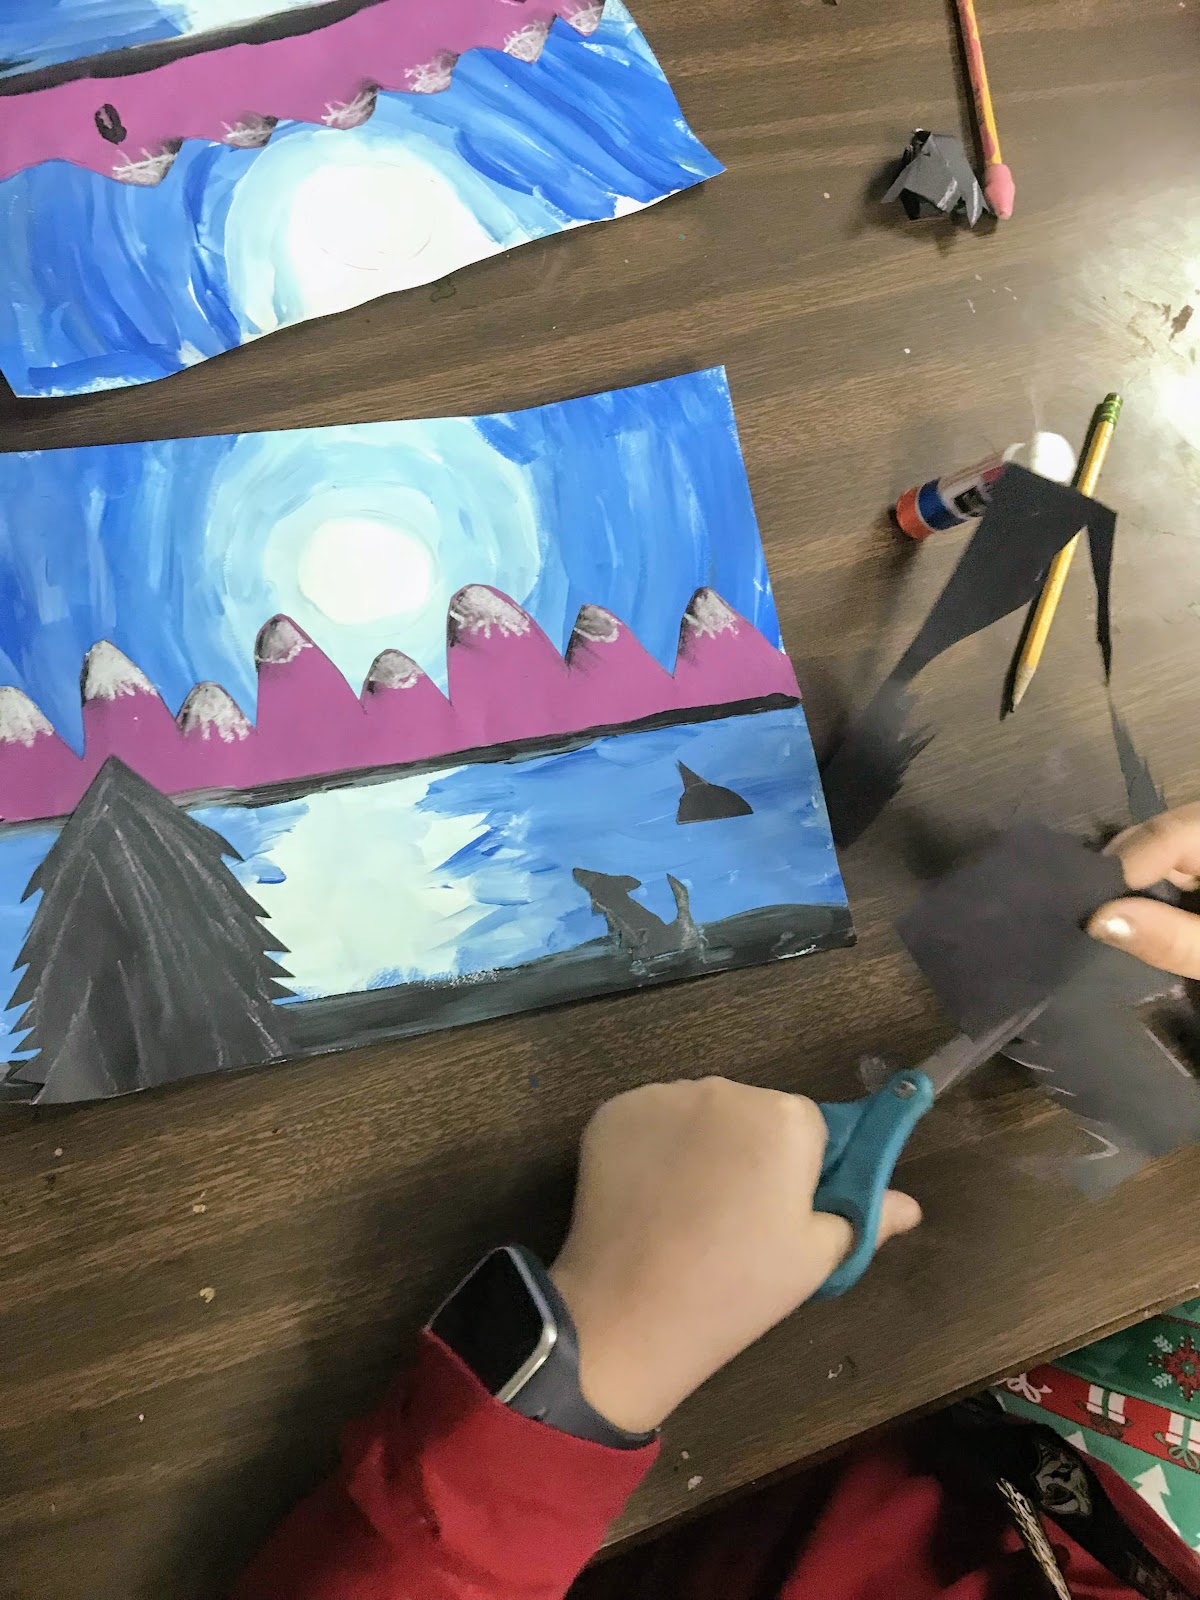
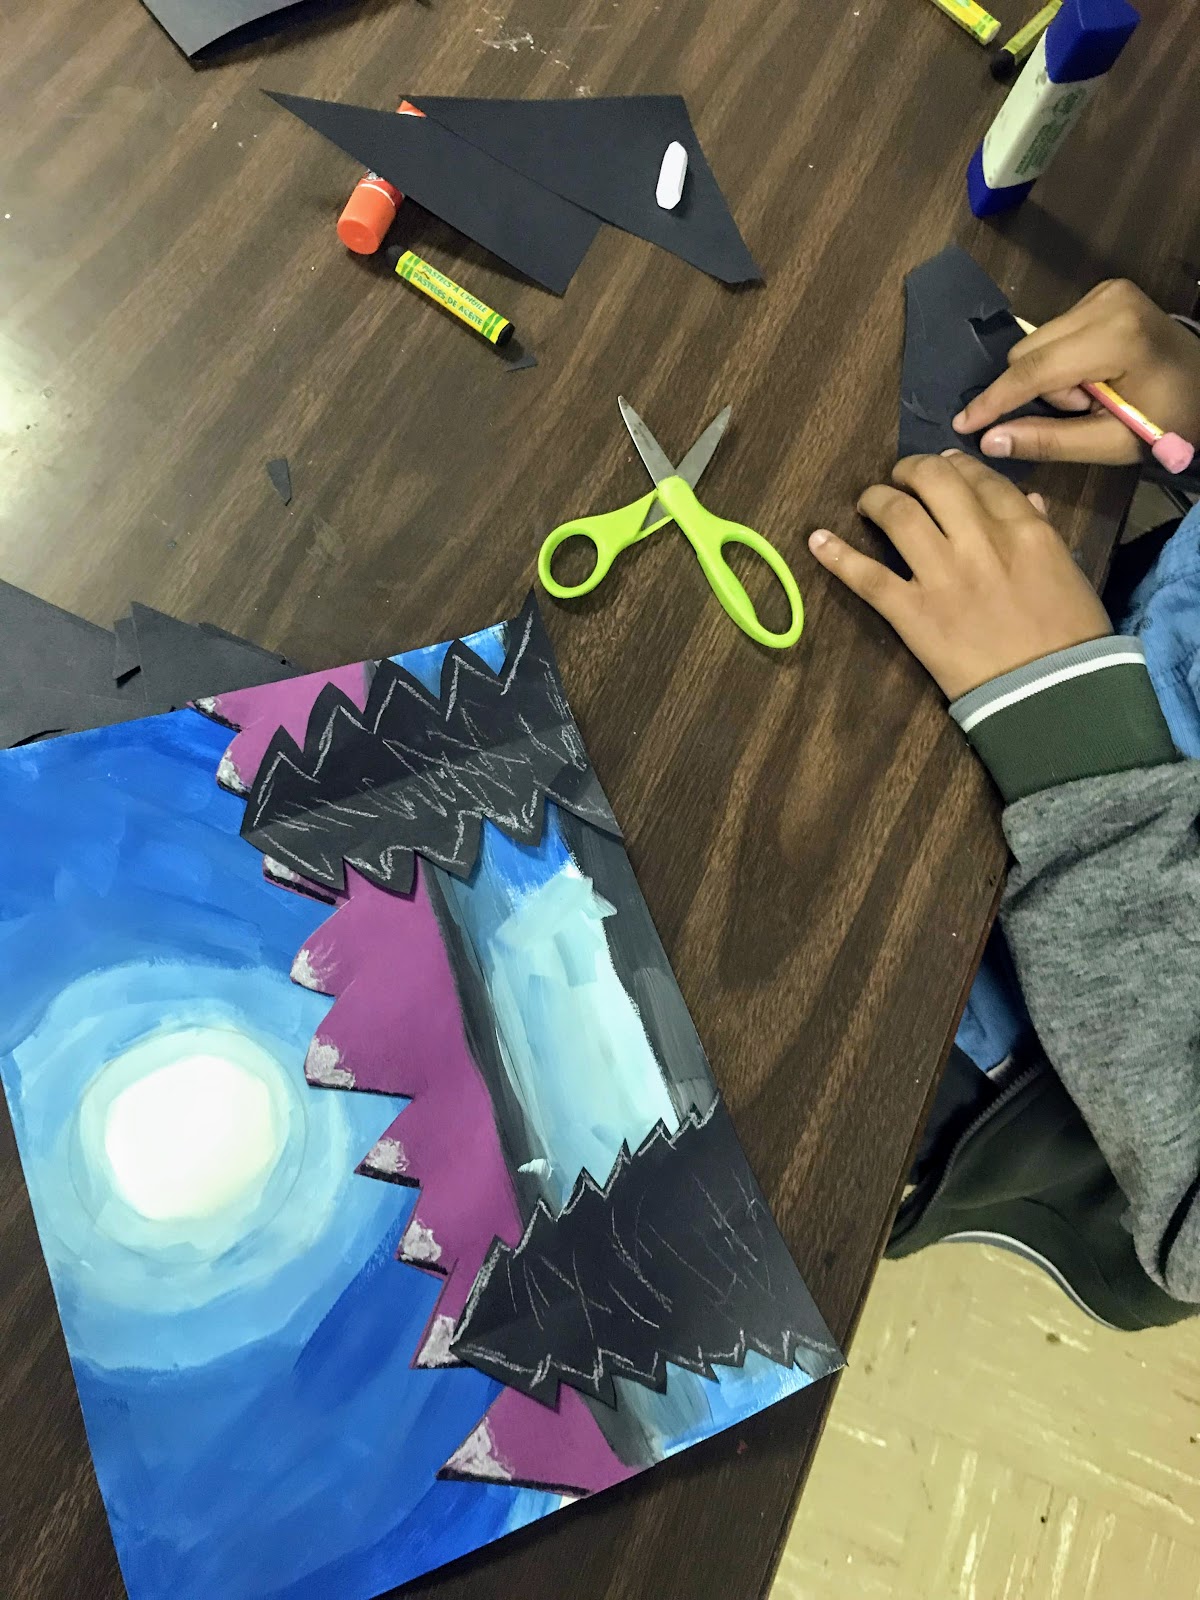
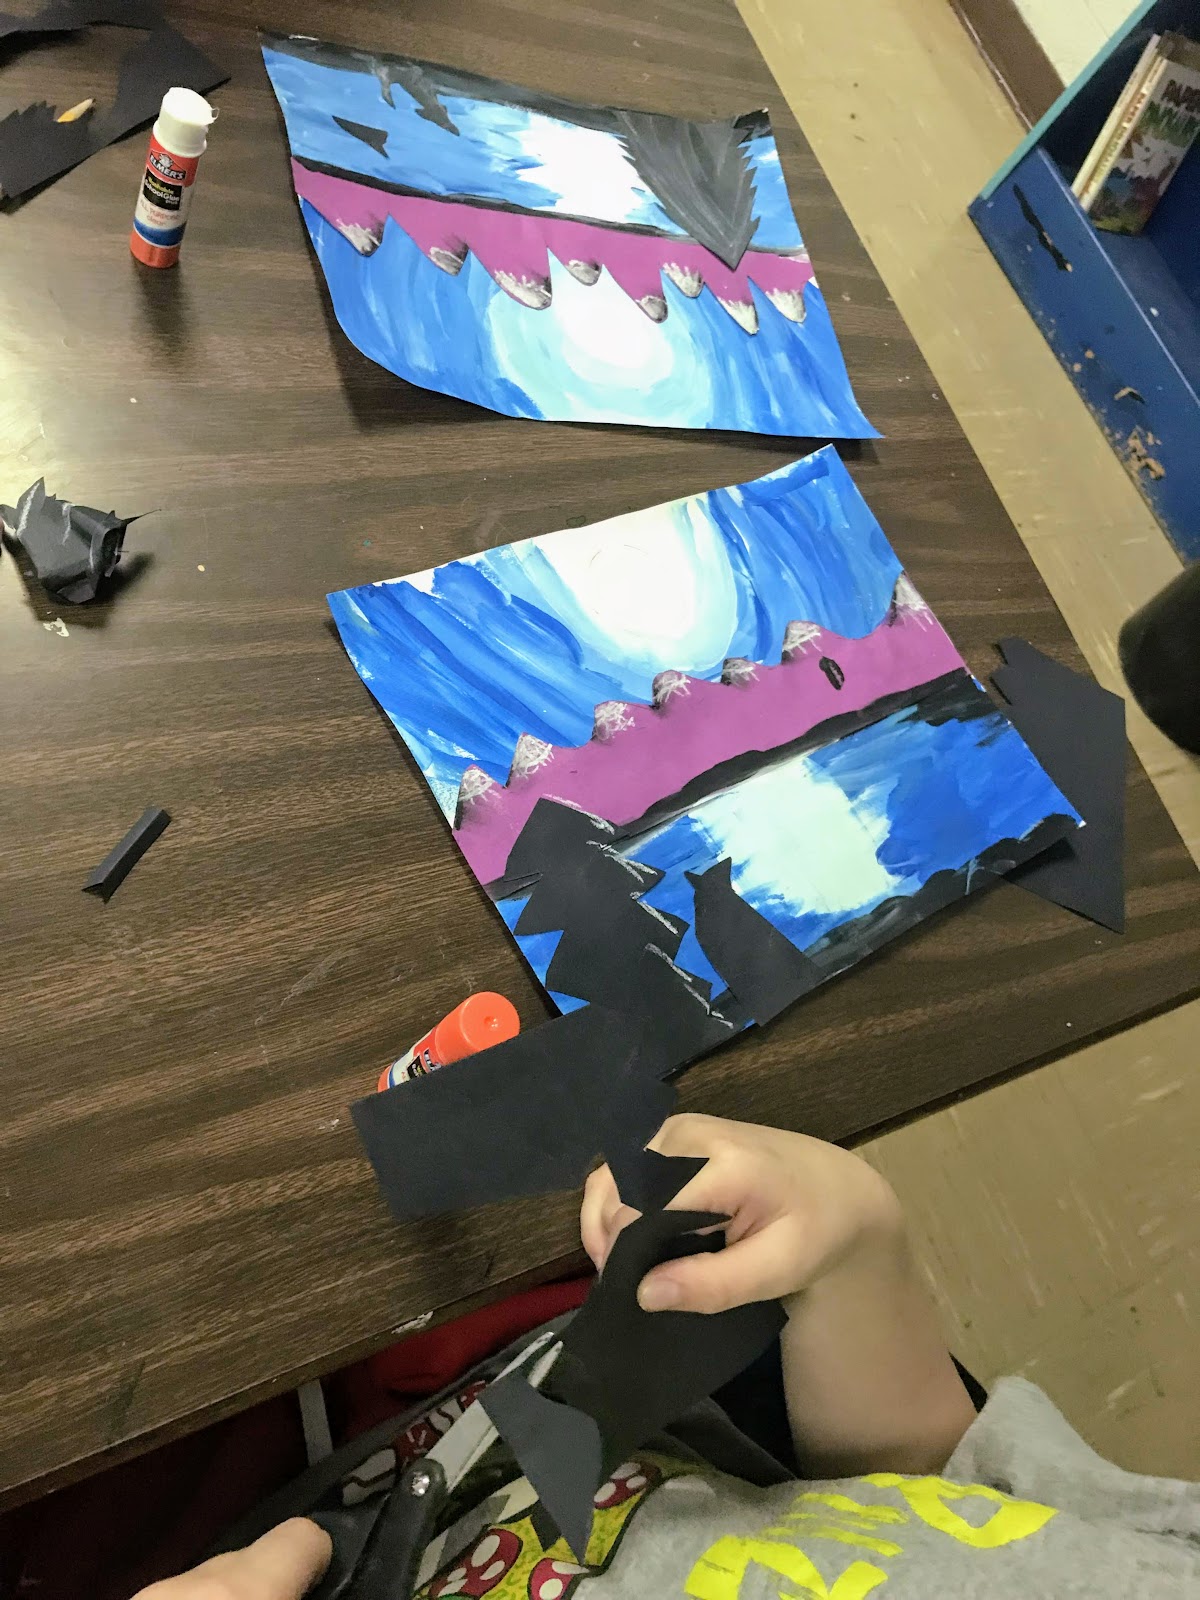
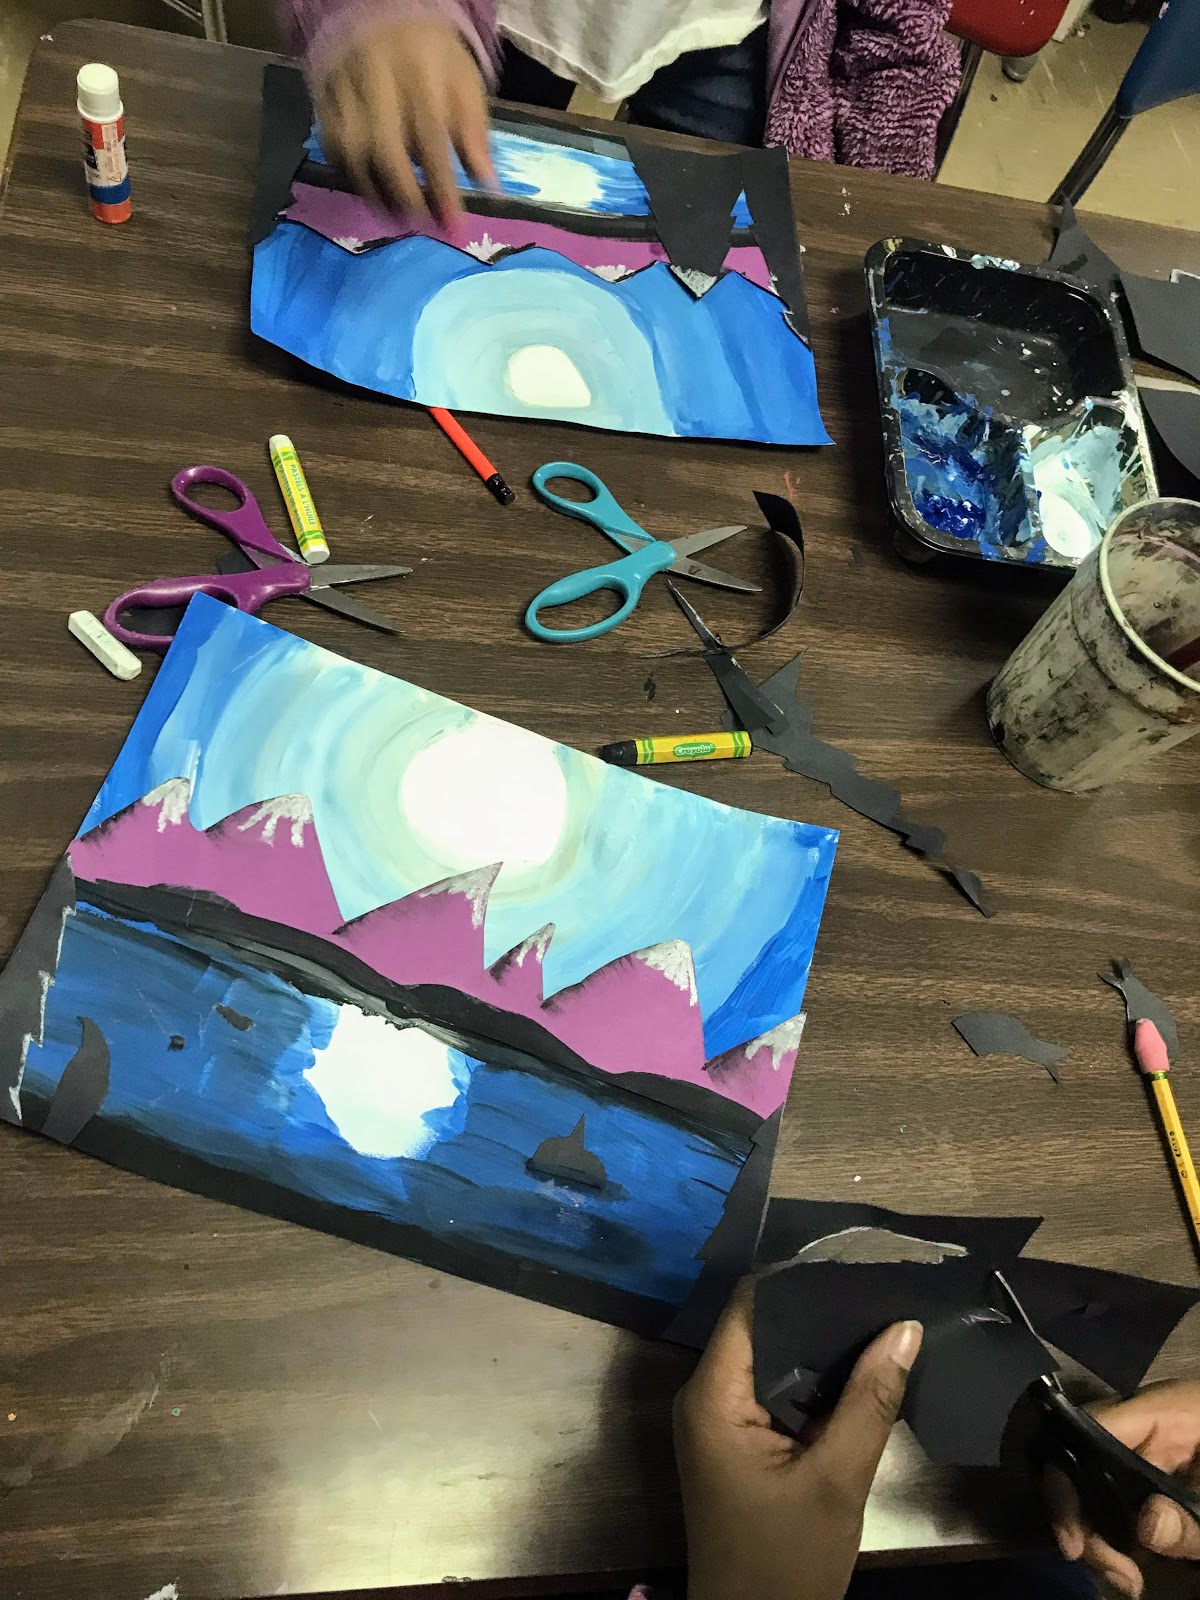
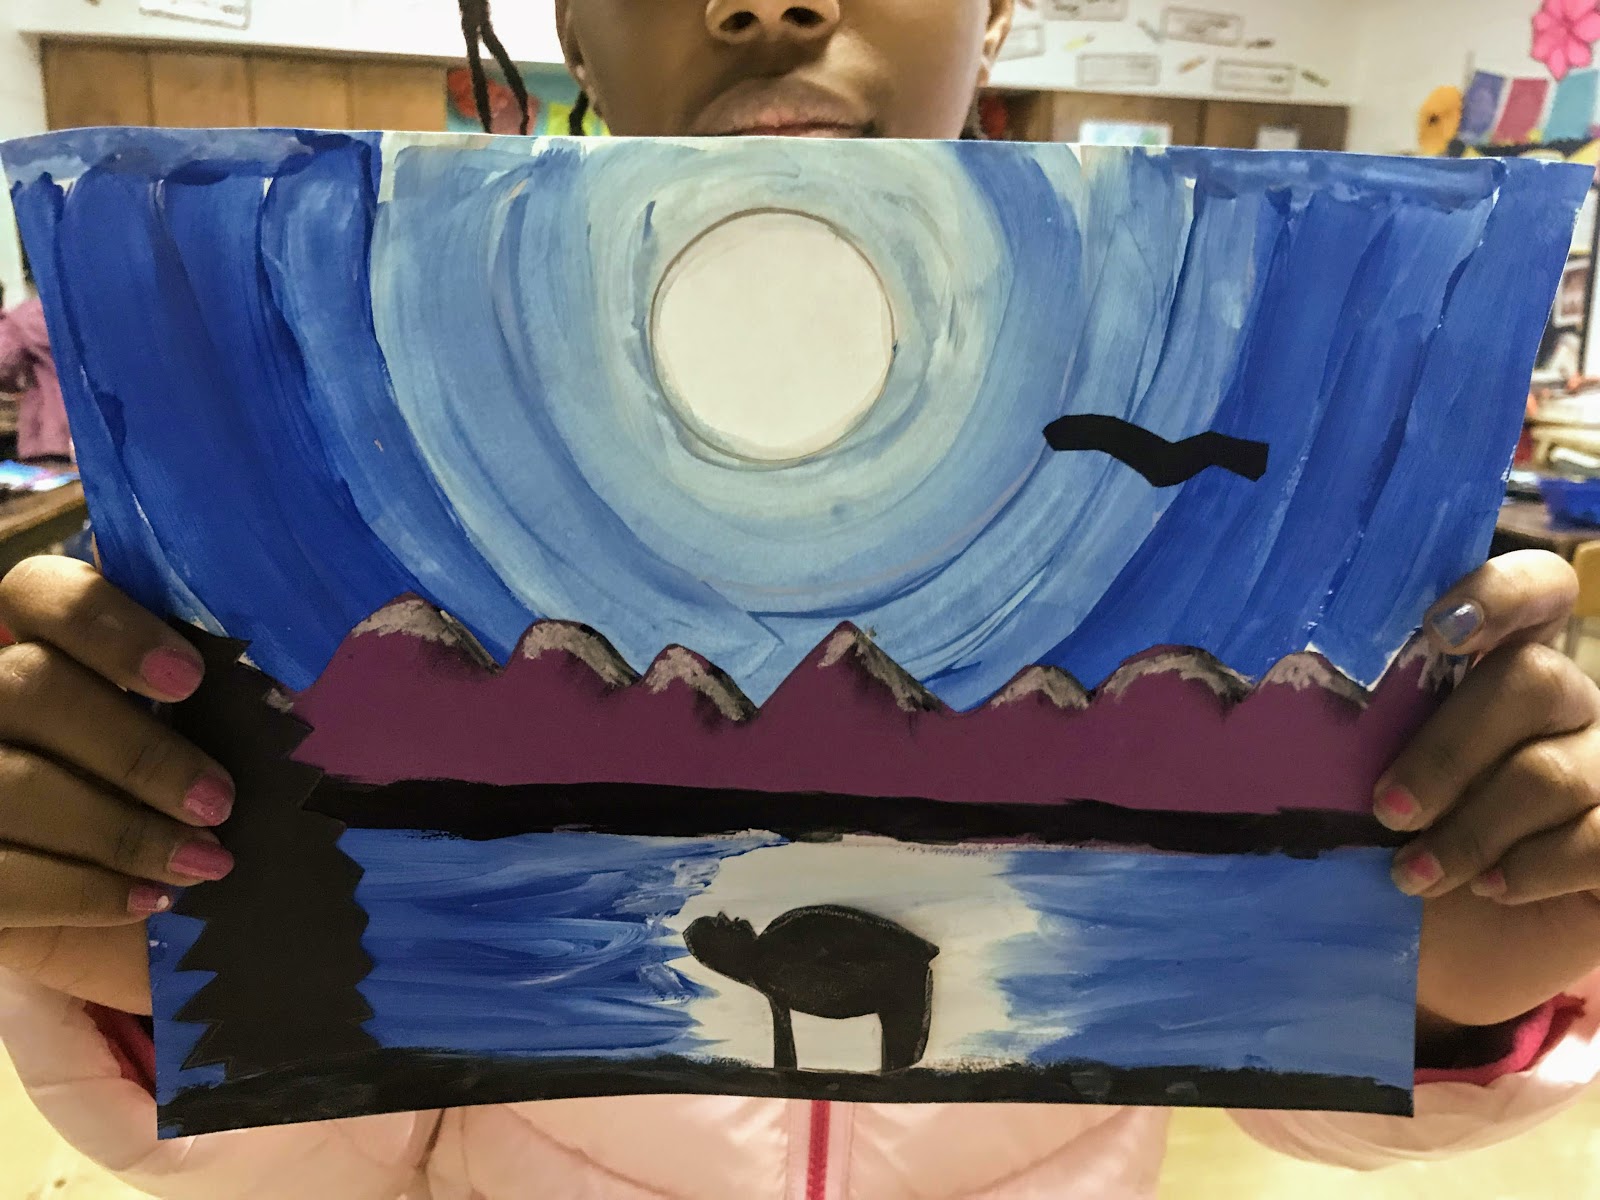
第二课时:用一条紫色卡纸制作山峦,并横向运笔绘制山下的水面及倒影。在山体底部与纸张底边各涂一条黑色色带。待上述步骤全部完成后,再用黑色卡纸剪贴出剪影!
敬请期待更多精彩美术作品!
四年级雪景剪影
Last week, 4th grade started this neat little wintry picture. I saw the original artwork on Step by Step Painting , and wanted to turn it into a 4th or 5th grade lesson!
Here's how we did it!
Materials:
Crayola Artista II tempera paint
Tru Ray construction paper
Sax 90lb paper
Big Kid's choice paintbrushes
Day 1: Spent the entire 45 minutes painting the sky. We only painted the top half of the paper too!
We traced a circle for the moon, and then added 3 layers of white,and about 3 layers of blue. We used Q-tips to add dots of blue to the white rings, and dots of white to the blue rings. The final blue ring was just blue.
Here's a beautiful example from Ellie!
Day 2: We used a strip of purple paper to make the mountains, and painted horizontally to make the water and reflection underneath the mountains. We painted a strip of black on the base of the mountains, and on the bottom of the paper. After all of that is complete, we added silhouettes with black paper!
Stay tuned for some awesome art!