四年级和五年级 Jen Aranyi 启发冬季景观
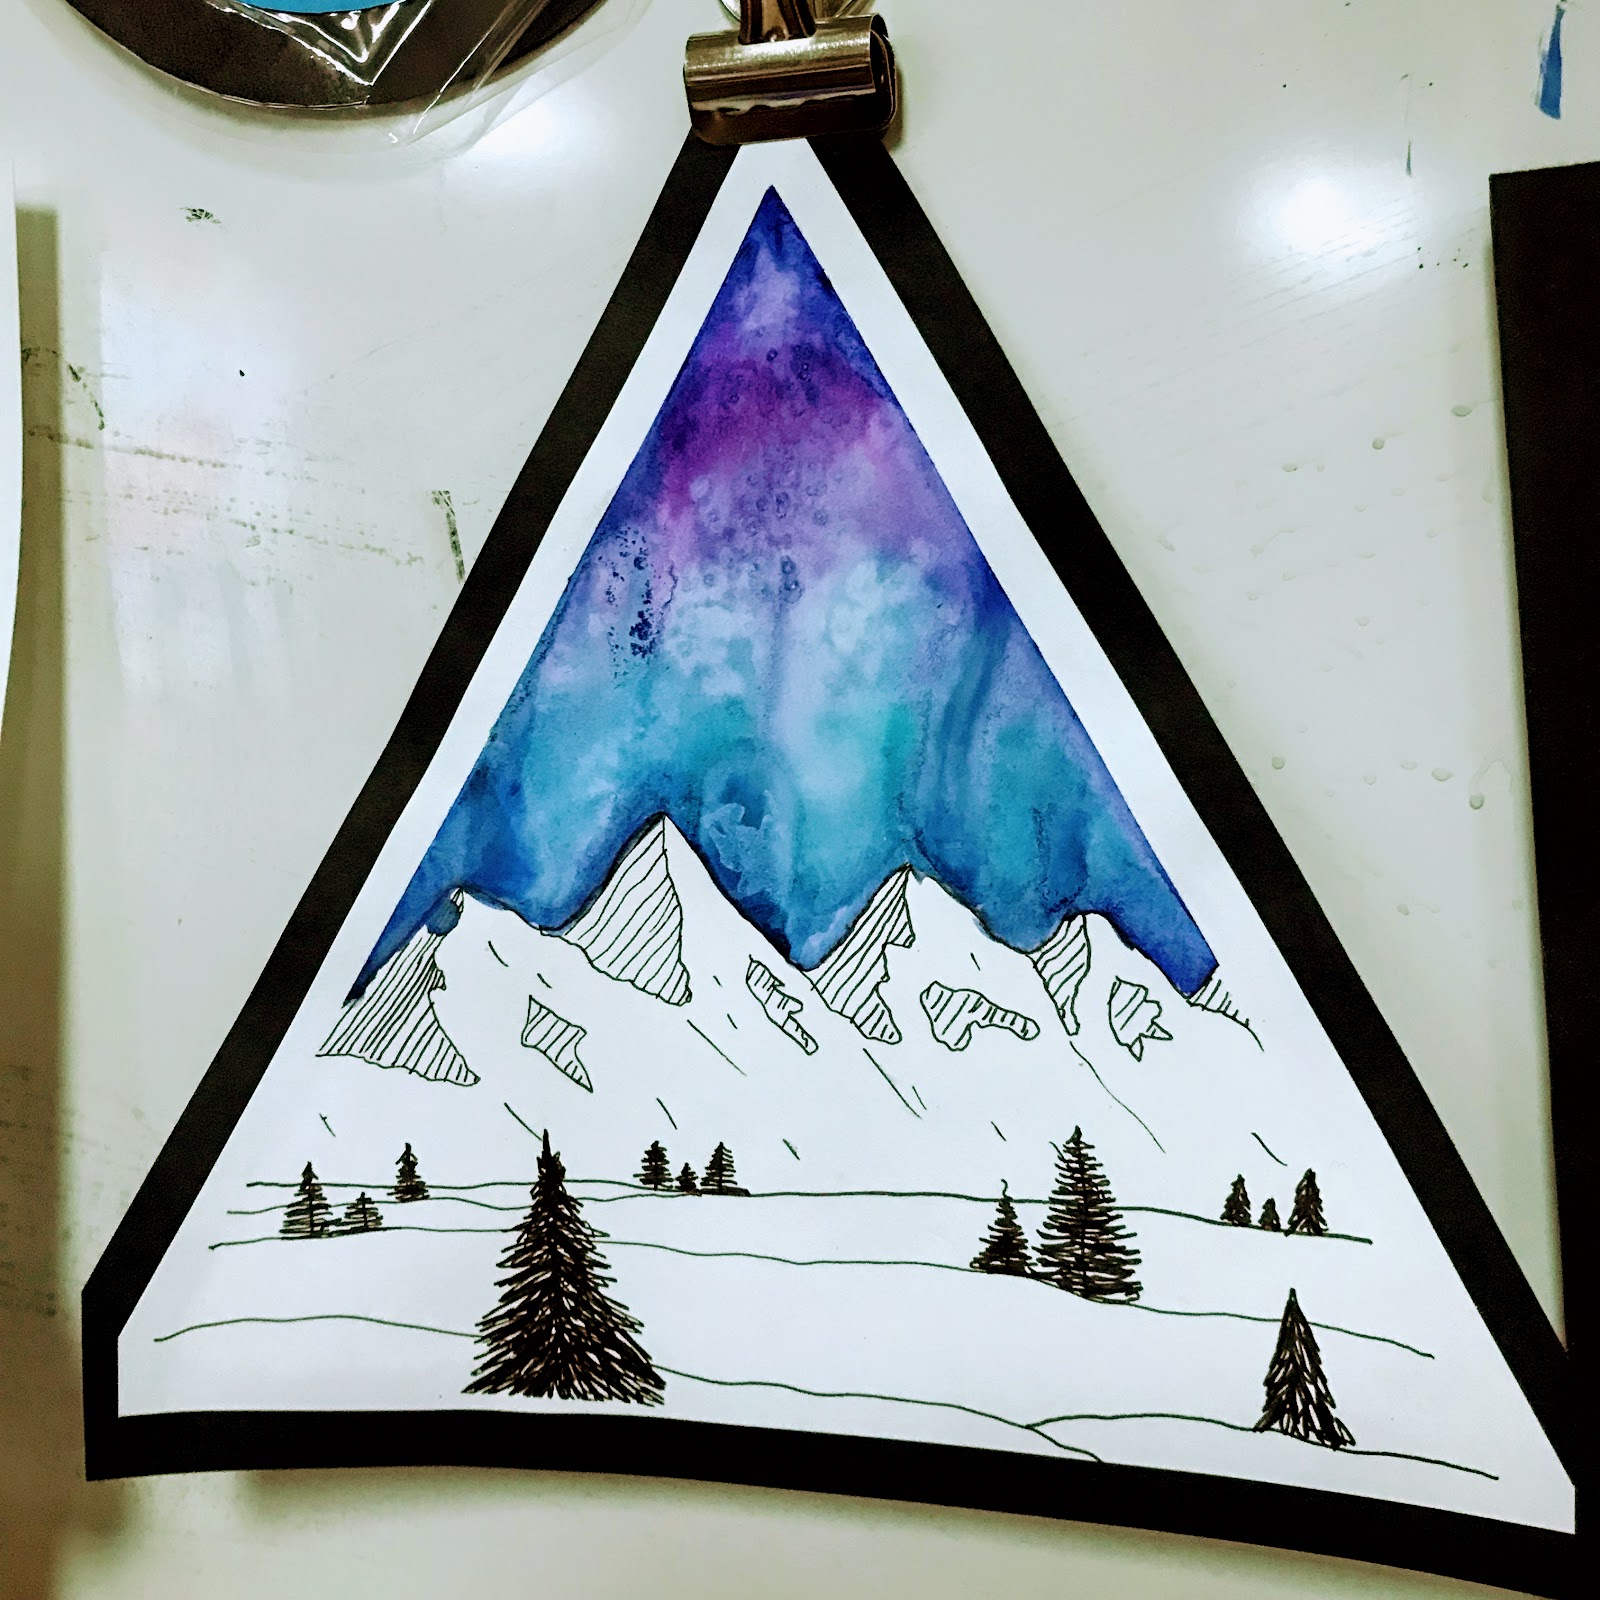
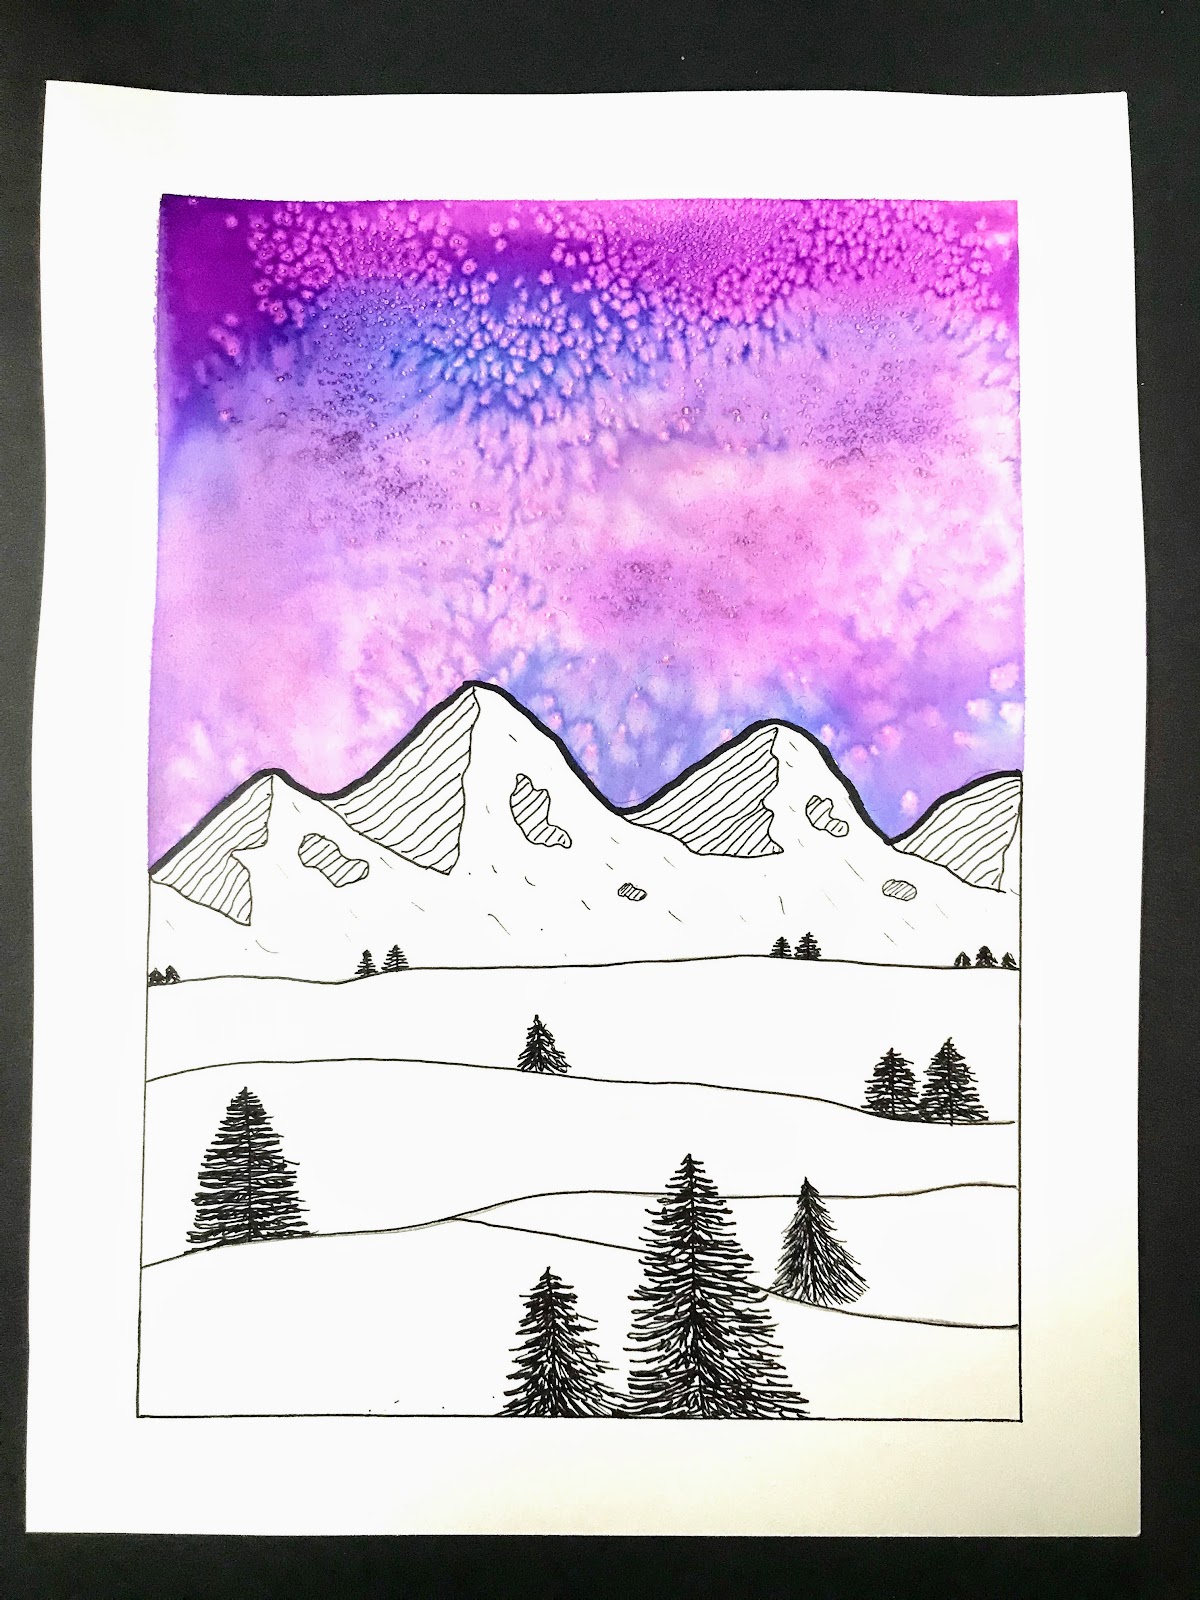
大家快到终点啦!距离寒假仅剩1.5天!!孩子们表现得特别棒,这多亏了像本次这样有趣的新项目!我正刷着 Instagram(咳咳……我是说,正在与 fellow Ahht 教师们 协作)时,偶然发现了一个超棒的课程方案——灵感源自独一无二的 Cassie Stephens 和才华横溢的 Art Room Britt 。她们班正开展以 Jen Aranyi 作品为灵感的风景画创作,我自然也迫不及待地让我的学生尝试起来!各位……这些作品完成得非常出色,孩子们也对这项活动充满热情。他们特别喜欢观看艺术家的延时绘画视频,我们都被她精美的作品深深震撼!
以下是我们的创作步骤!
(绘画教学视频位于本文末尾,或可点击此链接)
材料:
9×12 英寸 Sax 90 磅纸
Crayola Artista II 水彩
Big Kid's choice 画笔
蓝色美纹纸胶带
铅笔
细头 Sharpie 马克笔
第一天:向学生介绍 Jen Aranyi 的作品;展示 Cassie Stephens 和 Art Room Britt 网页上其他四年级学生的范例;随后立即动手!
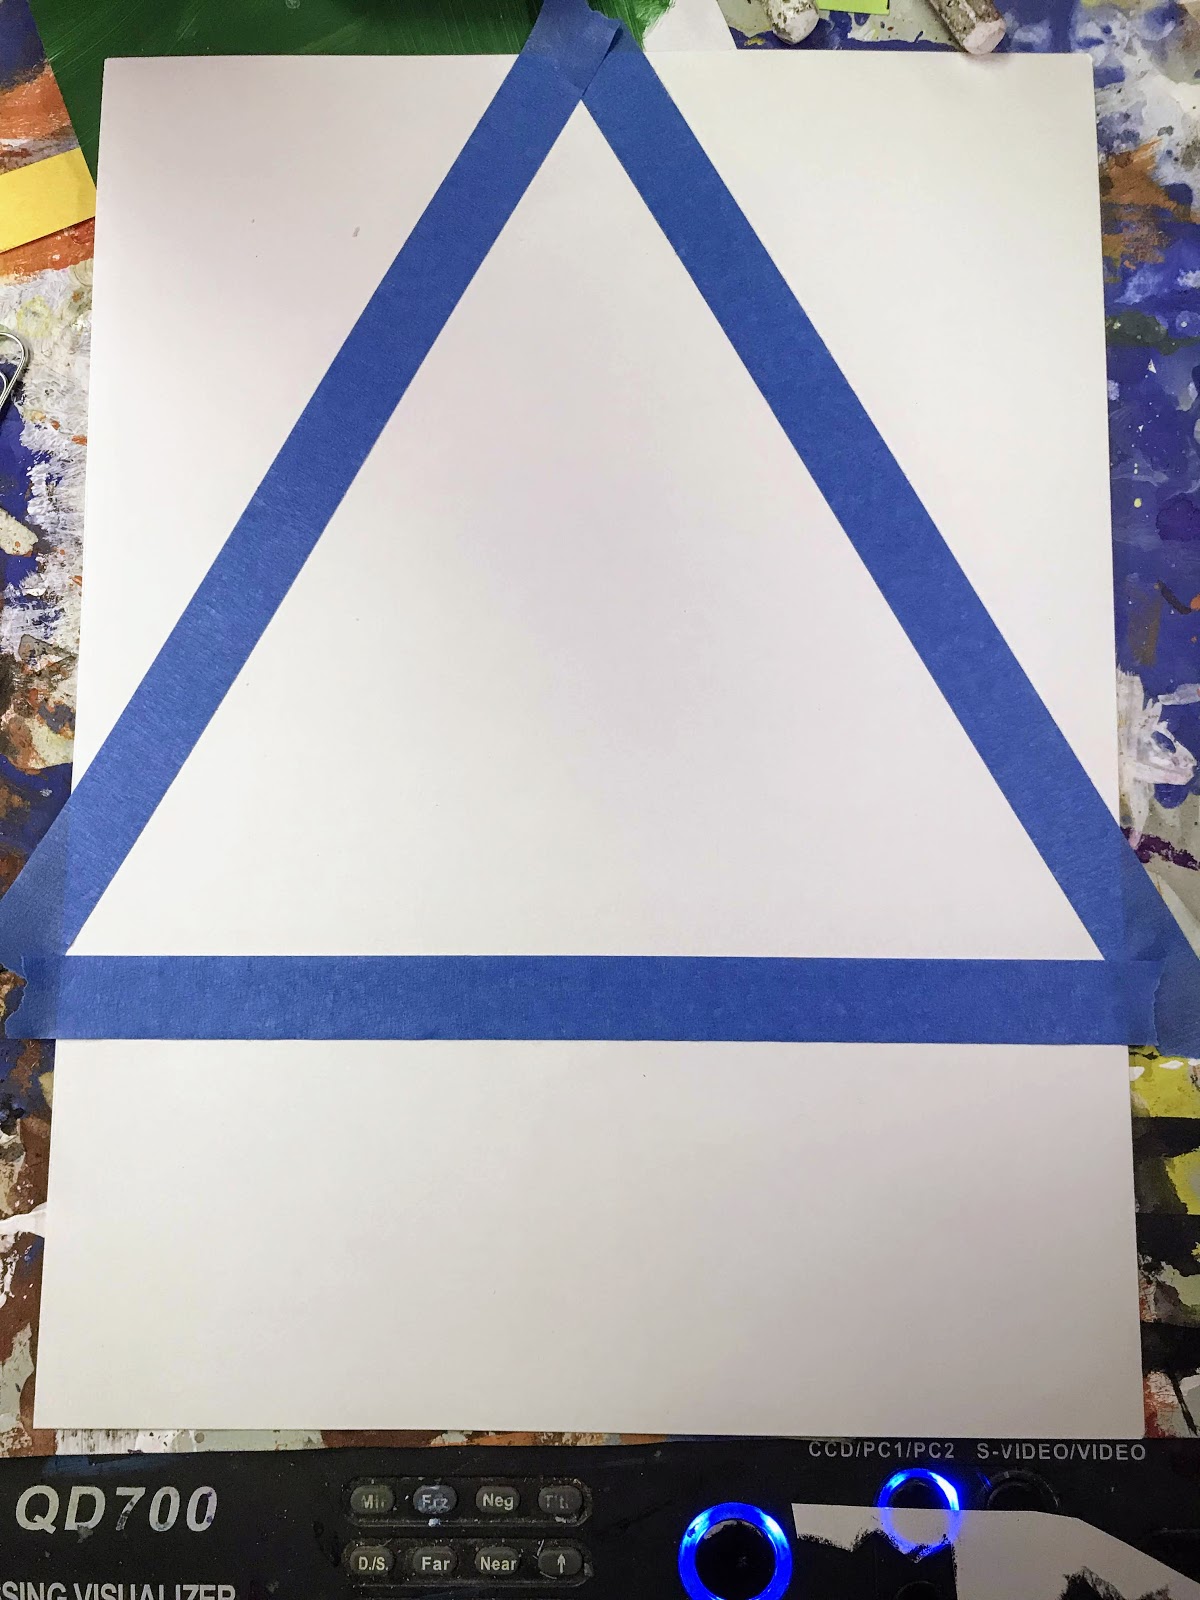
首先,我们用胶带固定画纸边缘,并勾勒出雪景地貌轮廓。
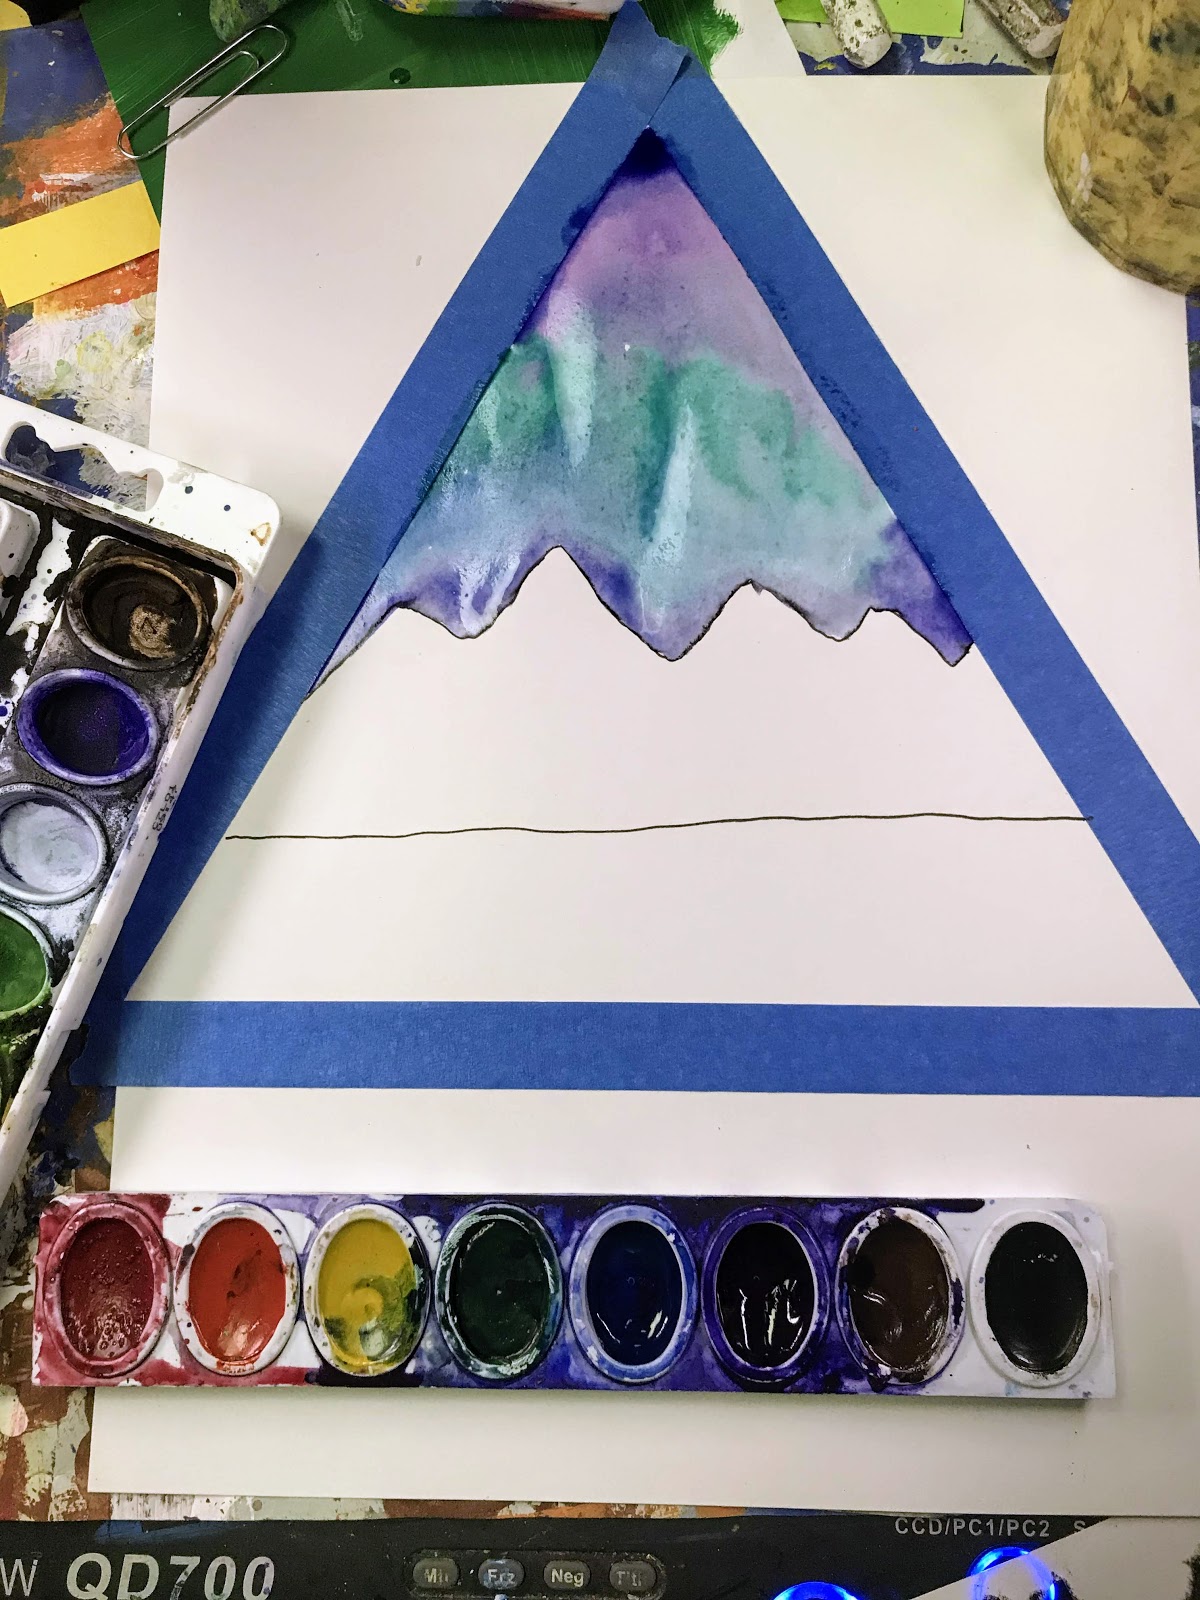
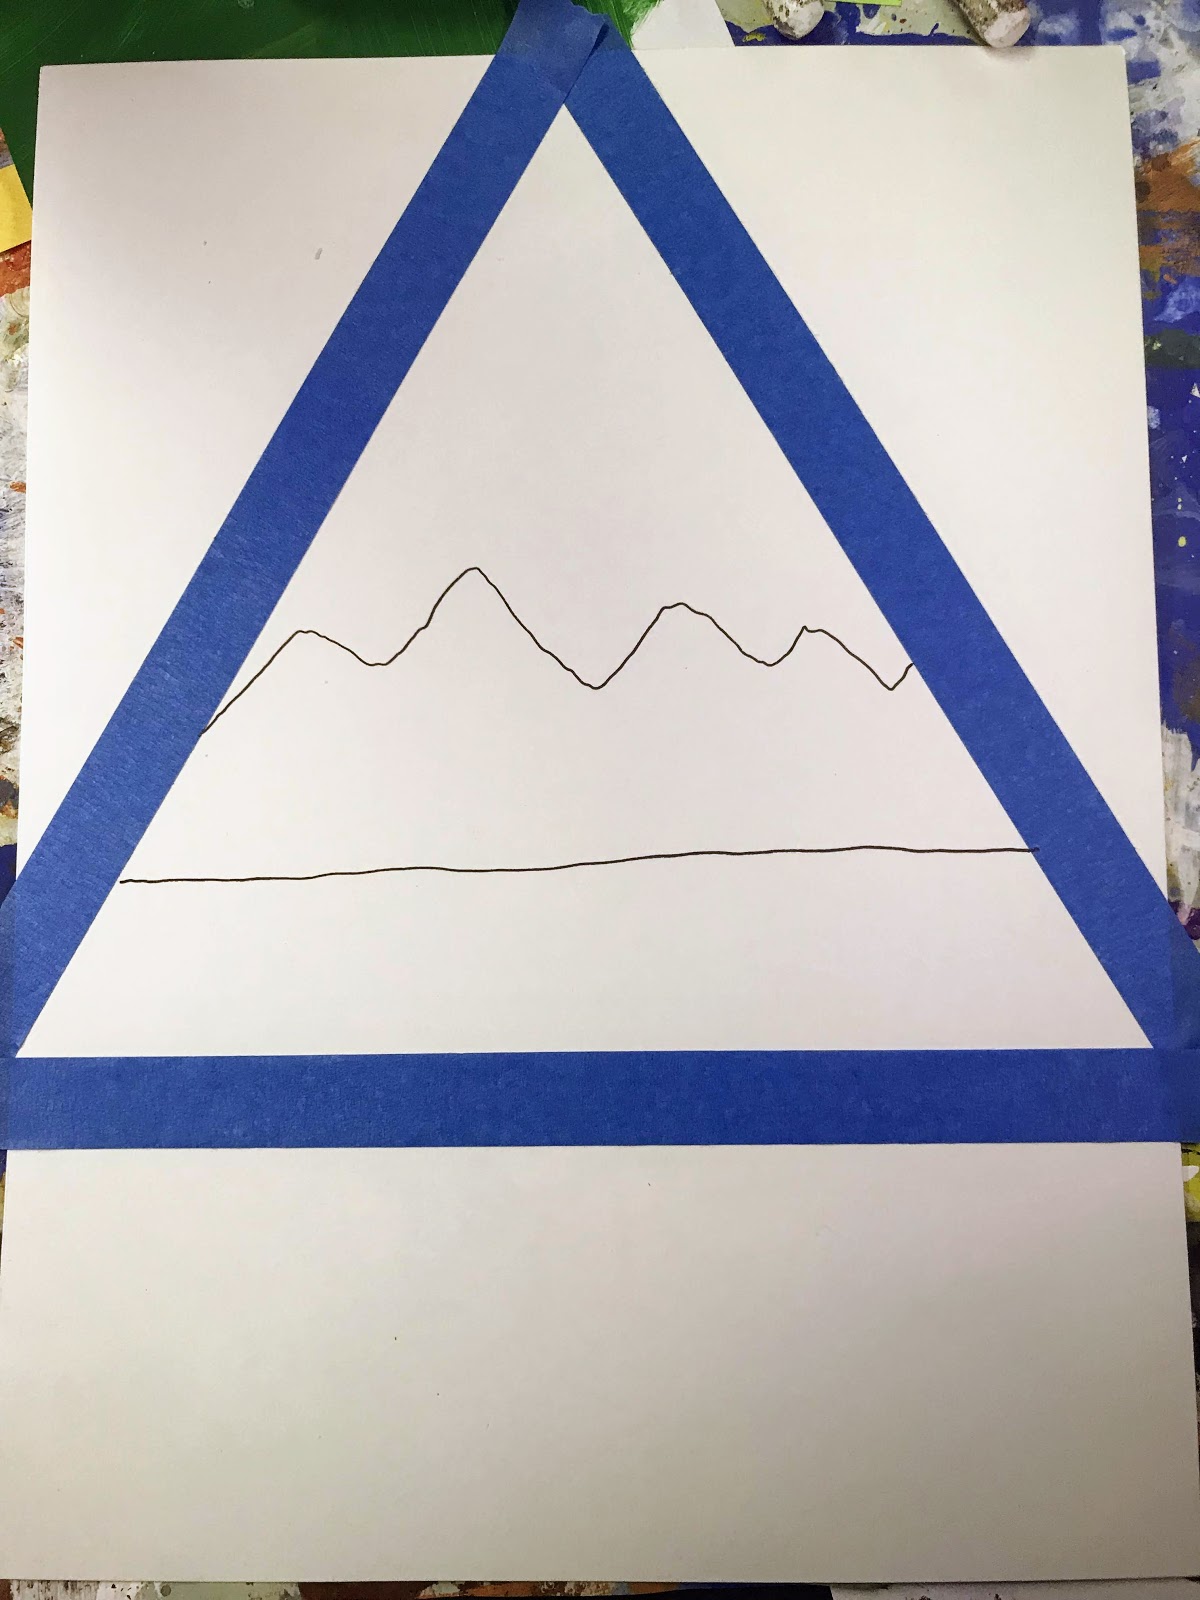
接着,我们通过添加线条来丰富山体细节。
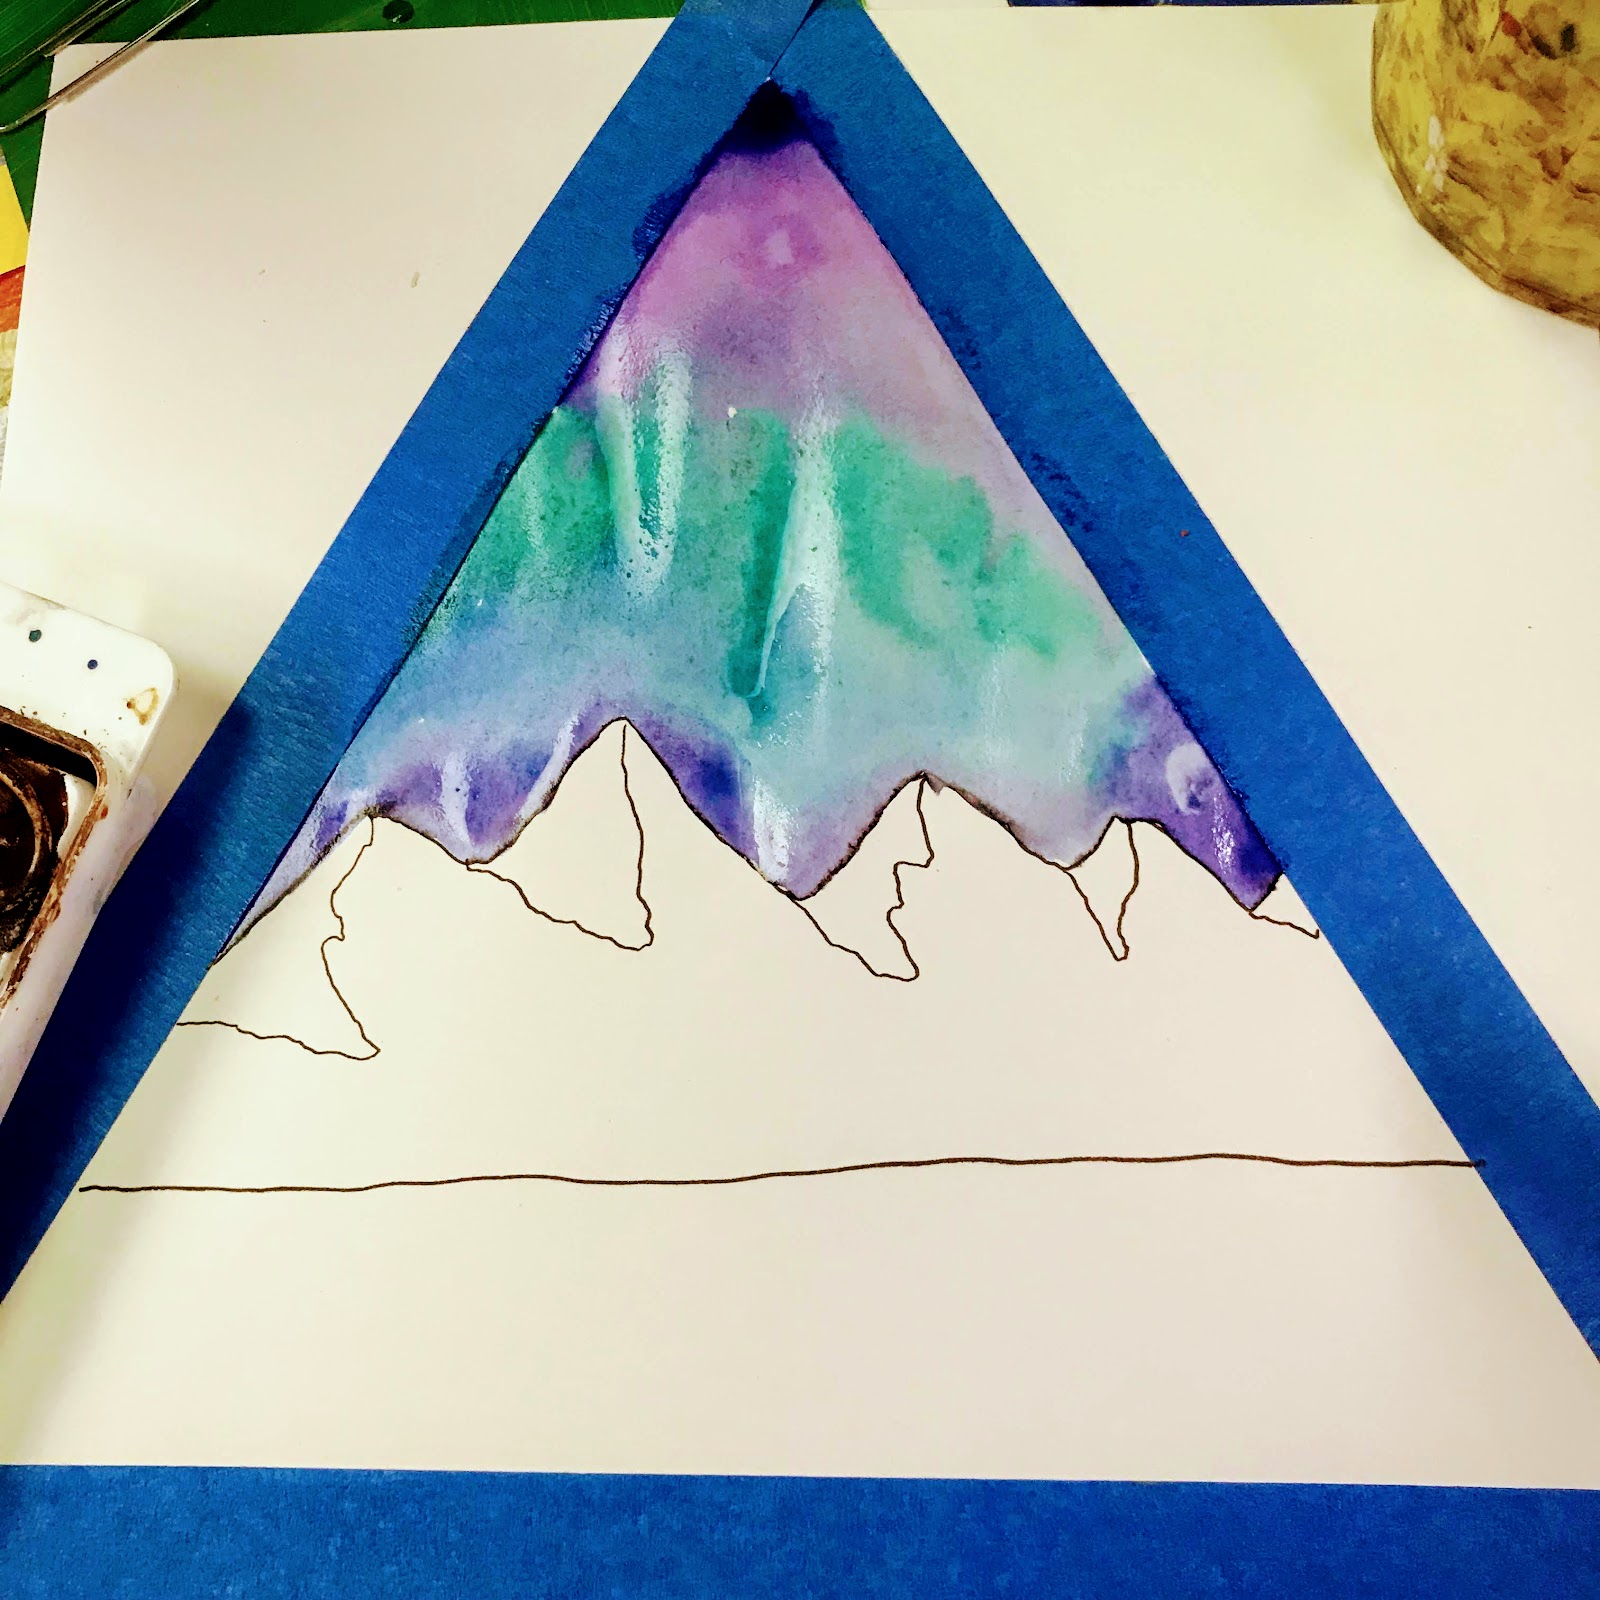
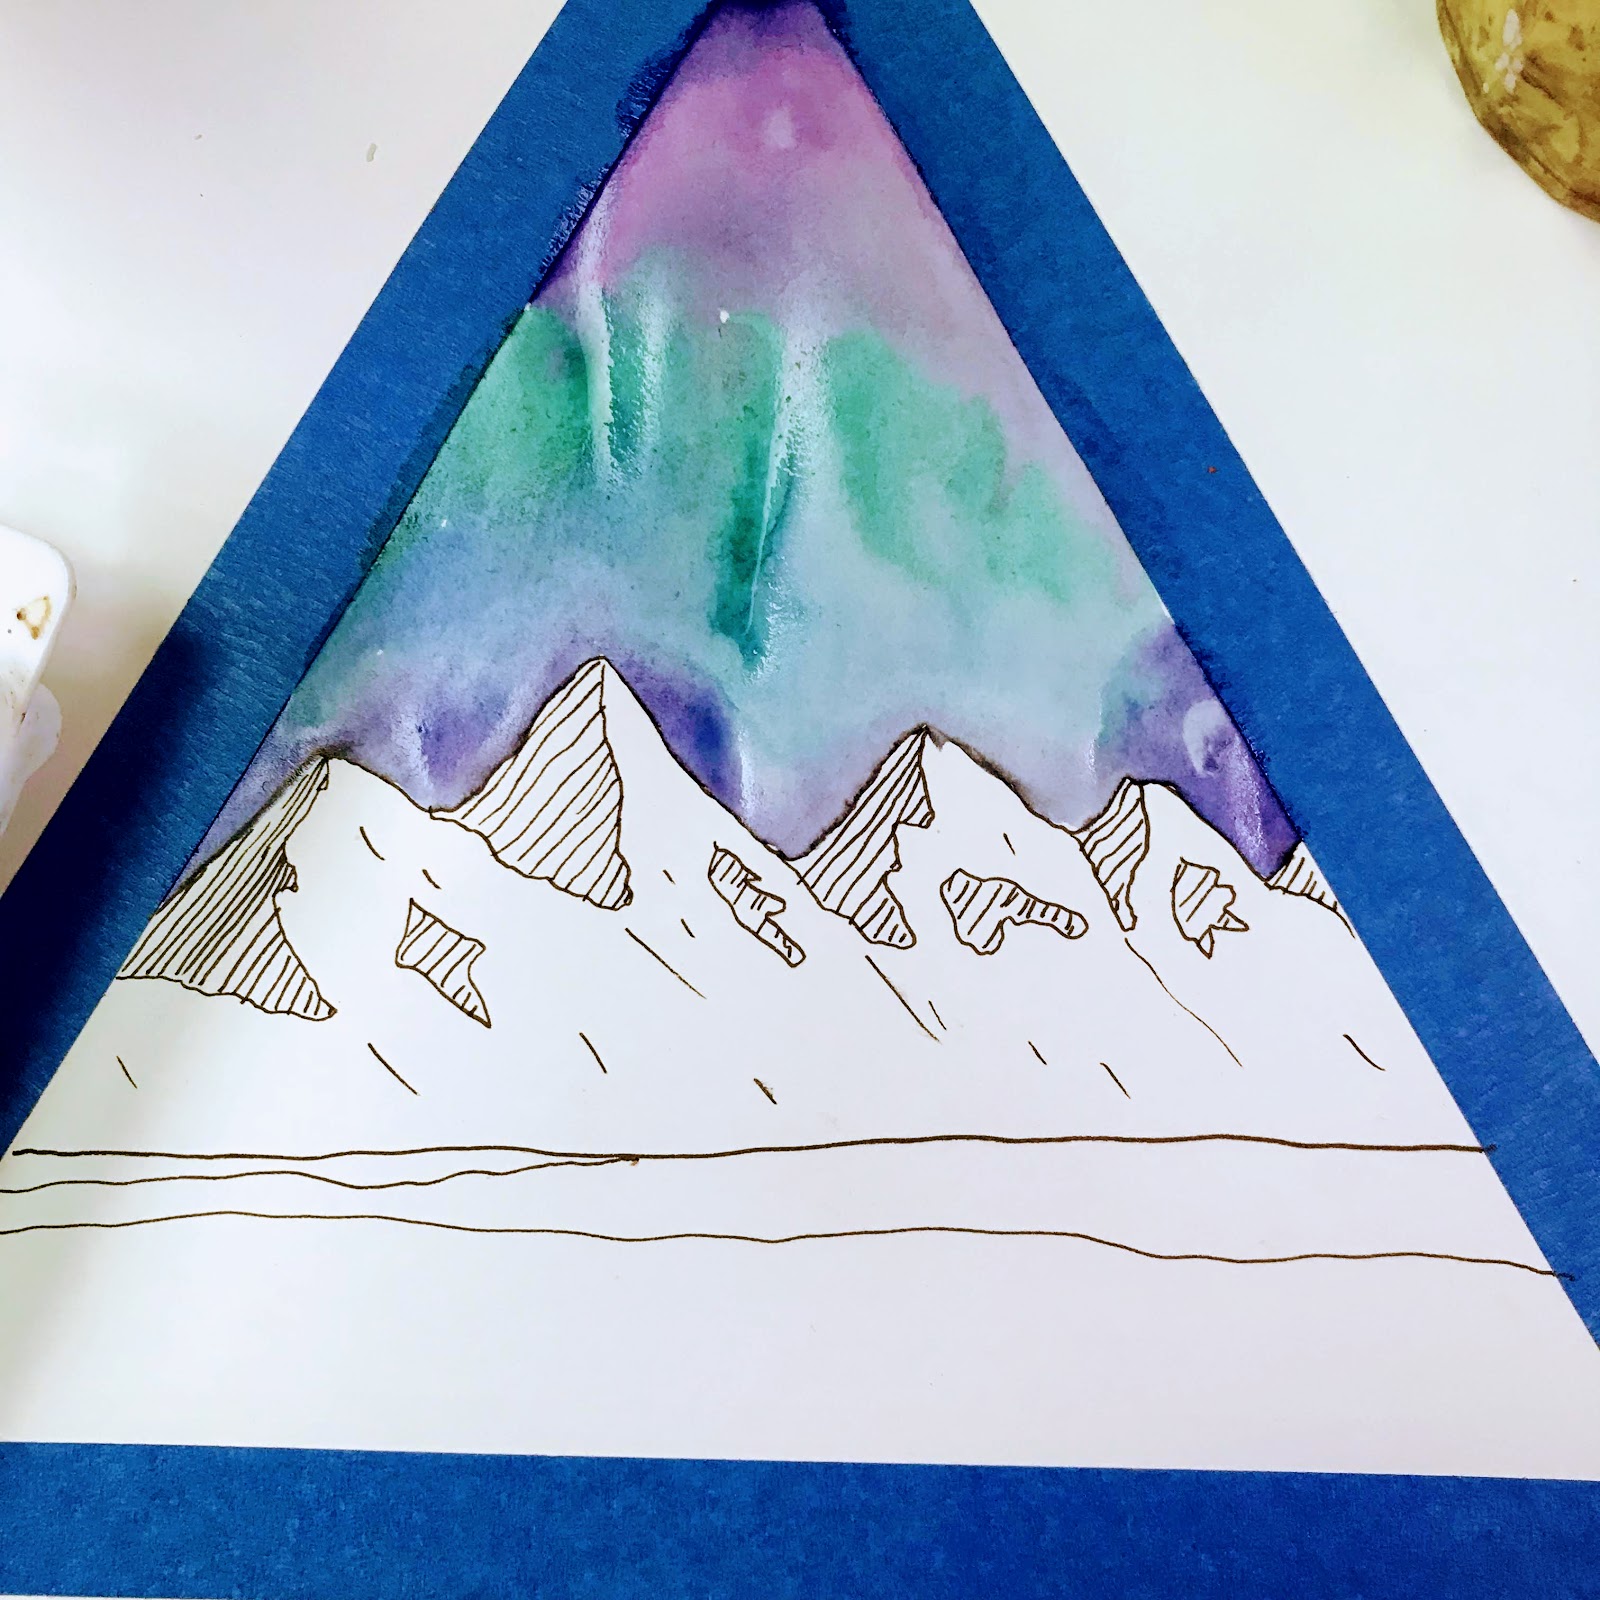
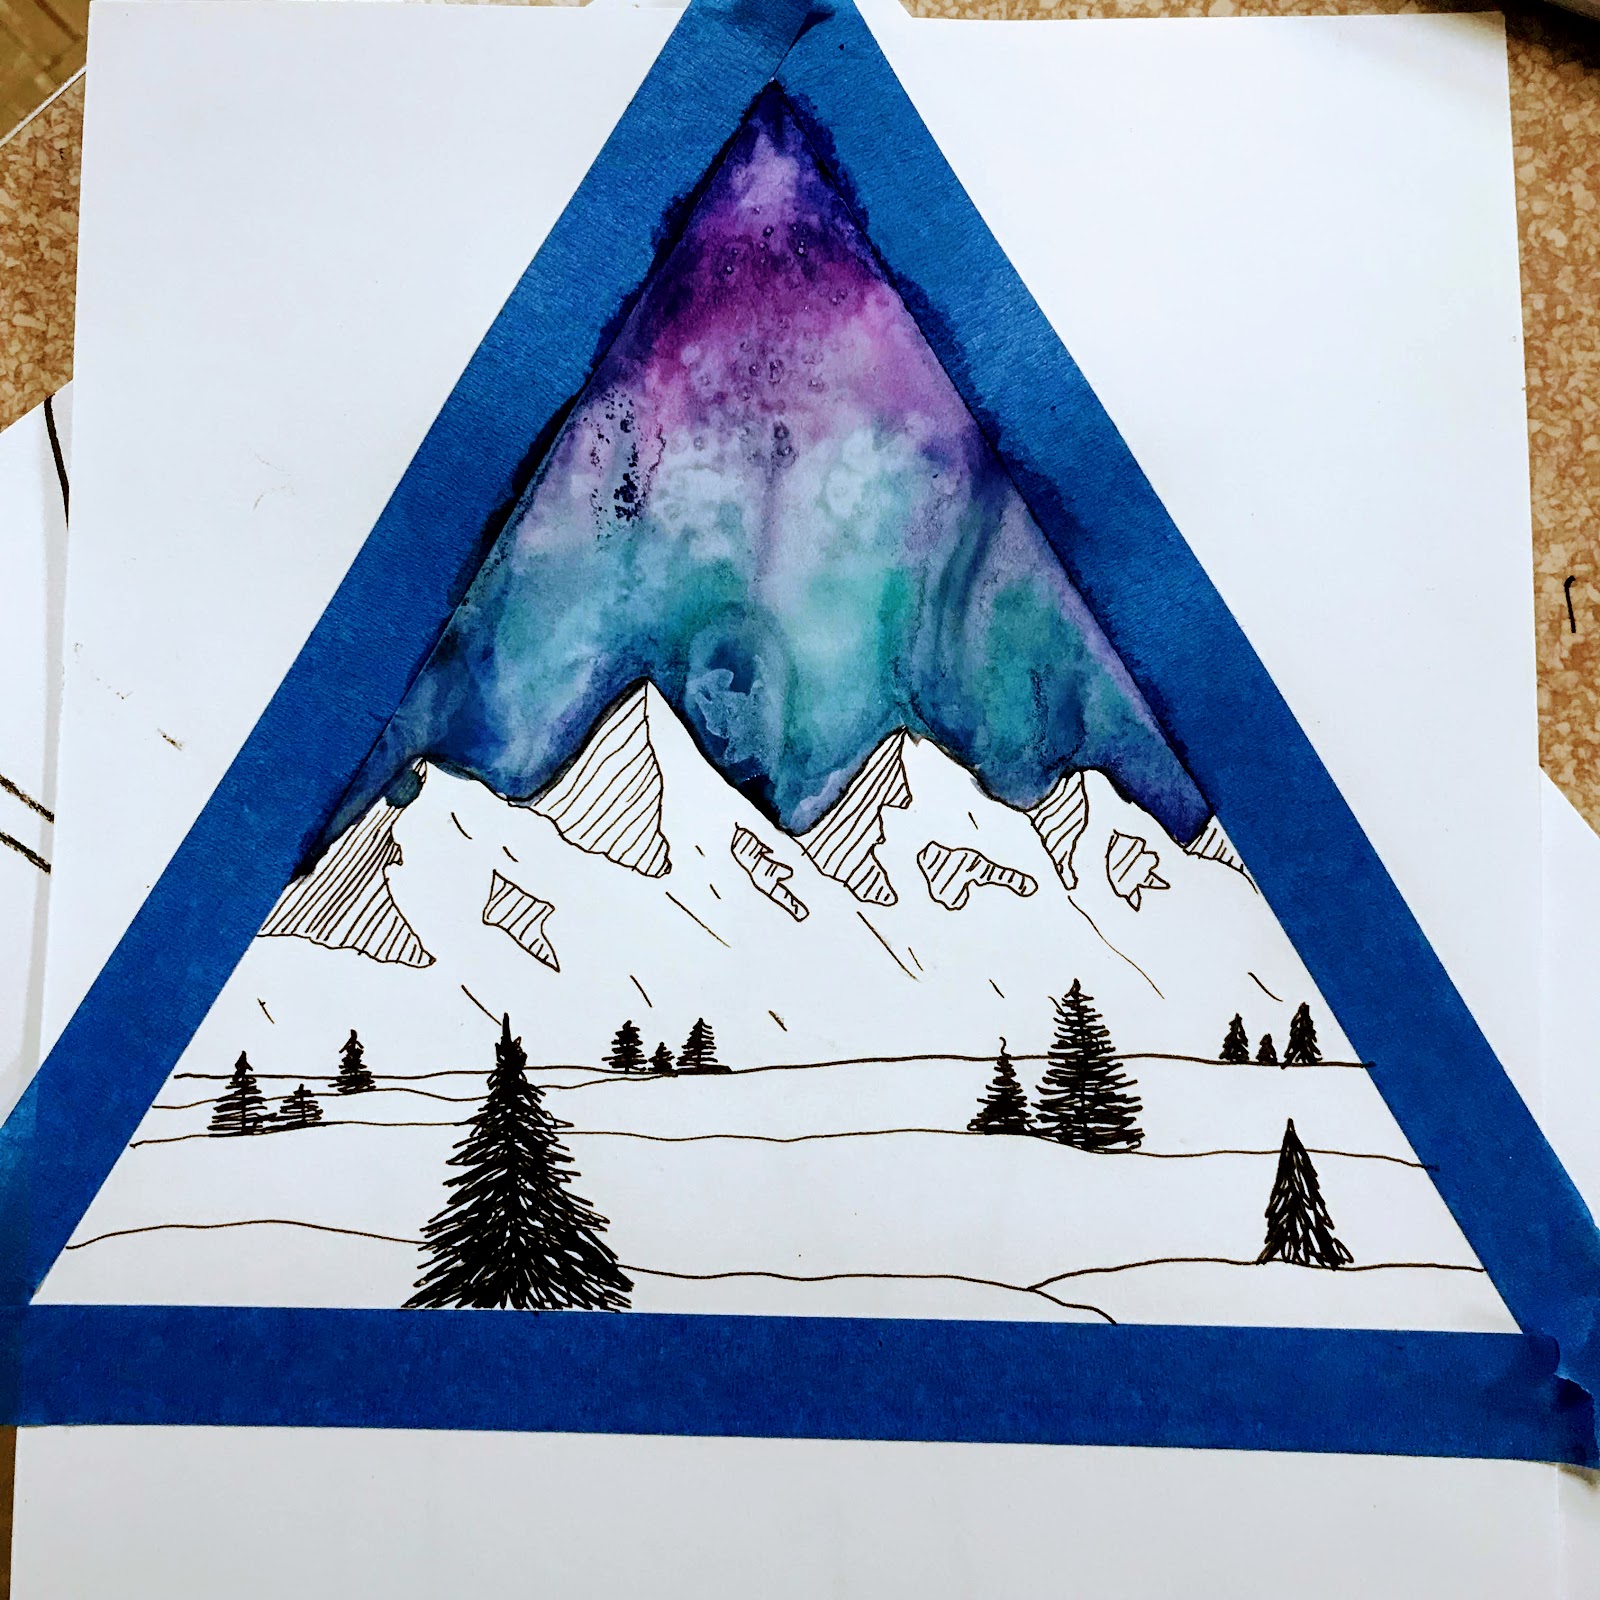
然后,我们探讨如何在背景中绘制小树,使其显得遥远;而在前景中绘制较大的树,则使其看起来更大、更近!
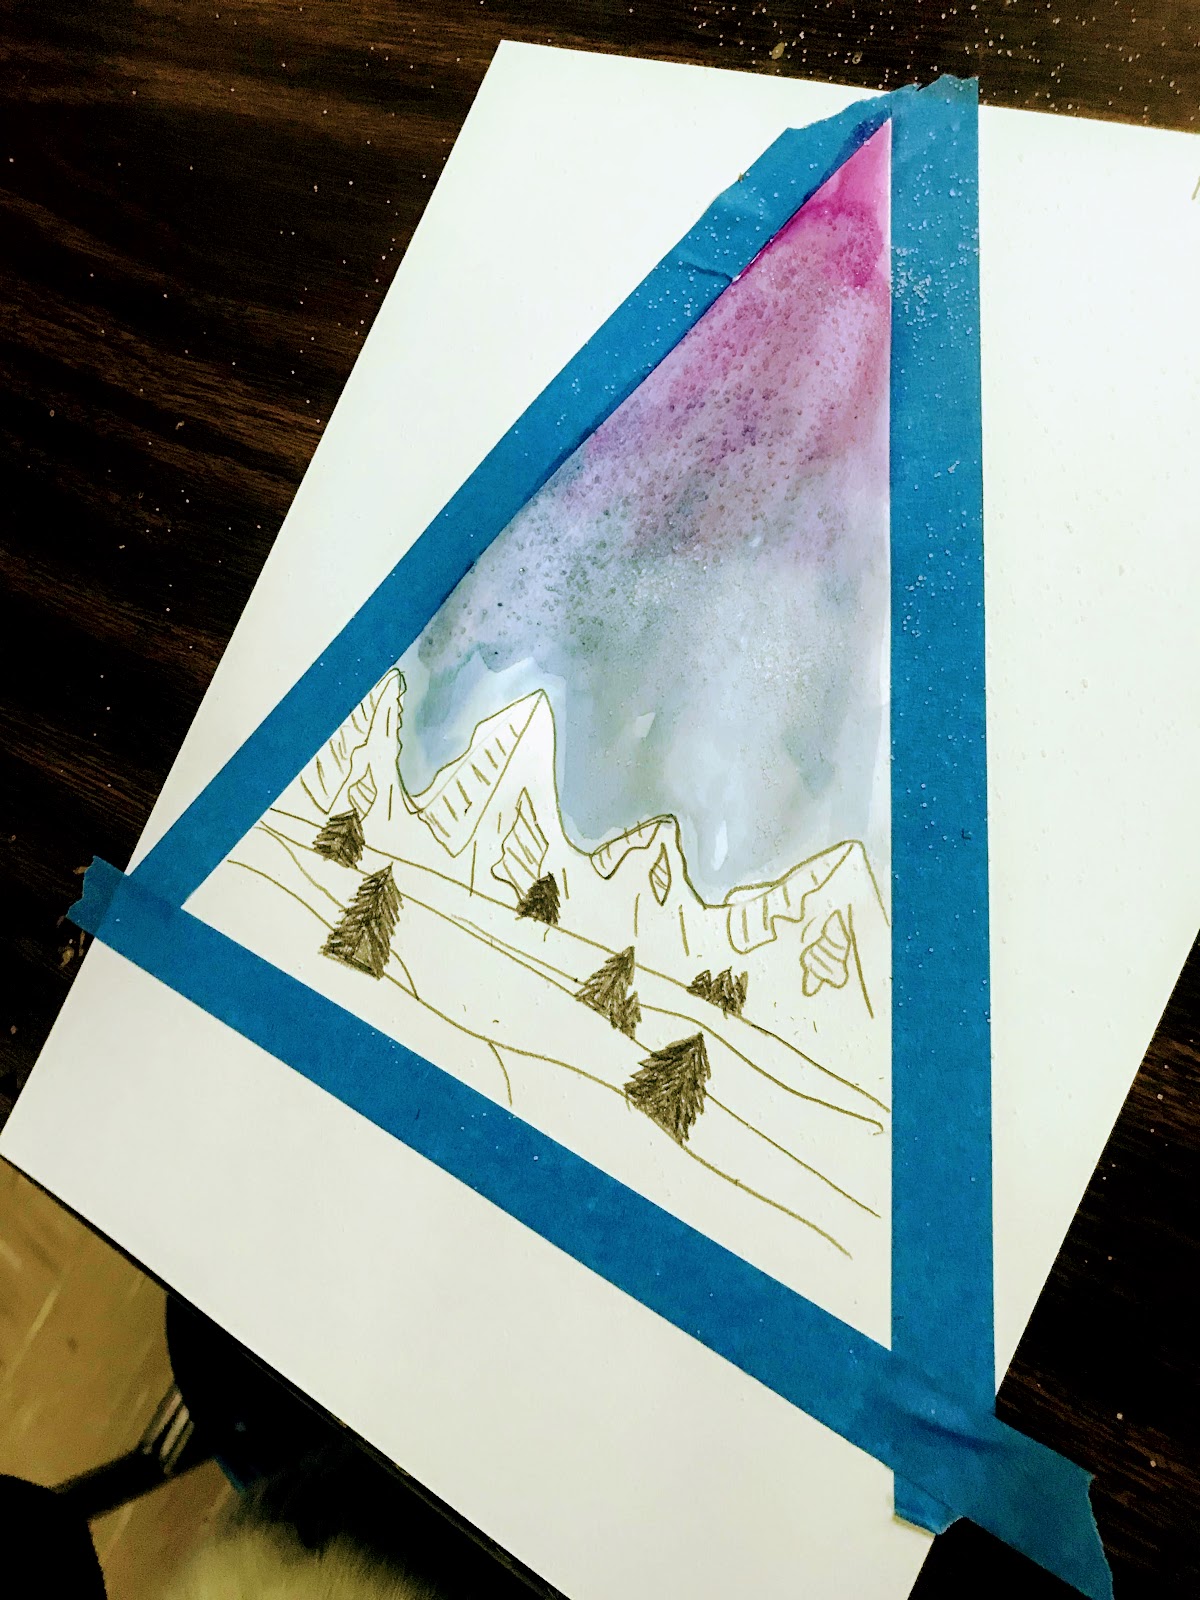
顺便提一句:待天空部分水彩干透后,我在画面上撒了些盐,制造出别致的肌理效果。
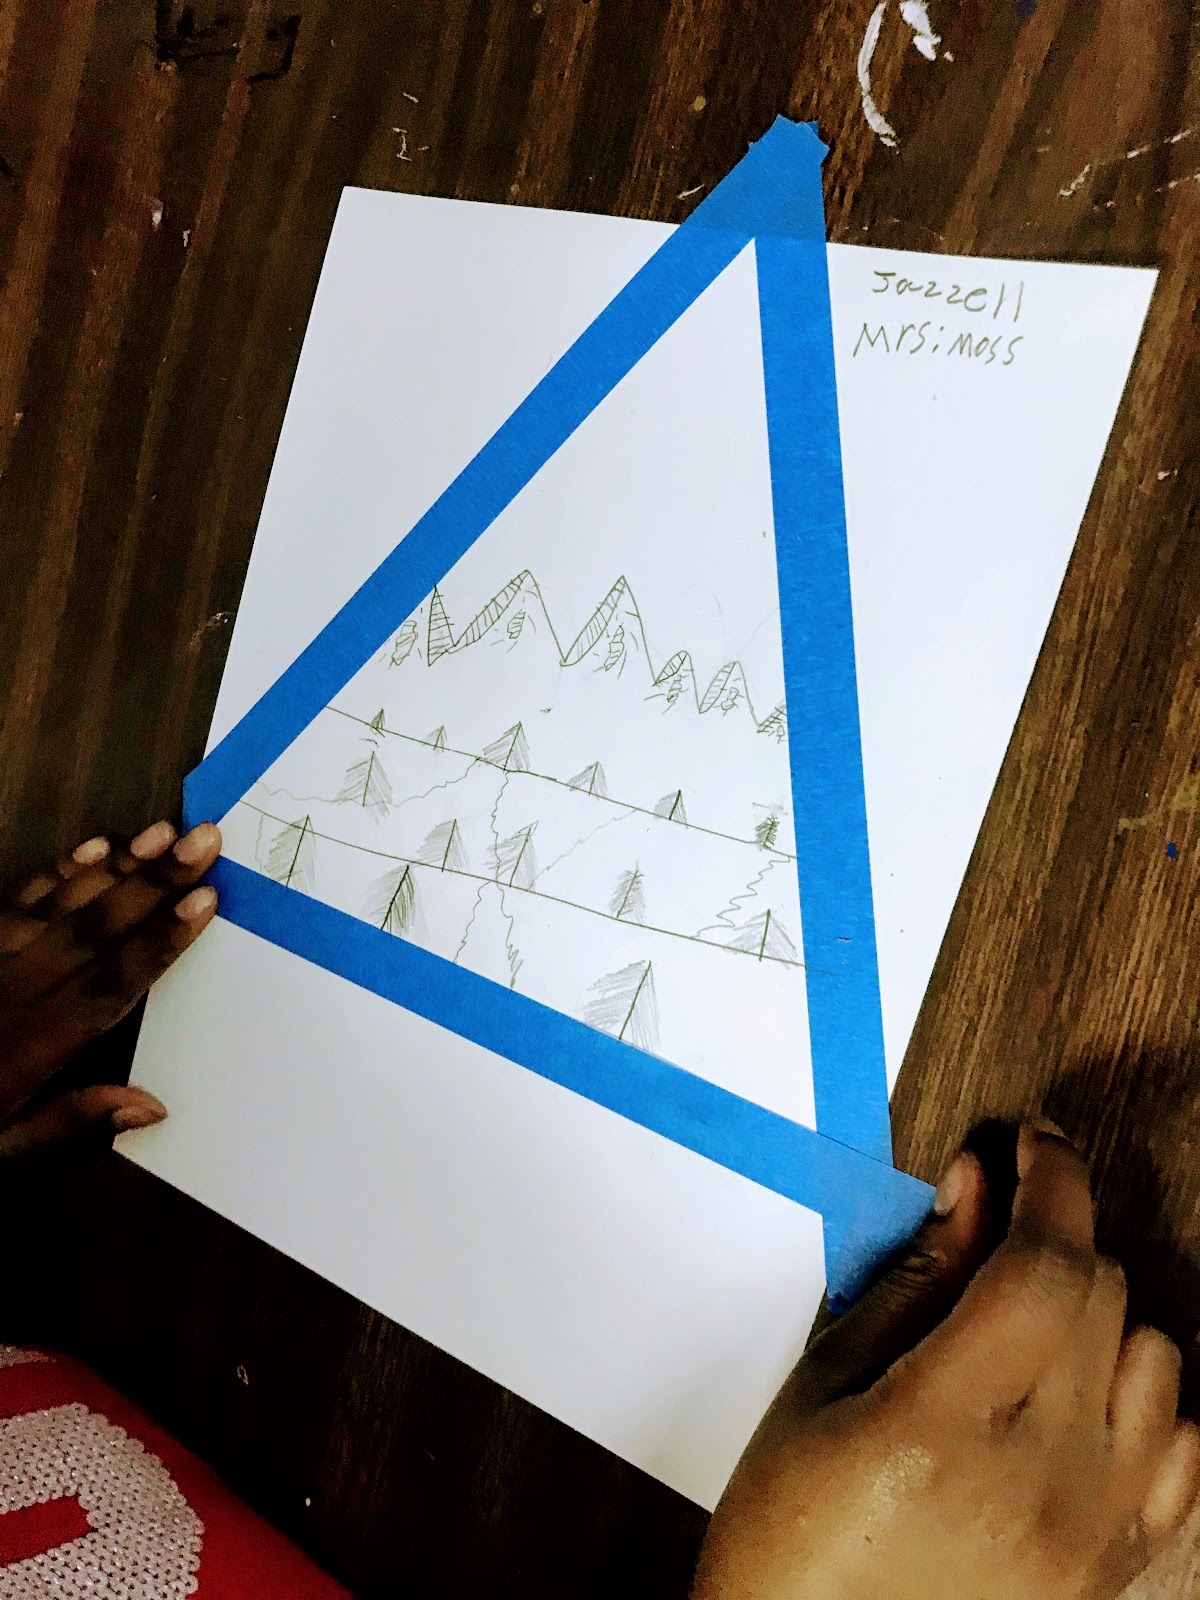
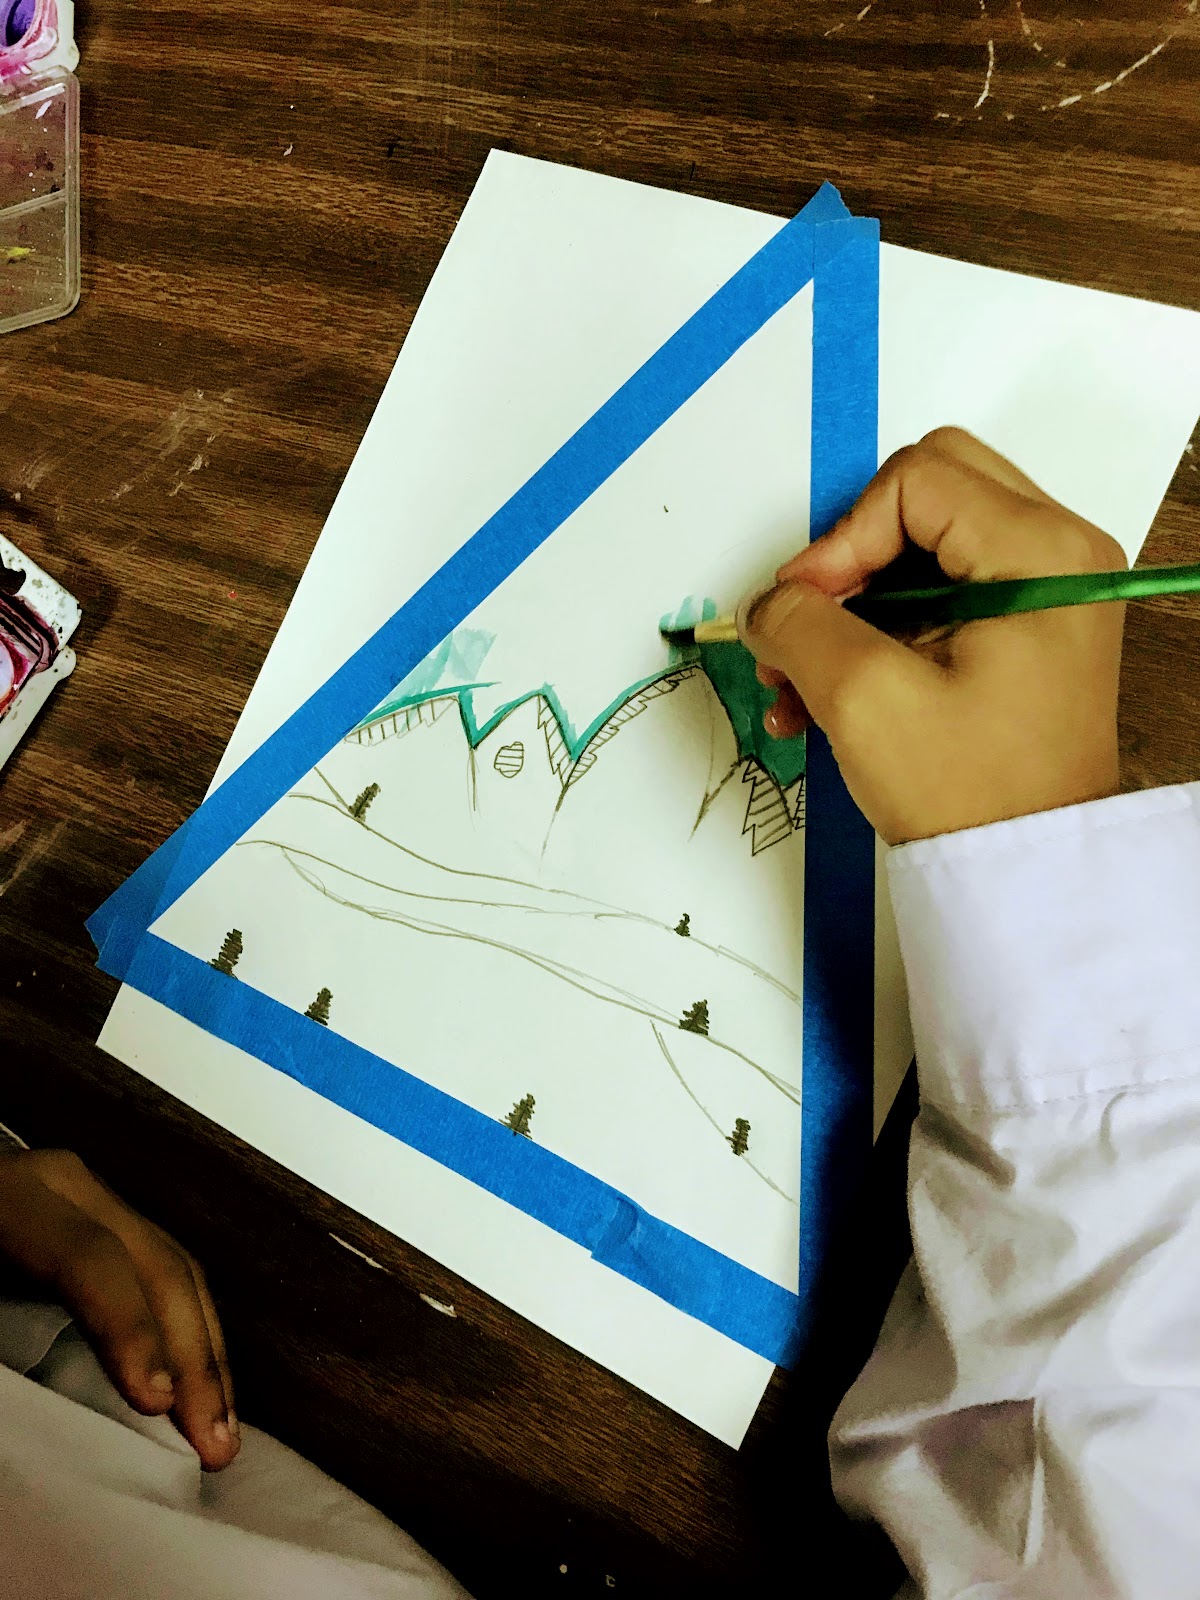
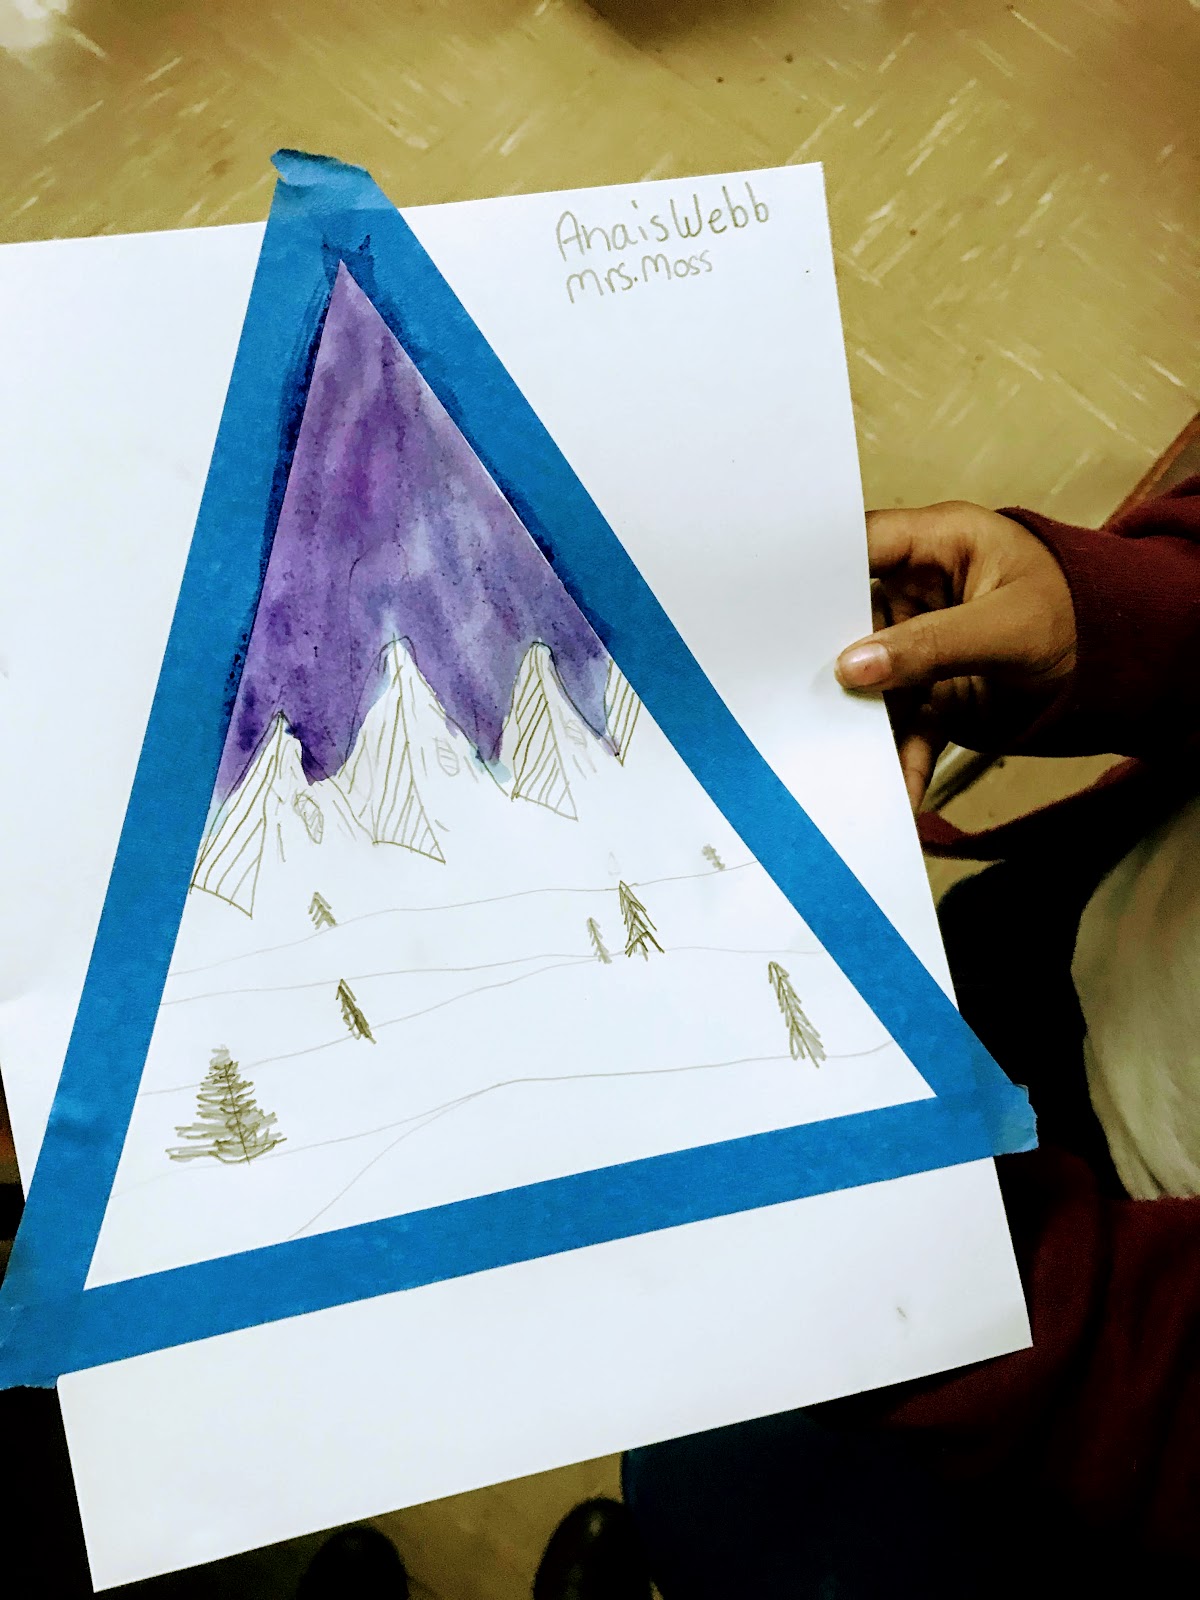
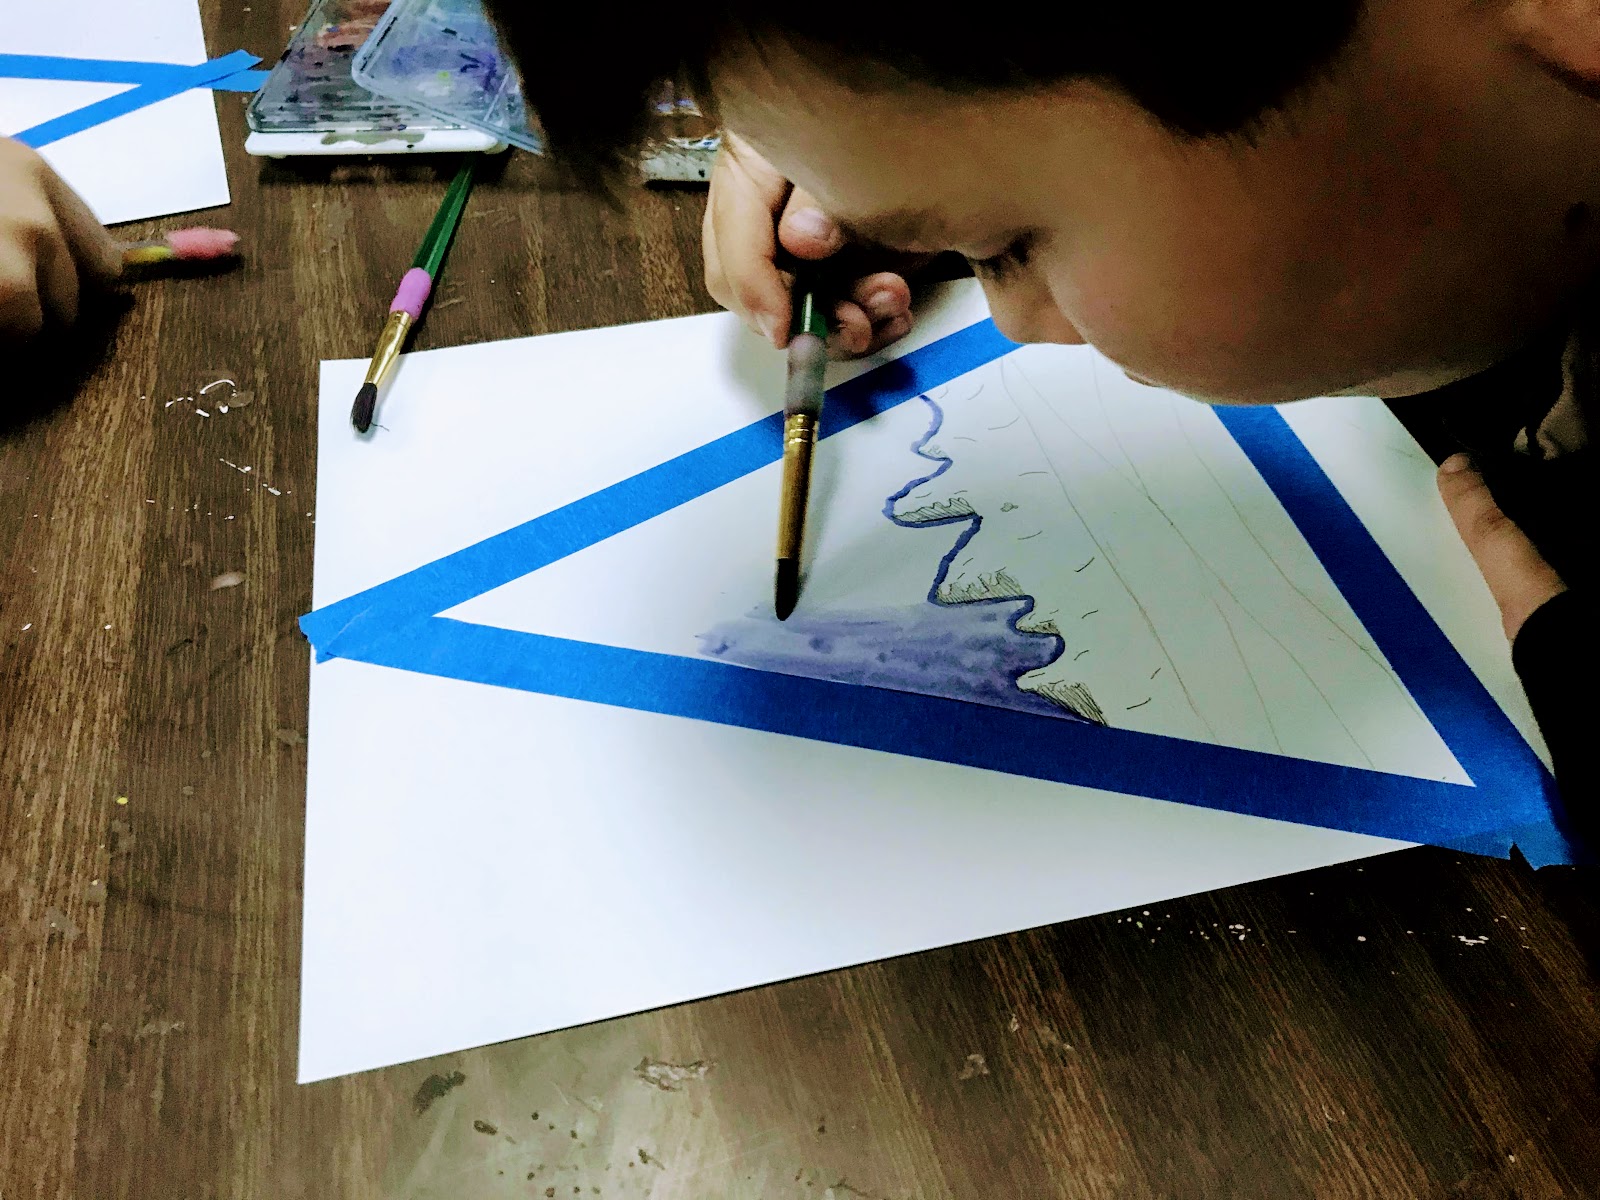
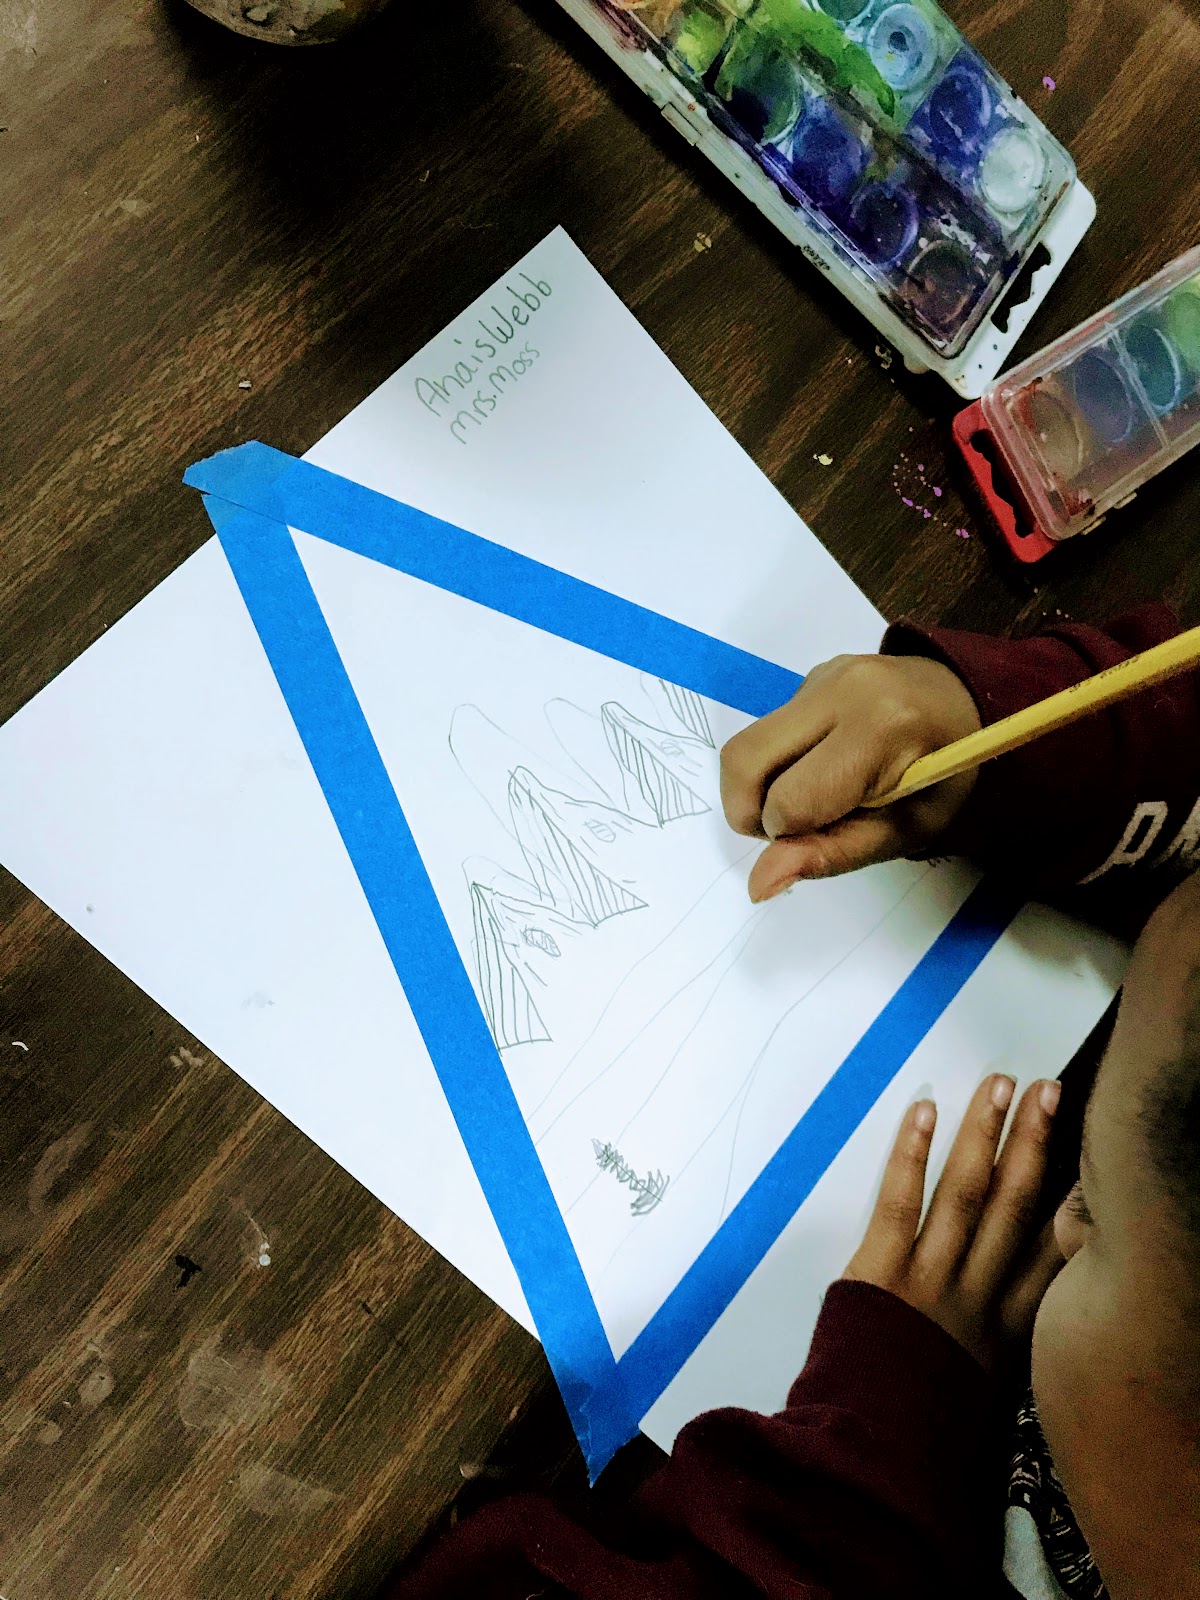
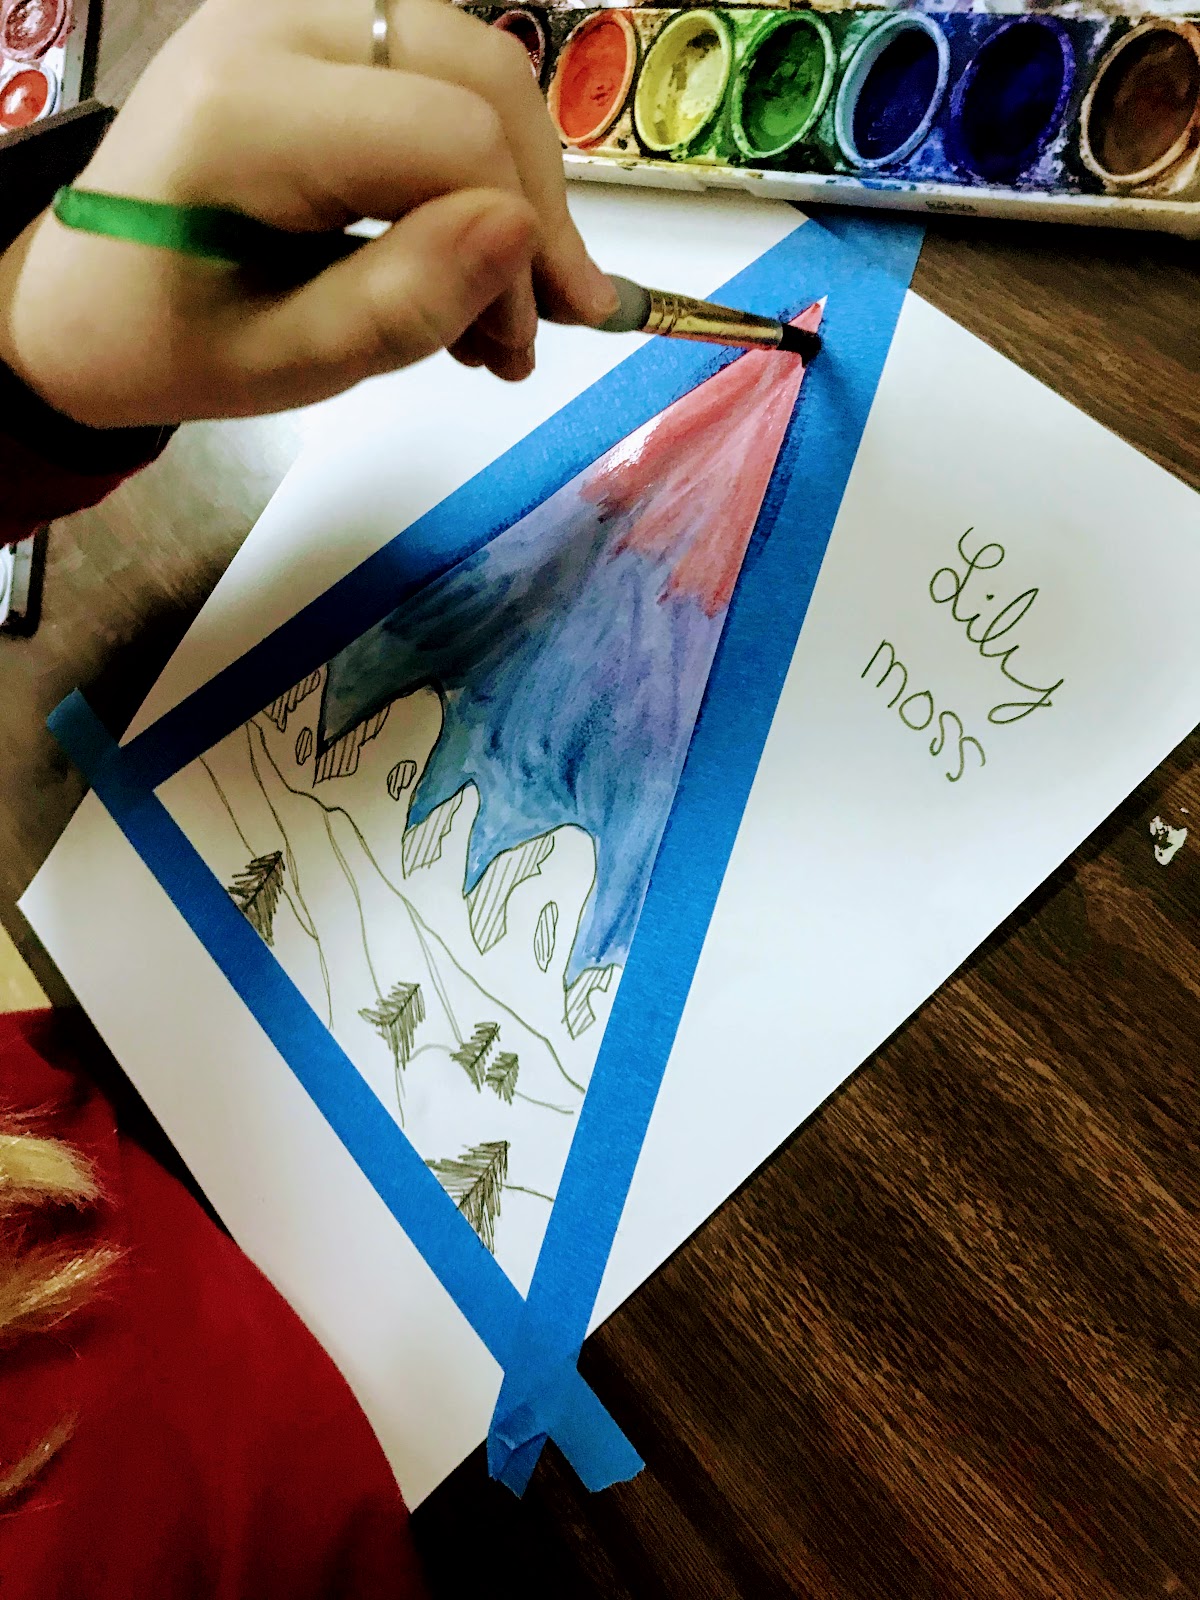
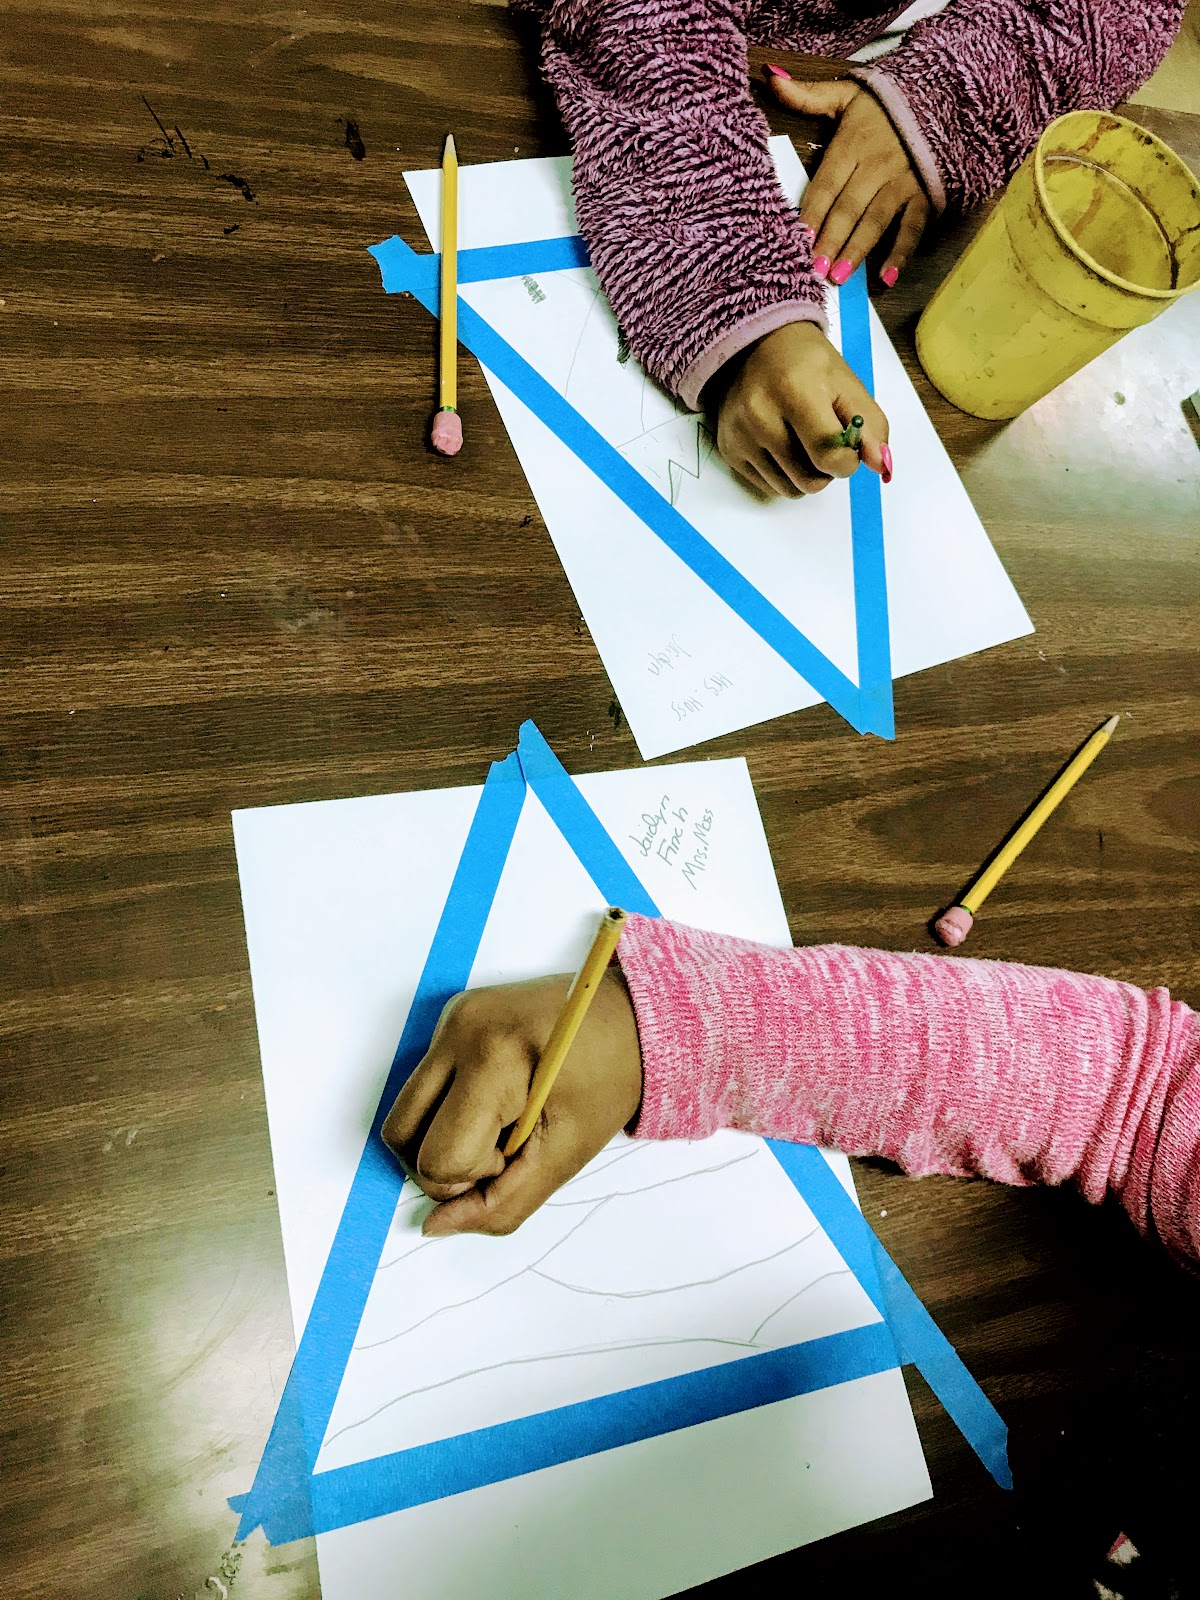
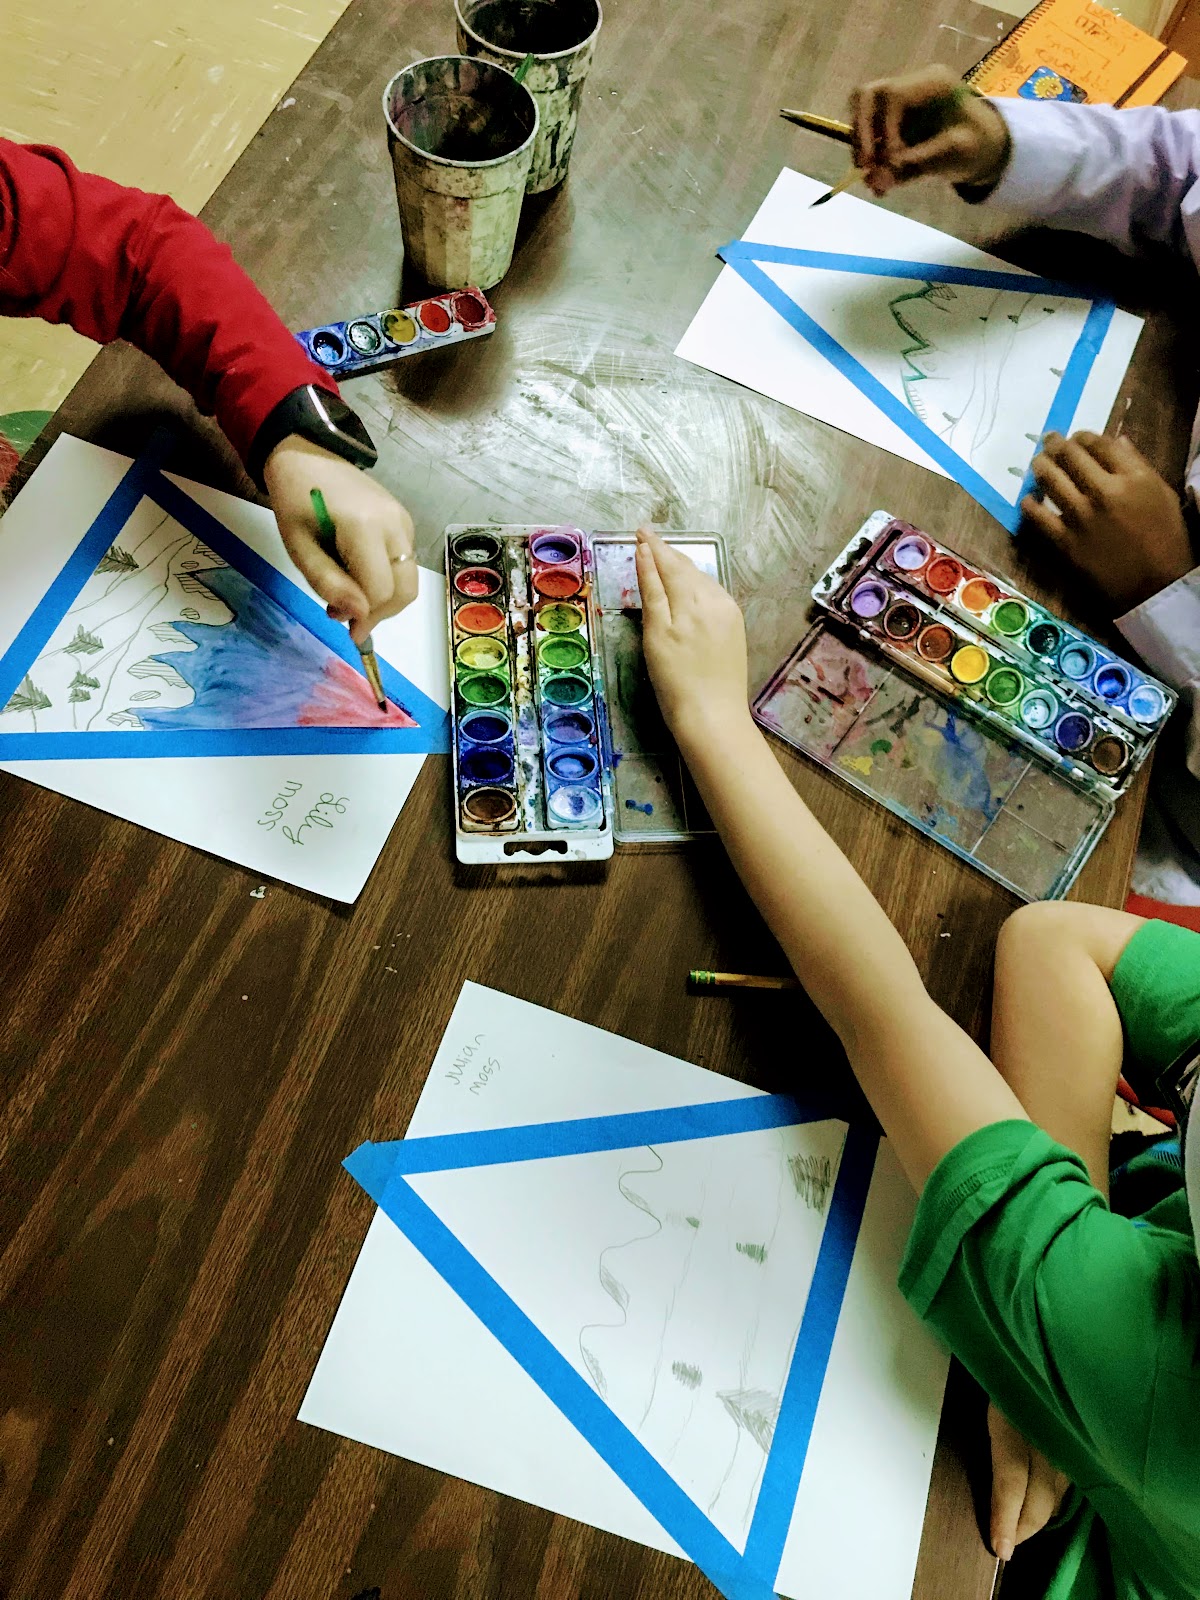
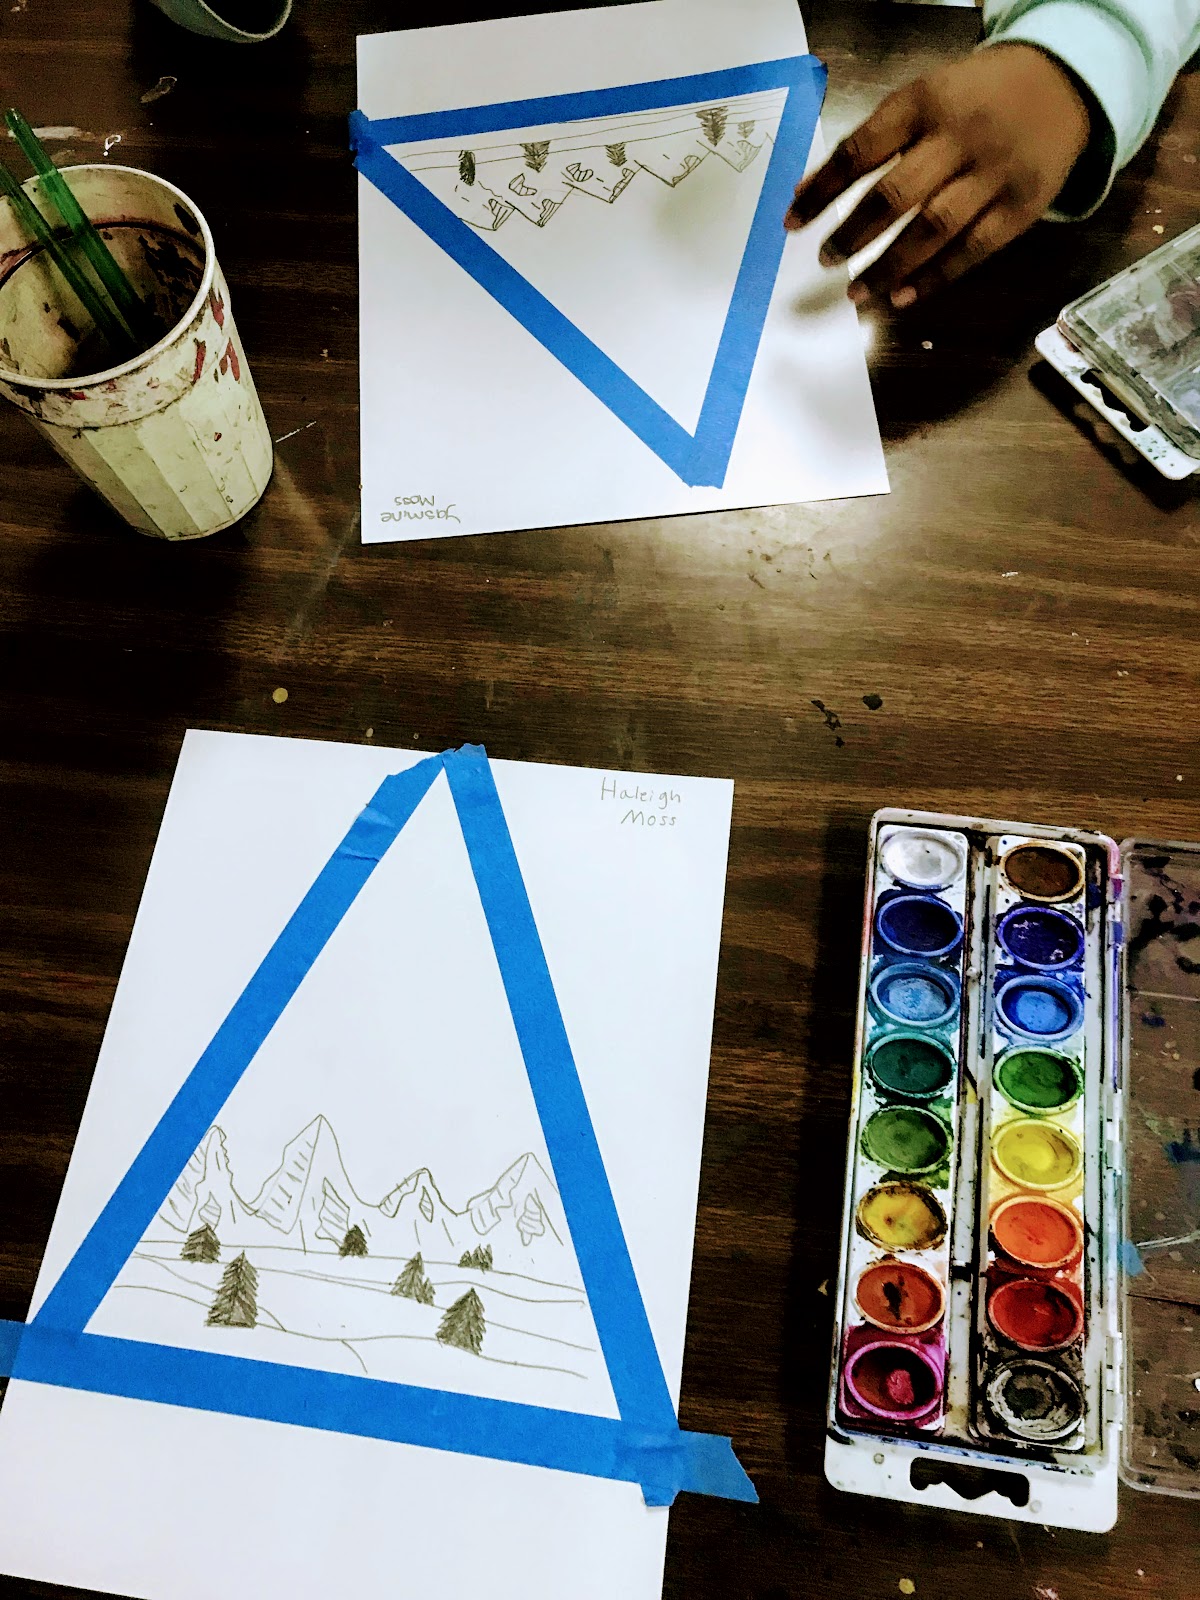
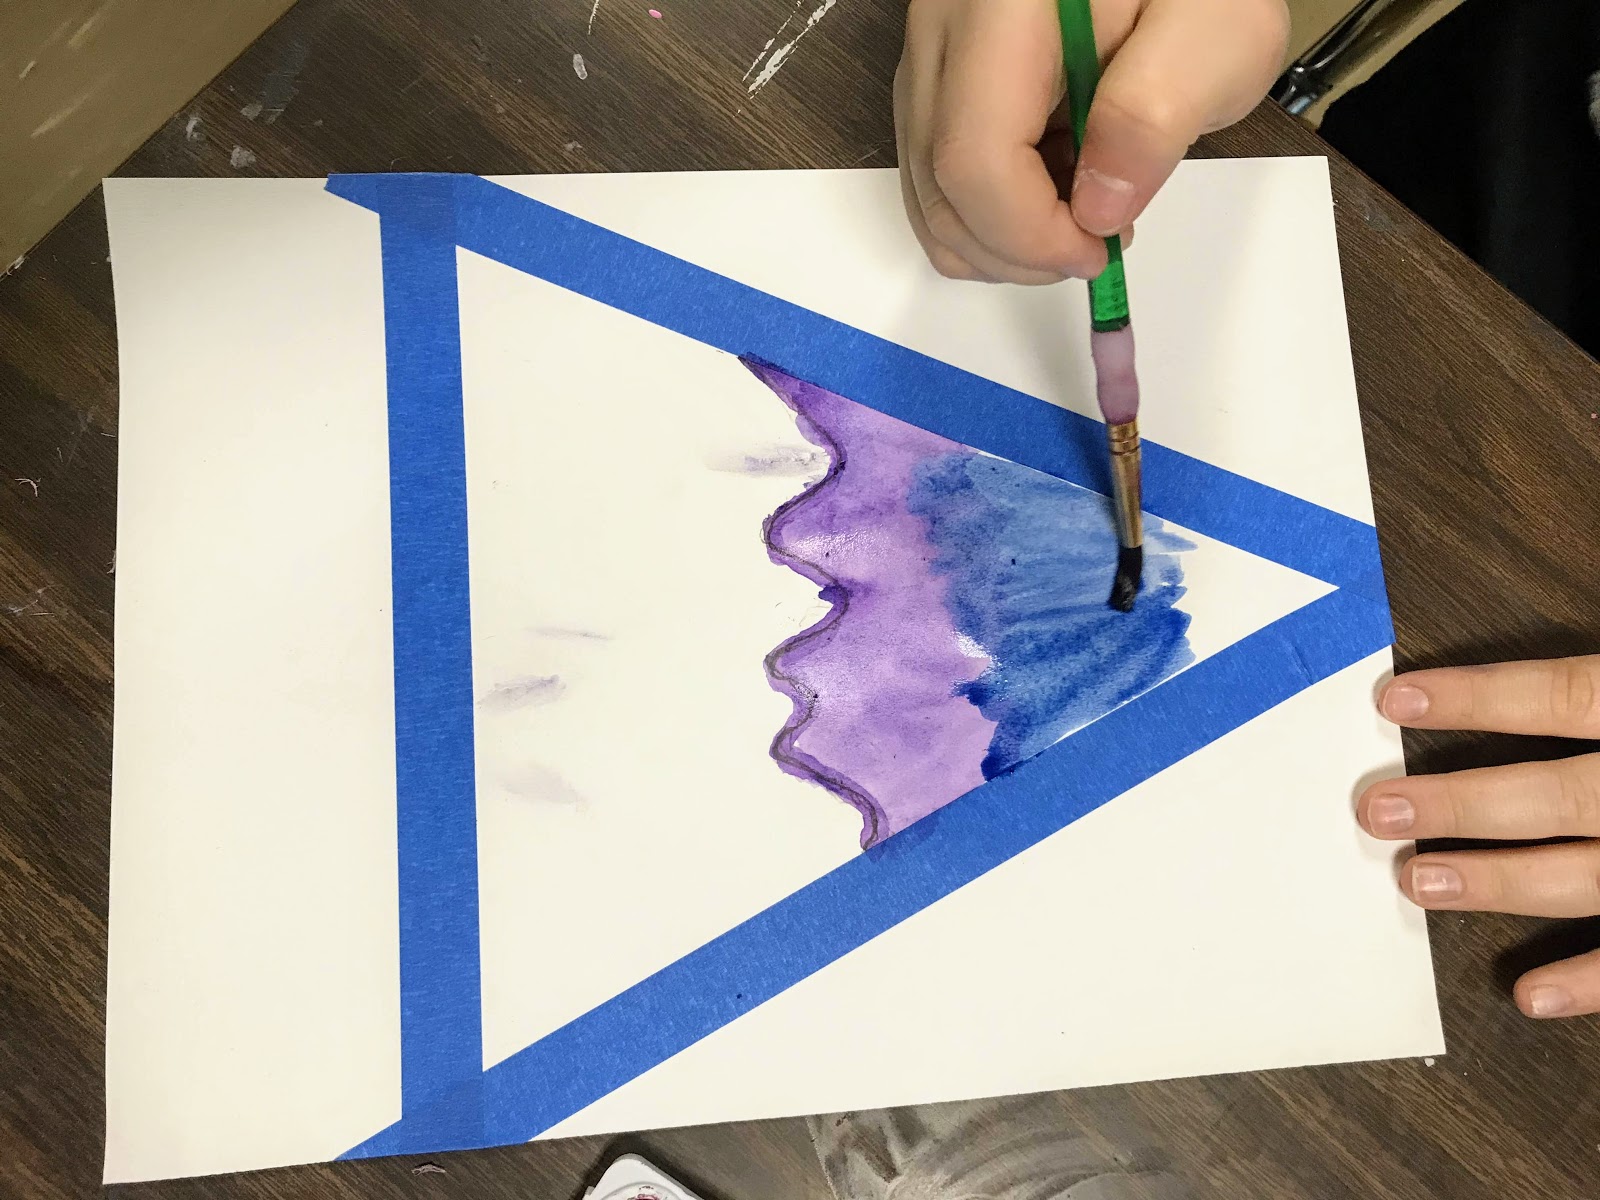
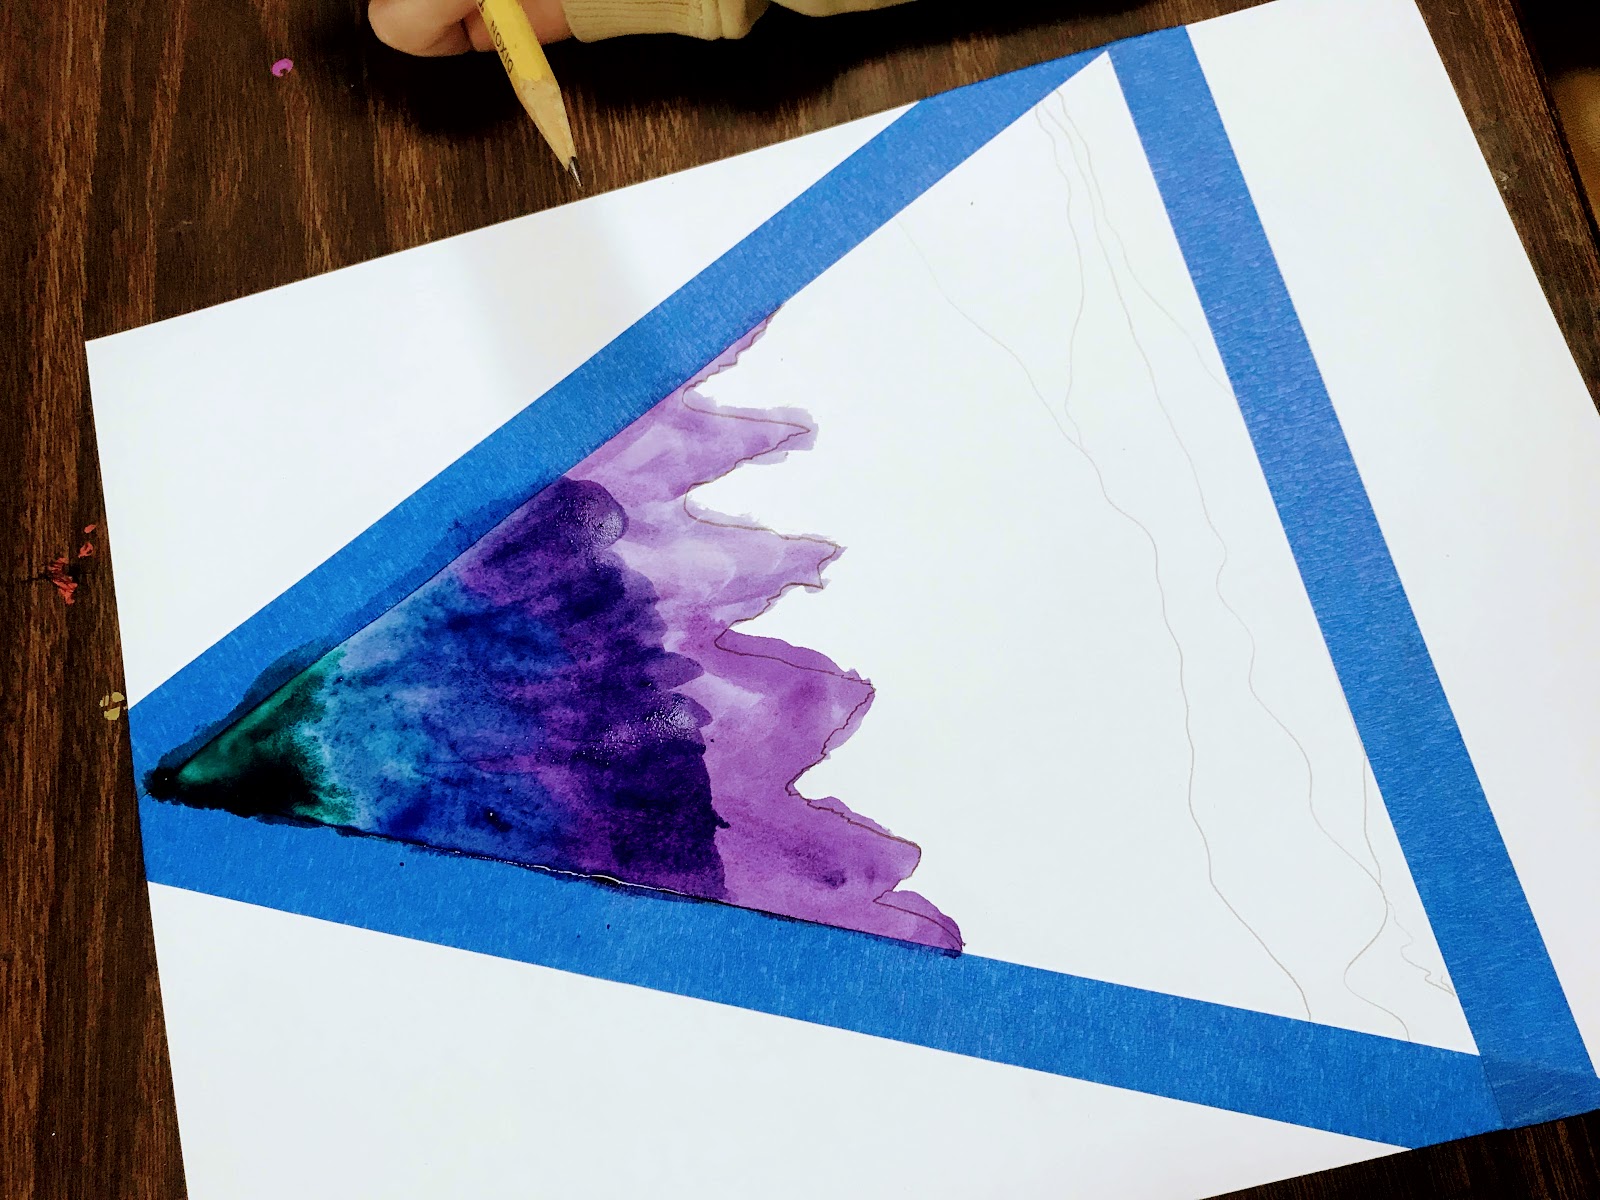
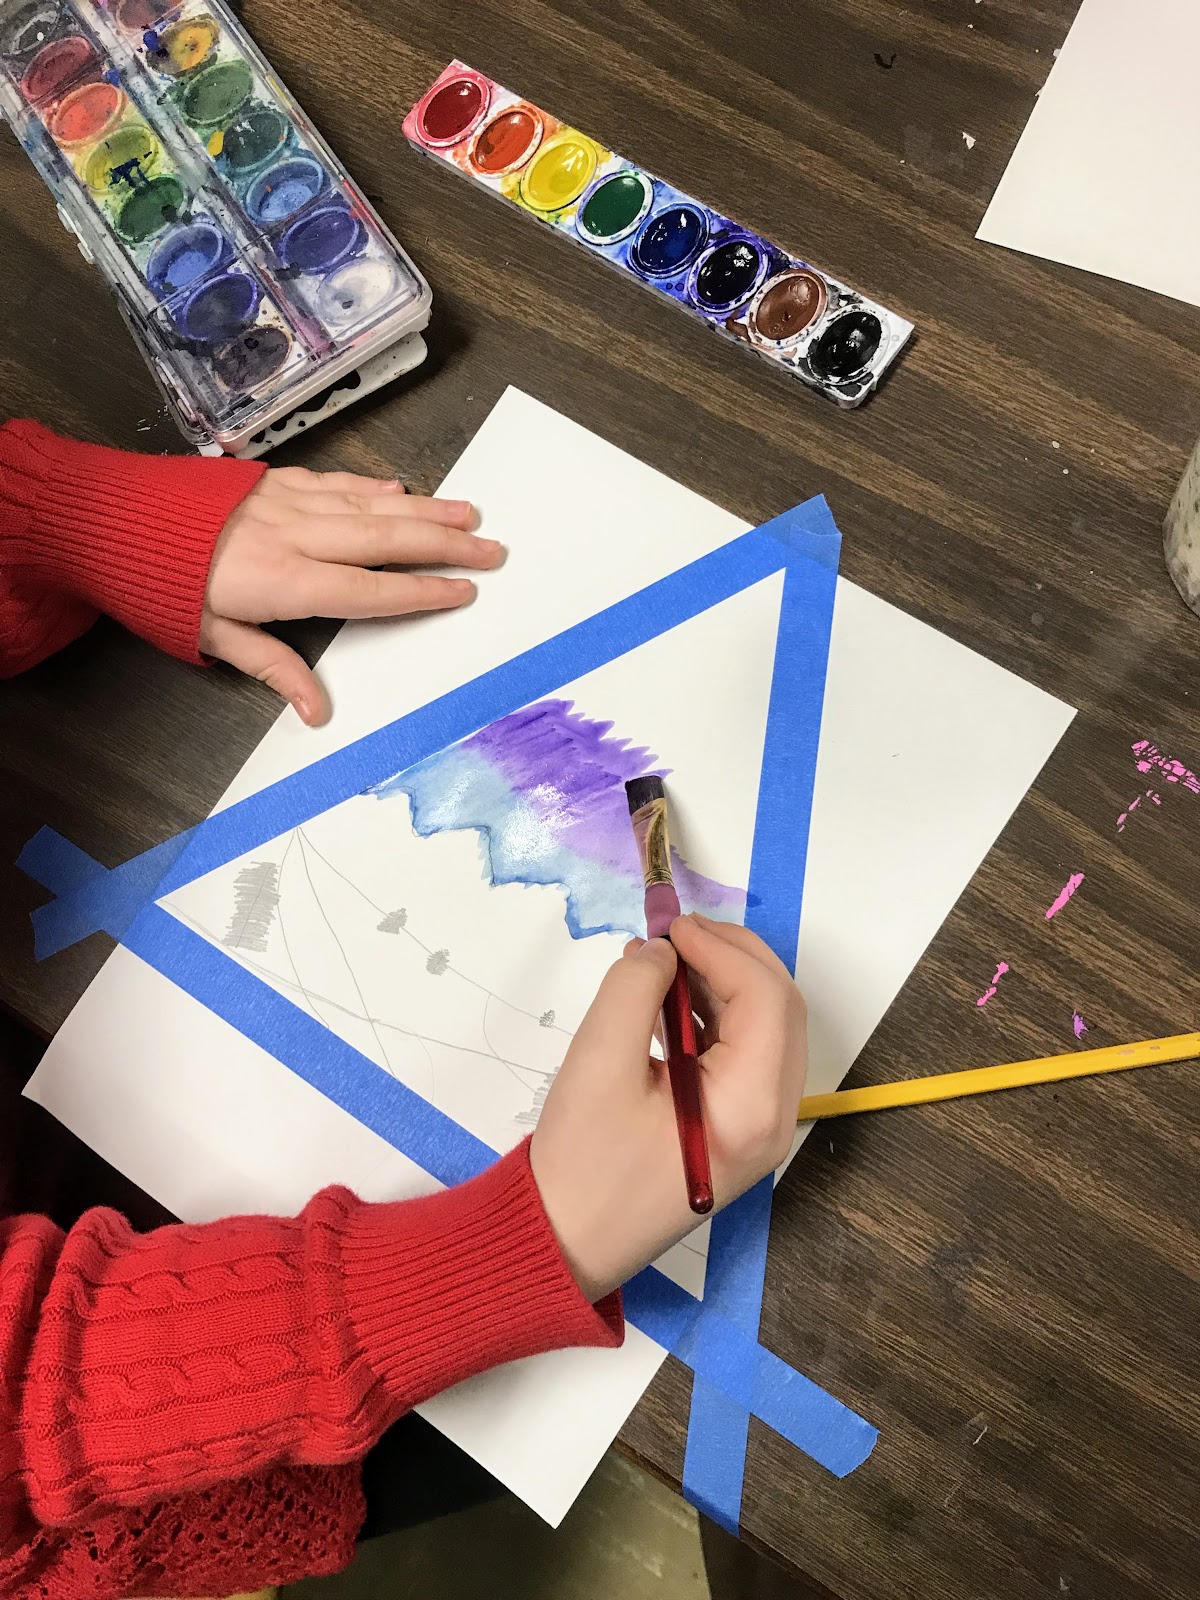
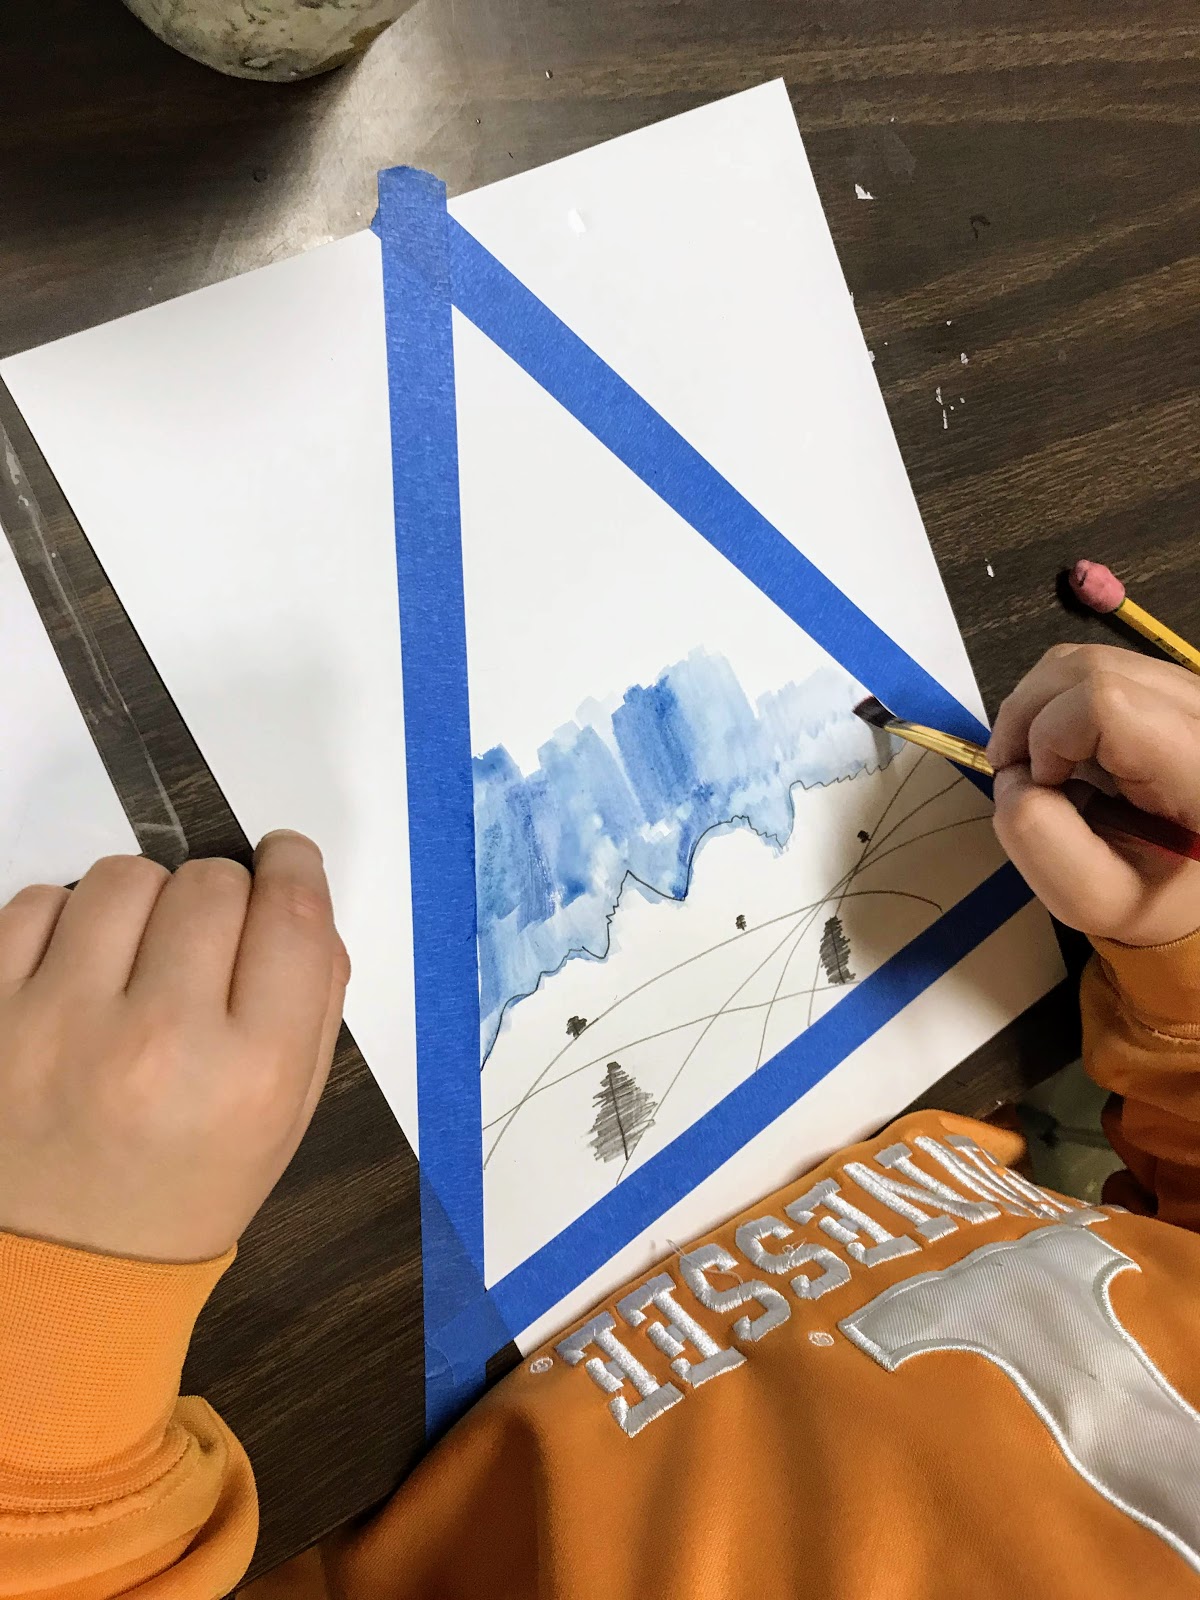
以下是一些四年级学生专注创作的场景!
敬请期待更多精彩艺术作品!
我们实在太喜爱这个项目了,五年级也将尝试!
他们将采用不同外形构图,但核心理念一致!这次我专门录制了教学视频,向学生演示操作方法!我觉得学生们在 YouTube 上看我的讲解,反而比看真实的我更专注!哈哈!
第一天:学生需先用胶带固定画纸边框,再勾画山形,并开始绘制背景。录制视频时,我的天空部分已干透。我使用的是液态水彩与盐。
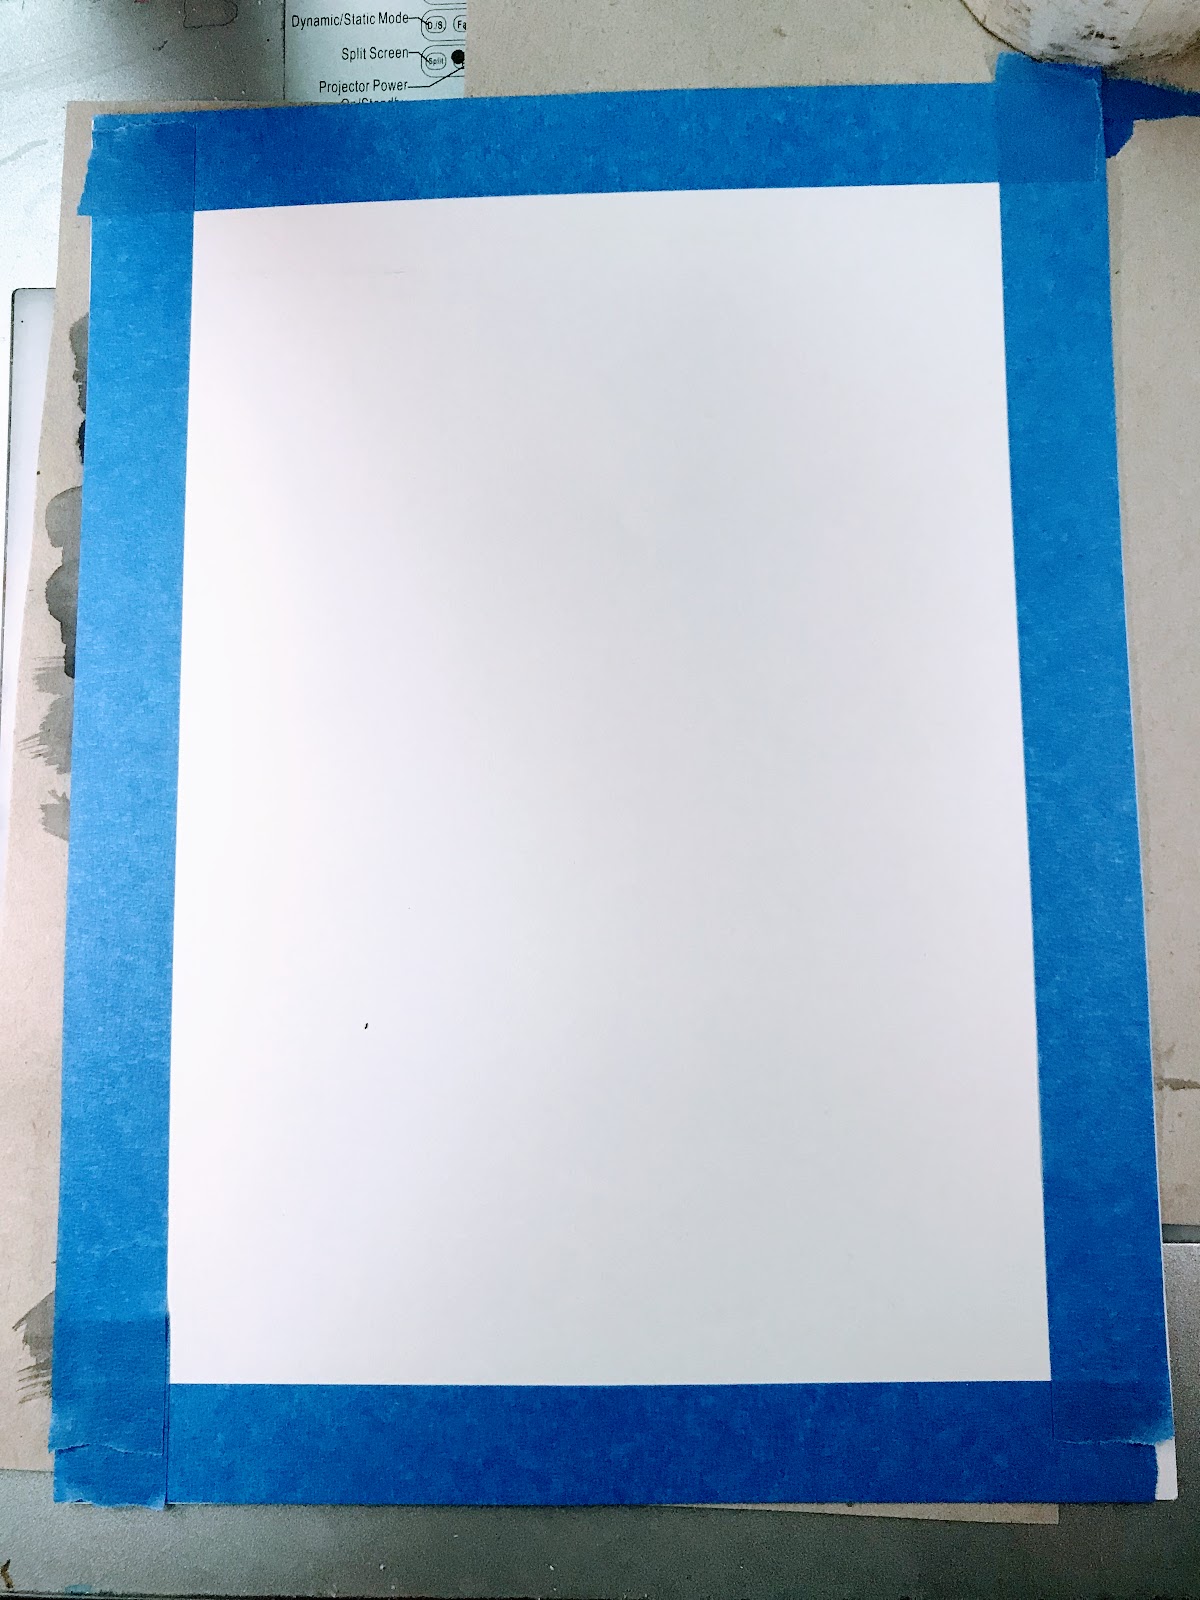
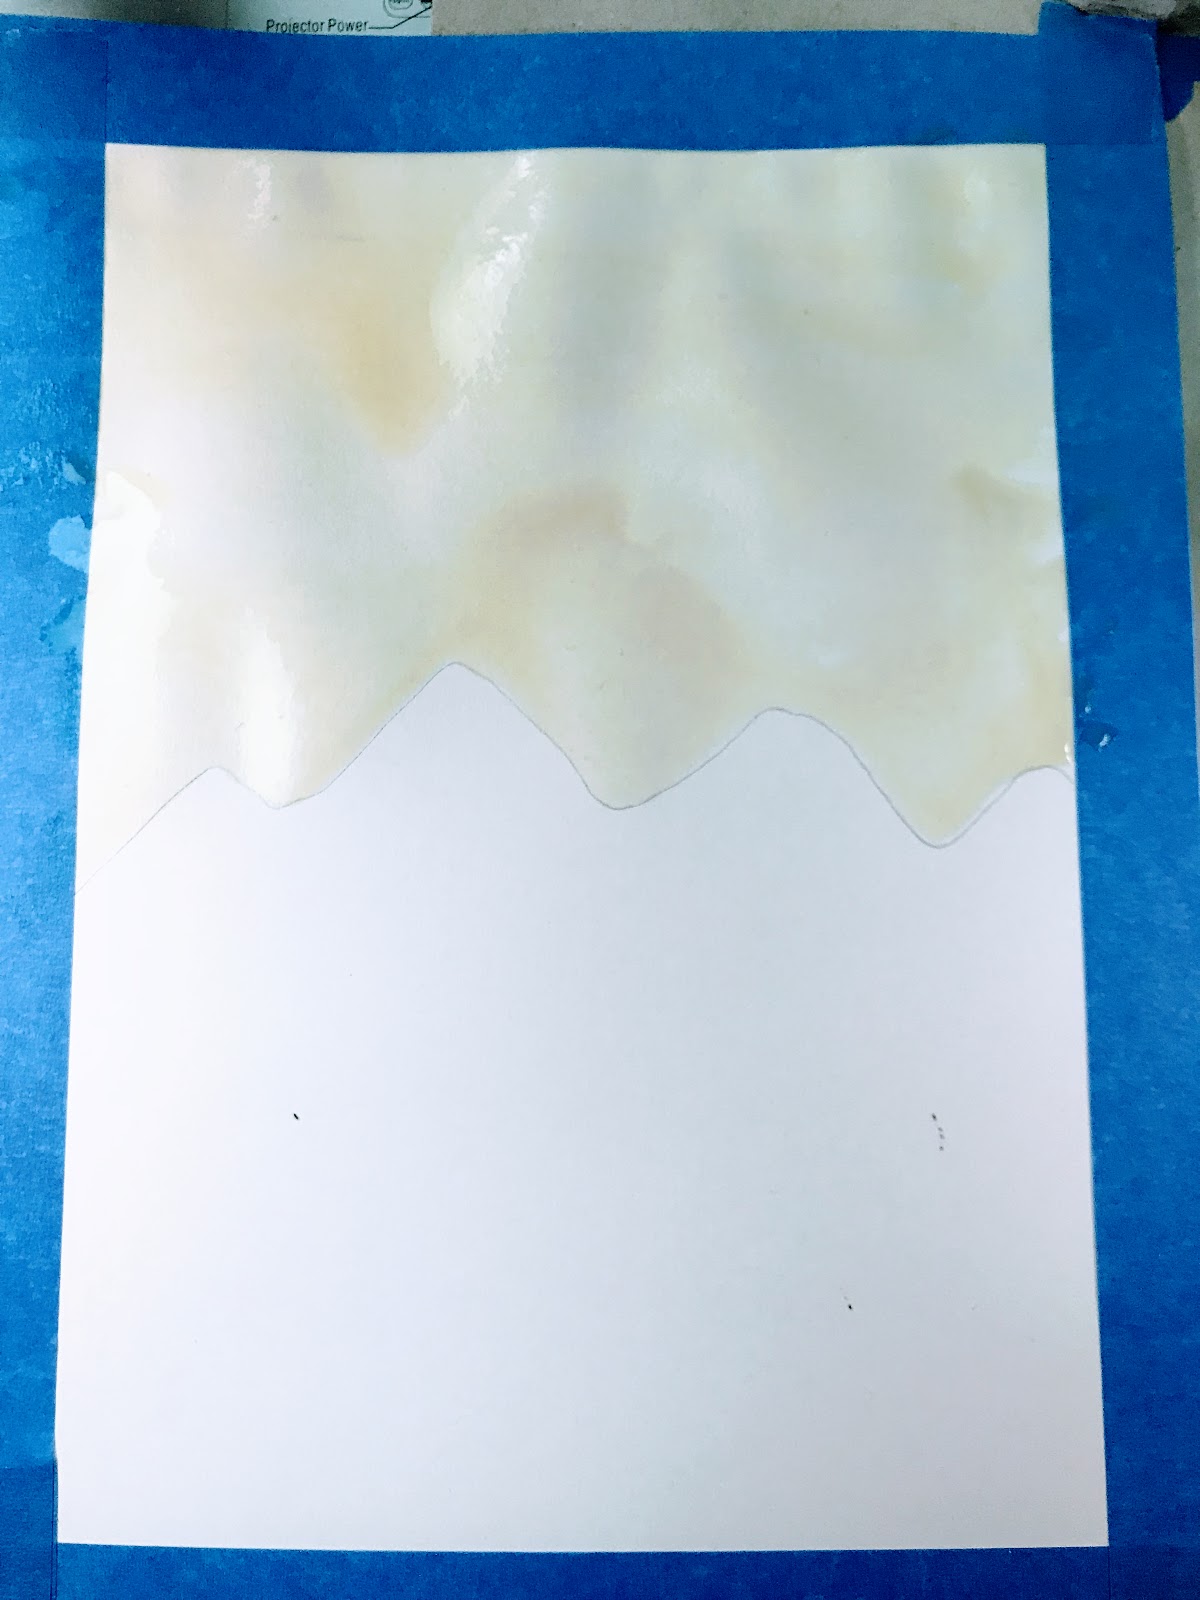
以下是背景部分的部分照片。
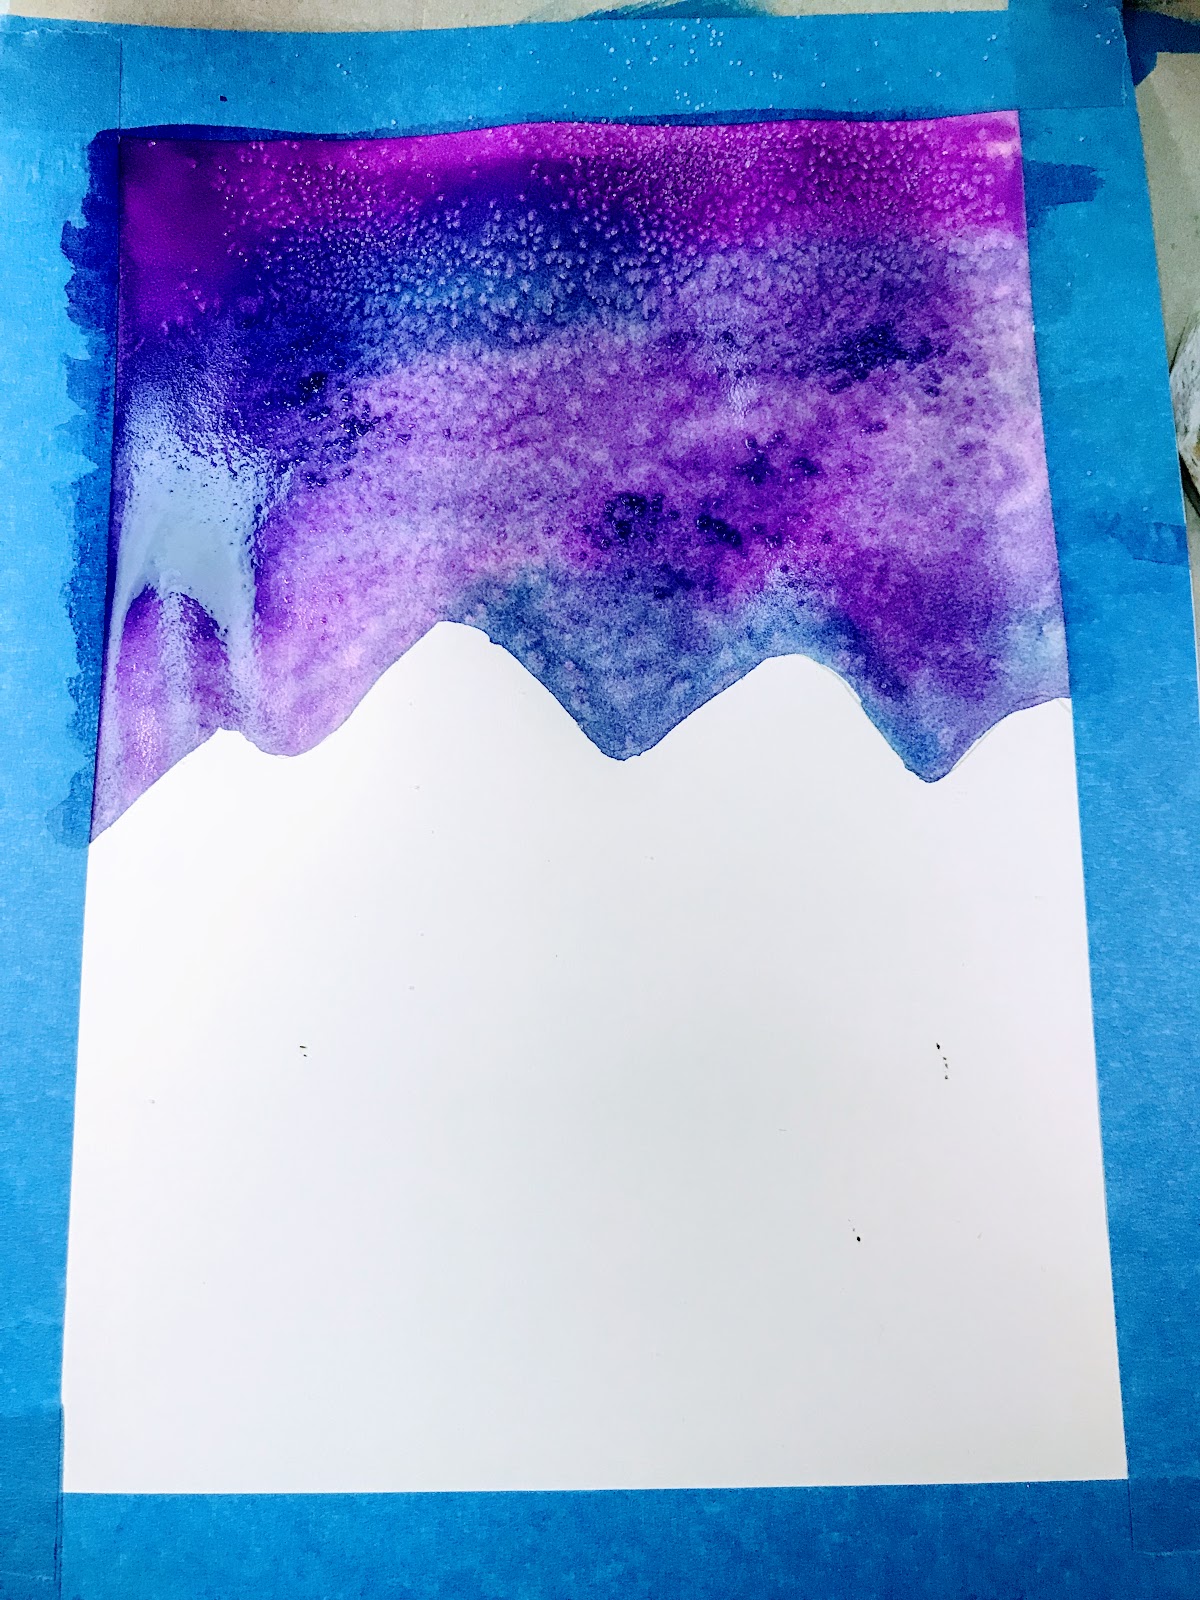
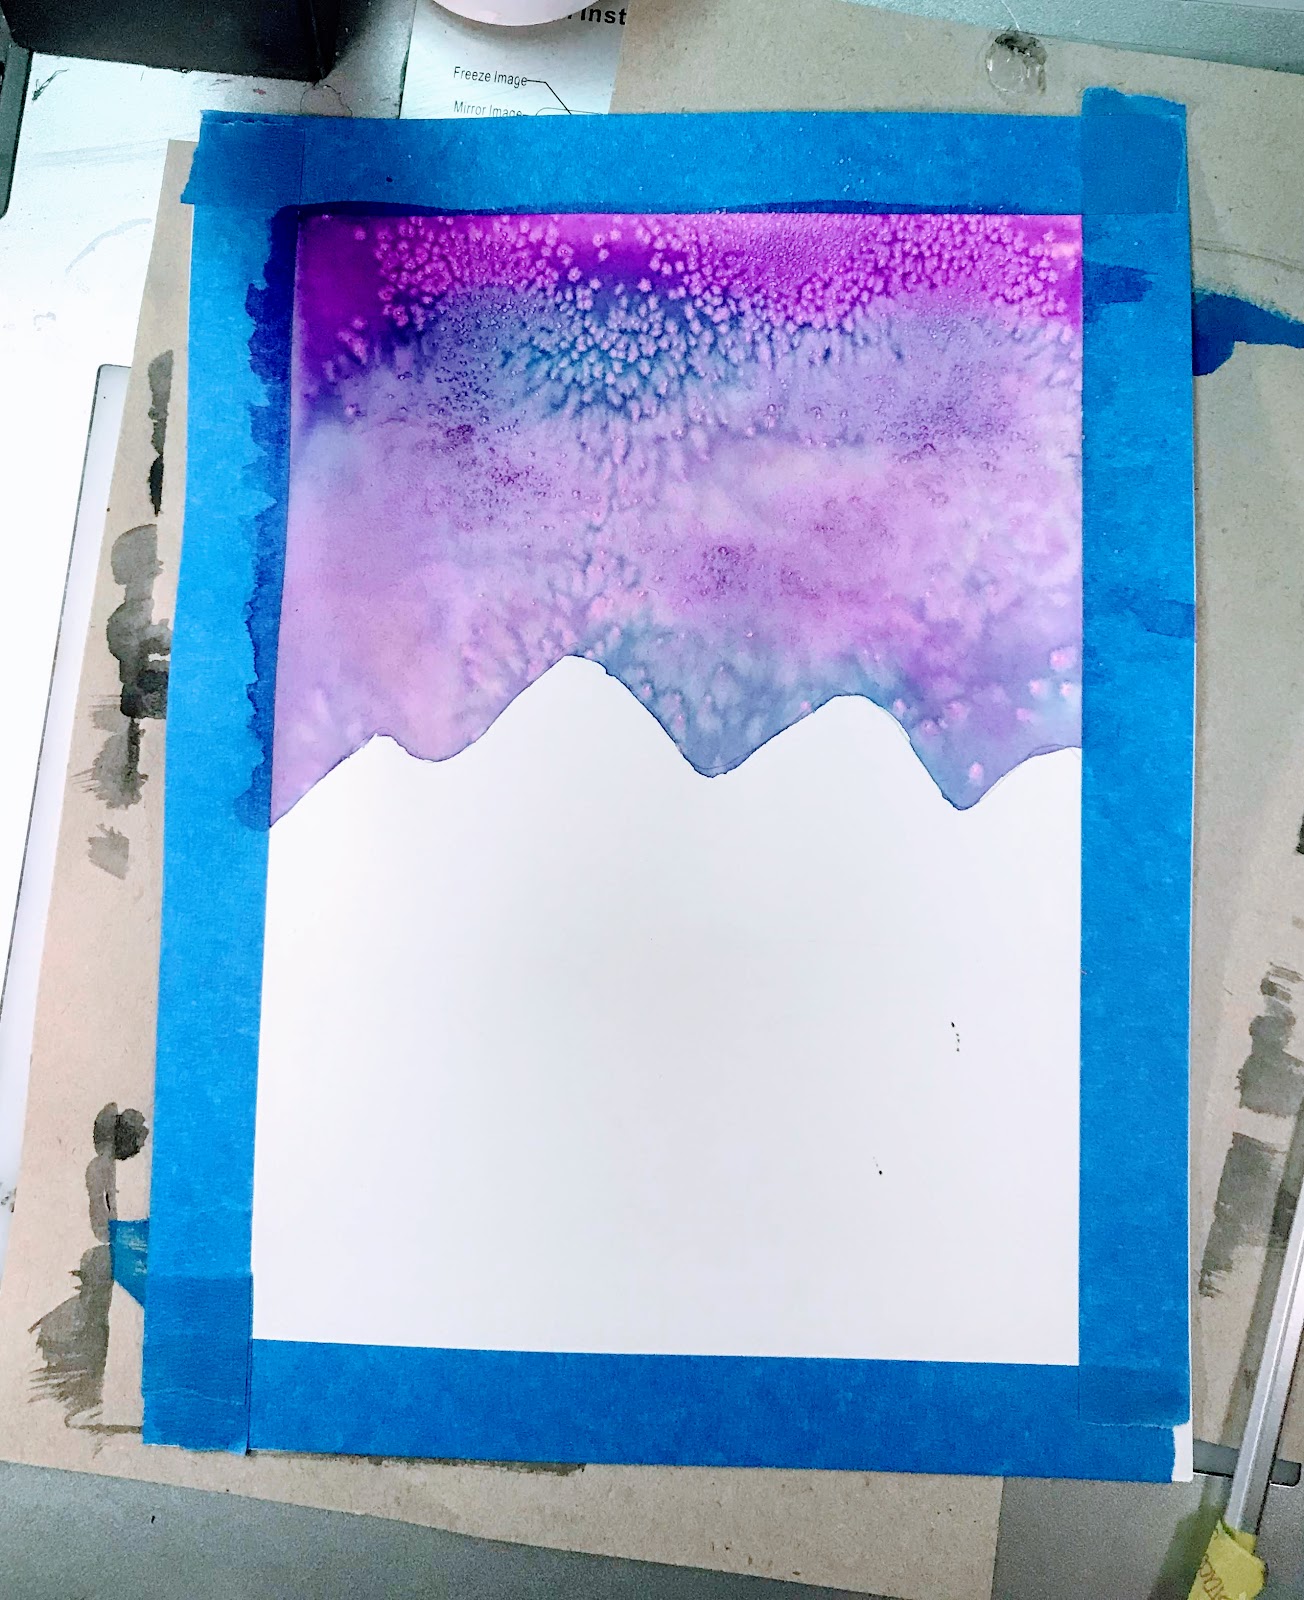
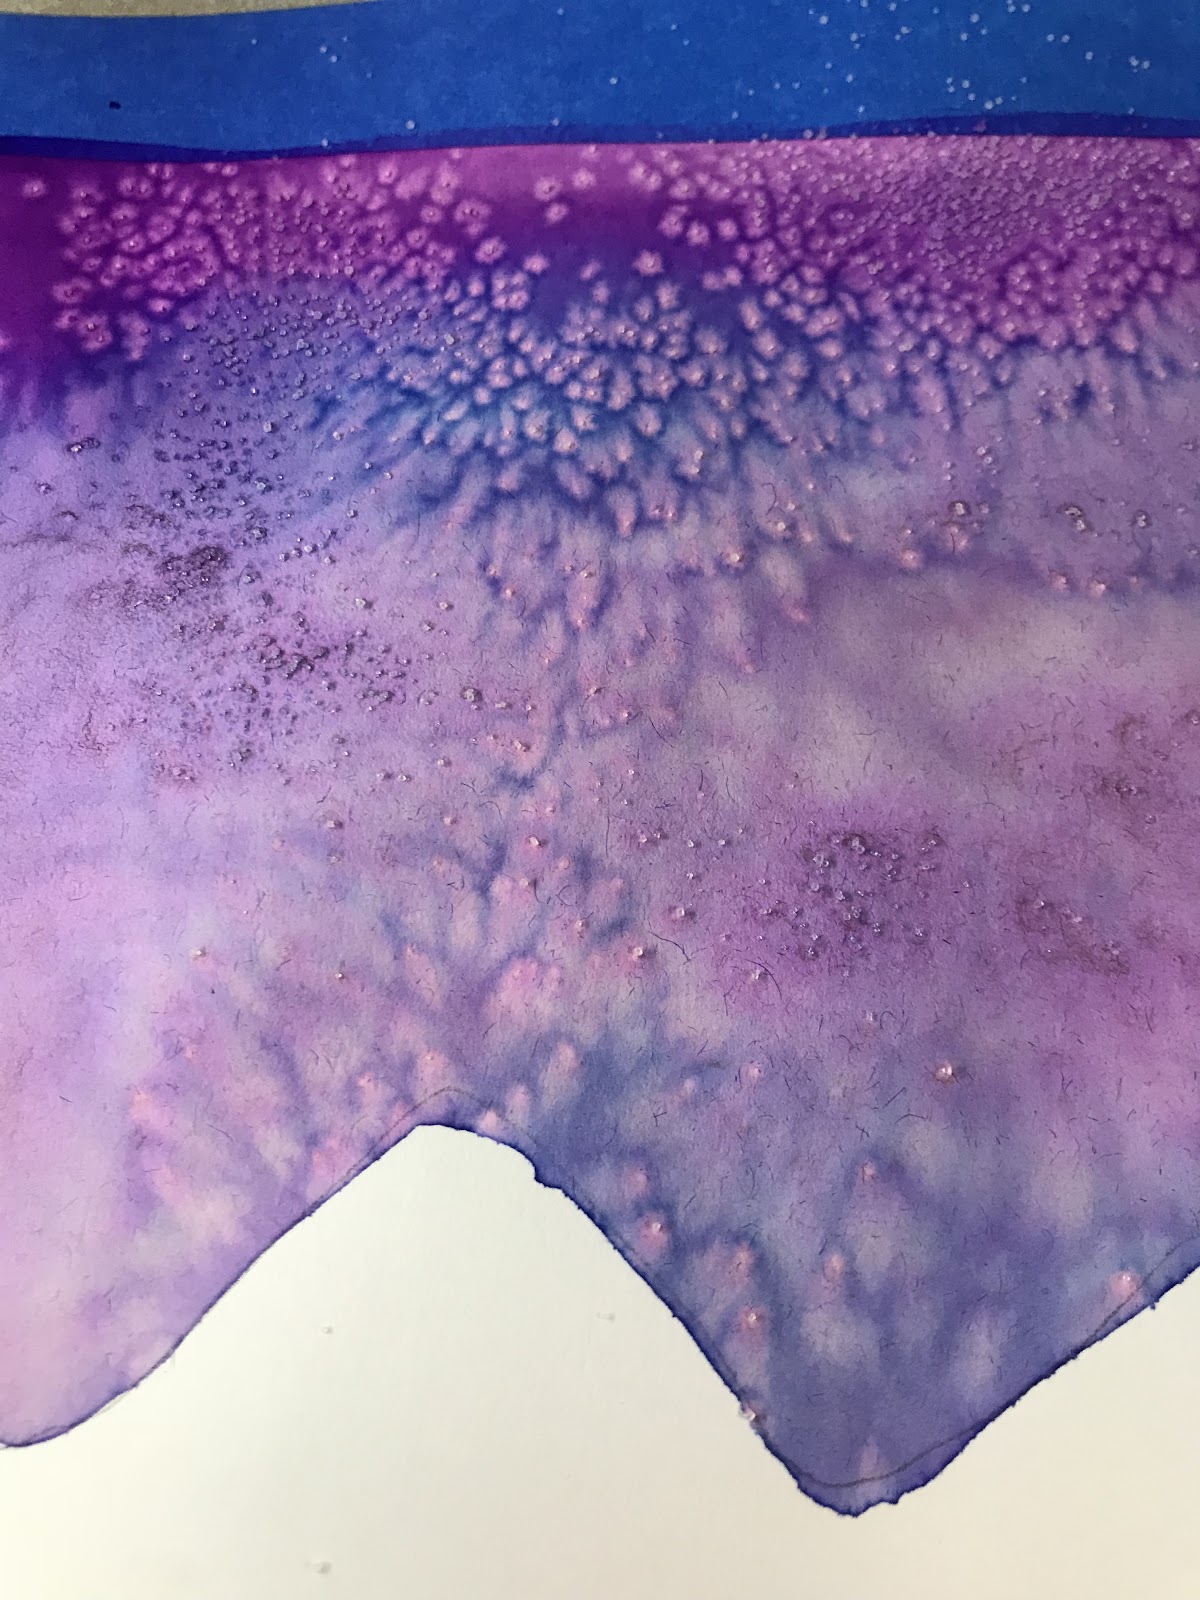
这是我绘制树木的延时视频。
以下是完成作品的步骤!
“Lauren Stacey 是亚马逊服务有限责任公司(Amazon Services LLC)联盟广告计划的参与者。该计划旨在为网站提供一种通过广告及链接至 Amazon.com 赚取广告费的途径。”
四年级和五年级 Jen Aranyi 启发冬季景观
We're almost there folks! Just 1.5 days left until Christmas break!! The kids have actually been great, thanks to fun new projects like this one! I was scrolling through Instagram, Ahem... (I mean Collaborating with my fellow Ahhtteachers) when I came across an awesome looking lesson inspired by the one and only, Cassie Stephens , and the ever so talented Art Room Britt . They had been doing the fabulous looking Jen Aranyi inspired landscapes with their classes, so naturally I had to try it with mine! Y'all....They have been turning out great, and they were so excited to try it. They loved watching the artist's time lapse videos, and we just amazed with her beautiful work!
Here's how we created them!
(How to draw videos are close to the end of the post, or you can click on this link)
Materials:
9x12" Sax 90lb paper
Crayola Artista II watercolors
Big Kid's choice paintbrushes
blue painter's tape
pencils
Fine point Sharpies
Day 1: Introduce them to Jen Aranyi's work, show other 4th grade examples from Cassie Stephens ' and Art Room Britt's page, and get to work!
First we taped off our paper, and drew out our snowy landscape.
Then we started adding details to our mountains, by adding lines!
Then, we talked about how to make little trees in the background, so they look far away, and put bigger trees in the foreground to make them appear like they are larger and closer!
btw, after they painted their sky, I sprinkled salt on their paint to create a neat texture.
Here are some of my 4th graders, really hard at work!
Stay tuned for some more awesome art!
We loved this project so much, 5th is going to try it too!
They'll be doing a different shape, but same concept! I made some videos this time, to show my students how to do it! I think they pay attention to me on YouTube better than actual me! Haha!
Day 1: Students will tape their border, draw their mountains, and start painting their background. When I recorded this, my sky was already dry. I used liquid watercolors and salt.
Here's some pics of the background.
Here's a time lapse video of me drawing the trees
Here's how you finish your art!
“Lauren Stacey is a participant in the Amazon Services LLC Associates Program, an affiliate advertising program designed to provide a means for sites to earn advertising fees by advertising and linking to Amazon.com .”