同心圆天空树影
原文链接:https://tabithaannthelostsock.blogspot.com/2014/05/tree-silhouette-with-concentric-sky.html
日期: 2014-05-28
标签: 艺术、枝条、同心圆、彩纸、蜡笔、教案、光源、月亮、剪影、太阳、树木
本课灵感源自
http://josettebrouwer.edublogs.org/files/2009/02/img_2215.jpg
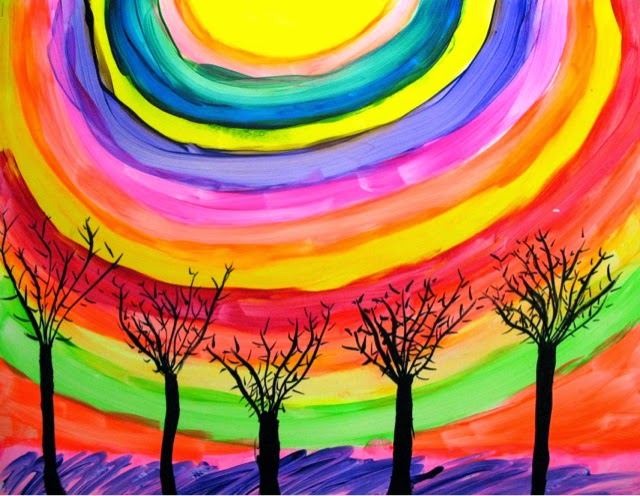
我想以几节轻松的课程为学年收尾,于是构思了一种富有趣味性的画树方法。在我看来,教学生画树时最难的部分,是表现枝条的分叉(即从主干粗壮处逐渐过渡到细小末梢的过程)。
本练习主要聚焦于这一“枝条分叉”的表现。
- 从画面一角起笔,先画出间距较宽的线条,再让它们向下延伸时逐渐靠拢。每根枝条应自然分叉为另一根,再继续分叉下去,直至抵达纸边或延伸出画面之外。
重点: 主枝最粗最厚;末梢枝条最细最薄。枝条的生发处最粗,且永远比它所分出的枝条更粗。
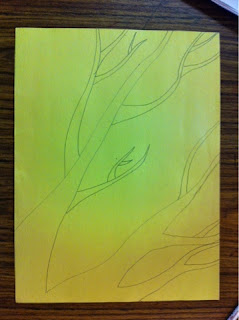
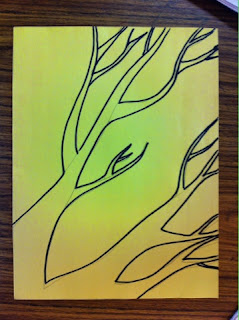
- 用勾线笔(Sharpie)描出所有枝条。
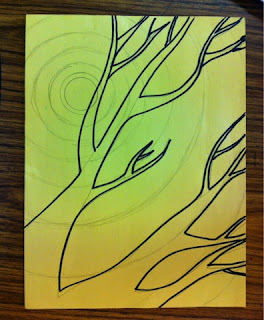
- 用铅笔在画面一角选定位置,开始绘制同心圆。这些圆须共享同一圆心,构成一种抽象的光源效果。提醒学生轻轻绘制;可让圆线穿过枝条,后续再擦除。
- 用蜡笔或彩铅,在同心圆之间填充多种颜色。注意避开枝条区域不涂色。
明度教学拓展选项: 可指导学生从中心圆开始使用浅色,向外逐圈加深颜色。
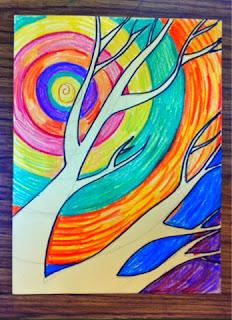
- 用黑色与灰色记号笔填满树的枝条。鼓励学生顺着枝条走向运笔着色,以模拟树皮般的肌理效果。
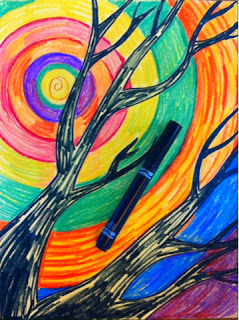
-
用灰色记号笔补全树形中所有露出的纸面白底。
-
用白色蜡笔轻扫靠近光源(即中心圆)一侧的枝条边缘。
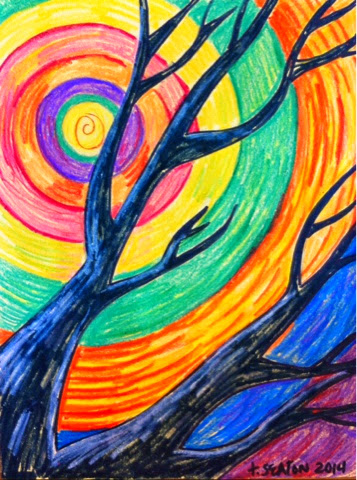
第二方案
使用黑卡纸、白色彩铅及彩纸专用蜡笔。
- 同上一步骤1
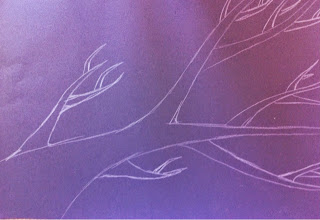
- 同上一步骤2
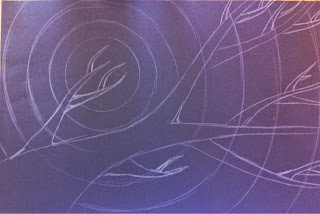
- 用Crayola彩纸蜡笔绘制同心圆。
我按明度由浅至深排列色彩顺序:中心为白色,向外依次为黄色、橙色、粉红色、绿色、蓝色、紫罗兰色。
(由浅至深)
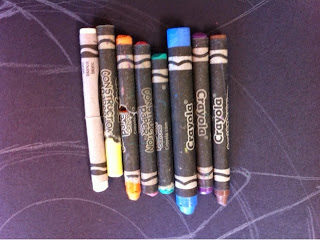
- 用黑色记号笔与蜡笔沿枝条生长方向描绘枝条。
仅用记号笔完成的同主题作品……
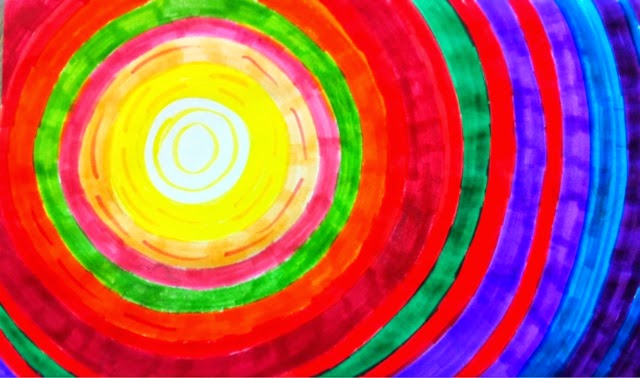
按明度顺序绘制的同心圆记号笔效果
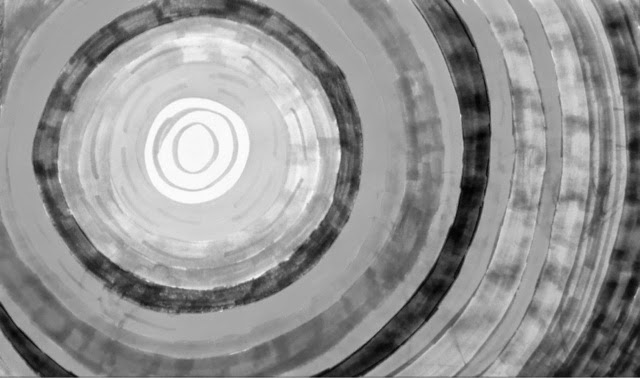
身为一名美术爱好者,我好奇自己选用的颜色是否真正符合明度排序……
结果发现“鬣蜥绿”与普通绿色略偏深,比我预想的更暗。一个有趣的检验方法是:将彩色图转为黑白图像来直观比对明度。
即使明度稍有偏差,整体效果依然很美!
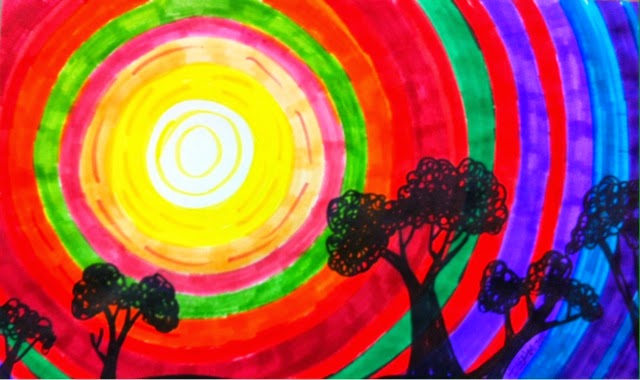
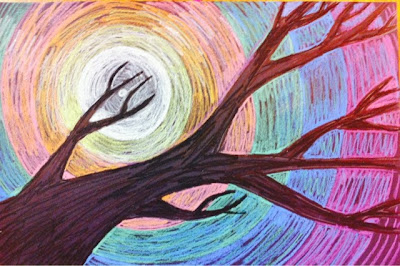
完成作品……
我尚未在课堂上实践此教案,待实施后将上传学生作品。
为新点子欢呼!!!
同心圆天空树影
Original: https://tabithaannthelostsock.blogspot.com/2014/05/tree-silhouette-with-concentric-sky.html
Date: 2014-05-28
Tags: art, branches, concentric circles, construction paper, crayon, Lesson Plan, light sources, moon, silhouette, sun, tree
Lesson inspired by
http://josettebrouwer.edublogs.org/files/2009/02/img_2215.jpg
I was wanting to end the school year with some easy lessons and thought I could teach them to draw trees in a creative way. To me, the hardest part to teach when drawing trees is the branching off
(diverging thickness to thinness of the branches).
This assignment mainly focuses on that part of the tree branching off.
- Begin with starting in one corner of the picture making lines that are far apart and gradually get closer together as they go down. Each branch should gradually diverge into another and then into another. Do this until it gets to the edge or goes off the edge of the paper.
FOCUS: main branch is the biggest & thickest one, the last branch is the smallest & thinnest.
where the branch stems from is the thickest part and it will always be smaller than the branch it came from.
- Sharpie the branches.
- Using a pencil, find a spot in the corner to begin drawing concentric circles. These circles should have the same center in common. This will be a sort of abstract light source. Encourage students to do this lightly. Go ahead and go through the branches and erase later.
- Use crayons or colored pencils to use a variety of colors to fill in between the circles. Avoid coloring in the branches. OPTION for teaching color value... You can have students start with lighter colors on the center circle and get darker as they go out.
- Use black and grey marker to fill in the tree branches. Try to get kids to color it in following the direction of the branch to appear to be bark like texture...
-
Fill in any paper showing in the tree with grey marker.
-
Use a white crayon to graze over the side of the limbs
that are closest to the light source (center circle)
OPTION TWO
Using Black Paper, white colored pencil, and construction paper crayons.
- Same as above step 1
- Same as above step 2
- Use crayola construction paper crayons to color concentric circles.
I laid them out in value color order, using the
white on the center, then out to yellow, orange pink, green, blue, and violet.
(light to dark)
- I used a black marker and crayon on the branches going the same direction of the growth.
Same lesson with markers only...
Concentric marker circles on value order
Being the art geek I am, I wondered if my colors really were in the correct value order....
I was off just a bit with the Iguana Green and green. They were darker than I thought. A fun way of checking is taking the colored pic and changing it to black and white.
Still prett even though vale is off ;)
FINISHED...
I have not tried this with my students yet, but when I do I will post the pictures.
YAY FOR NEW IDEAS!!!


