南瓜蜡笔防染画
原文链接:https://tabithaannthelostsock.blogspot.com/2020/08/pumpkin-resist.html
日期: 2020-08-31
标签: 颜色、轮廓线、冷色、蜡笔、综合媒材、南瓜、防染、暖色
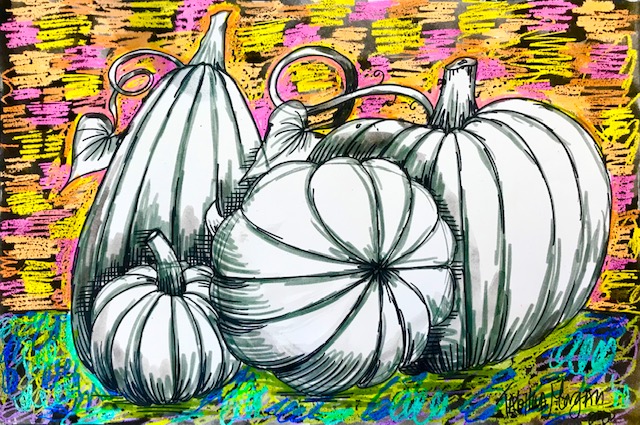
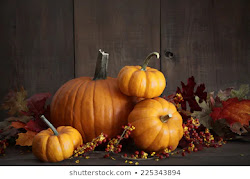
开始前,请观察不同形状、大小与种类的南瓜。
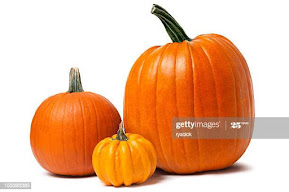
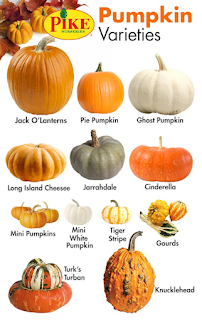
还要从不同视角观察南瓜表面的线条。
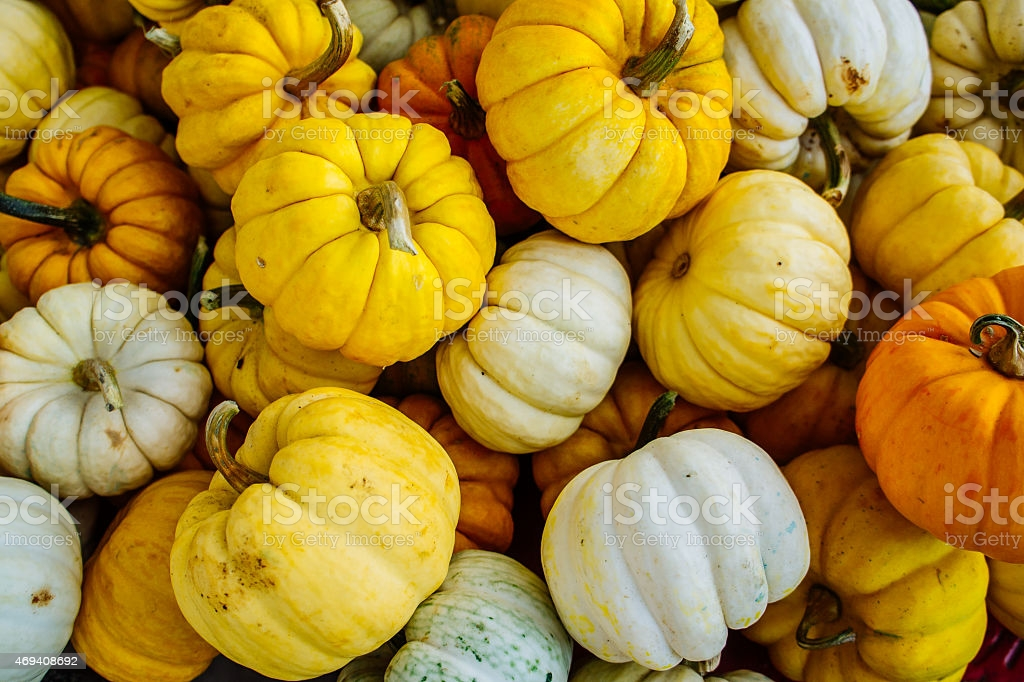
当线条随物体外形弯曲并贴合其外轮廓时,这种线条称为
轮廓线。



这种现象在许多物体上都会出现。
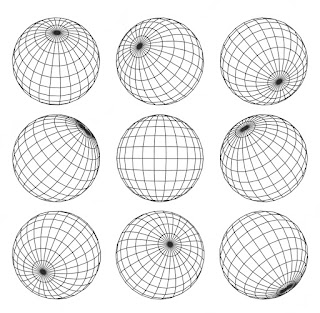
以下视频将帮助你更好理解交叉轮廓线。
这听起来可能有点复杂……
我们将从最简单的开始:画南瓜
南瓜的顶部与底部,是线条起始与终止的位置。
即顶部的瓜蒂与底部的花痕端。
你可能不知道南瓜底部还留有花朵痕迹……
请观看这段视频……
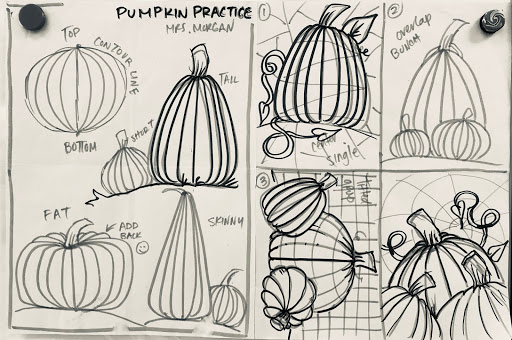
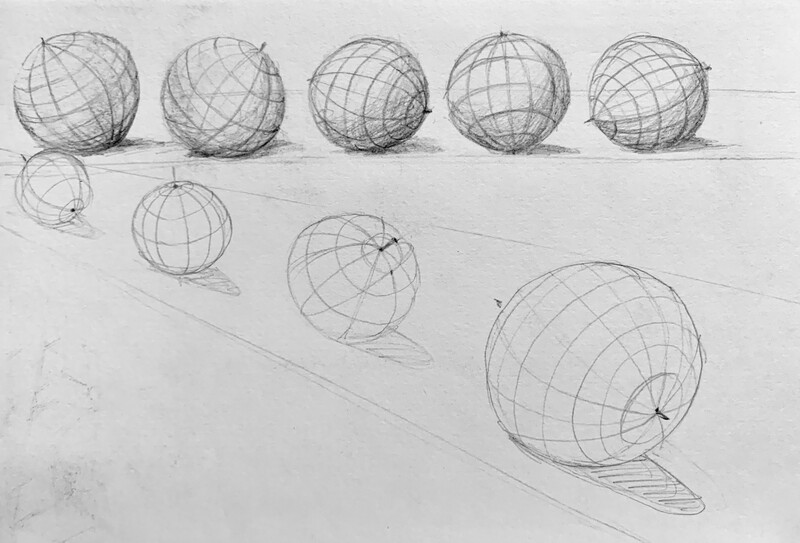
南瓜练习
练习绘制4个不同大小与形状的南瓜。
特别注意:线条从南瓜左侧到右侧时,其形态如何变化。
在南瓜练习中运用轮廓线,使南瓜看起来具有体积感,即三维立体效果。
完成练习后,尝试4种不同的构图安排。
若想挑战自我,可改变南瓜的角度或透视。
还可运用遮挡关系,使构图更富趣味性。
当你完成以上步骤后,
即可开始绘制最终作品。
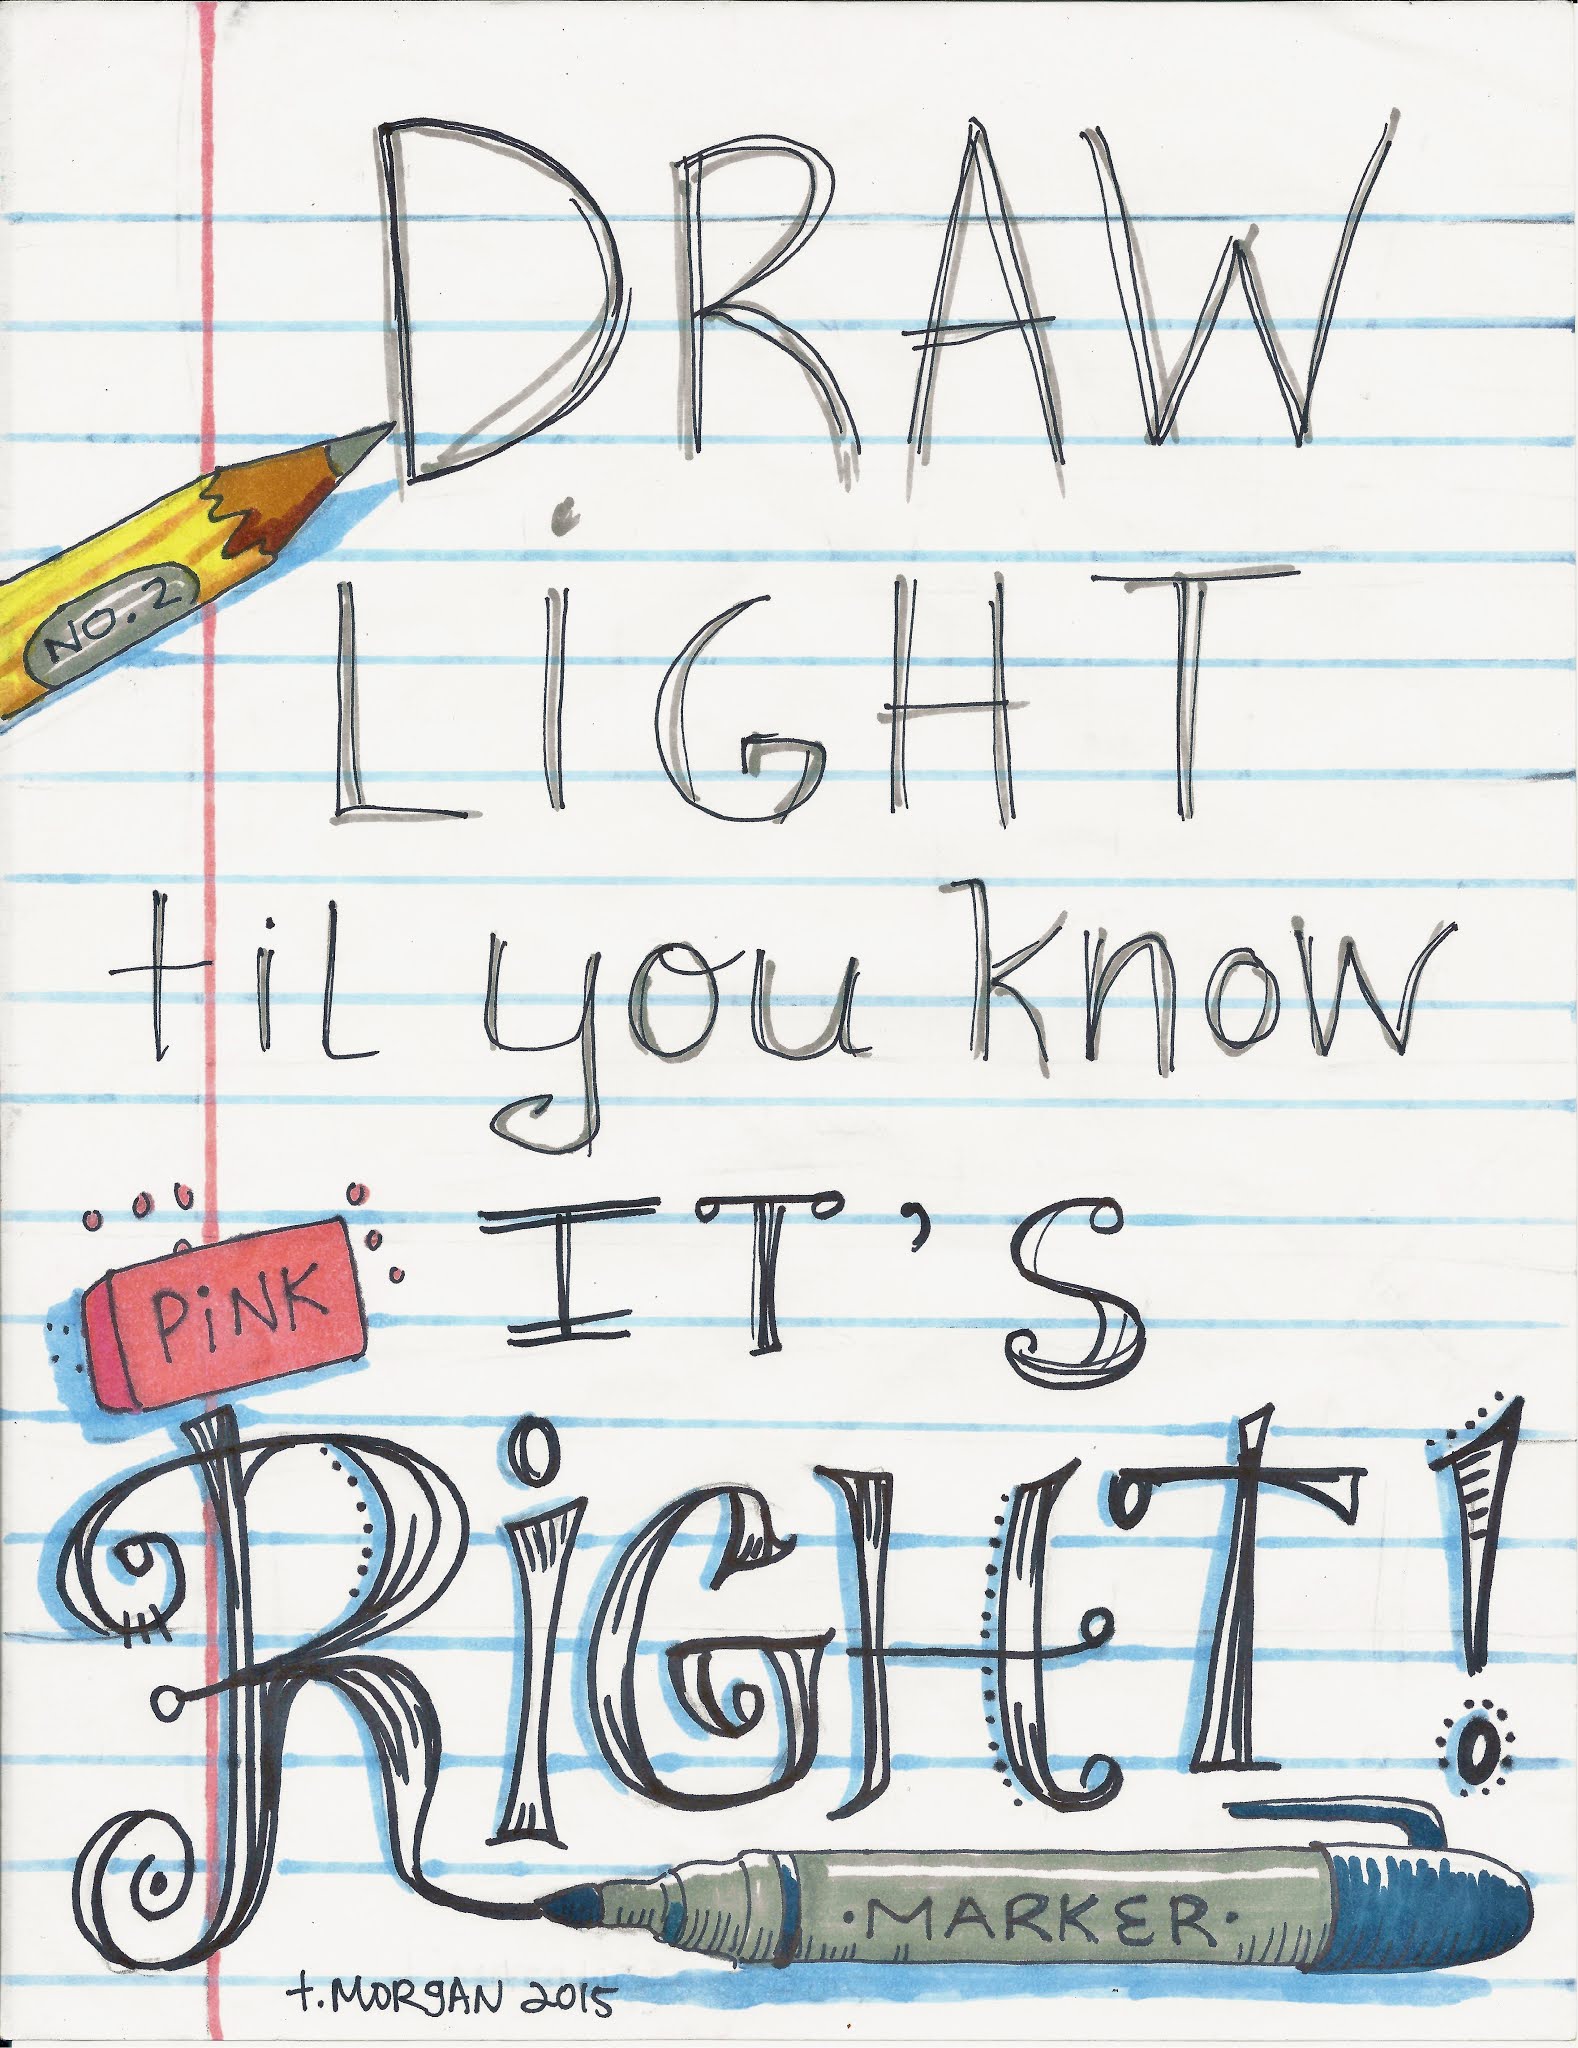
别忘了!!!
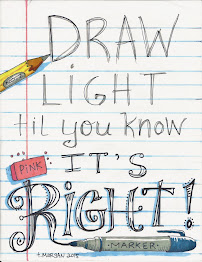
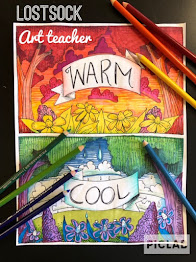
Lost Sock 美术教师在 TPT 发布的海报
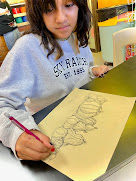
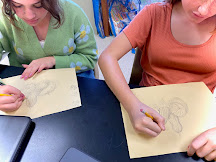
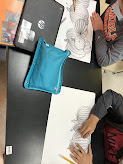
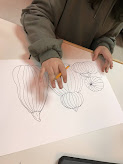
第八节课女生们正在规划南瓜构图
Carol、Ayden 和 Sawyer,2021年
2020年秋季
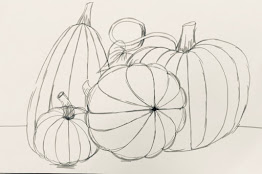
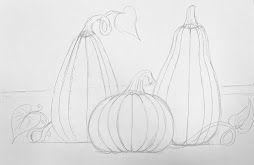
用铅笔非常轻地在纸上画出你最喜欢的南瓜构图。
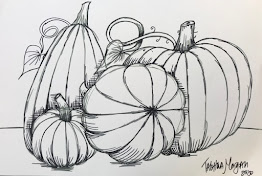
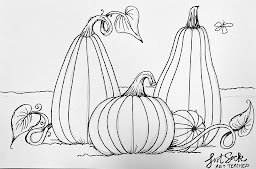
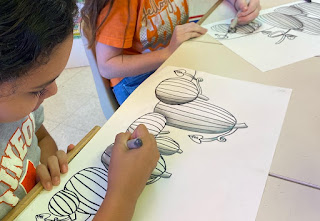
确认构图无误后,用黑色永久性记号笔勾勒轮廓。
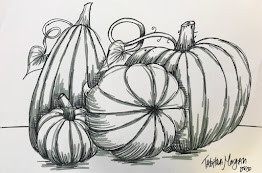
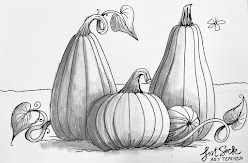
接下来,可用铅笔、灰色彩铅、灰色蜡笔或灰色记号笔(进阶明暗练习者适用)为南瓜上明暗调子。
务必保持光源方向一致。
参见视频获取明暗绘制指导……
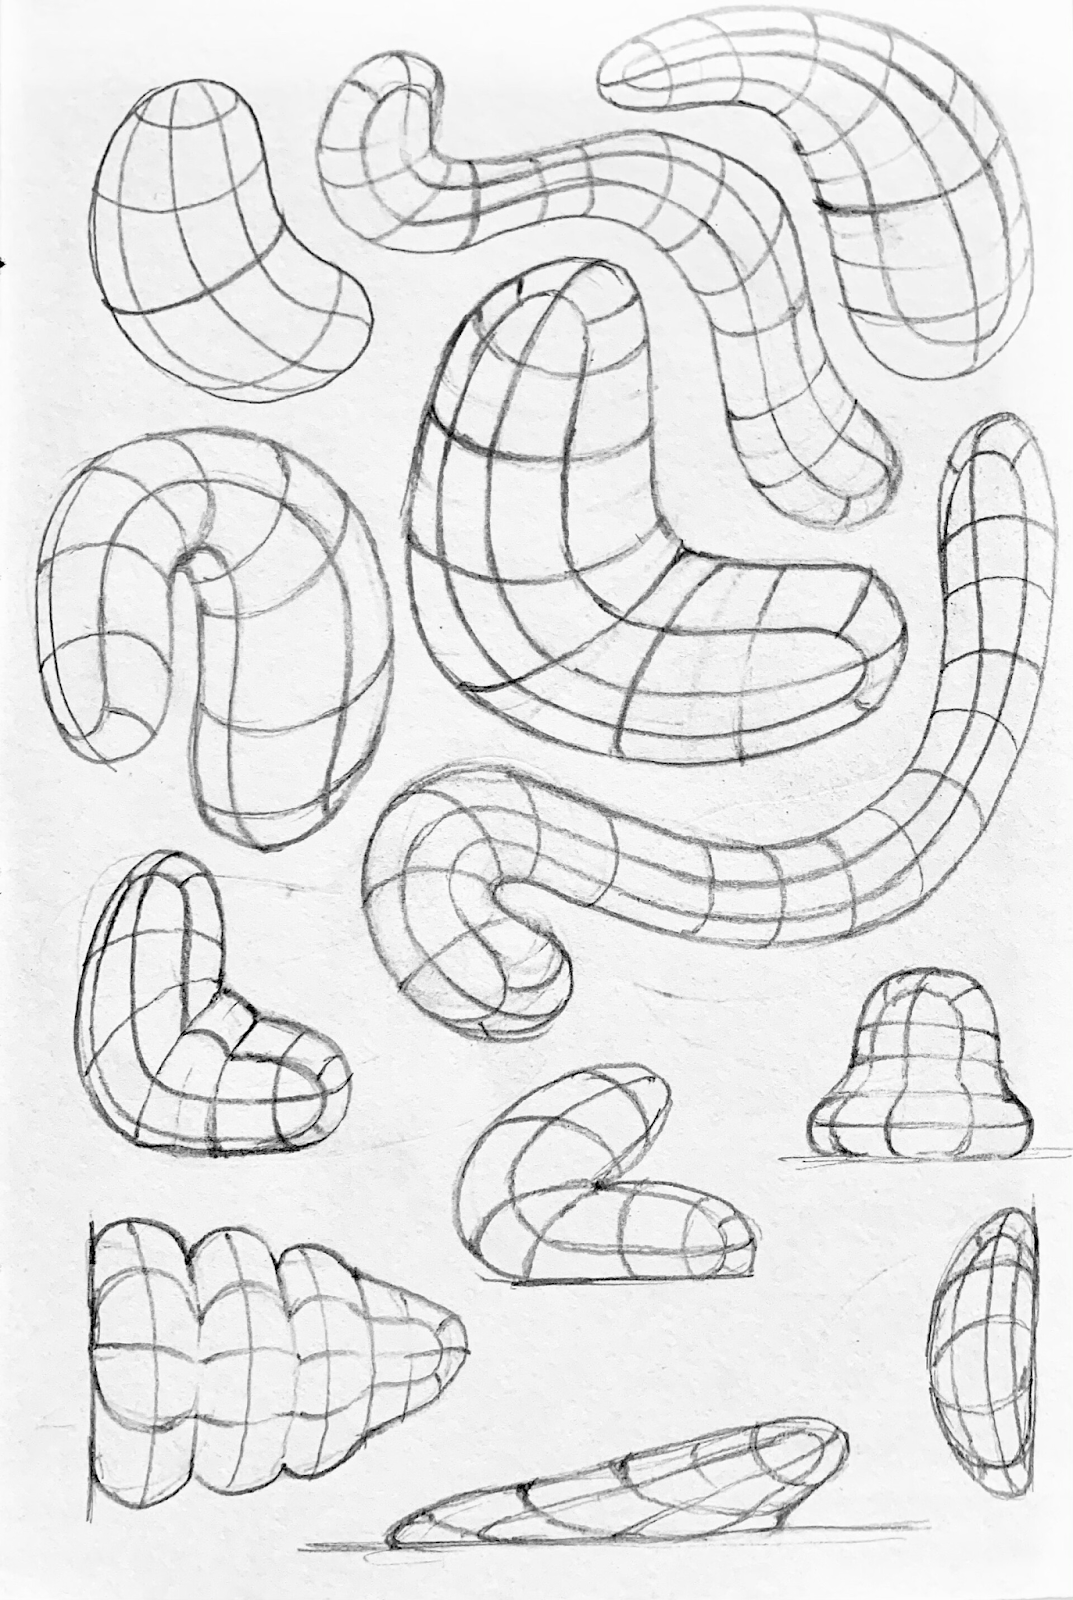
进阶轮廓线:南瓜的交叉轮廓线
线条上下起伏、左右穿行。
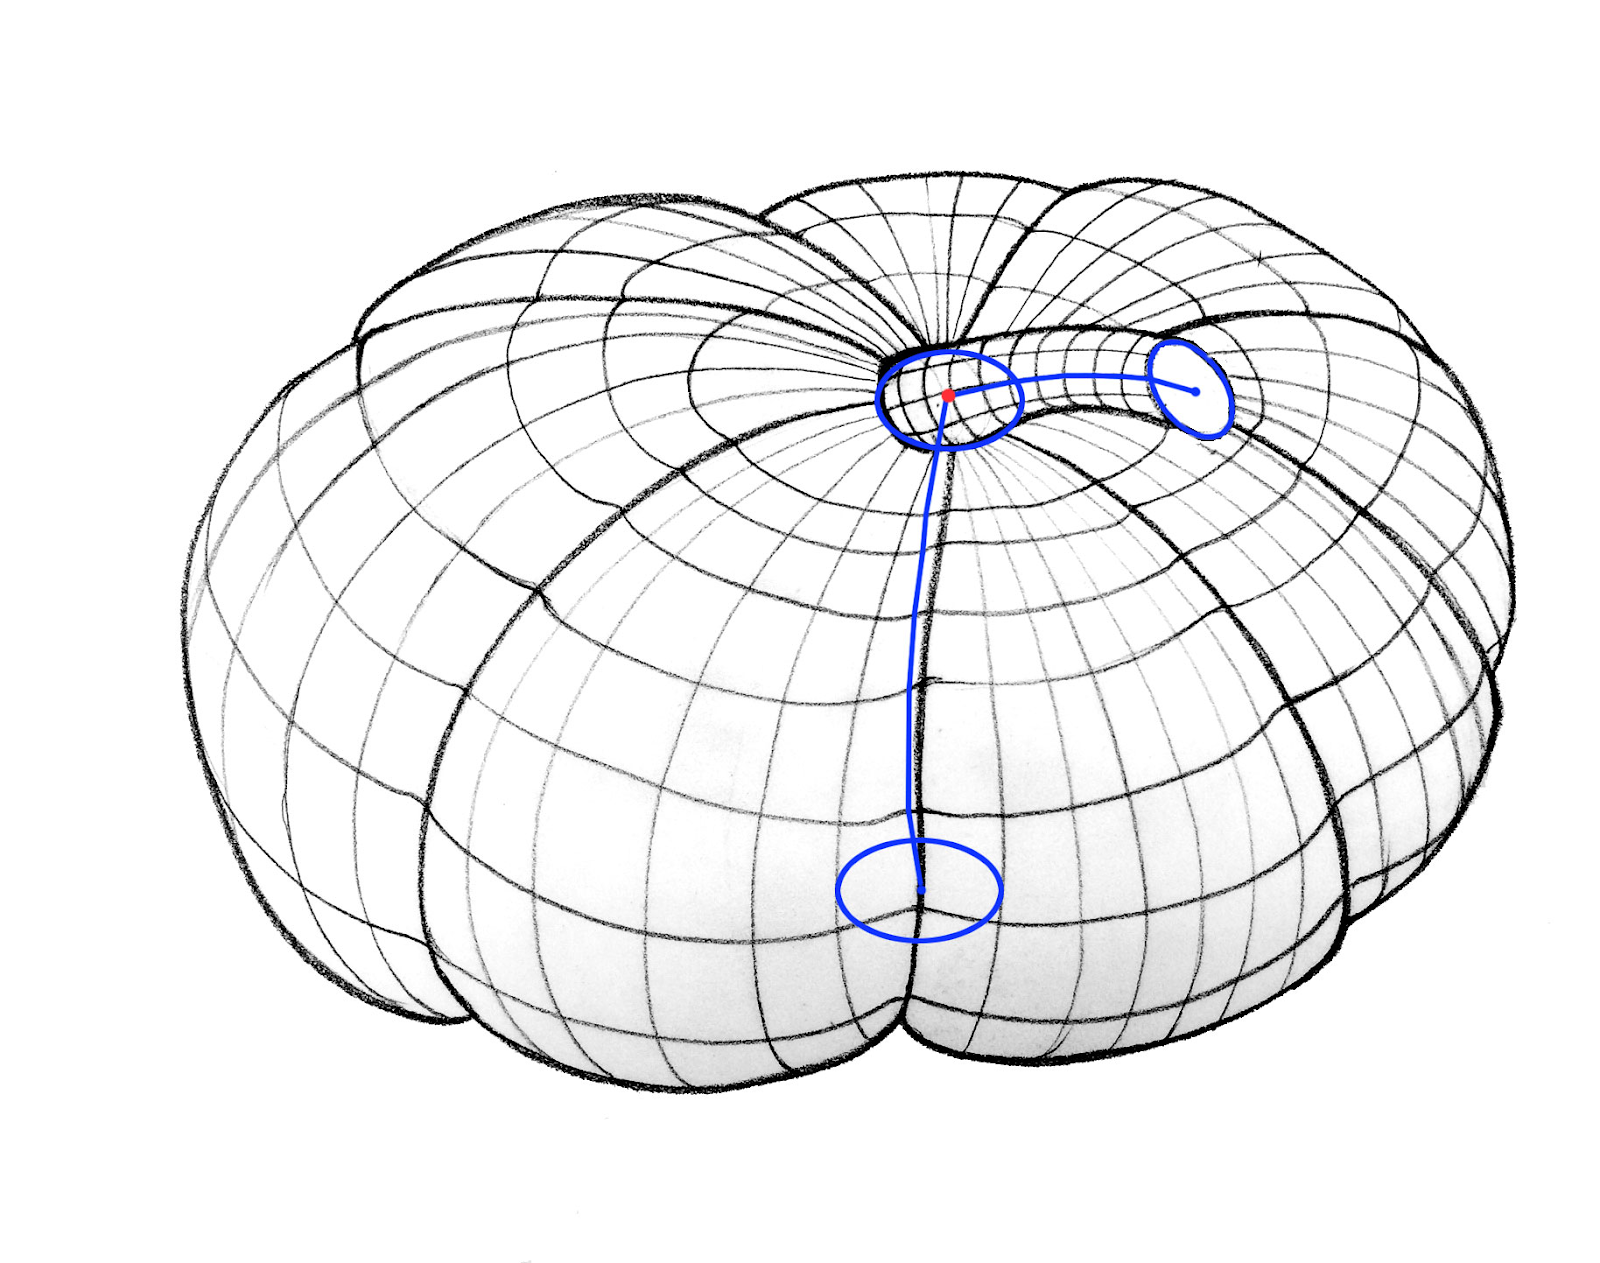
ArtStation —— Sameria Shroff 示范轮廓线
下一步需使用不可水洗的 Crayola 蜡笔。
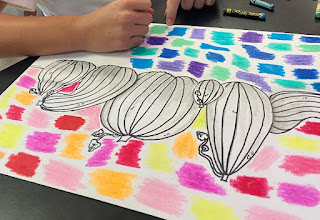
选取若干暖色,至少4种。
仅在画面顶部背景区域使用这些暖色。
(红色、橙色、黄色、粉色、桃色)
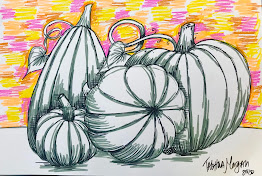
有意留出部分纸面不着色。
你也可在背景中随意涂画这些颜色。
(见下图)
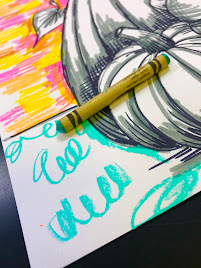
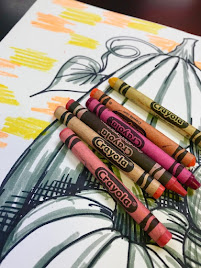
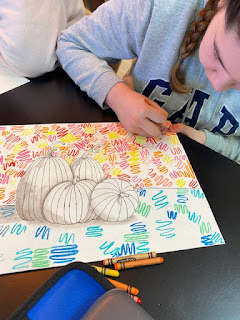
Zoe 正在绘制她美丽的“涂鸦”
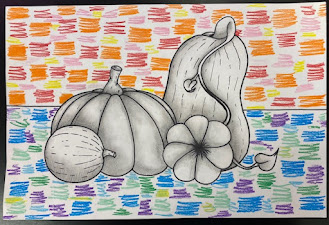
用冷色完成背景另一半。
(蓝色、绿色与紫色)
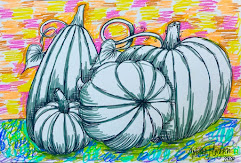
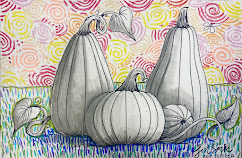
接下来,我们将使用稀释后的黑色颜料,填满南瓜后方、蜡笔未覆盖的背景区域。
若家中没有黑色颜料,也可使用黑色可水洗(非永久性)记号笔代替。
准备约半英寸深的一小杯水。取下记号笔笔帽,将笔尖浸入水中静置片刻。再用此水与画笔,为背景上色。
蜡笔所绘区域会排斥颜料,使颜料只绕行其周围,无法覆盖其上。
这称为蜡笔防染法。
因蜡笔含蜡,具有防水性。
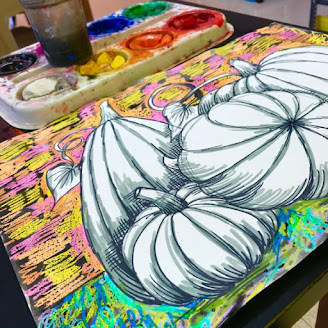
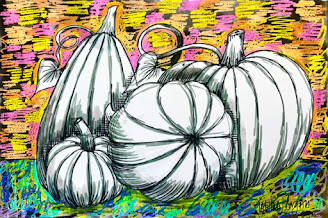
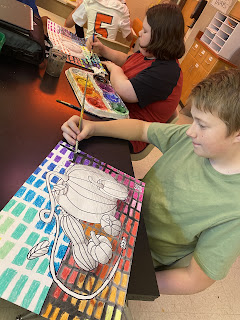
完成黑色颜料绘制后,本项目即告完成。
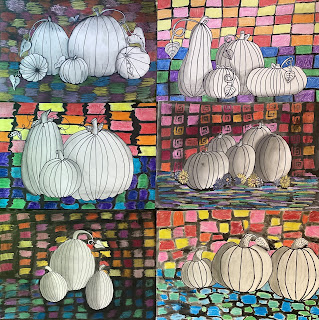
2022年秋季
Eduardo、Cadence、
Michelle、Max、
Jasmin 与 Trestin(第八节课)
Ajia、KY、
Madison、Jaidyn、
Carl 与 Emily(第五节课)
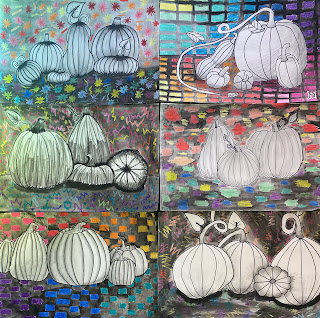
Selena、Melanie、
Maria、Austin、
Kaylee 与 Kali(第四节课)
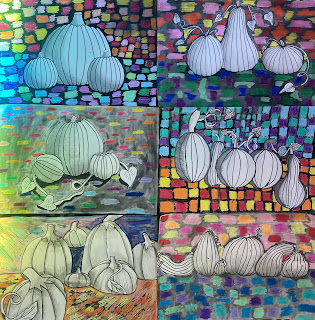
———————
2021年秋季 美术1课
第八节课
Giovana、Avery H、
Josie H、Katherine、
Davis P、Jaylee N。
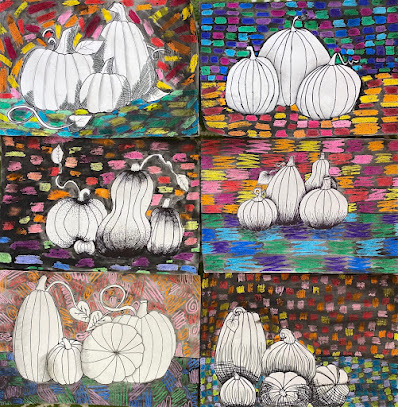
第四节课
Kenzi、Natalie、Zoe、
Jorja、Estrella、Emma、
Jaycee、Olivia、Mary。
Addyson、Vanessa、Skylynn、Valerie。
2020年秋季
学生作品
七至八年级
Maiyah、Lovella、
Yareli、NoName、
Josilen、Emmily、
Braylee 与 Gabby
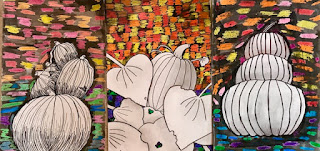
Destinee、Karen 与 Chloe
南瓜蜡笔防染画
Original: https://tabithaannthelostsock.blogspot.com/2020/08/pumpkin-resist.html
Date: 2020-08-31
Tags: colors, contour line, cool, crayon, multi media, pumpkin, resist, warms
Before you begin, study different shapes, sizes and types of pumpkins
AND the lines on the pumpkin from different perspectives.
When lines bend in a shape to conform to the outside, it is called
CONTOUR LINE.
This happens in many objects.
These videos will help you better understand cross contour line.
That may seem complicated...
WE will start SIMPLE, with PUMPKINS
The top and bottom of the pumpkin is where the lines start and stop.
This is the top stem and blossom bottom end.
Didn't know pumpkins had a blossom...
Watch This...
PUMPKIN PRACTICE
Practice drawing 4 different size and shape pumpkins.
Pay special attention to how the lines on the pumpkin change as they go from
the left and right side of the pumpkin. Use contour line on your pumpkin practice to make them appear like forms, or 3D objects.
After you practice, experiment with 4 different arrangements.
For a challenge, change the angle or perspective of the pumpkin.
Use overlapping for a more interesting composition.
Once you have
You may now begin on your final piece.
Don't Forget!!!
Poster by Lost Sock Art Teacher on TPT
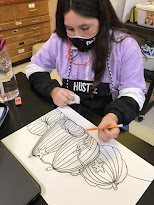
8th period girls planning Pumpkin Arrangement
Carol, Ayden and Sawyer 2021
Fall 2020
Draw your favorite pumpkin composition on the paper very lightly with a pencil.
Outline with a Black Permanent Marker when it looks right.
Next, you can use a pencil, grey colored pencil, grey crayon or a grey marker (for advanced shaders)
to shade the pumpkins. Maker sure you are using a consistent light source.
See video for shading help...
ADVANCED CONTOUR LINE
Cross Contour of a Pumpkin
Going up and down and side to side.
ArtStation- Contour with Sameria Shroff
Next you will need NON Washable Crayola Crayons.
Get some Warm colors.
You'll want 4 or more.
Use the warm colors on the top of the picture on the
BACKGROUND ONLY.
(reds, oranges, yellows, pinks, peaches)
Intentionally leave some paper showing.
You can scribble color the colors in the background if you want.
(see below)
Zoe doing her beautiful "scribbles"
Finish off the 2nd half of the background with cool colors.
(Blues, Greens, and Purples)
Next, we will use watered down black paint to fill in the background
behind the pumpkins where the crayon did not go.
If you do not have black paint at home, you can use a black washable (not permanent) marker as well.
You can get a cup of water about 1/2 inch deep. Put the black marker in the water with the cap off. Let the uncapped end sit in the water for a bit. Use the water and a paintbrush to go in the background.
The crayon will push away the paint, letting it just go around it, not on top of it.
This is called a Crayon Resist.
Because the crayon is made of wax which is water repellent.
ONce you are done with the black paint, you are done with the project.
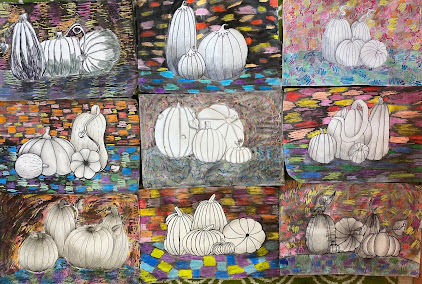
Fall 2022
Eduardo, cadence,
Michelle, Max,
Jasmin, & Trestin. (8th period)
Ajia, KY,
Madison, Jaidyn,
Carl, Emily (5th period)
Selena, Melanie,
Maria, Austin,
Kaylee, Kali (4th period)
——————-
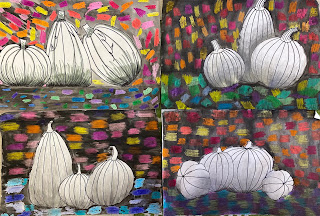
Art 1 Fall 2021
8th period
Giovana, Avery H,
Josie H, Katherine,
Davis P, Jaylee N.
4th peirod
Kenzi, Natalie, Zoe,
Jorja, Estrella, Emma,
Jaycee, Olivia, Mary.
Addyson, Vanessa, Skylynn, Valerie.
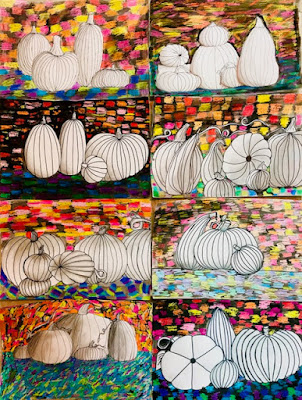
2020 Fall
STUDENT ARTWORK
7-8th grade
Maiyah, Lovella,
Yareli, NoName,
Josilen, Emmily,
Braylee & Gabby
Destinee, Karen and Chloe