南瓜明暗写生
原文链接:https://tabithaannthelostsock.blogspot.com/2023/09/shady-pumpkins.html
日期: 2023-09-19
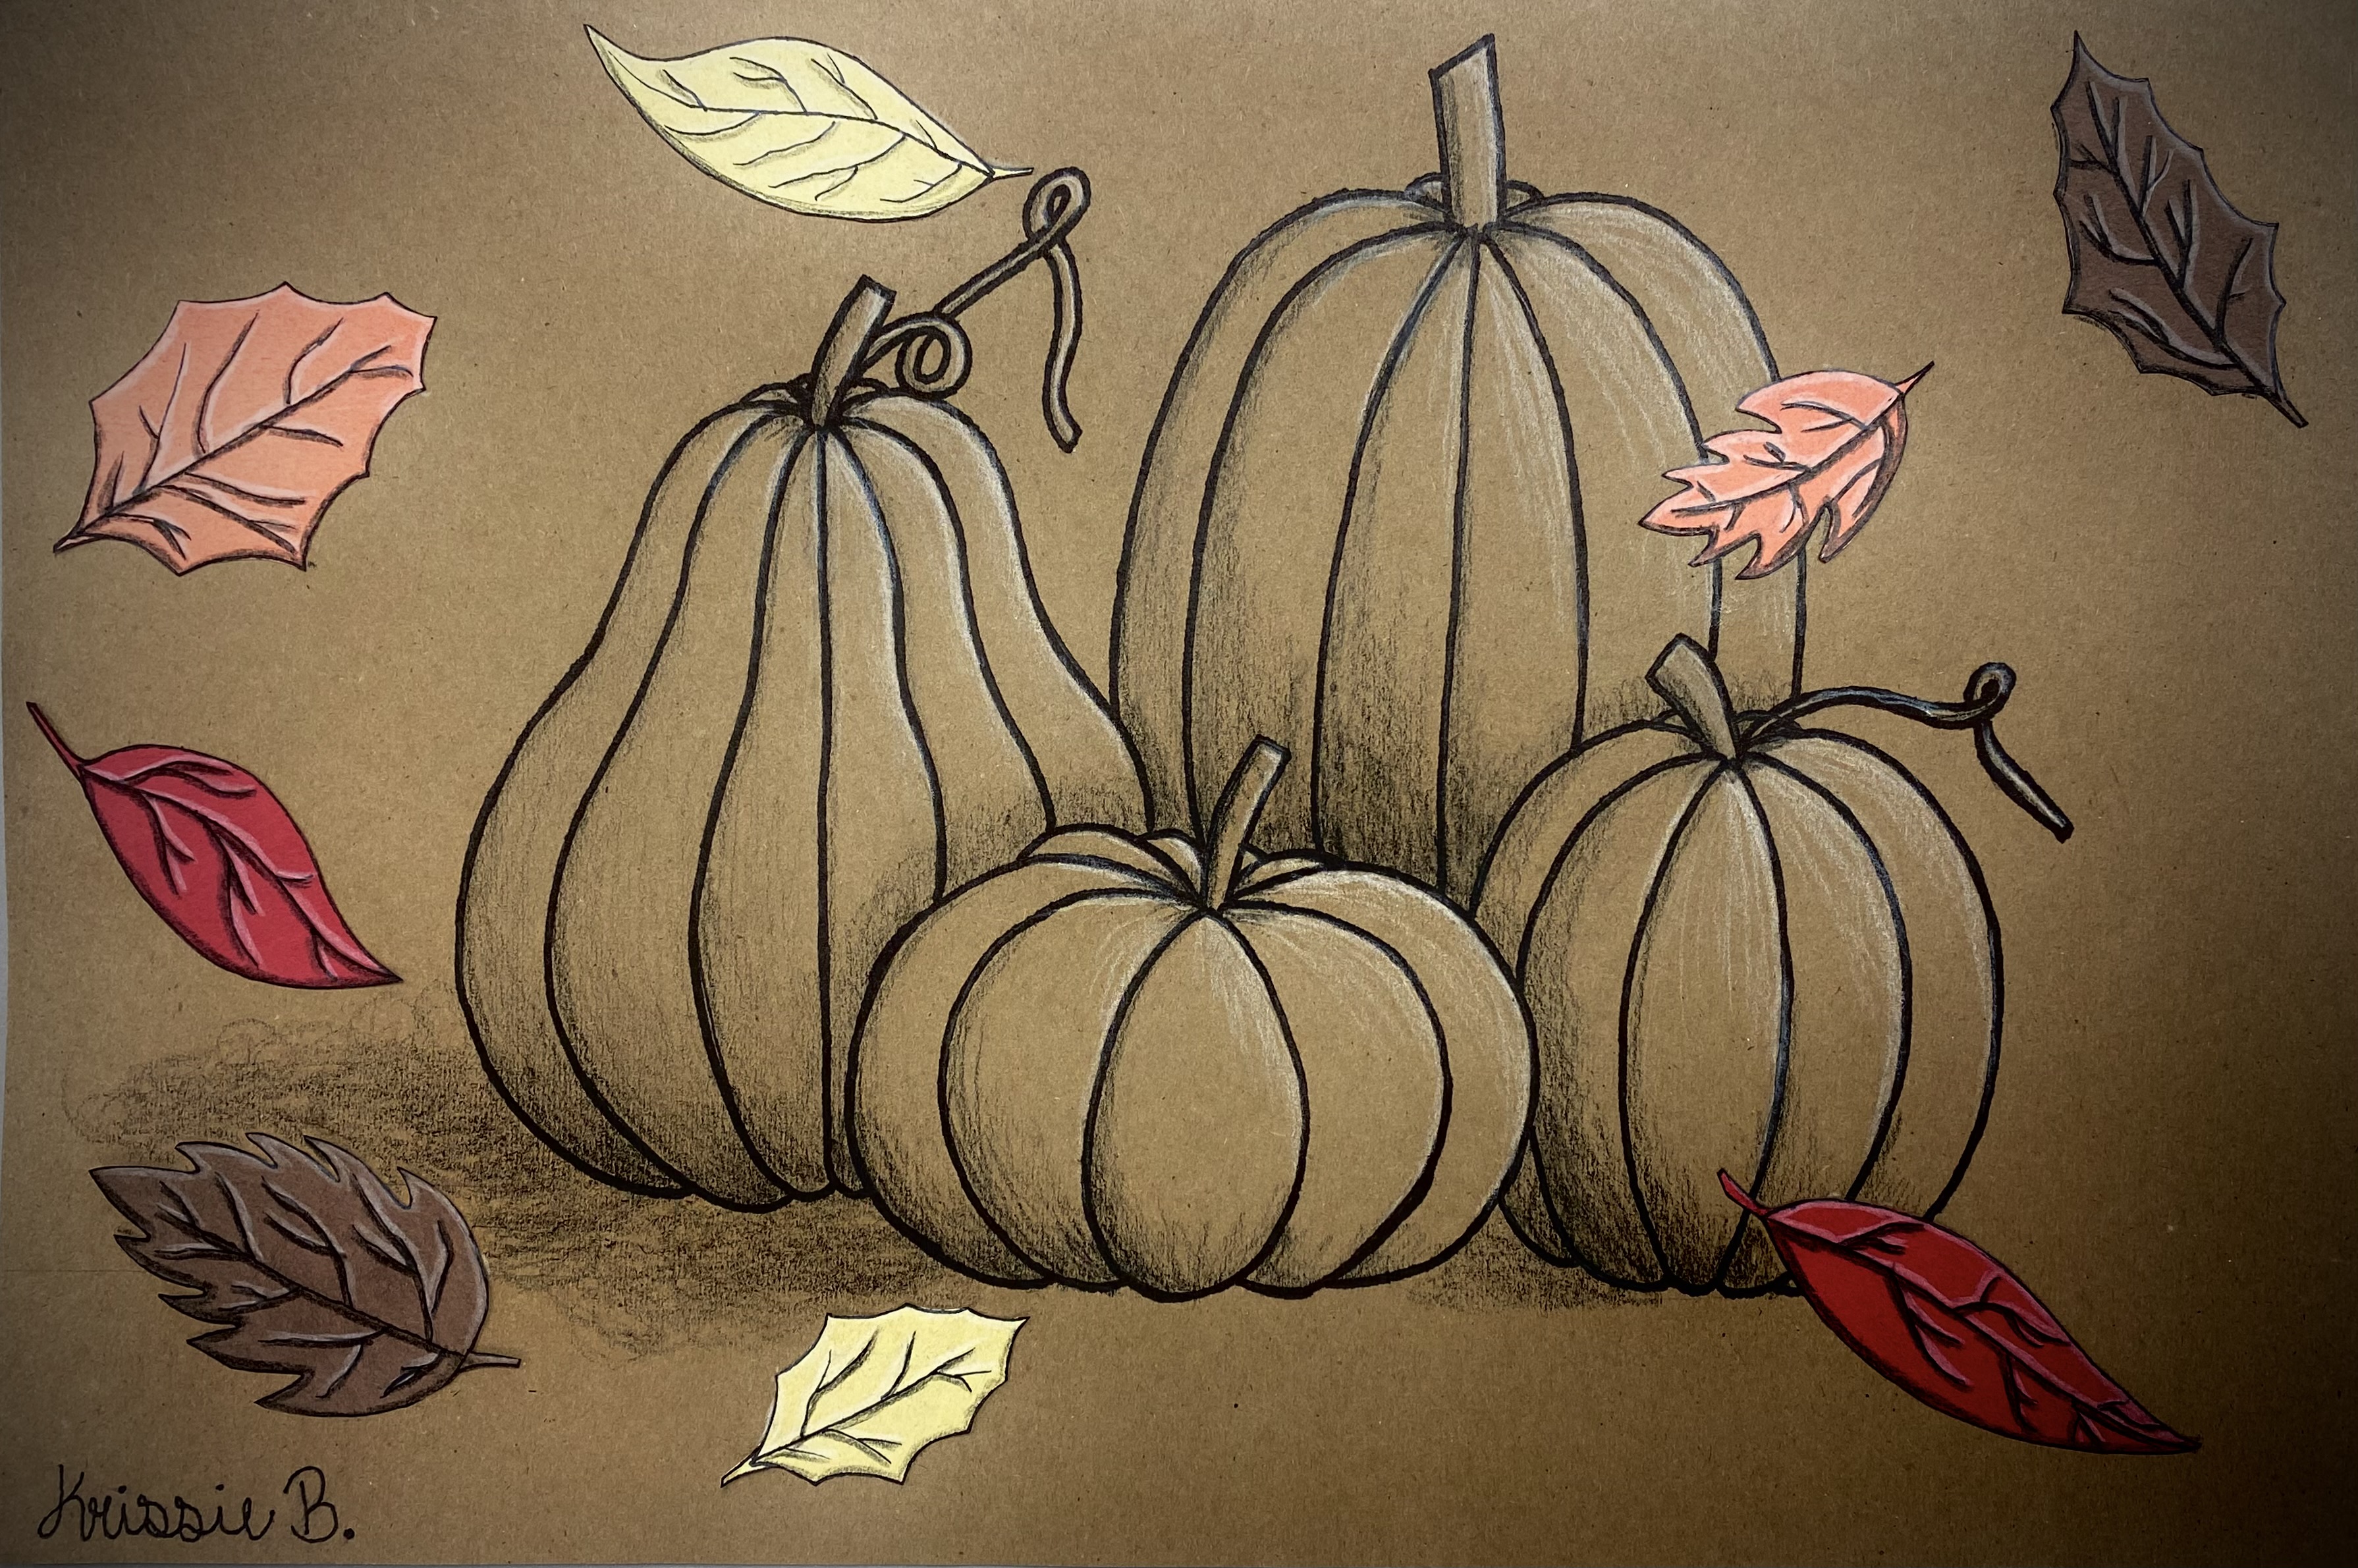
标签: 轮廓线、秋季、形体、高光、中间调、南瓜、明暗/排线、明度
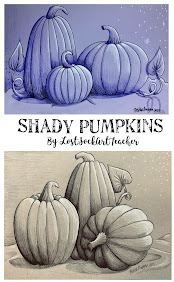
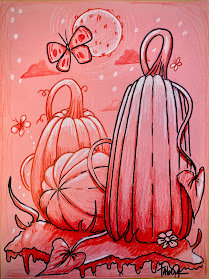
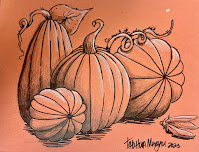
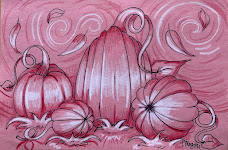
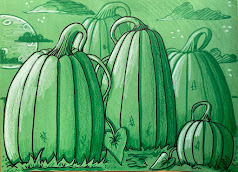
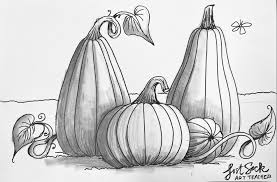
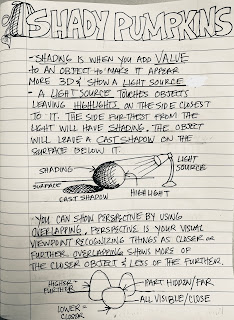
通过铅笔压力控制明暗
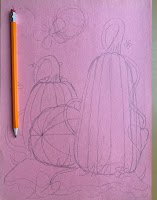
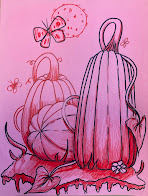
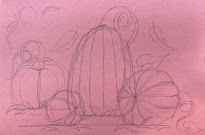
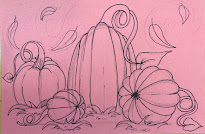
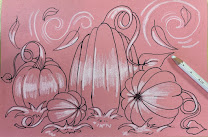
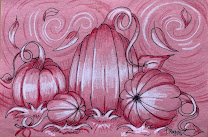
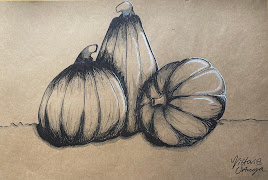
用铅笔起稿,用记号笔/更深的颜色强调轮廓;
用水彩笔(黑色或纸色的深色调)进行明暗/排线;
用白色彩铅提亮高光……
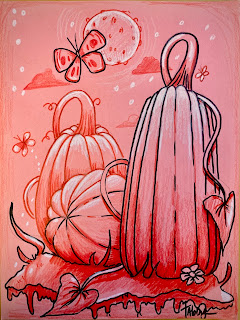
挑战:尝试用墨水技法表现明暗
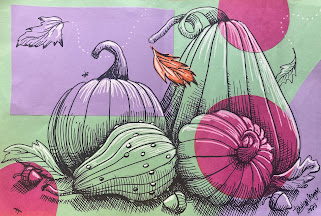
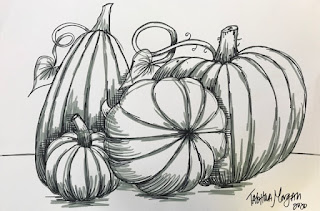
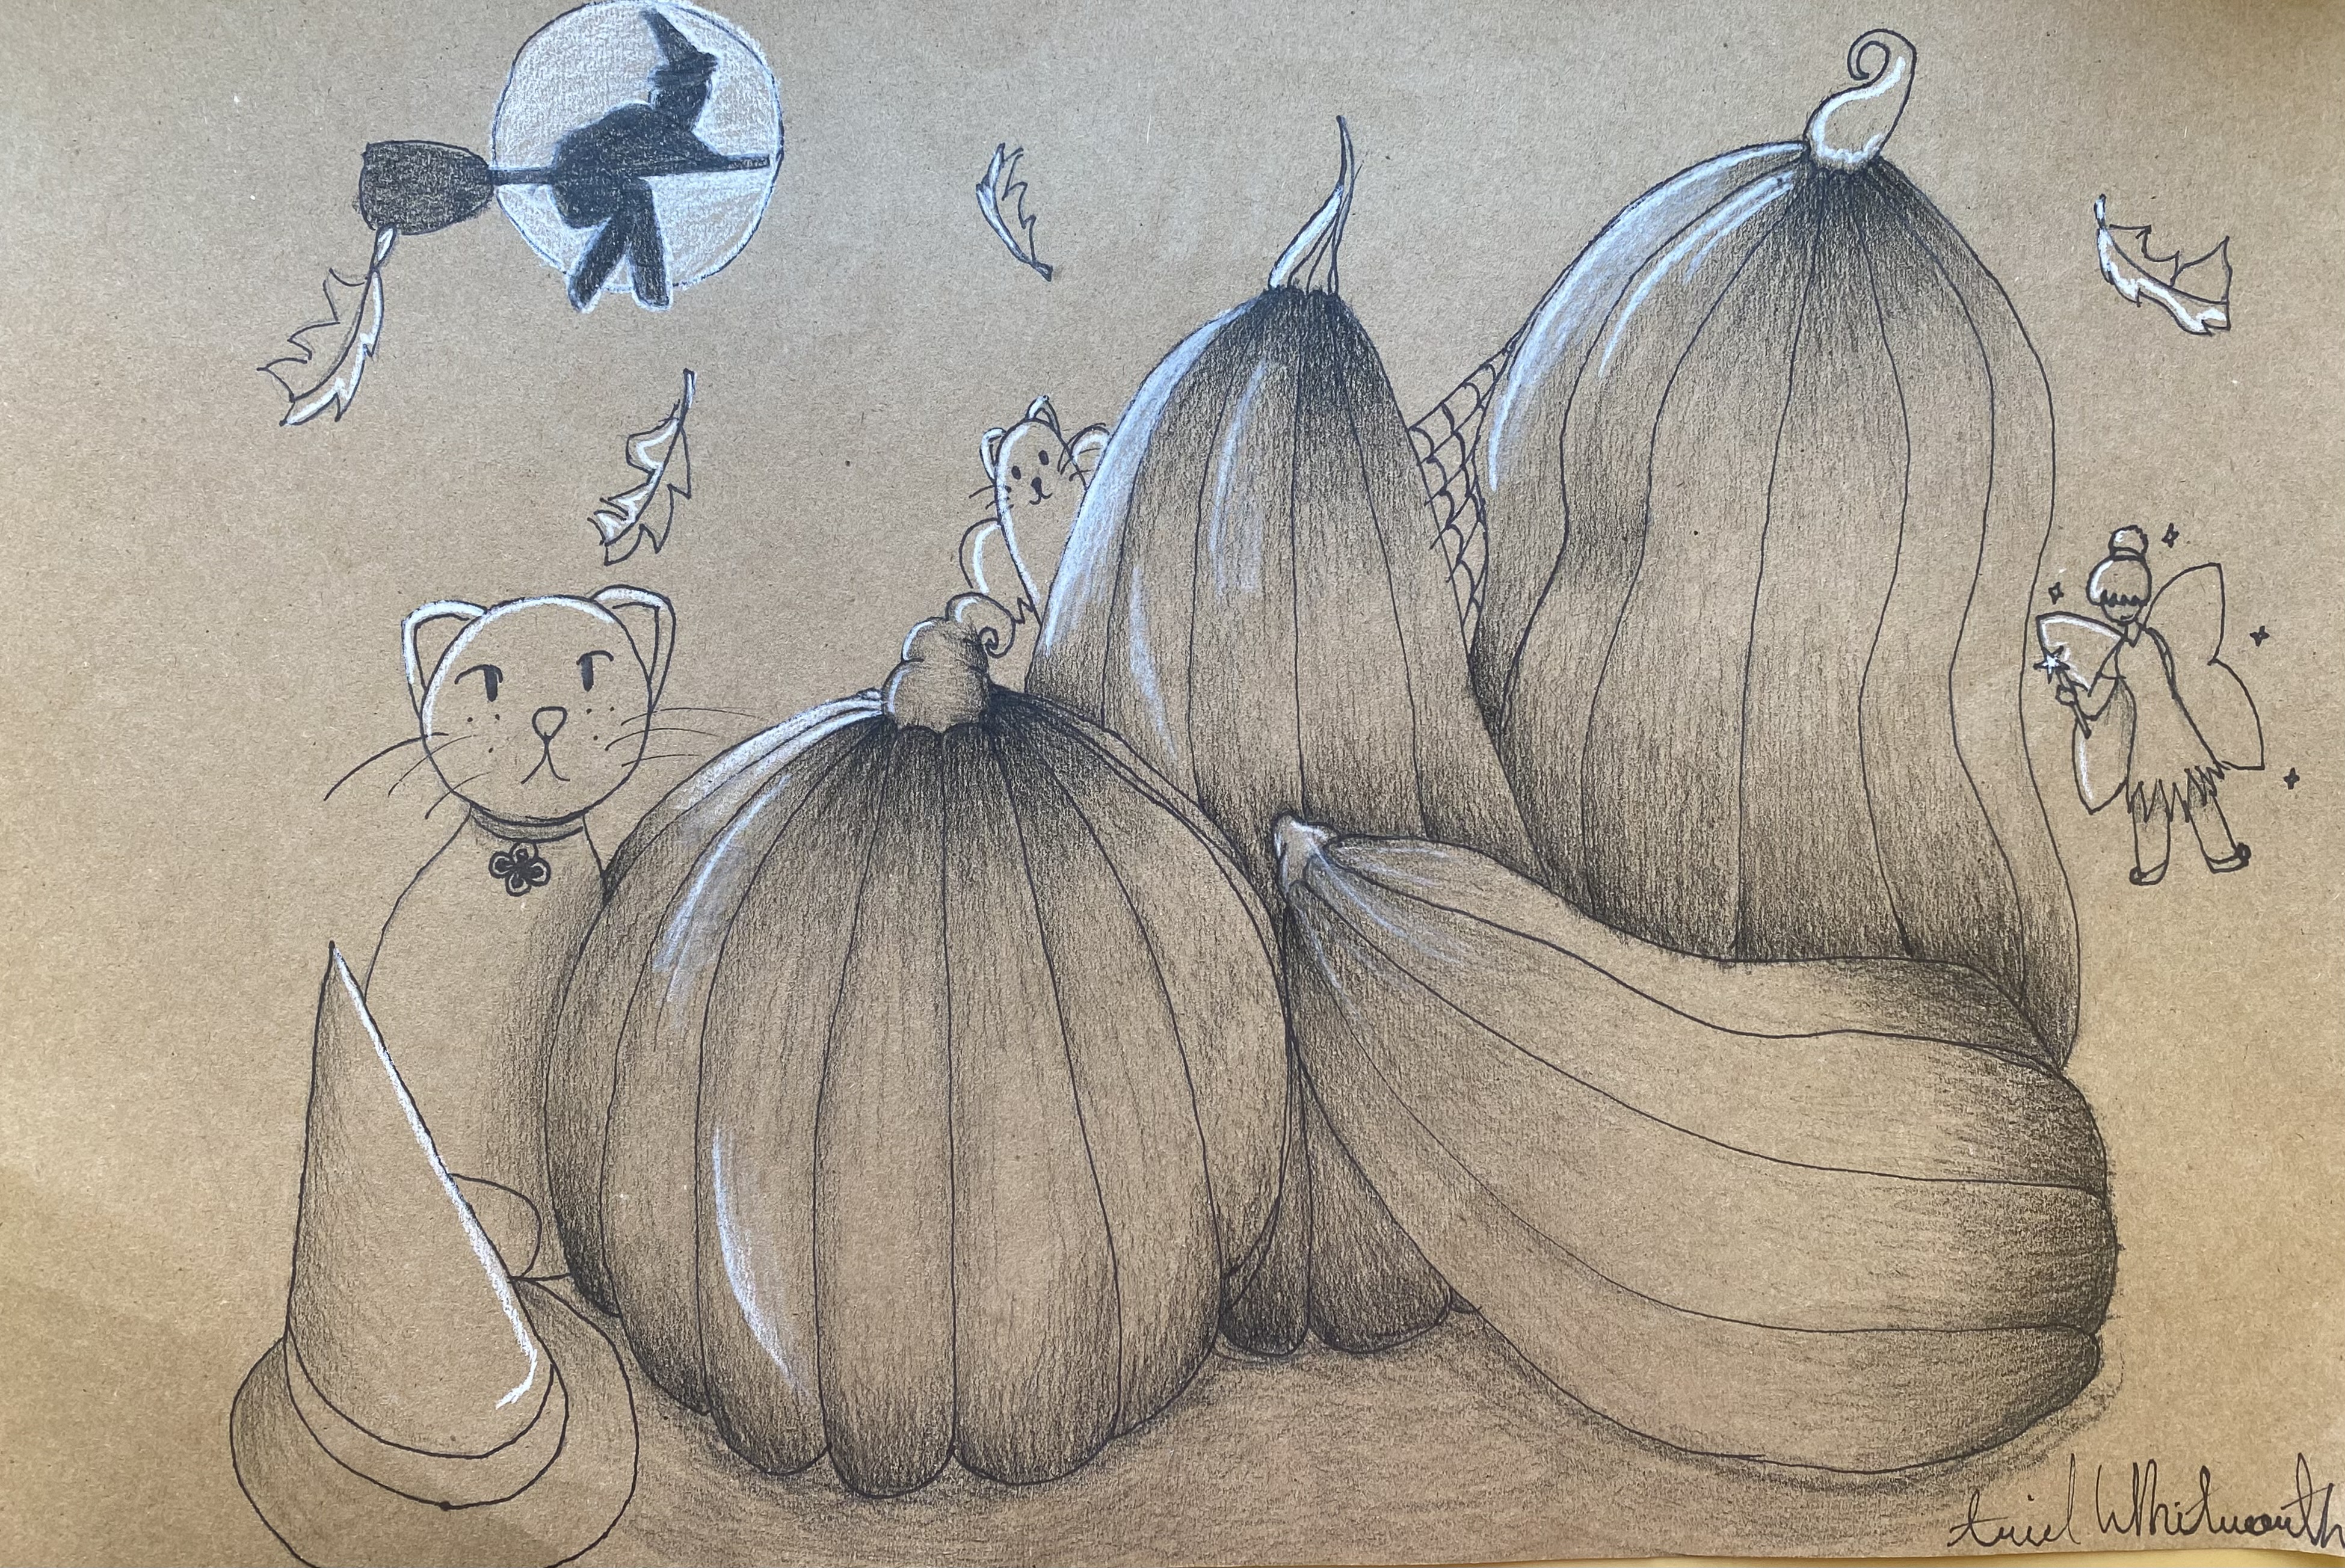
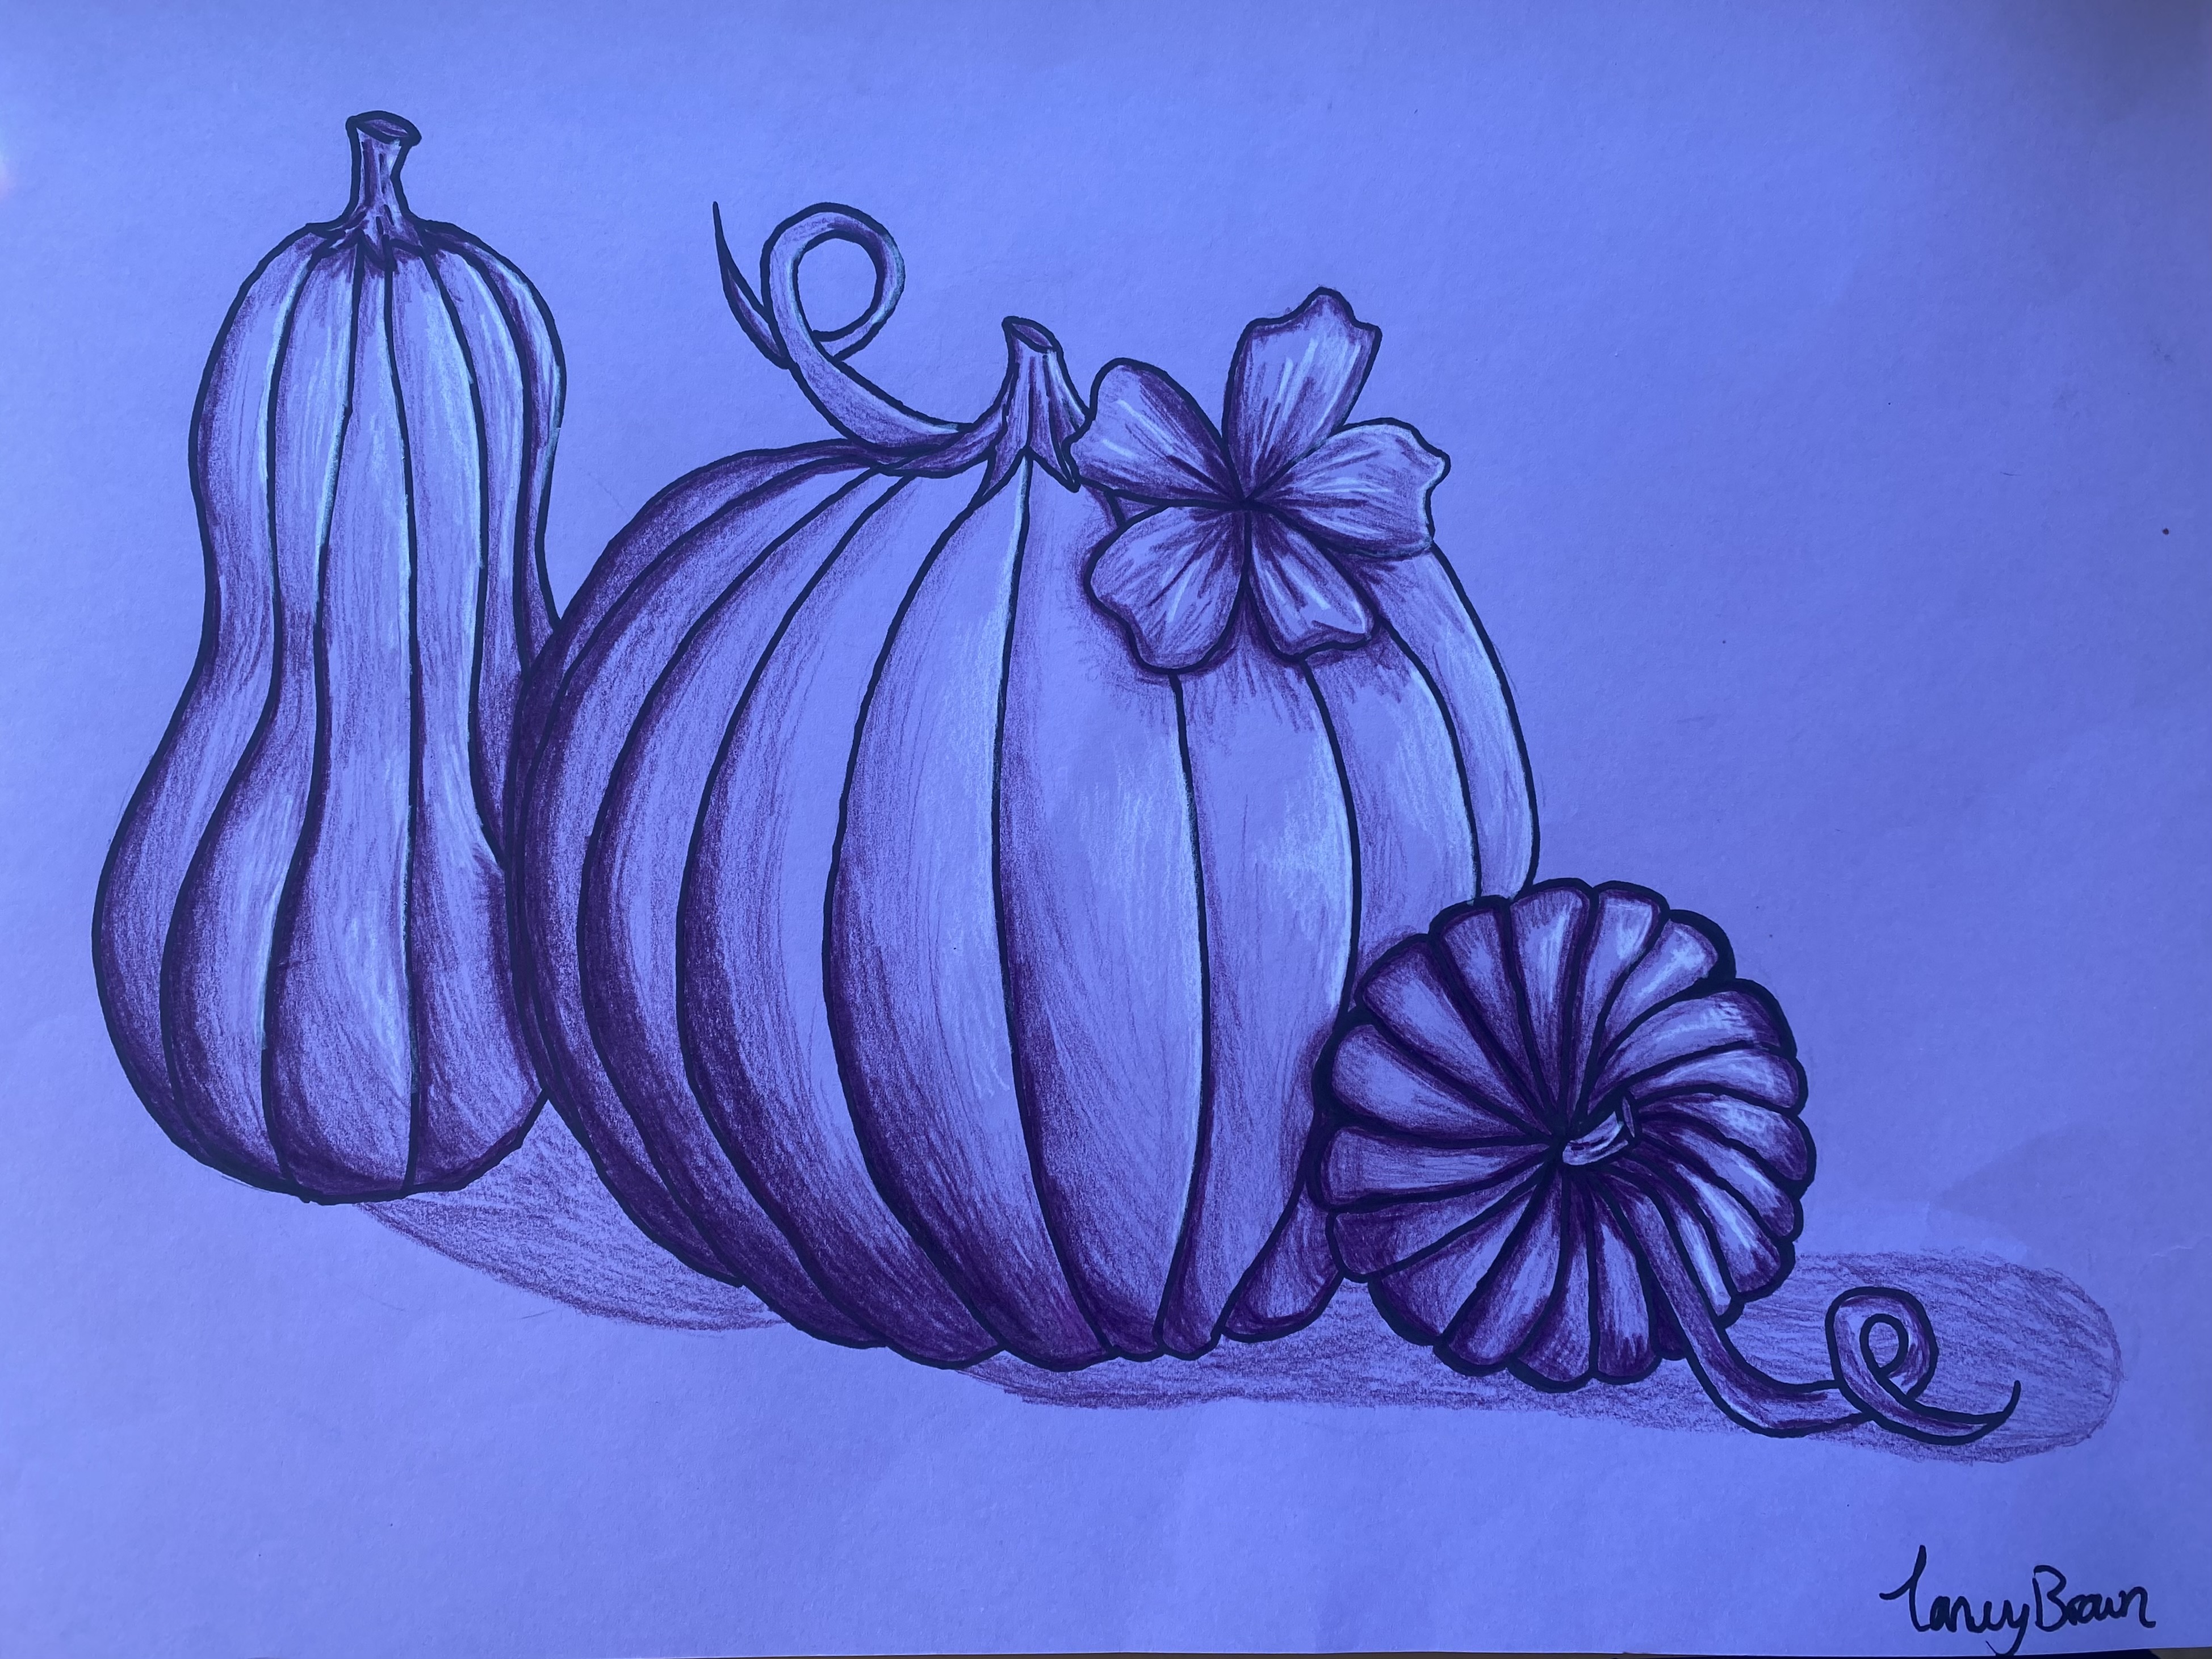
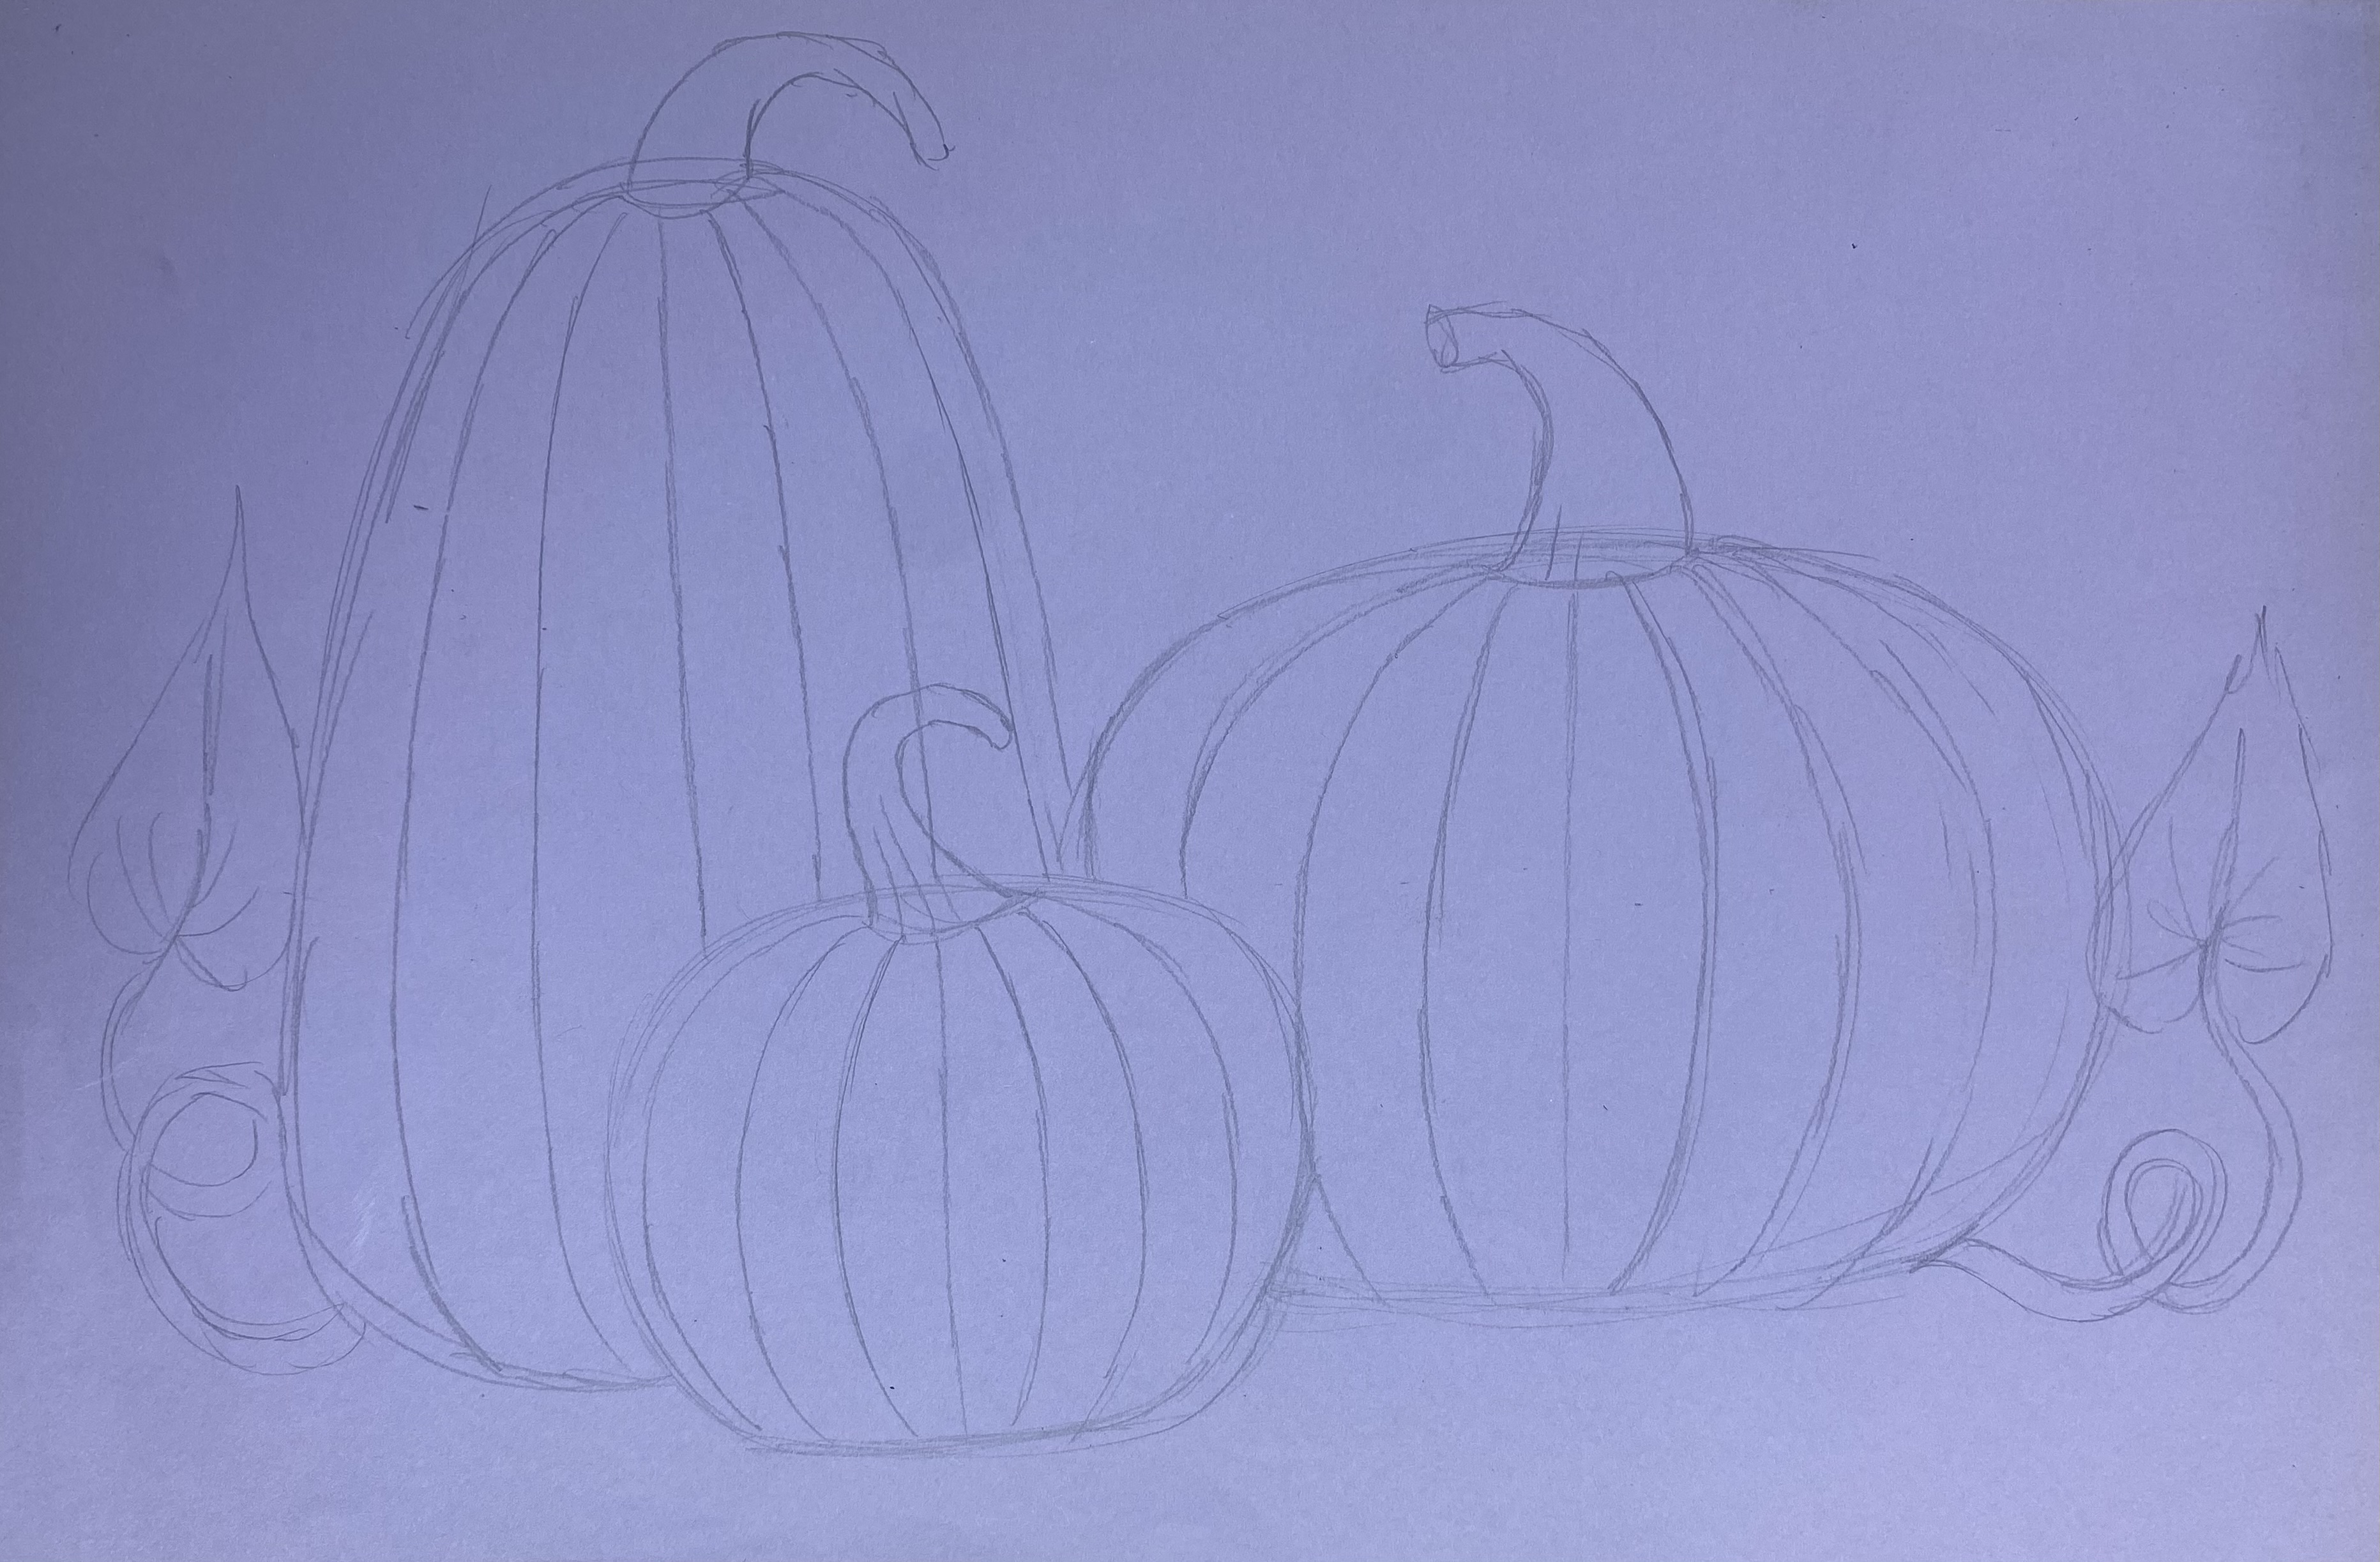
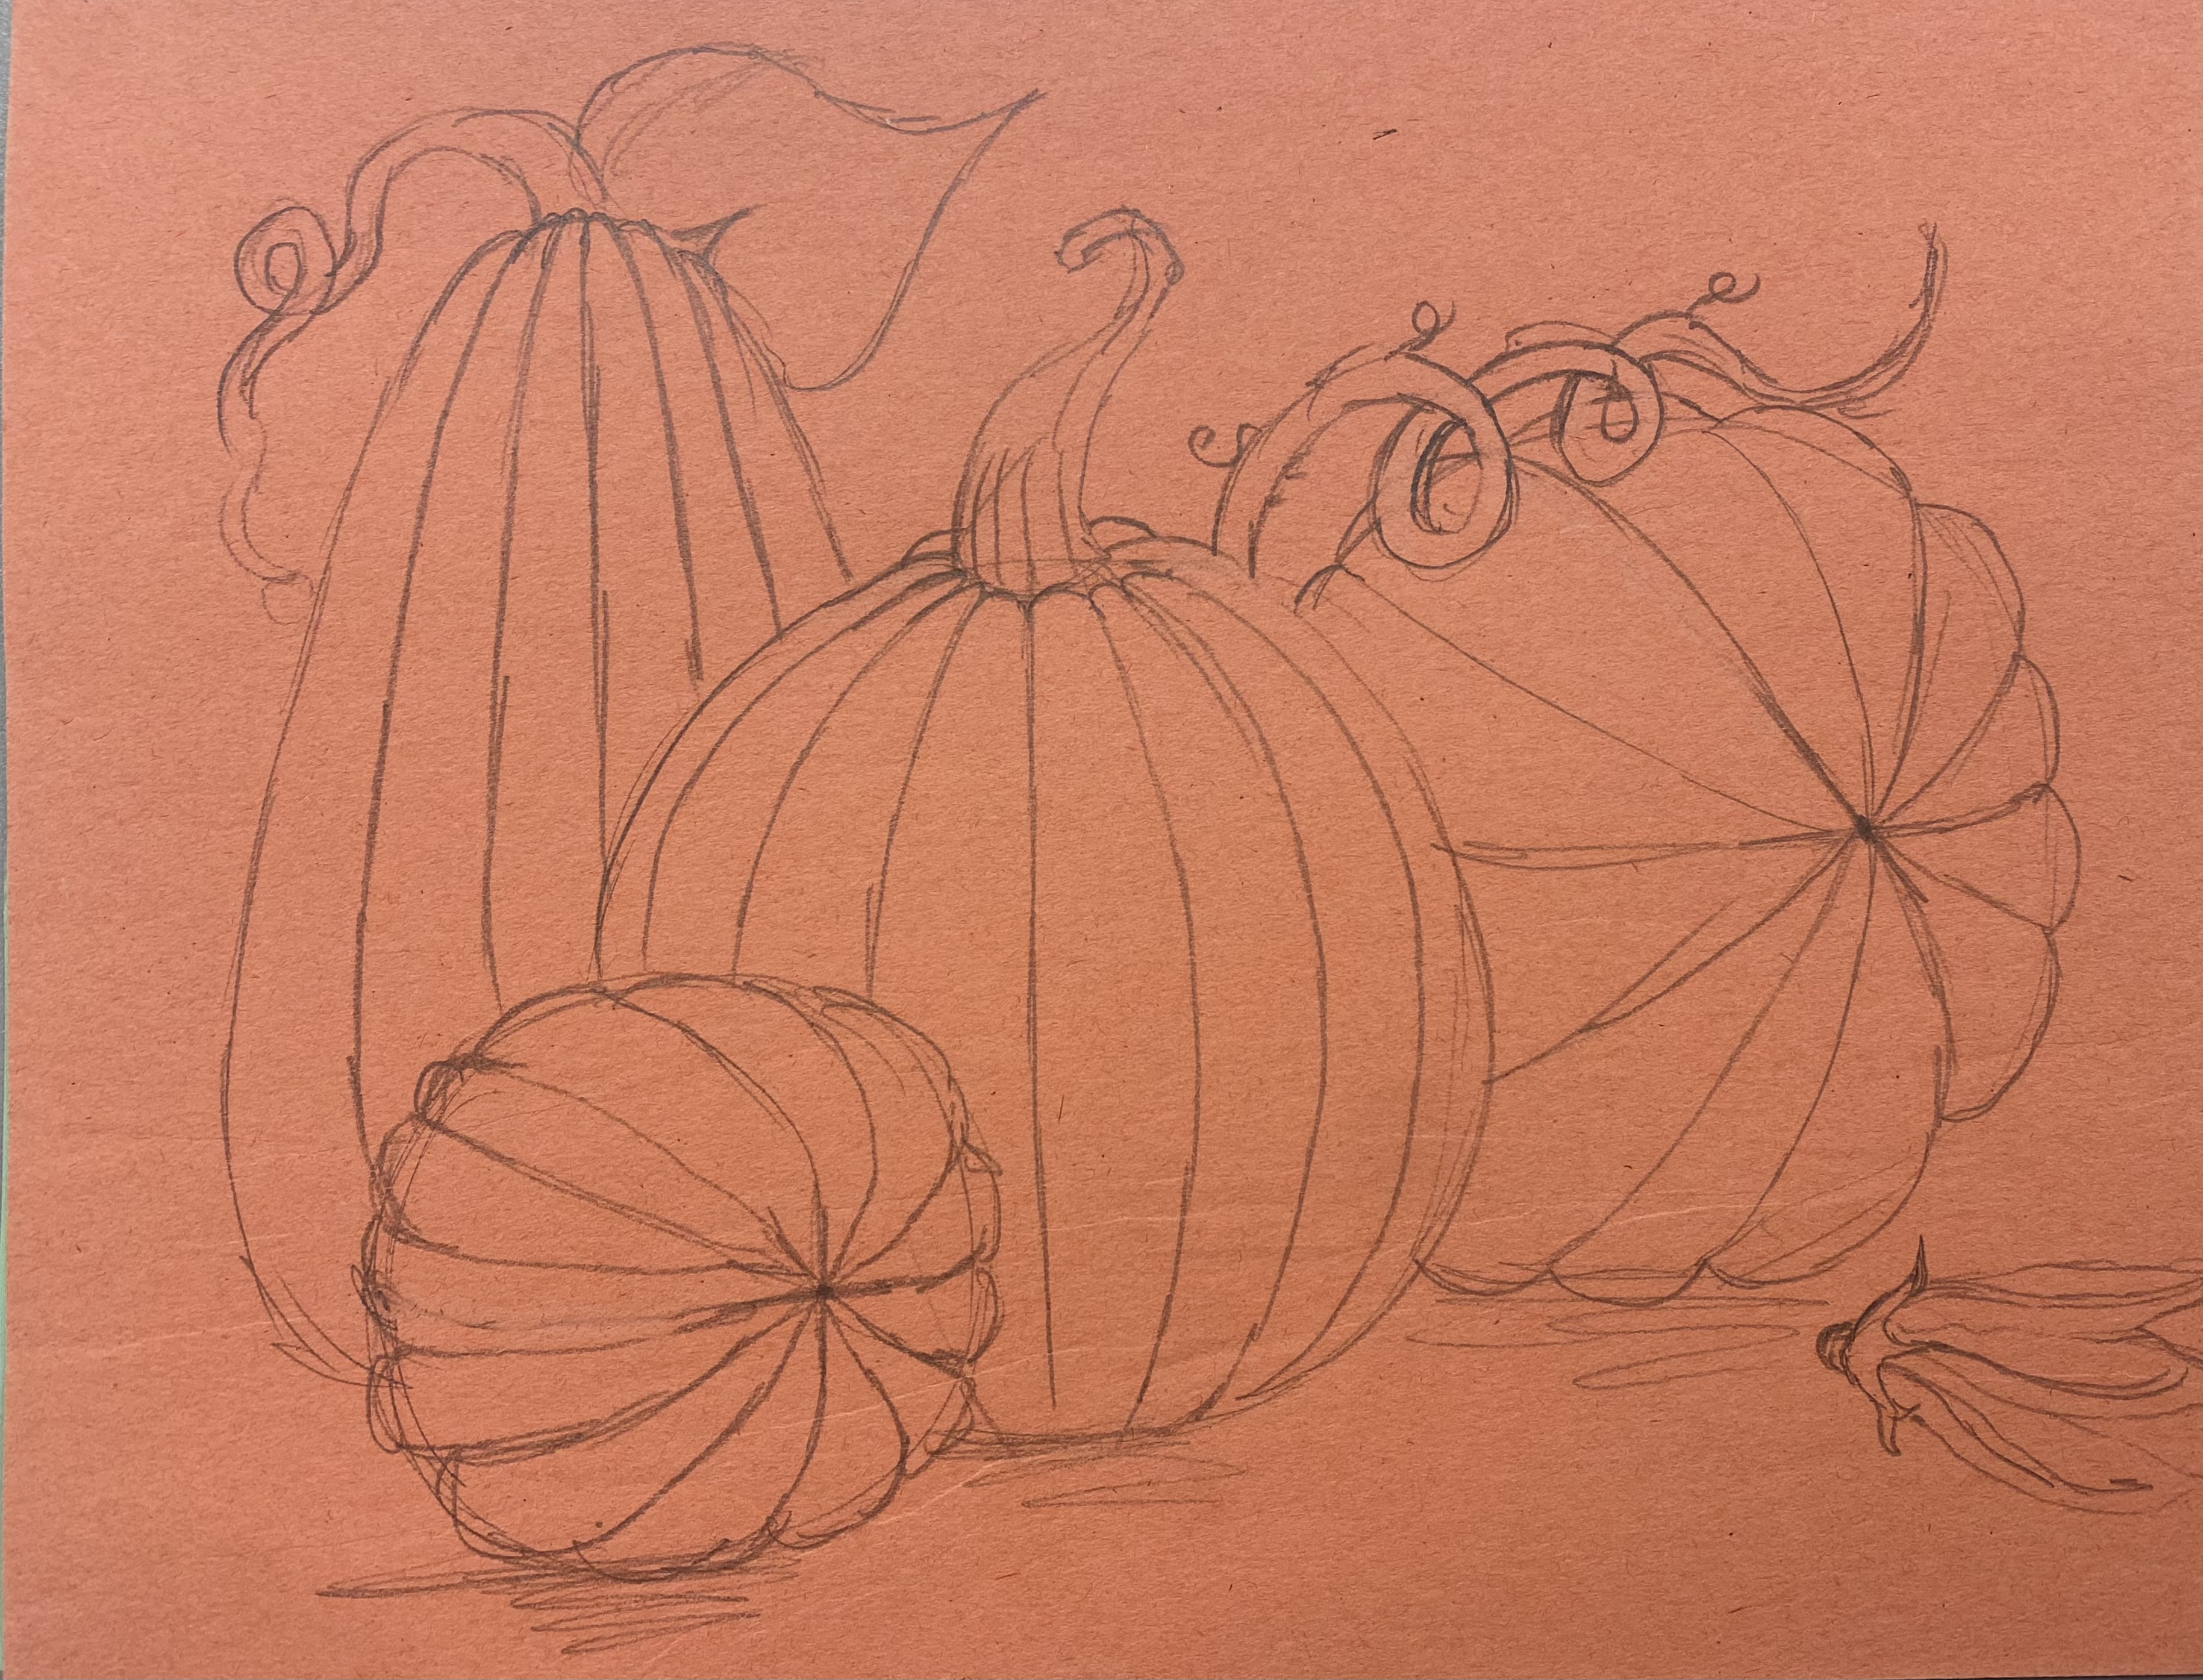
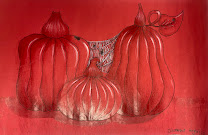
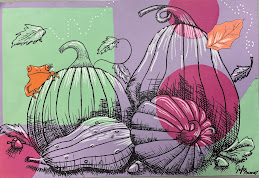
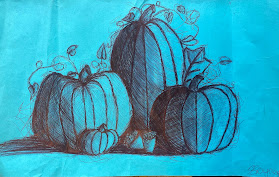
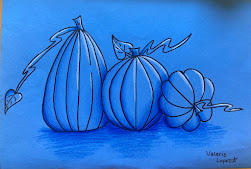
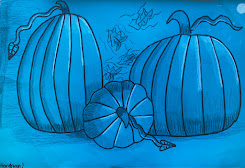
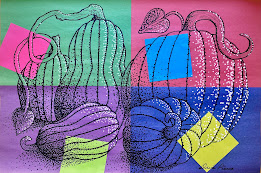
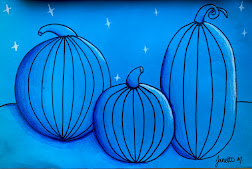
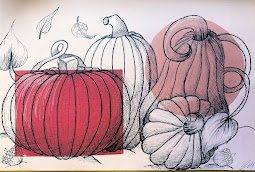
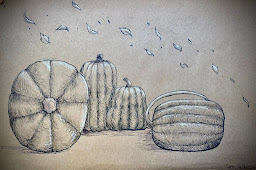
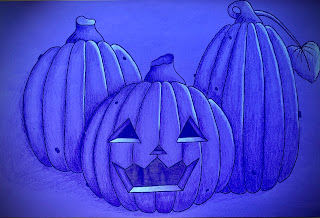
学生范例
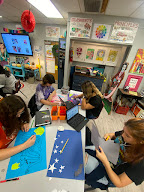
美术 I 课程作业中……
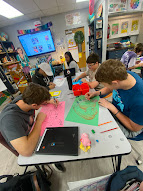
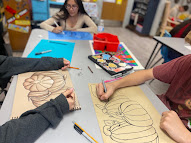
美术 II 课程作业中……
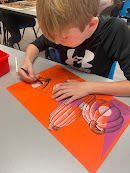
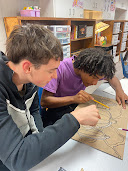
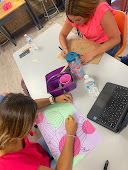
高级美术课程作业中……
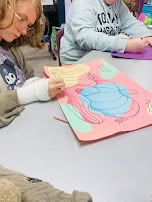
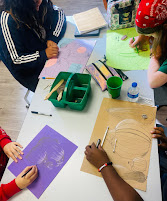
美术 1 — 2025 年秋季
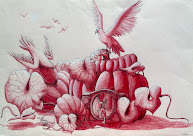
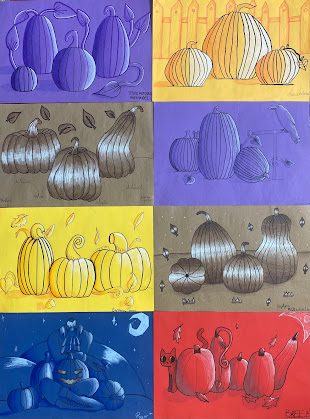
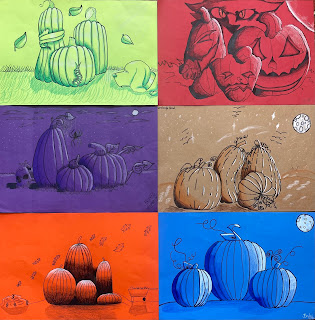
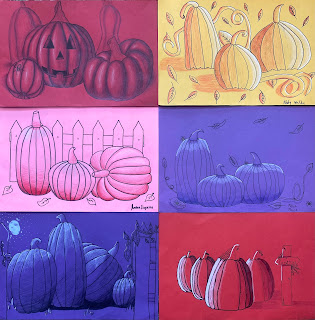
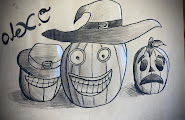
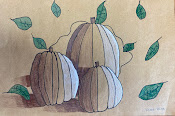
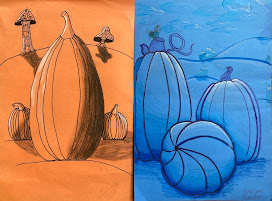
高级美术、美术 3&4
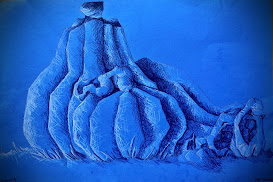
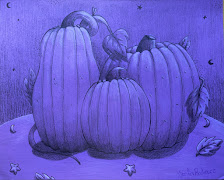
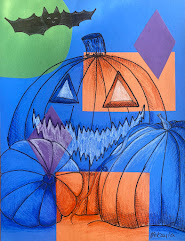
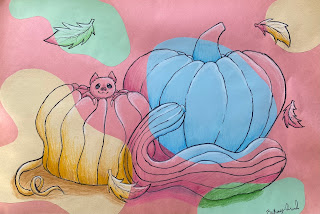
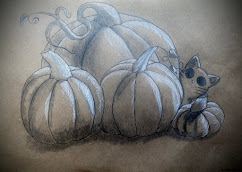
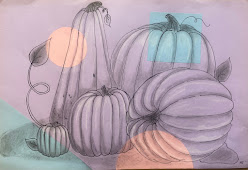
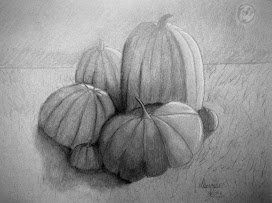
美术 II
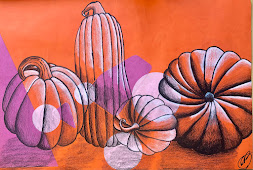
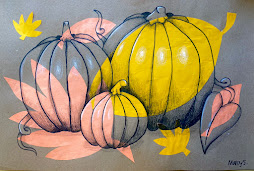
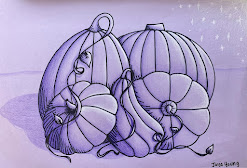
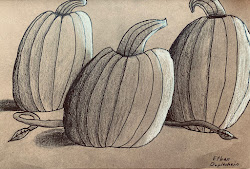
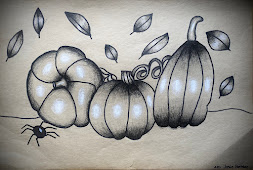
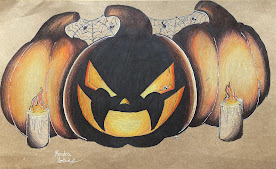
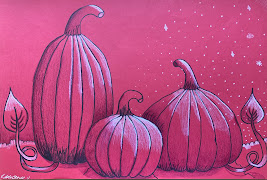
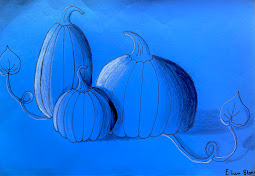
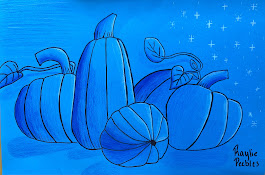
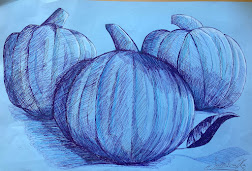
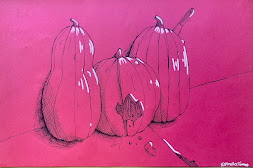
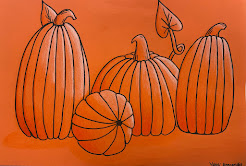
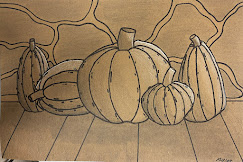
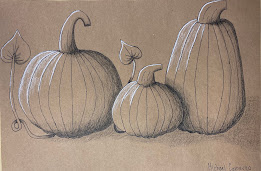
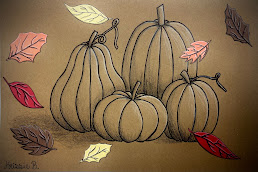
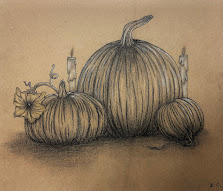
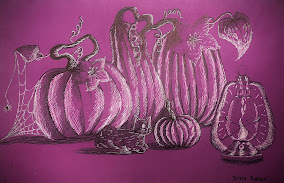
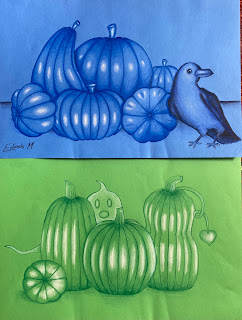
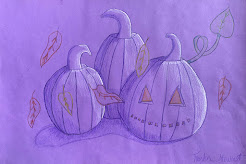
美术 1(基础美术)
2024 年
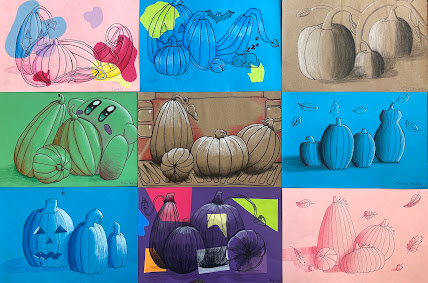
**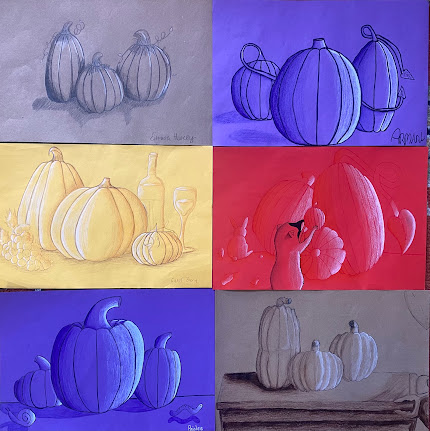
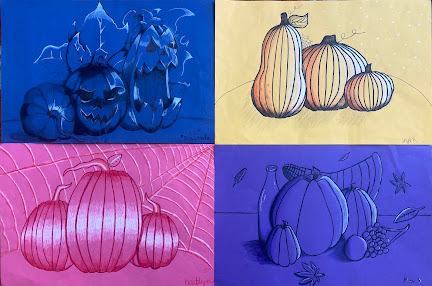 **
**
2023 年
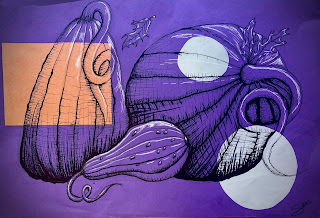
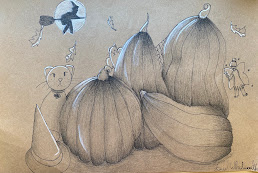
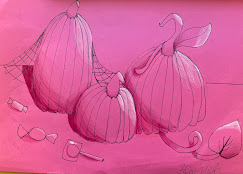
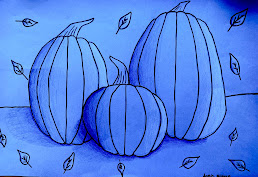
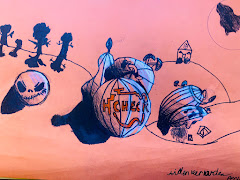
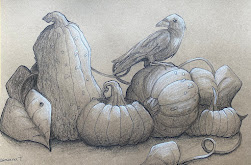
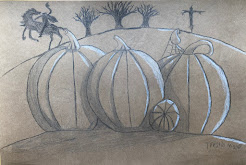
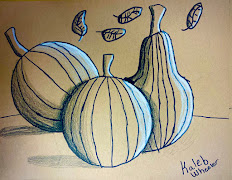
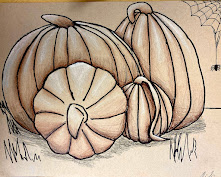
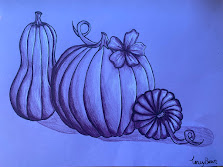
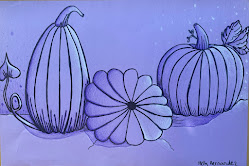
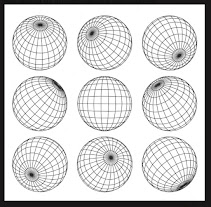
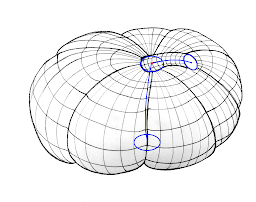
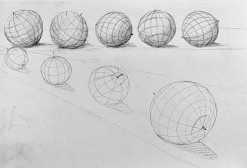
研究交叉轮廓线在不同视角下的变化
当中心点移动时,线条如何变化?
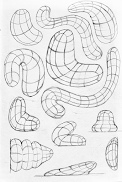
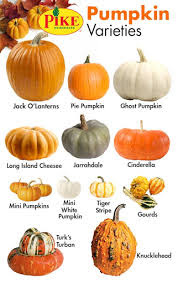
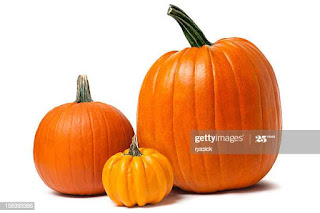
南瓜世界中存在多种形状
- 可尝试绘制高大、矮胖或细长的南瓜。
先确定基本形状,再添加轮廓线。
*运用重叠手法
将较小的南瓜画在前方,较高的南瓜置于后方;
后方南瓜的部分形体应被遮挡。
在你的
速写本中
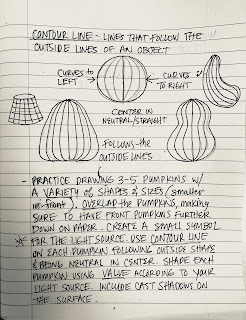
练习用轮廓线绘制多种南瓜。
规划一幅含 3–5 个南瓜的构图,运用重叠与空间深度。
添加明暗/排线与投影,并加入创意细节。
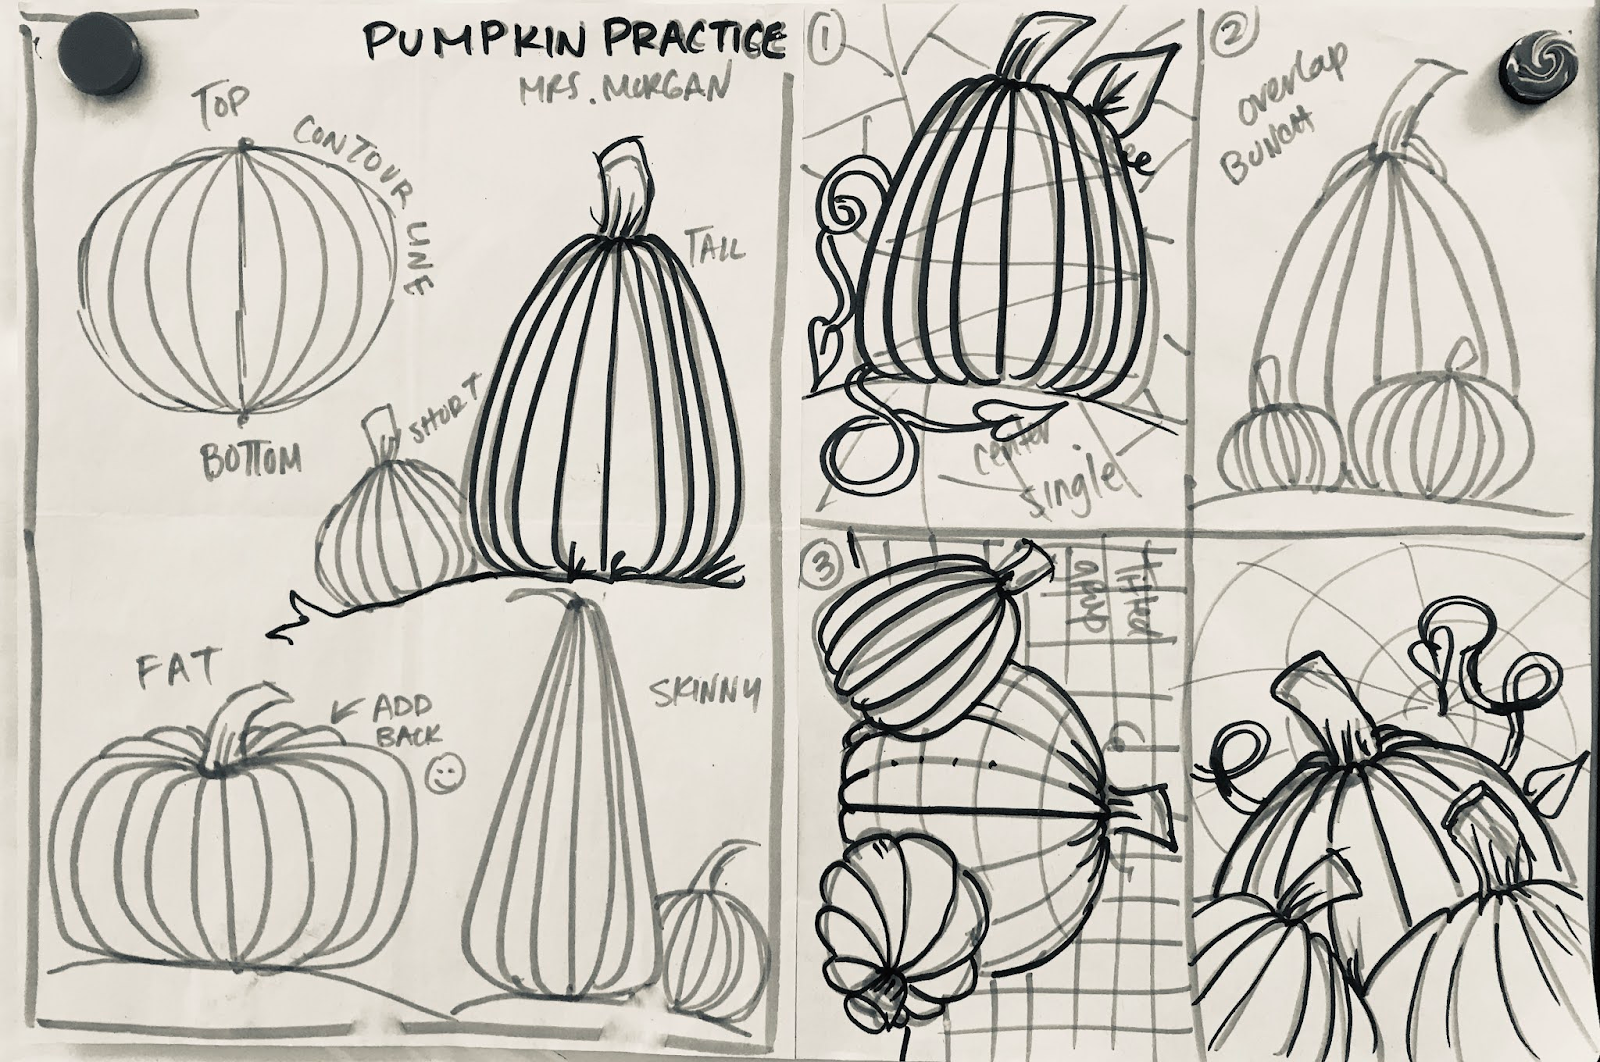
开始绘制最终作品
我们将完成以下内容……
评分标准
3–5 个形态各异的南瓜 —— 10 分
画面饱满、充满空间 —— 10 分
重叠关系 —— 20 分
轮廓线 —— 20 分
明暗/排线(含投影)—— 20 分
高光 —— 10 分
中间调(纸面原色显露)—— 10 分
创意性 —— 10 分
使用彩色纸作画
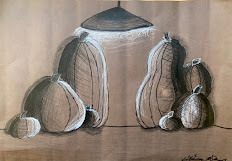
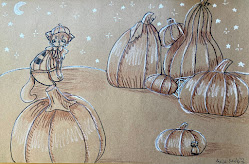
你将用黑色/纸色的深色调表现明暗/排线(较暗区域),
用白色表现高光(较亮区域),
同时保留棕色/纸本色作为中间调(中等明度)。
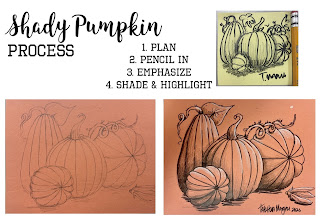
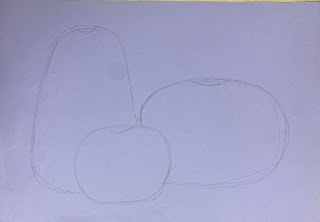
- 绘制 3–5 个形态与尺寸各异的南瓜
(后方南瓜更大,且位置更靠近画面底部)
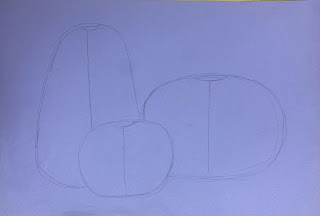
- 用铅笔起稿,以中心线为中性线,开始绘制轮廓线。
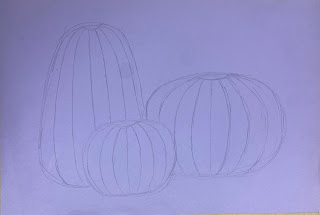
左侧轮廓向左弯曲,右侧轮廓向右弯曲,贴合南瓜外缘形状。
- 添加创意细节
(如叶片、昆虫、藤蔓等)
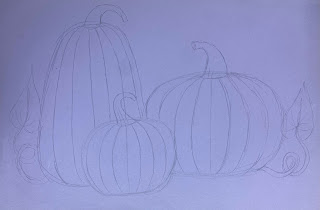
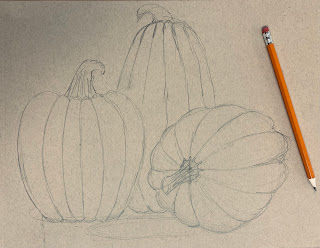
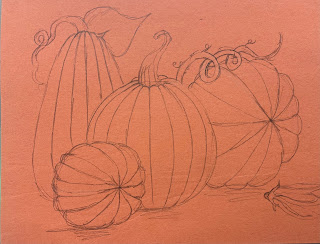
- 用强调色勾勒轮廓线
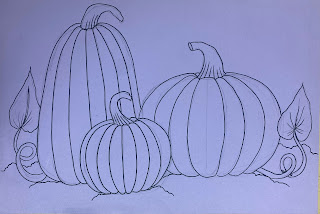
- 根据统一光源方向添加明暗/排线(我将光源设于右上角)。
使用黑色彩铅,或比纸色更深的同类色。
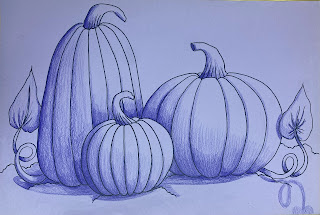
别忘了添加投影……
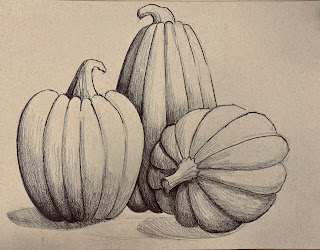
- 用白色辉柏嘉彩铅提亮高光。
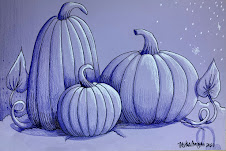
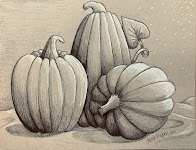
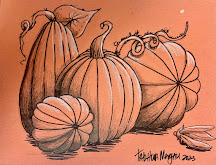
想接受挑战吗?
- 用记号笔表现明暗/排线,用白色油漆笔提亮高光;
- 尝试不同背景纸张,改变整体效果。
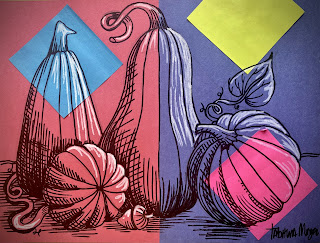
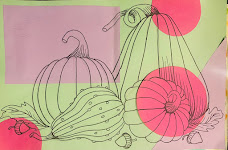
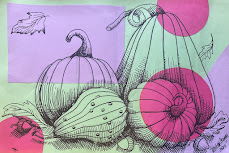
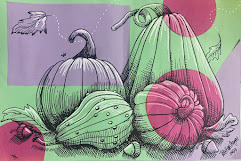
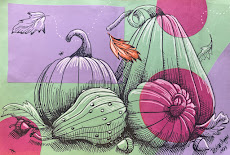
你知道南瓜是怎么生长的吗!
你以为的“底部”,其实才是真正的顶部;
所谓“底部”中心,正是当初南瓜花生长的位置。
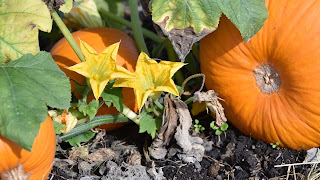
在这里观看它的生长过程……
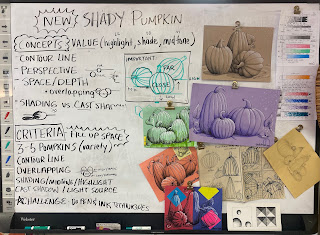
矢量风格构图创意
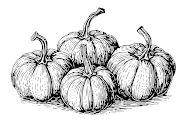
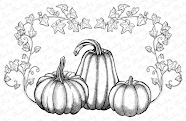
往届南瓜主题项目
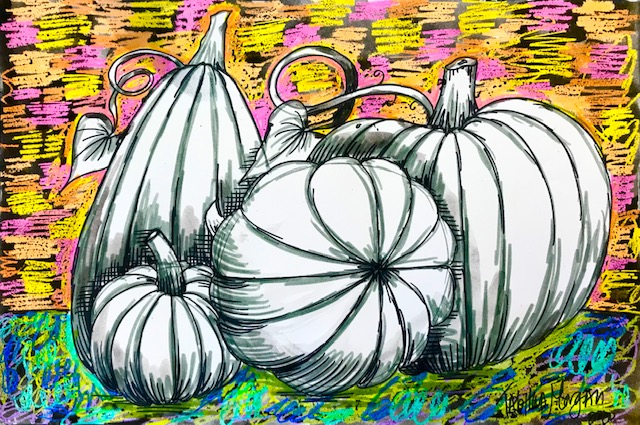
南瓜防染法
南瓜明暗写生
Original: https://tabithaannthelostsock.blogspot.com/2023/09/shady-pumpkins.html
Date: 2023-09-19
Tags: contour line, fall, form, highlights, mid tone, pumpkin, shading, value
With Pencil Pressure
Draw with Pencil, Emphasize with Marker/Darker color,
Shade with colored pencil (black or a shade of paper),
Highlight with White colored pencil...
Challenge: Shade with INk Techniques
Student Example
Art I working...
Art II Working...
Advanced Art working...
Art 1- Fall 2025
Advanced Art, Art 3&4
Art II
Art 1, Beginning Art
2024
**
**
2023
Study Cross Contour at Various Perspectives
How do lines change when center moves?
There is a Variety of Shapes
in the Pumpkin World
-You can try out big and tall, short and fat, or skinny.
Start with the shape, then add the contour lines
*Use OVERLAPPING
Put the smaller pumpkins in front and taller in back.
Parts. of the back pumpkins should be hidden.
In your
JOURNAL
Practice Drawing aVARIETY of Pumpkins with CONTOUR LINE.
Plan out a composition of 3-5 pumpkins using OVERLAPPING and DETPH.
Add SHADING and CAST SHADOW.
Add creative details.
START FINAL DRAWING
What we are going to do...
CRITERIA_
3-5 Various Pumpkins
Fill Up Space -10
Overlapping-20
Contour Line-20
Shading (and cast shadows) -20
Highlights -10
Mid-Tones (paper showing) -10
Creativity-10
On Colored Paper
You will use a black/shade of color for SHADING (darker areas) and
a white for HIGHLIGHT (lighter ares)
keeping the brown/color showing for the MIDTONES (middle values). .
- Draw your 3-5 Various Shape/Size Pumpkins
(Bigger in Back &Closer further down on page)
- WITH PENCIL, Begin drawing CONTOUR LINES with center line being neautral.
Bend to left on left & Bend to right on right, following the outside shape.
3.Add Creative Details
(leaves, bugs, vines,...)
- Outline with Emphasizing color
- Add Shading with Value consistent from a light source.
I put mine in top right corner.
Use black colored pencil or a darker version of paper color.
Remember Cast SHadows...
- Add highlights with White Prisma color.
Want a challenge?
-Use marker to shade & white paint pen to highlight.
-Use various papers to change up background.
Did you know how the pumpkins grow!
What you think is the bottom is really the top.
The “bottom” center is where the
pumpkin blossom once grew.
Watch it grow here…
VECTOR Composition IDEAS
Past Pumpkin Projects
PUMPKIN RESIST






 **
**