单色夜景绘画
原文链接:https://thatartteacher.com/2019/02/06/monochromatic-night-landscape-art-lesson-plan-and-video-tutorials/
日期: 2019-02-06
作者: Sierra Machado
分类: 丙烯绘画、美术教育、长课时教案、教学
标签: 丙烯绘画、美术、美术教育、美术教案、美术教师、美术教程、零基础美术教程、艺术家、小学美术、家庭绘画之夜、精选内容、引导式绘画教程、高中美术、高中绘画课、如何绘制月光天空、初中美术、单色绘画教案、月光夜景单色绘画、居家绘画之夜、绘画派对筹款创意、绘画派对创意、季节性绘画派对创意、绘画、绘画约会之夜、品酒作画活动创意、分步丙烯绘画教程、教学、那位美术教师、thatartteacher、教程、绘画派对可选主题
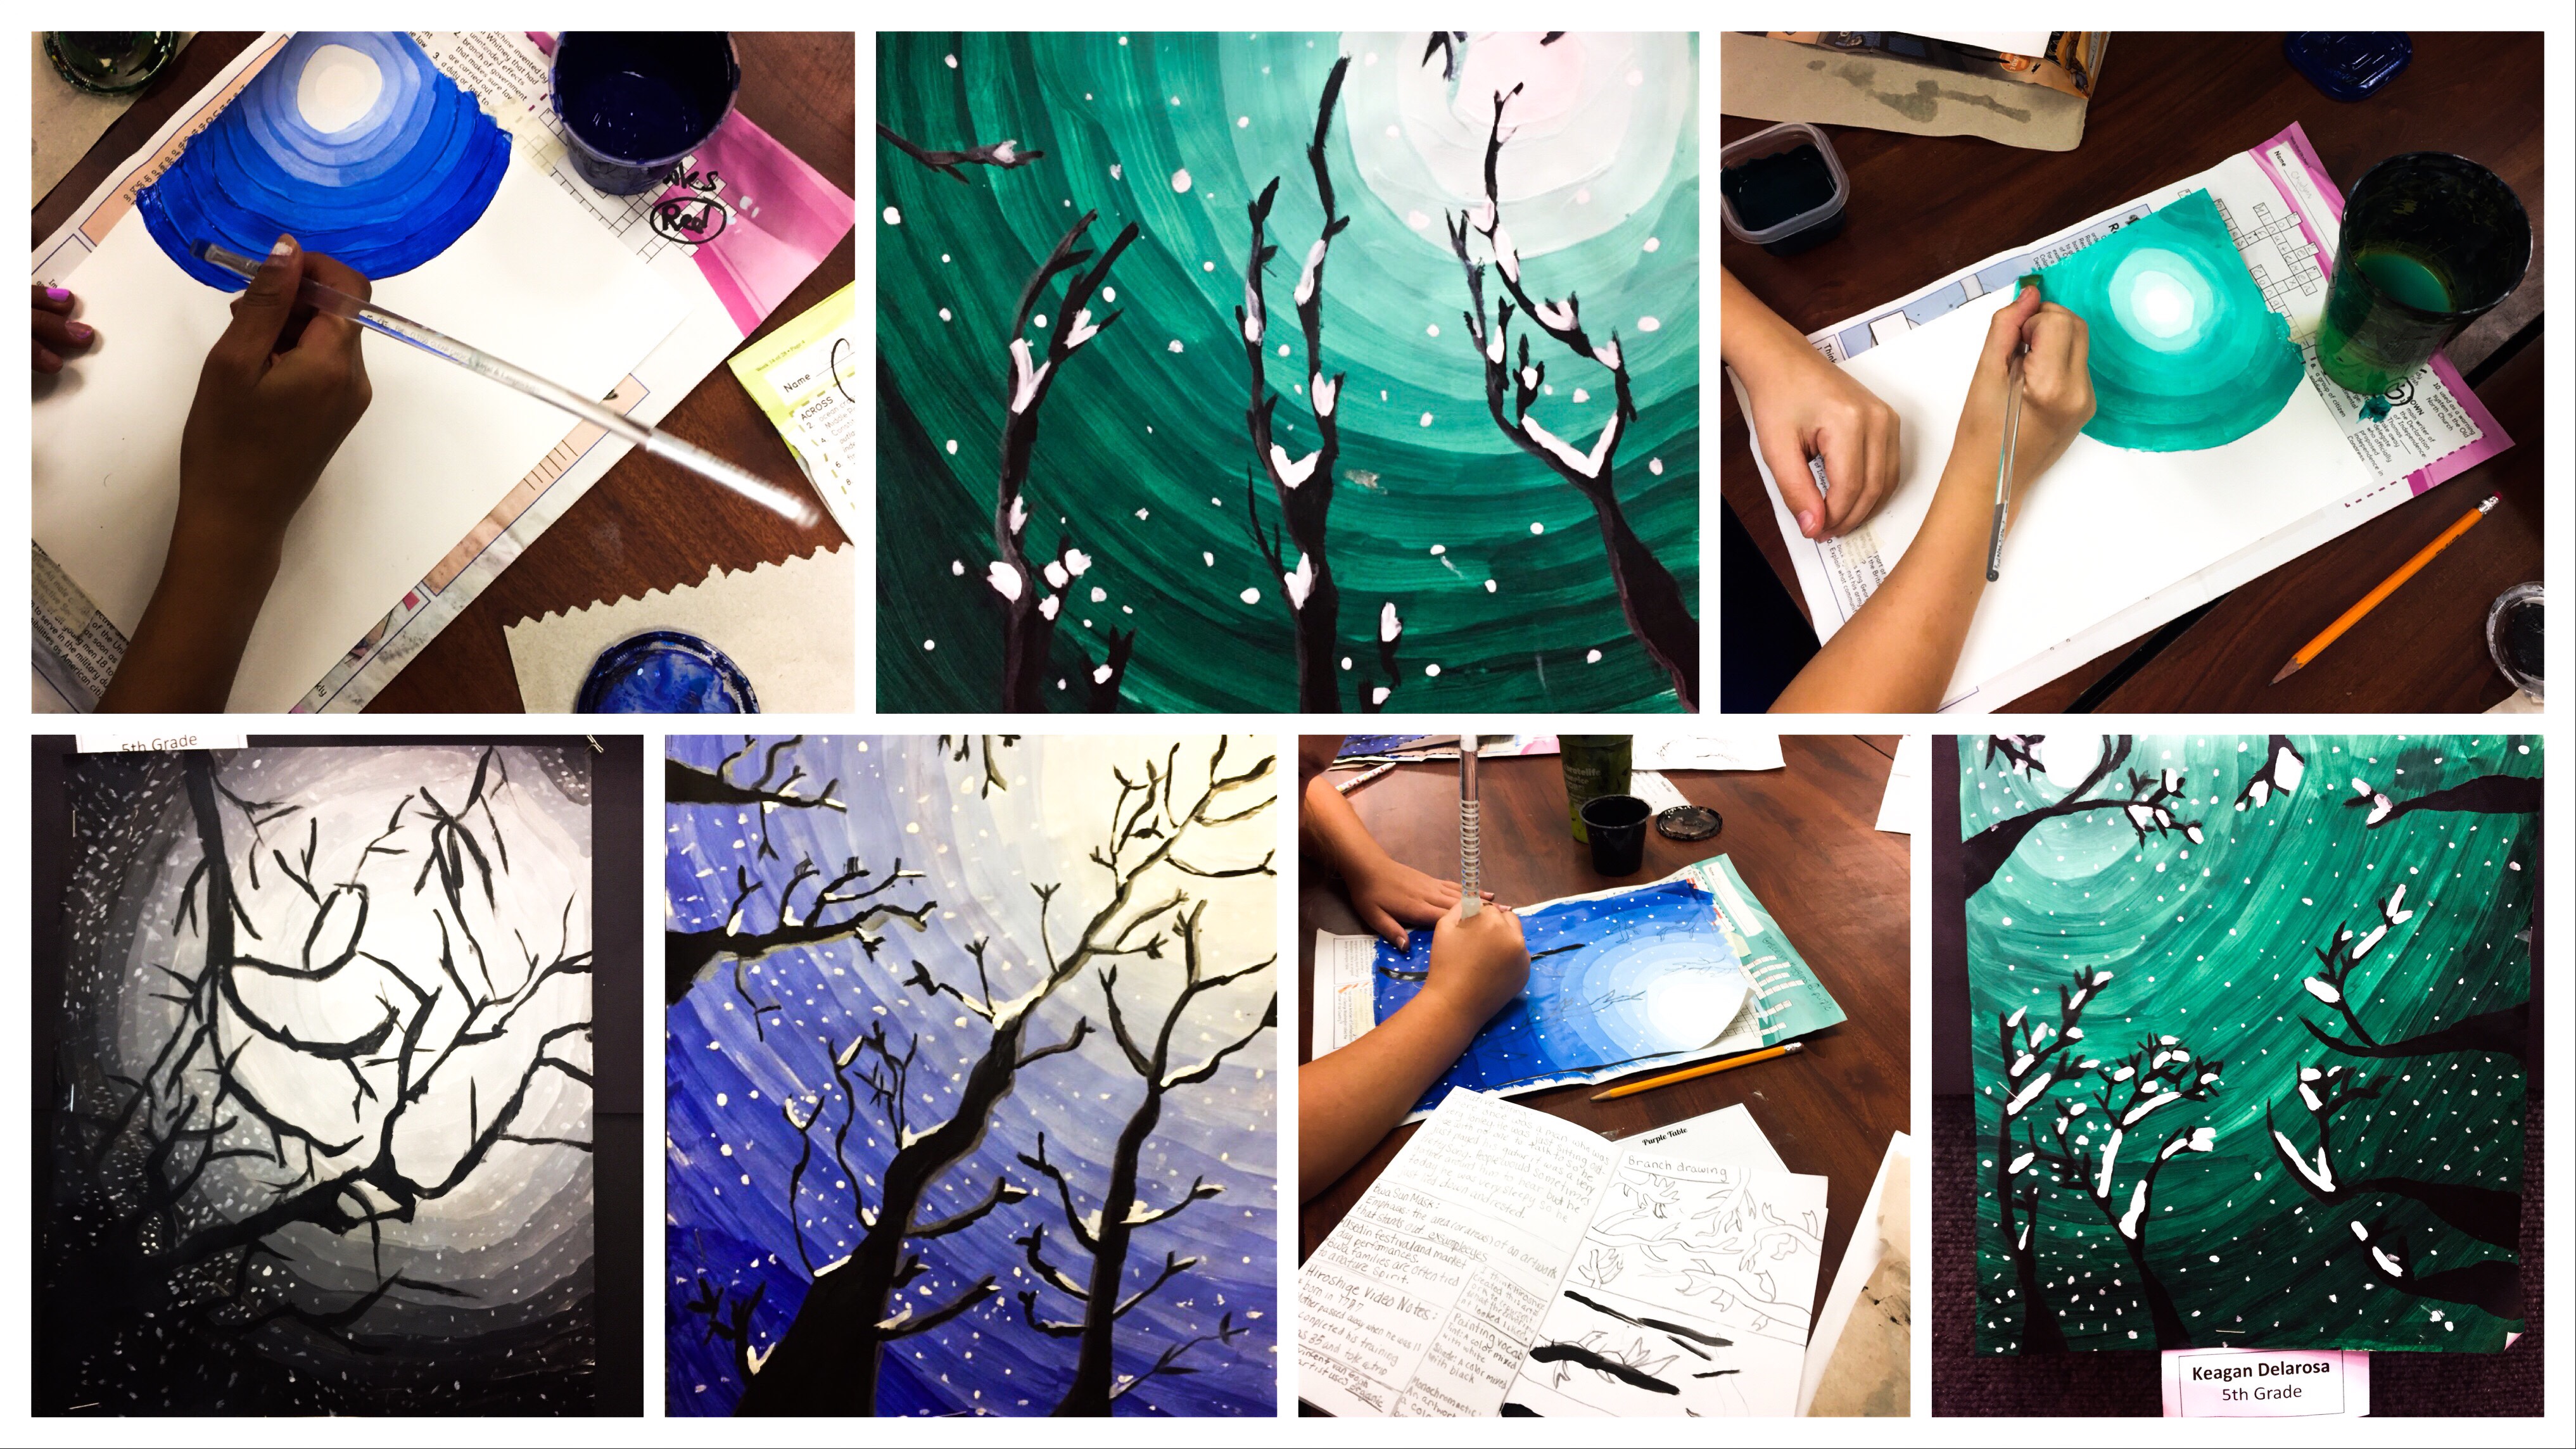
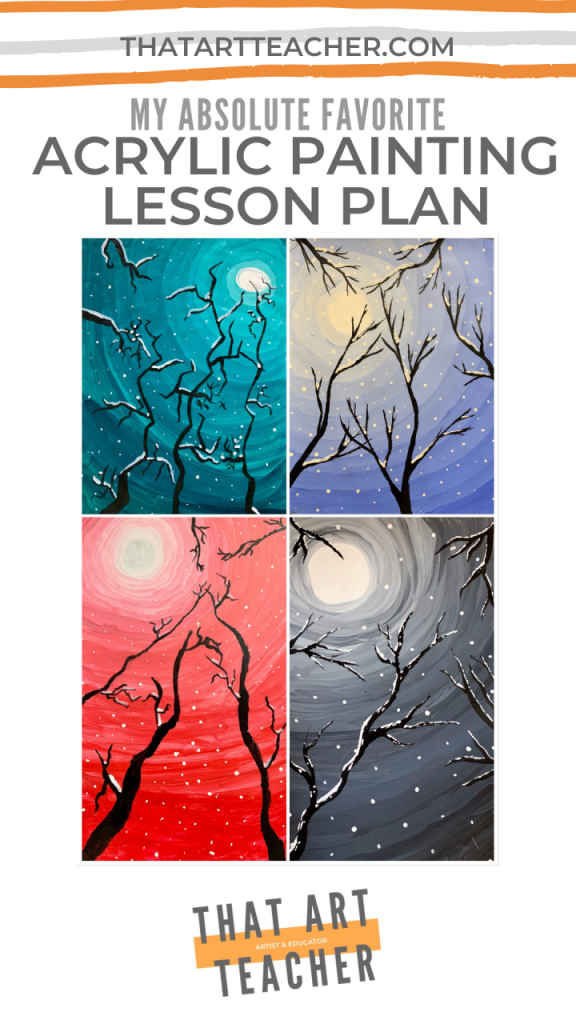
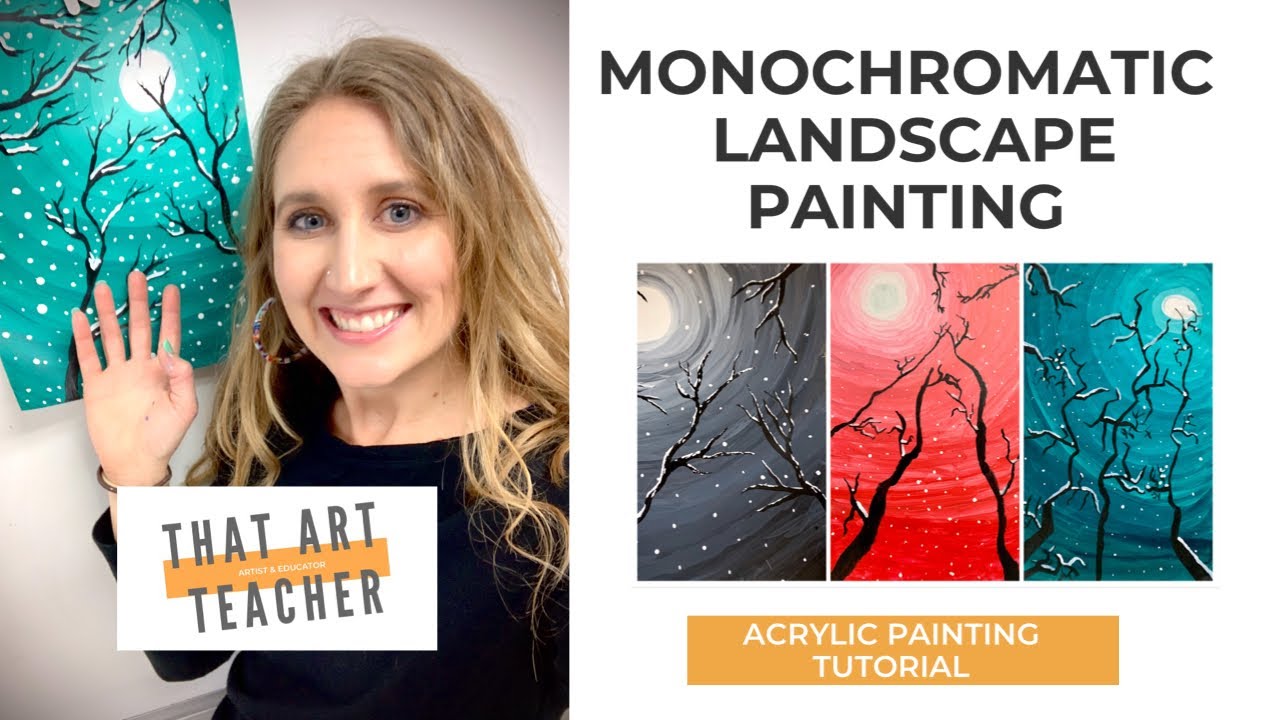
本视频将带领学生完成每一步操作。文中还附有我早前制作的若干视频链接,将各步骤进一步拆解说明。
过去,我总不敢把丙烯颜料发给五年级学生。“丙烯颜料会永久染色!”——每次想到我最年幼的学生们,这句话就会在我脑中一闪而过。他们仍会从椅子上摔下来!仍会毫无征兆地突然呕吐!但随着教学经验积累,我意识到:当为孩子提供优质的美术材料时,他们会更珍视自己的作品,也更能创作出更出色的艺术。因此,我现在就给他们使用丙烯颜料——当然,也会配上大量细致指导,并预留充足时间进行缓慢而彻底的清洁整理。
丙烯颜料价格不菲,但用量极省;本课每位学生实际耗用的颜料量少得令人惊讶。(难道只有我这位美术教师会在颜料里加一点水吗?)我总会大量备齐白色与黑色颜料,再另选几种颜色用于背景绘制即可。
材料清单
以下是我课堂中最爱用的教具。我特别喜欢本课,因为颜料用量极少,且以水彩纸替代画布,大幅降低了教学成本。
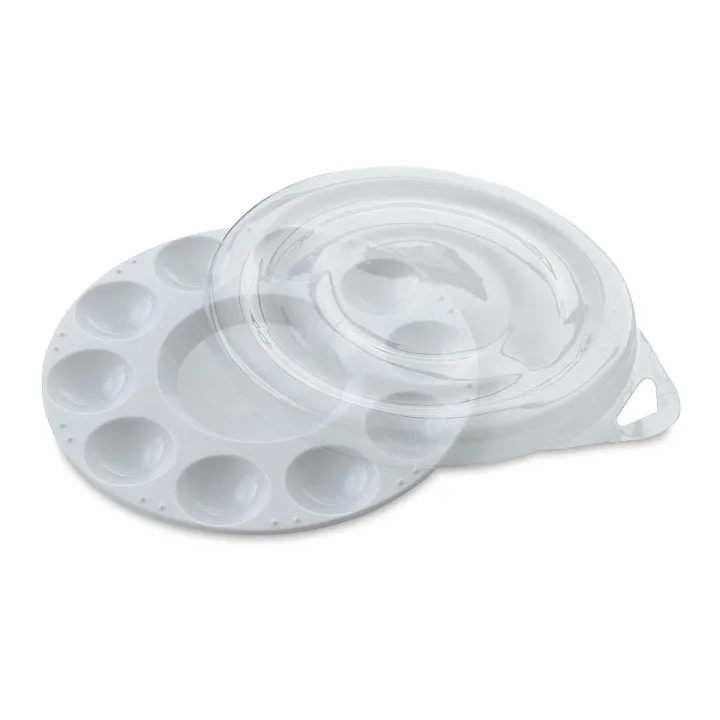

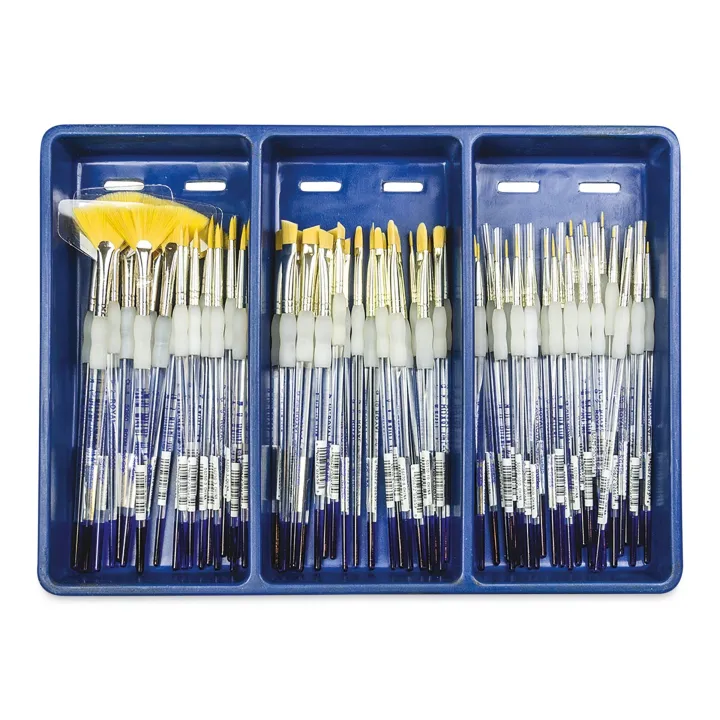

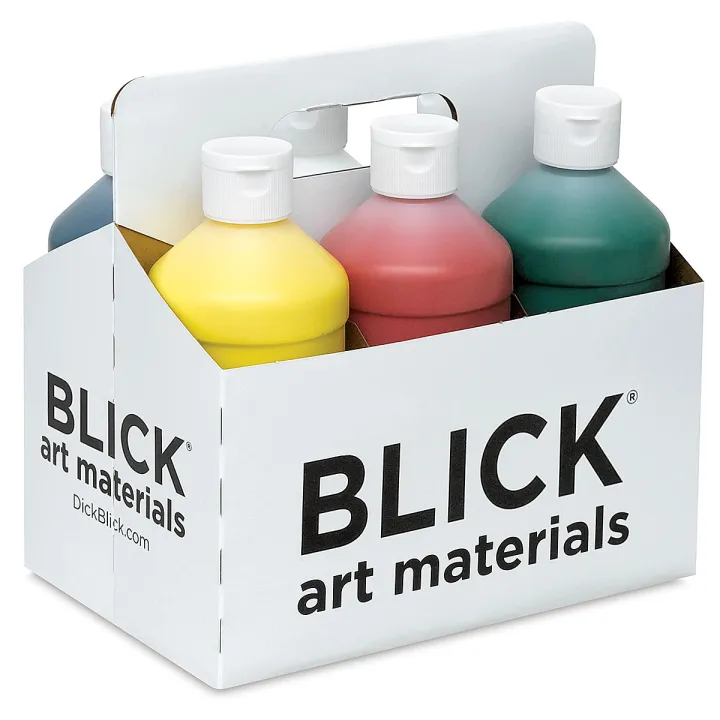


本文含部分我真心喜爱并日常使用的教具之联盟推广链接。若您通过这些链接购买商品,我可能获得少量佣金,而您无需额外付费。衷心感谢您支持这位公立学校教师的副业,让我能持续提供免费教学资源。
第一部分:调制浅色调(1–3节,每节45分钟)
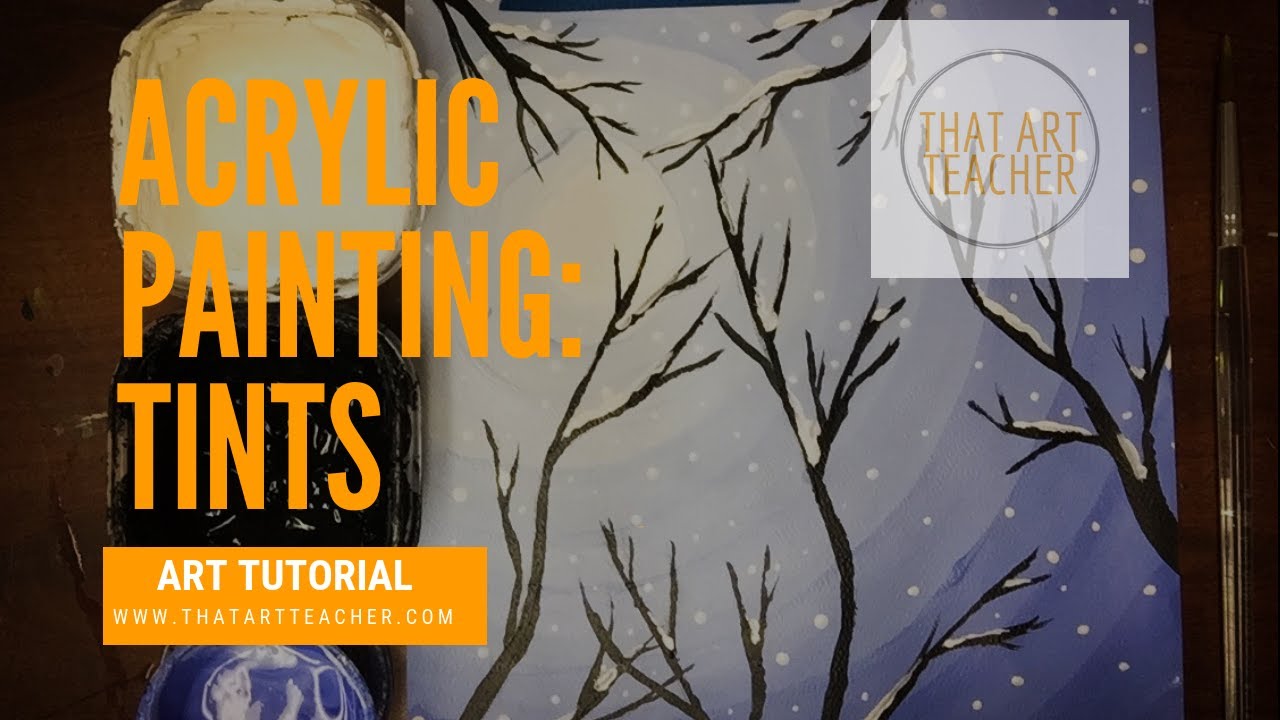
绘制背景无疑是本课最宁静平和的环节。孩子们乐于亲手调色(许多人此前从未尝试过!),我始终强调:丙烯颜料并非“儿童专用颜料”。我会展示自己的艺术围裙,并说:“上面有些污渍,来自我执教的第一年!”这时常有学生举手问:“颜料能洗掉吗?”我笑着回答:“我可不会发给你们一种能把双手永久纹成‘颜料刺青’的颜料——那可不是我想登上晚间新闻的方式。”
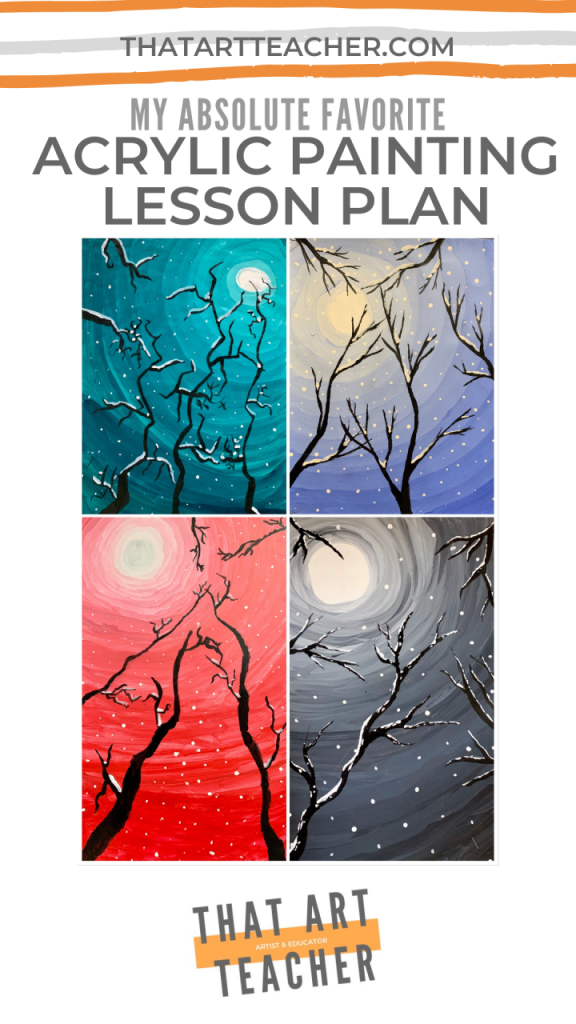
待学生熟悉材料后,便开始调制浅色调,首先绘制一个纯白的月亮。观看完我的YouTube教程后,我通常会与学生同步绘制月亮及2–3种浅色调。本课中,强调画笔清洁方法至关重要。我会告知学生:基础色是共用材料,所有调色操作仅限在调色杯(或塑料调色盘、泡沫塑料盘等您手头可用的调色工具)内完成。我建议为学生提供带盖容器,或至少用锡箔纸包裹,以免每节课都需重新调色。
我要求五年级学生背景中至少呈现7种浅色调。(此项亦列入评分量规!)在我早年担任高中美术教师时,我会在中学阶段提高浅色调数量要求;甚至可在高中美术课中进一步拓展至调制其基础色的深色调。具体实施方式,请根据您所教学生的实际情况与年龄层次灵活调整!
多数学生需整整两节40分钟课时才能完成背景绘制。最快的学生只需一节半(嘿,刷子清洁高手!),最慢的则需整整三节课。
第二部分:绘制树枝(1–2节,每节45分钟)
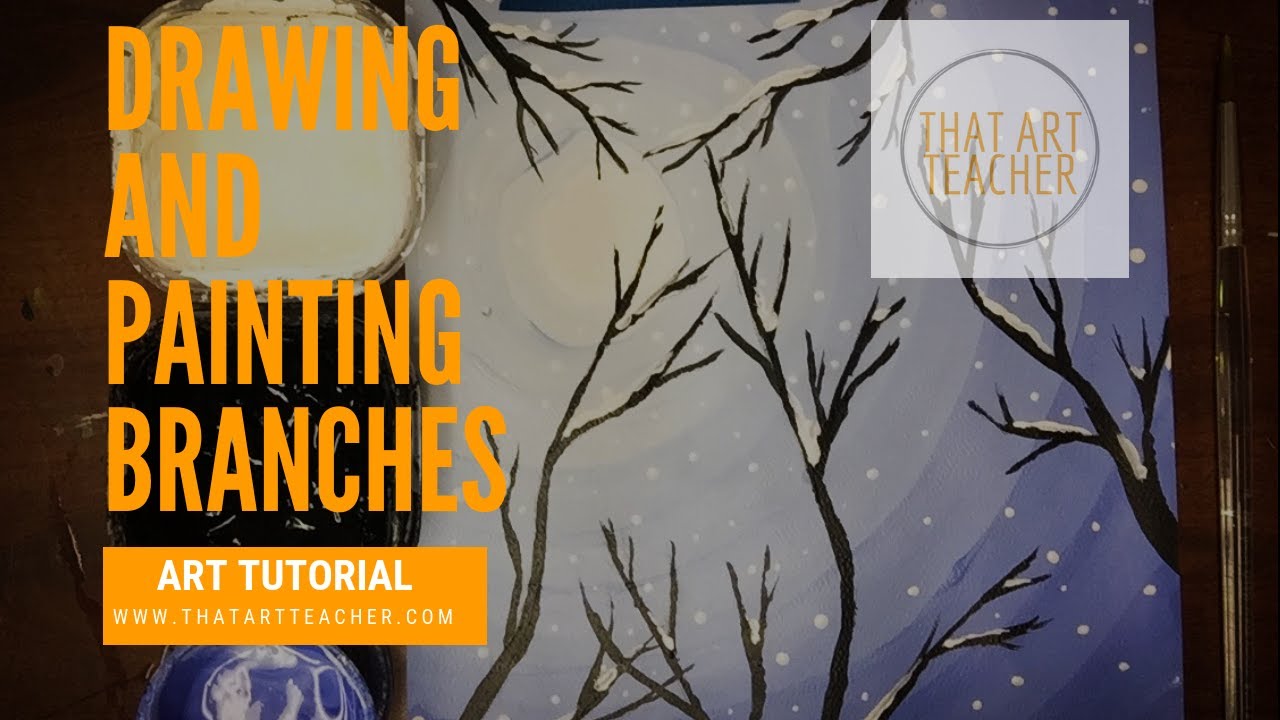
我会先引导学生在素描本上练习绘制两根树枝,再于画作背面试绘一根,以校准比例,之后才正式在背景上起稿。学生常担心铅笔线会覆盖已有的浅色调,又怕无法擦除。我总会现场演示如何轻松擦去铅笔痕迹,以缓解追求完美的学生的焦虑。请轻柔起稿,直至满意为止!!
我鼓励学生绘制写实风格的树枝(本课通常安排在抽象艺术单元之后),但此环节也可成为激发奇思妙想、探索更具幻想感与表现力绘画风格的理想起点。艾米丽·卡尔(Emily Carr)、古斯塔夫·克里姆特(Gustav Klimt),当然还有梵高(Van Gogh),都是启发学生发展个人风格的绝佳范例。基思·哈林(Keith Haring)的《生命之树》(Tree of Life)绘画也深受孩子们喜爱。
第三部分:绘制树枝(1–3节,每节45分钟)

绘制树枝的过程极具魅力,却也颇为复杂,易令学生受挫。因此,我在YouTube教程中始终示范缓慢而审慎的绘制过程。我会指出自己因咖啡因依赖而微微颤抖的手,并给出实用技巧:如始终朝单一方向运笔、由大形到小形逐步推进,甚至可在第二天返工,添加最细微的细节。
我会让学生跟随我同步绘制一根树枝(通常是上节课我们共同绘制的那一根),随后他们可选择继续完成此前未画完的树枝,或继续深入刻画。我鼓励他们在画面中显得“空旷”的区域添加树枝,并修改任何过于夸张或失衡的线条。
第四部分:绘制积雪与星星(1–2节,每节45分钟)
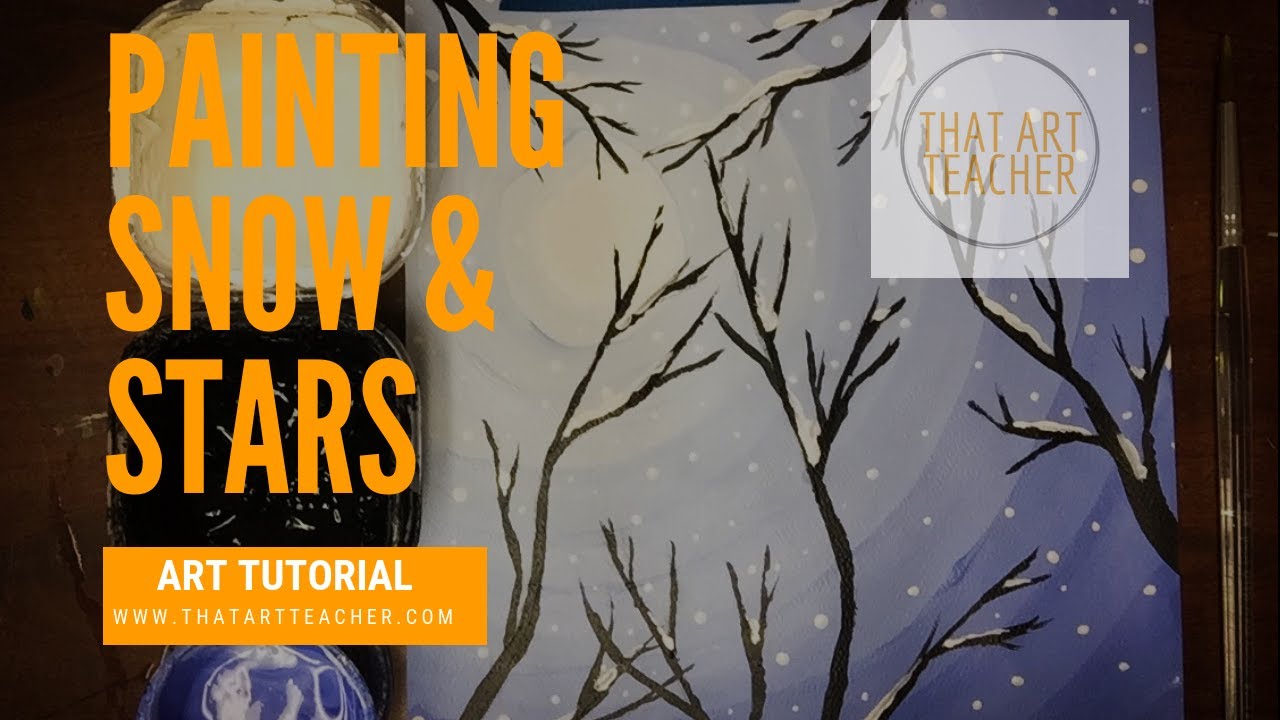
此时,我们已多次赏析过广重的冬夜风景画。我告诉学生,背景中添加的小白点可以代表星星、雪花,或二者兼有。我强调这些星星应呈现自然形态,随机散布于整个背景之中,而非整齐排列成行或形成特定图案。总会有几个学生画出猎户座腰带等星座图案,我对此欣然接受。也总会有“暴风雪型”学生——他们点出密密麻麻的白点,几乎完全遮盖了背景。我会及时走到这类学生身边,提醒他们“少即是多”,以免他们画得太多而难以挽回。
最后一步是表现积聚在树枝上的雪。“少即是多”在此技法中同样至关重要;近来,我已将其设为可选装饰步骤,学生无需强制完成。
第五部分:作品展评与评分量规(1–45分钟课时)
我设定的截止日期总会预留一天补做时间,以应对学生缺勤、被抽调参加言语治疗课,或班级中动作特别慢的学生。我们总会组织一次作品展评活动:有时让学生用便利贴写下具体评语(当然会给出明确指导,避免出现大量空洞的“很棒的作品”之类反馈);有时则开展“学生自选奖”活动,由学生投票选出各类别中最受喜爱的作品——如“最佳工艺奖”“最具创意奖”和“全班最佳奖”等。我也曾安排学生两两结对开展互评,要求每人指出同伴作品中两点优点及一处可改进之处。这种互评方式我不建议用于课程初期的第一件作业,但在课程中后期效果极佳。
随后,学生回到自己作品前,我们共同逐项对照评分量规进行分析,并允许学生先为自己打分。学生清楚我将根据实际情况调整分数并拥有最终决定权;但让学生参与评分过程,有助于培养其责任感,使其更清晰地了解各项学习目标与评价标准。因此,我极少遇到家长质疑“为何约翰不知道自己某项作业不及格”。即便偶有发生,我也能出示该生填写的量规表——上面清楚记录着他自己的自我评估结果。这种情况虽千载难逢,但确曾派上用场!
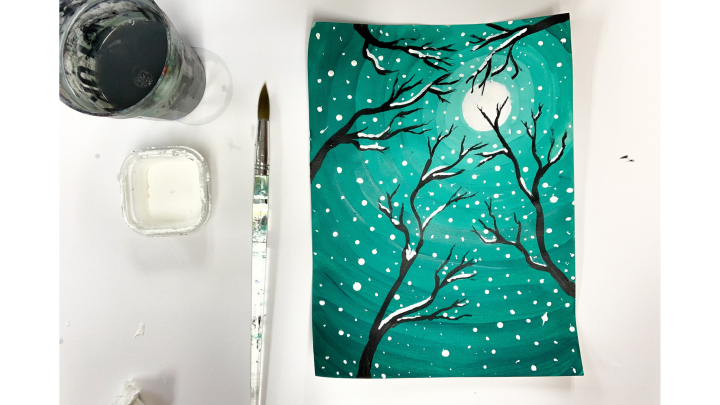
这件作品是绘画入门教学的理想载体:步骤清晰明确,同时充分保留了学生的创作空间。我的学生对此始终给予高度评价,普遍反映它有效推动了自身艺术能力迈上新台阶。
您最钟爱的丙烯绘画教学方法是什么?有哪些妙招能有效引导学生开展艺术评述?欢迎在下方评论区留言分享!
Monochromatic Night Landscape Painting
Original: https://thatartteacher.com/2019/02/06/monochromatic-night-landscape-art-lesson-plan-and-video-tutorials/
Date: 2019-02-06
Author: Sierra Machado
Categories: acrylic painting, art education, long form lesson plan, teaching
Tags: acrylic painting, art, art education, art lesson plan, art teacher, art tutorial, art tutorial for beginners, artist, elementary art, Family paint night, featured, guided painting tutorial, high school art, high school painting lesson, how to paint a moonlit sky, intermediate school art, Learn to paint at home, lesson plan, middle school art, monochromatic painting lesson, Moonlit Night Monochromatic Painting, paint night at home, Paint night fundraiser ideas, Paint party ideas, Paint party seasonal ideas, painting, painting date night, Sip and paint event ideas, step by step acrylic painting tutorial, teaching, that art teacher, thatartteacher, tutorial, What to paint at a paint party
This video will walk your students through every step. There are also some of my older videos linked that break that steps up.
I used to be scared to give acrylic paint to my 5th graders. ACRYLIC PAINT STAINS FOREVER would flash through my mind any time I imagined my youngest artists. They still fall out of their chairs! They still rocket puke without warning! With experience, I realized that when you give nice art supplies to kids they take more pride in their work and they make better art. So now I give them acrylic paint. And loooooots of instructions and time for a slow clean-up.
Acrylic paint isn’t cheap, but it goes a long way and this artwork uses a surprising small amount of paint per student. (Am I the only art teacher that adds a little bit of water to paint?) I always stock up on white and black and then you just need a few other color choices for backgrounds.
Materials
Here are my favorite supplies for my classroom. I love this assignment because a little bit of paint goes a long way, and watercolor paper instead of canvas slashes my budget.
This post contains affiliate links to products I truly love and use in my classroom. If you use these links to buy something I may earn a small commission at no additional cost to you. Thank you for supporting this public school teacher’s side hustle so I can continue to provide free content.
PART ONE: Mixing Tints (1-3 45 minute class periods)
Painting the background is hands-down the most peaceful part of this artwork. Kids love mixing their own paint (many have never done this before!) and I always emphasis that acrylic paint isn’t “kid paint’. I show them my art apron and say “Some of these stains are from my first year teaching!”. This is when someone usually raises their hand and asks if it comes off your hands. I jokingly tell them I wouldn’t give them paint that tattoos hands forever, that’s not how I want to end up on the evening news.
Once students understand the materials, they start mixing their tints starting with a solid white moon. After we’ve watched my YouTube tutorial I usually paint my moon and 2-3 tints along with them. Emphasizing how to clean a paint brush is essential for this artwork. I tell them that their base color is a shared material and paint should only be mixed in their mixing cup (or plastic palette, styrofoam plate or whatever material you have for painting). I do recommend giving students something with a lid or at least wrap it in tin foil so they don’t have start mixing from scratch each class period.
I tell my 5th graders that they must have at least 7 tints on their background. (This is also on their grading rubric!) In my former life I was a high school art teacher and I would increase the number of tints in a secondary setting. I might even extend this to mixing shades of their base color in a high school art class. Whatever works for your particular group of students and age level!
Most kids take two full 40 minute class periods to complete their backgrounds. The fastest kid takes one and a half (hello, brush cleaner!) and the slowest kid takes a full three.
PART TWO: Drawing Branches (1-2 45 minute class periods)
I help my students with guided practice drawing two branches in their sketchbook and then one on the back of their painting, to get the scale right, before we draw on their backgrounds. Students are always concerned that they are covering up their tints and that they won’t be able to erase. I always demonstrate erasing pencil marks to ease my perfectionist students’ minds. Draw light until it’s right!!
I encourage students drawing realistic branches (this lesson usually follows our unit on abstract art), but this could be a great jumping off point for a more fanciful and imaginative painting styles. Emily Carr, Gustav Klimt and of course Van Gogh would be a great artists to encourage individual styles. Keith Haring also has a Tree of Life painting that kids get a kick out of.
PART THREE: Painting Branches (1-3 45 minute class periods)
Painting branches is so mesmerizing. It is complex, and can frustrate kids, so I always model slow and careful painting in my YouTube tutorial. I point out my shaky hands (addicted to coffee) and give tips on how to use the brush in one directions, work from largest to smallest shapes, and even going back on the second day to add the smallest details.
I have kids paint one branch along with me (usually the one we drew together the previous class period) and then they either finish drawing their branches they didn’t get to the class period before or keep painting. I encourage adding branches to spots that look “lonely” and editing any overzealous drawings.
PART FOUR: Painting Snow and Stars (1-2 45 minute class periods)
At this point we have looked at Hiroshige’s night time winter landscape several times, and I tell students the small white dots we add in the background can represent stars, snow or both. I emphasize organic stars that are scattered randomly throughout the background, not in neat rows or patterns. I always get a couple Orion’s Belt and other constellations and I just roll with it. There is always the snow storm kid that adds so many dots you can barely see the background. I try to get to that kid to encourage “less is more” before they get too far.
The finishing touch is snow accumulated on branches. “Less is more” is also very important with this technique, and lately I’ve left it as an accent option students aren’t required to add.
PART FIVE: Gallery Walk and Rubric (1- 45 minute class periods)
I always set a due date that allows for one make-up day for the absent kid, kid pulled for speech, or the slooooowwww worker in each class. We always do a gallery walk and I either have kids write compliments on sticky notes (with direction of course, so we don’t get a lot of “cool art”) or we do Student Choice Awards where they vote for their favorites for certain categories. Best Craftsmanship, Most Creative, and Best in Class are my usual suspects! I have also had kids do partner critiques and discuss two things that their peer did well and one thing that could be improved. I wouldn’t do this on the first artwork turned in, but it’s great for the middle and end of the course.
Kids then sit down with their own art and we go through the rubric together and I let them give themselves a student grade. They know I adjust grades and have the final say, but giving students ownership in the grading process keeps them honest and very aware of their expectations. I rarely get a parent asking why Johnny didn’t know he failed an assignment. And if I do, I have his rubric showing his own self-assessment. It has come in handy once in a blue moon!
This artwork is a great introduction to painting and allows for kids to have really clear steps while giving them an opportunity for creativity. This artwork always gets positive feedback from my students and they always say it helped push their artistic skills to a new level.
What are your favorite ways to teach acrylic painting? Do you have any awesome strategies to encourage kids to critique art? Let me know in the comments below!