用包装纸绘制静物(附视频教程)
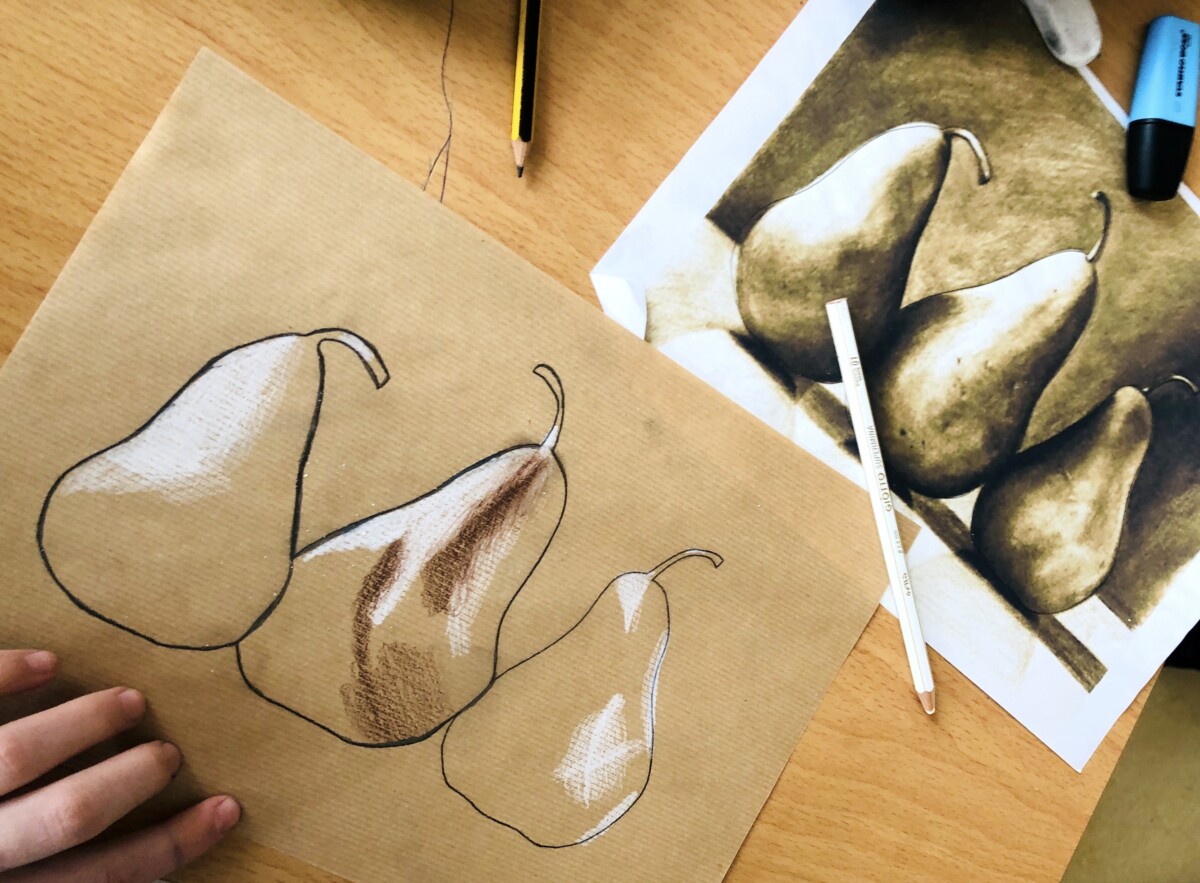
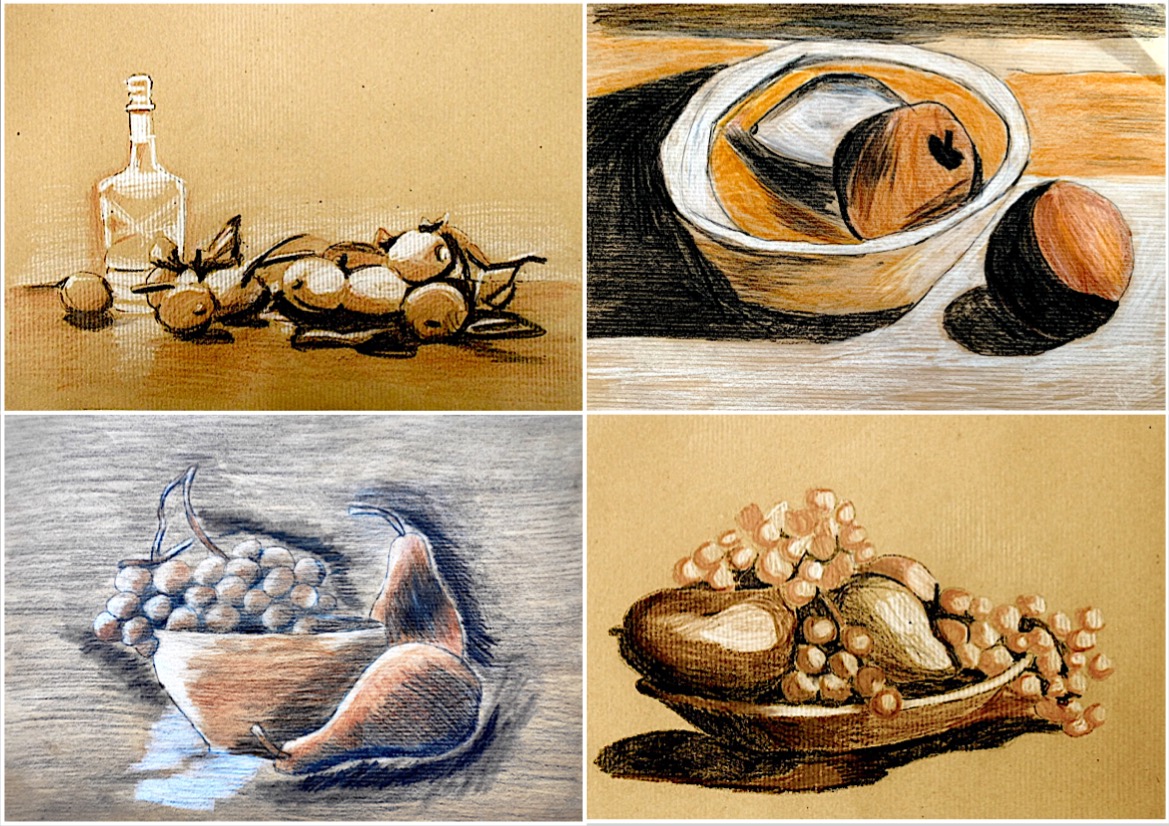
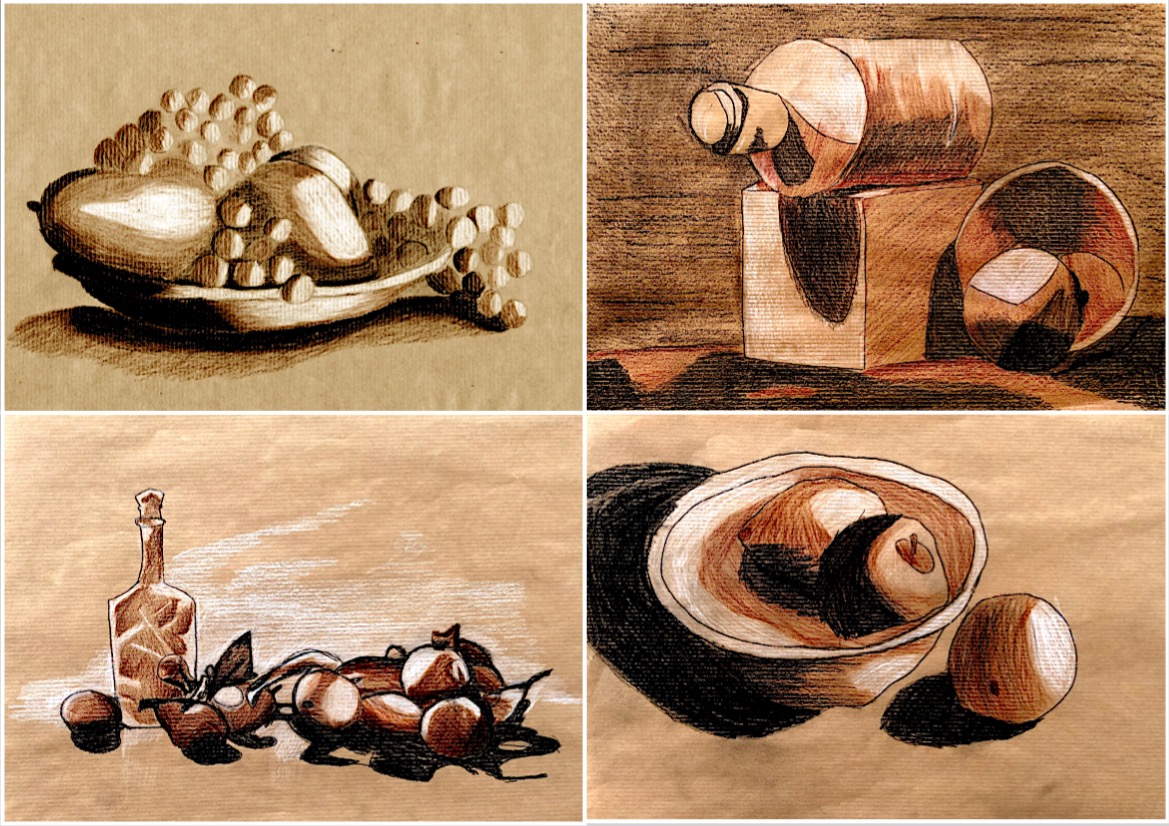
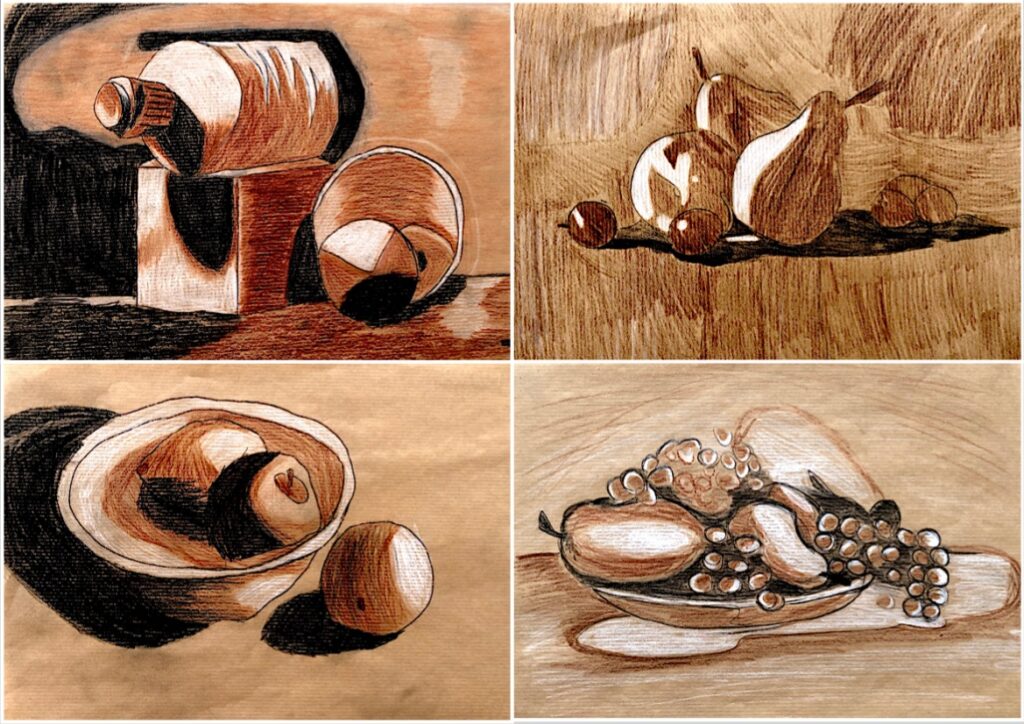
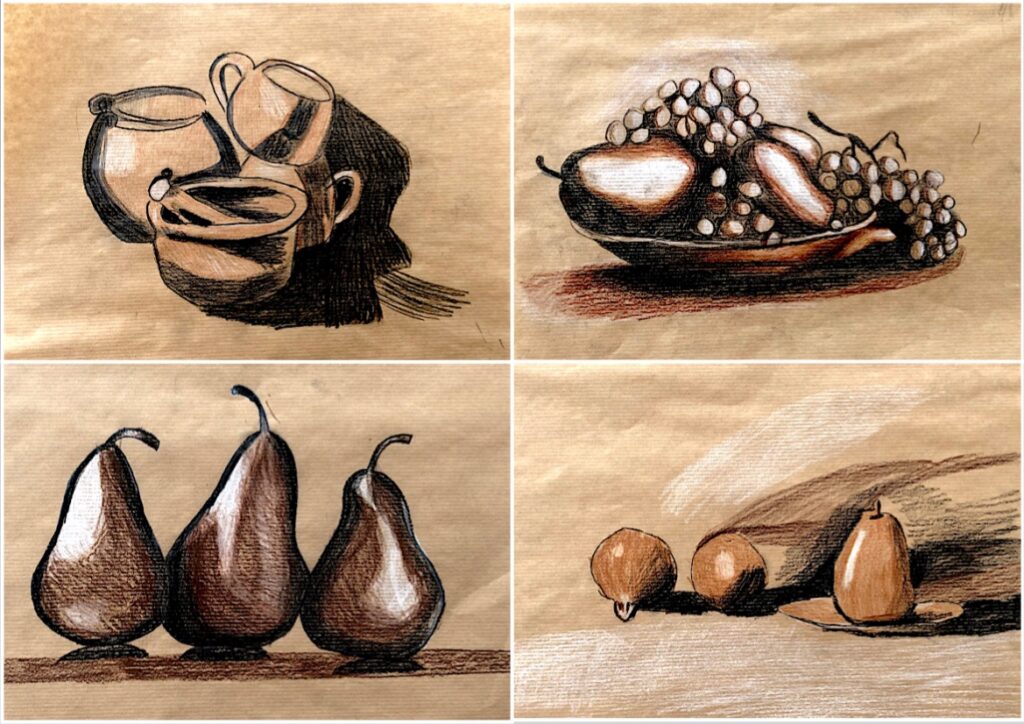
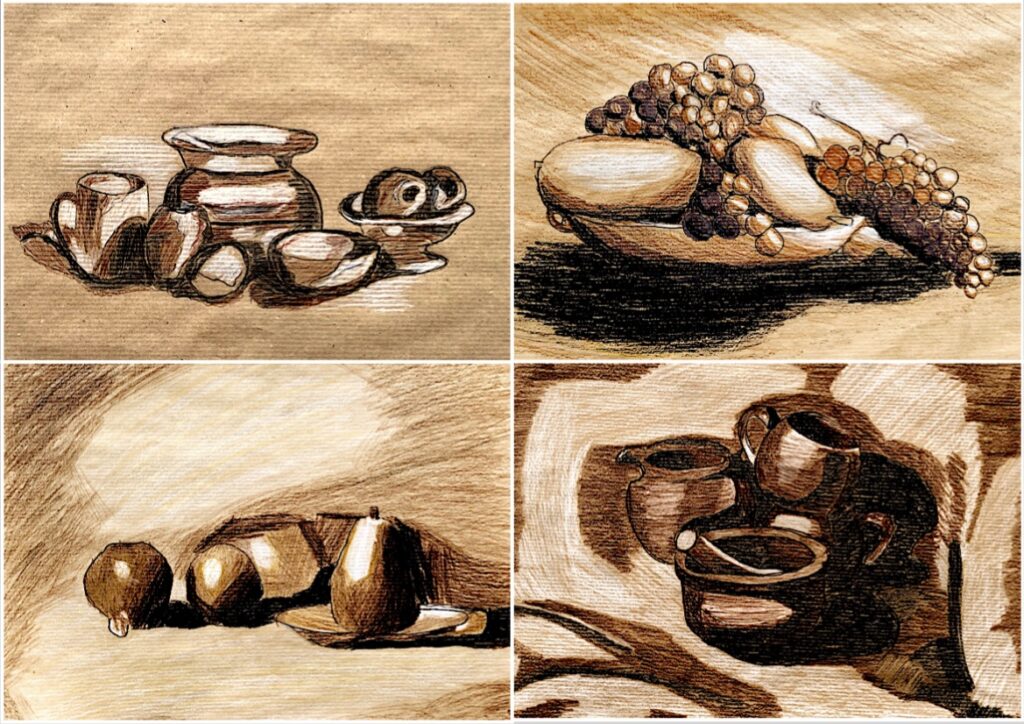
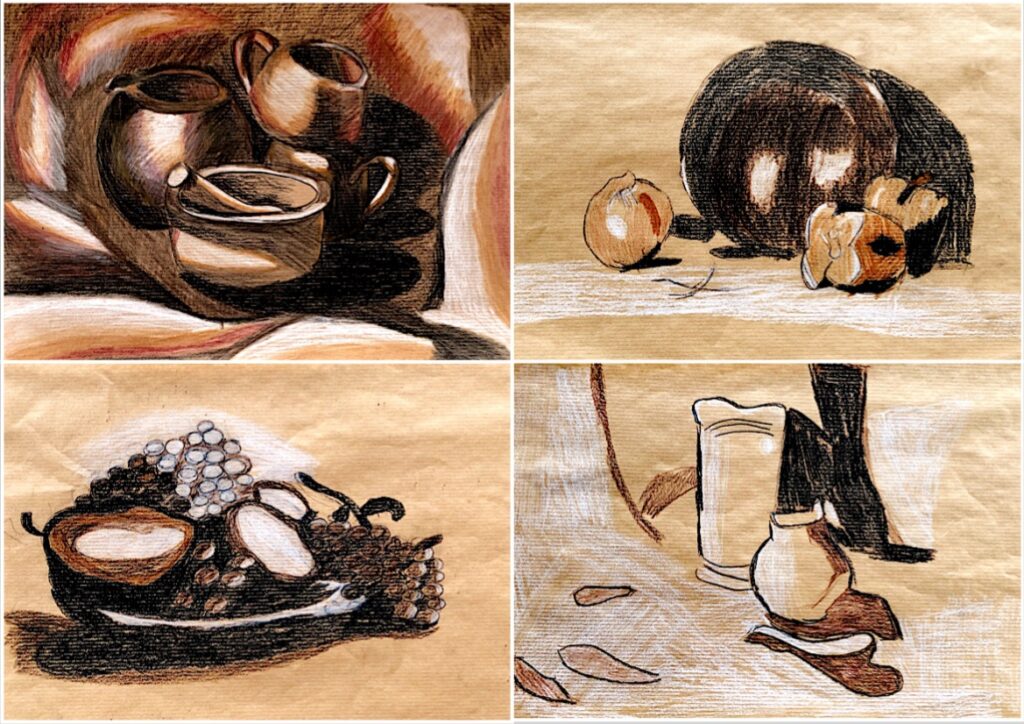
为在棕色包装纸上完成这些单色绘画,我所教的七年级学生使用了三支铅笔:一支白色、一支棕色、一支黑色。
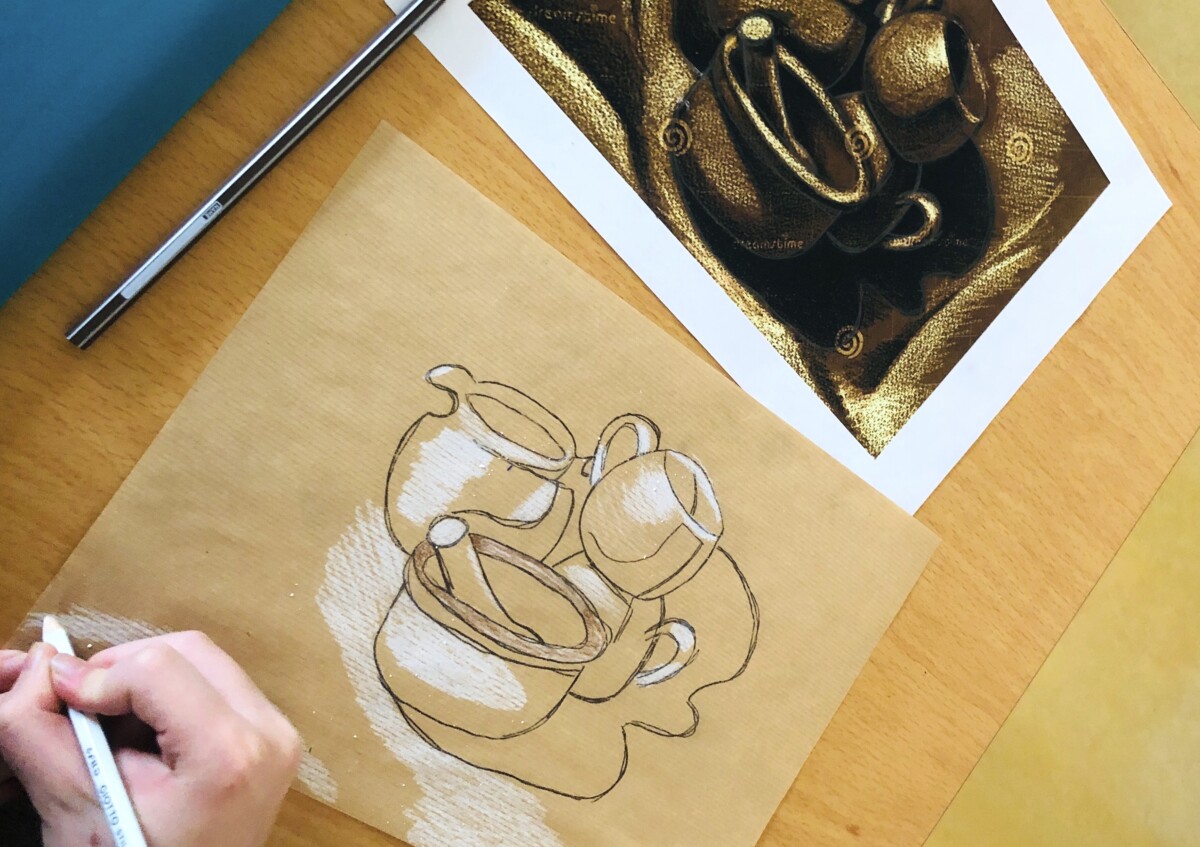
下方视频教程中,您可逐帧跟随本课全部步骤。您需准备一份静物图片的复印件、一张棕色包装纸、复写纸,以及上述三支铅笔。您还可在我YouTube 频道 Miriam Paternoster 上观看其他教学视频。
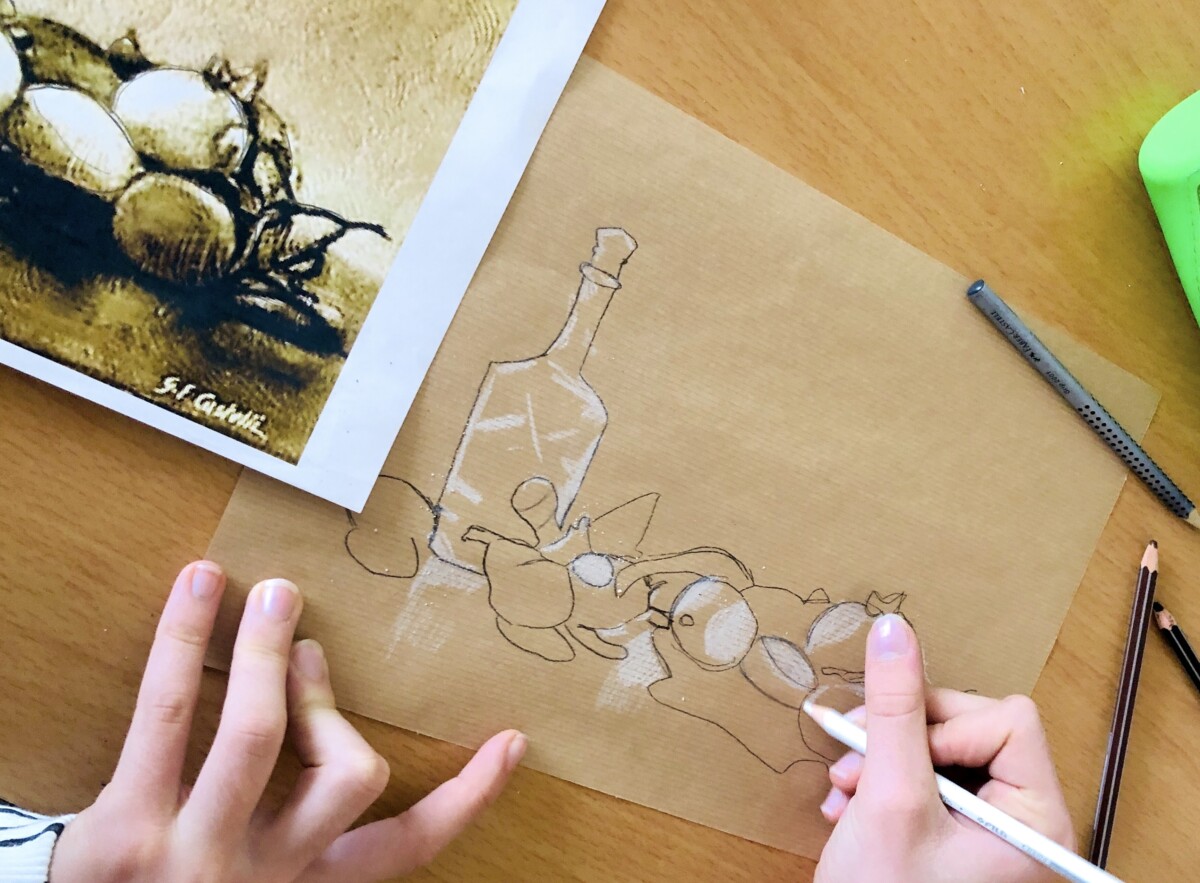
复制图片主要轮廓时,可用复写纸将静物各物体的外轮廓拓印到包装纸上;也可根据作画时间宽裕程度,选择徒手起稿或借助方格法临摹。
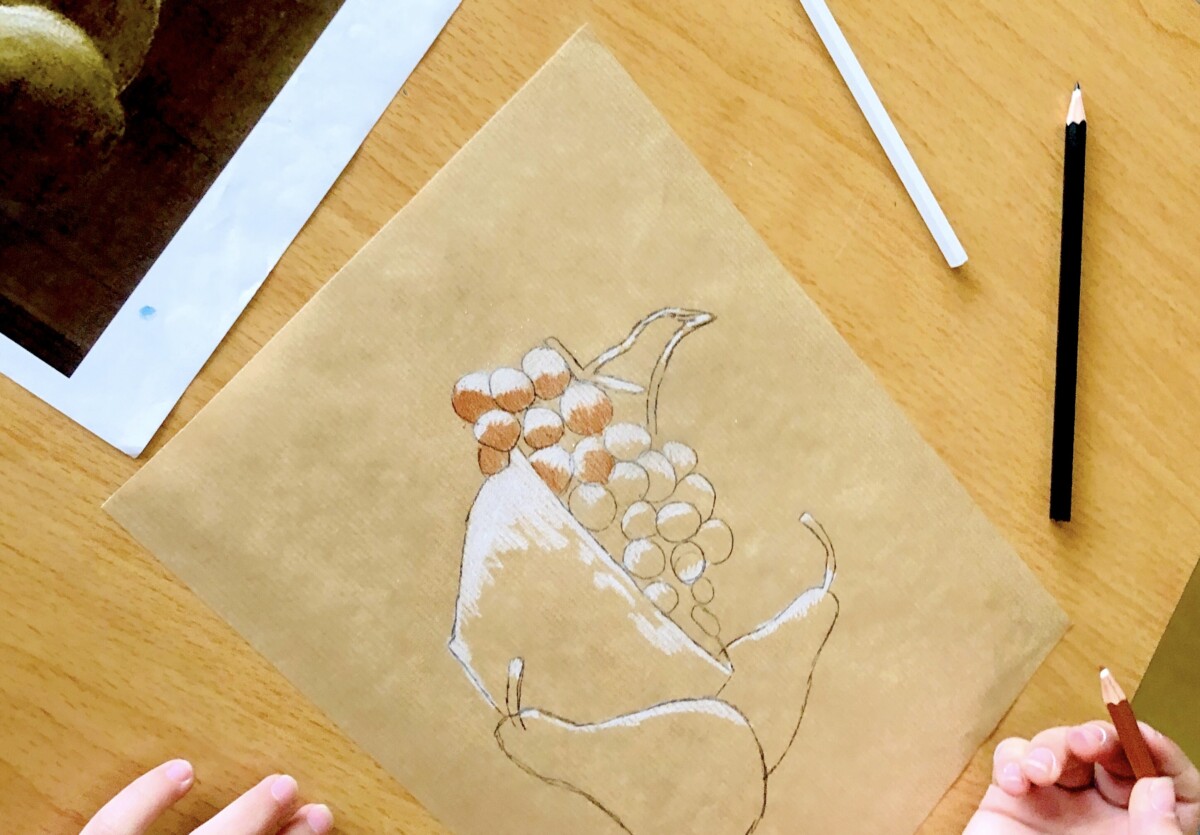
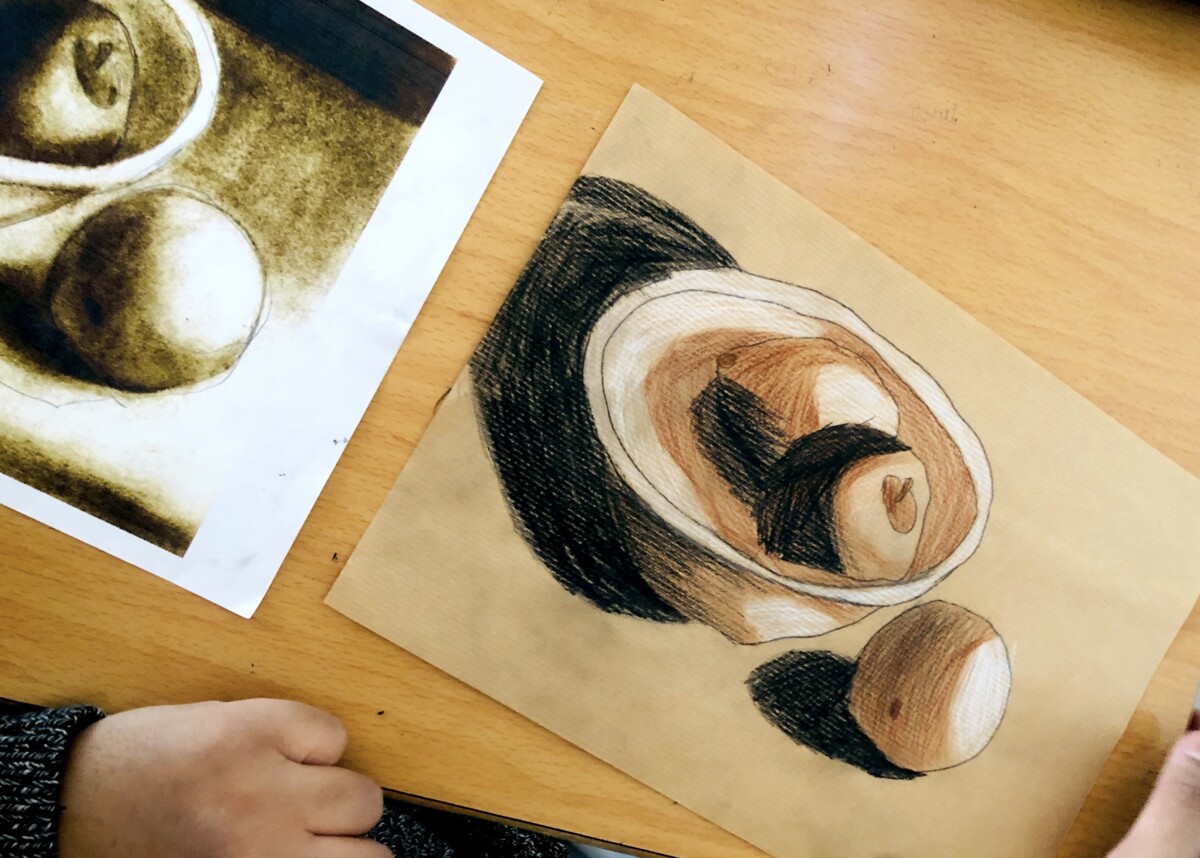
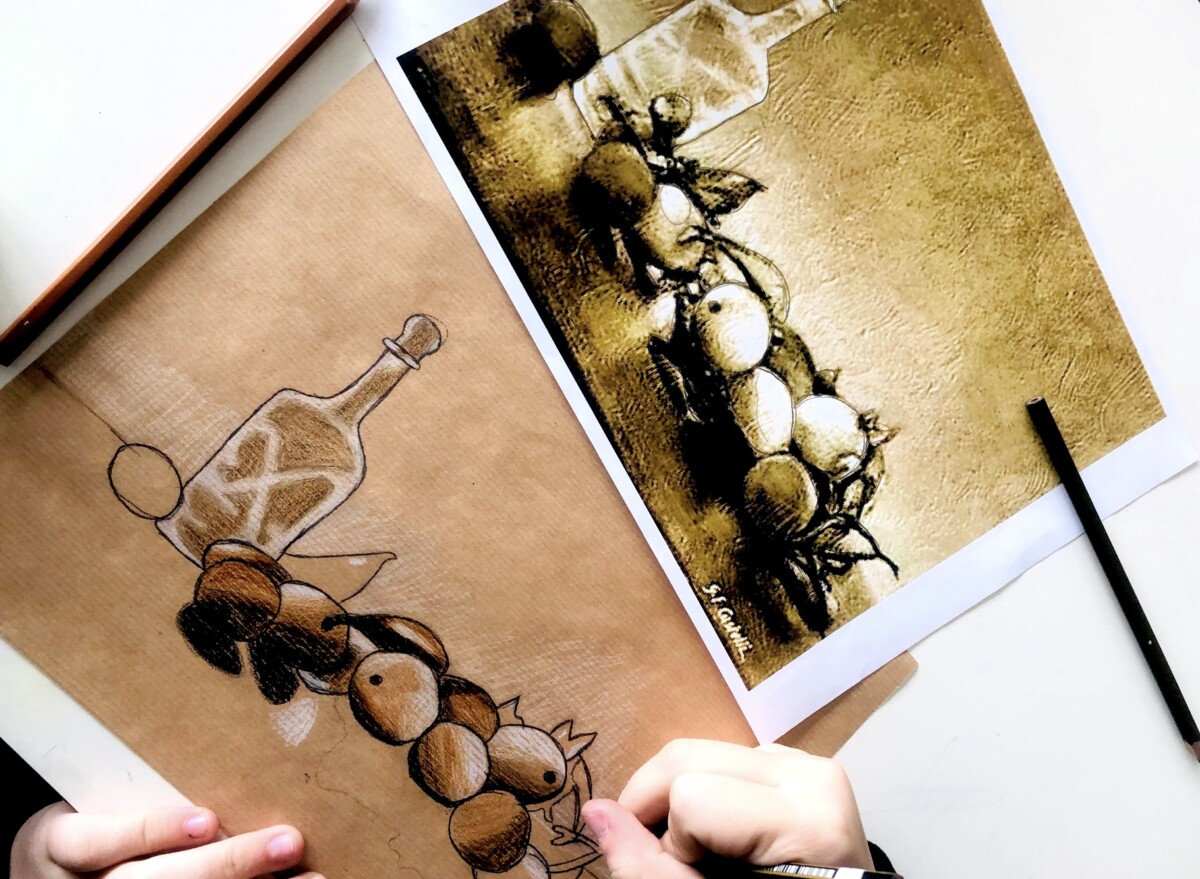
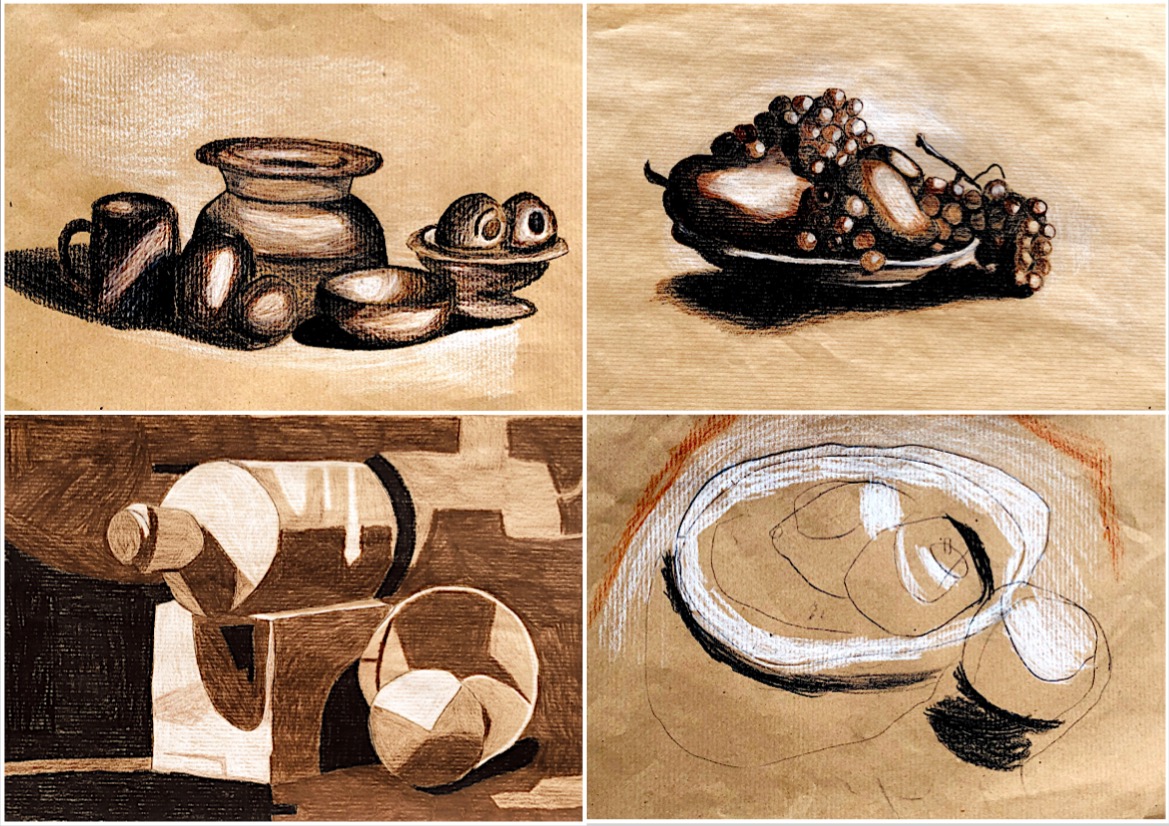
首先,用白色铅笔描绘亮部;接着用棕色铅笔铺绘中间调;最后用黑色铅笔刻画暗部与投影。每完成一个步骤,画面便更显真实,三维立体效果也愈发增强。
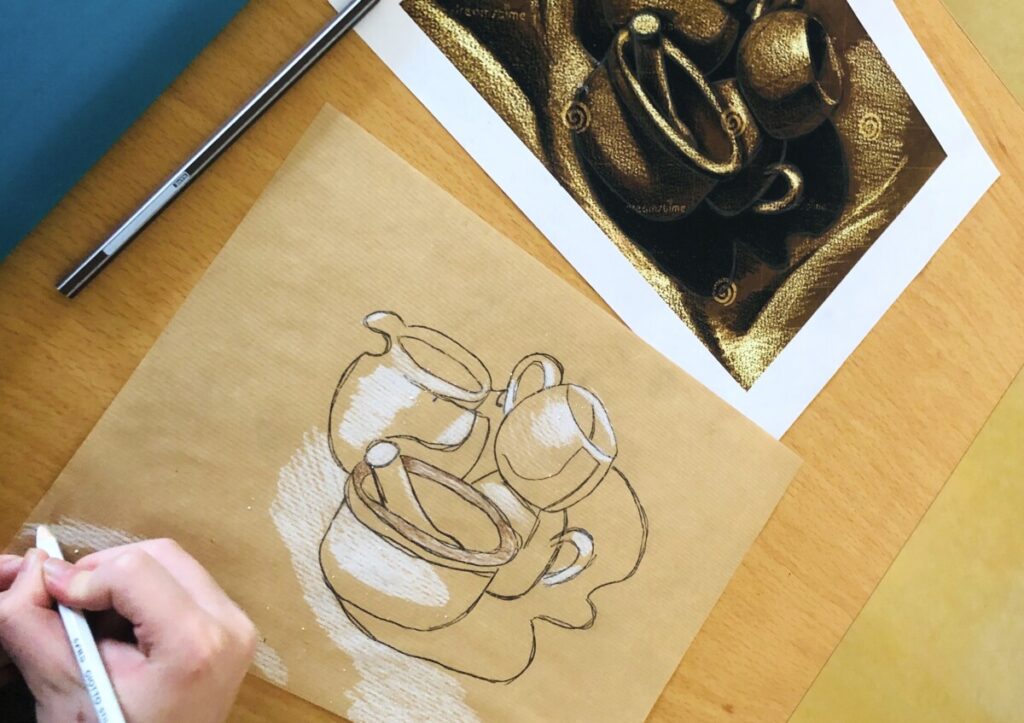
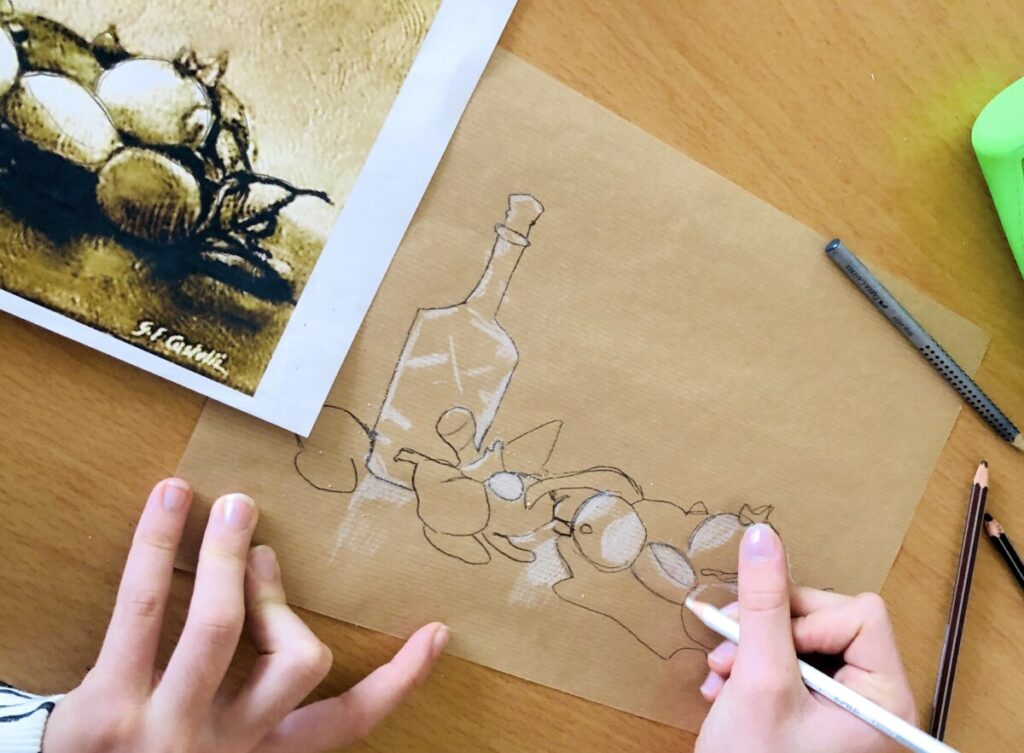
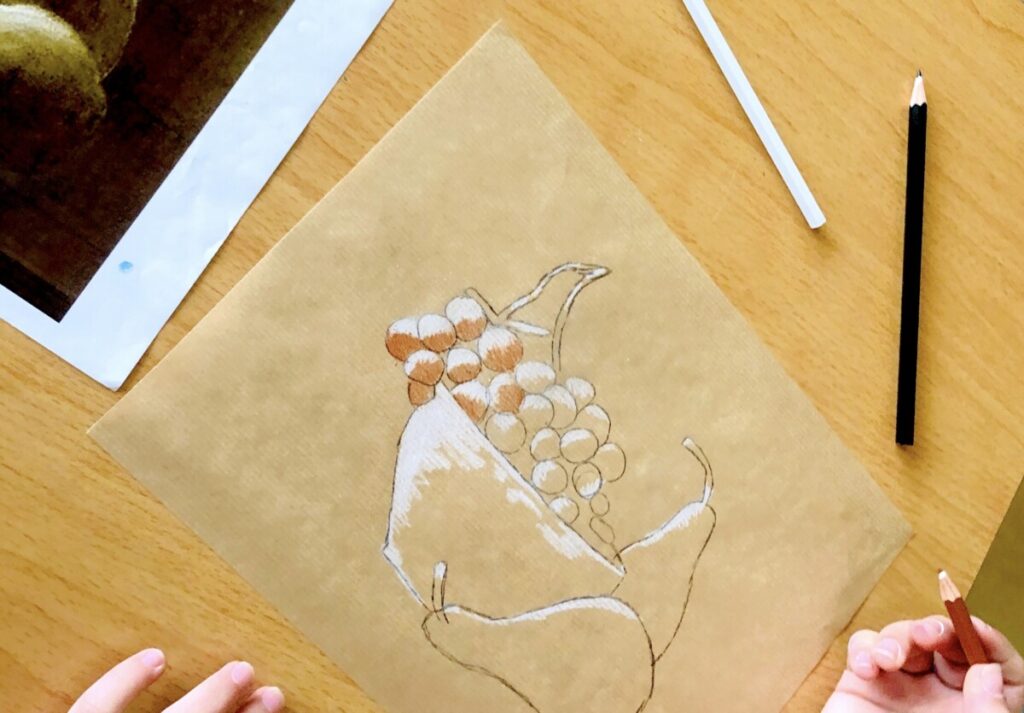
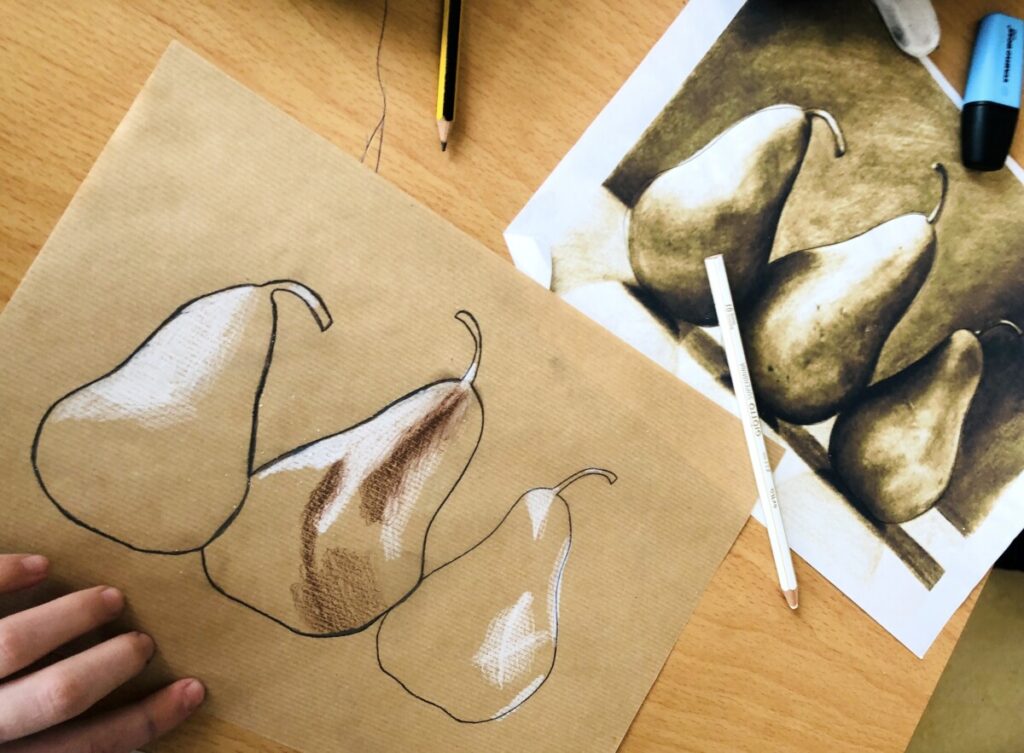
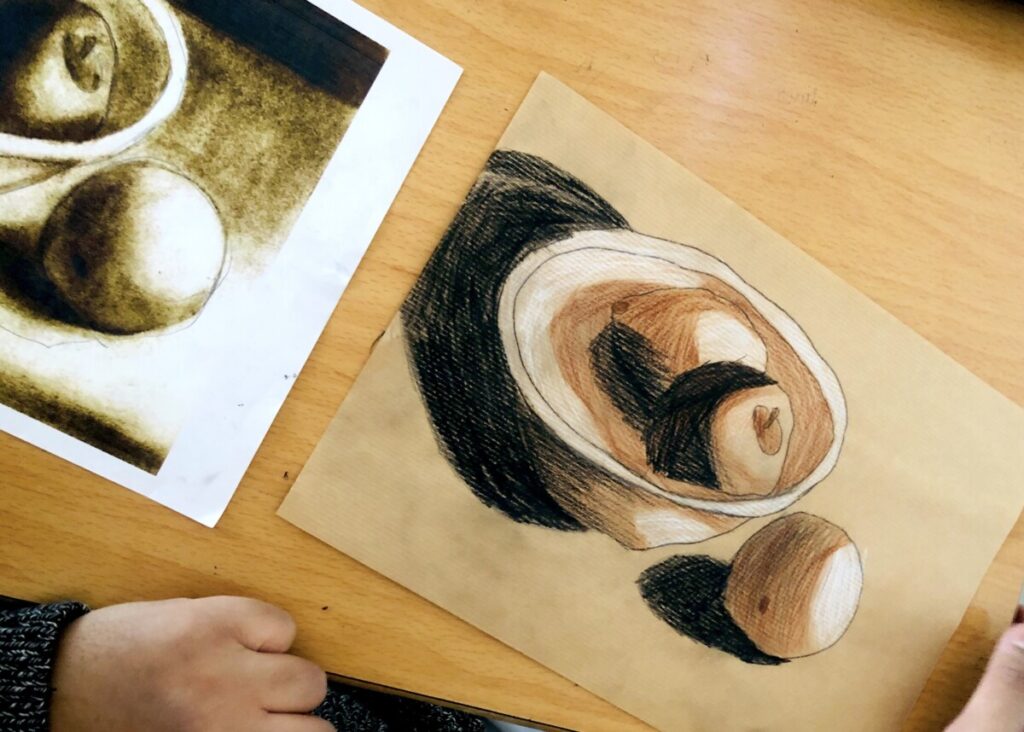
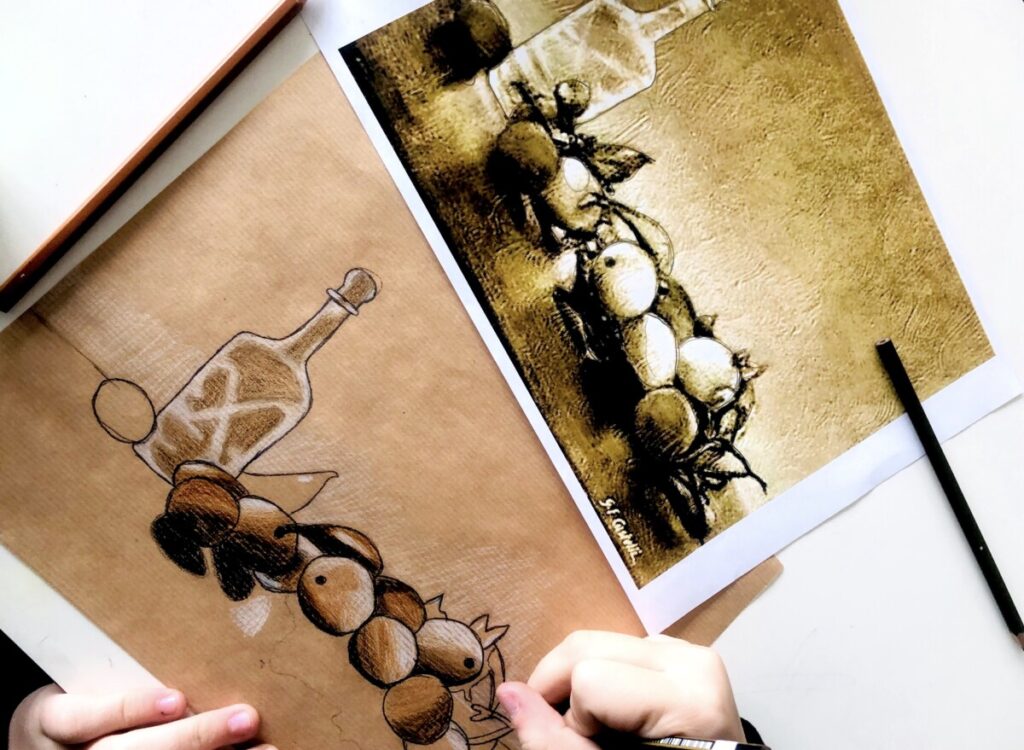
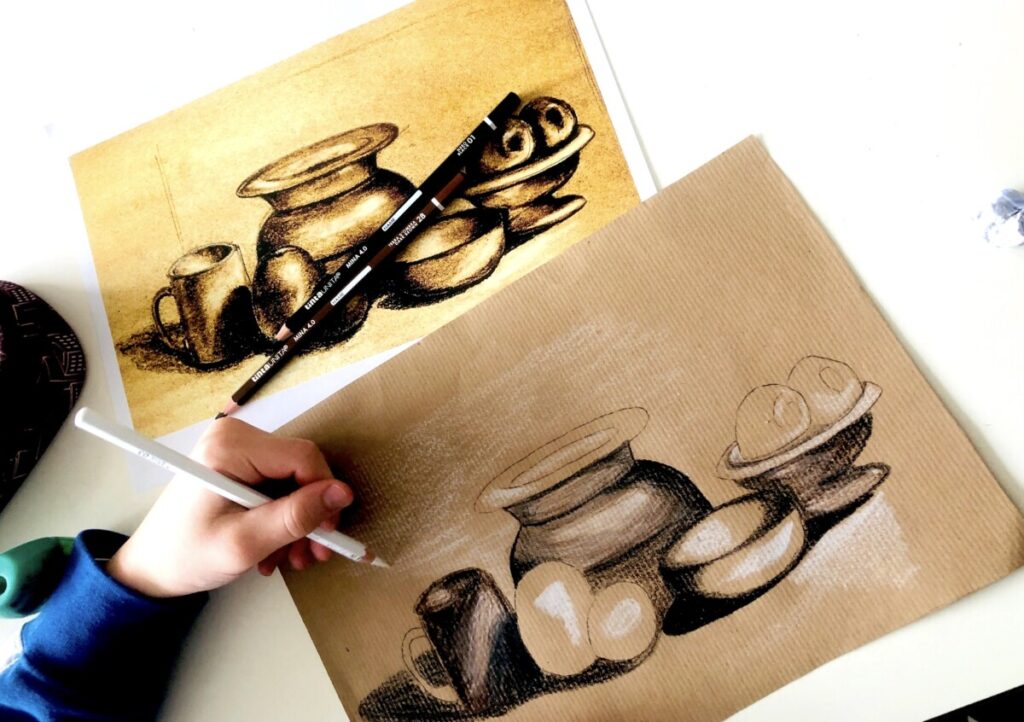
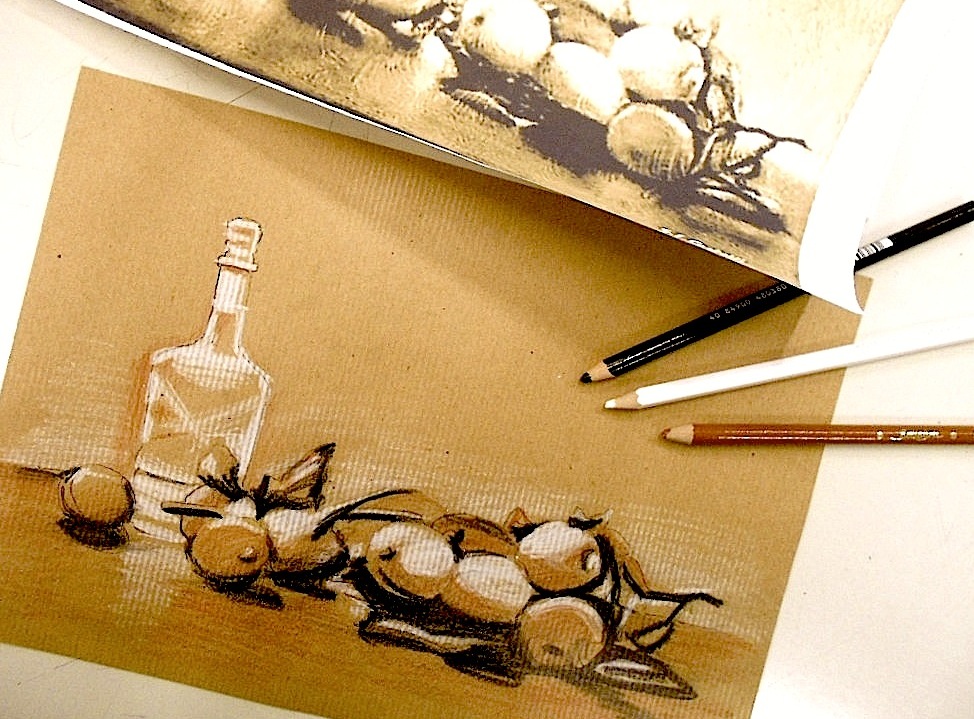
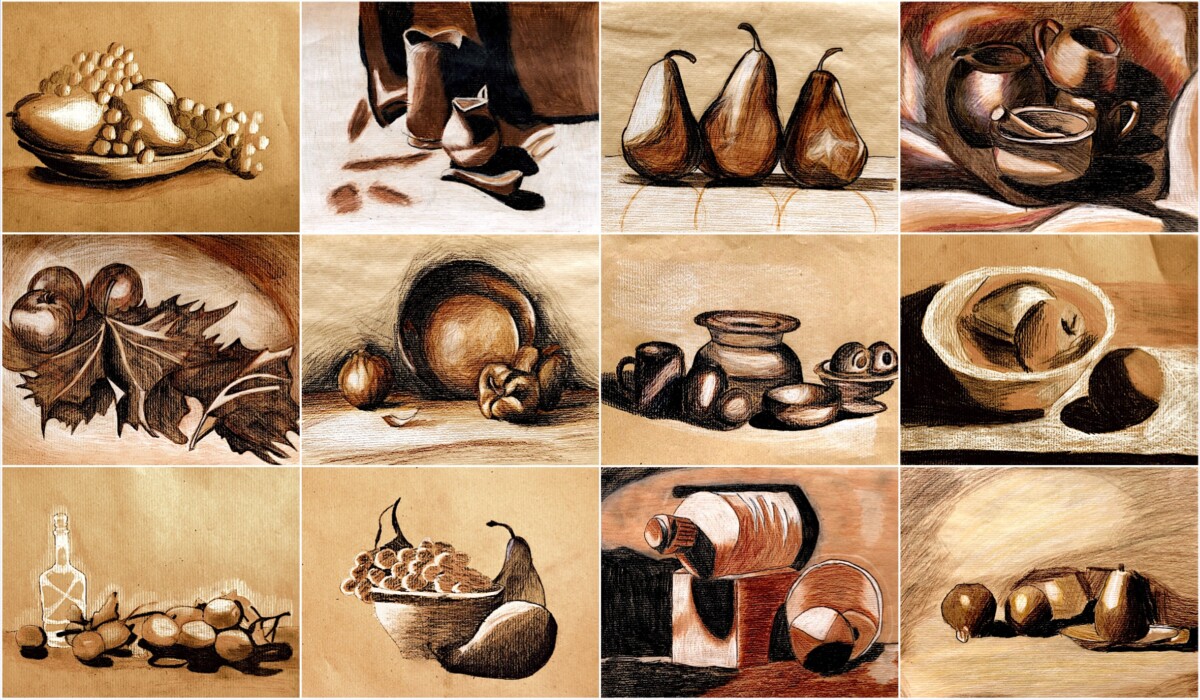
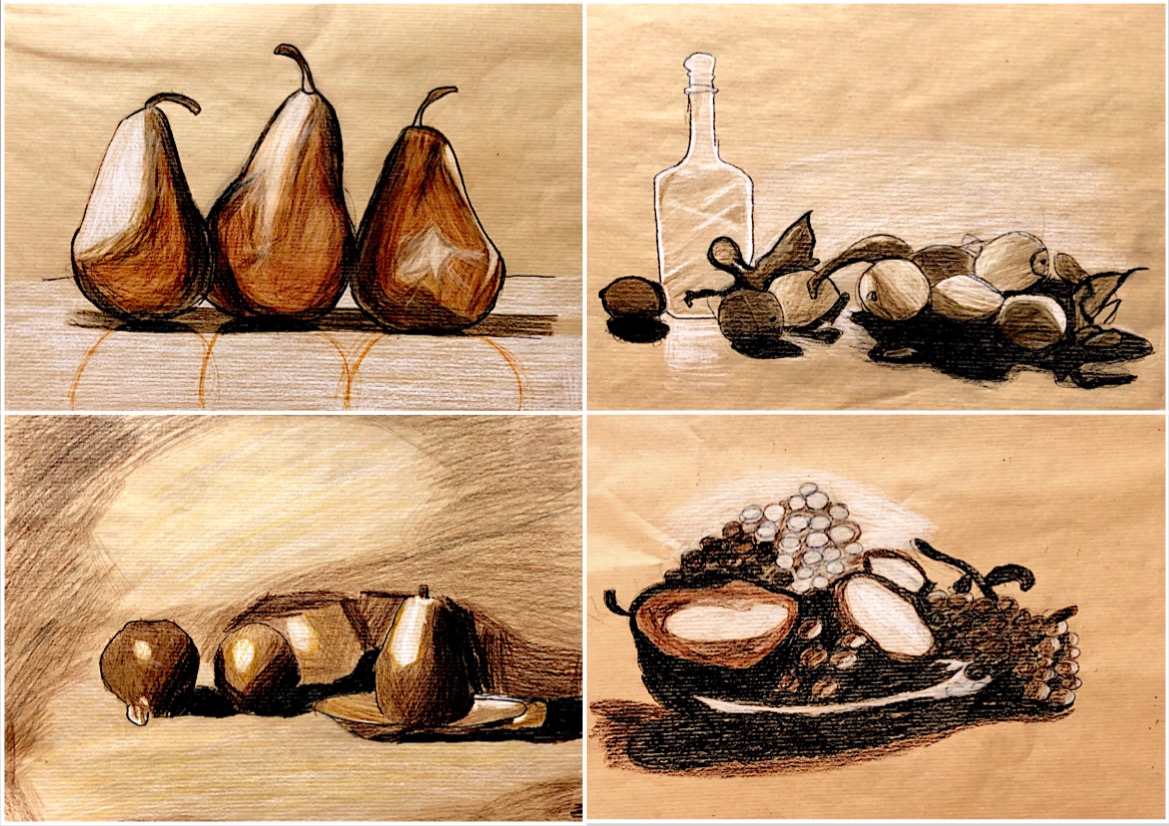
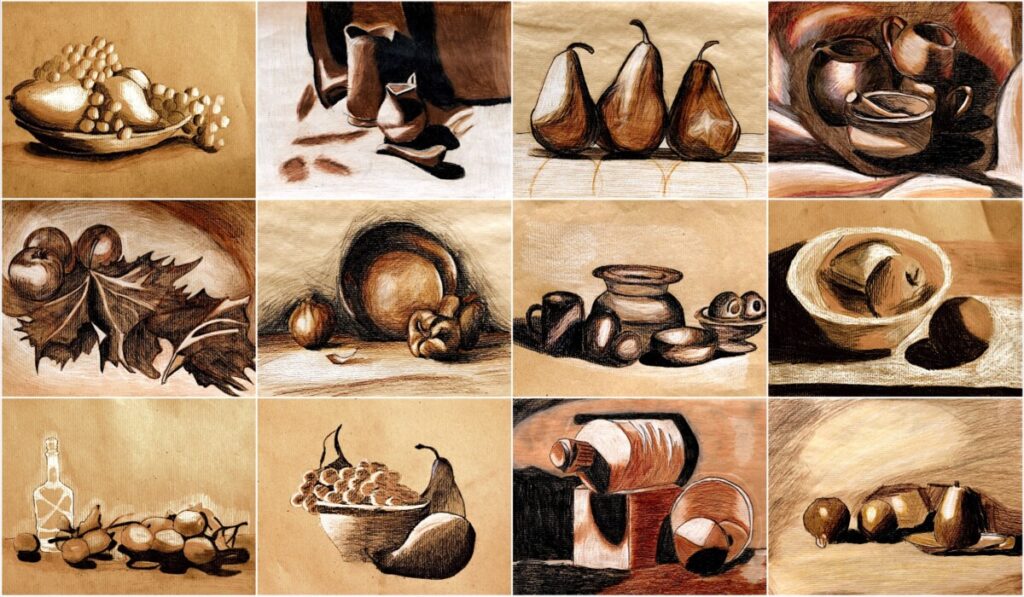
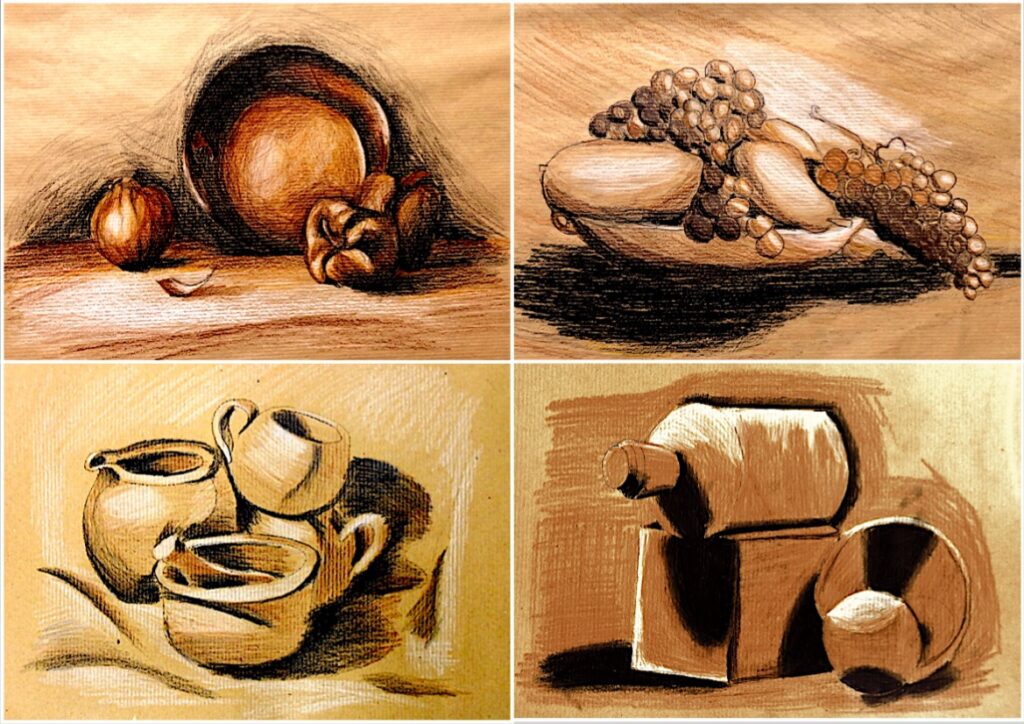
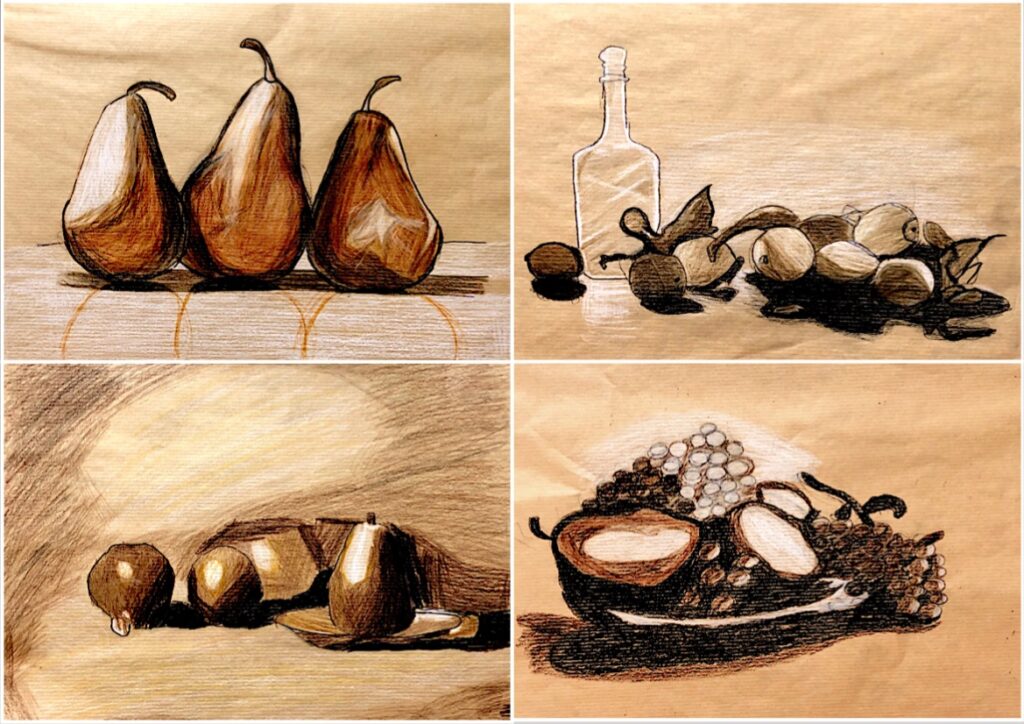
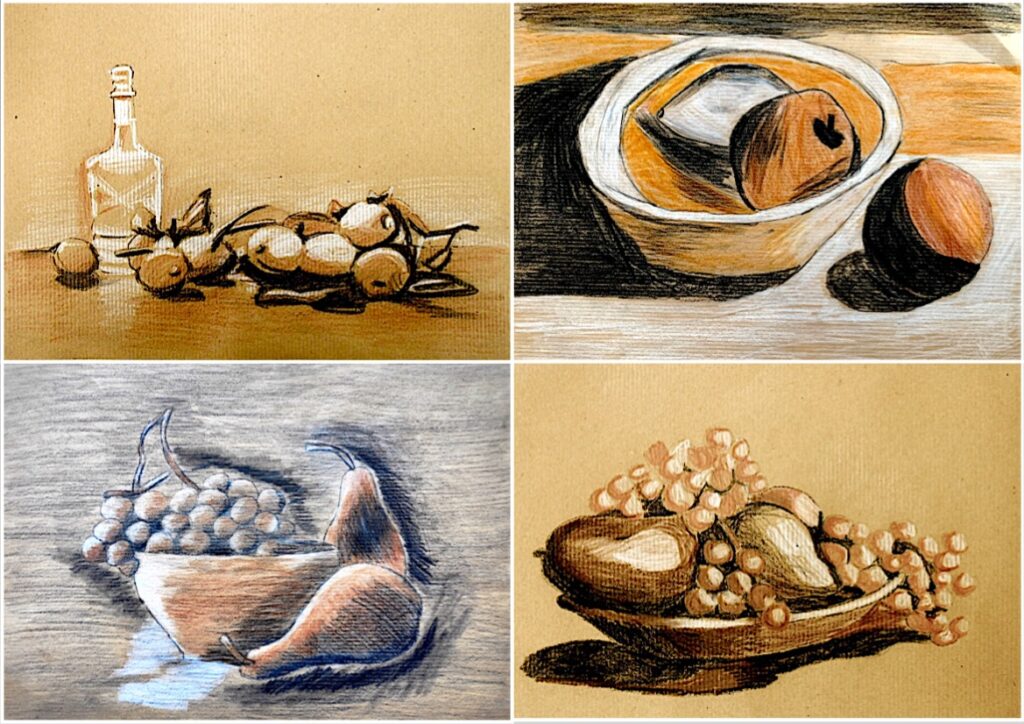
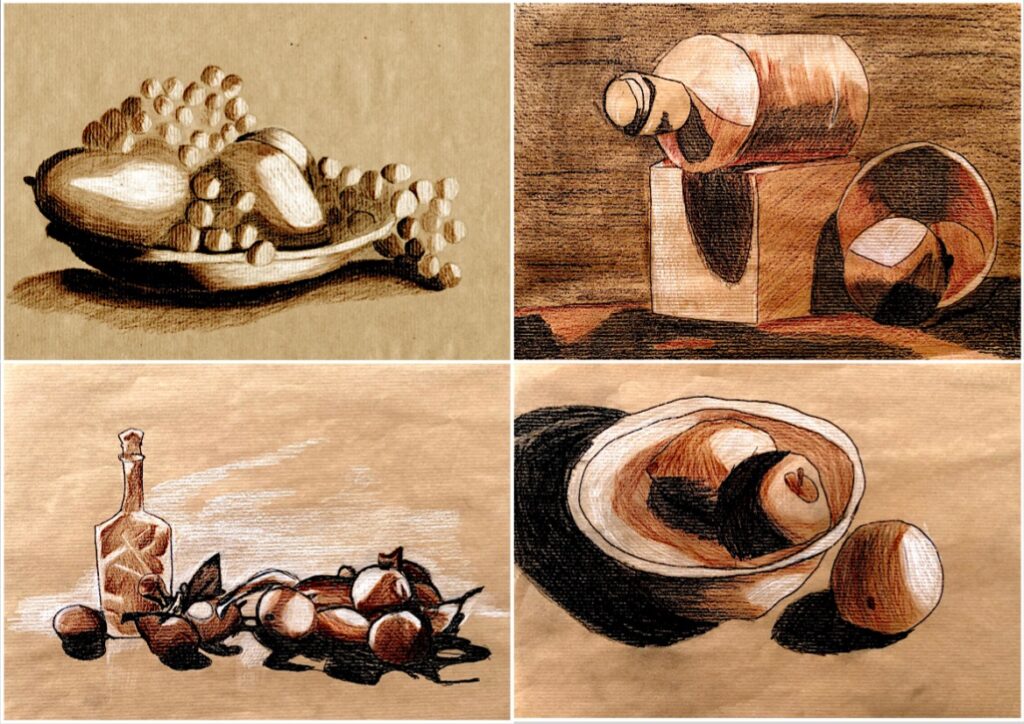
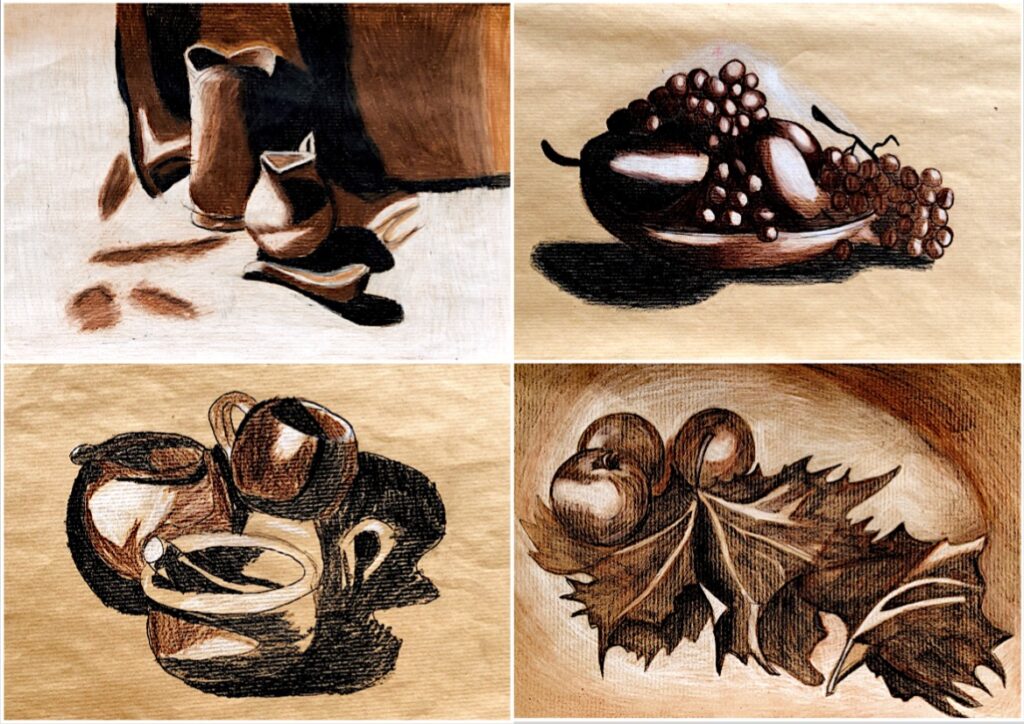
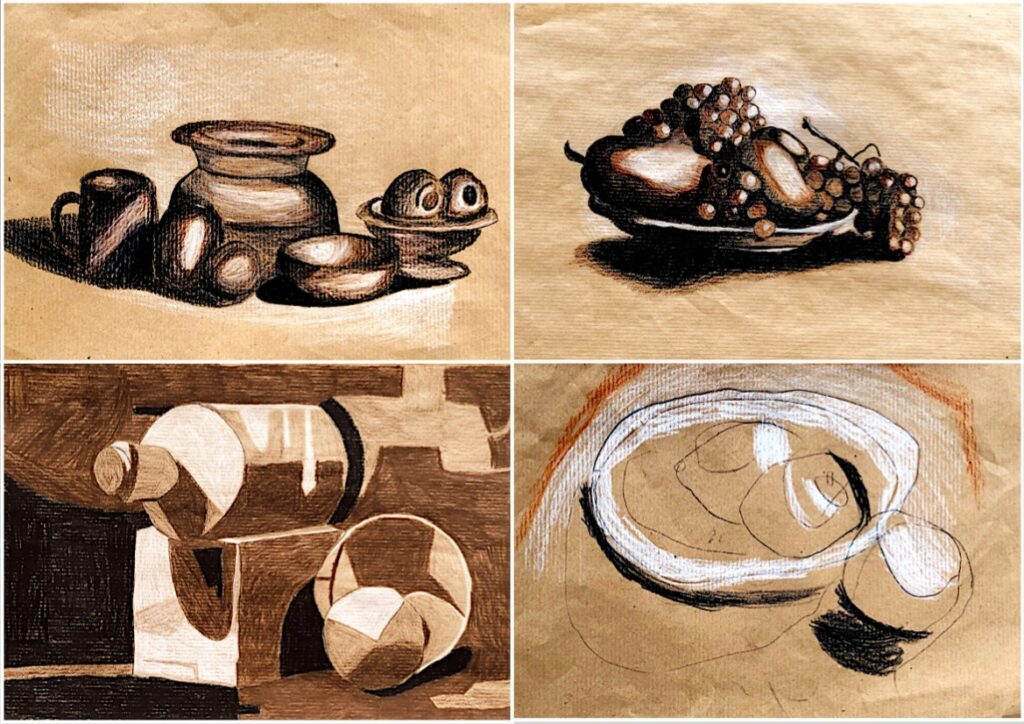
以下是学生们完成的作业
Still life on package paper with video tutorial
To create these monochrome drawings on brown package paper, my 7th-grade students used three pencils: one white, one brown, and one black.
In the video tutorial below you can follow every step of the activity. You need a photocopy of still life, a sheet of brown package paper, carbon paper, and pencils. You can find other videos on my YouTube channel Miriam Paternoster.
To copy the main lines of the picture you can use carbon paper, tracing the outlines of the objects on the wrapping paper. You can also copy the picture with a free-hand drawing or with a grid, depend on the time you have to complete the drawing.
First, we copy the LIGHTS with the white pencil, then we color the middle tones with the brown and the darker shadows with the black. At every step we see the drawing being more realistic and increasing the three-dimensional effect.
Here we have the students’ drawings