初学者欧普艺术教程
原文链接:https://thatartteacher.com/2021/01/14/op-art-tutorials-for-beginners/
日期: 2021-01-14
作者: Sierra Machado
分类: 美术教程、彩铅、远程学习
标签: 3D 绘画技巧、美术教育、彩铅远程学习课、远程学习美术课、远程学习课程、绘画、居家绘画、绘画教案、居家可完成的绘画教程、简易欧普艺术教程、精选内容、碎裂棋盘格图案、如何绘制棋盘格图案、初中美术课、初中彩铅课、初中远程学习美术课、欧普艺术 3D 绘画、简易欧普艺术绘画教程、欧普艺术入门绘画教程、儿童欧普艺术、欧普艺术错觉、欧普艺术课程、初中欧普艺术课、简易欧普艺术教程、初学者欧普艺术教程、光学错觉美术课、分步光学错觉绘画、That Art Teacher、That Art Teacher 教案、thatartteacher、趣味 3D 绘画技巧(简易版)
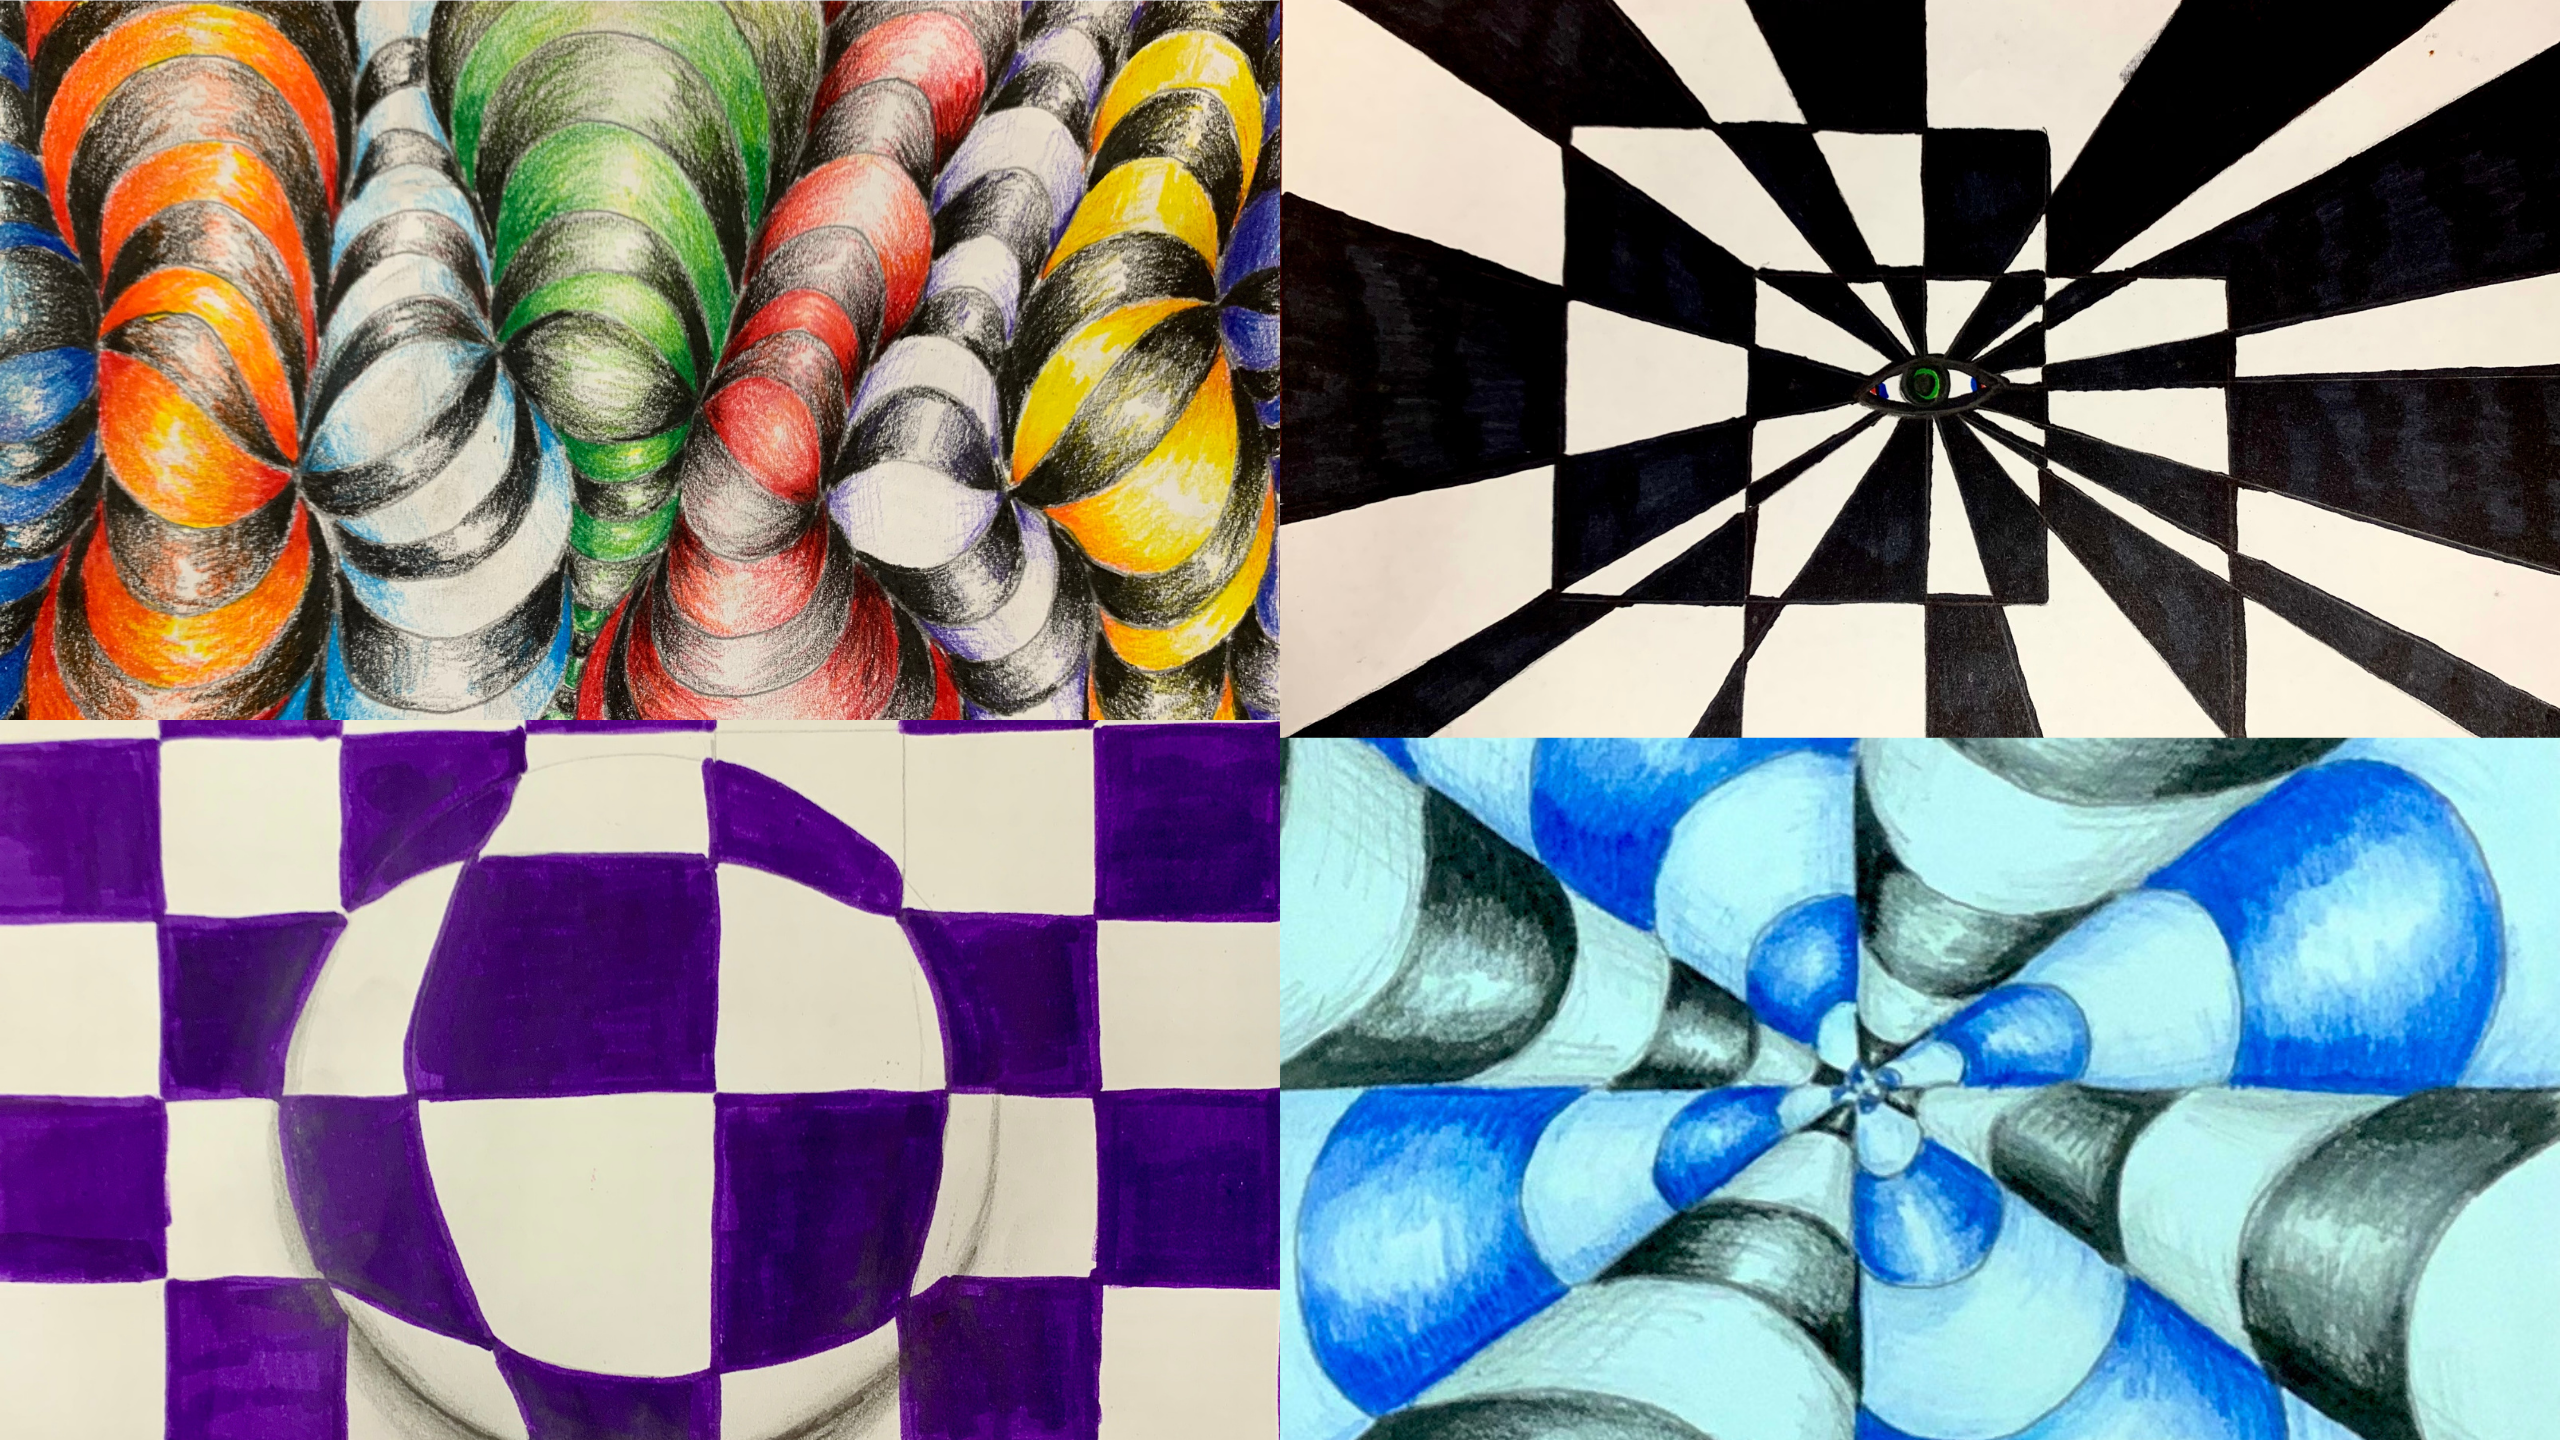
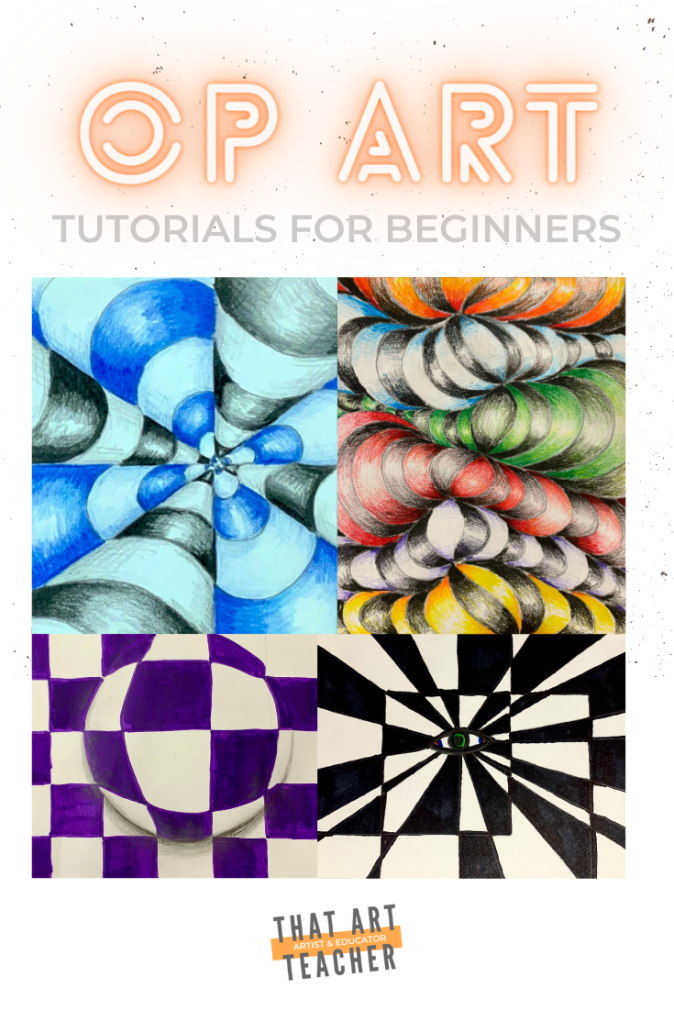
这四个面向初学者的欧普艺术教程将教你如何创作欧普艺术(Op Art)——一种以营造光学错觉为核心的抽象艺术形式。我的学生特别喜欢创作欧普艺术,因为它既是给大脑解谜的游戏,又是一件完整的艺术品。我常把这些教程用作拓展活动(即“我画完了,接下来做什么?”的选项之一)、代课教师教案,或远程学习课程。由于步骤清晰、目标明确,这些教程适用于多种教学环境。
它们同样非常适合作为远程学习课程。去年十一月我校因故停课两周时,我尝试了这一方案,学生们反馈说他们玩得很开心,且指令极易理解——要知道,当时我们并未面对面授课!欧普艺术也非常适合速写本练习。我知道自己偶尔也需要“烧烧脑”,而这种艺术风格能让我走出徒手绘画的舒适区。
什么是欧普艺术?
欧普艺术(Op Art)是光学艺术(optical art)的简称,是一种抽象艺术流派,通过线条、节奏与动感来制造光学错觉。这类作品常呈现出运动、模糊或跃然纸上的视觉效果;有时你最初看到的图像会完全转变为另一番景象。欧普艺术有时看起来出人意料地简洁,例如下图所示:
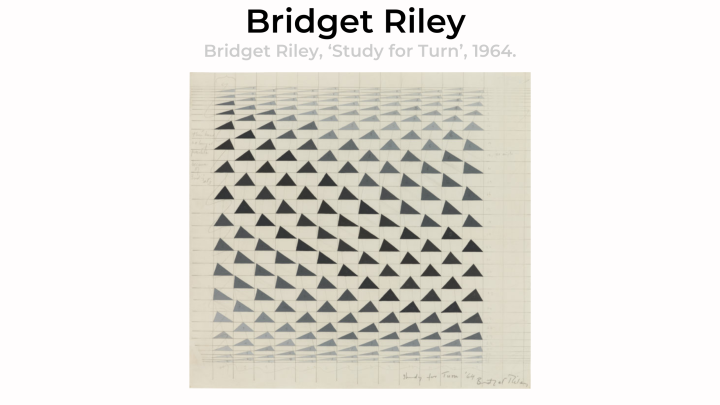
图片来源:https://www.thelondonmagazine.org/review-bridget-riley-the-eyes-mind/
有时则复杂得令人惊叹,例如这幅石版画:
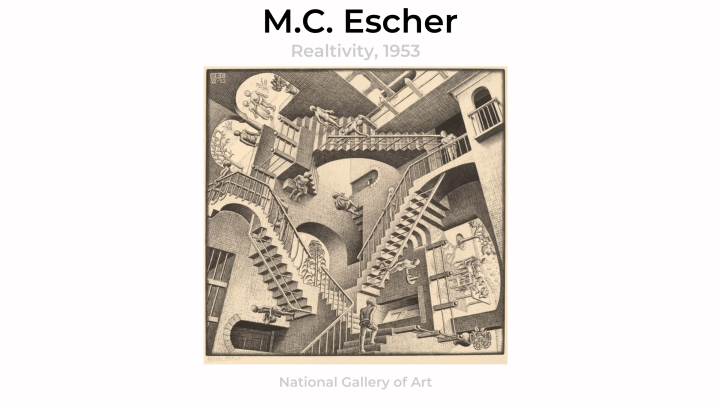
图片来源:https://www.nga.gov/collection/art-object-page.54256.html
艺术家关联
若想了解一些启发灵感的艺术家,不妨从Bridget Riley(布里奇特·赖利)开始。欧普艺术在20世纪60年代逐渐广为人知,而布里奇特·赖利则成为英国欧普艺术界的标志性人物。学生往往被她作品中鲜明的图案与律动感所吸引。
若真想“烧穿”学生的脑回路,那就展示M.C.埃舍尔(M.C. Escher)的作品吧。他对光学错觉与镶嵌图形(tessellations)的精妙把握,足以令你质疑现实本身。讨论他的作品,也是自然过渡到镶嵌图形教学的绝佳契机。
以下四个面向初学者的欧普艺术教程,可根据不同学段、教学目标及教学环境灵活调整。
所需材料
以下是开展欧普艺术创作的理想材料。本文包含本人真实使用并真心推荐的教具之附属链接。若您通过这些链接购买商品,我可能获得佣金,但您无需额外付费。感谢您支持这位公立学校教师的副业,让我得以持续提供免费教学资源。




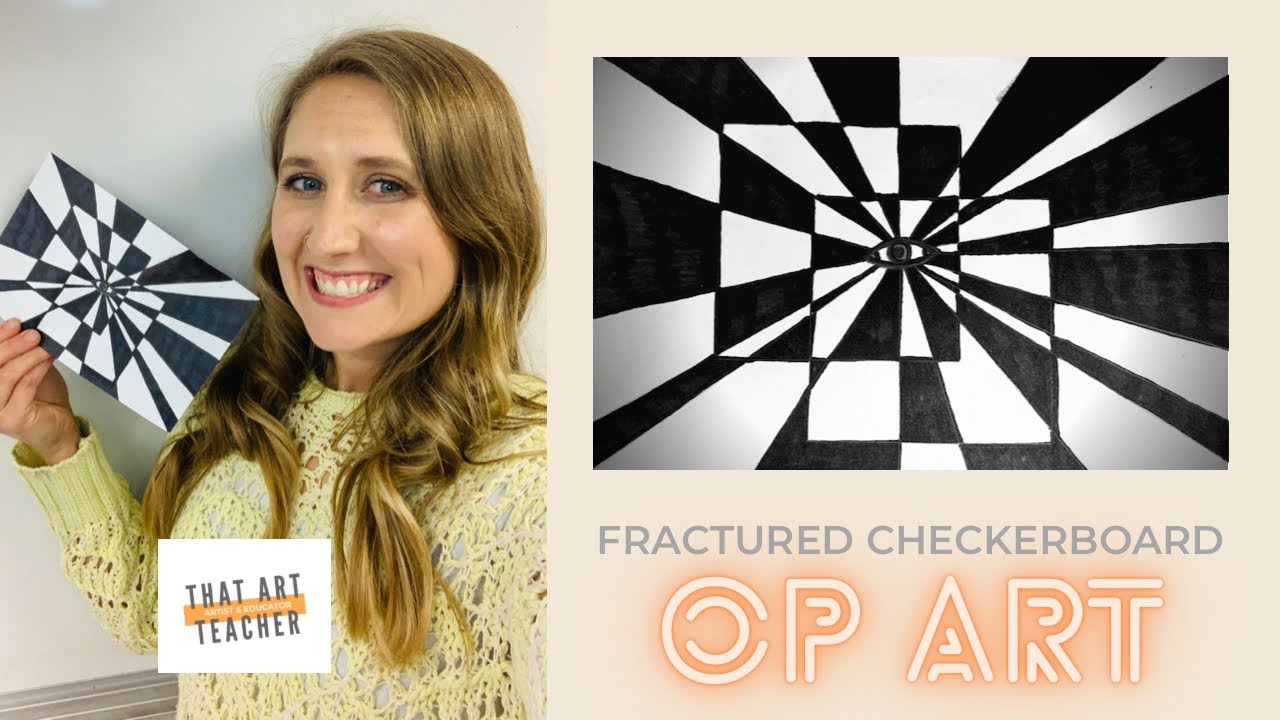
此碎裂棋盘格教程非常适合初学者。你只需准备纸张、铅笔和直尺。棋盘格内部可用任意媒材填充,我选用记号笔(Sharpie)以增强视觉冲击力。仅用一支铅笔,也完全可在家中完成此练习。我在设计中加入了一只眼睛作为中心元素;如需简化,可用一个小圆点或小圆圈替代。我期待下次尝试改用三角形,或两种对比鲜明的有机形态来重构此图。
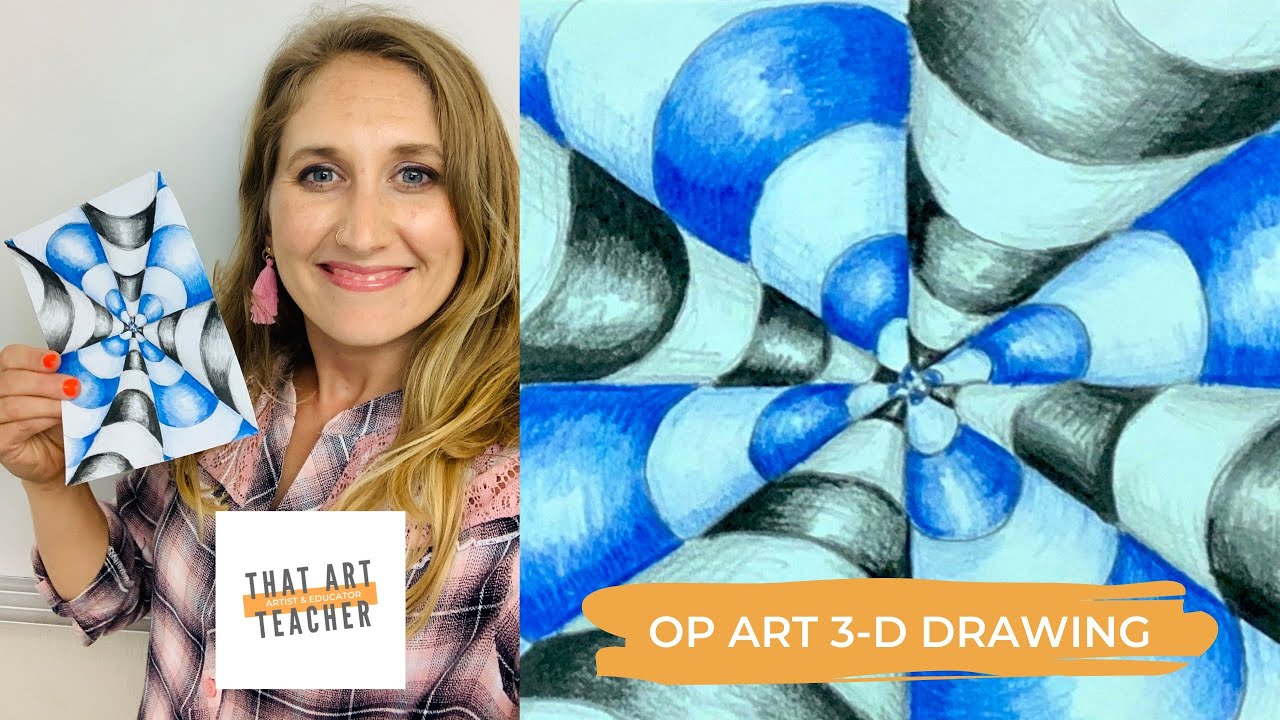
这无疑是我学生最爱的教程。我也格外钟爱它,因为步骤极其简单,同时蕴含大量明暗与色彩渐变的教学契机。该设计吸睛醒目、易于理解,既可保持极简风格,也可大胆运用丰富色彩。考虑到居家学习的学生艺术材料有限,部分学生在停课期间仅用铅笔便完成了此练习,而另一些学生则尽情挥洒,探索色彩融合的无限可能。
免费下载分步 PDF 教程!
Op-Art-Drawing-Guide下载
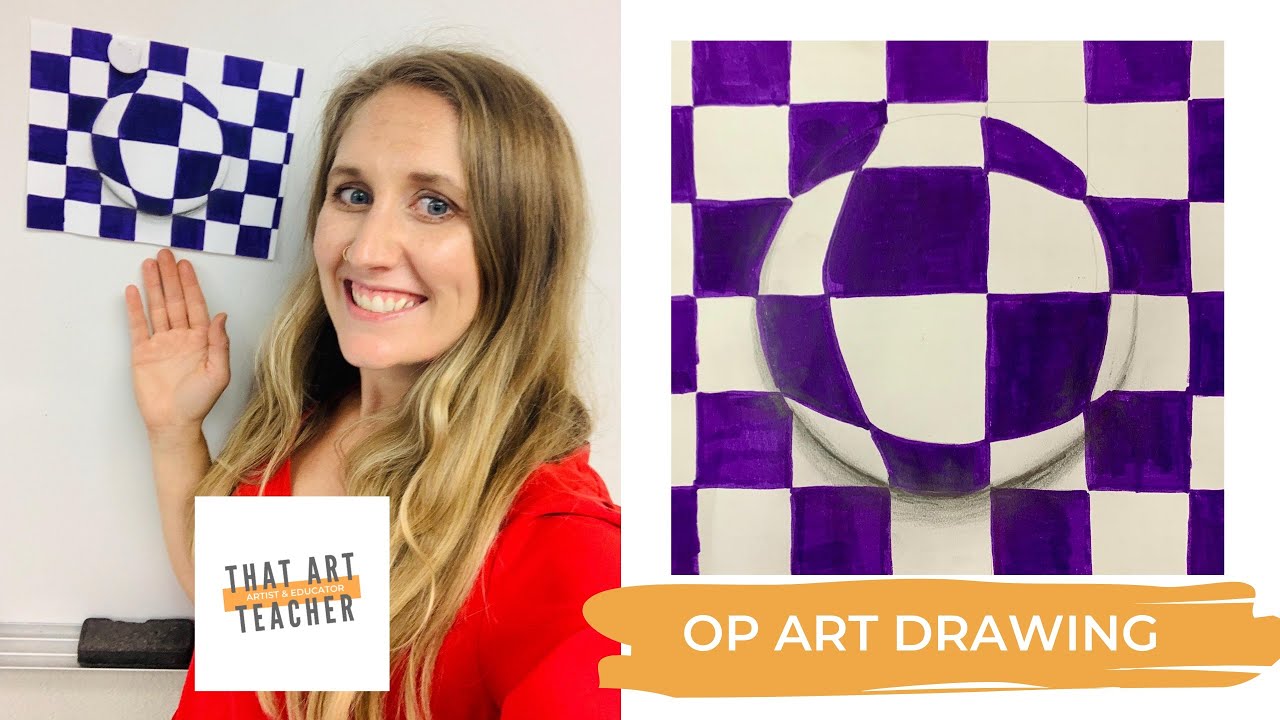
这是另一项面向初学者的欧普艺术教程。你只需准备一把直尺、一支铅笔和一张纸。先绘制基础棋盘格图案,再叠加一个浮现中的球体。球体下方稍加明暗处理,即可让立体感跃然而出。我期待再次尝试绘制多个“凸起”的球体!
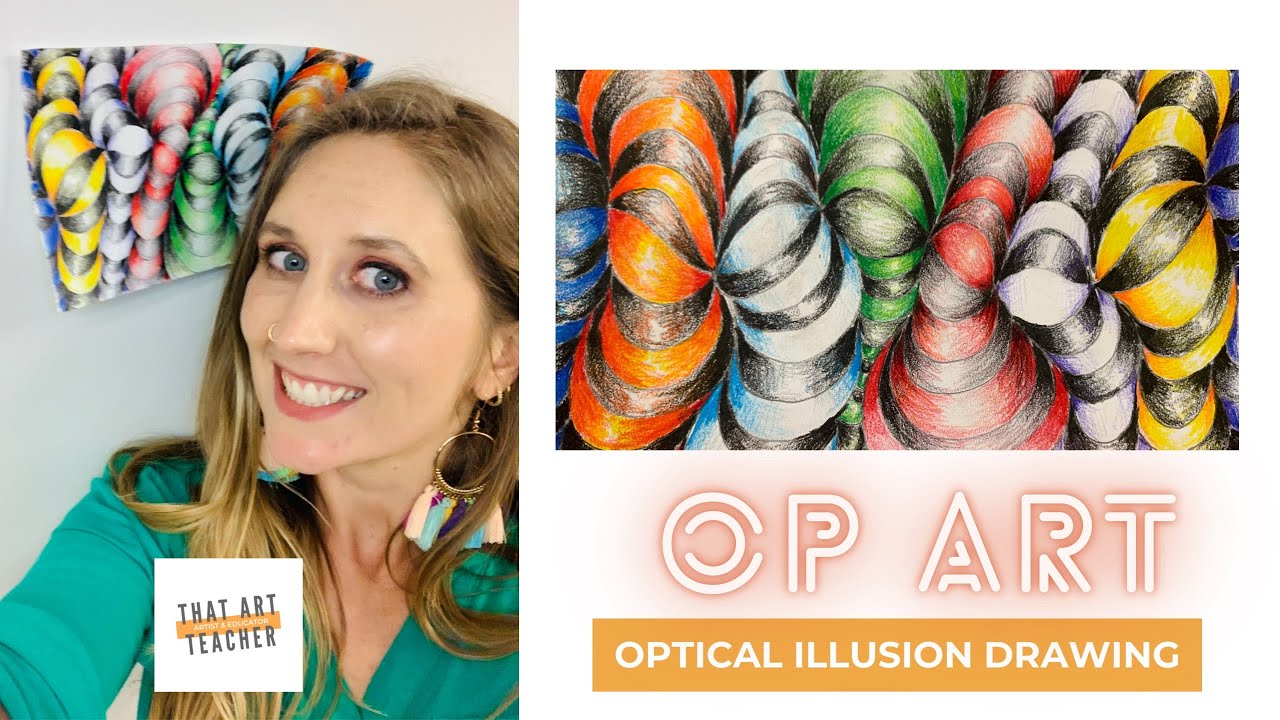
我将以最进阶的欧普艺术(Op Art)教程收尾。本课耗时最长,原因在于需要大量明暗处理与色彩融合。由于课程涵盖丰富的色彩理论与融合技法,它非常适合作为不同年级的课堂实践项目。此外,该作品也收录在我的代课教案文件夹中,以便我需连续多日请假时使用。如条件允许,建议先由任课教师带领学生启动创作,再交由代课教师指导学生完成——这是确保教学成效的最佳方式。我尤其着迷于那些蜿蜒曲折的线条所营造出的动态视觉效果。
你最钟爱的欧普艺术课程或艺术家是谁?非常期待听到你的分享!
提交表单。
远程教学?不妨尝试这些面向学生的友好型教程!
美术远程教学创意方案
订阅我们,以免错过任何一篇新推文。
立即订阅!
Op Art Tutorials for Beginners
Original: https://thatartteacher.com/2021/01/14/op-art-tutorials-for-beginners/
Date: 2021-01-14
Author: Sierra Machado
Categories: art tutorials, colored pencil, distance learning
Tags: 3-D drawing trick, art education, colored pencil distance learning lesson, distance learning art lesson, distance learning lessons, drawing, drawing at home, drawing lesson plan, drawing tutorials you can do at home, easy op art tutorial, featured, fractured checkerboard pattern, how to draw a checkerboard pattern, middle school art lessons, middle school colored pencil lesson, middle school distance learning art lesson, Op Art 3-D Drawing, op art drawing tutorial easy, op art easy drawing tutorial, op art for kids, op art illusion, op art lessons, op art lessons for middle school, op art tutorial easy, op art tutorial for beginners, op art tutorials for beginners, Optical Illusion Art Lesson, optical illusion drawings step by step, that art teacher, that art teacher lesson, thatartteacher, trick art drawing 3d easy
These four Op Art Tutorials for beginners will show you how to make Op Art, an abstract style of art based on creating optical illusions. My students really love creating Op Art because it’s a puzzle for your brain and an artwork rolled into one. I love to use these tutorials as extension activities (or “what do I do when I’m finished” choices…”), sub plans or distance learning lessons. Because there are simple steps with a clear end objective, they work really well in a variety of learning environments.
This also makes them a fantastic distance learning lesson. I tried this in November when my school shut down for two weeks, and students told me they had fun and found the directions very easy to understand. That’s saying a lot when we were not actually meeting in person! Op Art is also great for sketchbook practice. I know I need to bend my brain every once in awhile, and this style of art gets me out of my free-hand comfort zone.
What is Op Art?
Op Art, short for optical art, is an abstract art movement that uses lines, rhythm and movement to create optical illusions. These artworks often look like they are moving, blurring or coming alive. Sometimes what you first see morphs completely into something else. Op Art can look surprisingly simple like this study:
Image Source: https://www.thelondonmagazine.org/review-bridget-riley-the-eyes-mind/
or insanely complicated like this lithograph:
Image Source: https://www.nga.gov/collection/art-object-page.54256.html
Artist Connections
If you want to look at some inspiring artists, start with Bridget Riley. Op Art became a more well known style of art in the 1960’s, and Bridget Riley became a British Op Art sensation. Students are attracted to the bold patterns and rhythm created through her work.
If you really want to break your students’ brains, show them the art of MC Escher. His sense of optical illusions and tessellations will have you questioning reality. Discussing his work would be a great transition to teaching tessellations as well.
These following four Op Art tutorials for beginners can be adapted for a wide range of grade levels, learning objectives and learning environments.
Materials
Here are some great materials for Op Art. This post contains affiliate links to products I truly love and use in my classroom. If you use these links to buy something I may earn a commission at no additional cost to you. Thank you for supporting this public school teacher’s side hustle so I can continue to provide free content.
This fractured checkerboard tutorial is perfect for beginners. All you need is paper, a pencil and a ruler. You can fill your checkerboard with any material, I used a Sharpie for dramatic effect. This could easily be done at home with just a pencil. I mixed up my design by including an eye in the center. You can simplify this by using a small dot or circle. I’d love to try this again using triangles or maybe two contrasting organic shapes.
This is hands down my students’ favorite. I love it too, because the steps are EASY and there are so many opportunities to teach shading and color blending. The design is eye catching, easy to understand, and you can keep it simple or make it really colorful. Because students at home have limited art supplies, some of my students did this with just a pencil during our shut down, and some went wild with color blending.
Download the free step by step PDF!
Op-Art-Drawing-GuideDownload
This is another Op Art tutorial geared towards beginners. All you need is a ruler, a pencil and a piece of paper. You start by creating a basic checkerboard pattern and then add an emerging sphere. The little bit of shading under the sphere really makes it pop. I would like to try this again with multiple spheres popping out!
I am ending with the most advanced Op Art tutorial. This one is the most time consuming because of allllllll of the shading and blending. Because of all of the color theory and blending techniques it addresses, this makes a great in-class artwork for a range of grade levels. Also, this artwork is in my sub folder if I need to miss multiple days. If possible, starting it with students and then having them finish it with a substitute is the best way to ensure success. I am obsessed with the wiggly lines that creates that moving effect.
What are your favorite Op Art lessons or artists? I’d love to hear from you!
Submit a form.
Distance learning? Try out some of this student friendly tutorials!
Art Distance Learning Ideas
Subscribe so you never miss a new post.
Subscribe!