Sliced and Diced Form Drawing
Original: https://createartwithme.com/sliced-diced-form-drawing/
Date: 2016-01-17 Author: Michelle East Categories: AP Studio Art (Advanced HS Art), Art Lessons, Drawing Lessons, HS Art, non-objective Tags: 6 basic shapes, Advanced High School Art Lesson, composition using cuts and slices of the 6 basic shapes, Cone, Contour Surface Lines, cube, Cylinder, Donuts, Drawing Forms, How does lighting affect values on forms, How to Slice them, liced Diced Form Drawing, Point of view, Pyramid, senior.billings.k12.mt.us, slice forms drawing, Sphere
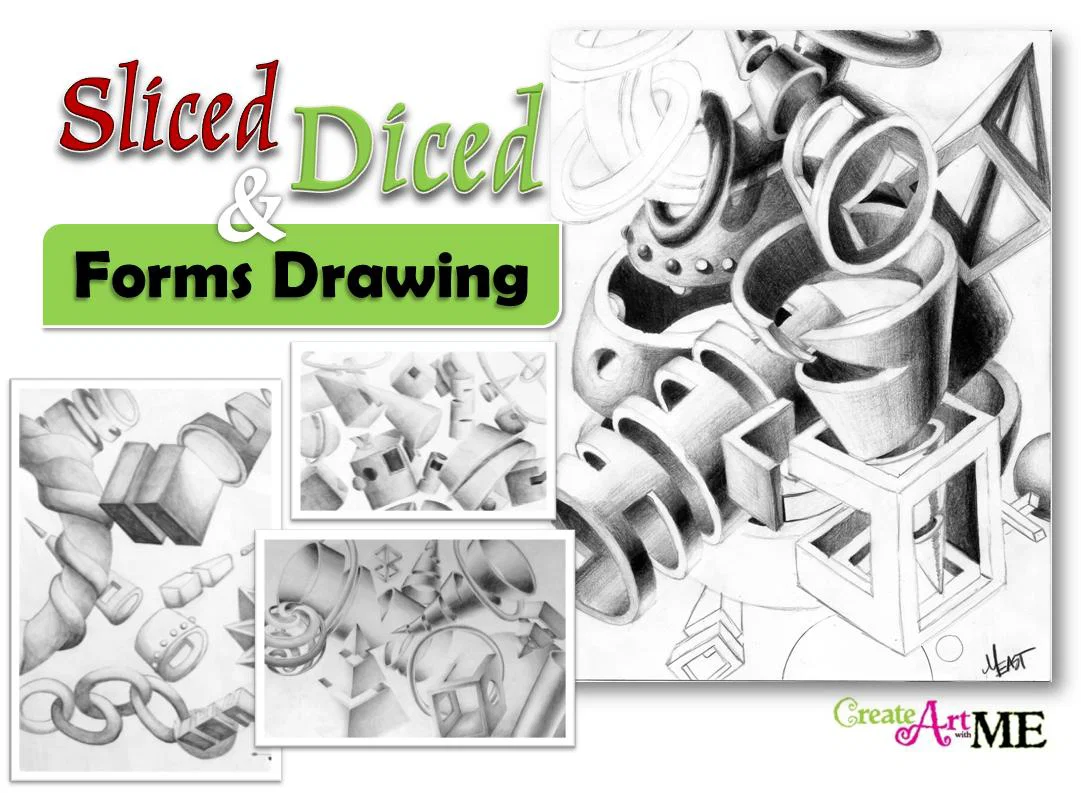
Advanced High School Art Lesson – Sliced & Diced Form Drawing
Resources: Original idea Found on senior.billings.k12.mt.us (credit goes to them-they are the original author of this lesson although I can not find anything other than a picture-no names that I can find)
This is how my high school art class created this cool drawing…
DAY 1-2
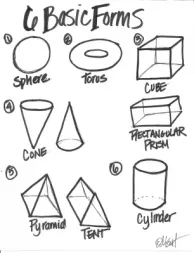
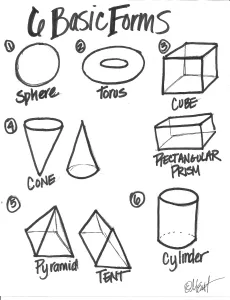
Objectives: Students will draw the 6 Basic 3D forms: Sphere, Cylinder, Donuts, Cone, Pyramid, & Cube/Rectangular Prism. They will learn how to accurately “slice” through the forms to see inside them and render with full shading. They will then create a composition using cuts and slices of the 6 basic shapes.
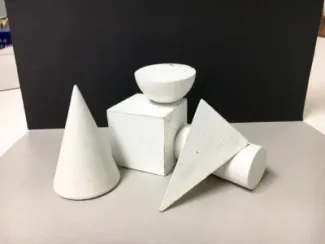
Preparation: Get out small geometric forms (I like to have one set per 2-4 people)


Delivery/Activity: 6 Basic Forms (Teacher Guided Demo)
- 6 Basic Forms: Sphere, Cylinder, Donuts, Cone, Pyramid, & Cube/Rectangular Prism
- Practice drawing forms from direct observation.
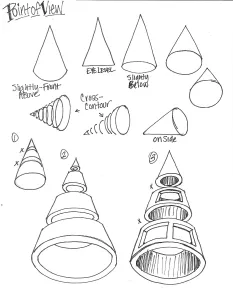
- Point of view-how do forms change based on your viewpoint of them?
- Practice drawing forms from 2+ different viewpoints. (Slicing the form is later in the lesson)
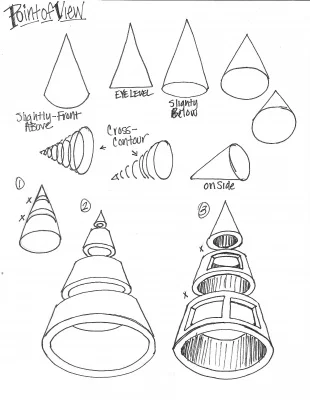
- Contour Surface Lines–Lines that show the variations in the depth on a surface
- What do contour lines look like on various forms?
- Practice drawing forms with contour surface lines (remember curved surfaces need curved lines, flat surfaces need flat lines. *Best to follow the edges)
- How does lighting affect values on forms
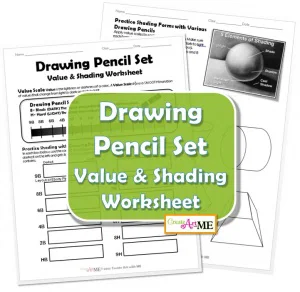
- Drawing Pencil Set Value and Shading Worksheet
- Practice drawing forms with strong spot light, render with full shading with drawing pencil set.


- [
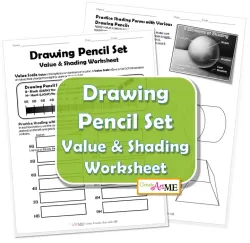
## Drawing Pencil Set Value and Shading Worksheet
$1.75](https://createartwithme.com/shop/lesson-plans-worksheets/art-technique-lesson-plans-and-worksheets/drawing-lessons-worksheets-pdf/drawing-pencil-set-shading-worksheet/)Add to cart
Activity #1: Drawing Forms & How to Slice them
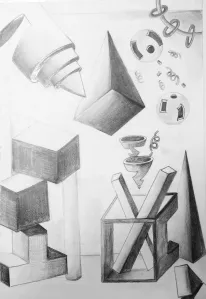
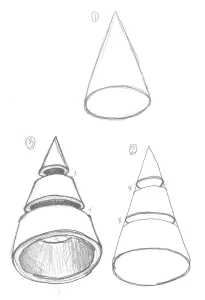
Teacher Guided Demonstration (2-3 Classes) How to draw 6 basic forms, how to slice into them to make cut-out (draw in sketchbooks). See handouts below.
Materials Needed: Geometric forms, drawing pencils, sketchbook, spot lights
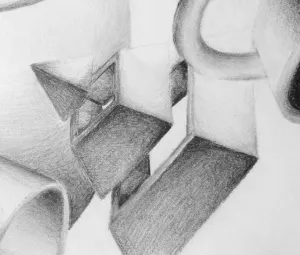
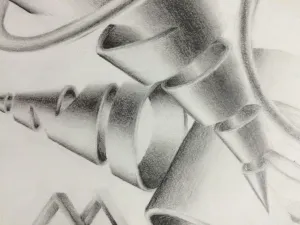
Click on the images below for full view (all images Copyright Michelle East)
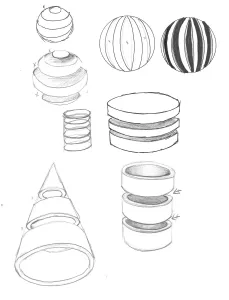
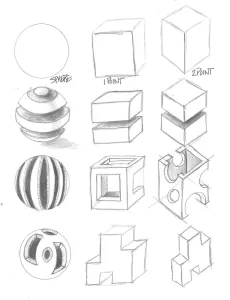
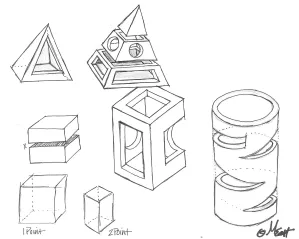
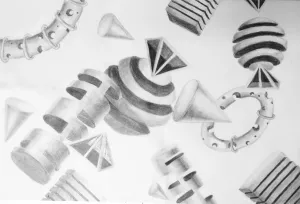
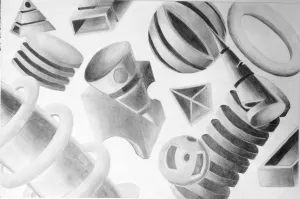
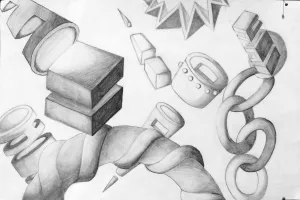
slice diced forms DrawingDay 3+: Project: Sliced Form Drawing

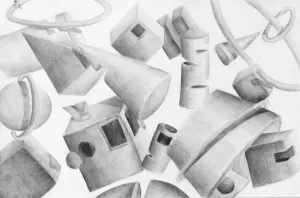
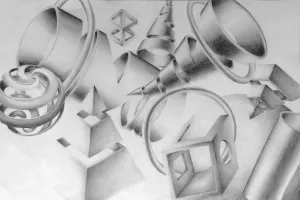
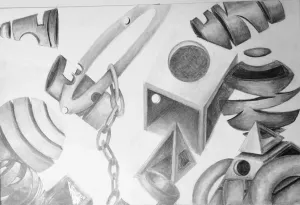
Project Objectives: Create a dynamic composition using the six basic forms: Sphere, Cylinder, Donuts, Cone, Pyramid, & Cube/Rectangular Prism. Draw in cuts, slices & dices into each of the forms. Keep a consistent light source and render the composition with FULL range of values using your drawing pencil set
Supplies: 9×12′ or 12×18″ Drawing Paper, Drawing Pencil Sets. Rulers
Project Instructions:
SKETCH
- In your sketchbook, draw out at least 2 thumbnail sketches (Quiz Grade) experimenting with the placement and size of the six basic forms in your composition: Sphere, Cylinder, Donuts, Cone, Pyramid, & Cube/Rectangular Prism.
- Create a focal point by placing your larger object (also with the most value contrast) in one of the Rules of Thirds.
- You must include at least 2 of each form. That is the MINIMUM amount- draw in as much as you need to create the best design!
- Use overlapping of forms to create depth in your drawing. Vary the sizes & view points for interest.
DRAW FINAL
- LIGHTLY draw your design onto a sheet of 12×18” drawing paper. You will obviously enlarge your design. You may use ruler & circle (for template)
- In your final design, cut open and slice up the forms so we can see through to the back side. Create openings to give interest.
- It is okay to have a few forms that are not cut or sliced, but at least on of each type of form must have cuts or slices.
SHADING
Keep a consistent light source and render the composition with a FULL range of values from black to complete white.
Evaluation: Visual-did students accurately draw forms in their still life, how did they use the space on the paper, does each form have consistent lighting, is each form rendered with a full range of values?
If you choose to use the information in this post (written or photo), please link back to my blog Create Art with ME.
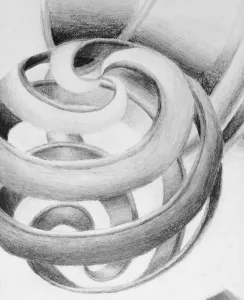
A Few Student Examples (click on picture for full drawing)