使用网格法临摹肖像
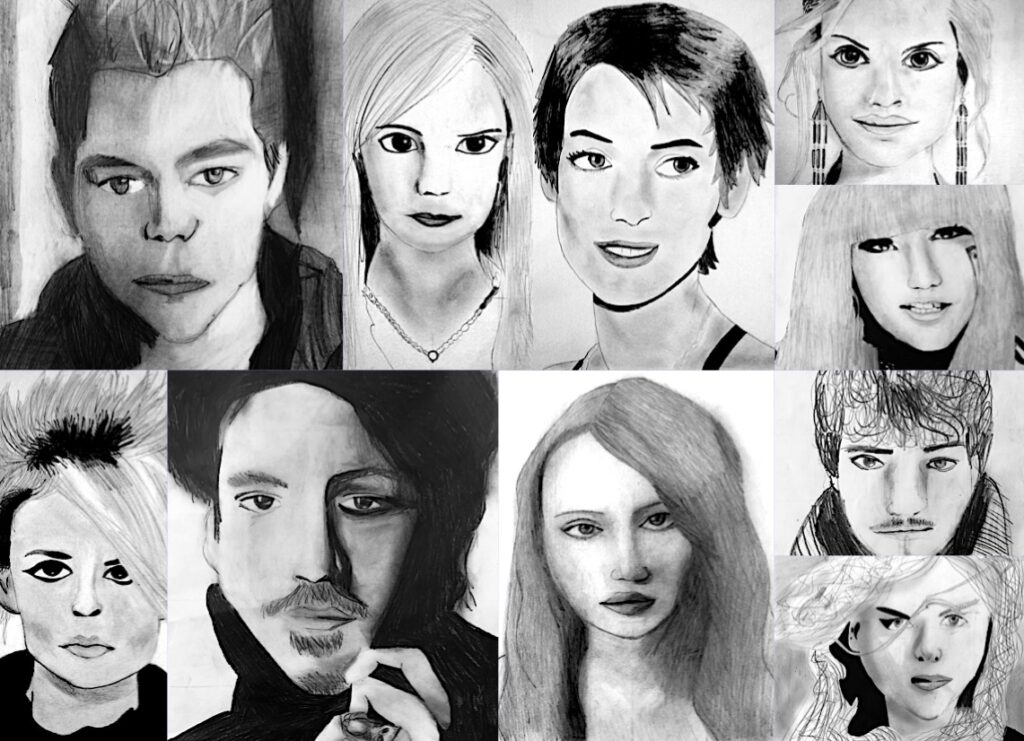
我们运用网格法完成了这些照片肖像的临摹,掌握了一种相当简易的图像缩放与复制方法。肖像画是临摹难度最高的题材之一,但借助此法,我们成功取得了良好效果——因为该方法立足于对「线条」的细致观察,并分区域逐块复制图像,而非整体复制整幅画面。
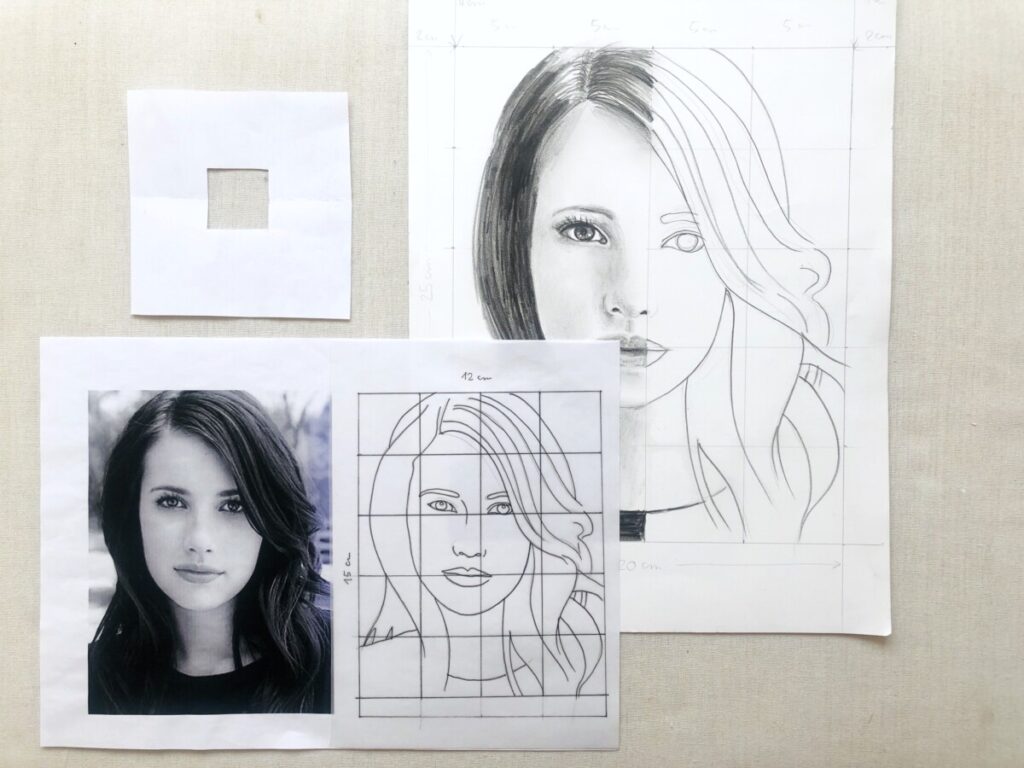
起始阶段,我们选取一张小幅黑白人像照片(12×15 cm)。在描图纸上勾勒出图像轮廓,并绘制一个由3×3 cm方格组成的网格。接着,在描图纸上标出面部的「主要线条」:双眼、鼻、口、眉毛;再画出头部、头发,甚至阴影的「轮廓线」。
需谨记:此描图第一阶段的关键在于简化并提炼图像,仅保留构成画面的「主要线条」;无需涂绘阴影或明暗调子。
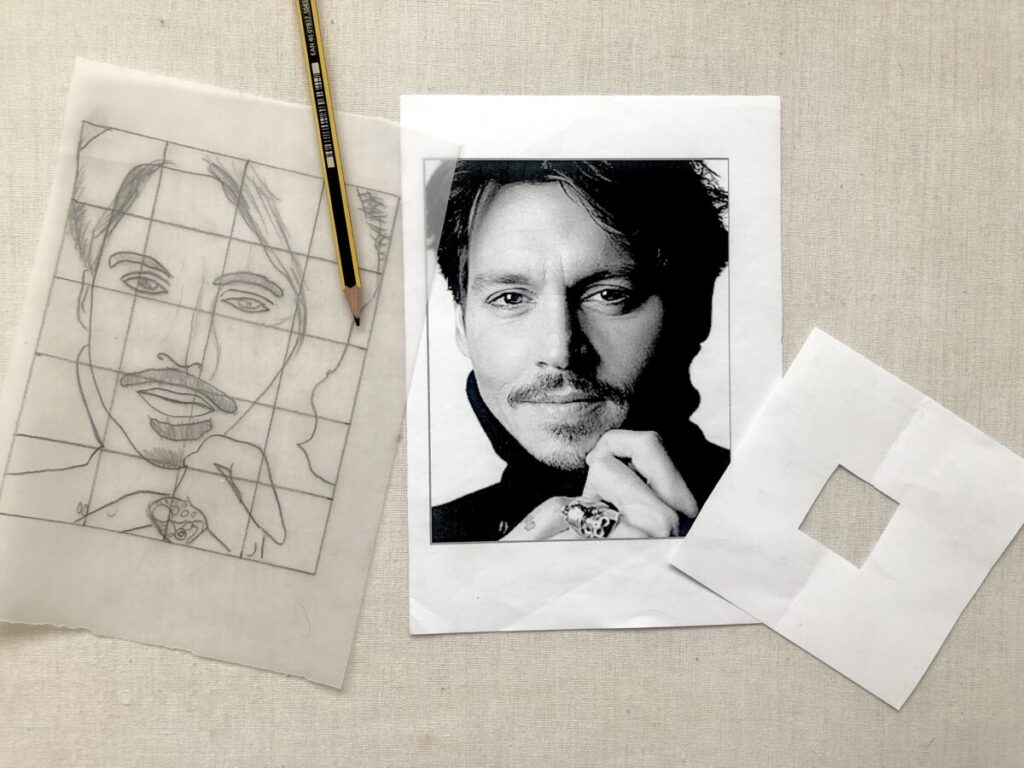
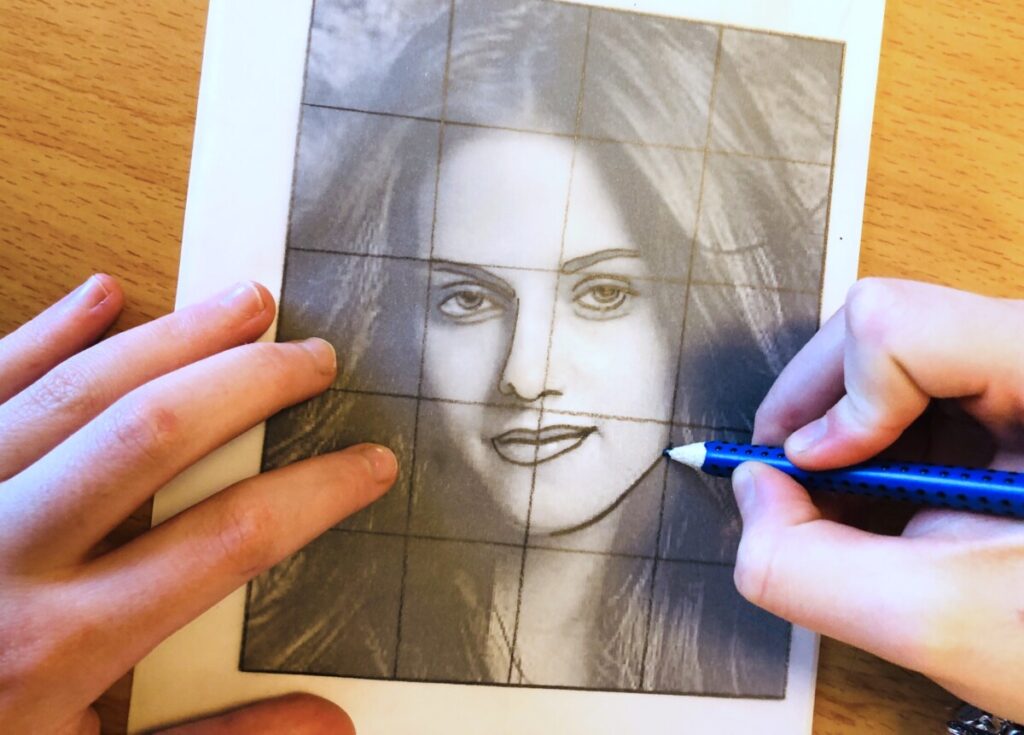
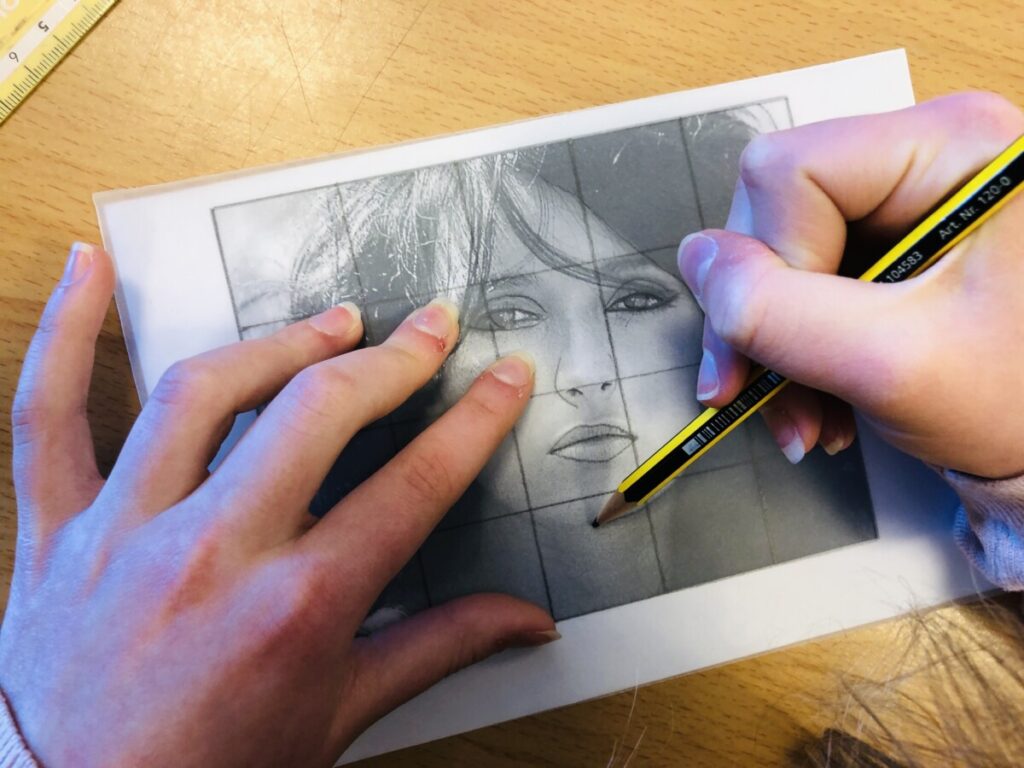
随后,在绘图纸上画一个20×25 cm的矩形,并将其划分为5×5 cm的方格。由此得到一个放大比例的网格,我们即可在此网格中开始临摹自己的「线性素描」。第二阶段的秘诀在于:逐格复制线条,不必顾虑最终整体效果,只需专注还原当前方格内所见的全部线条。
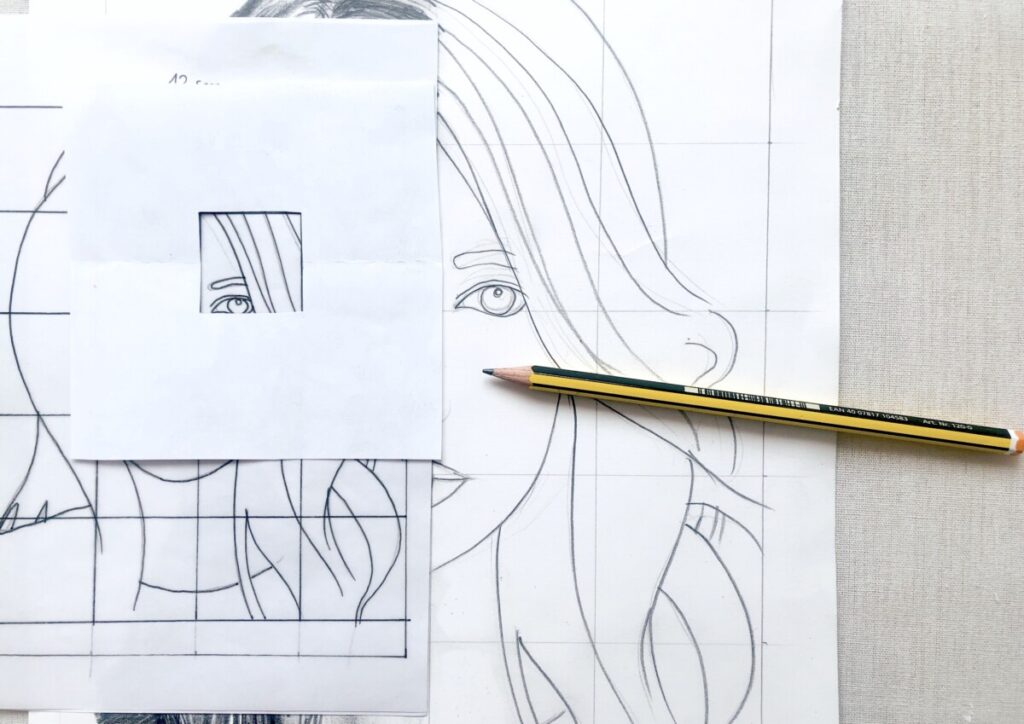
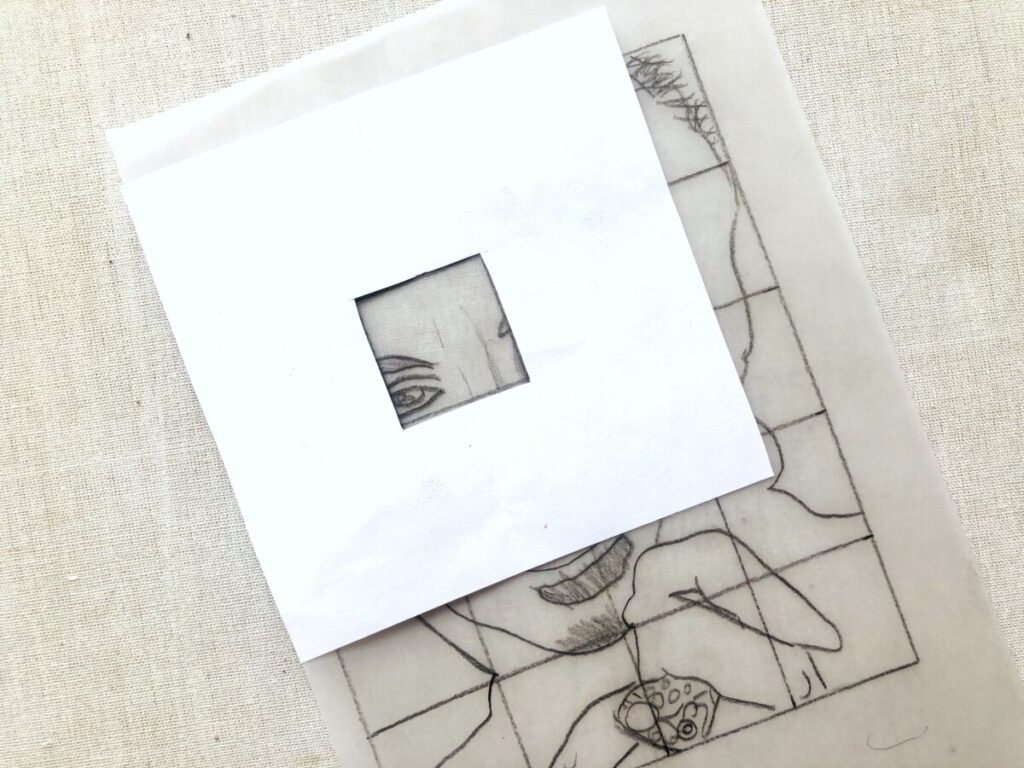
为辅助此阶段作业,我们从白纸上裁剪出一个小型「取景框」——一个3×3 cm的方形镂空框。将此取景框依次覆盖在小网格的每个方格上,从而「隔离」出该方格内的线条与形状。如此一来,我们便能逐格聚焦,精准还原线条,同时严格保持原图的比例关系。
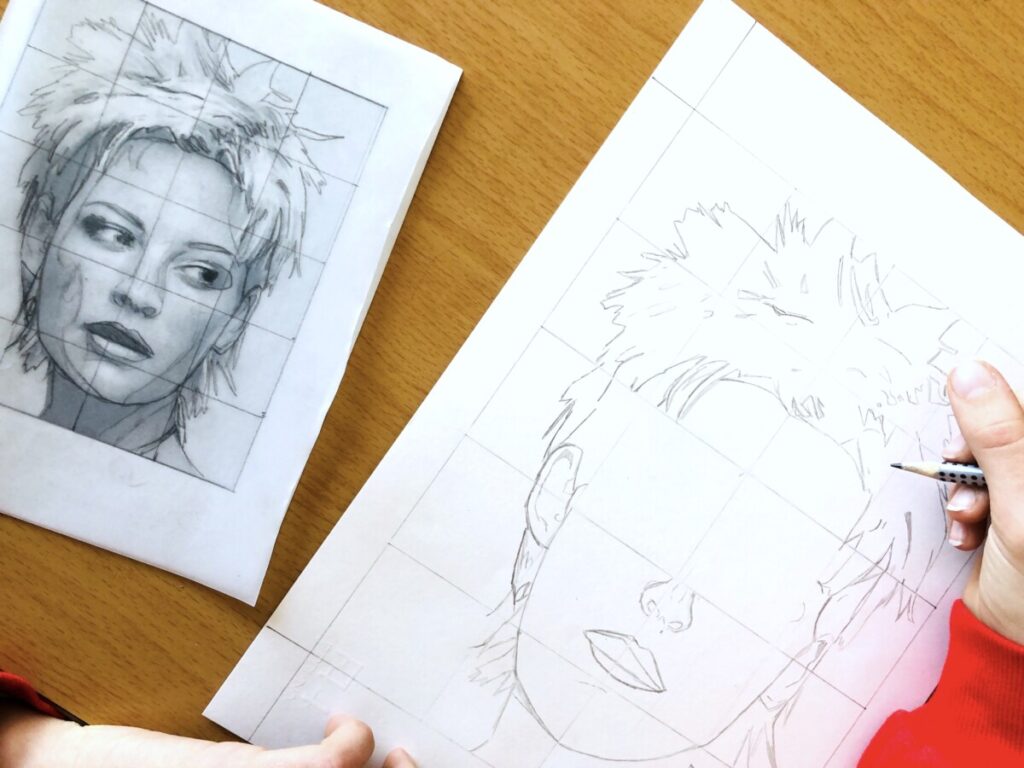
第三阶段:当整幅素描的「线条」已完整绘制于绘图纸上后,便可擦除网格辅助线,并依据照片临摹明暗调子(chiaroscuro)。此处亦有一项小诀窍:所用灰阶范围须极为宽广,须涵盖从浓重黑色到纯白之间所有可能的灰色层次。
我注意到,学生常对使用「黑色」怀有某种畏惧心理,仿佛稍一不慎便会毁掉整幅素描;然而恰恰是这些明暗过渡,才赋予素描以生机与立体感。此阶段同样只需忠实临摹照片中的明度(value)层次,力求最大限度还原所见之真实。最终成果令人十分满意!
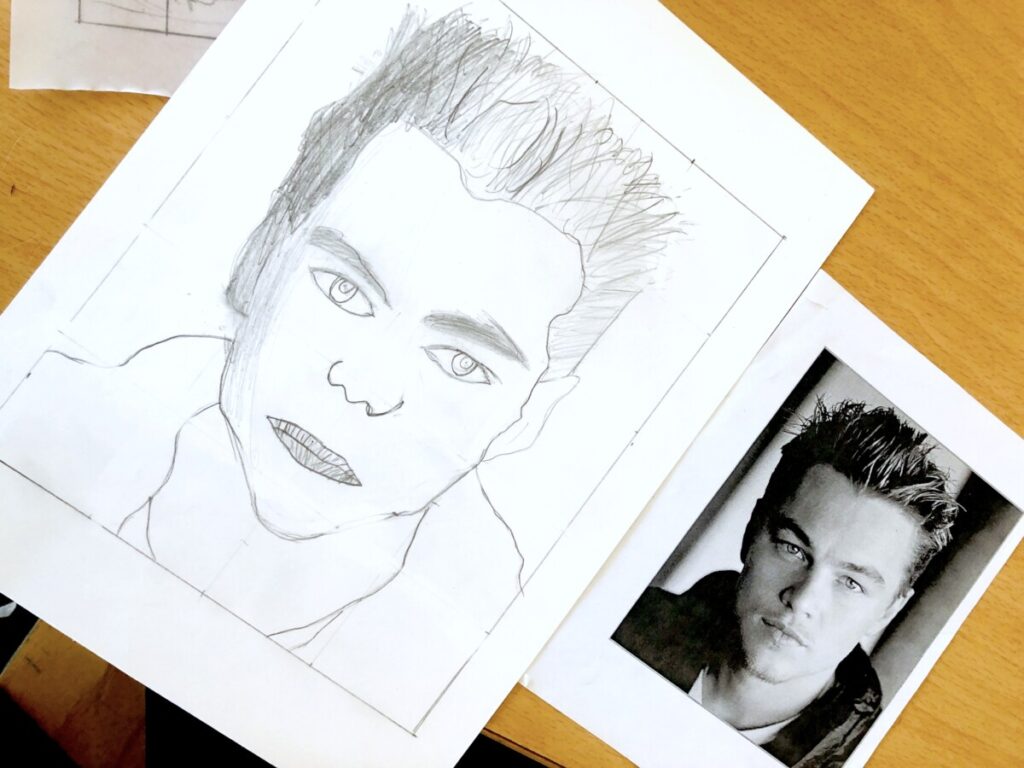
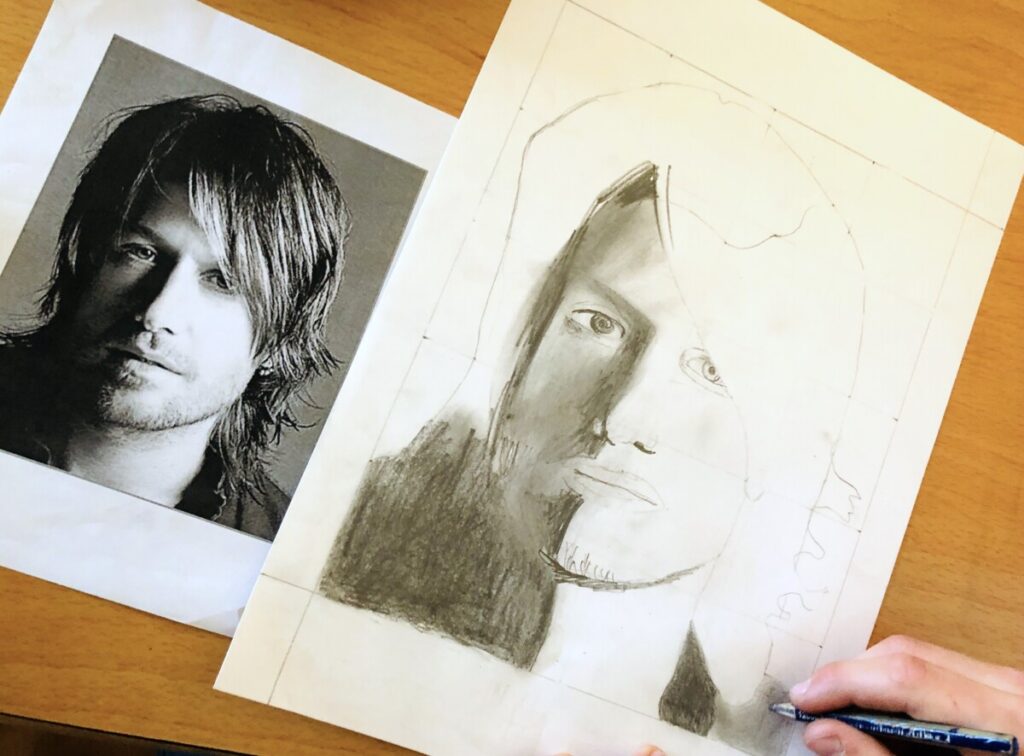
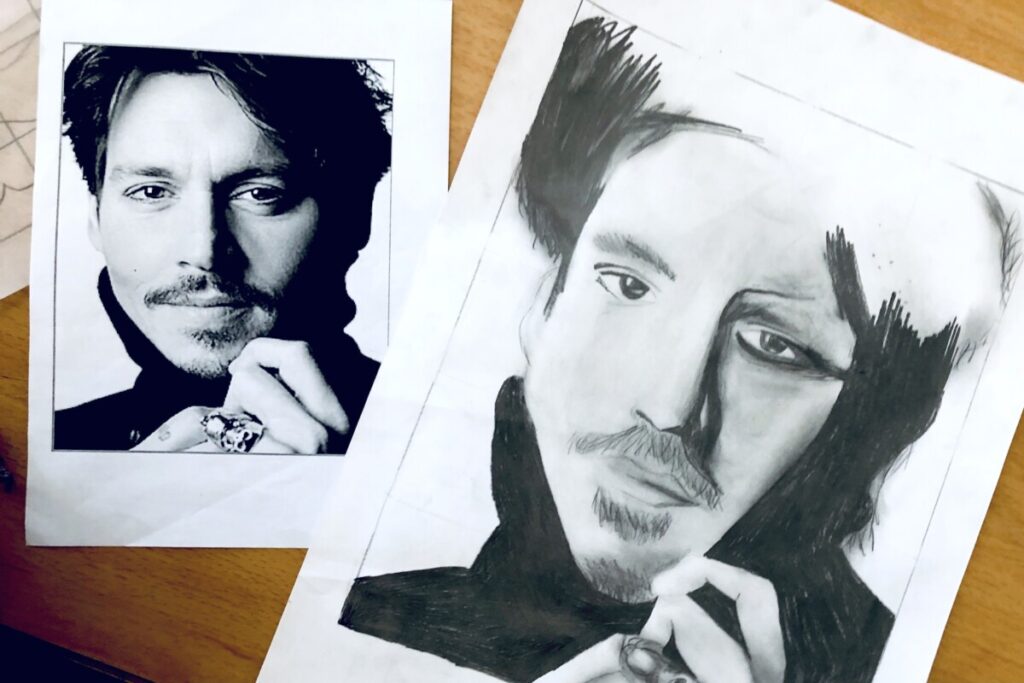
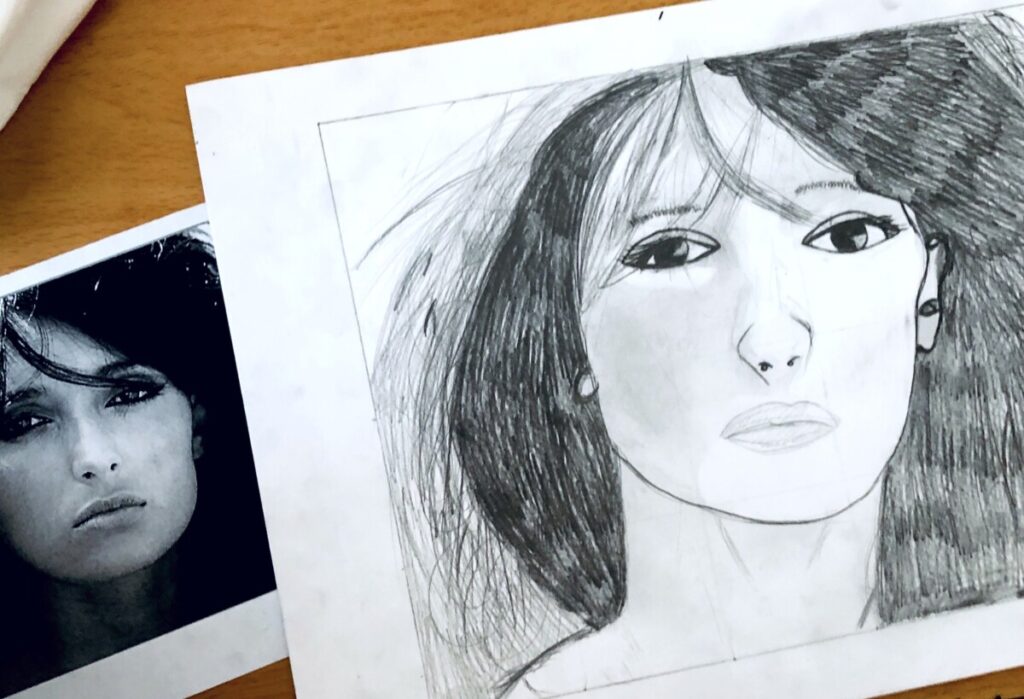
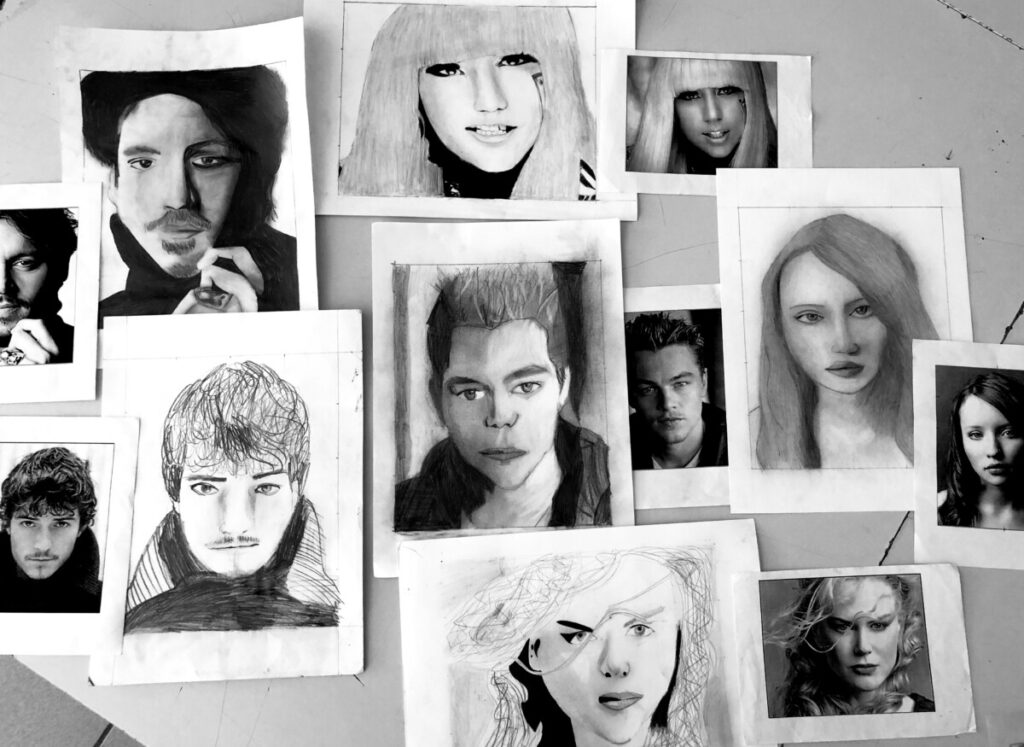
以下是完成的素描作品
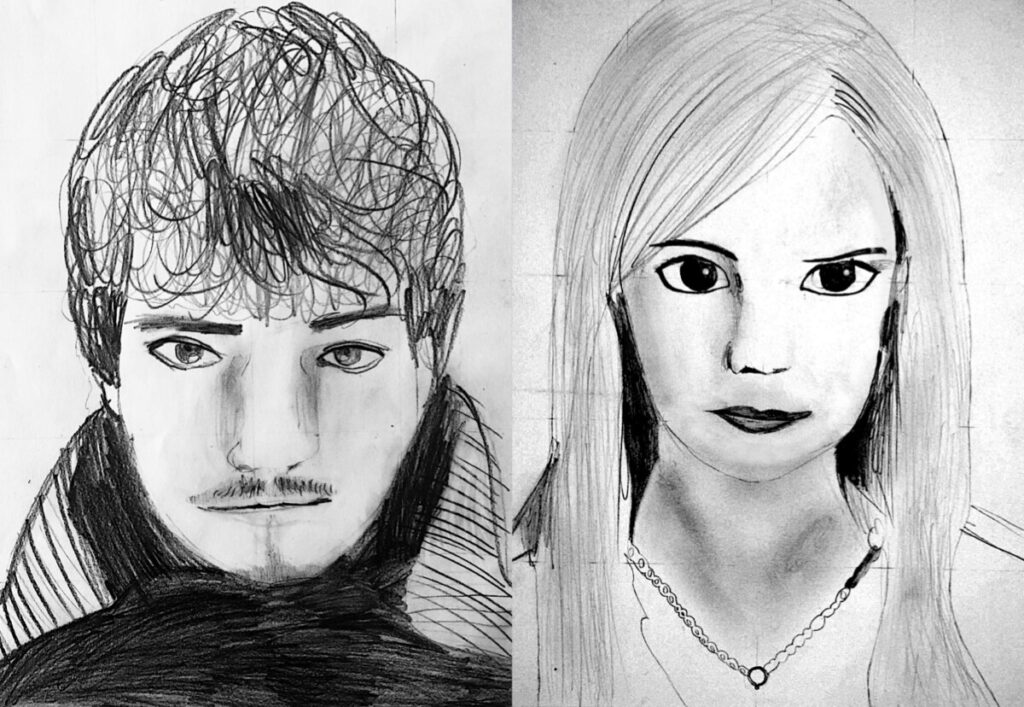
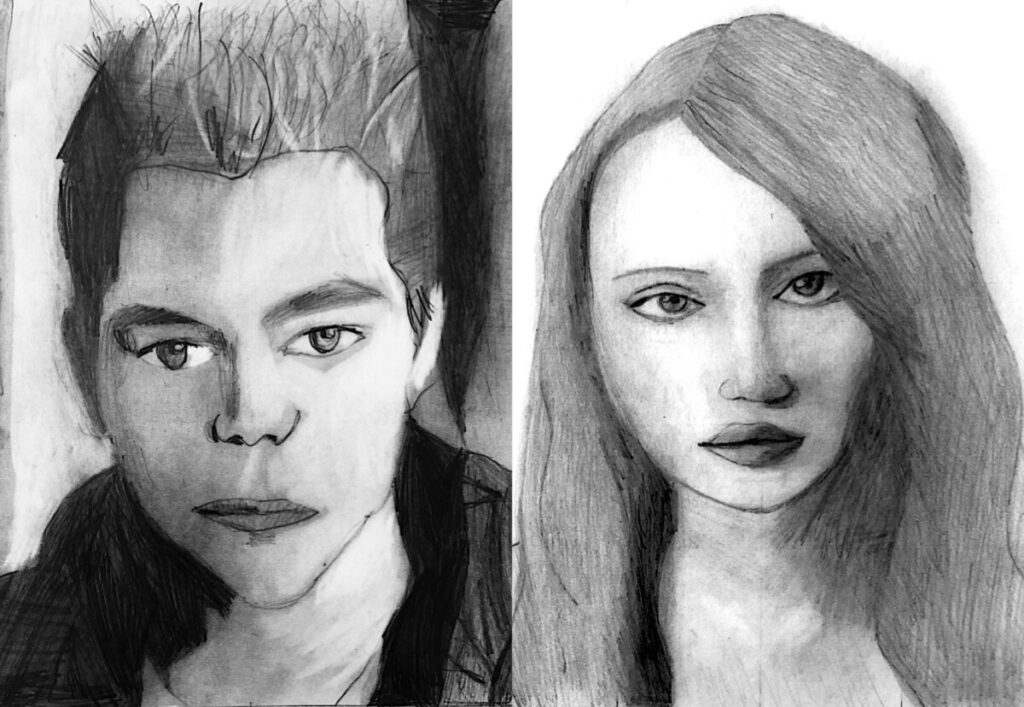
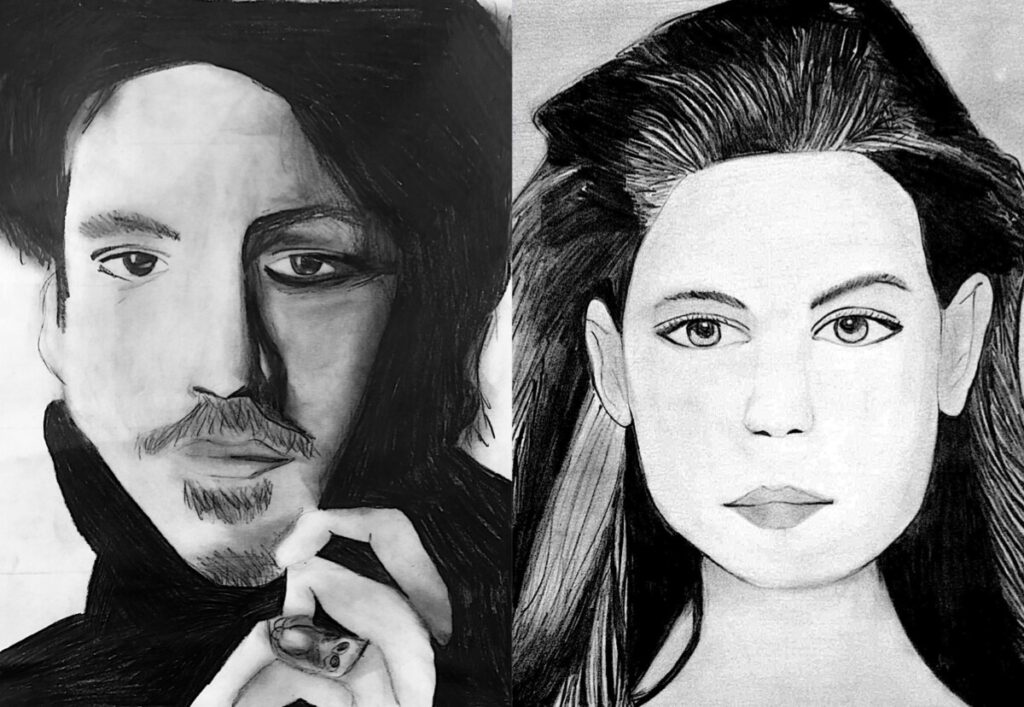
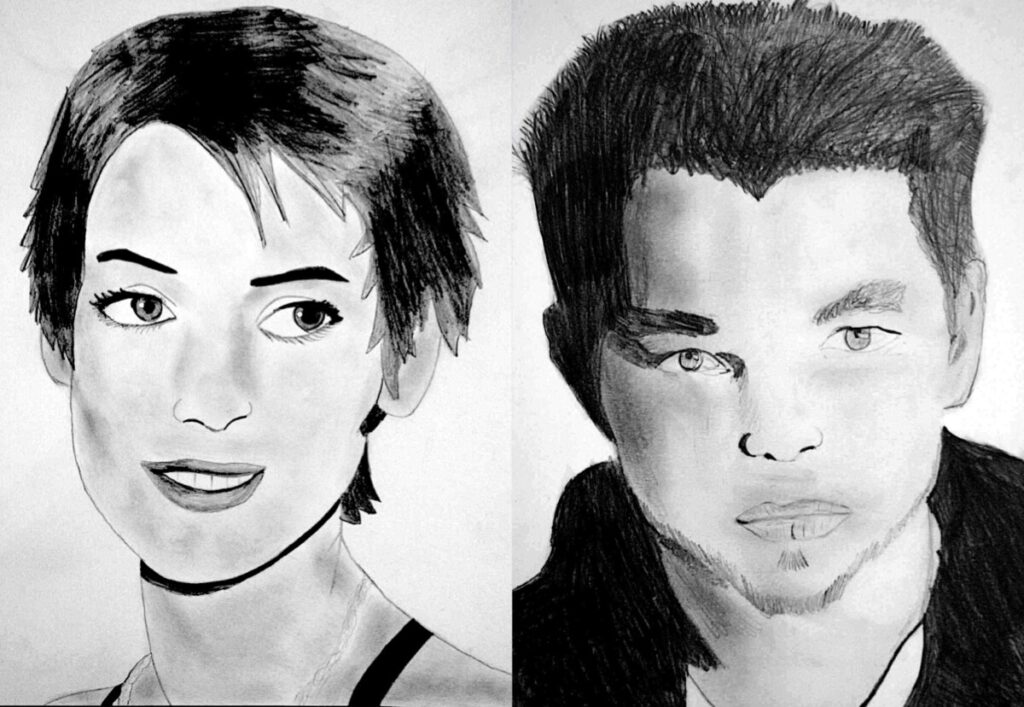
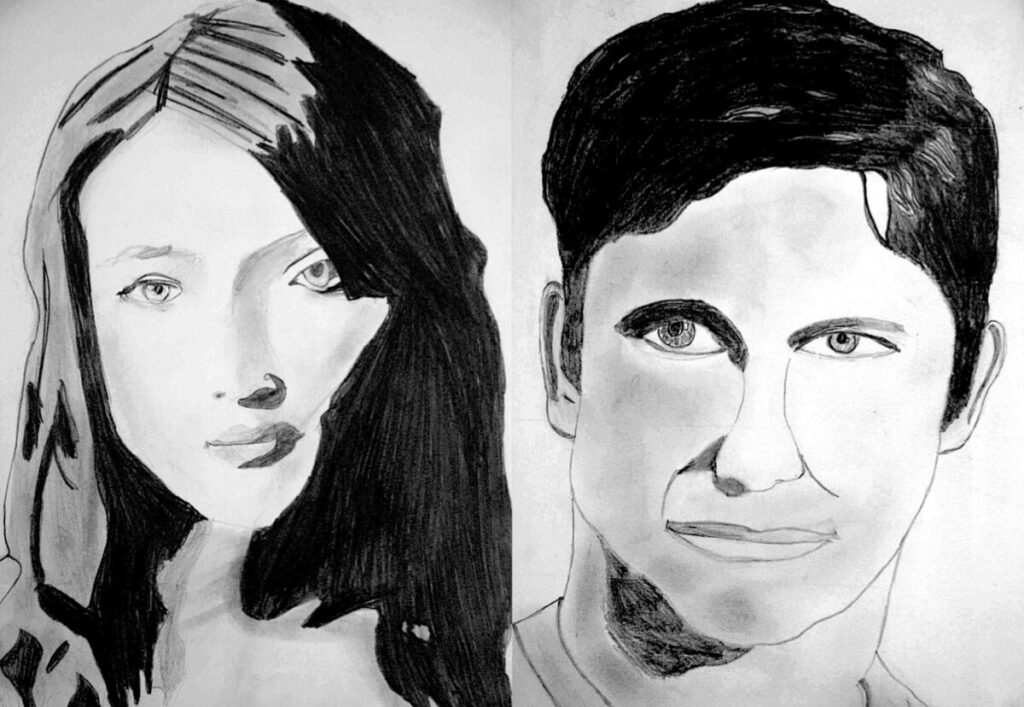
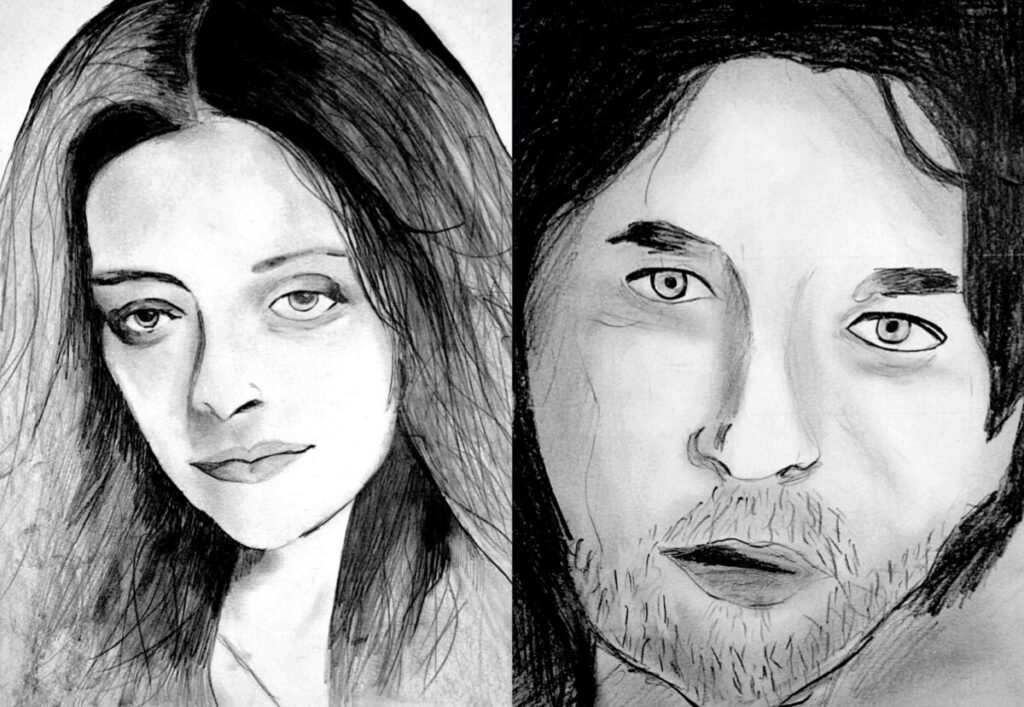
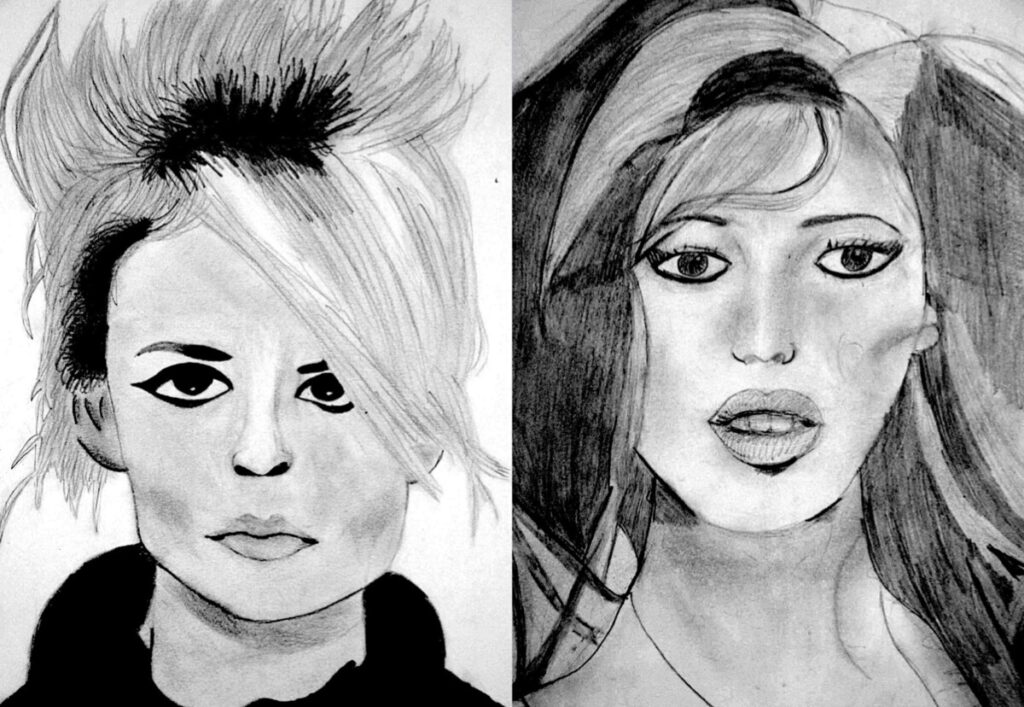
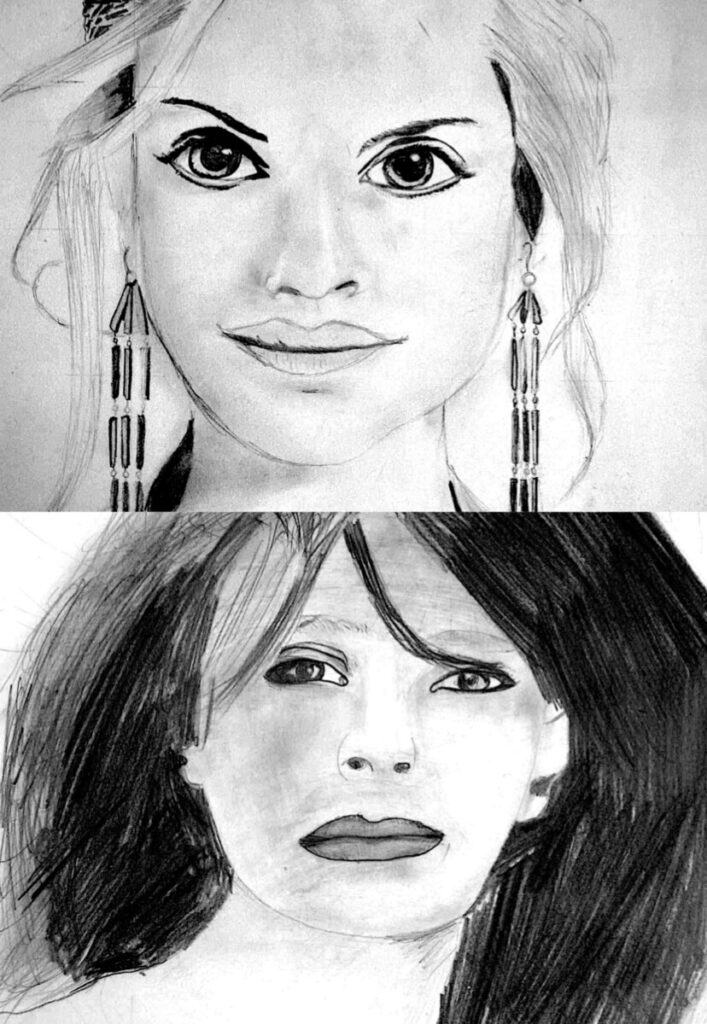
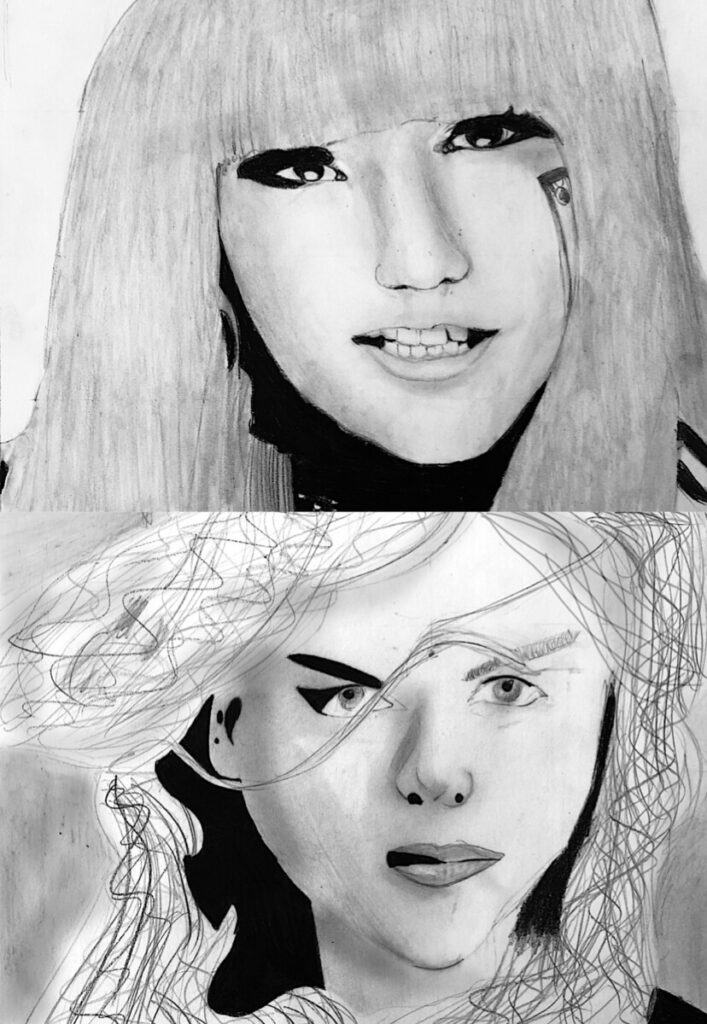
Copying a portrait using the Grid Method
We created these photographic portrait copies using the grid method and learned a fairly simple way to zoom and reproduce an image. The portrait is one of the most difficult things to copy but with this method, we have managed to achieve good results, because it is based on the careful observation of the LINES and on the copy of portions of the image, and not of the whole image.
To start we chose a small black and white photograph of a face (12x15cm). On tracing paper we traced the outline of the image and traced a GRID with 3x3cm squares. Then we drew on the tracing paper the MAIN LINES of the face with eyes, nose, mouth, eyebrows, then we drew the head, hair, and even the CONTOUR lines of the shadow.
It is important to remember that in this first phase of tracing, the image must be simplified and reduced in the MAIN LINES that compose it: there is no need to color shadows or chiaroscuro.
After that, we trace a rectangle of 20x25cm divided into 5x5cm squares on a drawing sheet. In this way, we have an enlarged scale grid where we can start copying our LINEAR DRAWING. The secret, in this second phase, is to copy the lines square by square, without worrying about the final image, but only caring about reproducing the lines present inside that specific square.
To help us in this phase, we cut out a sort of small “VIEWFINDER” from a white sheet, a 3×3 square frame. We place this viewfinder on each square of the smaller grid in order to ISOLATE the lines and shapes inside that square. In this way we can focus on the copy of the lines square by square, respecting the proportions of the original image.
In the third phase, when the whole drawing is drawn with LINES on the drawing sheet, we can erase the construction lines of the grid and copy the chiaroscuro from the photo. Here too there is a little secret: the grayscale we use must be very wide, and go from intense black to white, through all possible shades of gray.
I noticed that there is a certain fear of using BLACK as if to risk ruining our drawing, yet it is the chiaroscuro passages that will make our drawing alive and three-dimensional. Here too it is only a question of copying the shades from the photo, trying to be as faithful as possible to what we see. The results are very satisfying!
Ecco i disegni finiti


