用保温泡沫板制作仿石墙
原文链接:https://createartwithme.com/faux-stone-wall-insulation-foam/
日期: 2016-07-01
作者: 米歇尔·伊斯
分类: 美术课程、舞台设计
标签: 教堂舞台设计、仿石墙、用保温泡沫板制作仿石墙、仿石墙、高视觉冲击力、布景设计、舞台设计、墙面装饰、保温泡沫板、极限冒险(Xtreme Adventure)
如何用保温泡沫板制作仿石墙
今年夏天,我有幸为教会举办的夏令营“极限冒险(Xtreme Adventure)”打造舞台,这真是一次充满乐趣的创作体验!它就像“升级版的主日学暑期圣经班(VBS)”,专为4至6年级的孩子设计——超级有趣、能量爆棚!今年的主题是“怪物”,因此我与创意十足的好友卡莉携手合作,共同策划、设计并制作整个舞台。我们一致认为,要营造强烈的视觉冲击效果,就必须打造几面仿石墙!这个创意源自Halloween Forum(万圣节论坛)——他们曾用仿石墙搭建出一座令人惊叹的建筑。你可以在我的 Xtreme Adventure 舞台 Pinterest 页面 上看到相关图片。这是一项疯狂有趣的项目,连我家十几岁的孩子都超爱参与制作!
以下是我们的仿石墙制作方法(附关键小贴士):
所需材料:
- 3/4英寸厚、4英尺×8英尺的保温泡沫板(购自五金店)——务必选用较厚的3/4英寸规格,因为薄板在使用热风枪时更容易被烧穿!
- 热风枪(普通手工热风枪功率不足,需选用五金店出售的专业型号;不过我们仅用手工热风枪处理“填缝线”)
- 三种明度的颜料——深色、中性色与浅色(我们使用的是乳胶墙面漆——实际上还淘到了半价的“瑕疵漆”!)用量视所制板材数量而定。
- 滚筒刷与廉价鬃毛刷(用于涂刷颜料)
制作步骤:**请务必先练习!!
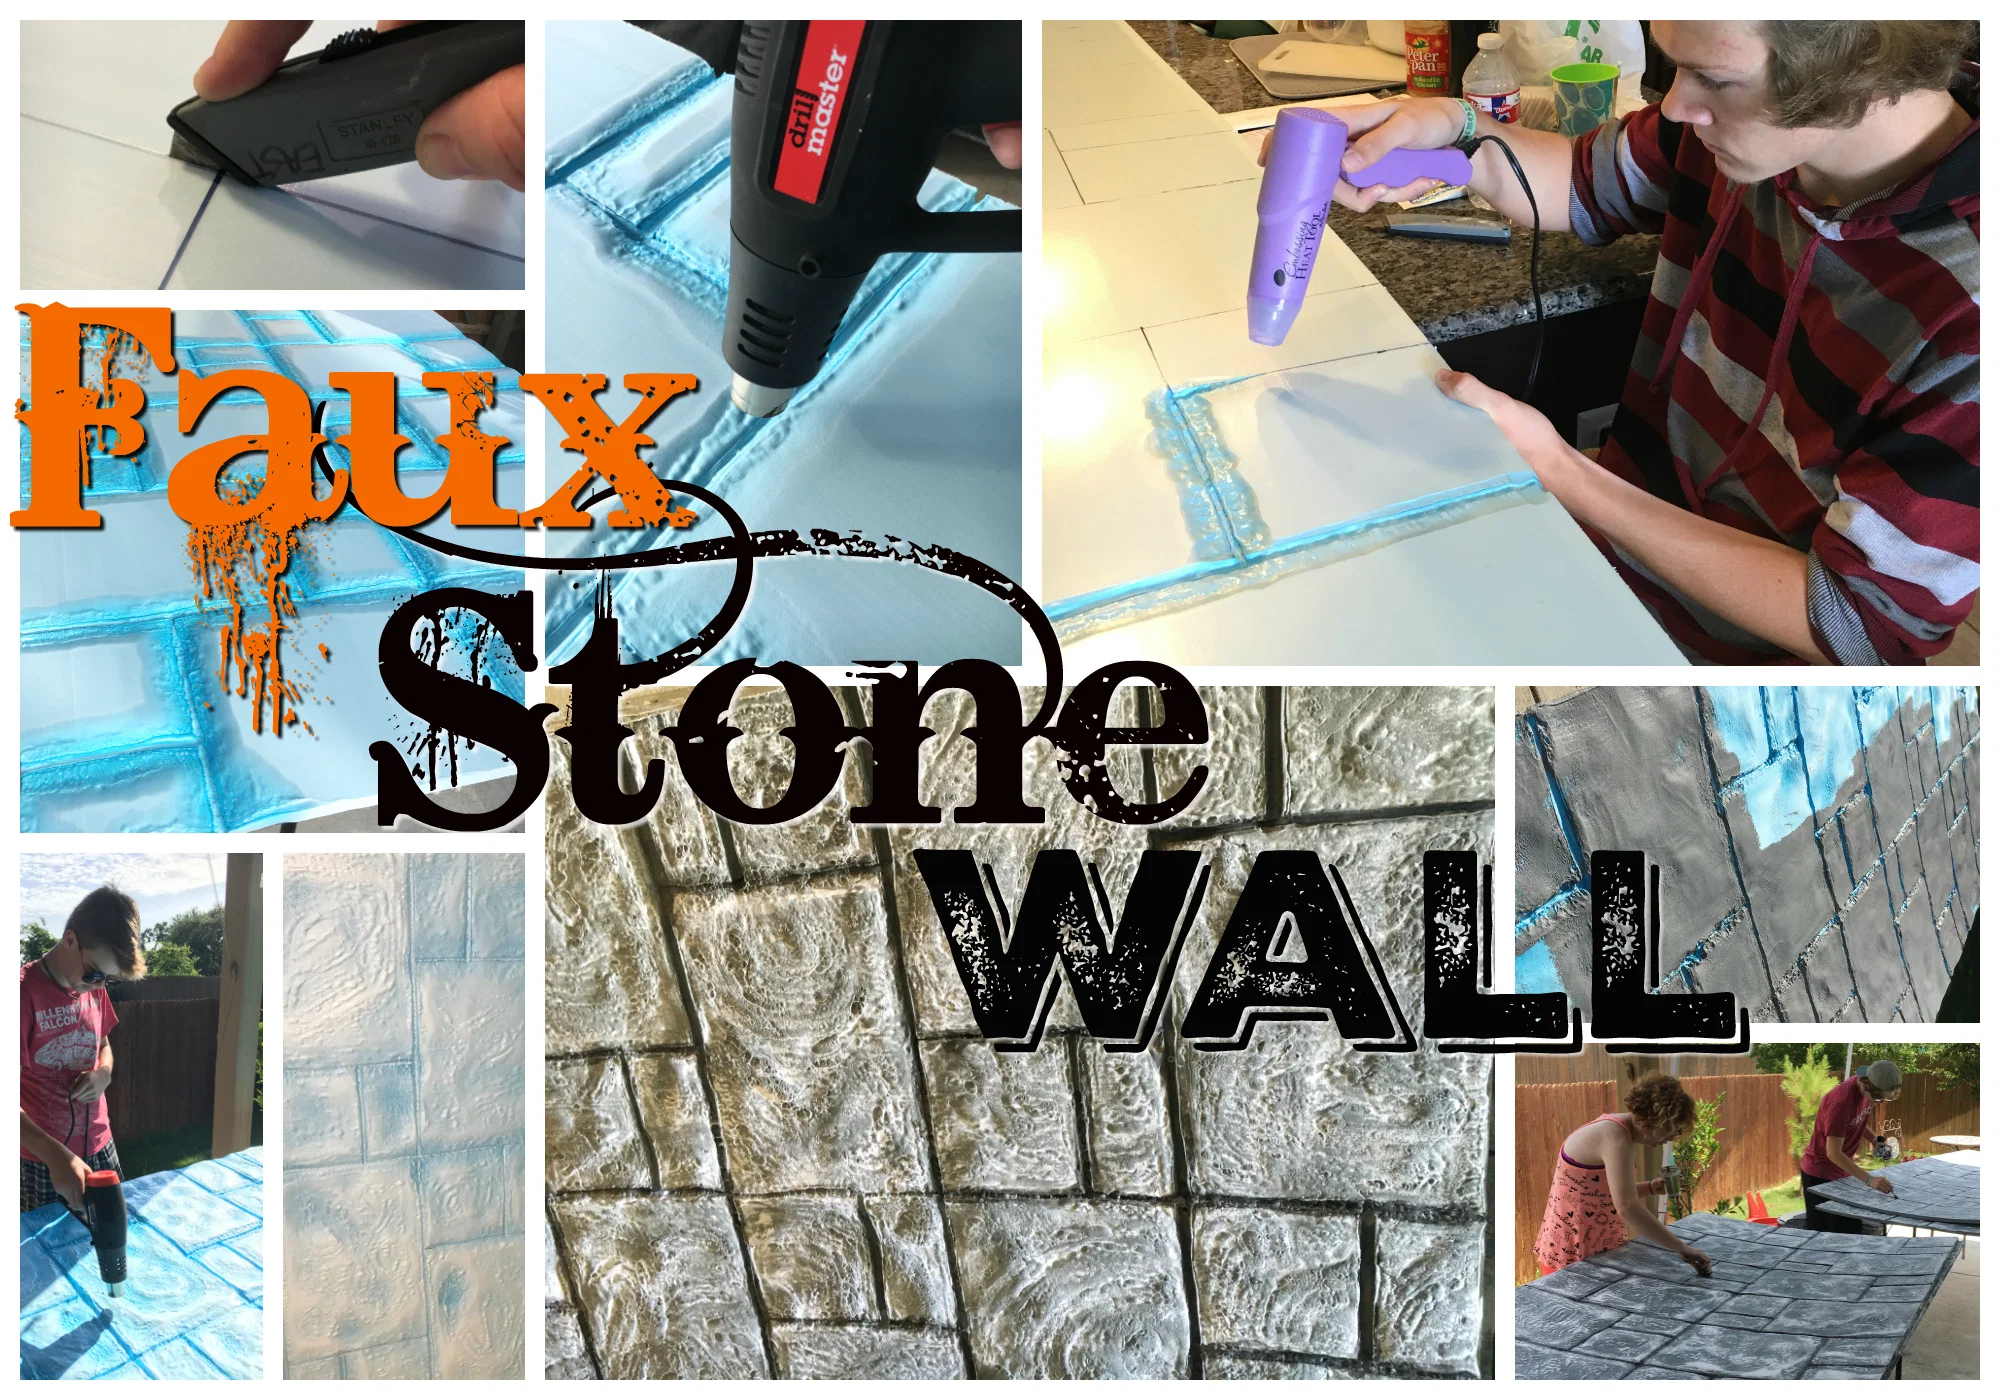
- 先撕掉泡沫板表面的塑料覆膜(此举将为你节省大量时间与烦恼!)。** 我们发现,若保留覆膜再进行热风处理,纹理效果反而更酷,但之后极难撕除覆膜。信我吧——开工前就撕掉背膜,绝对值得!
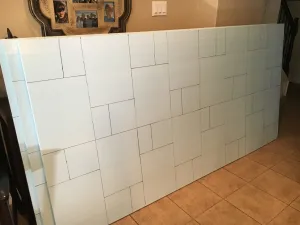
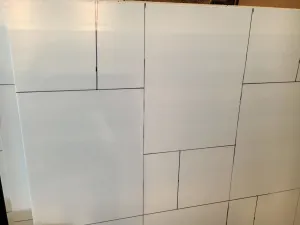
- 用记号笔勾勒出填缝线。线条可精细严谨,也可随性自由。
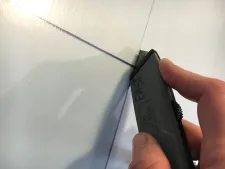
- 用美工刀或实用刀沿填缝线“刻划”约一半板厚的凹槽。
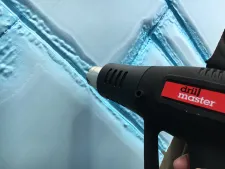
- 使用热风枪“撑开”填缝线。加热程度以形成缝隙为准。我们发现,若在加热同时稍许拉开刻划线,热风便能更快、更深入地渗入凹槽。
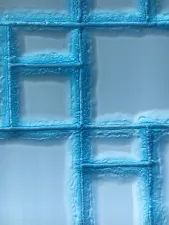
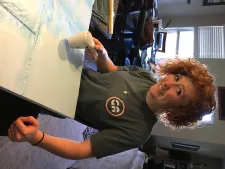
- 通过调节热风枪与板面的距离,制造不同肌理效果。我们采用的方法是:先整体吹出一层基础肌理,待其冷却后,再对局部区域近距离快速加热,从而获得更自然丰富的质感。如图中我女儿所做,手工热风枪则适合制作柔和肌理。
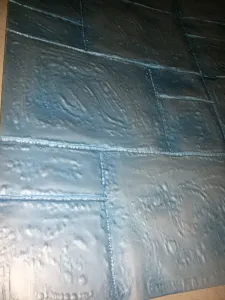
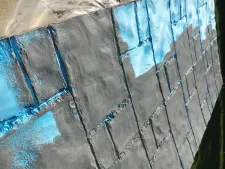
- 待全部肌理完成,先用最深色颜料通体涂刷整块泡沫板,确保所有凹槽均被覆盖!
- 再用中性色颜料轻涂第二层——可用小号泡沫滚筒轻滚,效果极佳。
- 最后一层使用最浅色颜料(我们选了白色),以干刷法点染“高光”——仅提亮泡沫表面最高处的凸脊。
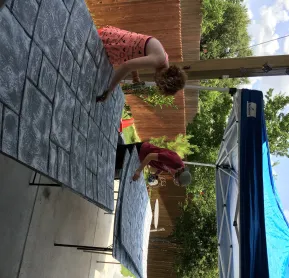
- 为防止泡沫受热变形,我们在板背加装了1英寸×2英寸×8英尺的木条,并用1英寸长螺丝将其固定。
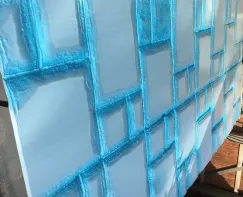
这是未开启特效灯光的完工舞台(墙间立柱可发出不同色彩的光)。
这是开启部分特效灯光后的舞台效果(实际灯光效果更丰富):
若您引用本文任何内容(文字、图表或照片),请务必注明原始出处并链接回我的博客“Create Art with ME”。
Make a Faux Stone Wall Out of Insulation Foam
Original: https://createartwithme.com/faux-stone-wall-insulation-foam/
Date: 2016-07-01
Author: Michelle East
Categories: Art Lessons, Stage Design
Tags: church stage design, Faux Stone Wall, Faux Stone Wall Out of Insulation Foam, faux stone walls, high visual impact, set design, stage design, Wall decor, Wall Insulation Foam, Xtreme Adventure
How to Make a Faux Stone Wall Out of Insulation Foam
This summer I’ve had the FUN adventure of creating the stage for a camp our church does called Xtreme Adventure. Its like VBS on steroids and is for 4-6th grade children-SUPER fun & VERY high energy! This year’s theme was “Monsters” and so I teamed up with my good friend Carrie (who is SO creative!) to plan, design & create the stage. One thing we knew we wanted to make that would have high visual impact was faux stone walls! We found this idea at the Halloween Forum-these guys mad an amazing building out of the faux stone walls. You can see this on my Xtreme Adventure Stage Pinterest page. This was a crazy fun project & my teenage kids LOVED helping make this with us!
Here is how we did our Faux Stone Walls (with some important tips along the way):
Supplies:
- 3/4″ 4’x8′ Insulation Foam Sheets (from hardware store)-make sure to get the thicker 3/4″ because its less likely to burn a hole through when applying the heat gun!
- Heat Gun (a craft heat gun is not strong enough, you need one from a hardware store-although I did use one for the “grout lines”)
- 3 Values of Paint-Dark, Medium & Light (we used latex wall paint-actually found “OOPS” paint for half the cost!). Quantity depends on how many sheets you are creating.
- Rollers & cheap bristle brushes to apply the paint
Instructions: **PRACTICE FIRST!!
- Remove the plastic coating from the sheets (this will save you much time & headache later!). ** We found that leaving the plastic coating ON made a cooler looking texture, but it was VERY difficult to remove the coating after applying the heat gun. BELIEVE ME-its worth it to take off the backing BEFORE you start the project!
- Draw out your grout lines with a Sharpie. You can be as precise or loose as you want the lines to be.
- “Score” Grout lines with an exacto or utility knife about 1/2 way through the board.
- Use a heat gun to “open up” the grout lines. Apply just enough heat that a gap forms. We found if you slightly pull the score lines apart, the heat got into the groves better & faster
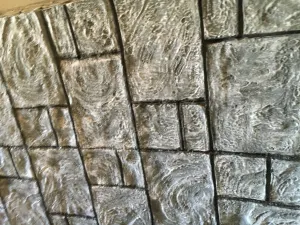
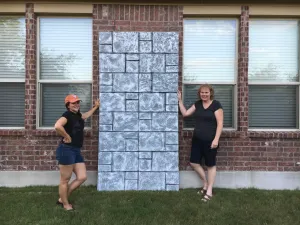
- Use the heat gun in varying heights from the surface to create the texture. We found that applying 1 round of texture, let cool & then briefly applying close heat in a few areas gave a nice texture. You can use a craft heat gun for softer textures (as seen by the picture with my daughter).
- Once all the texture is created begin by painting the darkest value of paint all over the foam-making sure to get in ALL the grooves!
- Paint the medium layer by LIGHTLY rolling or brushing on top. We used a small foam roller & that worked really well.
- The final layer of paint is the lightest (we used white). We dry brushed on “highlights”-just accenting the highest ridges on the foam.
- To stabilize the foam (the foam will warp with the heat), we added 1″x2″x8′ boards that we screwed into the back using 1″ screws.
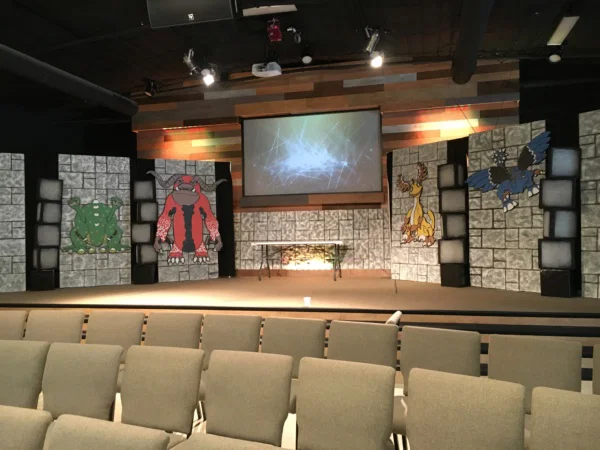
Here’s the finished stage with out the fancy lighting (the columns in between the walls light up in different colors).
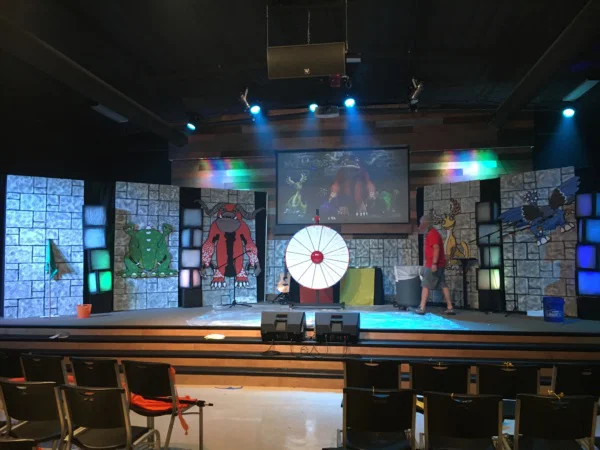
Here is the stage with a little bit of special lighting (there was more):
If you choose to use ANY of this post (written, graphic or photo), please link back to my blog Create Art with ME.


