五年级彩色自画像
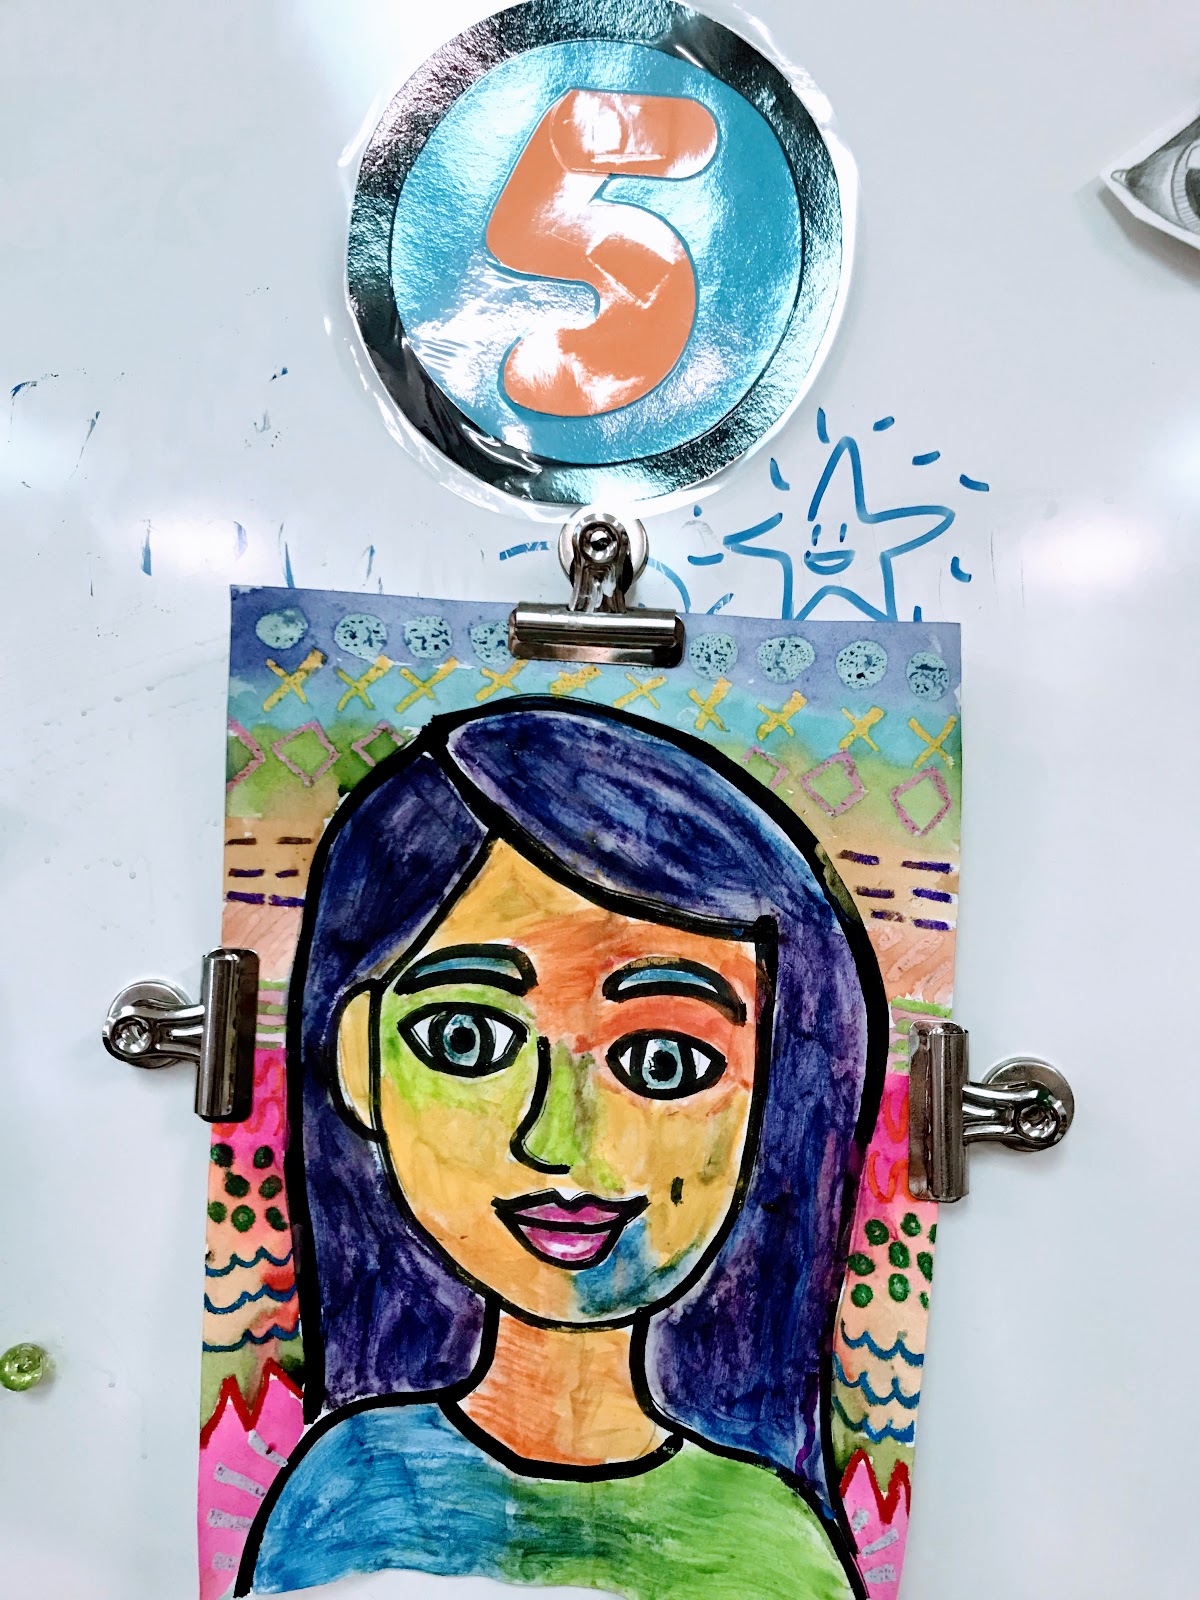
上周,我又一次受到杰出美术教师卡西·史蒂芬斯(Cassie Stephens)的启发!她所教的四年级学生正在创作野兽派风格的自画像,我觉得我们五年级学生也完全能胜任!点击此处查看她关于该主题的原始博文:美术教室:四年级野兽派
以下是我们的制作步骤。
材料:
萨金特粉笔(Sargent chalk)
斯塔弗洛液体淀粉(Sta-Flo liquid starch)
克雷奥拉油画棒(Crayola Oil pastels)
萨克斯液态水彩(Sax liquid watercolors)
第一天:向学生展示一些适合儿童欣赏的野兽派艺术作品范例。
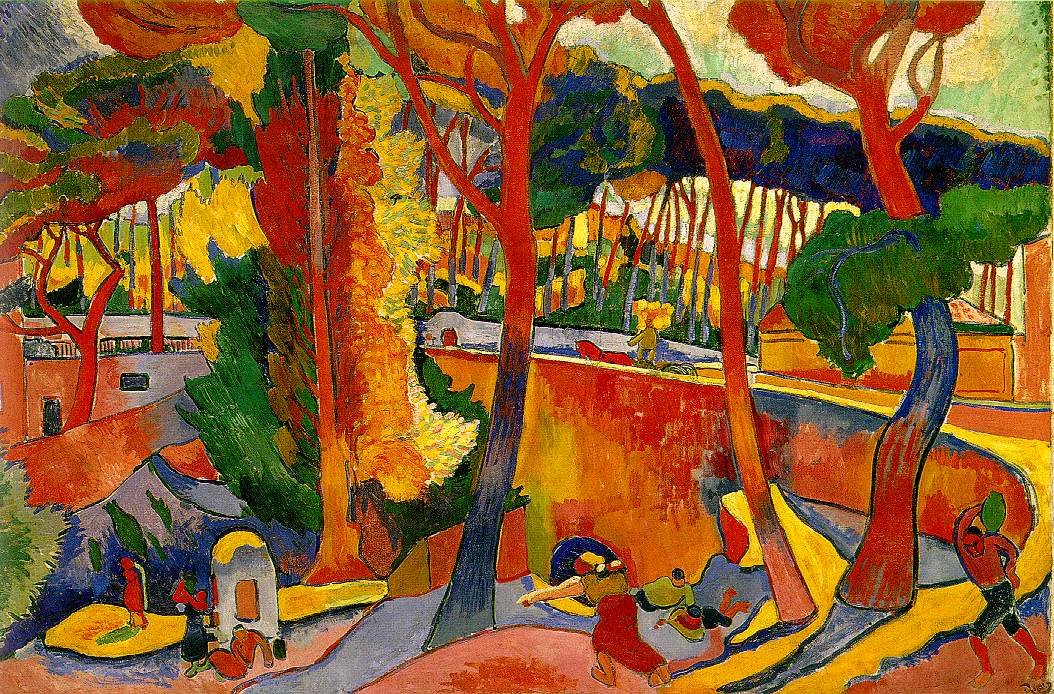
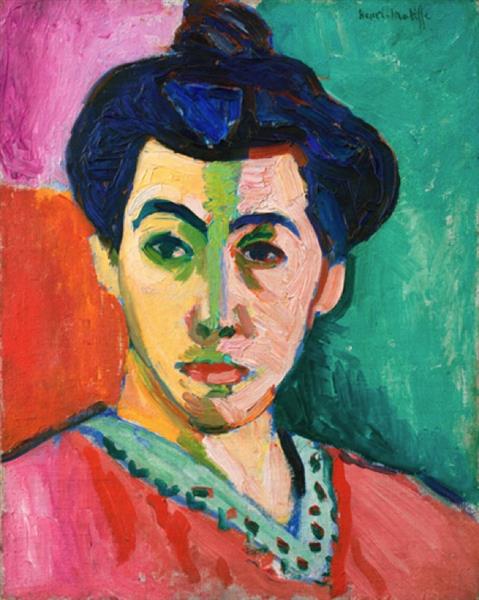
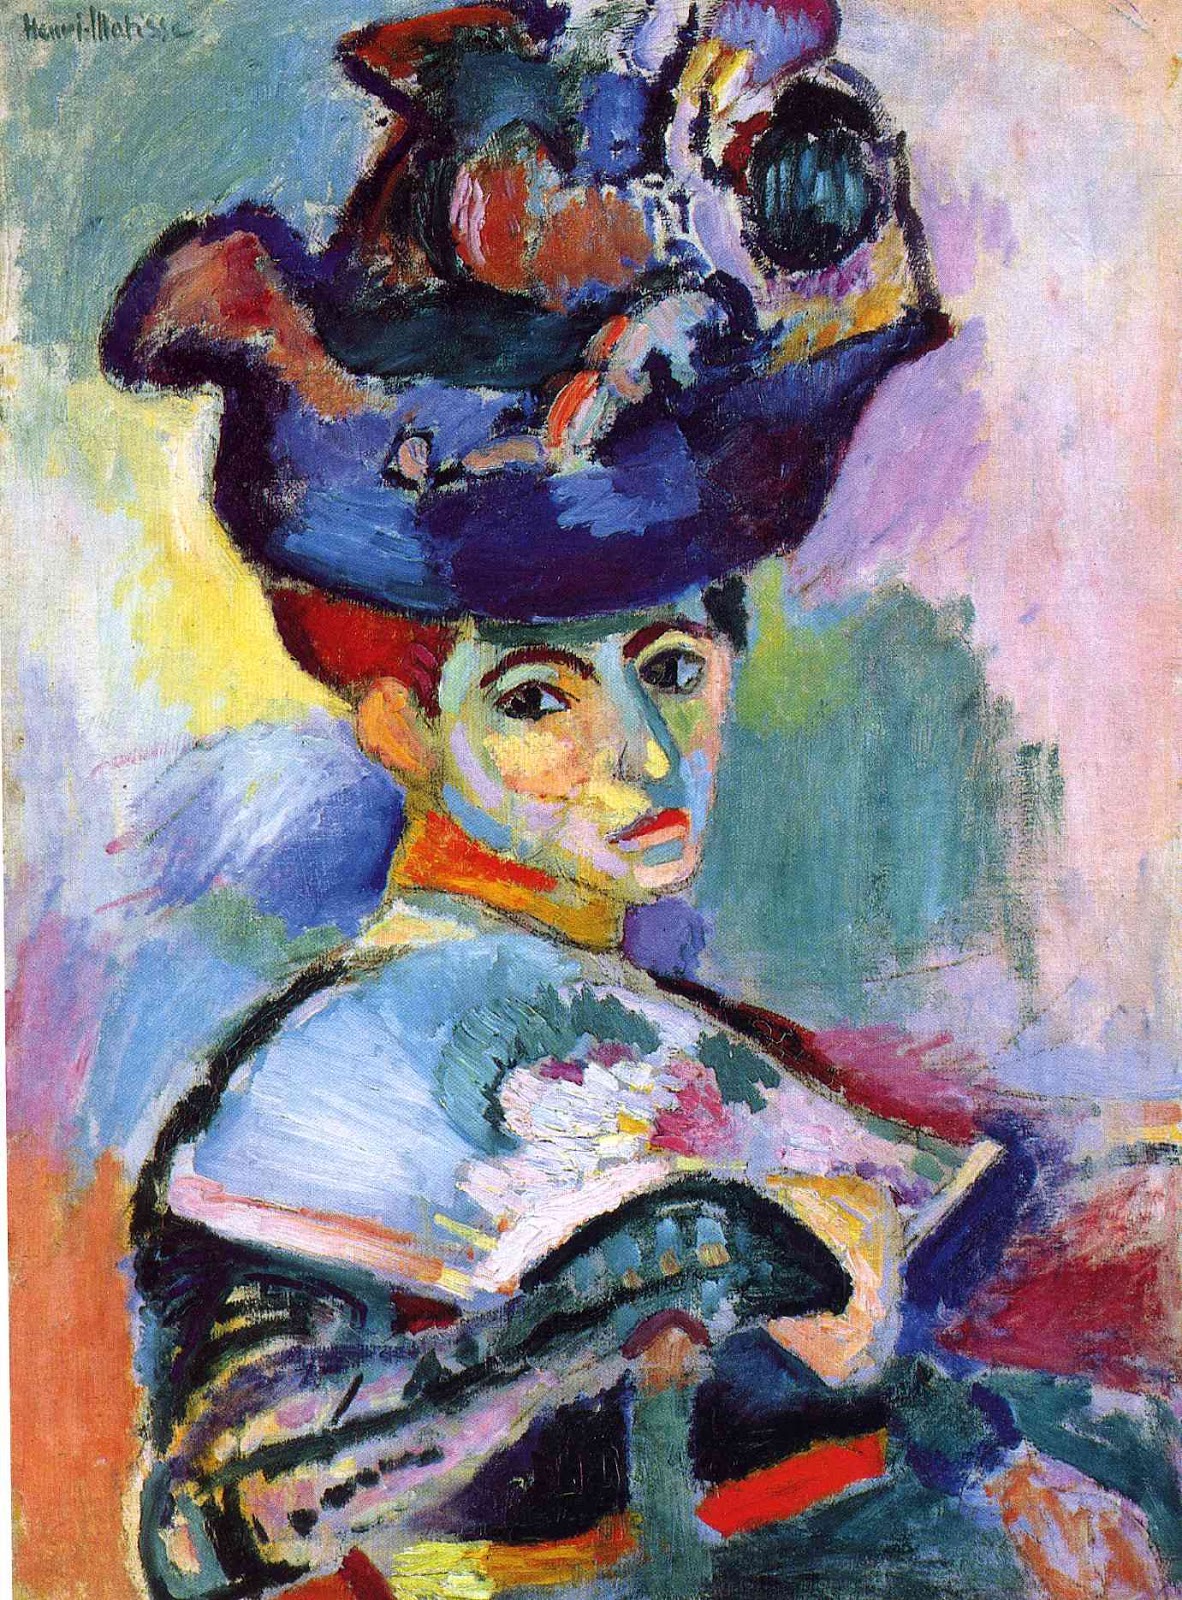
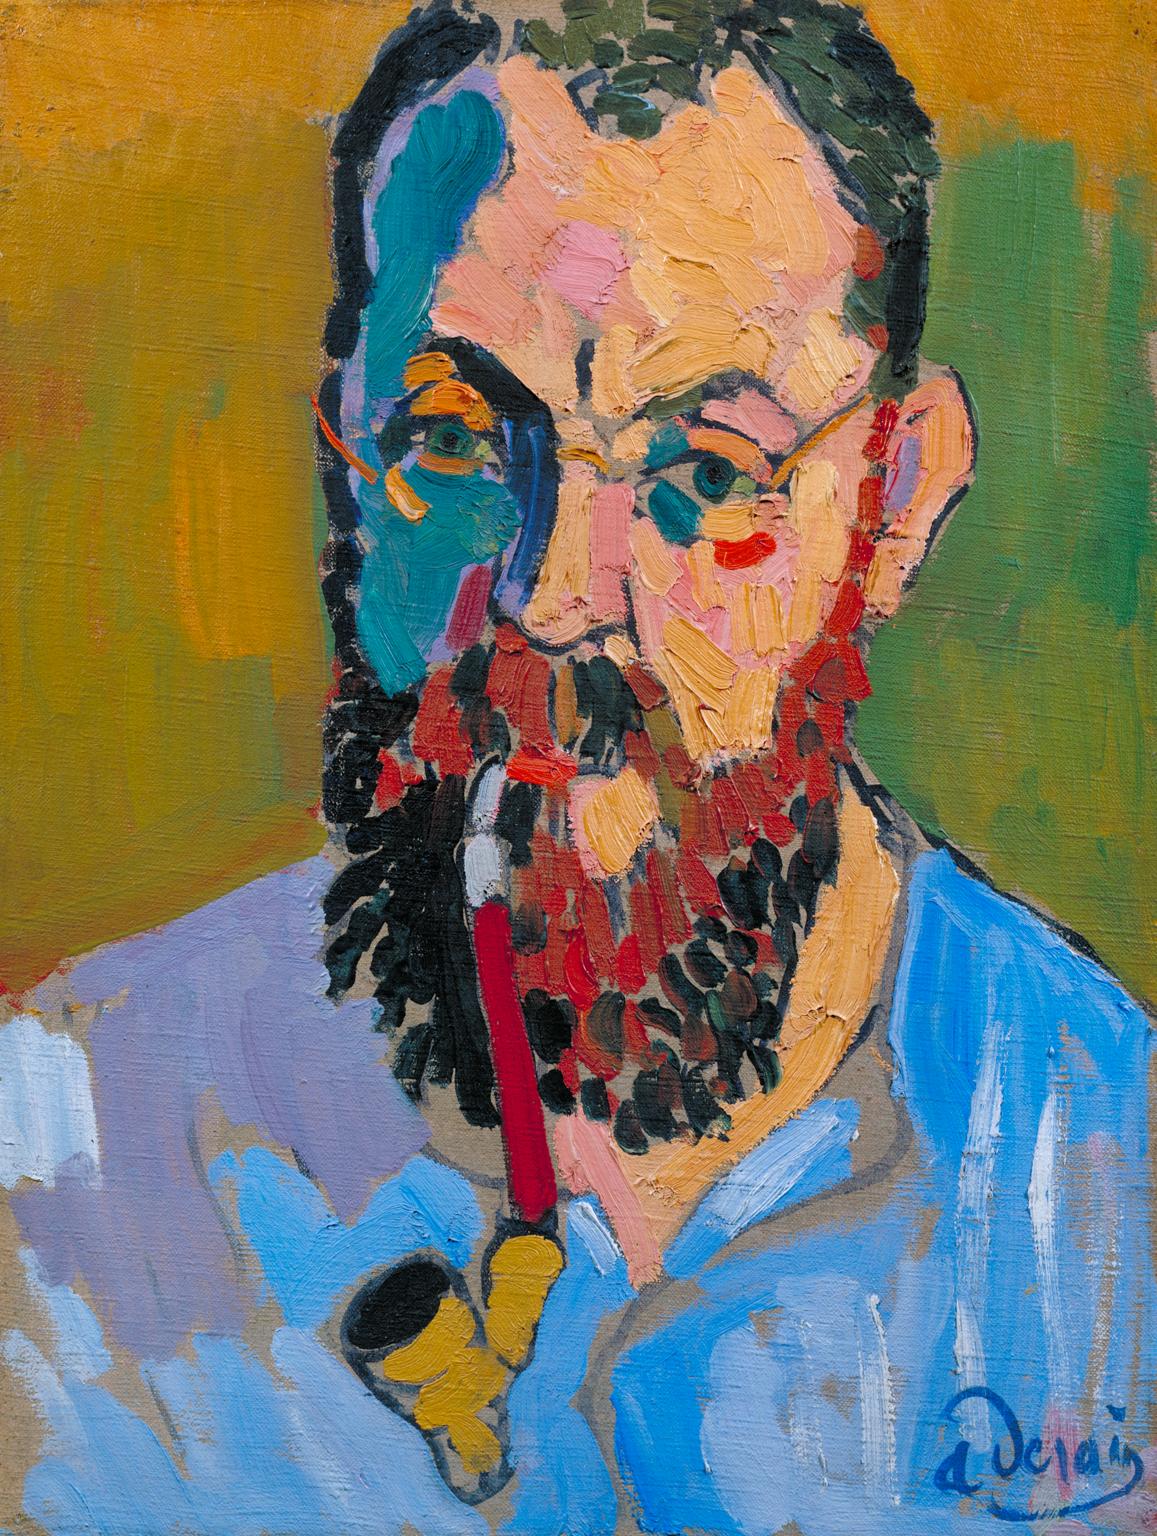
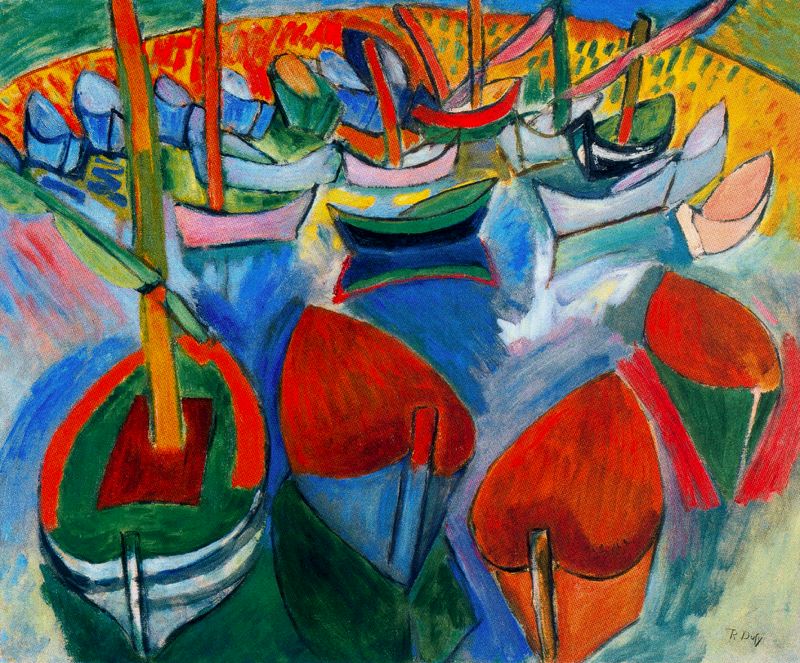
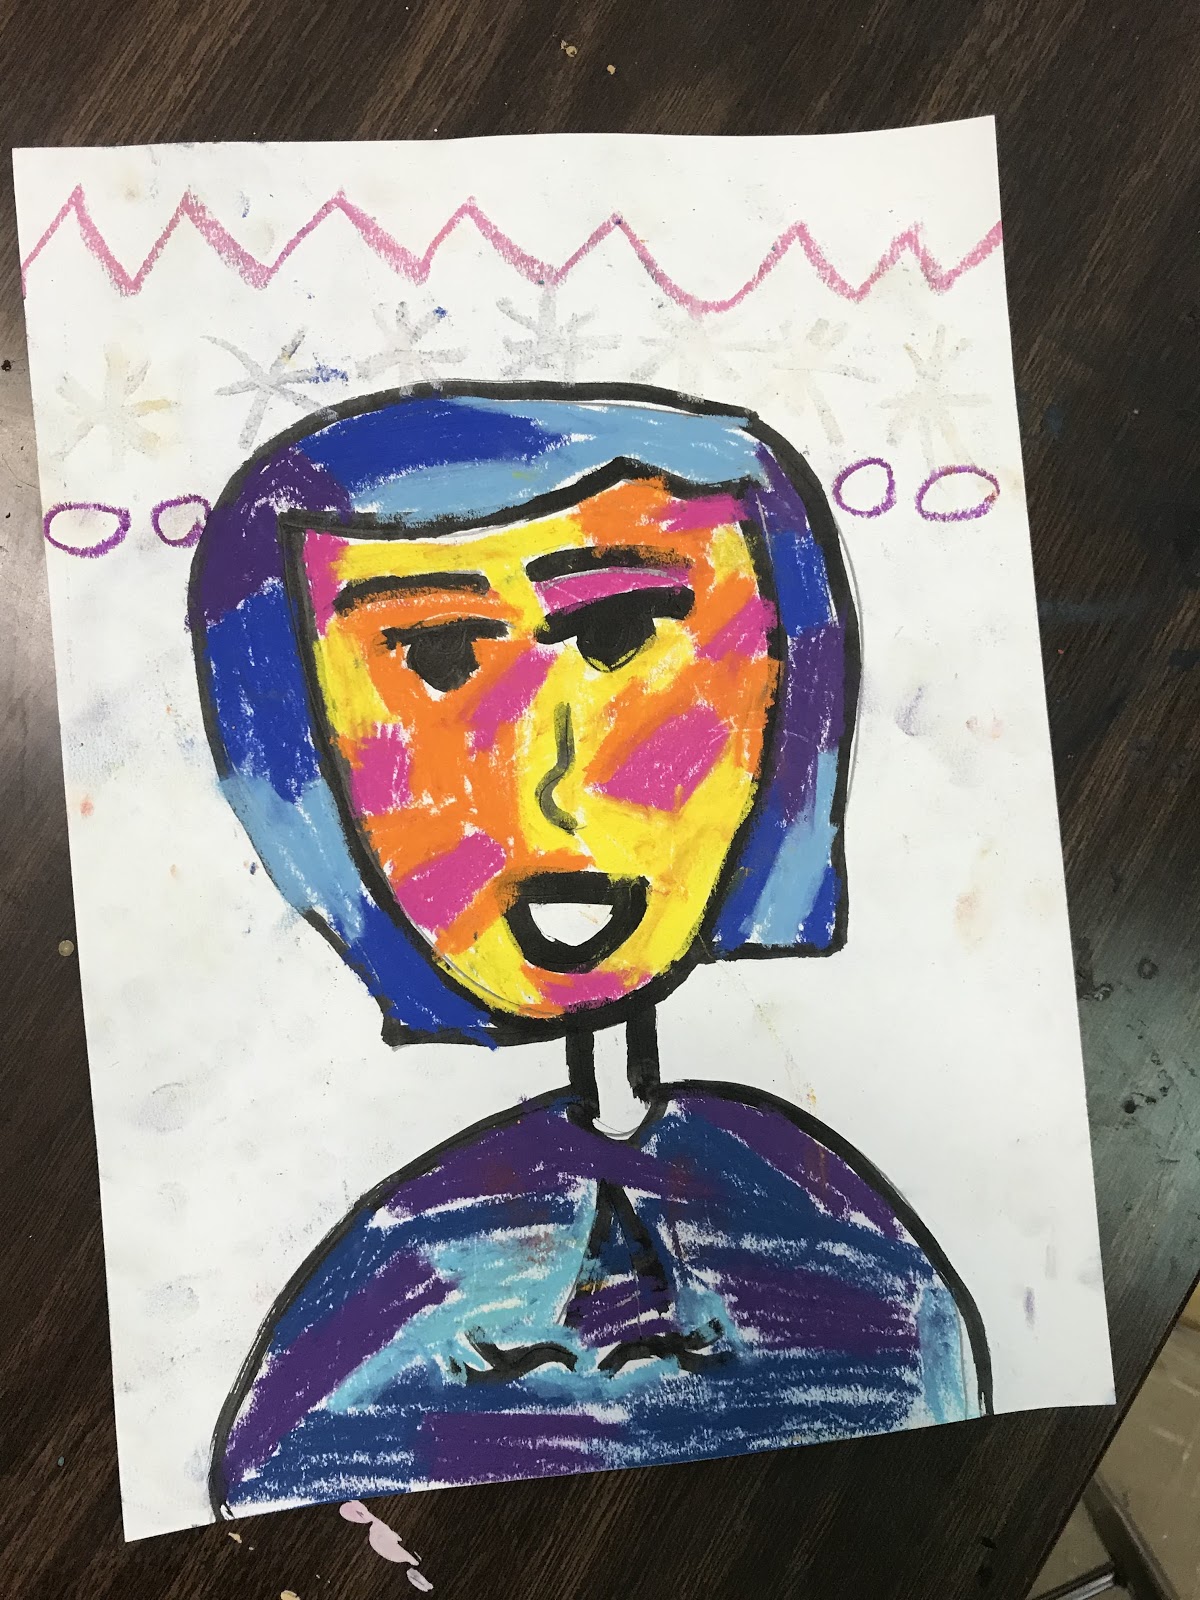
接着,我示范如何绘制一幅简易肖像:用“U”形勾勒头部轮廓,画出简洁的面部,再勾出简单的发型(这对学生来说最难),然后画出颈部与肩部。
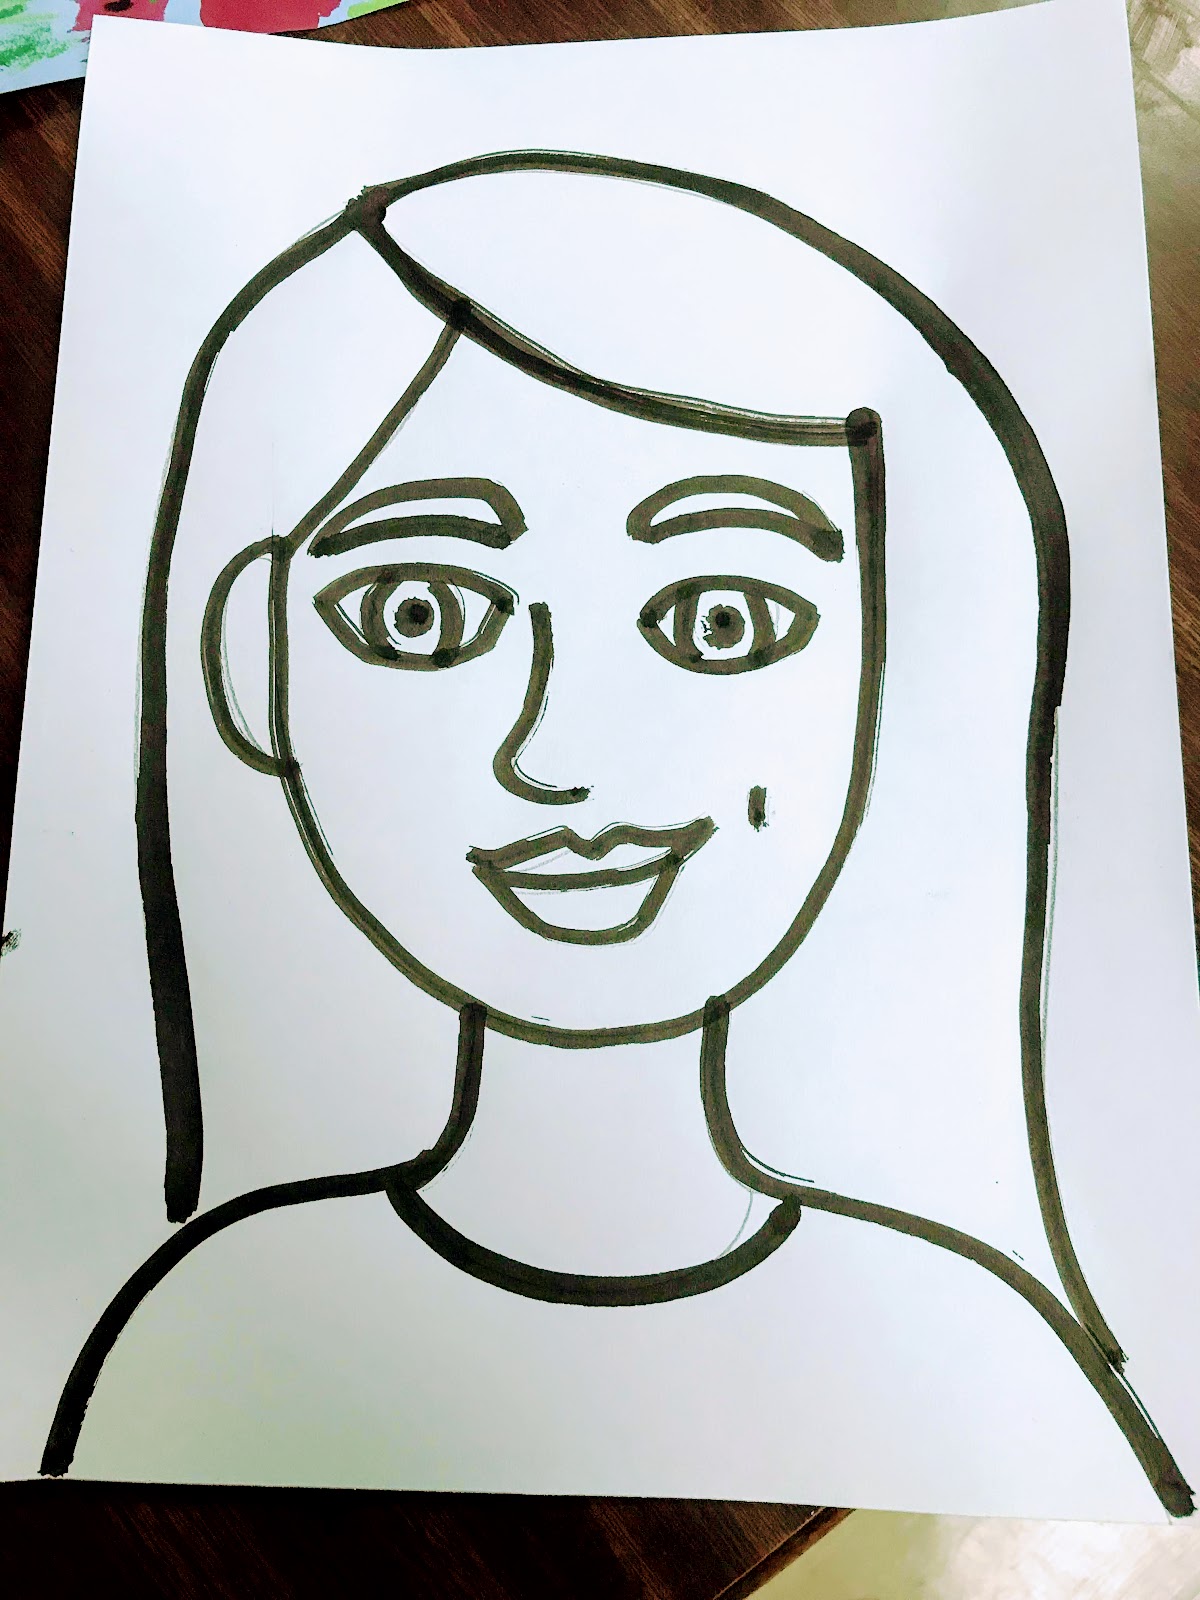
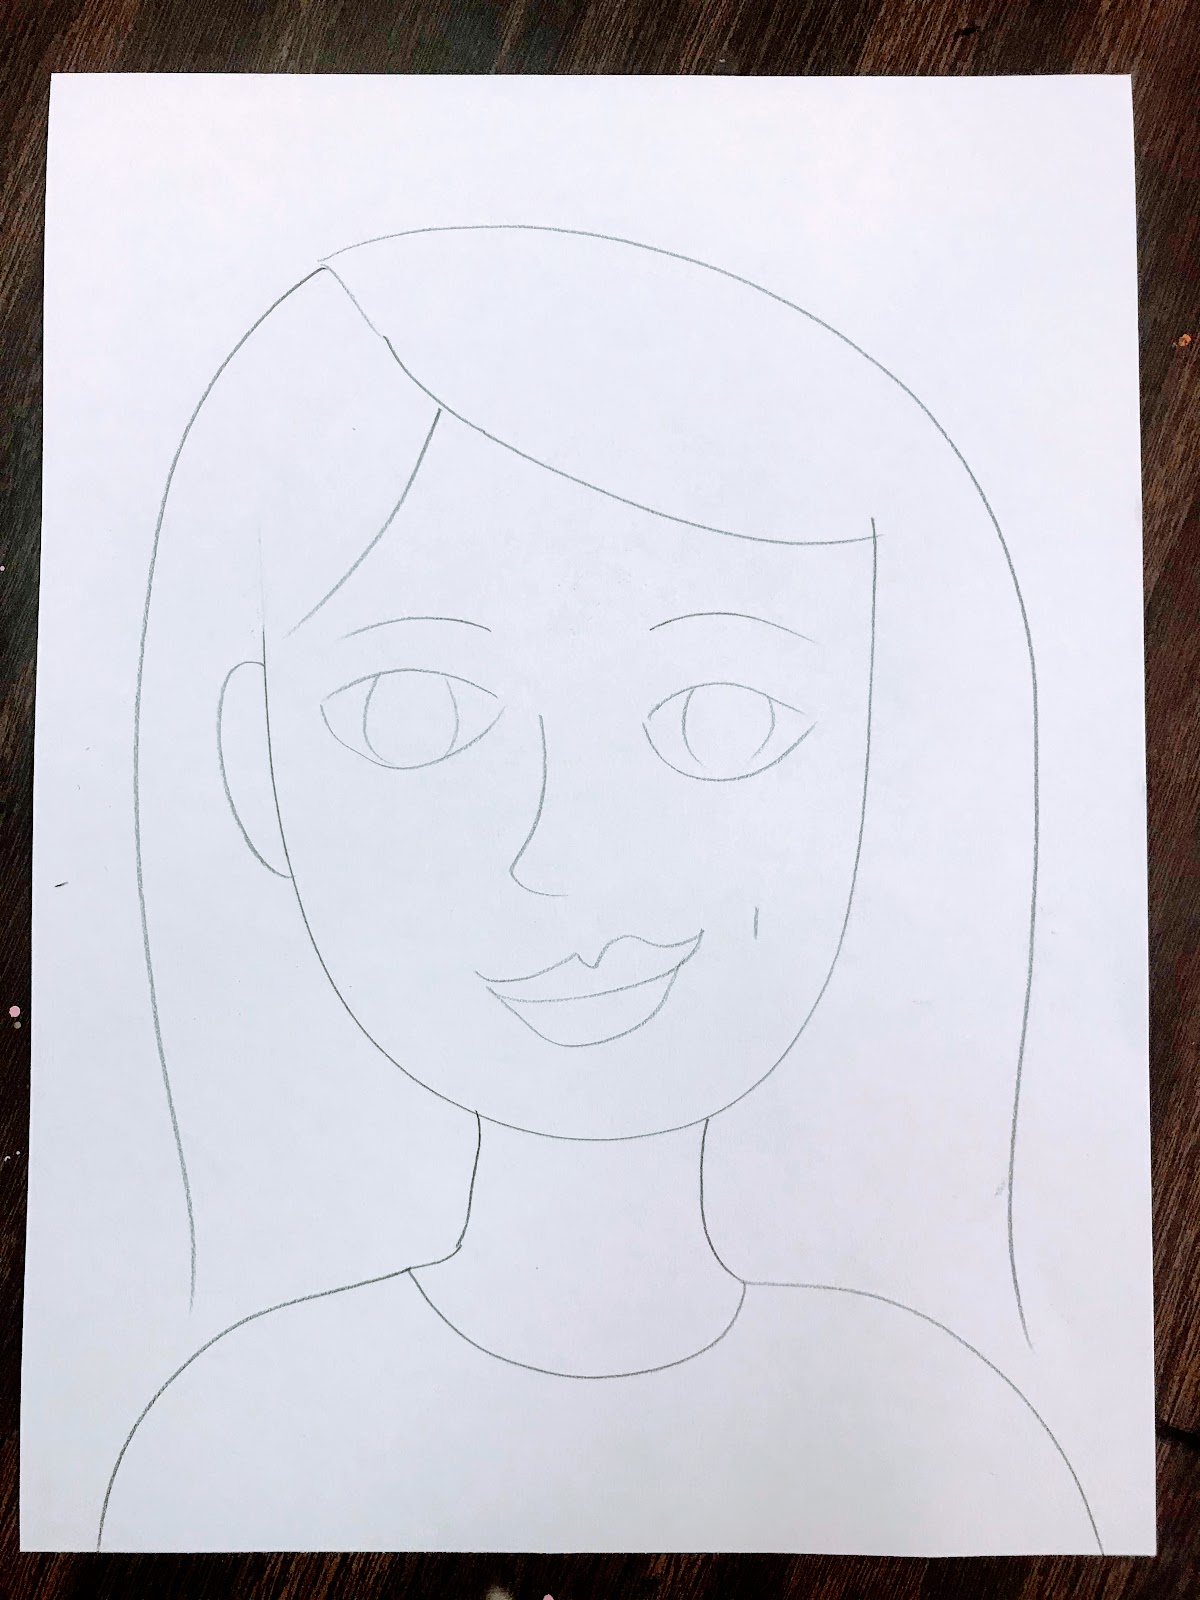
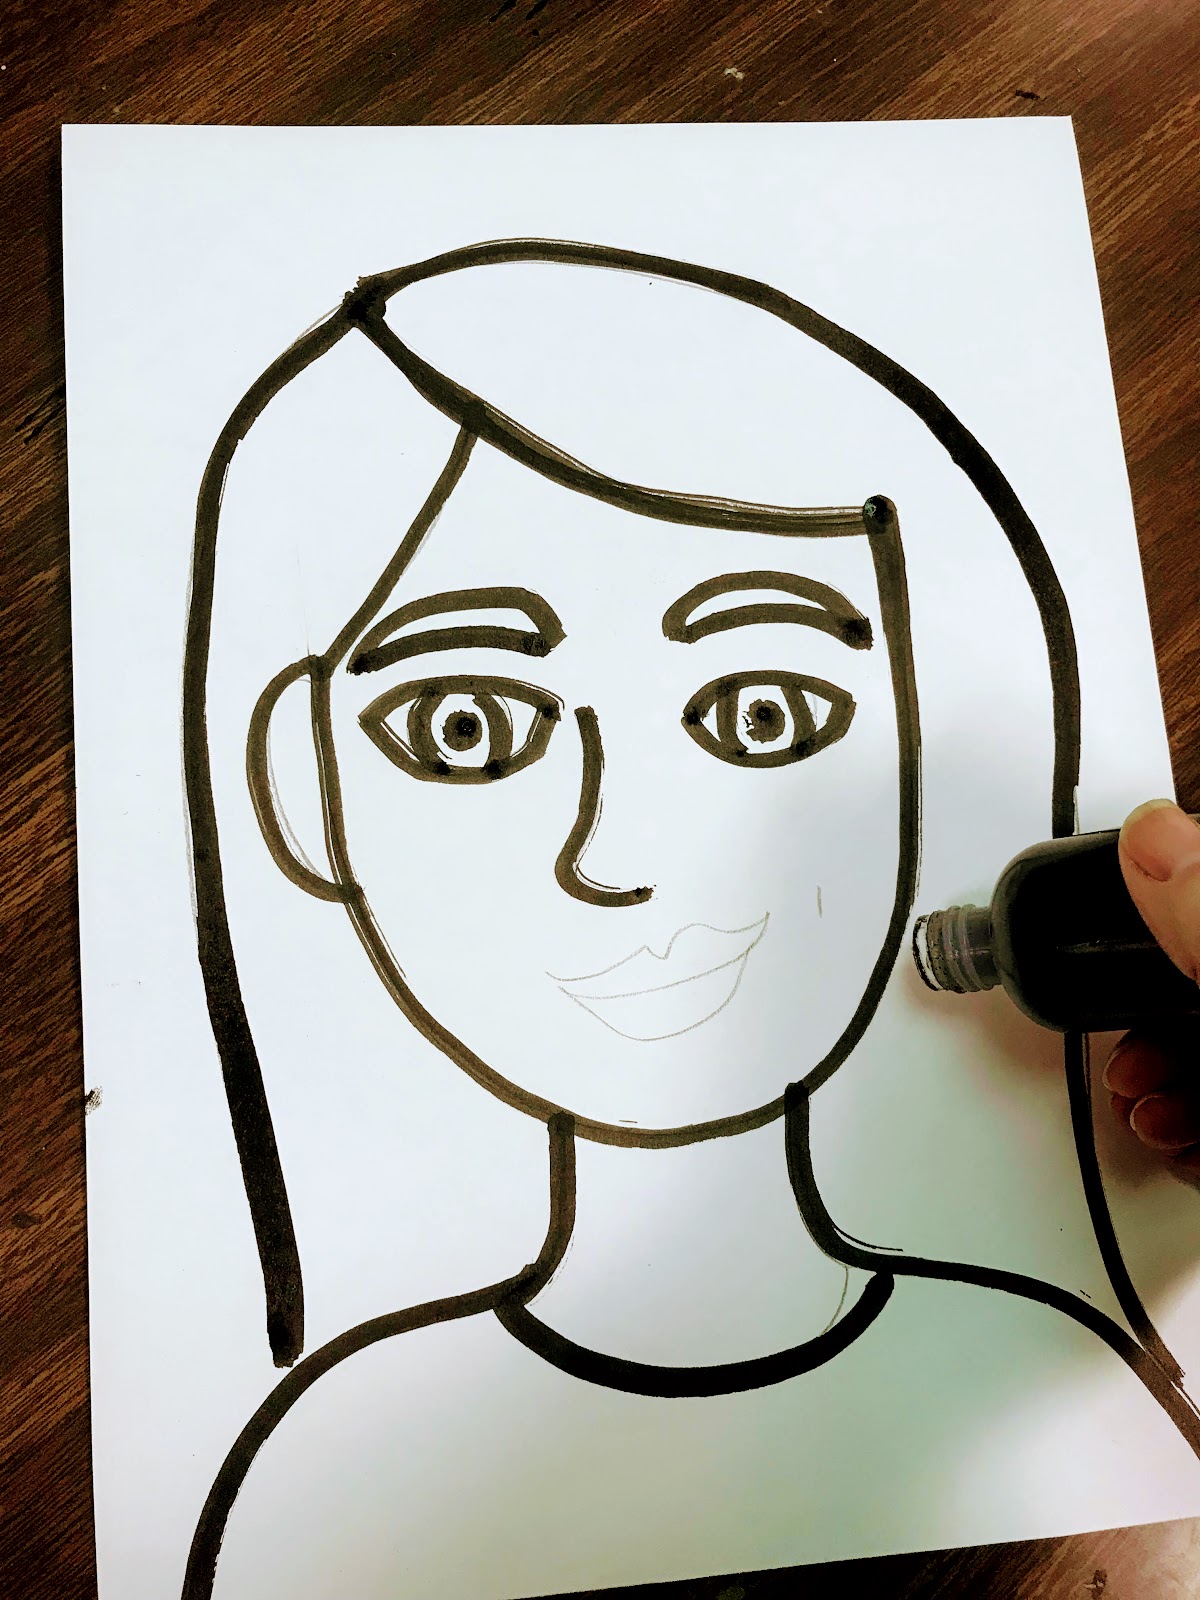
我提醒学生保持画面简洁、卡通化——我们追求的不是完美!
随后,用宾果点印器(bingo dauber)描边。这是学生首次使用这种有趣的小工具,因此我们先做了简短的操作指导。
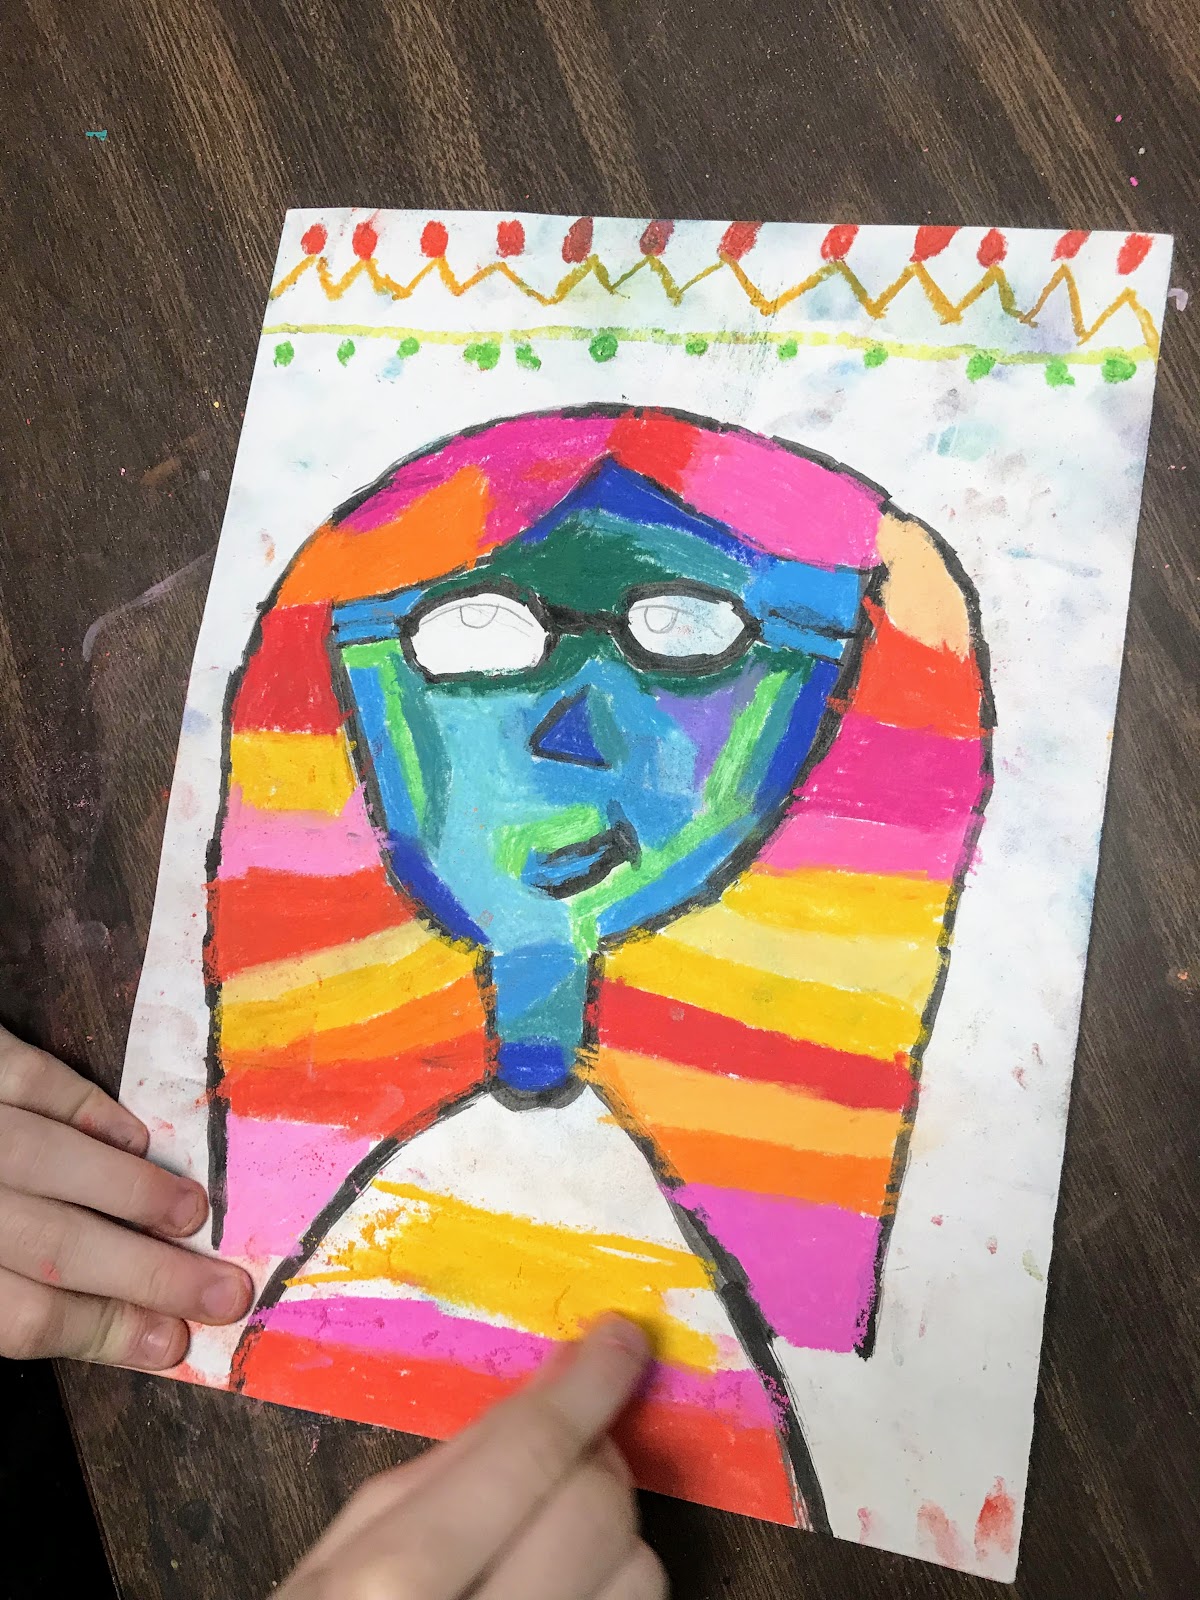
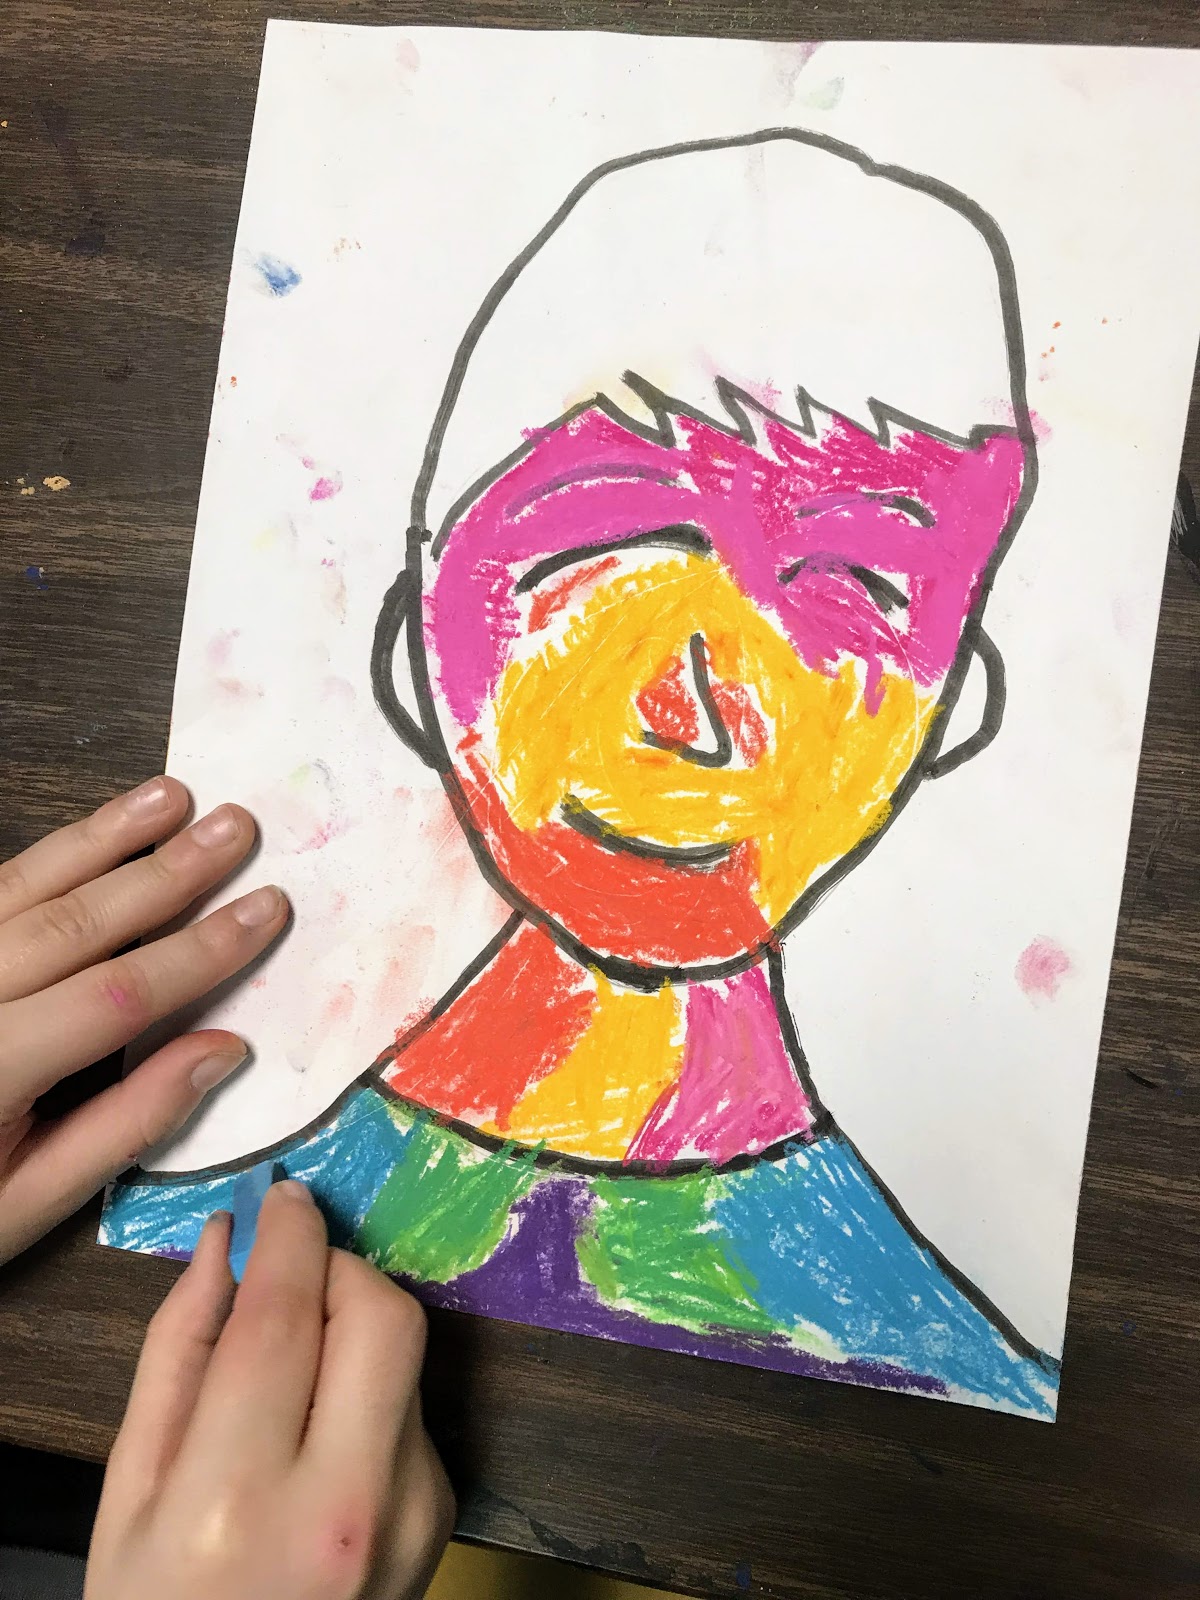
用宾果点印器描完边后,即可开始使用粉笔!我要求学生在某一区域使用冷色,另一区域则使用暖色。例如:面部用冷色,头发就用暖色(避免画面显得浑浊灰暗)。
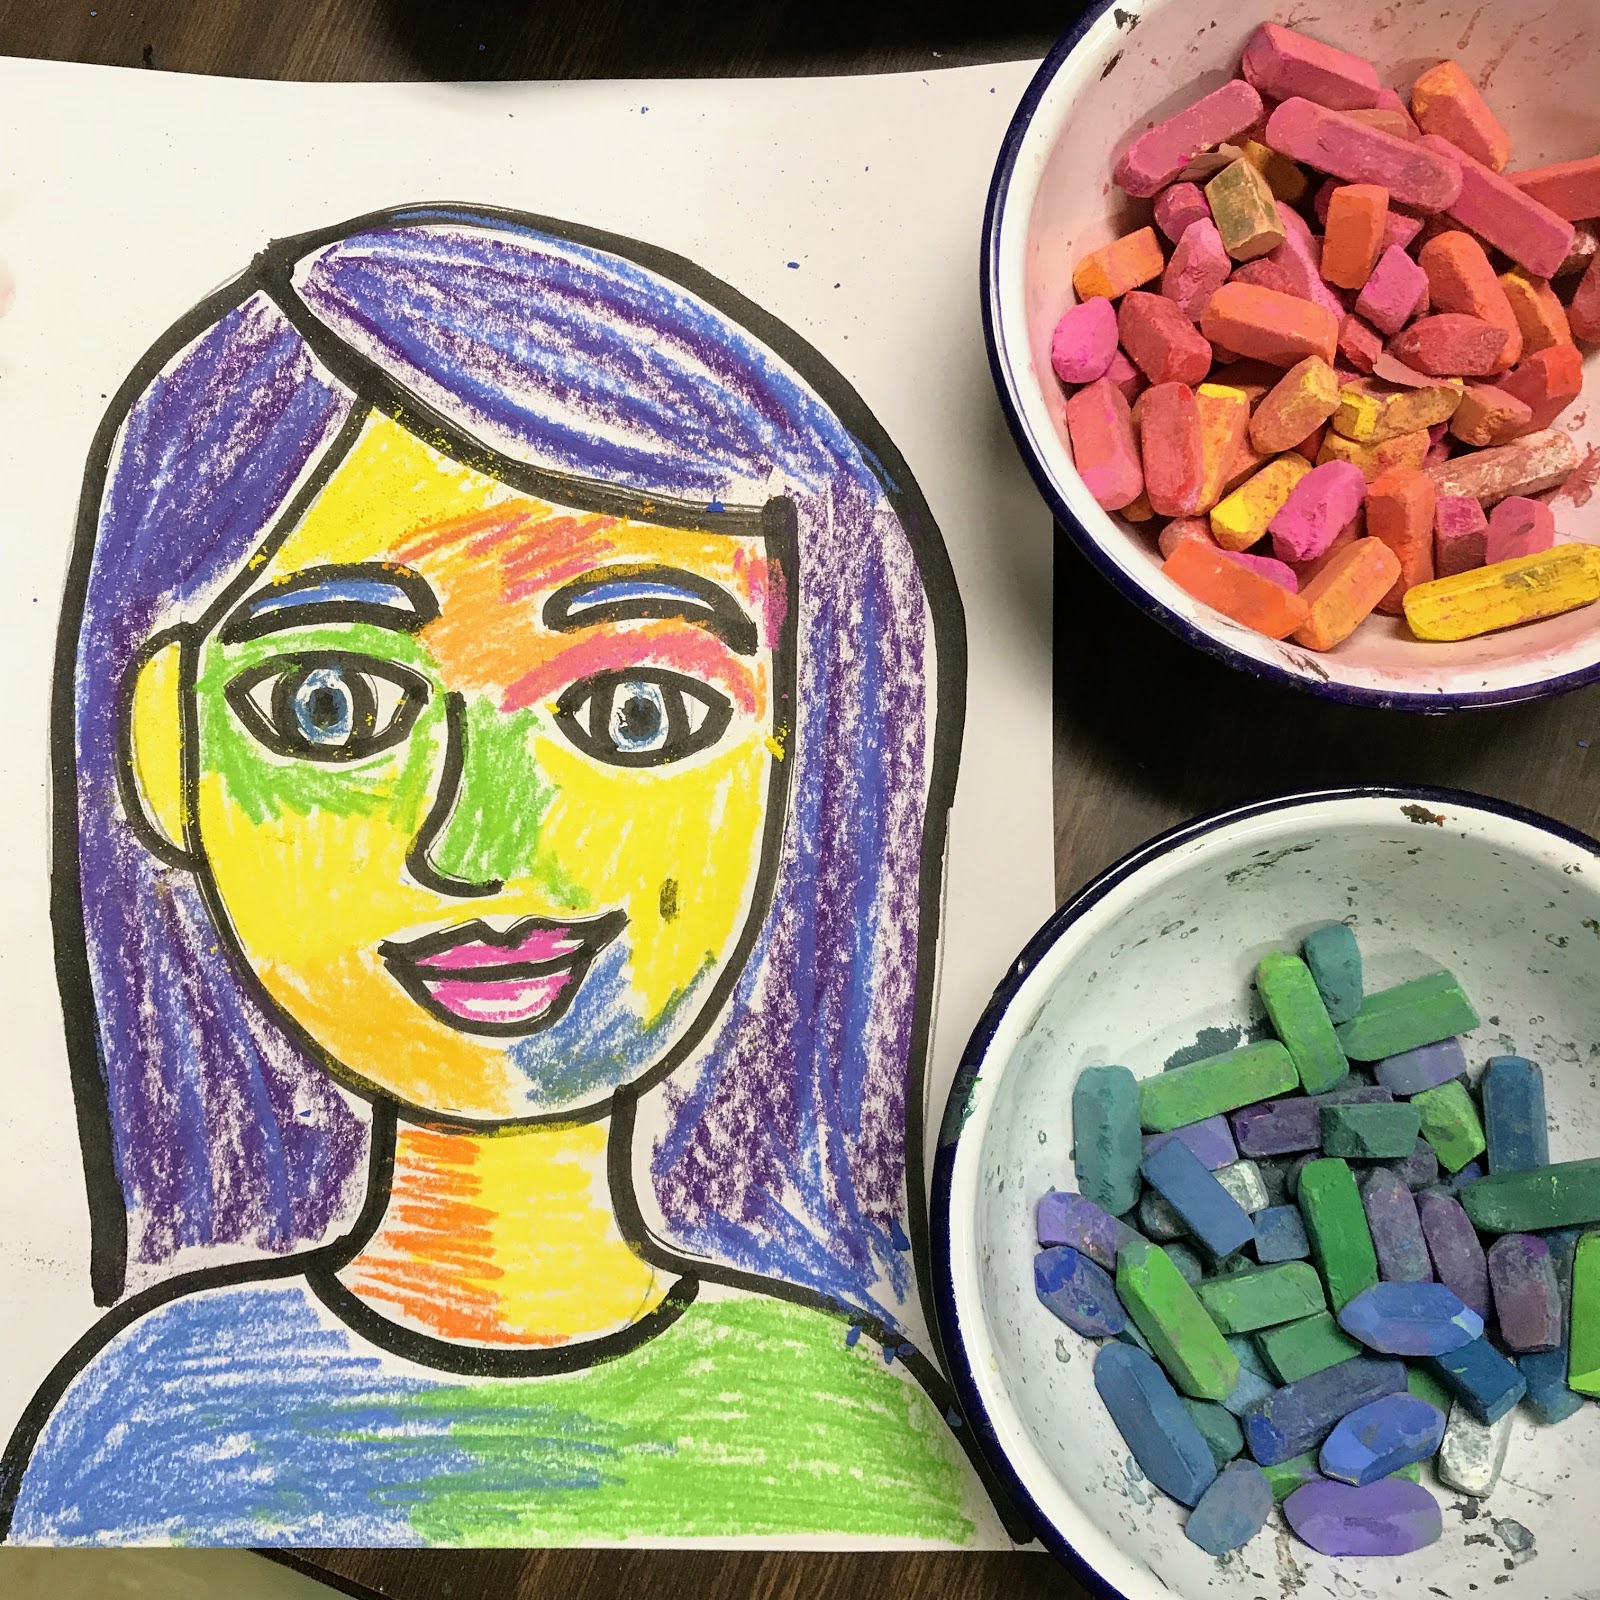
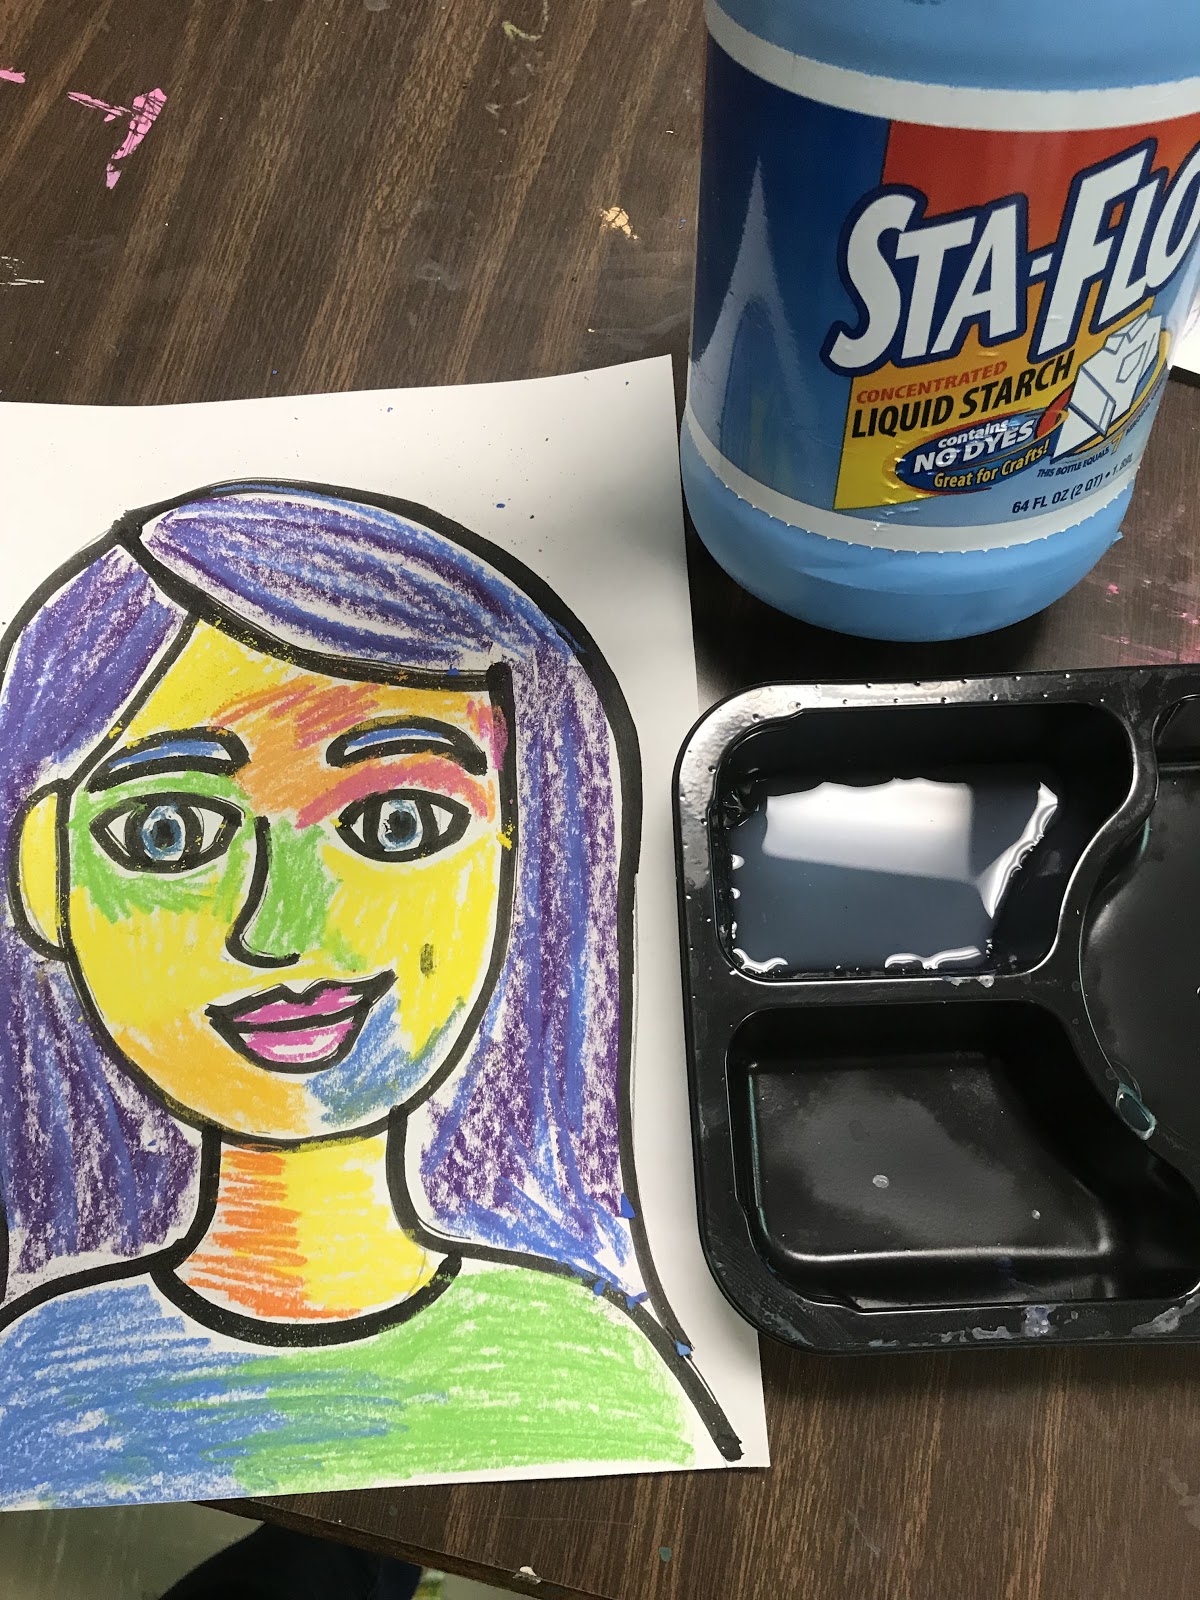
接着,用斯塔弗洛(注意:是“Stay-flo”,不是“Stah-flo”——孩子们总这么念,但其实不对哦!)
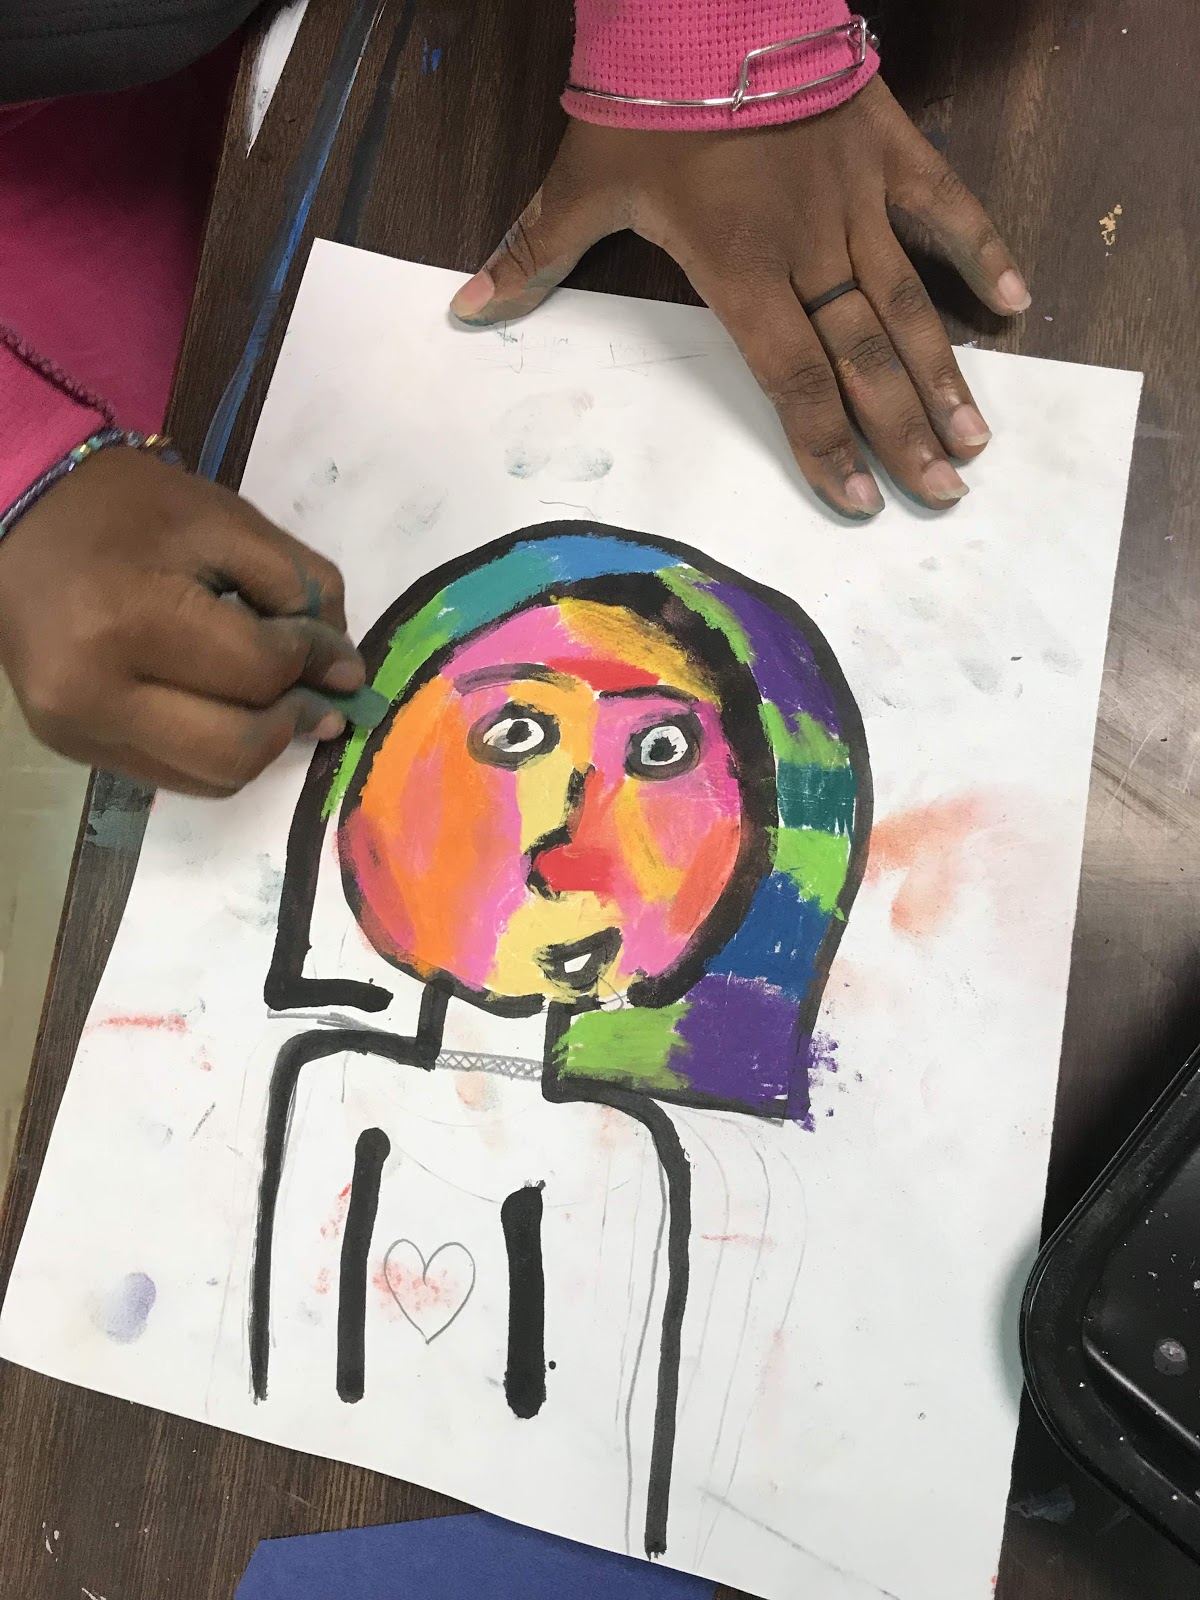
以手指蘸取斯塔弗洛液体淀粉来晕染粉笔!操作时,先将手指浸入“Stay-flo”,再在粉笔色块上揉擦。我喜欢提醒学生一次只处理一种颜色,这样可确保色彩明快鲜亮。
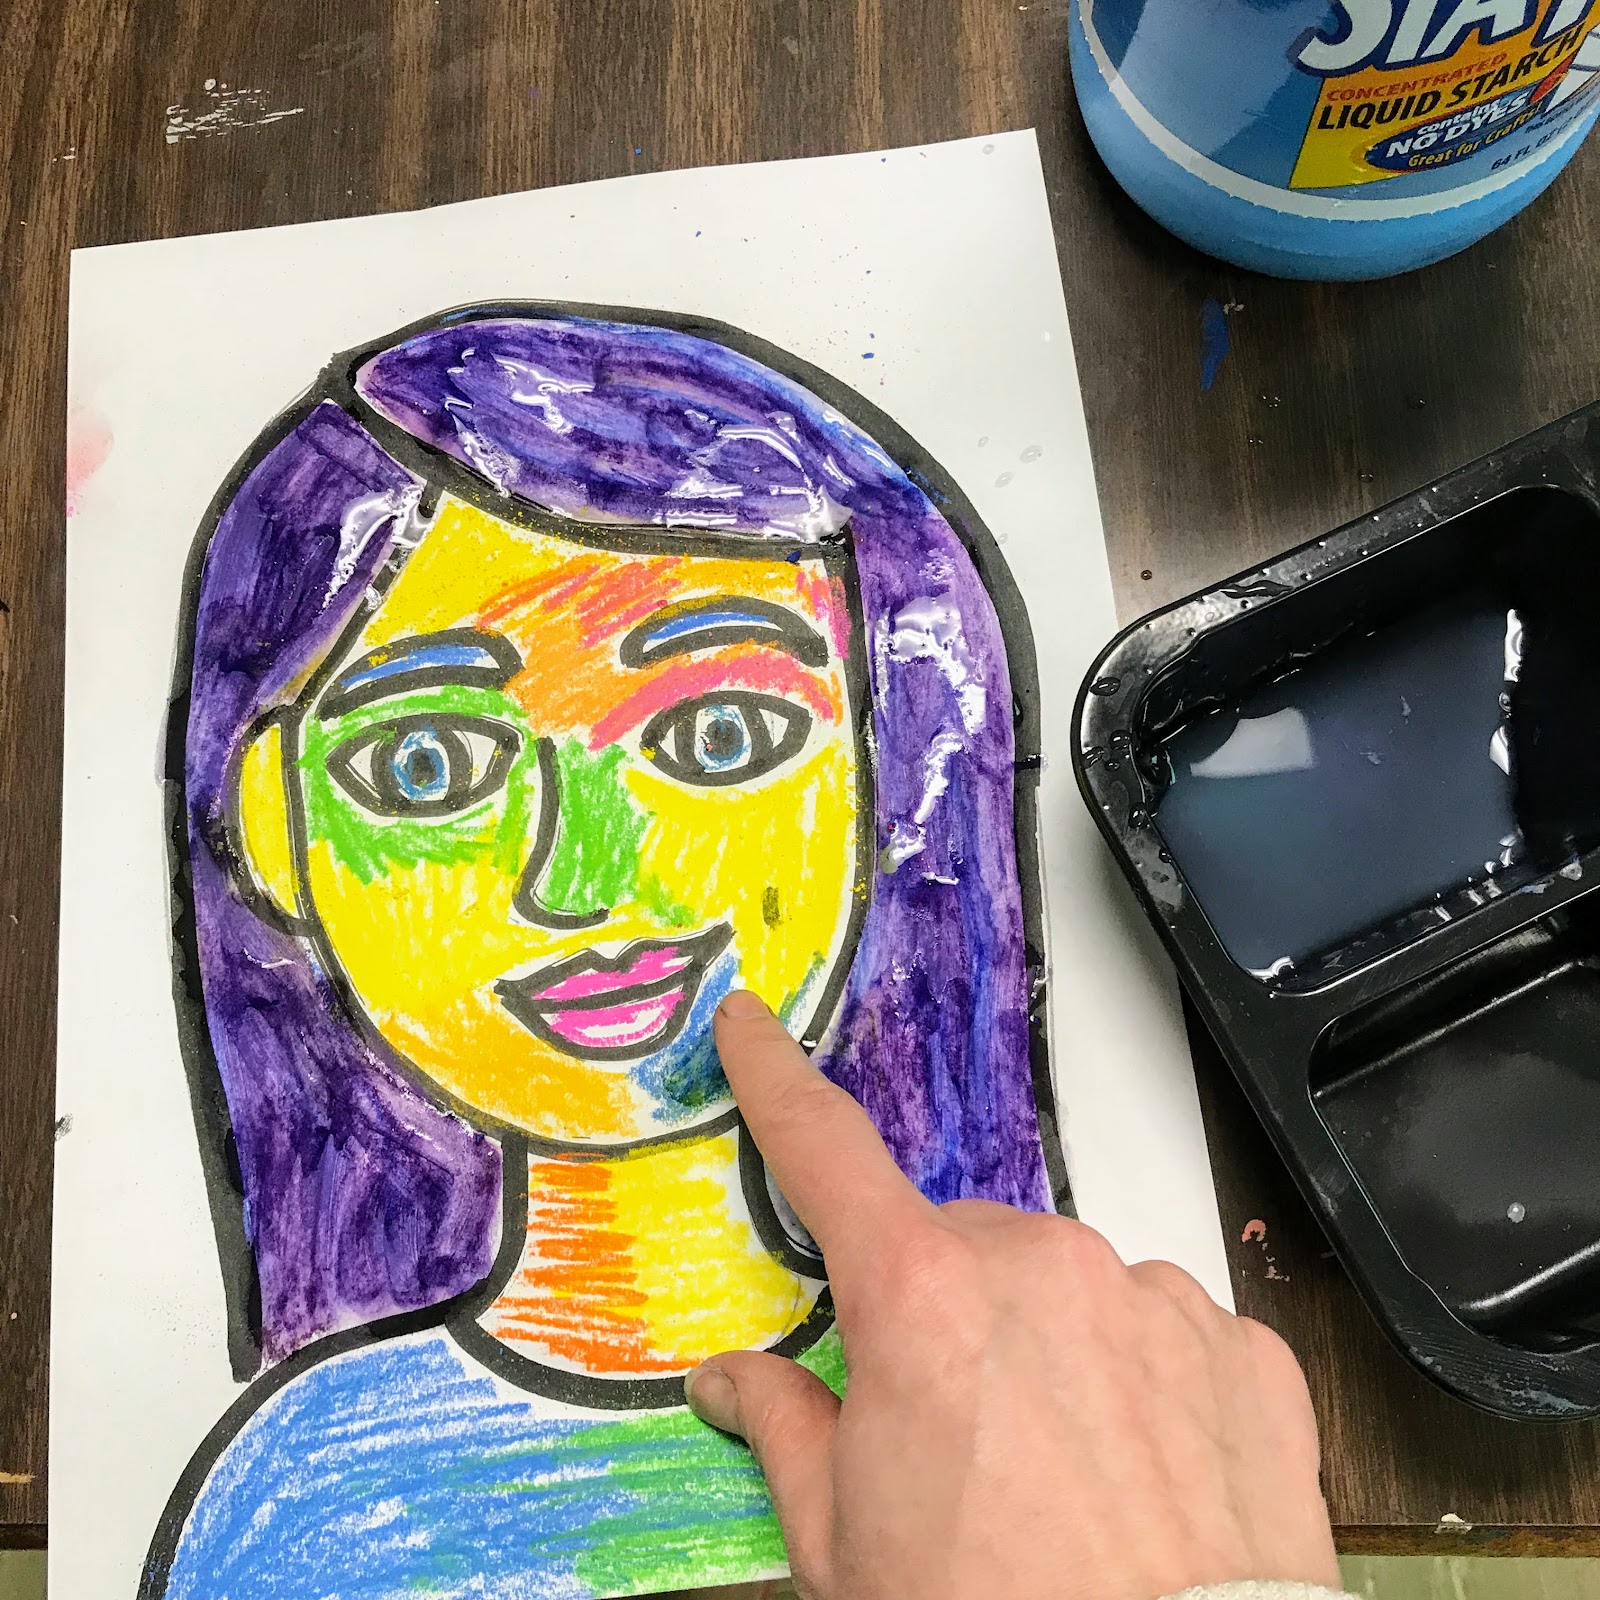
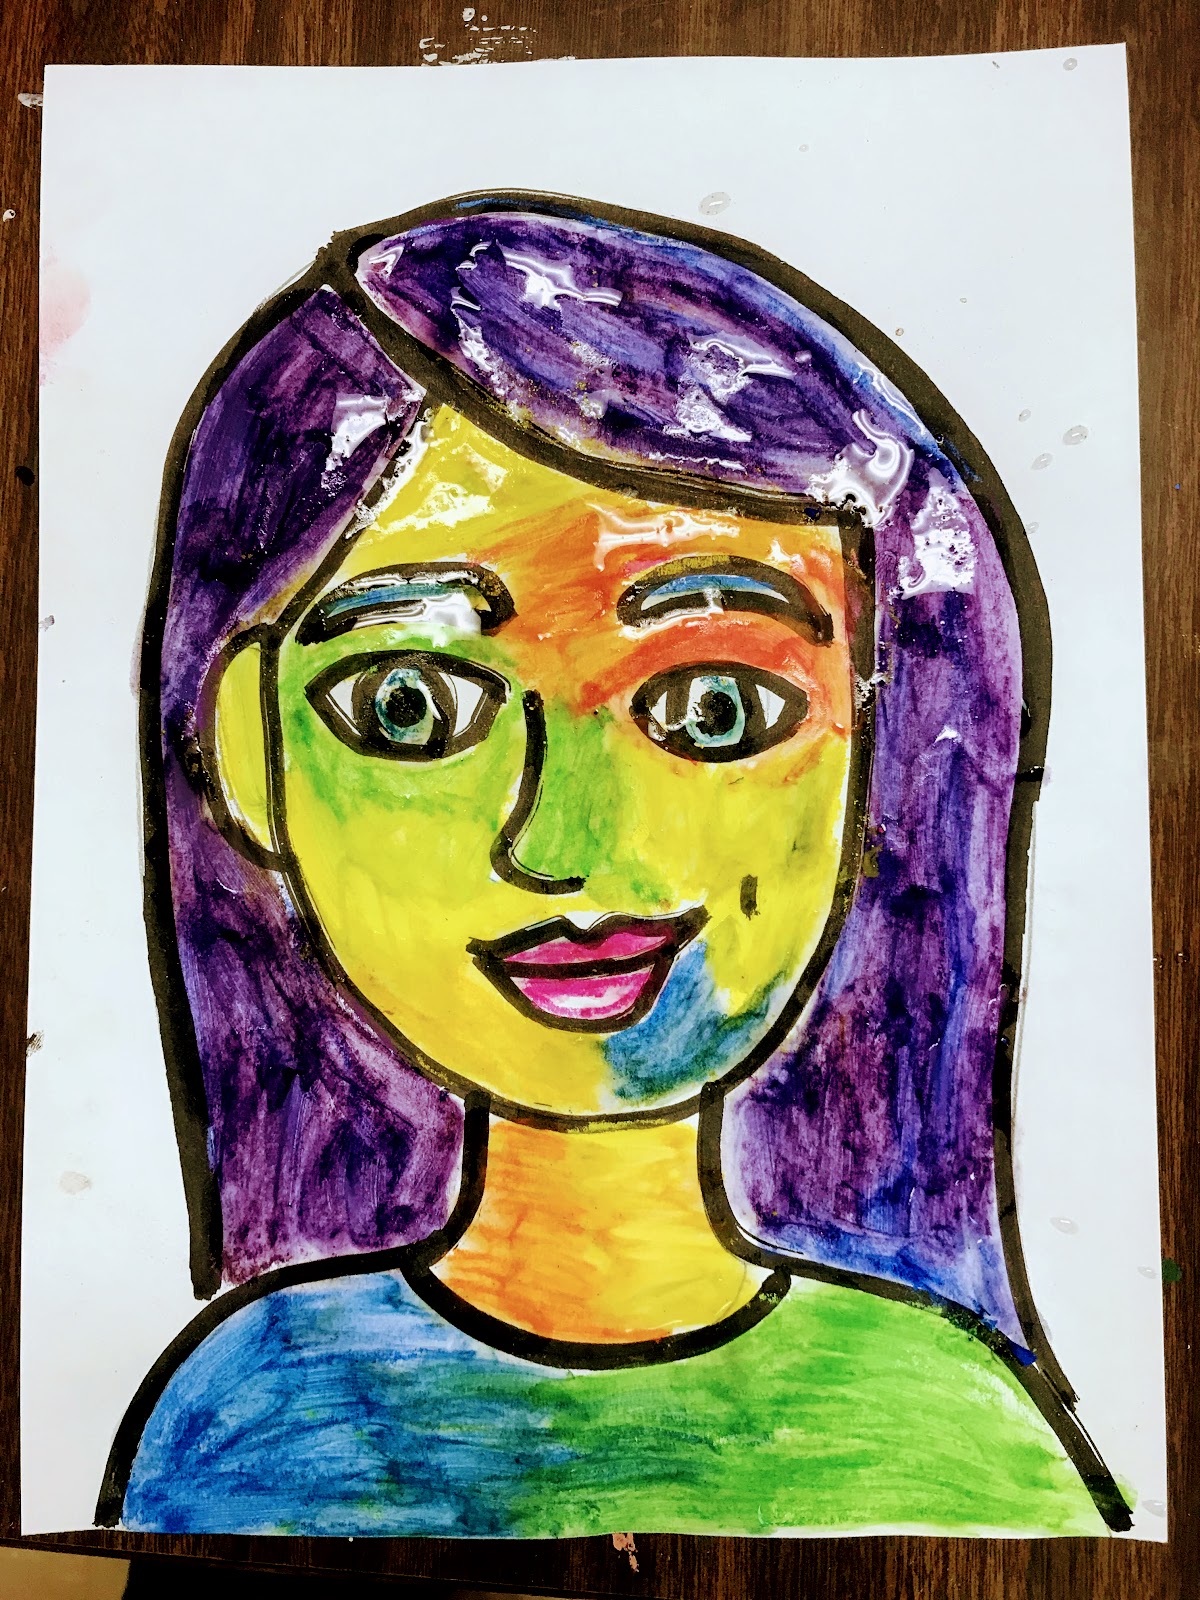
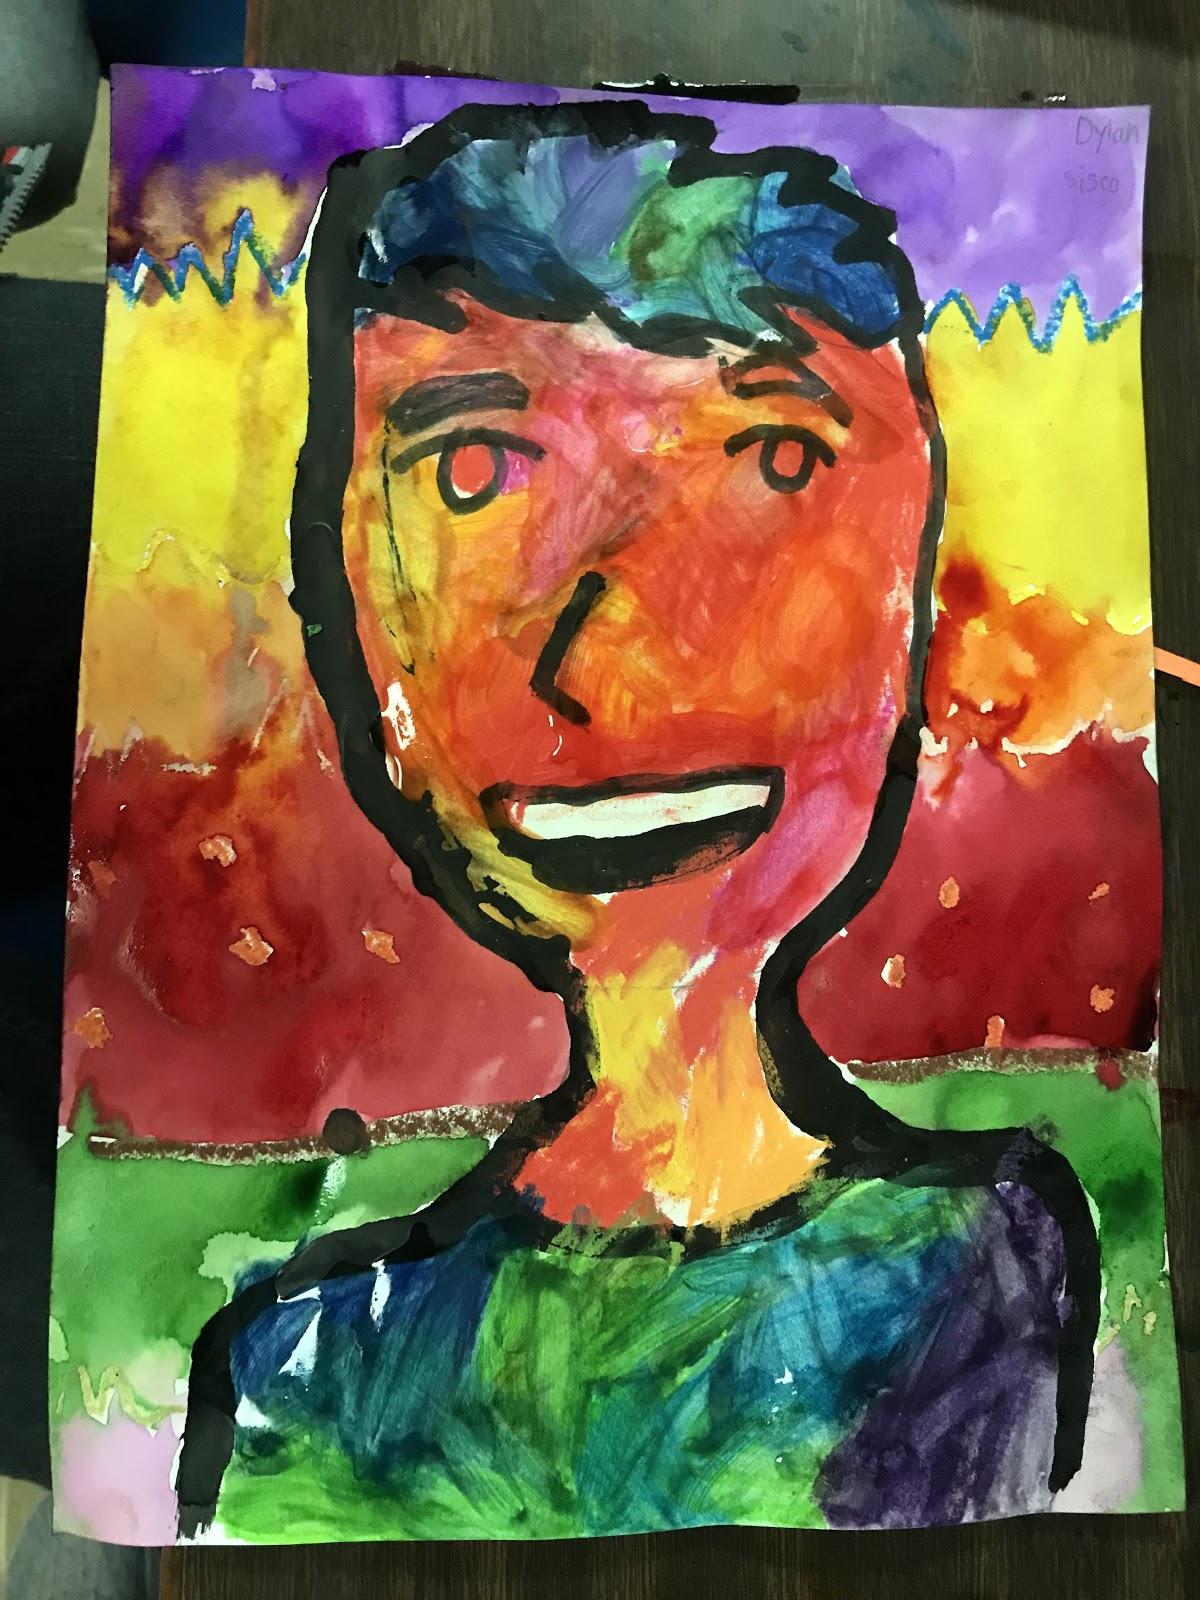
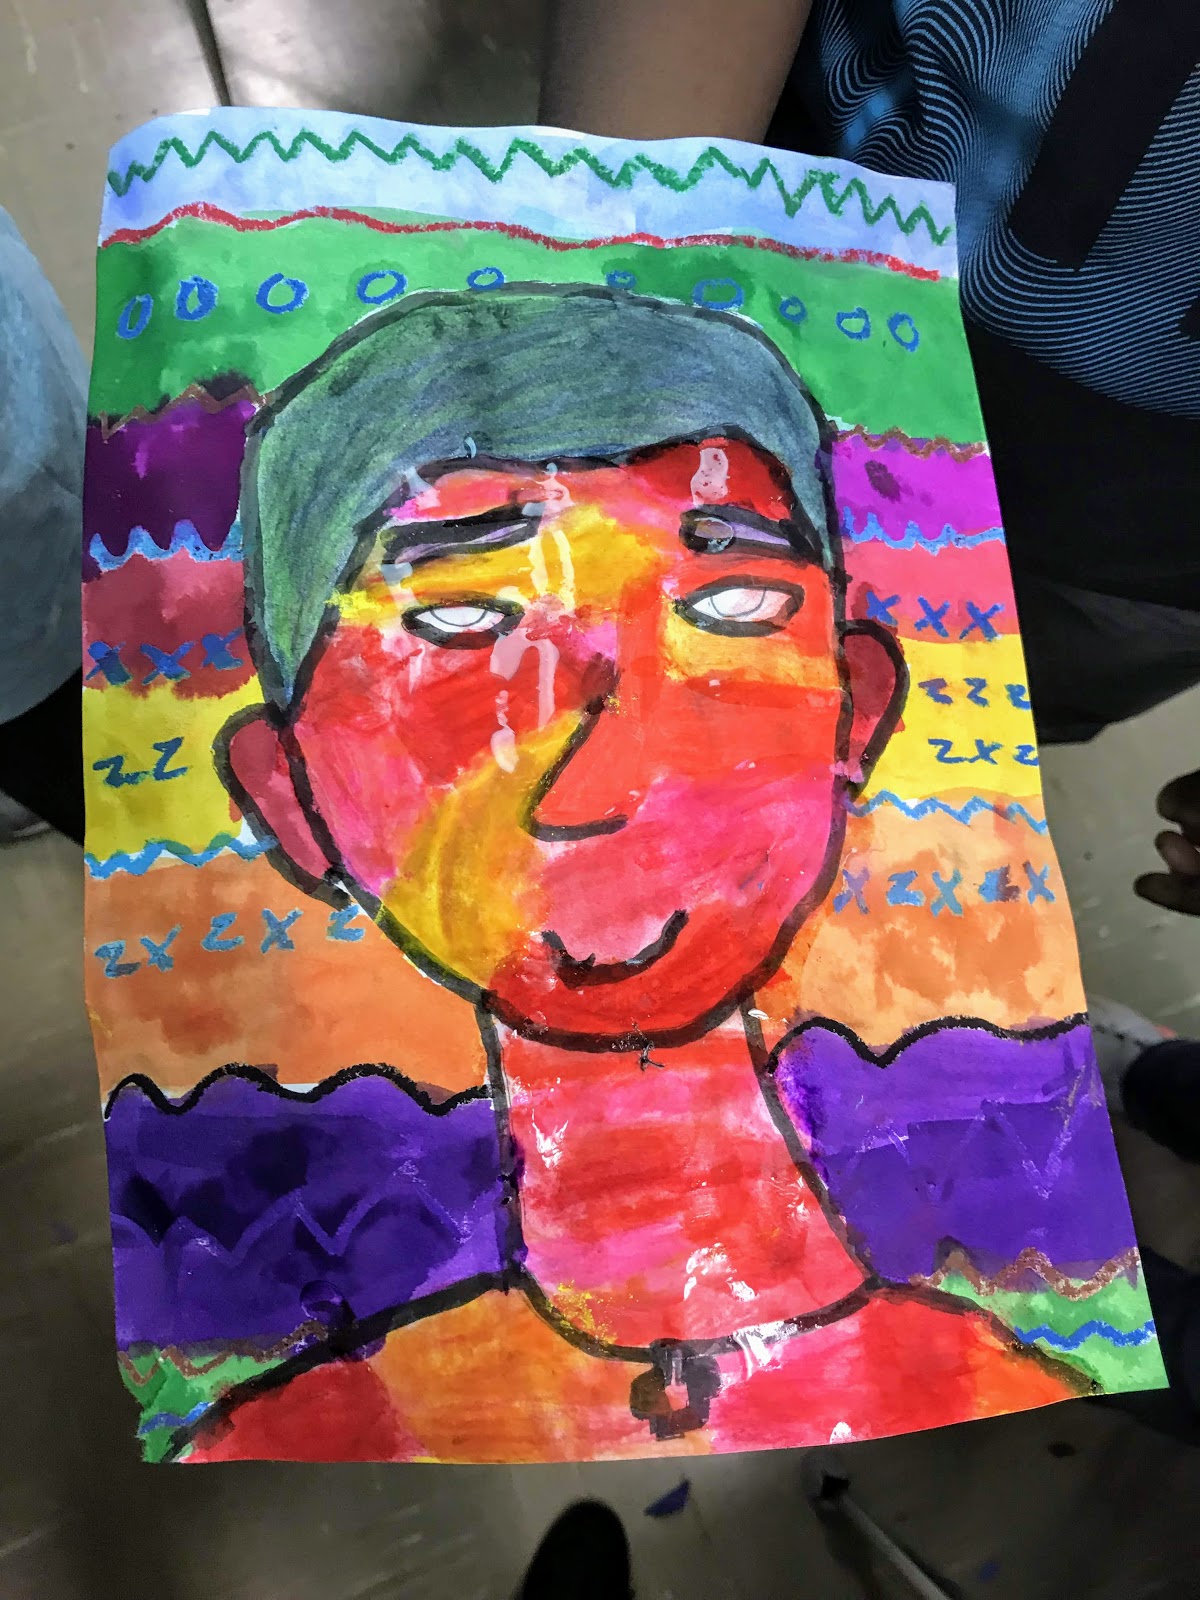
第二天:完成背景!用油画棒清晰、浓重地添加图案与线条;之后再用液态水彩覆盖其上。我们试用了普朗(Prang)水彩盘,但其色彩远不如液态水彩鲜艳!
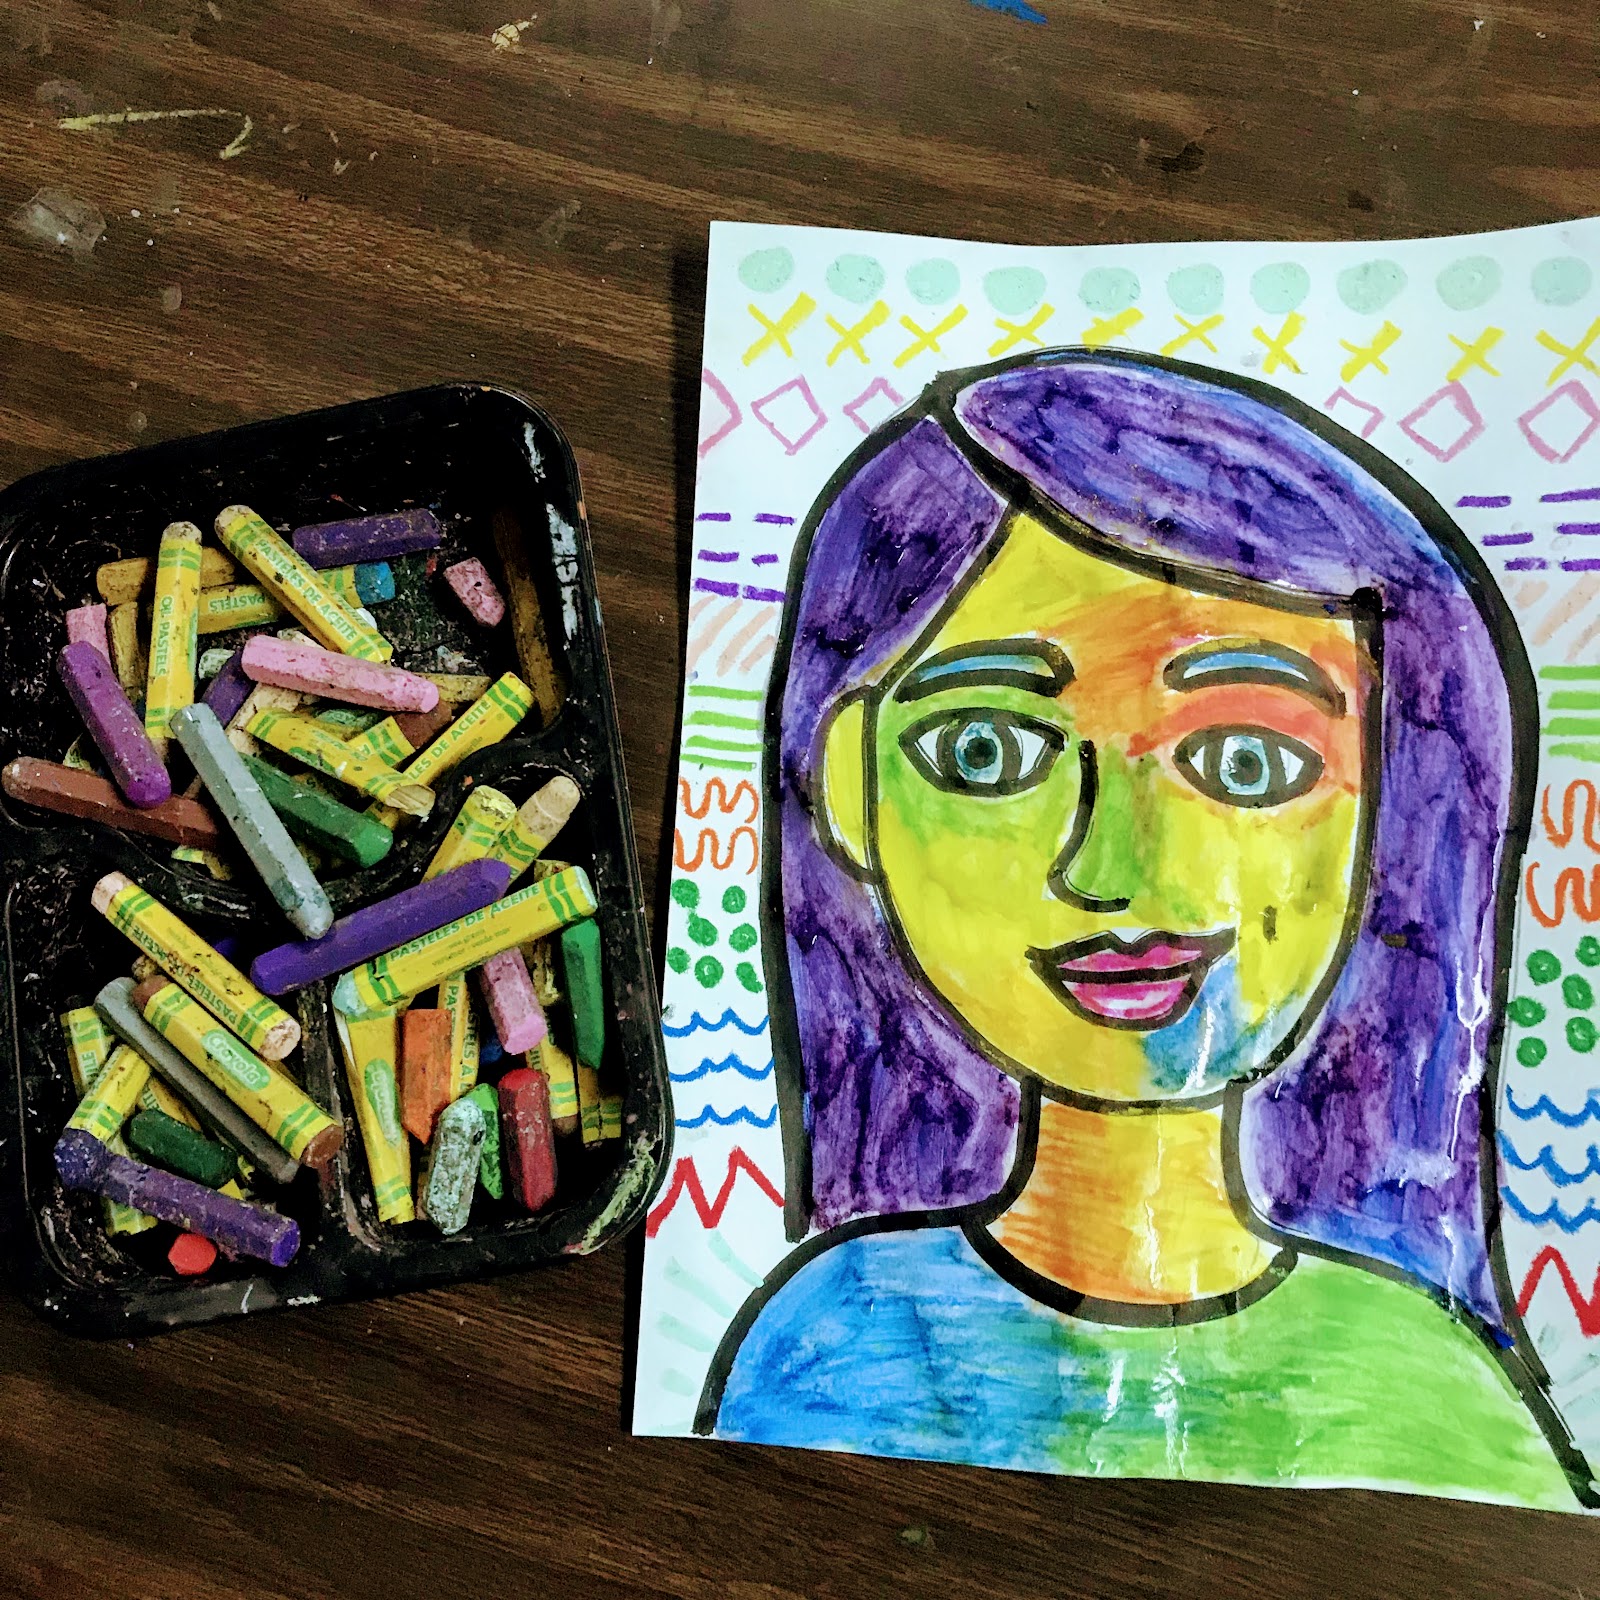
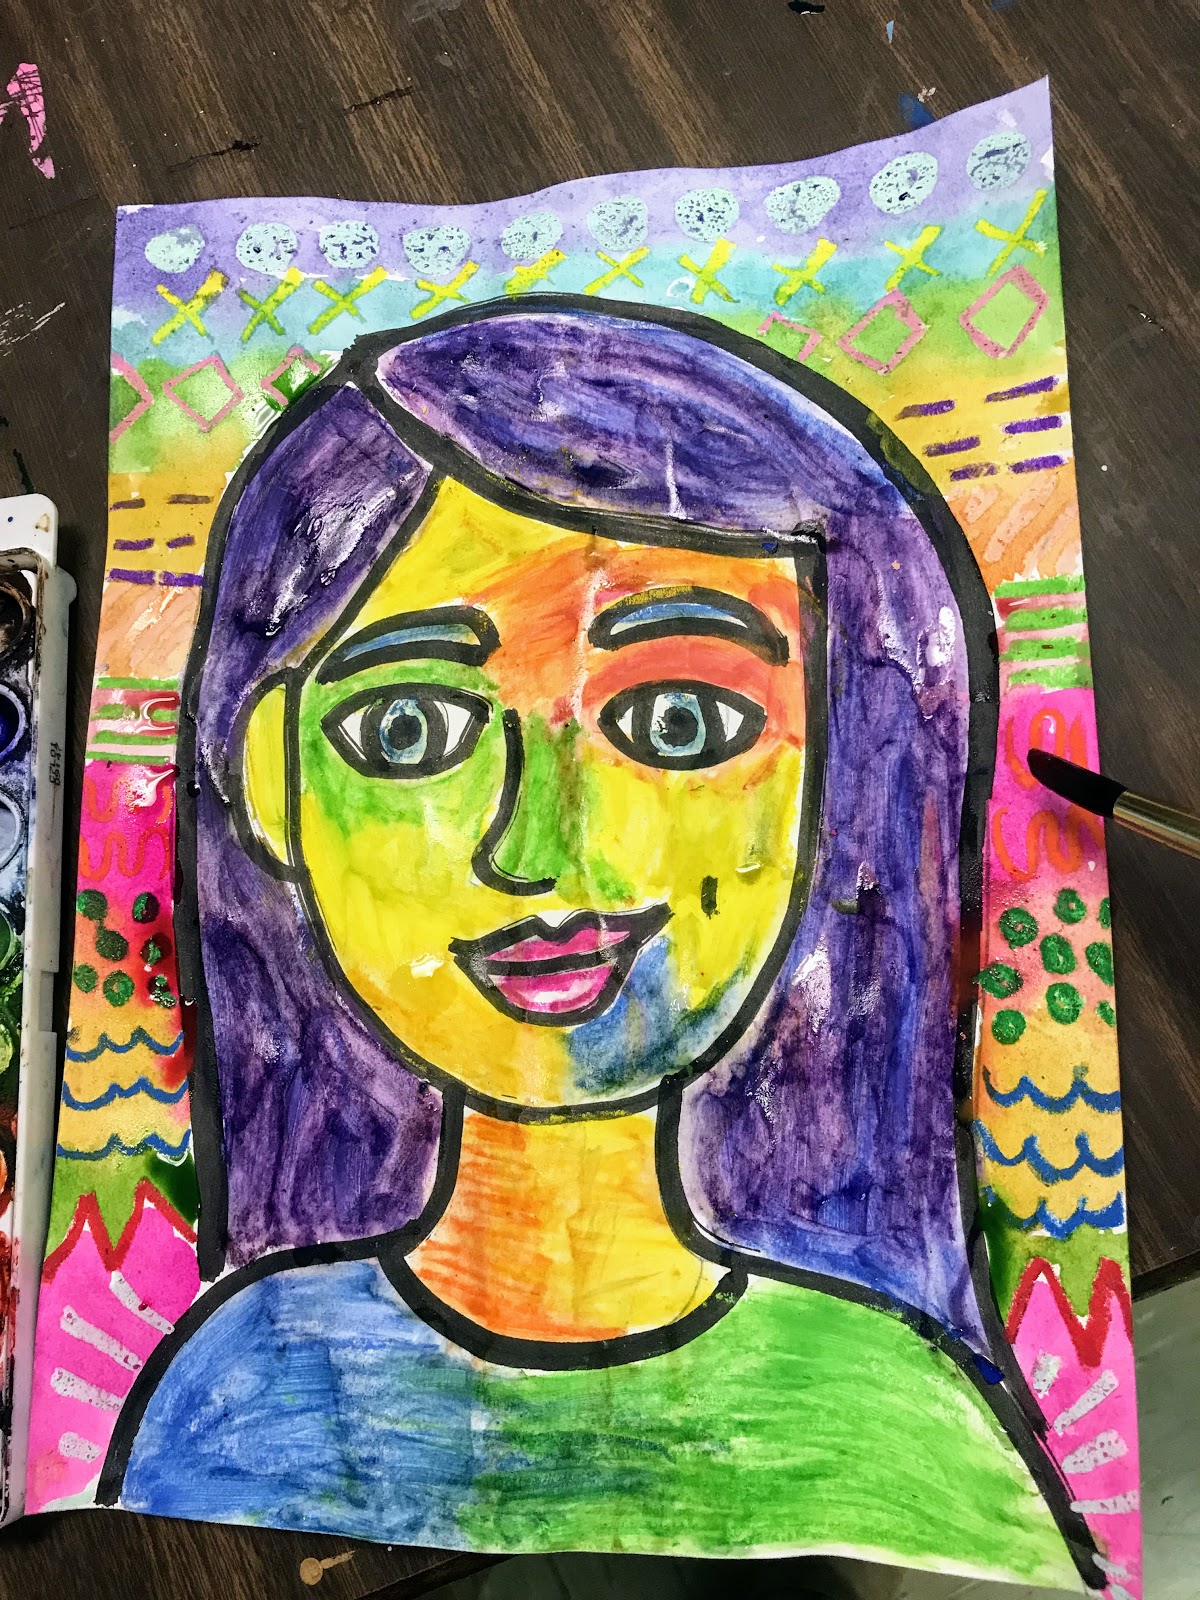
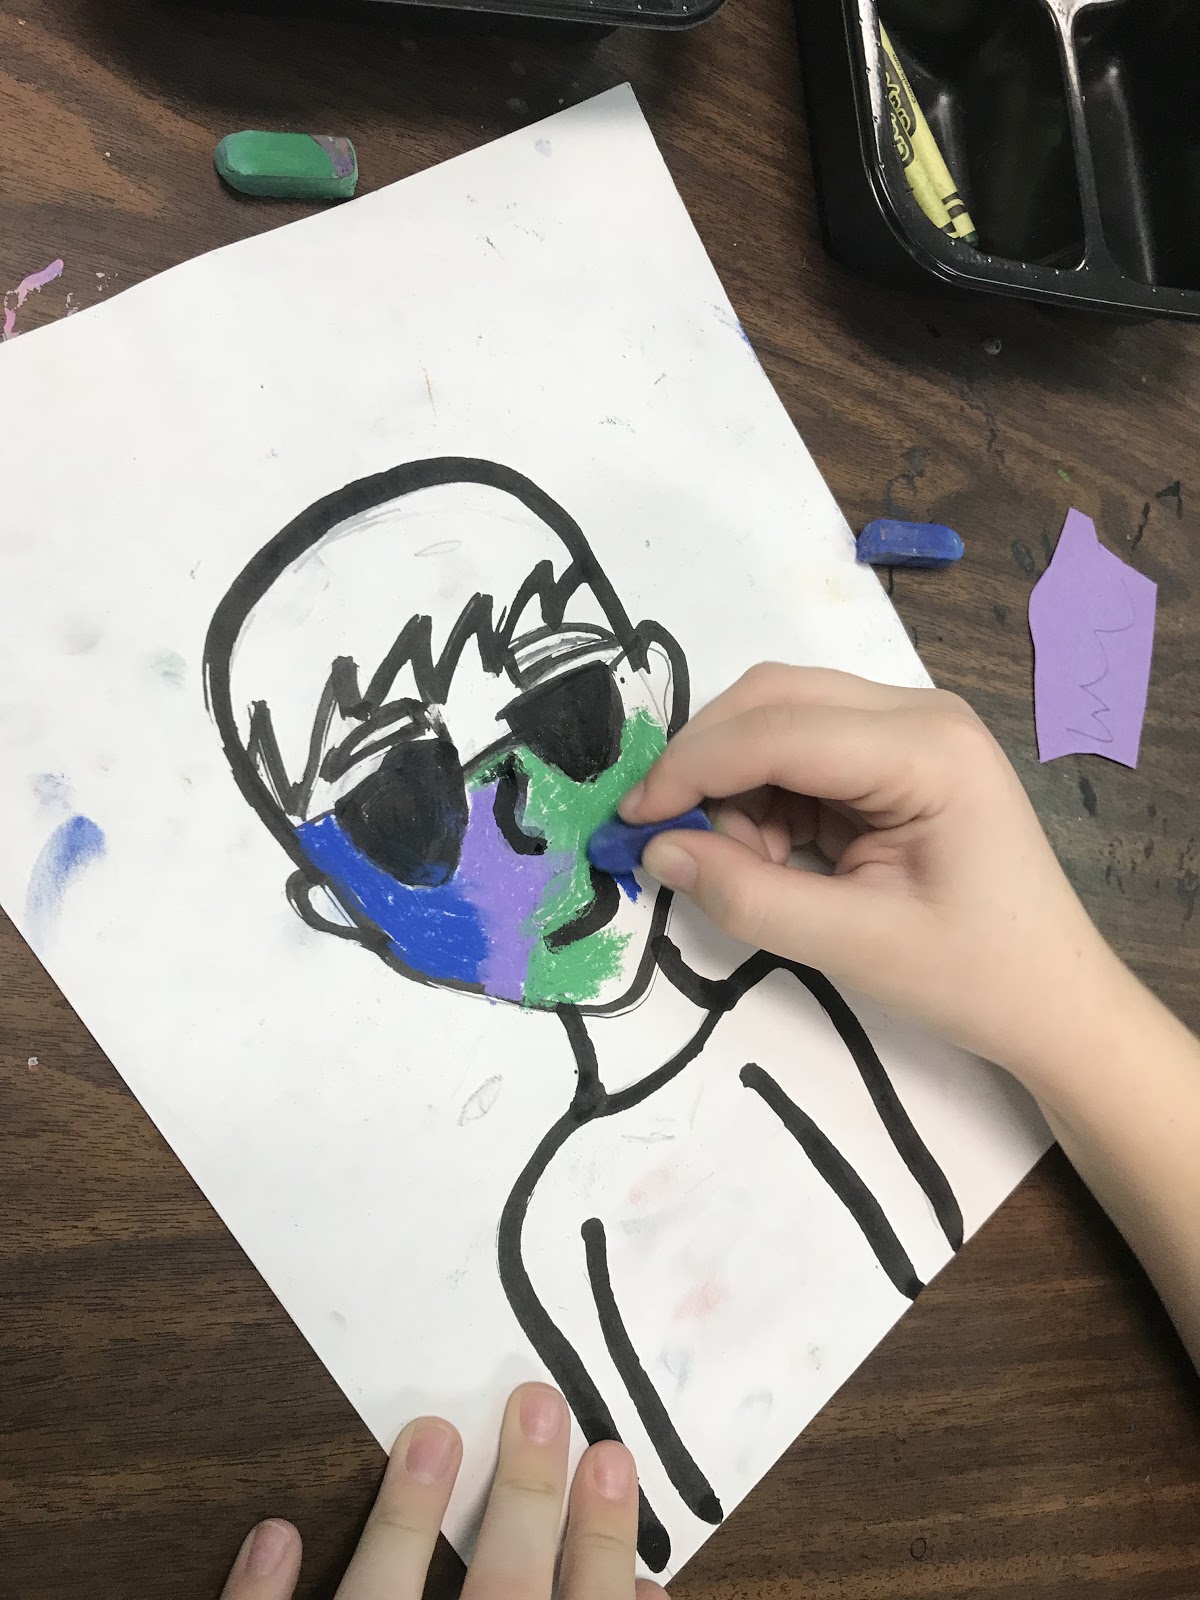
这是基尔比(Kilby)老师的班级,正专注投入地创作中!
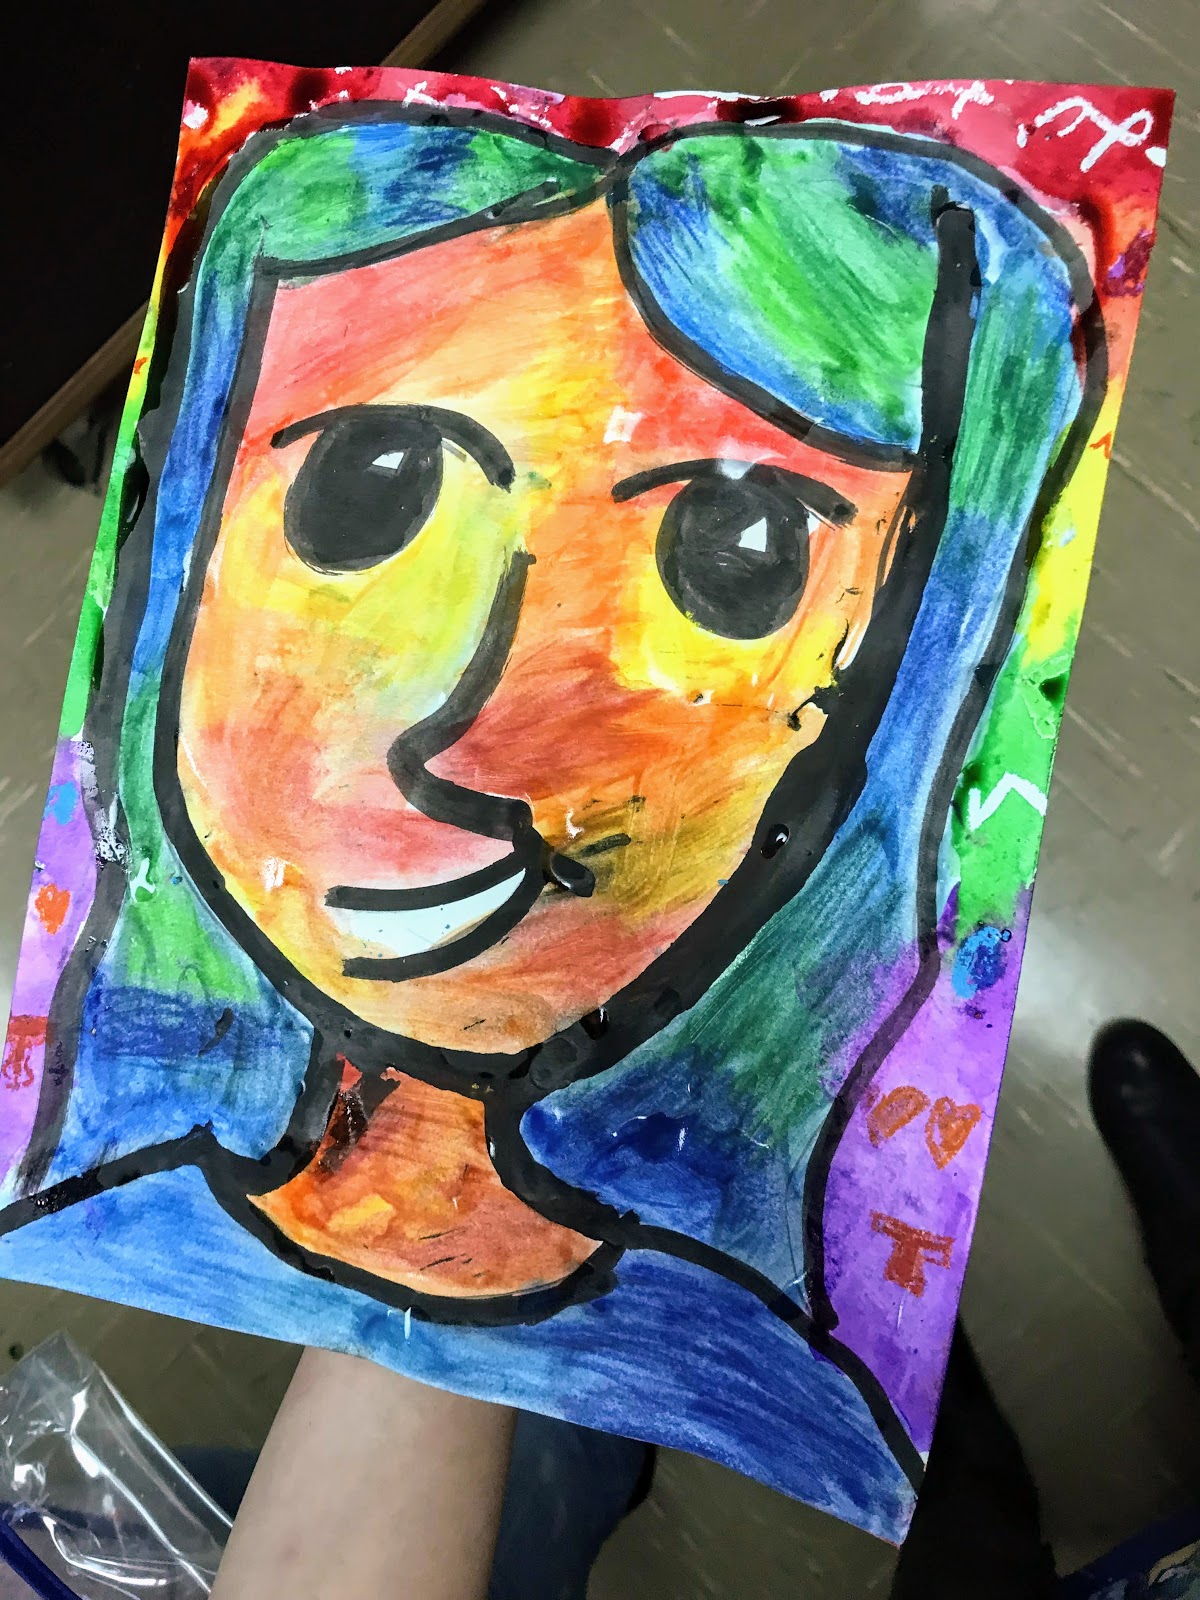
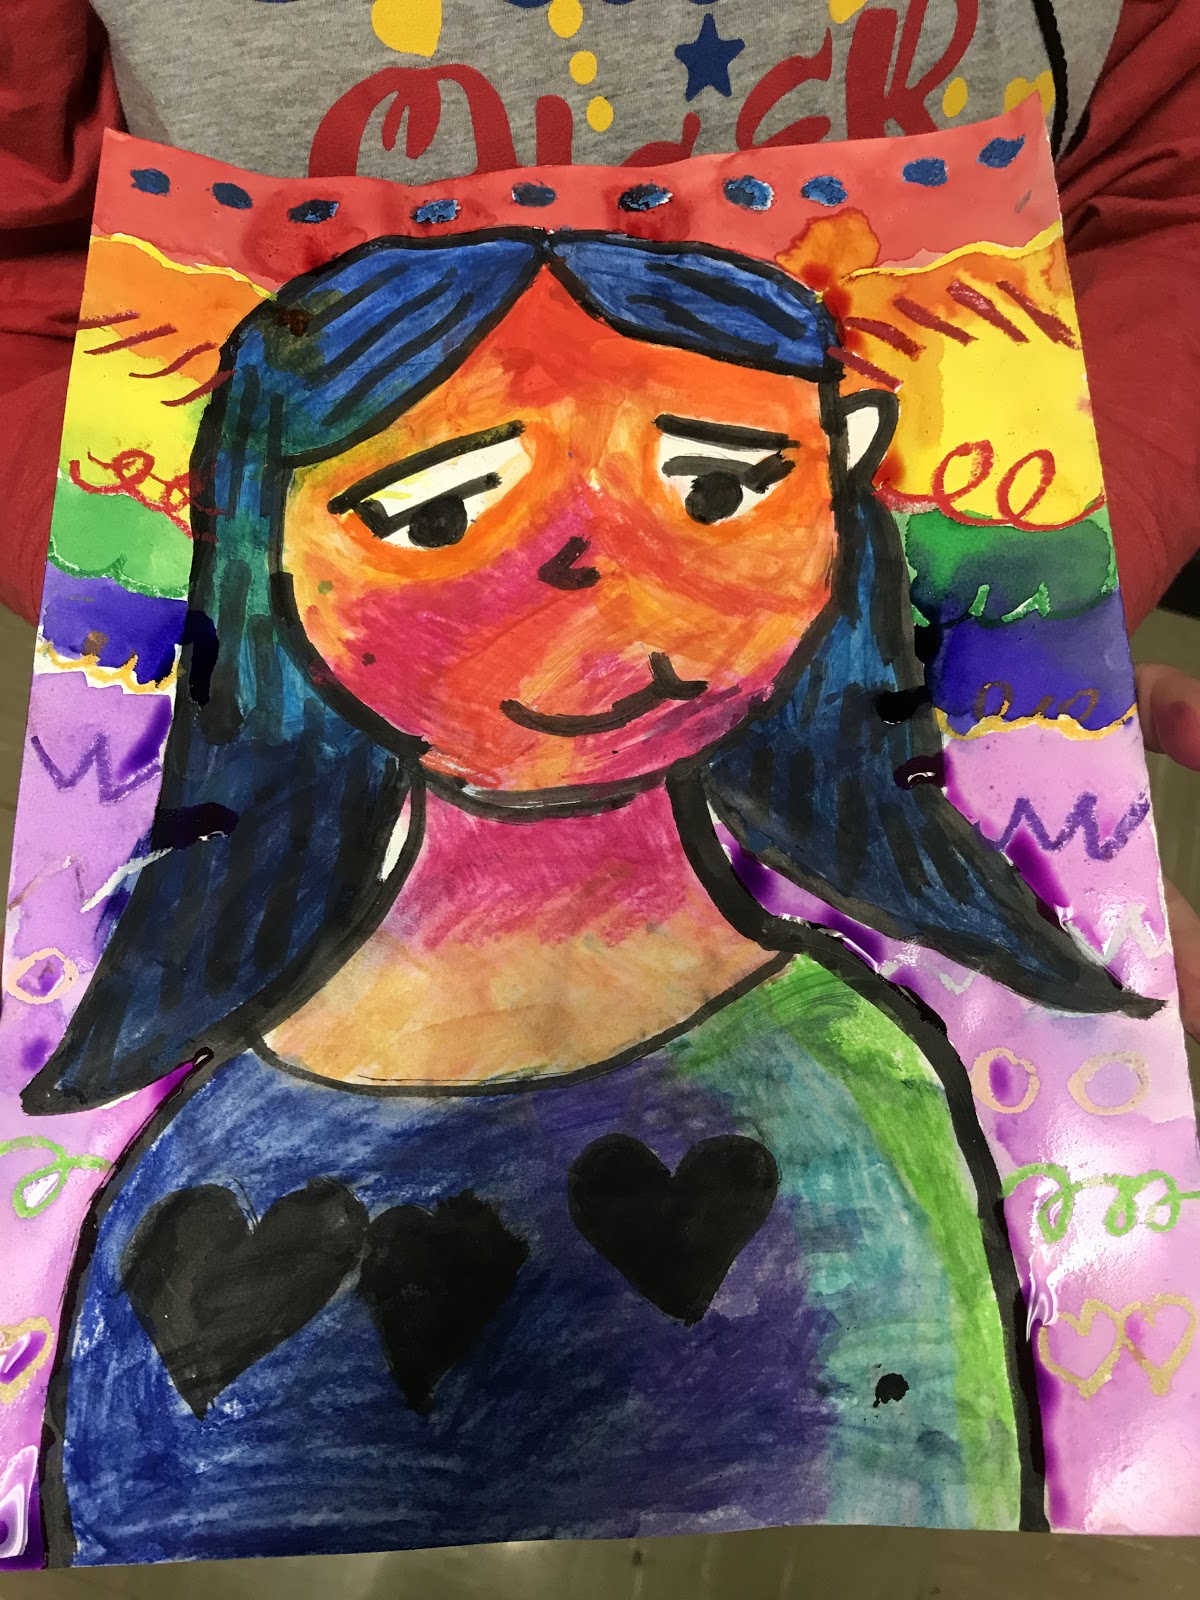
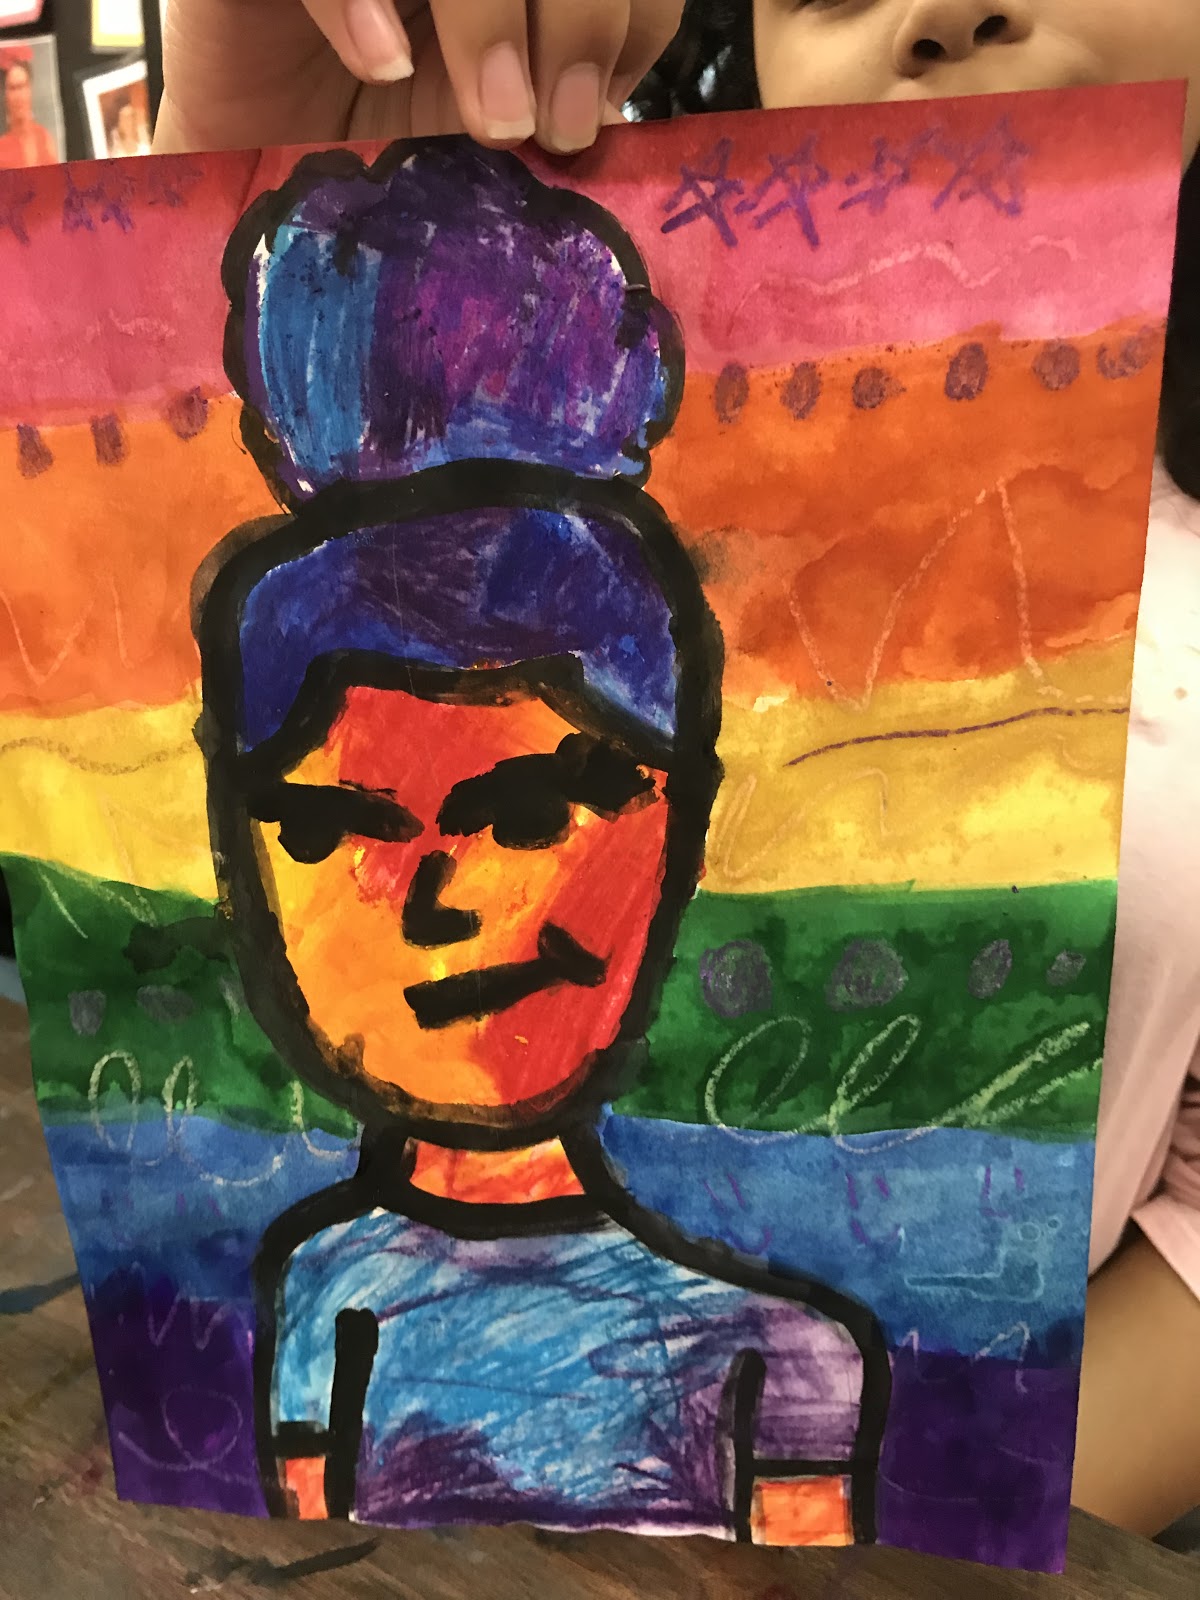
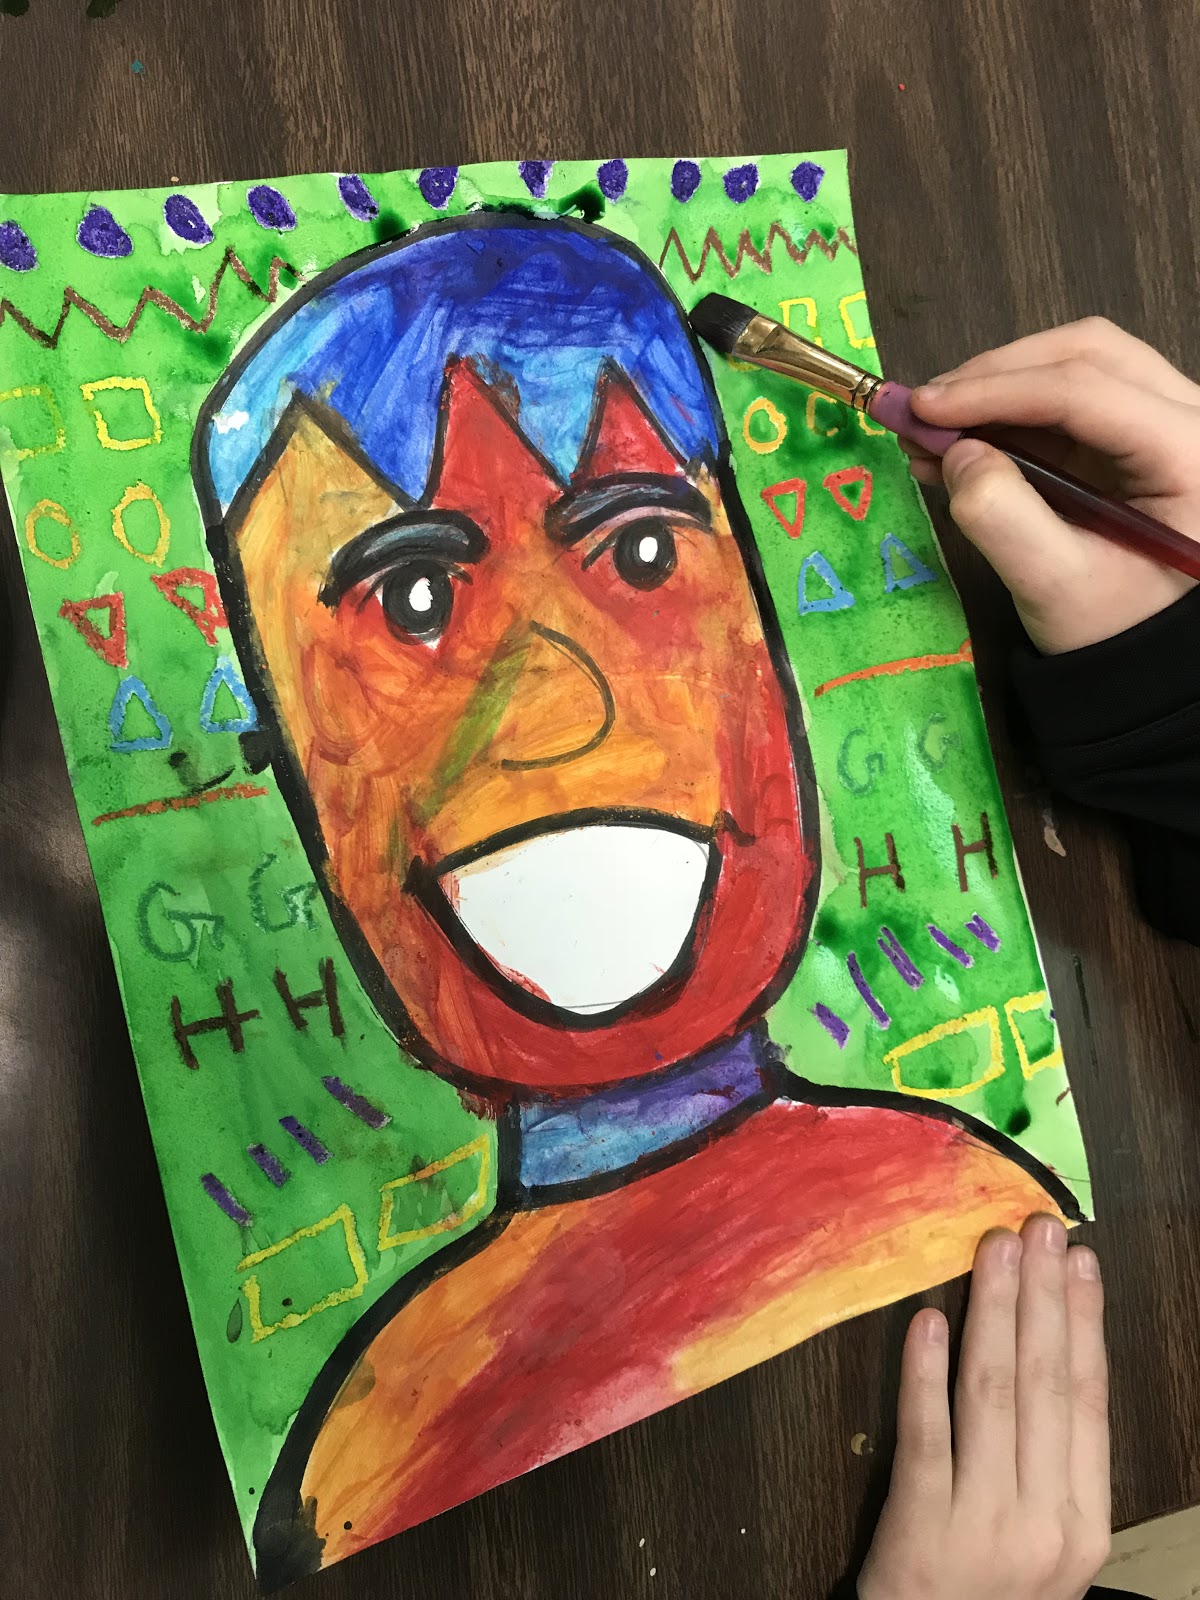
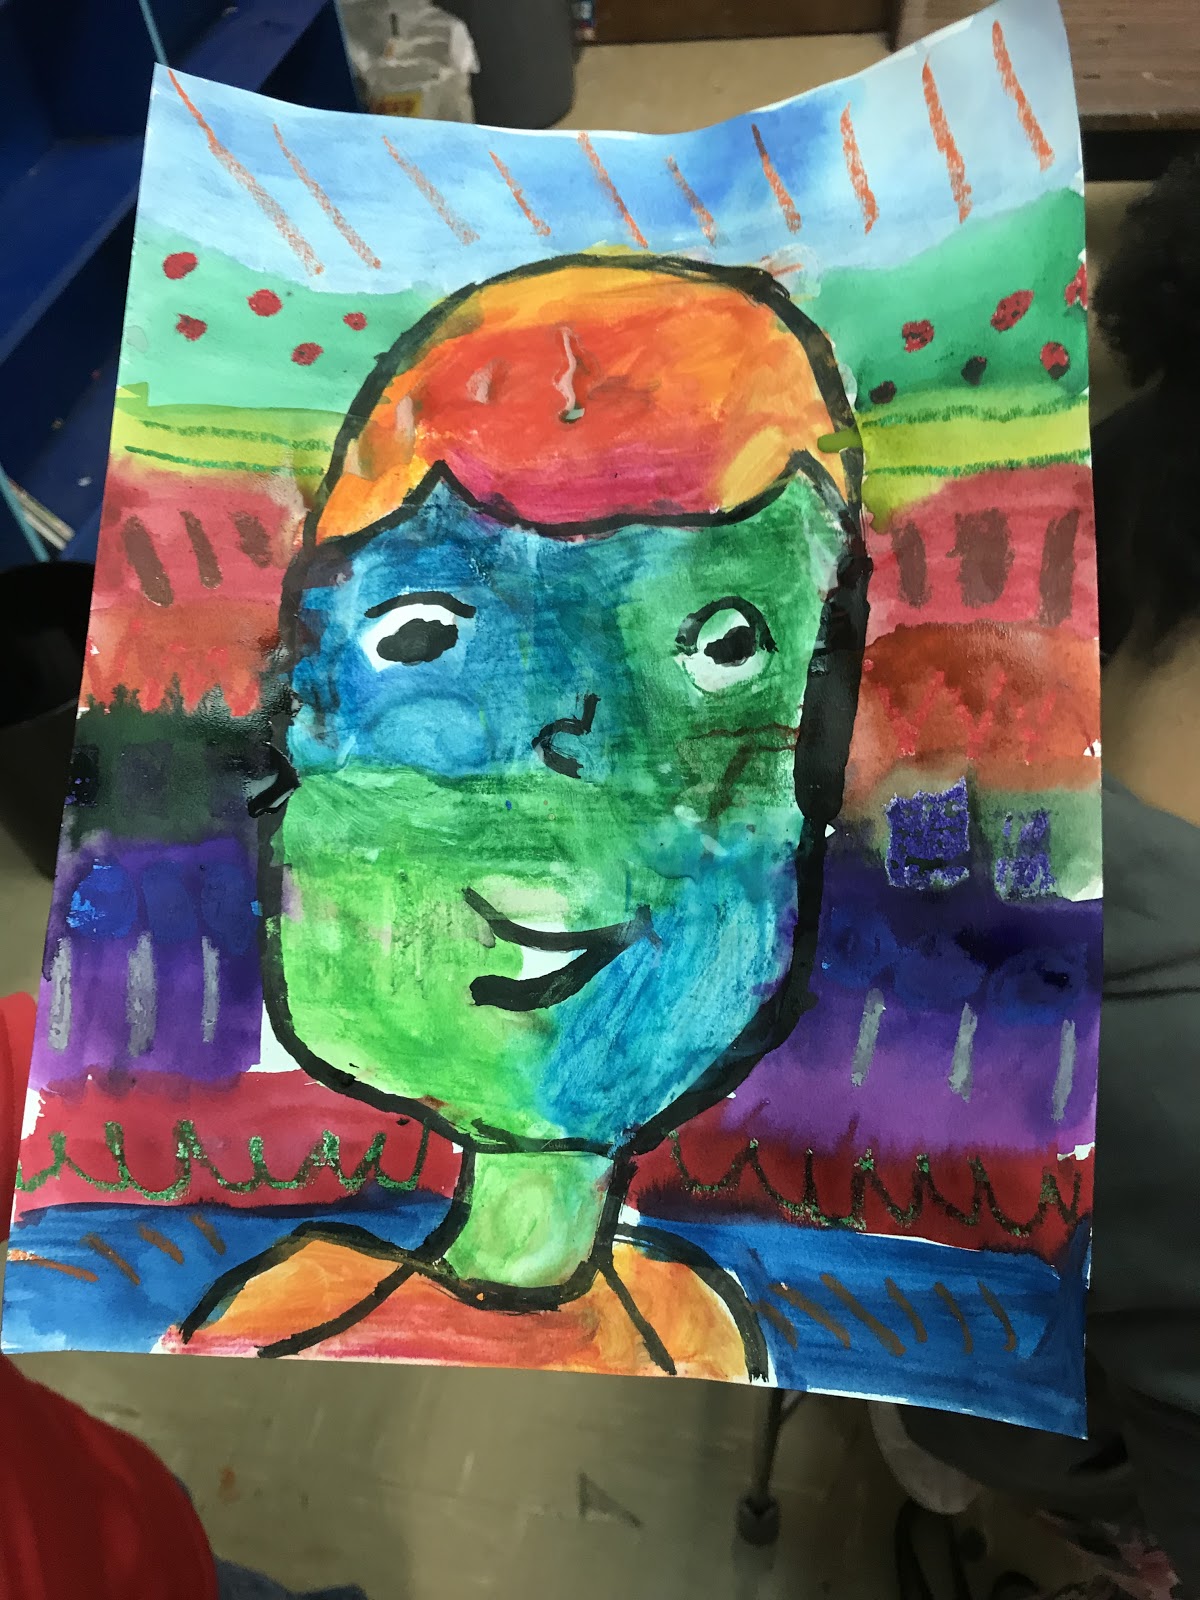
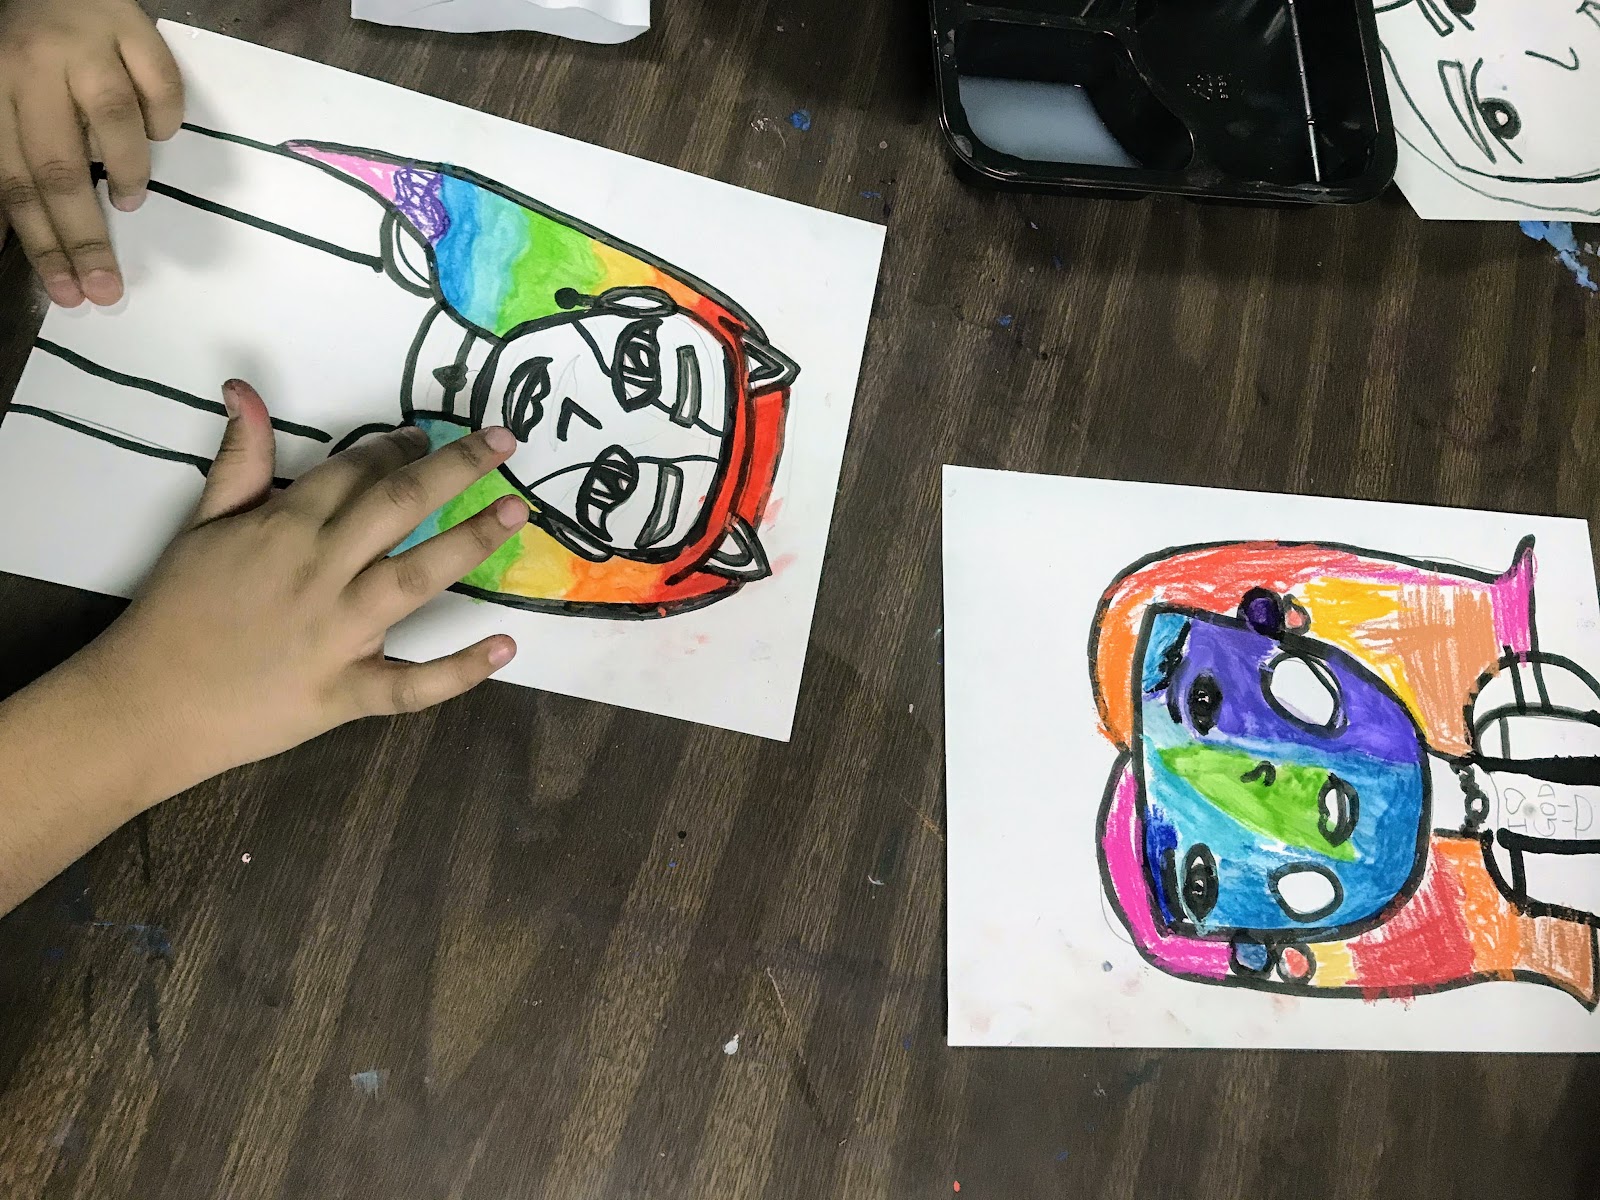
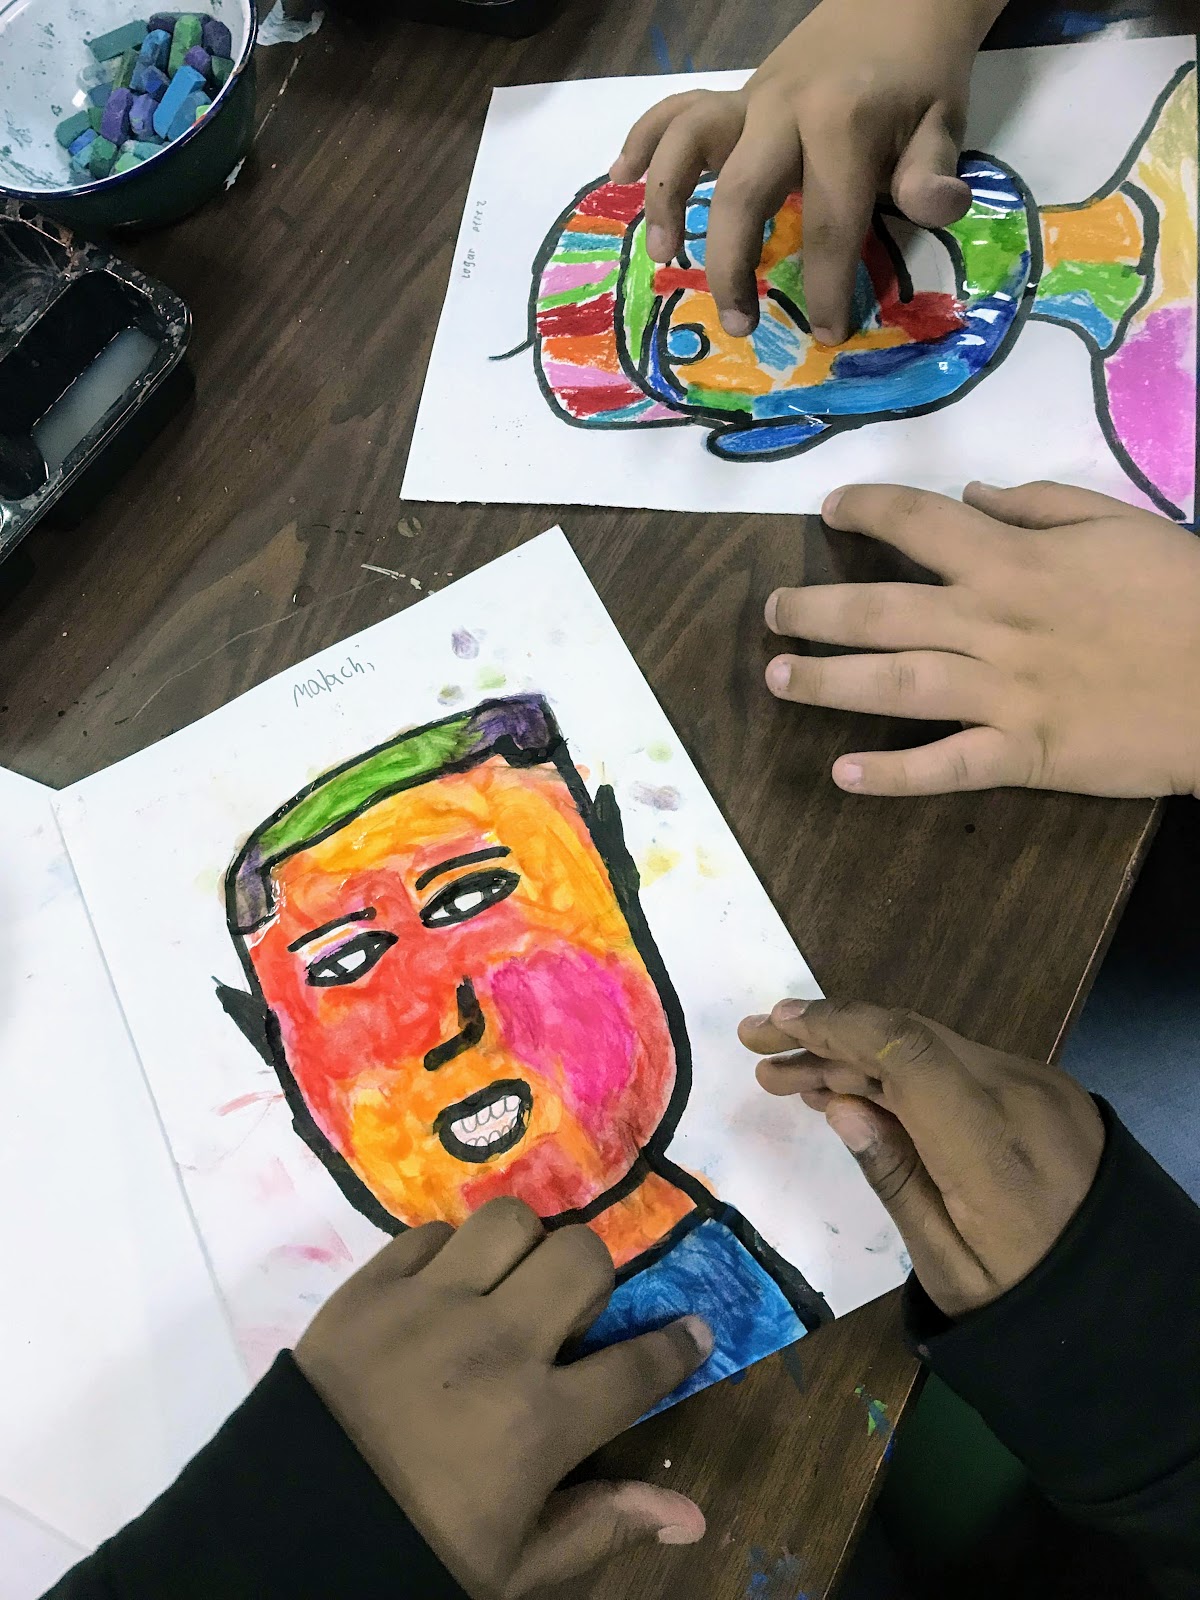
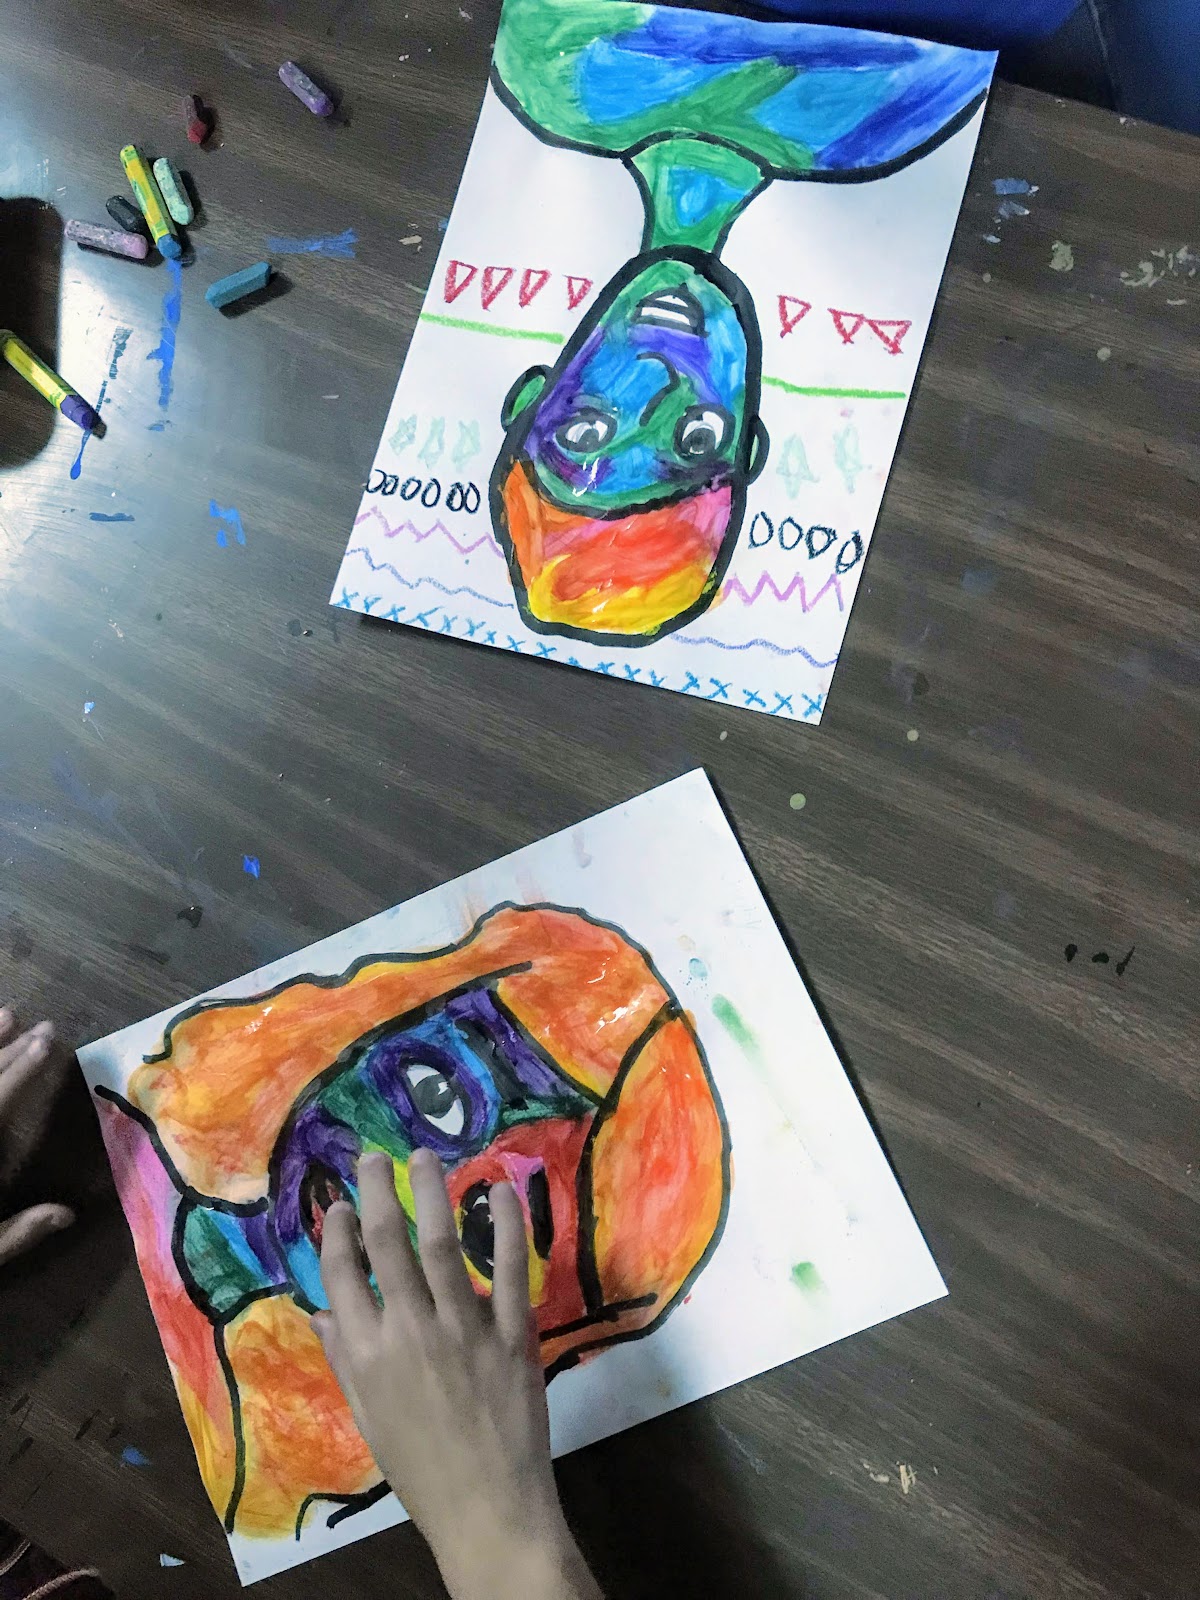
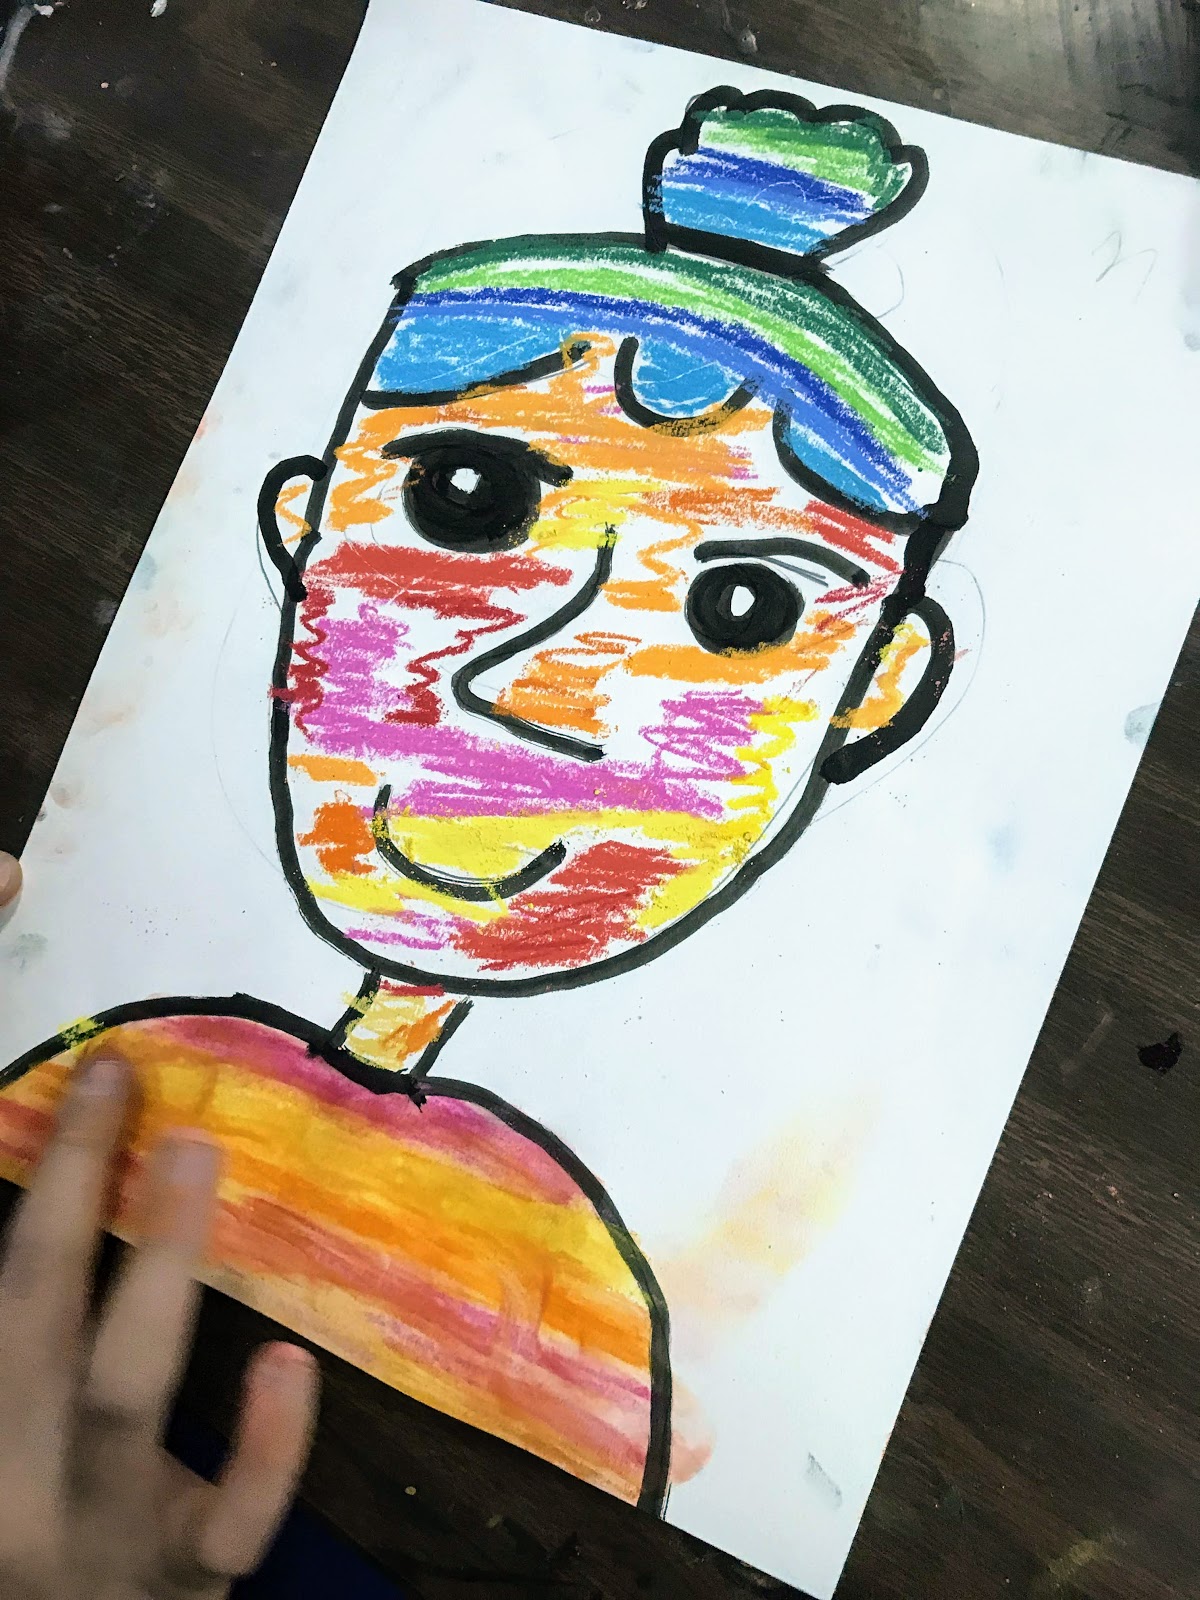
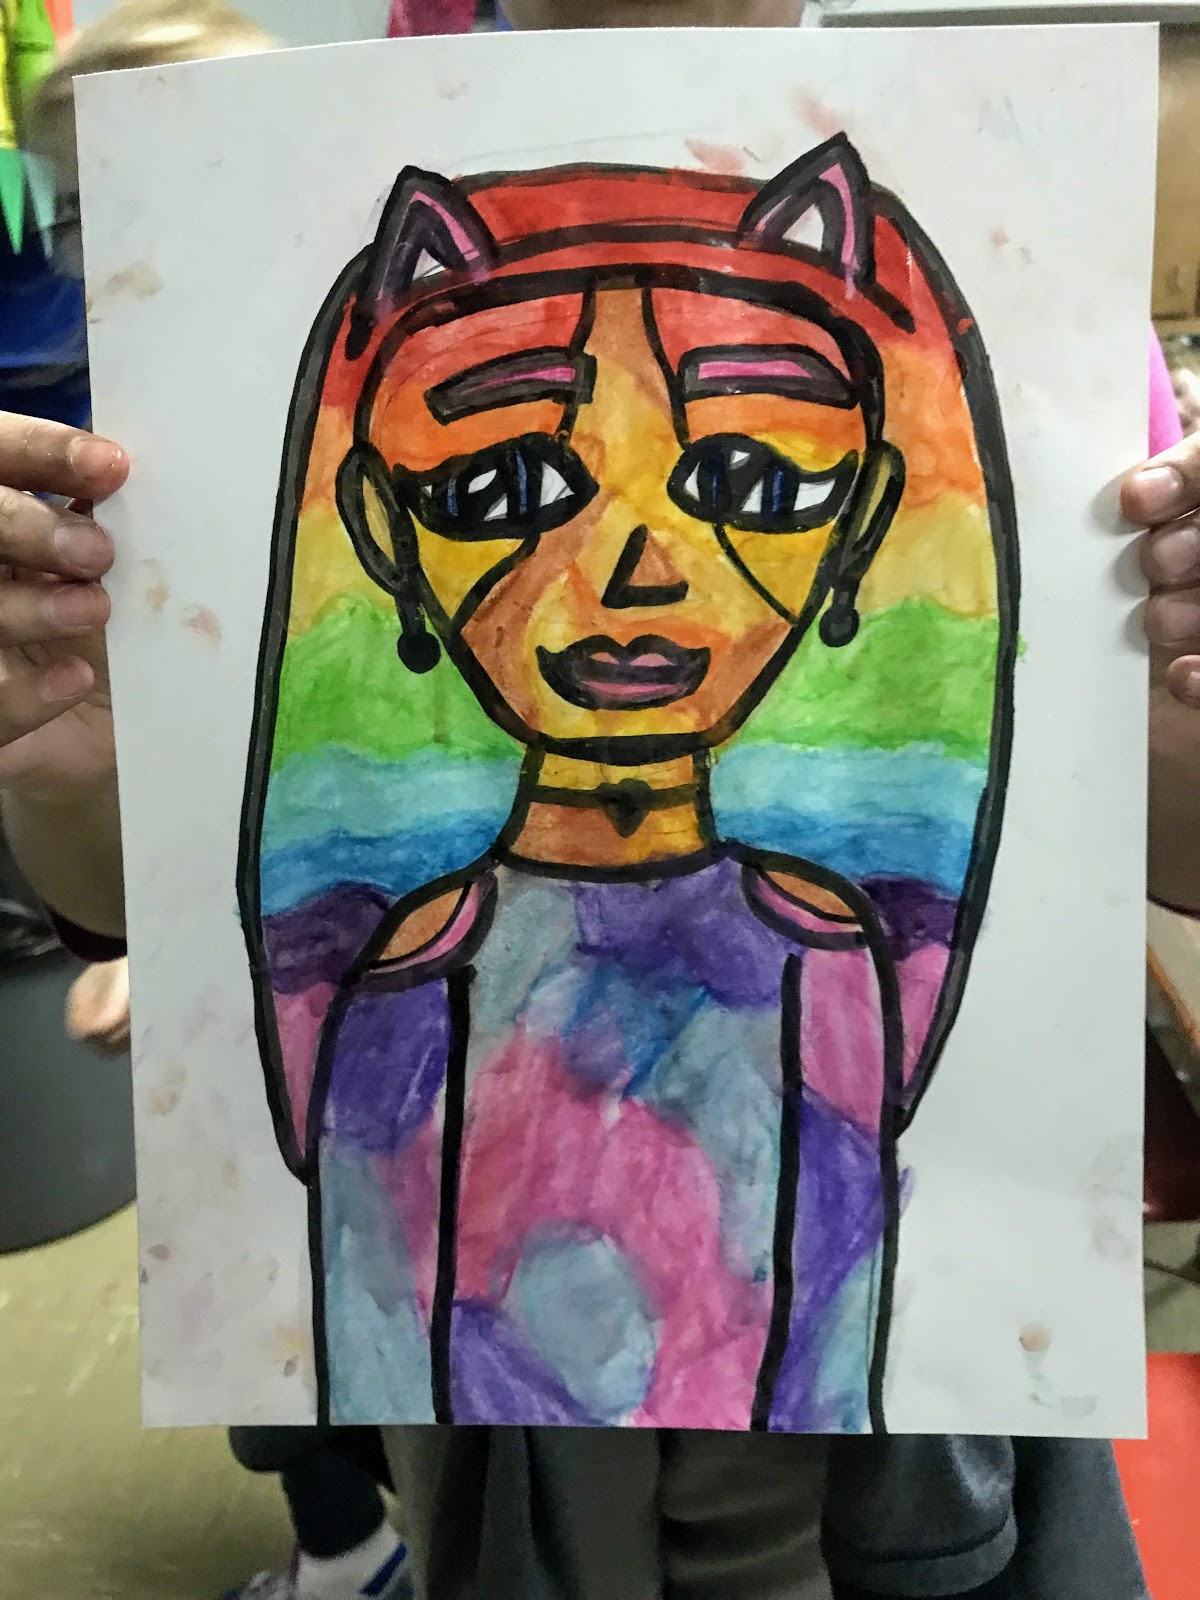
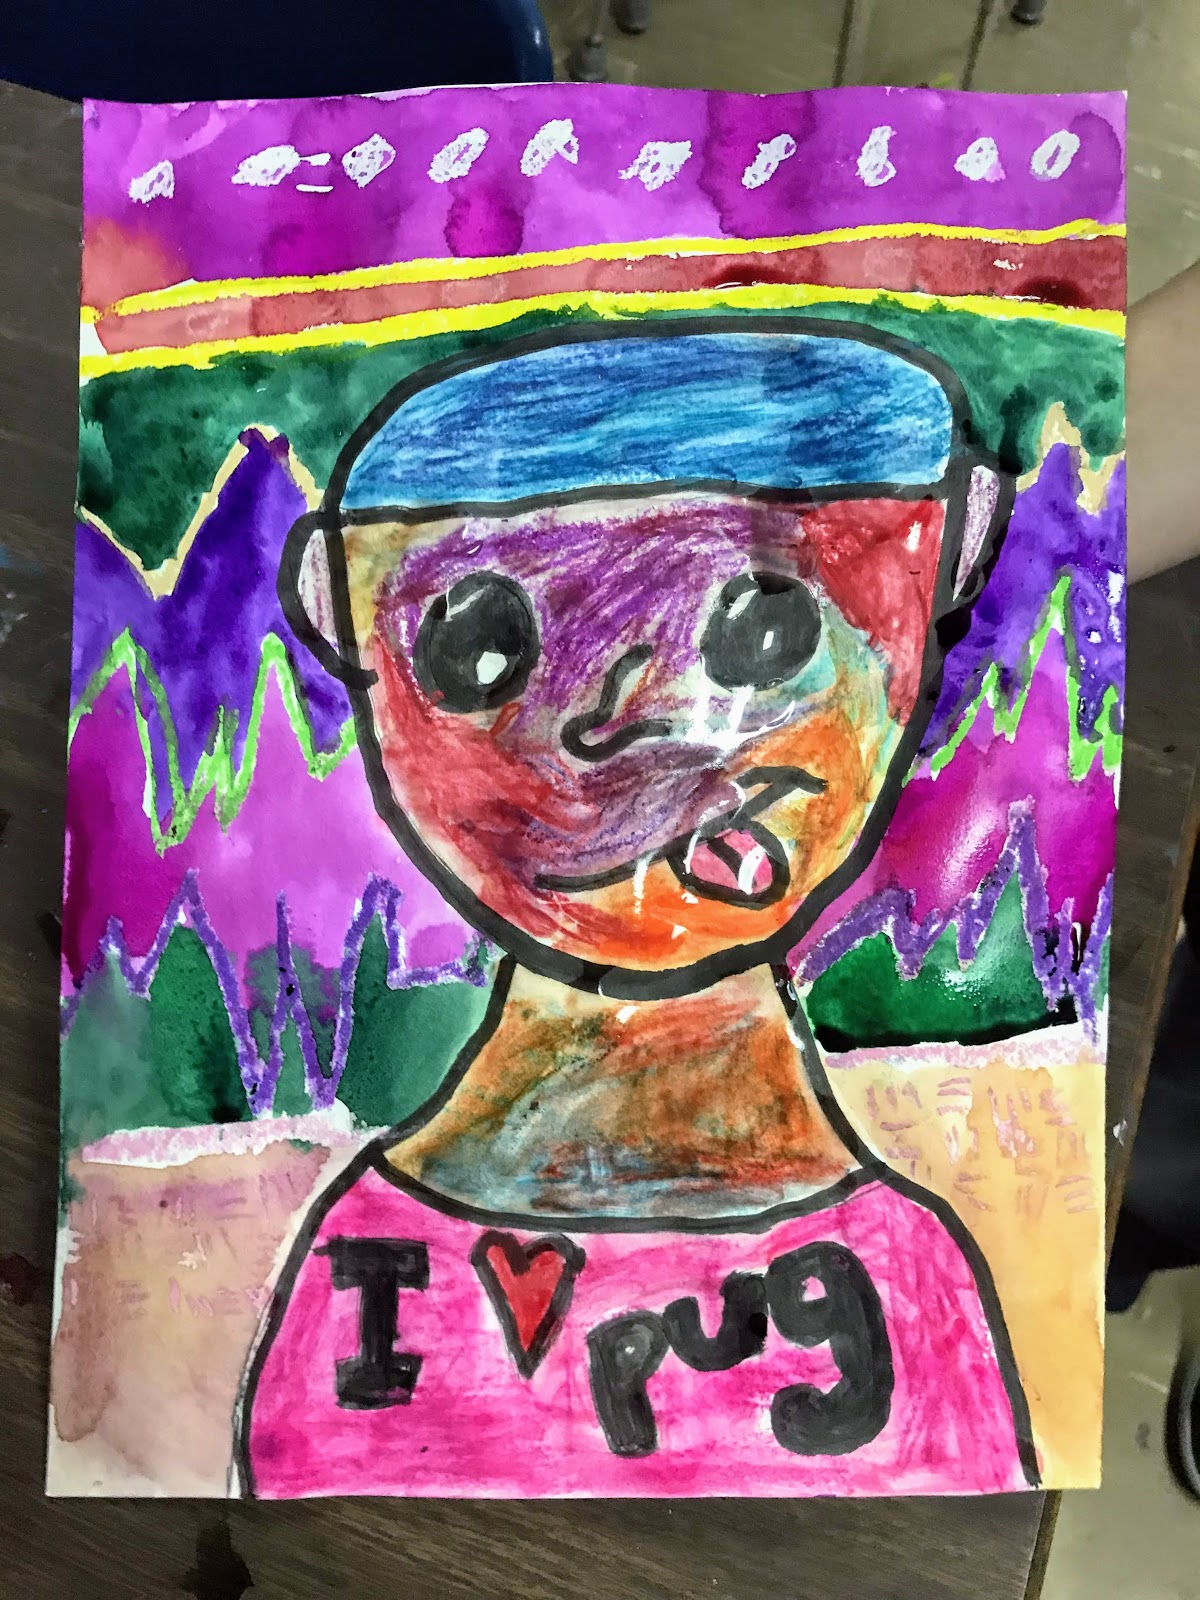
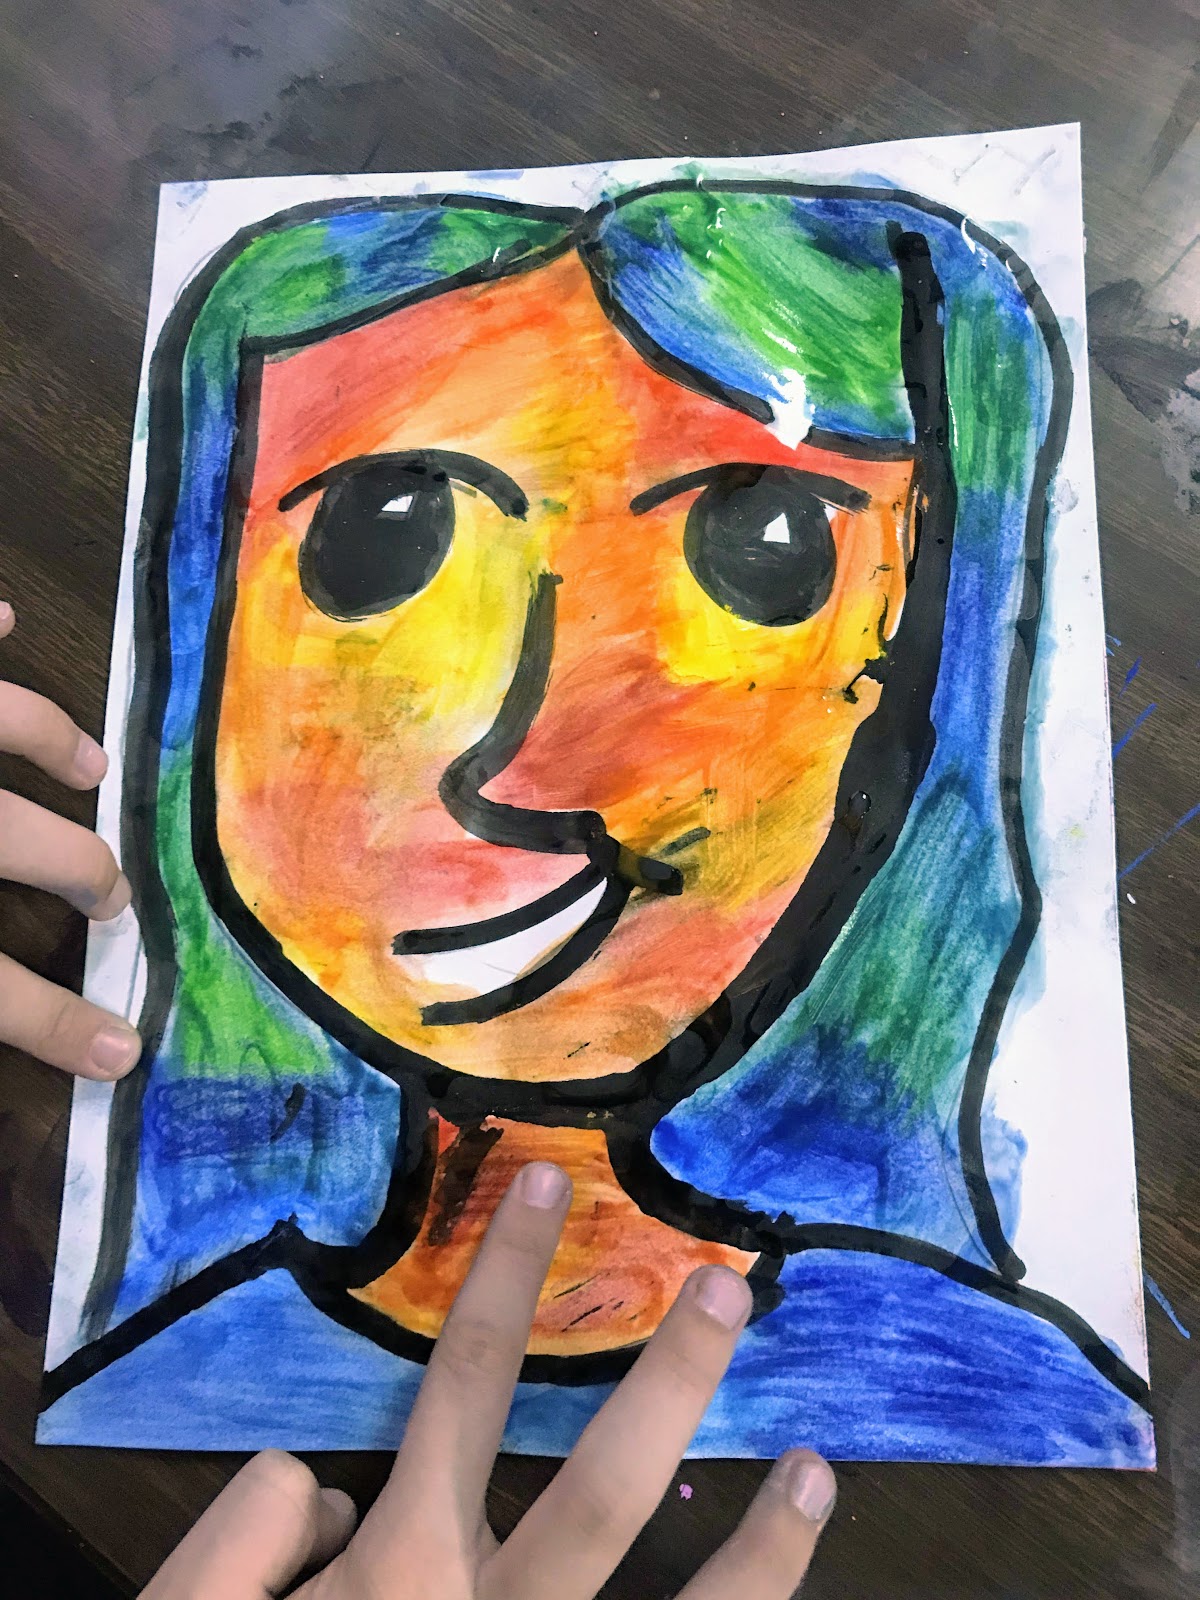
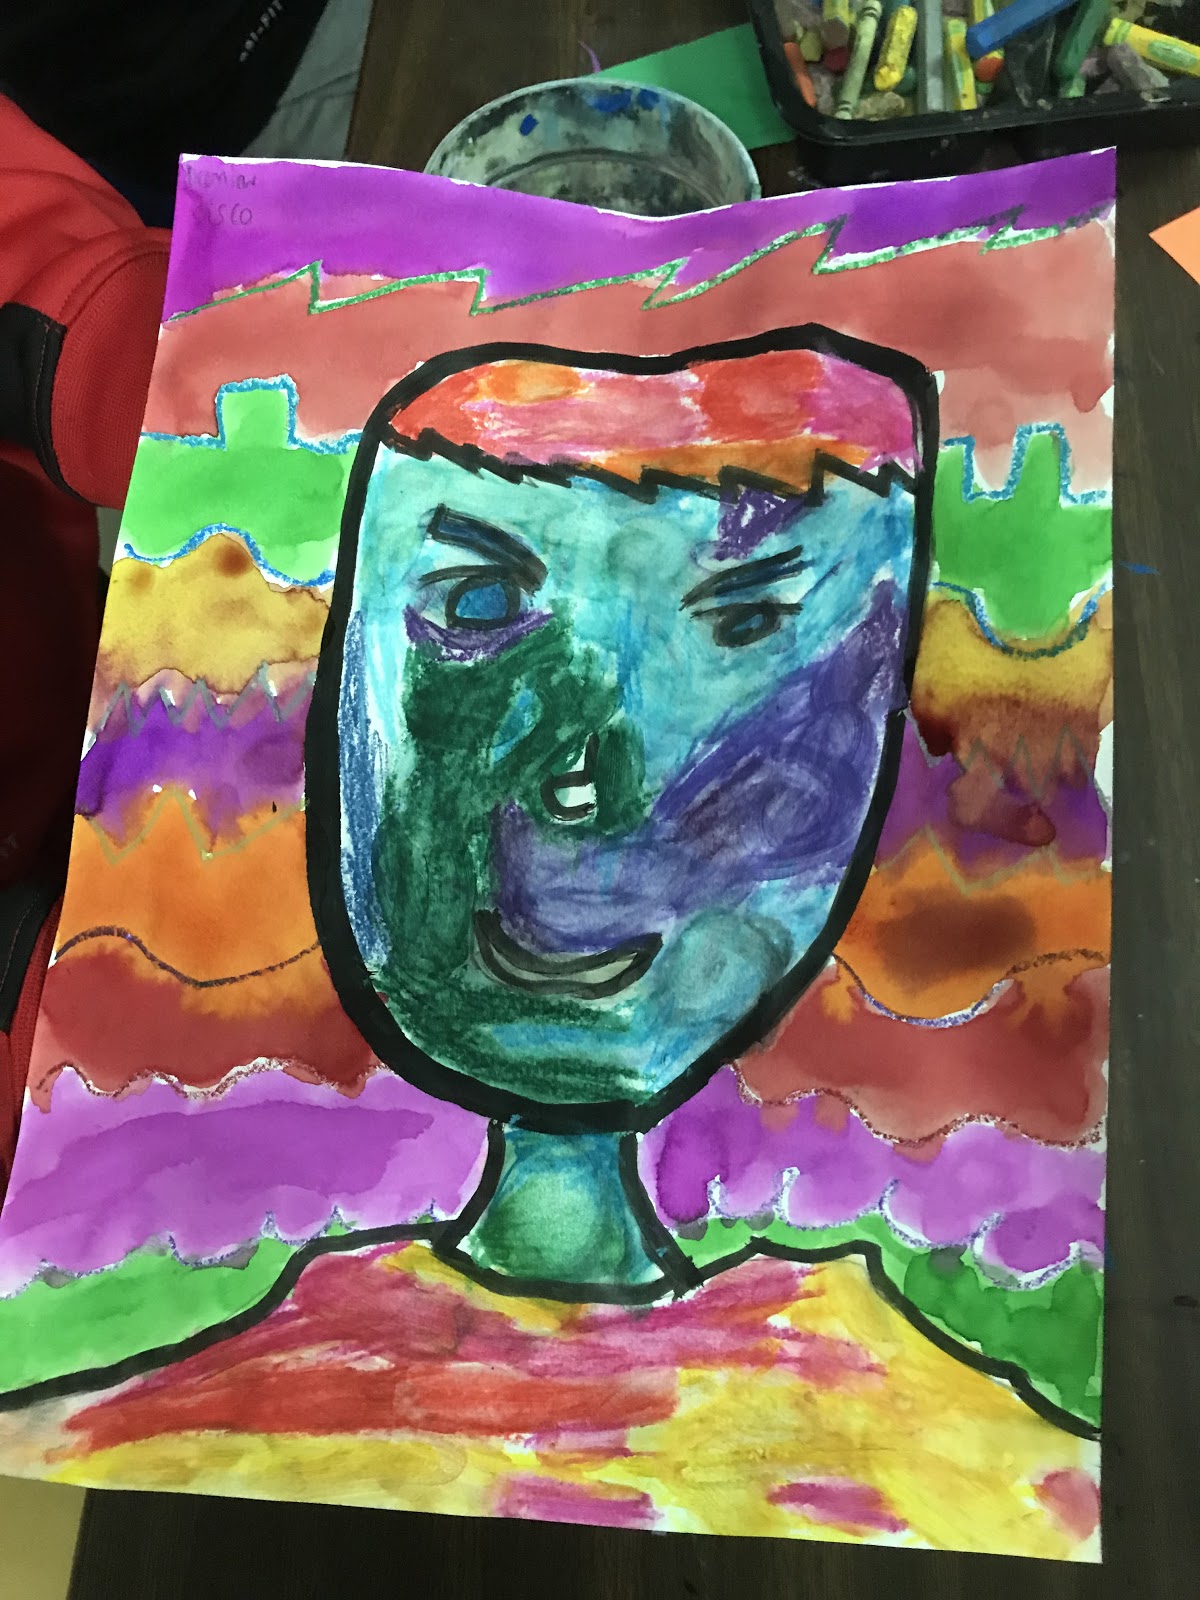
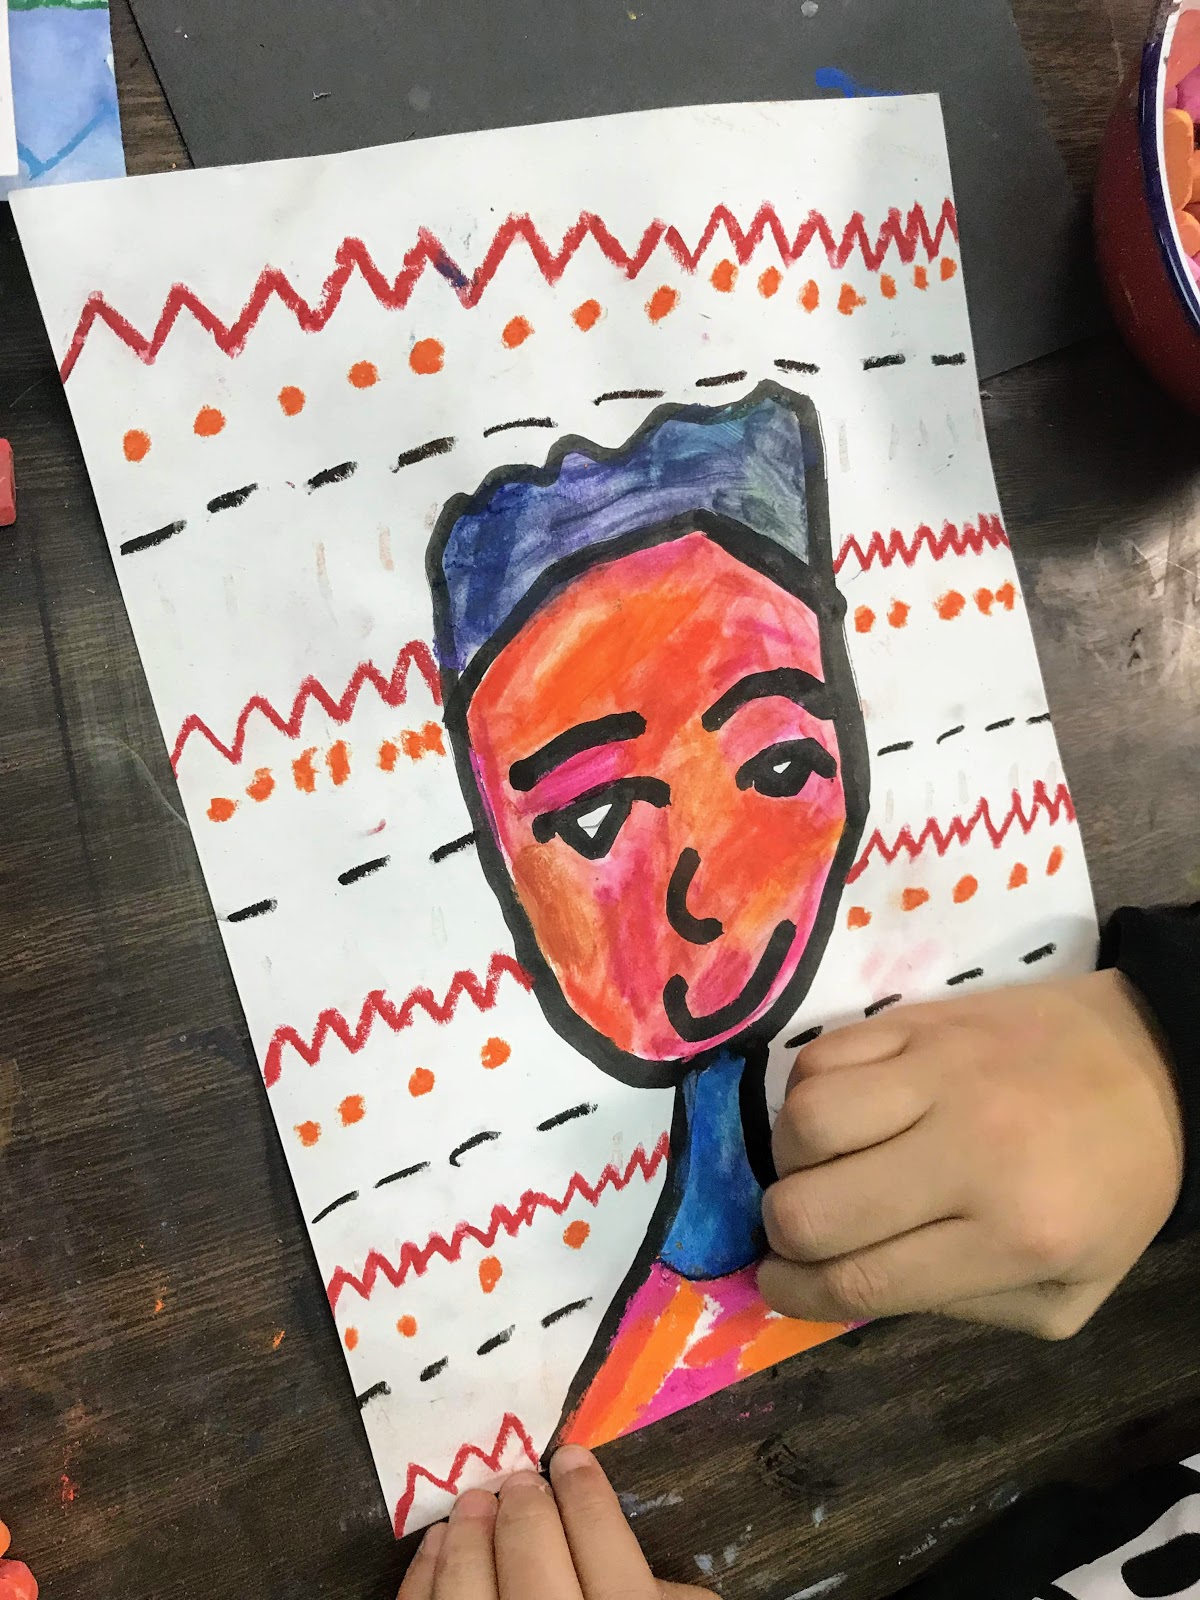
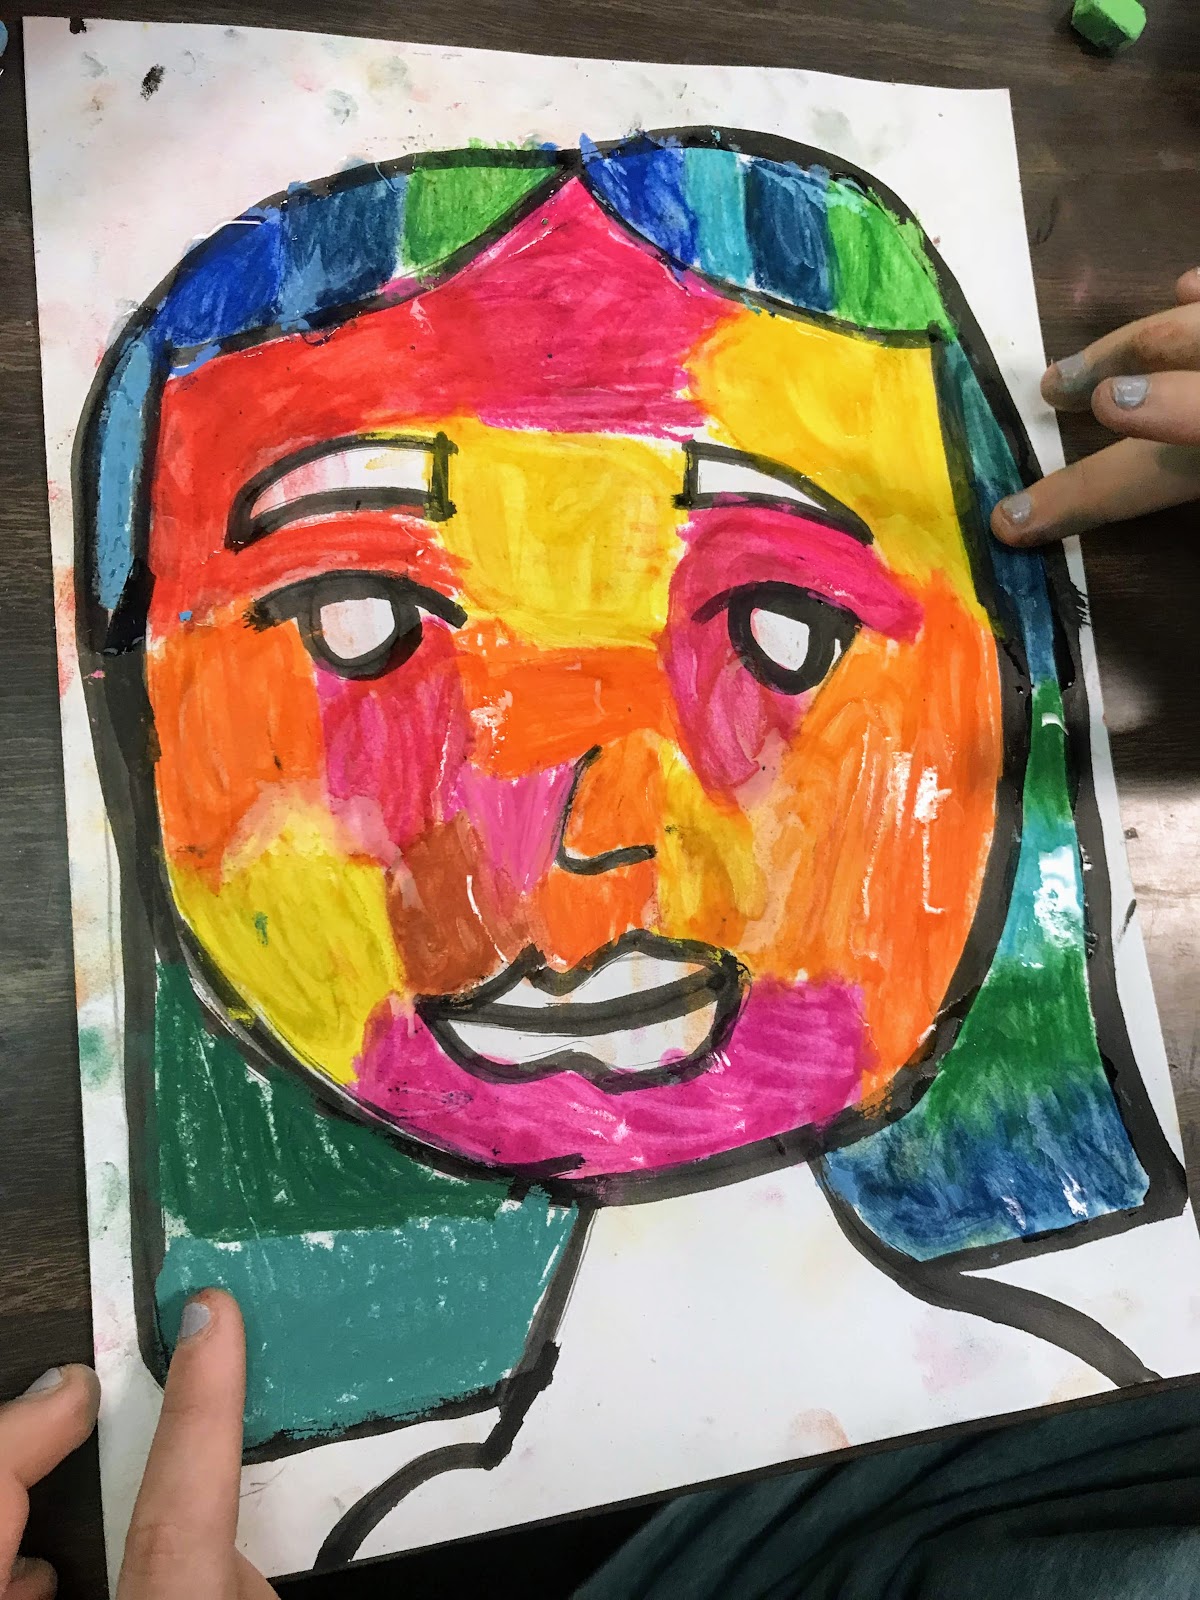
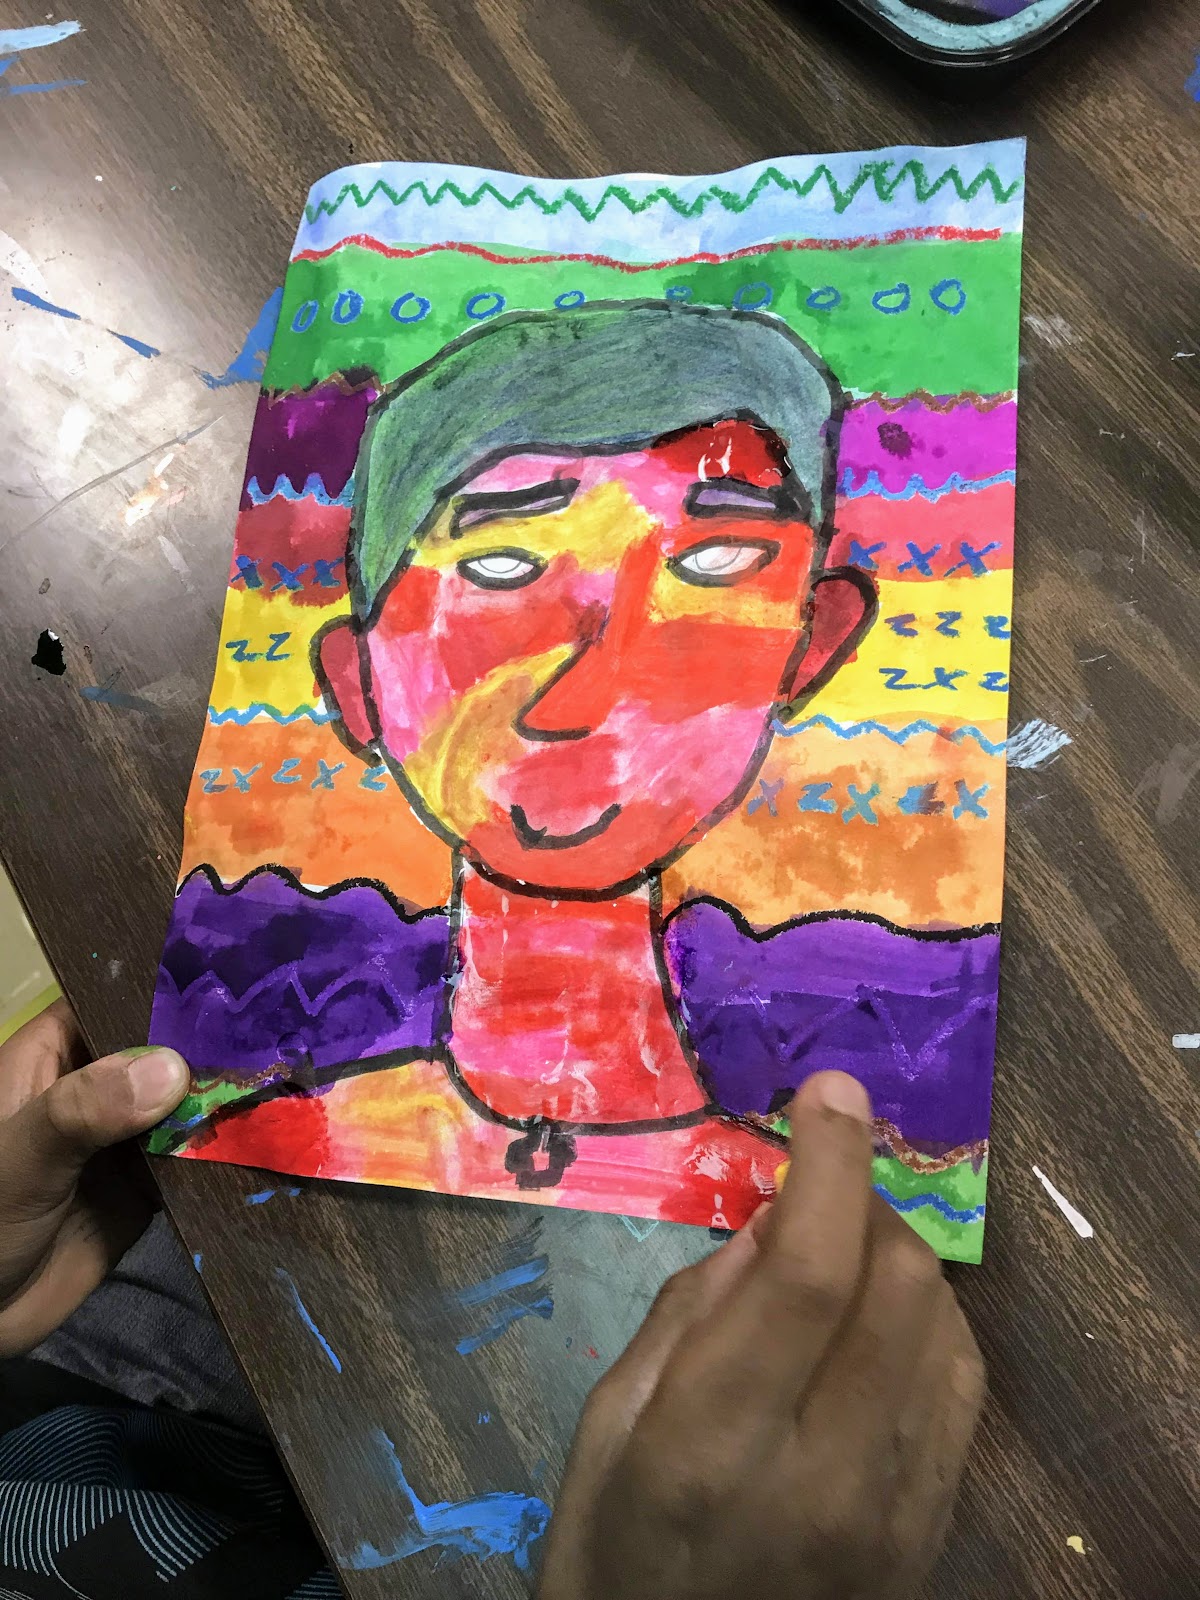
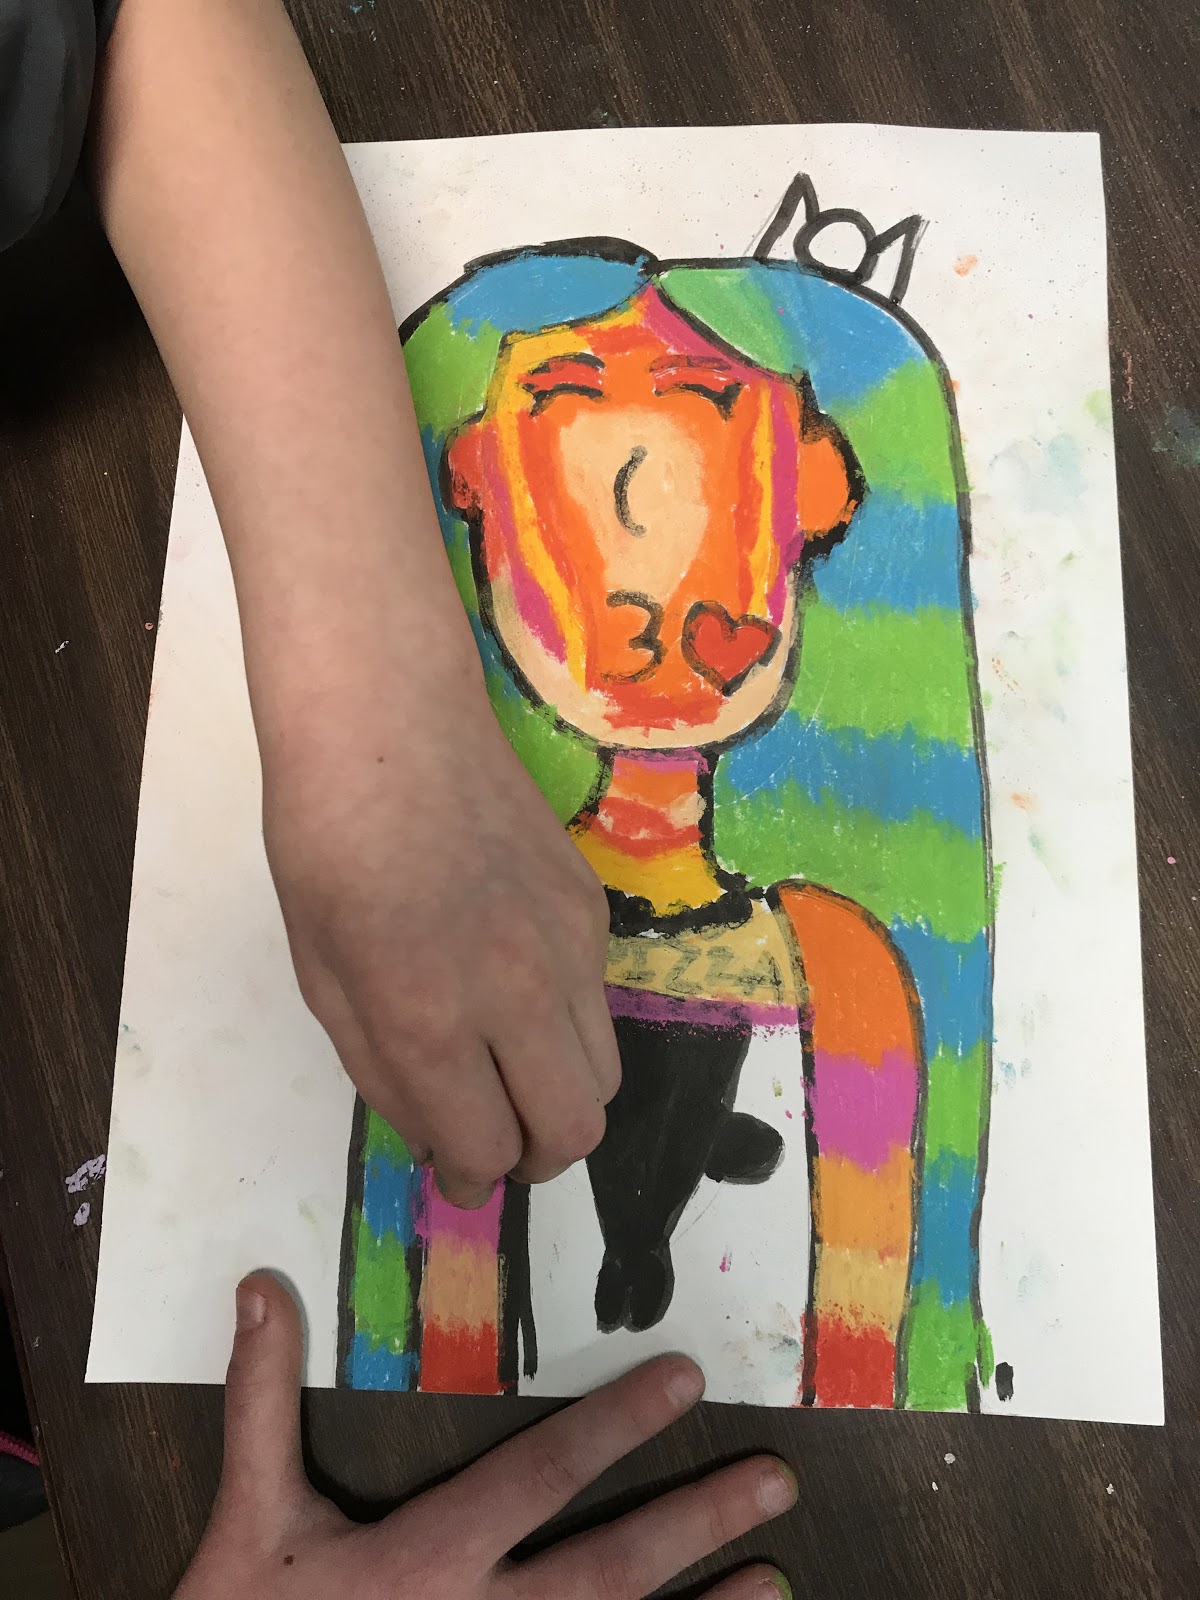
罗杰斯(Rogers)老师的班级同样完成得非常出色!
五年级彩色自画像
Last week, I was inspired by the great Cassie Stephens yet again! Her 4th graders have been creating some Fauvist style self-portraits, and I thought our 5th graders would be great at it to! Here's the link to her original post on the topic! In the Art Room: 4th Grade Fauves
Here's how we made ours.
Materials:
Sargent chalk
Sta-Flo liquid starch
Crayola Oil pastels
Sax liquid watercolors
Day 1: Show them some kid friendly examples of Fauvist art.
Then, I demonstrated how to draw an easy portrait! U for the head shape, simple face, simple hair outline (hair is the trickiest for them), neck, and shoulders.
I instructed them to keep it simple and cartooney. We're not trying to be perfect!
Then we trace with a bingo dauber. This is their first time using this cool little tool, so we had a quick tutorial on how to use them.
After you trace with the bingo dauber, you're ready to use chalk! I asked my students to use cool colors for one area, and warm colors for another. ex: cool colors for the face so warm colors for the hair (so it's not a muddy mess)
Then use the Sta-Flo (Stay-flo btw. All the kids keep telling me it's Stah-flo...uh no)
to blend the chalk with your finger! You dip it in the STAY-flo, lol, and then rub it on the chalk. I like to tell them to do one color at a time, so your colors stay nice and bright.
Day 2: Work on background! Use oil pastels to neatly and darkly add patterns and lines. Then go over them with liquid watercolors. We tried the pan of Prang watercolors, and the colors were not near as bright!
Here's Mrs. Kilby's class, hard at work on theirs!
Mrs. Rogers' class is doing a great job as well!