二年级超值甜筒冰淇淋
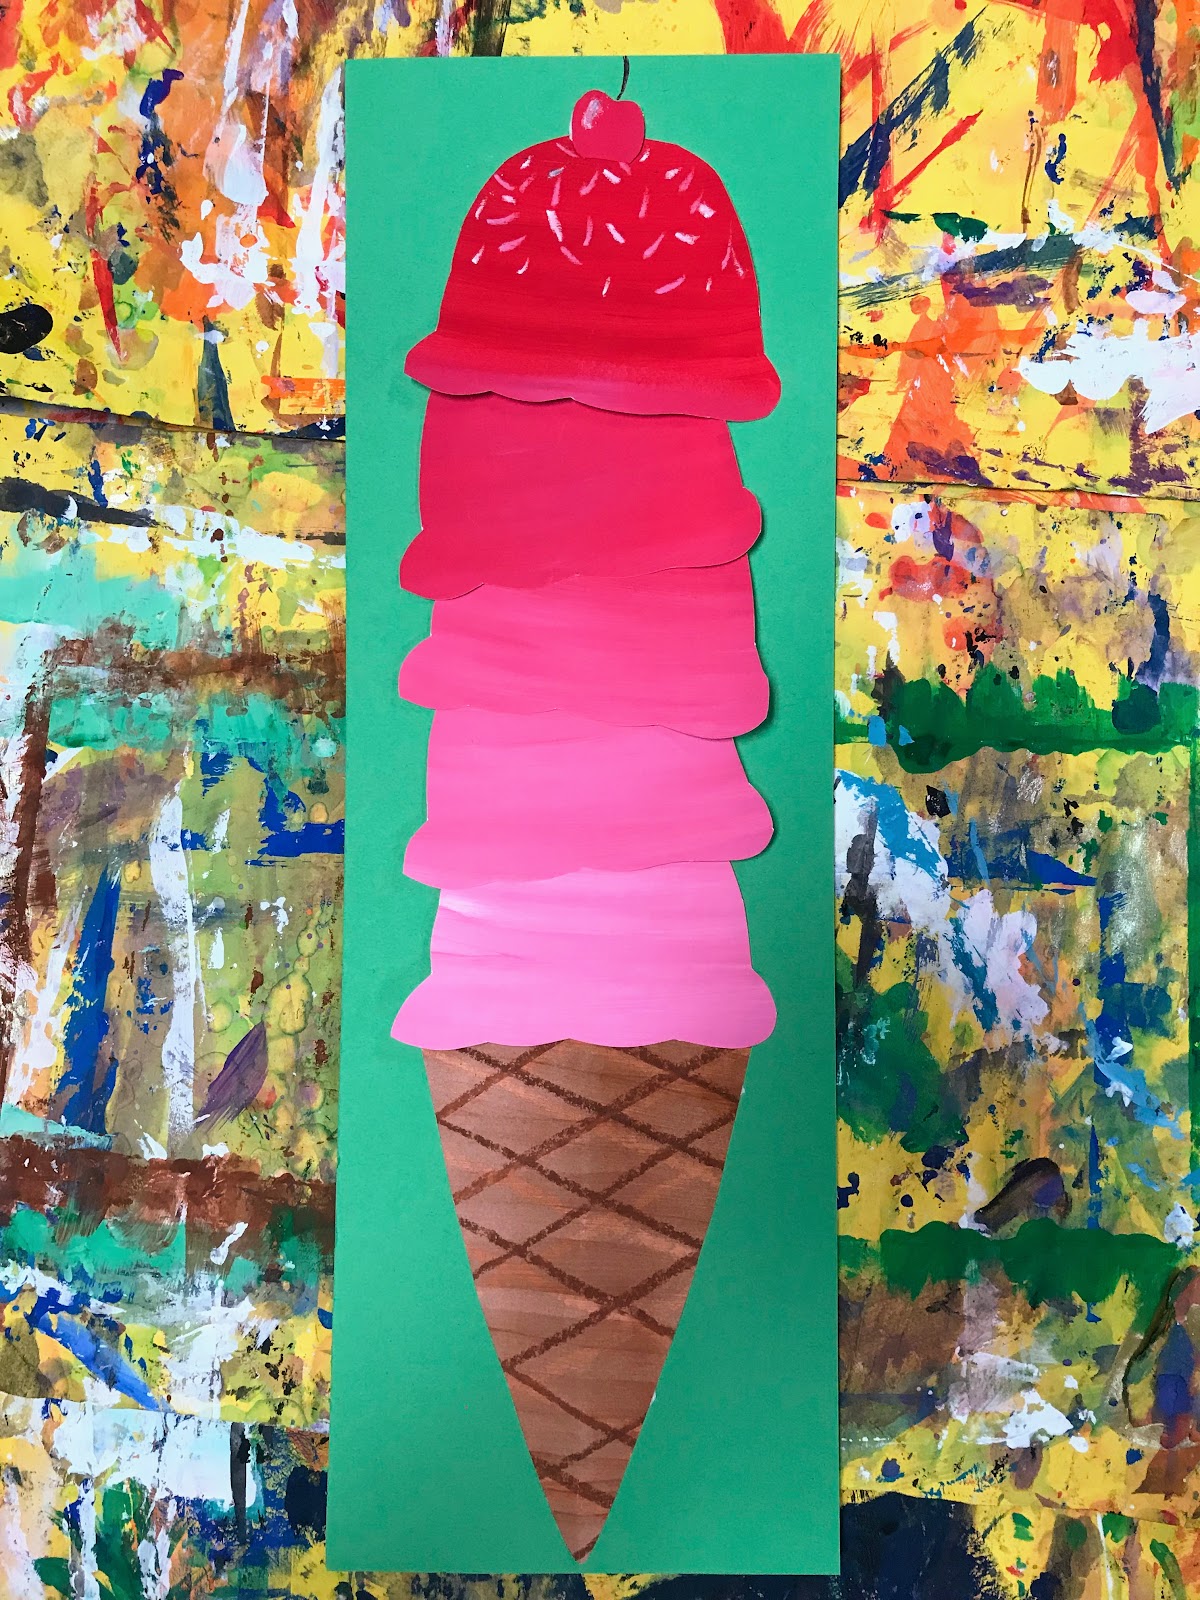
今天,二年级学生开启了一个全新项目!这对我来说也是全新的,对他们而言当然更是如此!我在艾比·舒凯(Abby Schukei)的博客 Art, Eat, Tie Dye, Repeat 上看到这个超棒的创意,便决定尝试一下!
以下是我们的制作步骤!
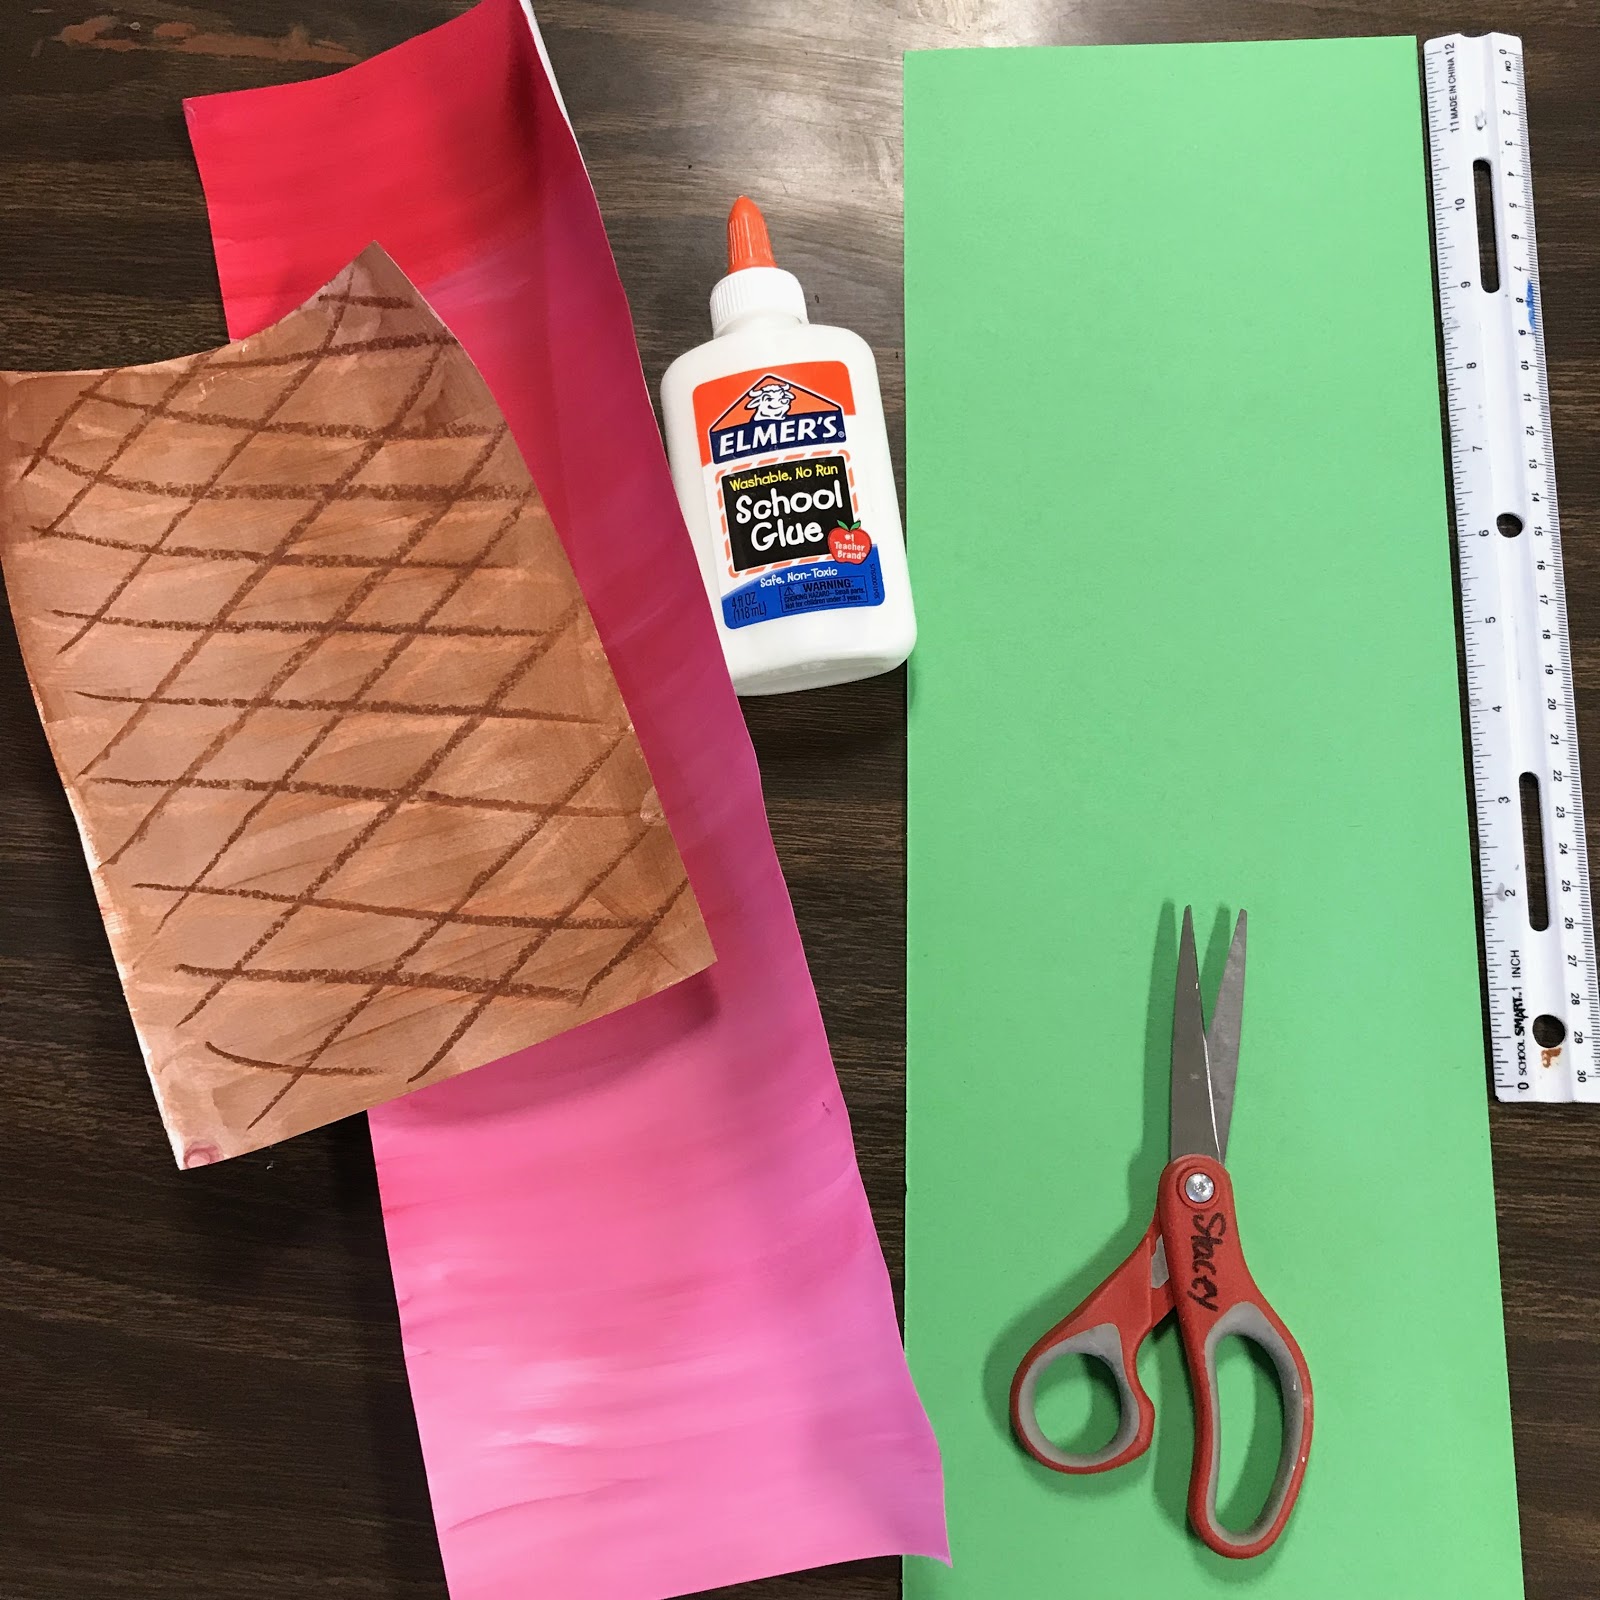
材料:
90磅重、6×18英寸纸张
6×18英寸 Tru Ray 彩色卡纸
Crayola 油画棒
Fiskar 剪刀
铅笔
Big Kid's Choice 平头画笔
Crayola Artista II 蛋彩颜料
第一天:讲解美术元素之一——明度(VALUE)!明度超级重要哦,各位!明度指一种颜色的明暗变化。我们用明度来表现明暗/排线,让画面看起来更加精彩绝伦!;) 我喜欢说:明度增添“价值”($Value$)!再举一个明度的例子……比如当下大热的 渐变色(Ombre) 风潮?它无处不在!你甚至可以从头到脚都玩渐变色呢!
那么,今天我们就要制作渐变色冰淇淋!哈哈
今天,我们重点学习“亮部”,也就是“浅色调(TINTS)”。我告诉孩子们,这可不是你睡觉用的帐篷(tent)哦!浅色调是指在一种颜色中加入白色;(深色调(shade)则是在颜色中加入黑色,但今天我们不涉及)
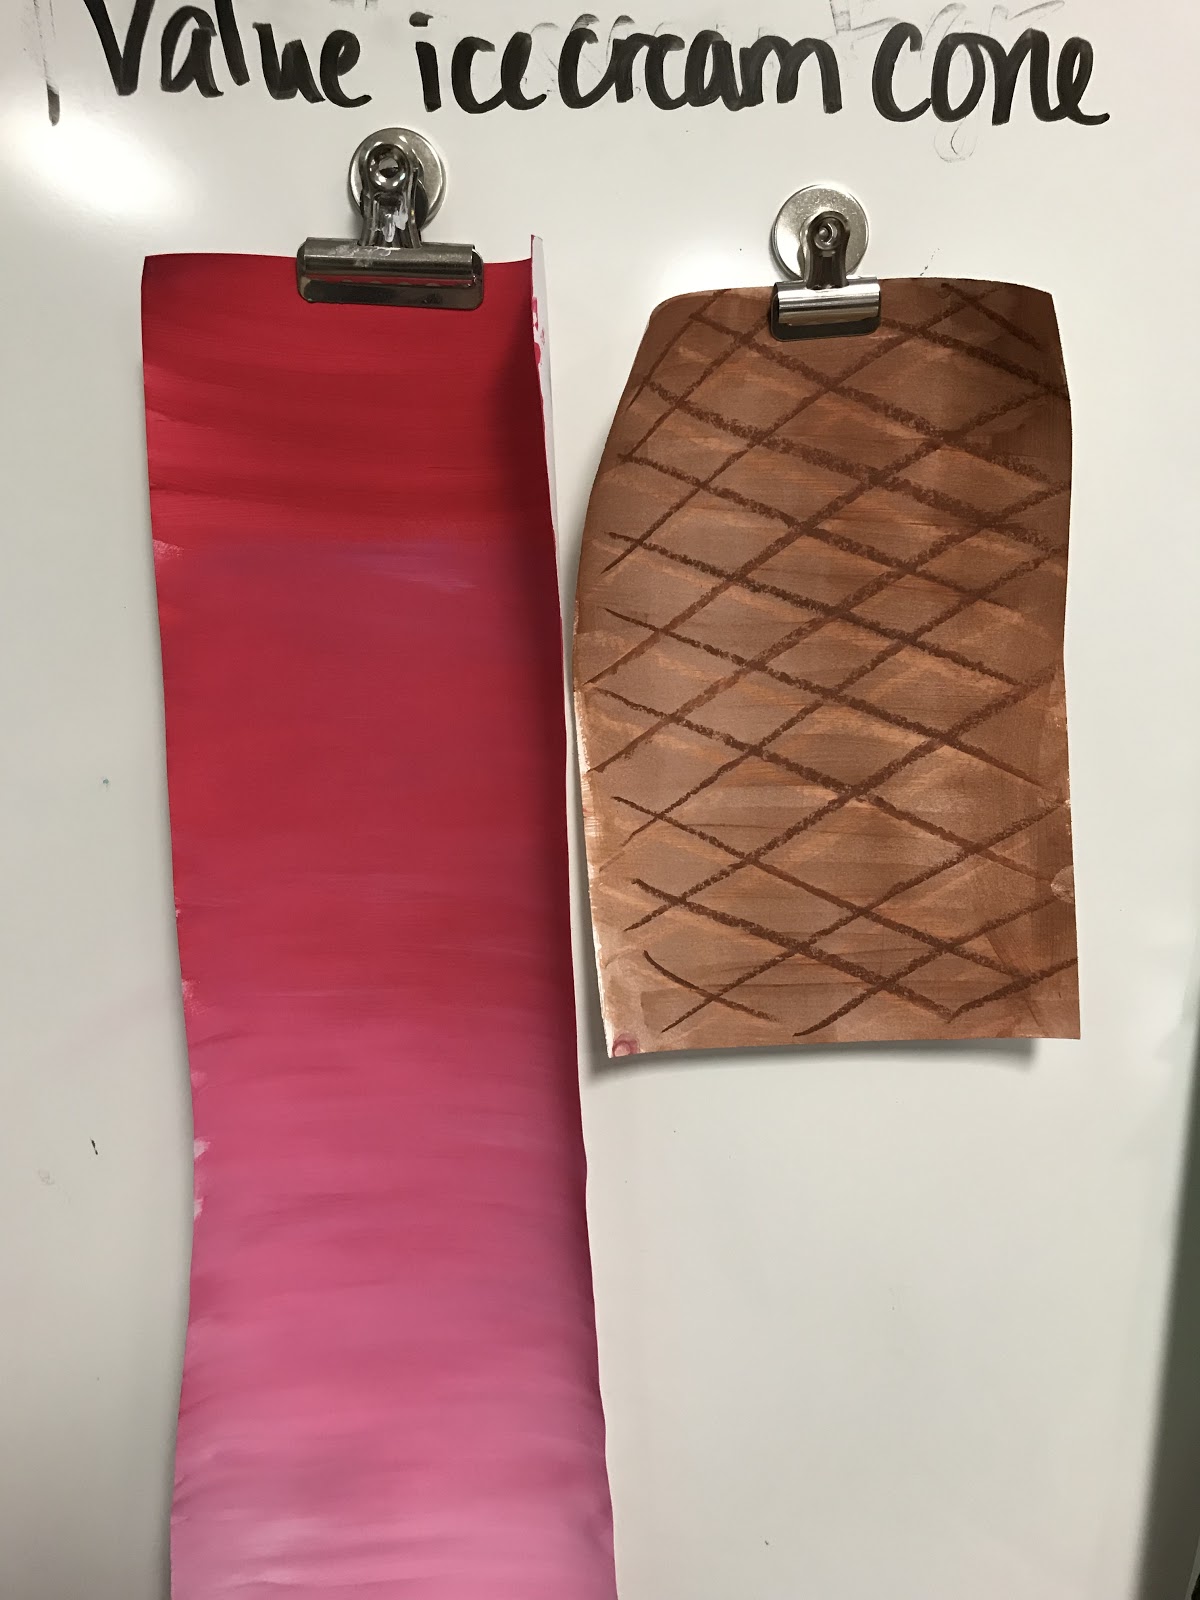
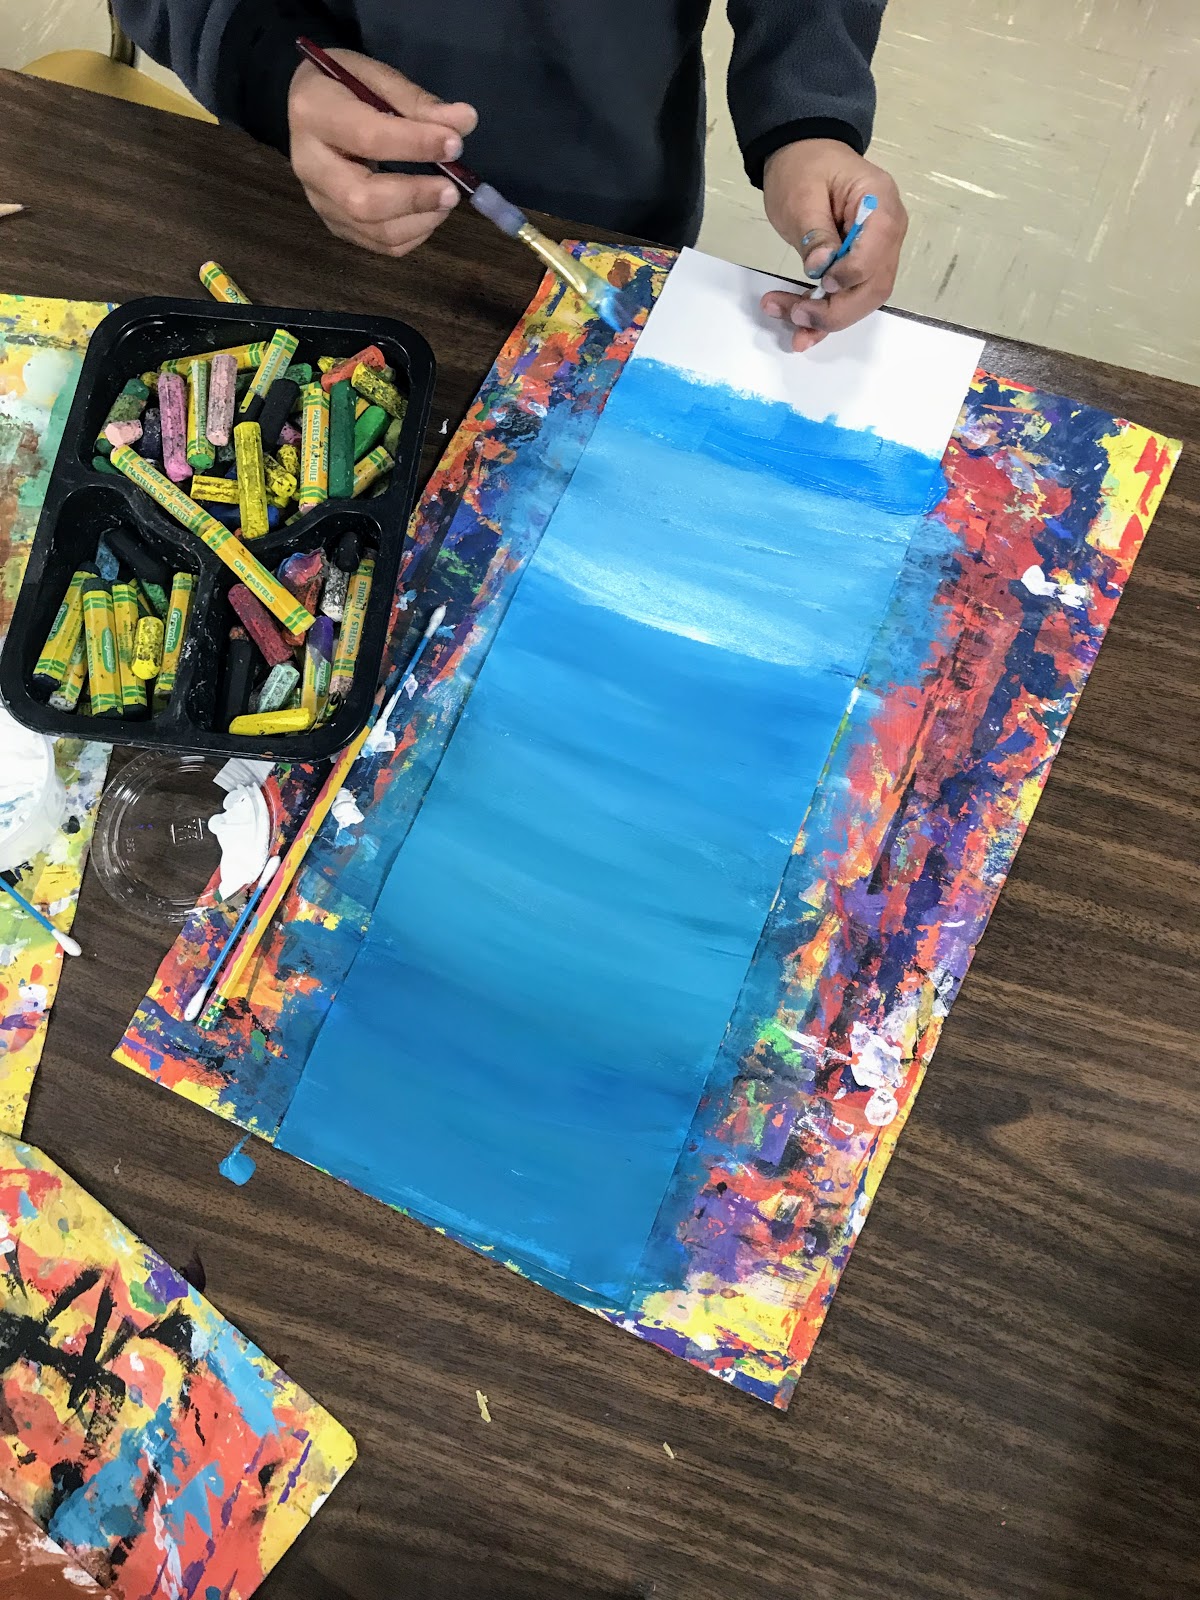
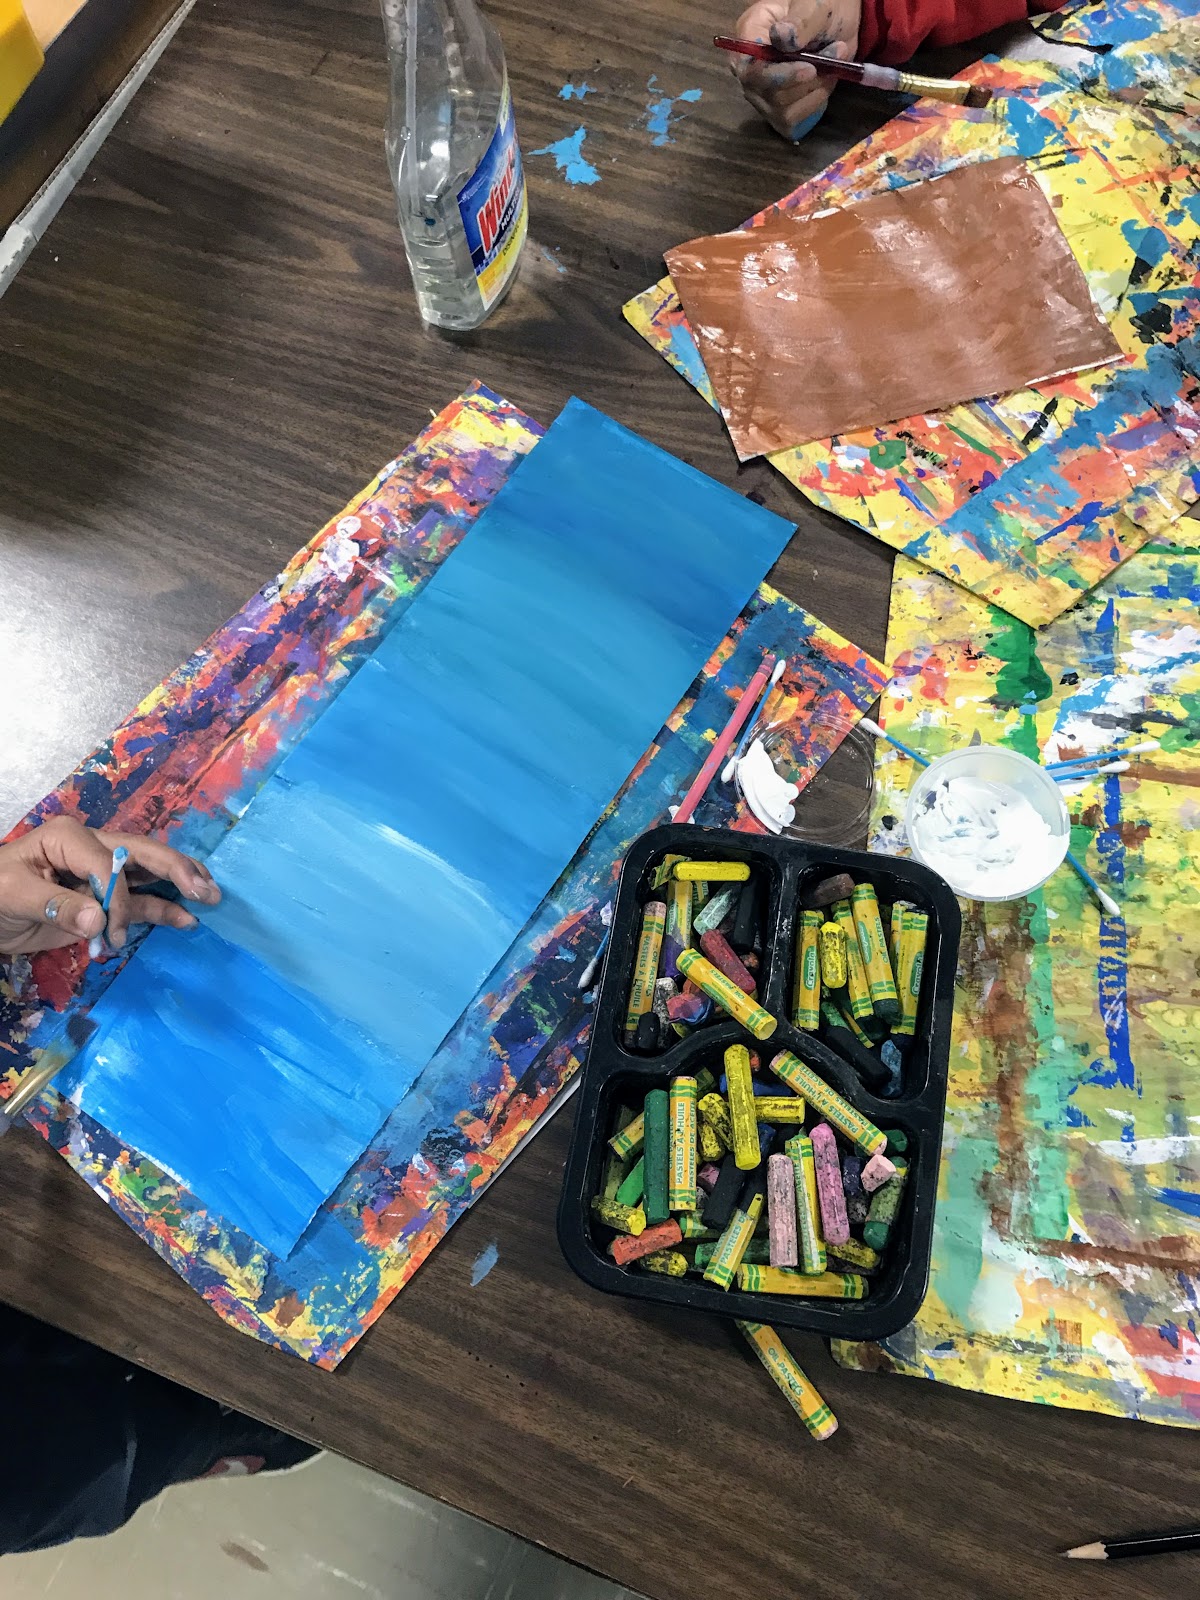
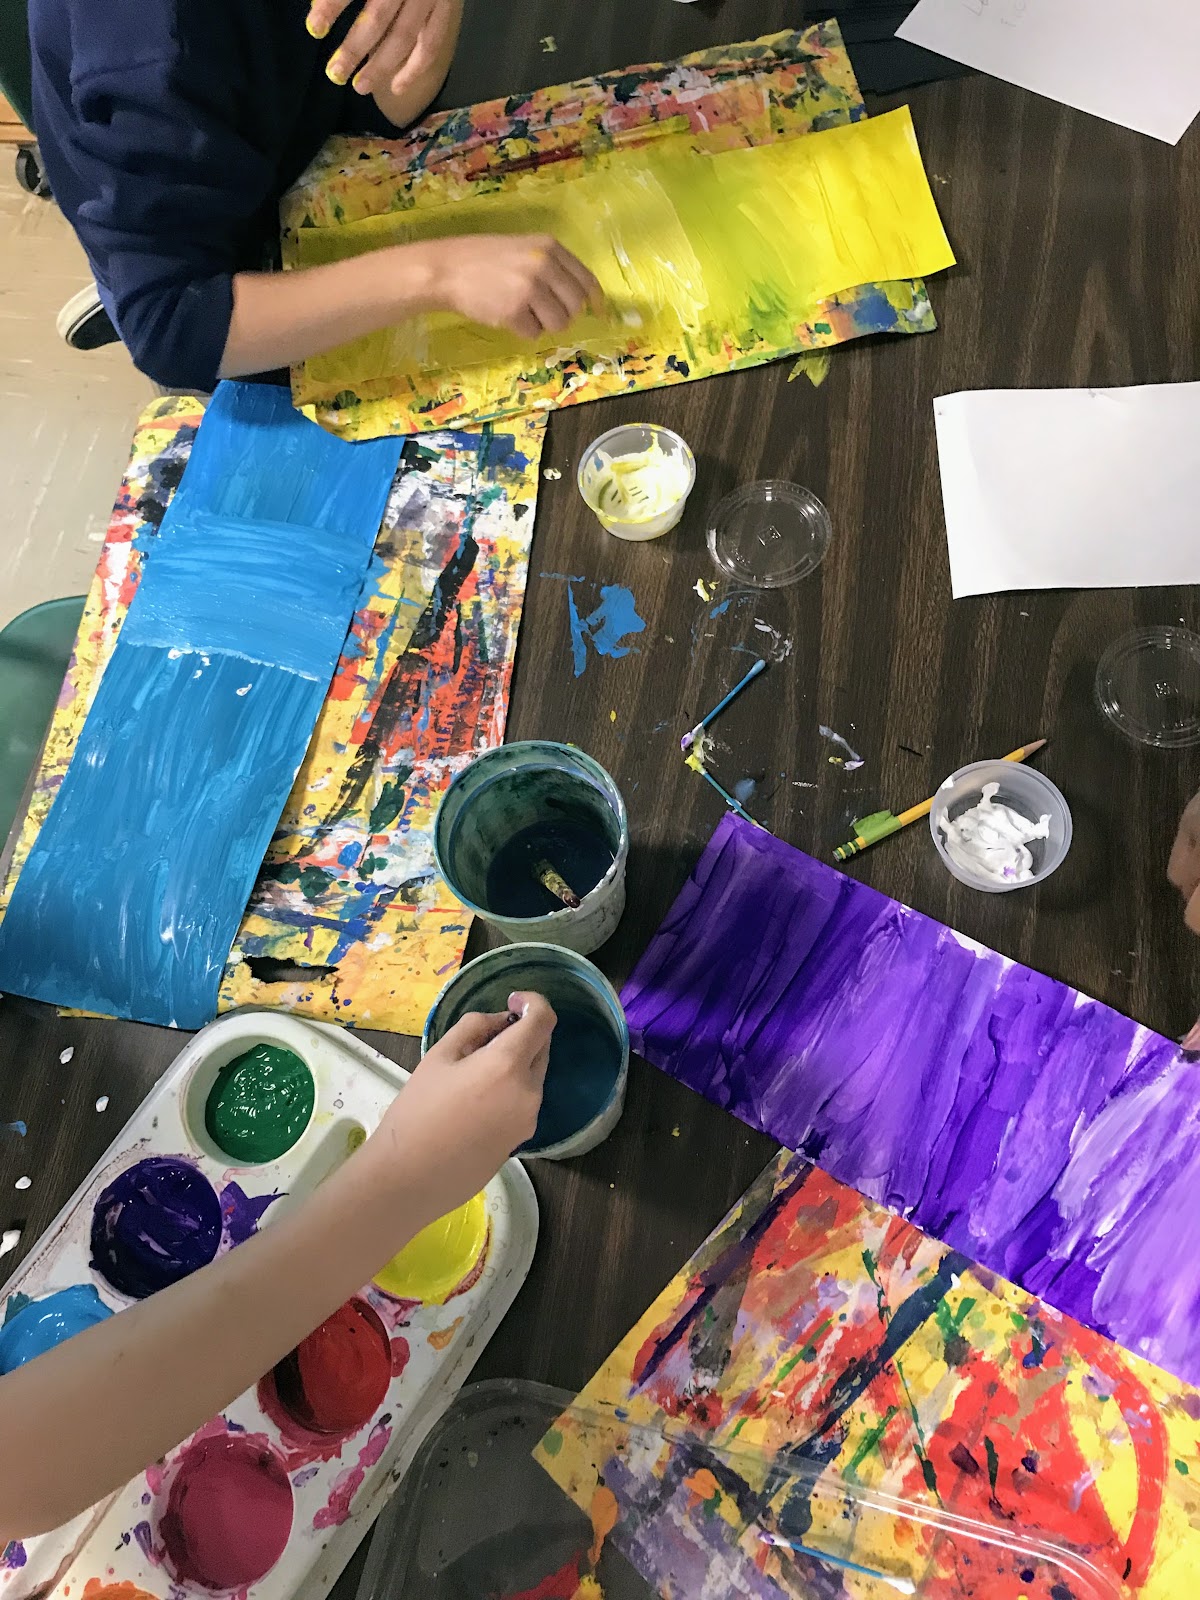
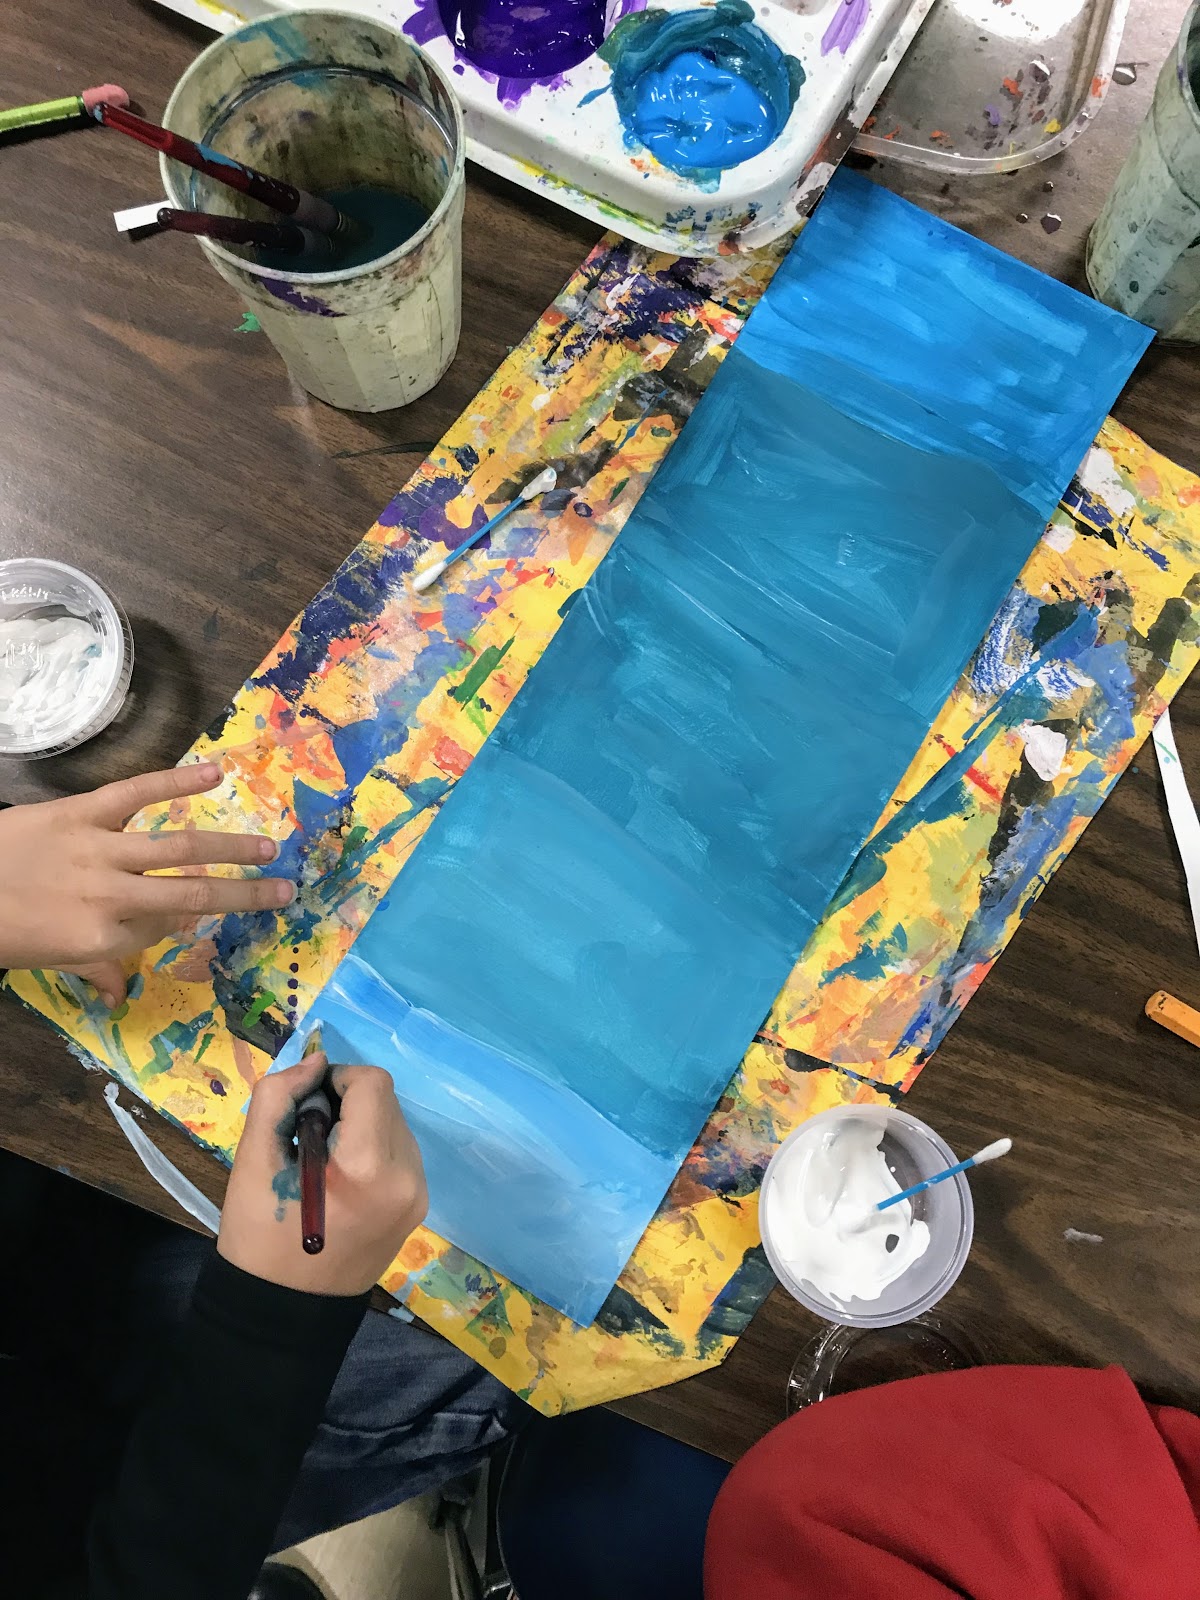
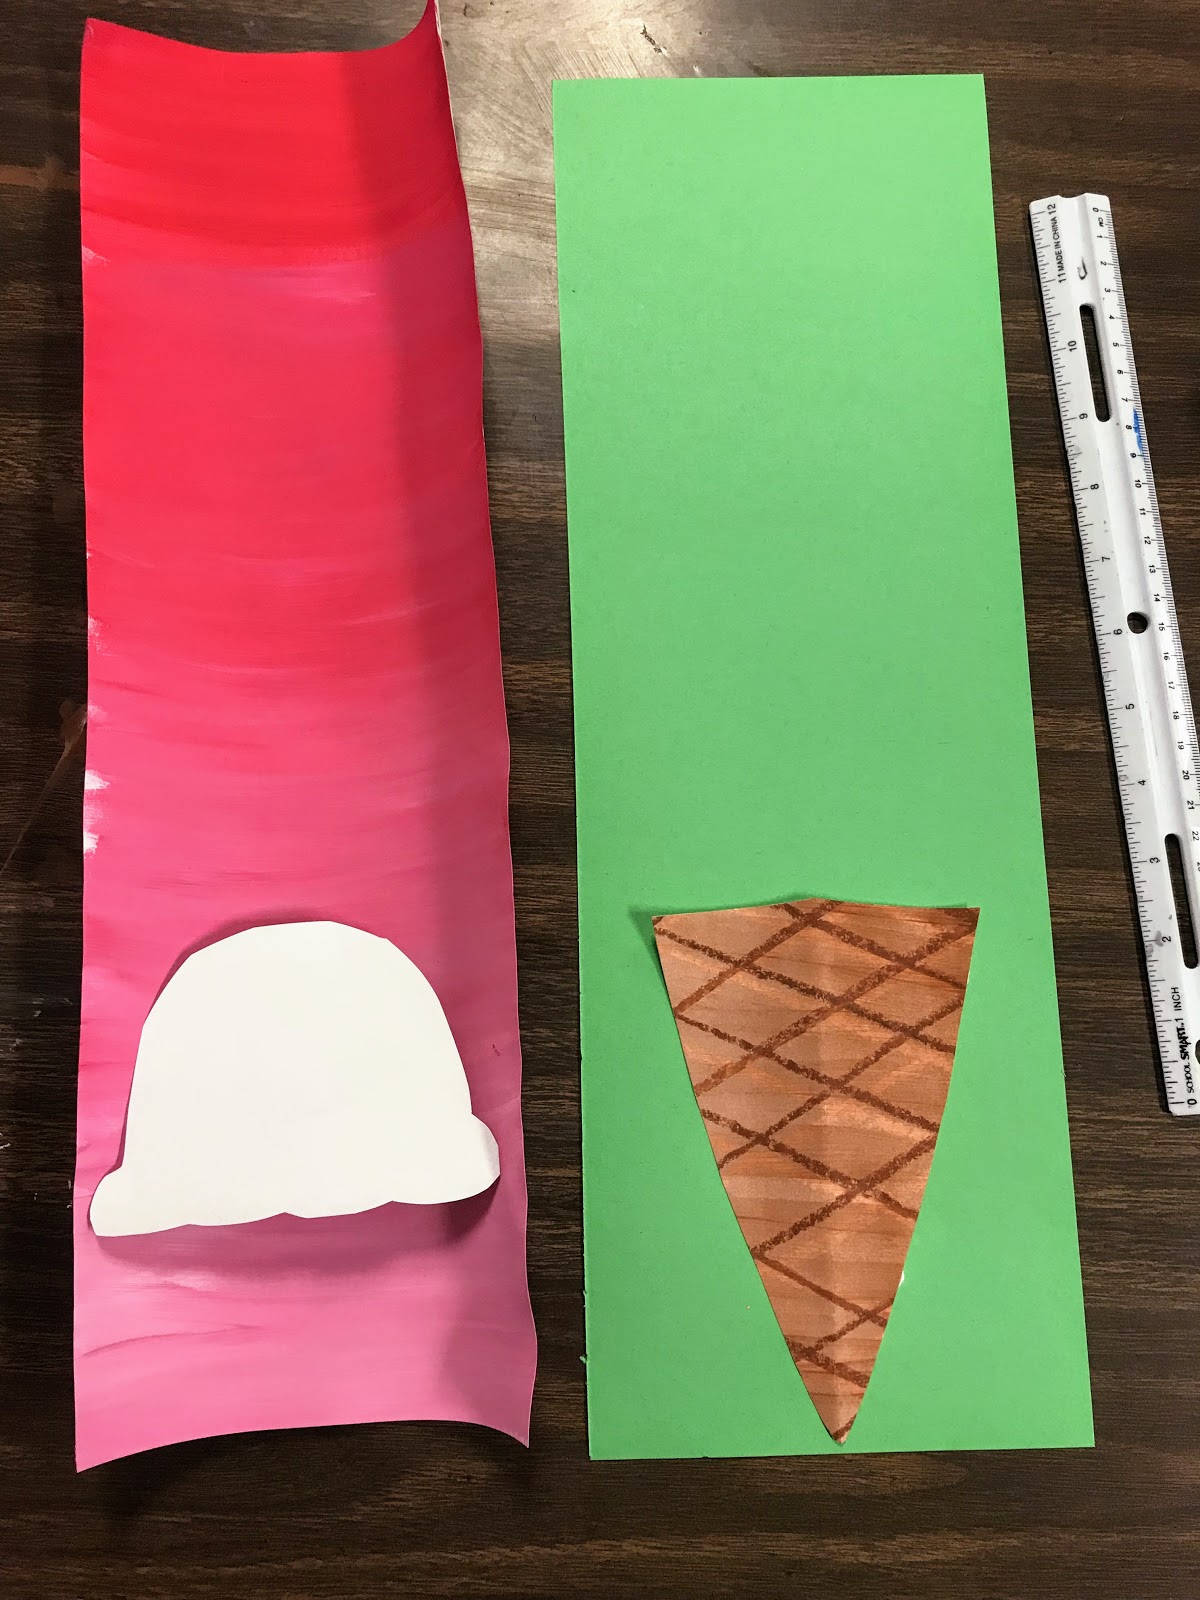
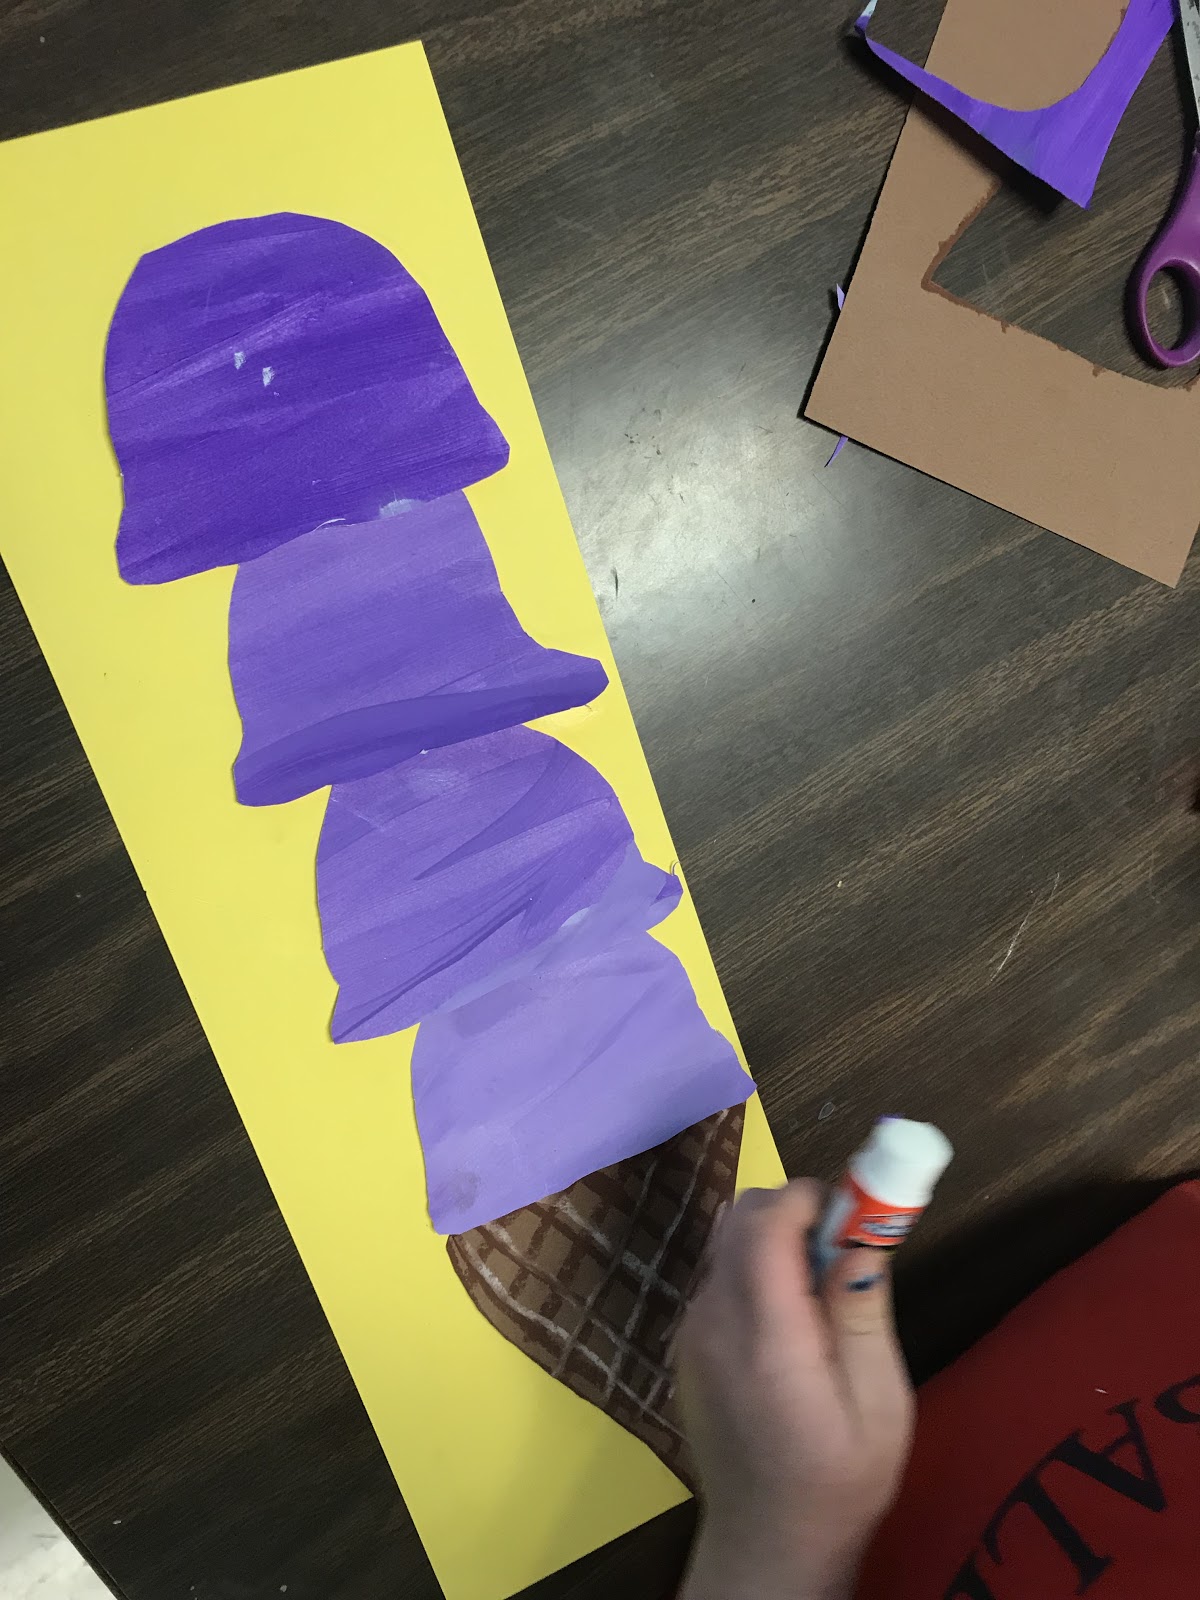
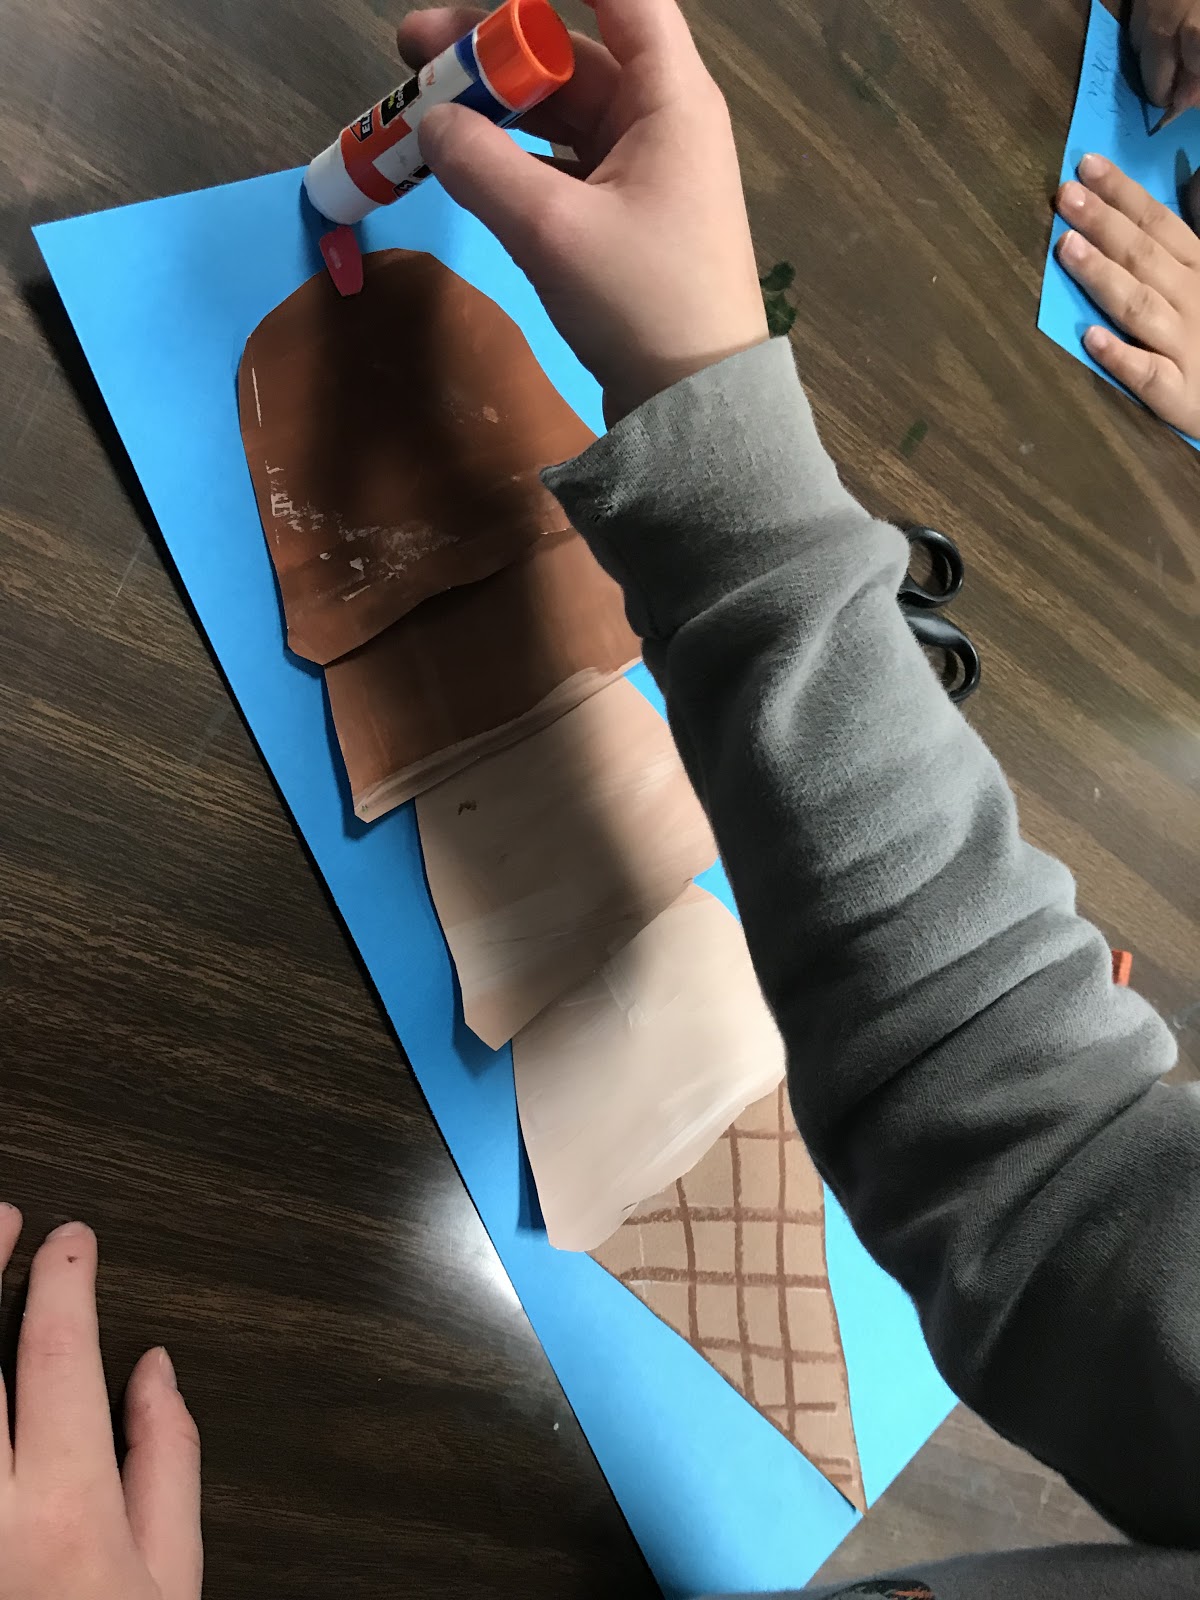
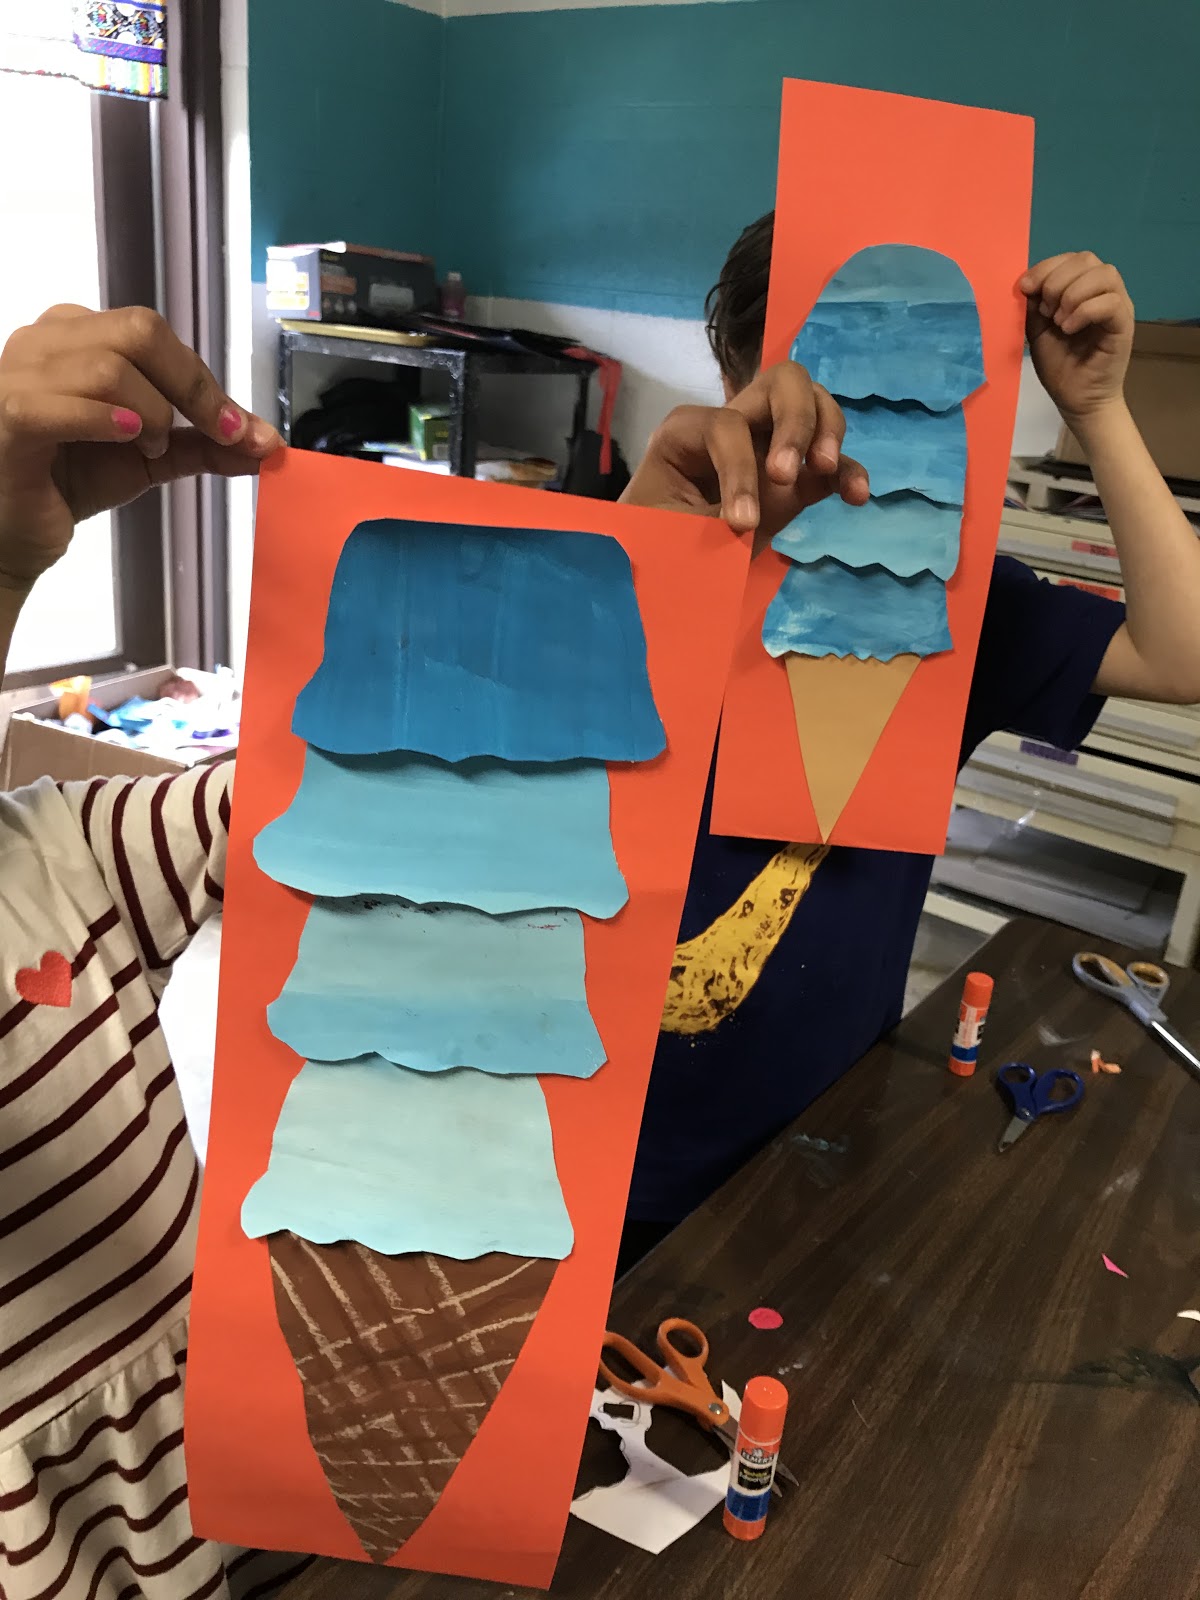
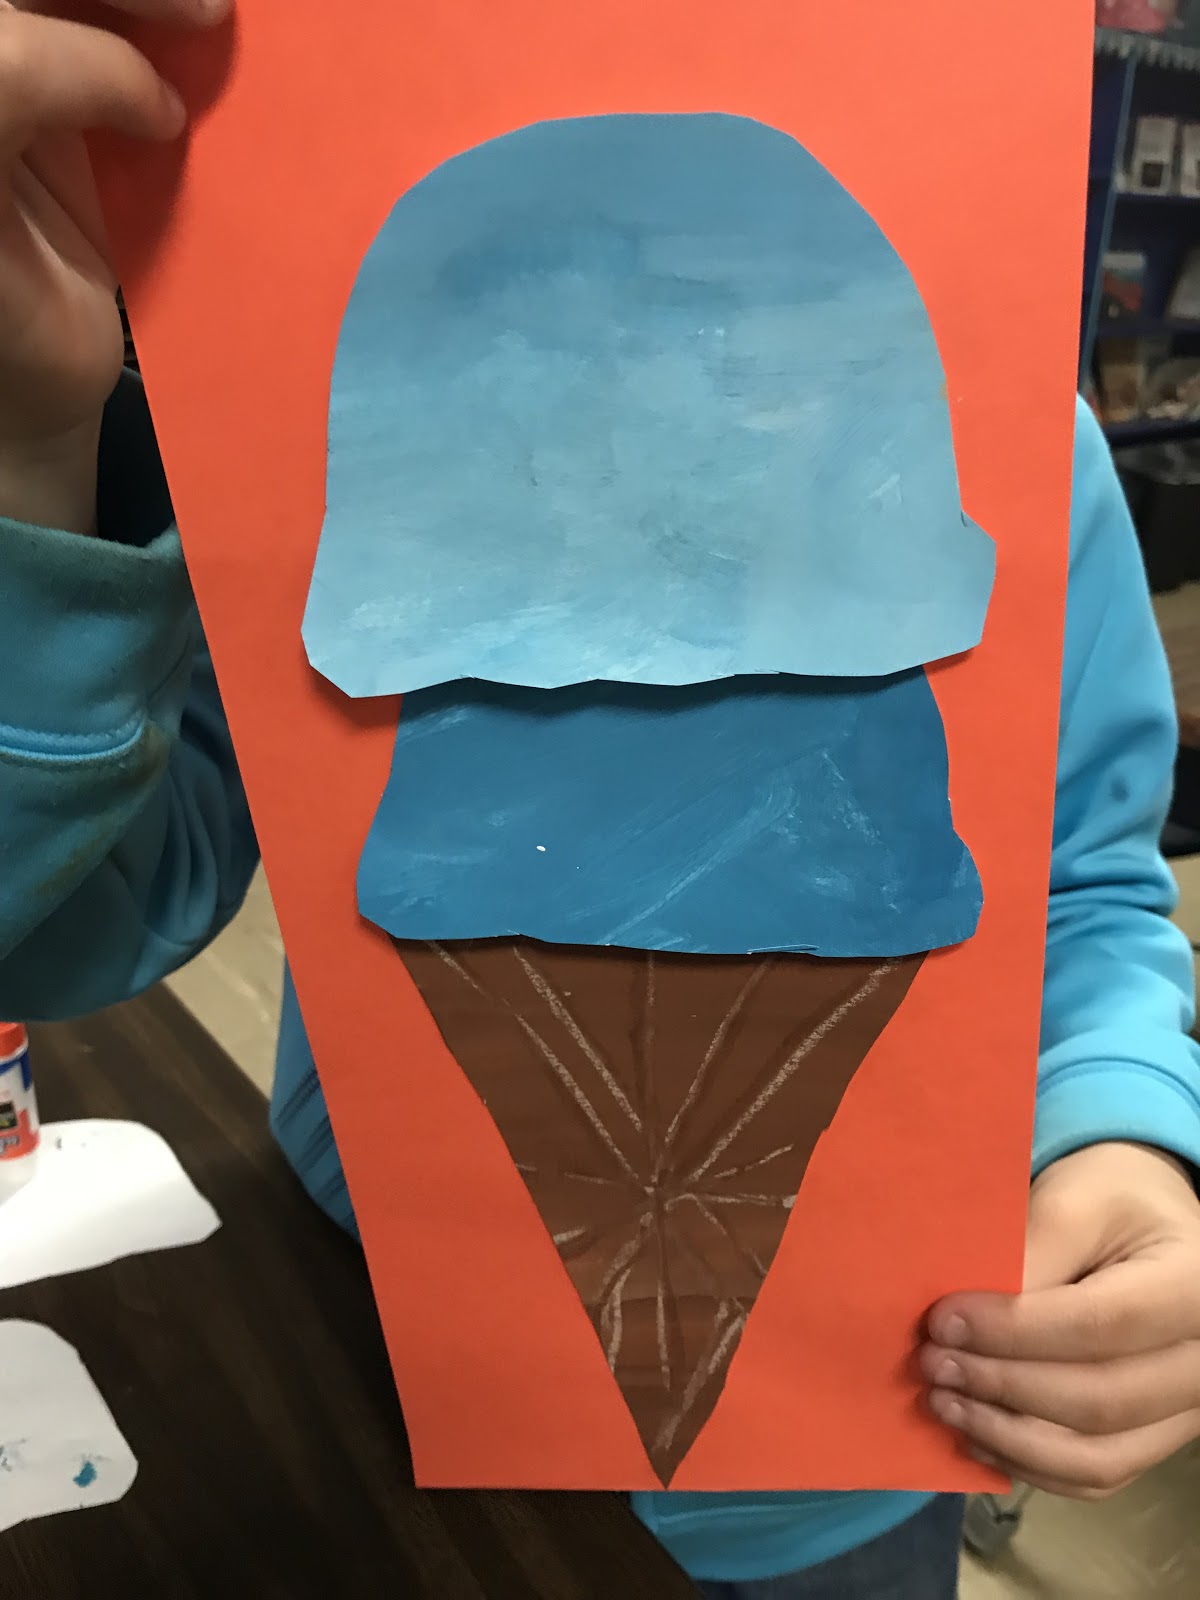
我把学生们召集到教室中央的桌子旁,向他们示范如何在一张6×18英寸纸上作画:先涂上纯色,再逐渐加入一小团一小团的白色颜料,使颜色越来越浅!我还提醒他们,要朝同一方向运笔,这样色彩过渡才更平滑。示范完长条纸后,我再教他们如何绘制甜筒部分——我用油画棒以交叉斜线方式绘制(使用 Crayola 油画棒中的桃色与棕色)。接着,孩子们就开始动手啦!
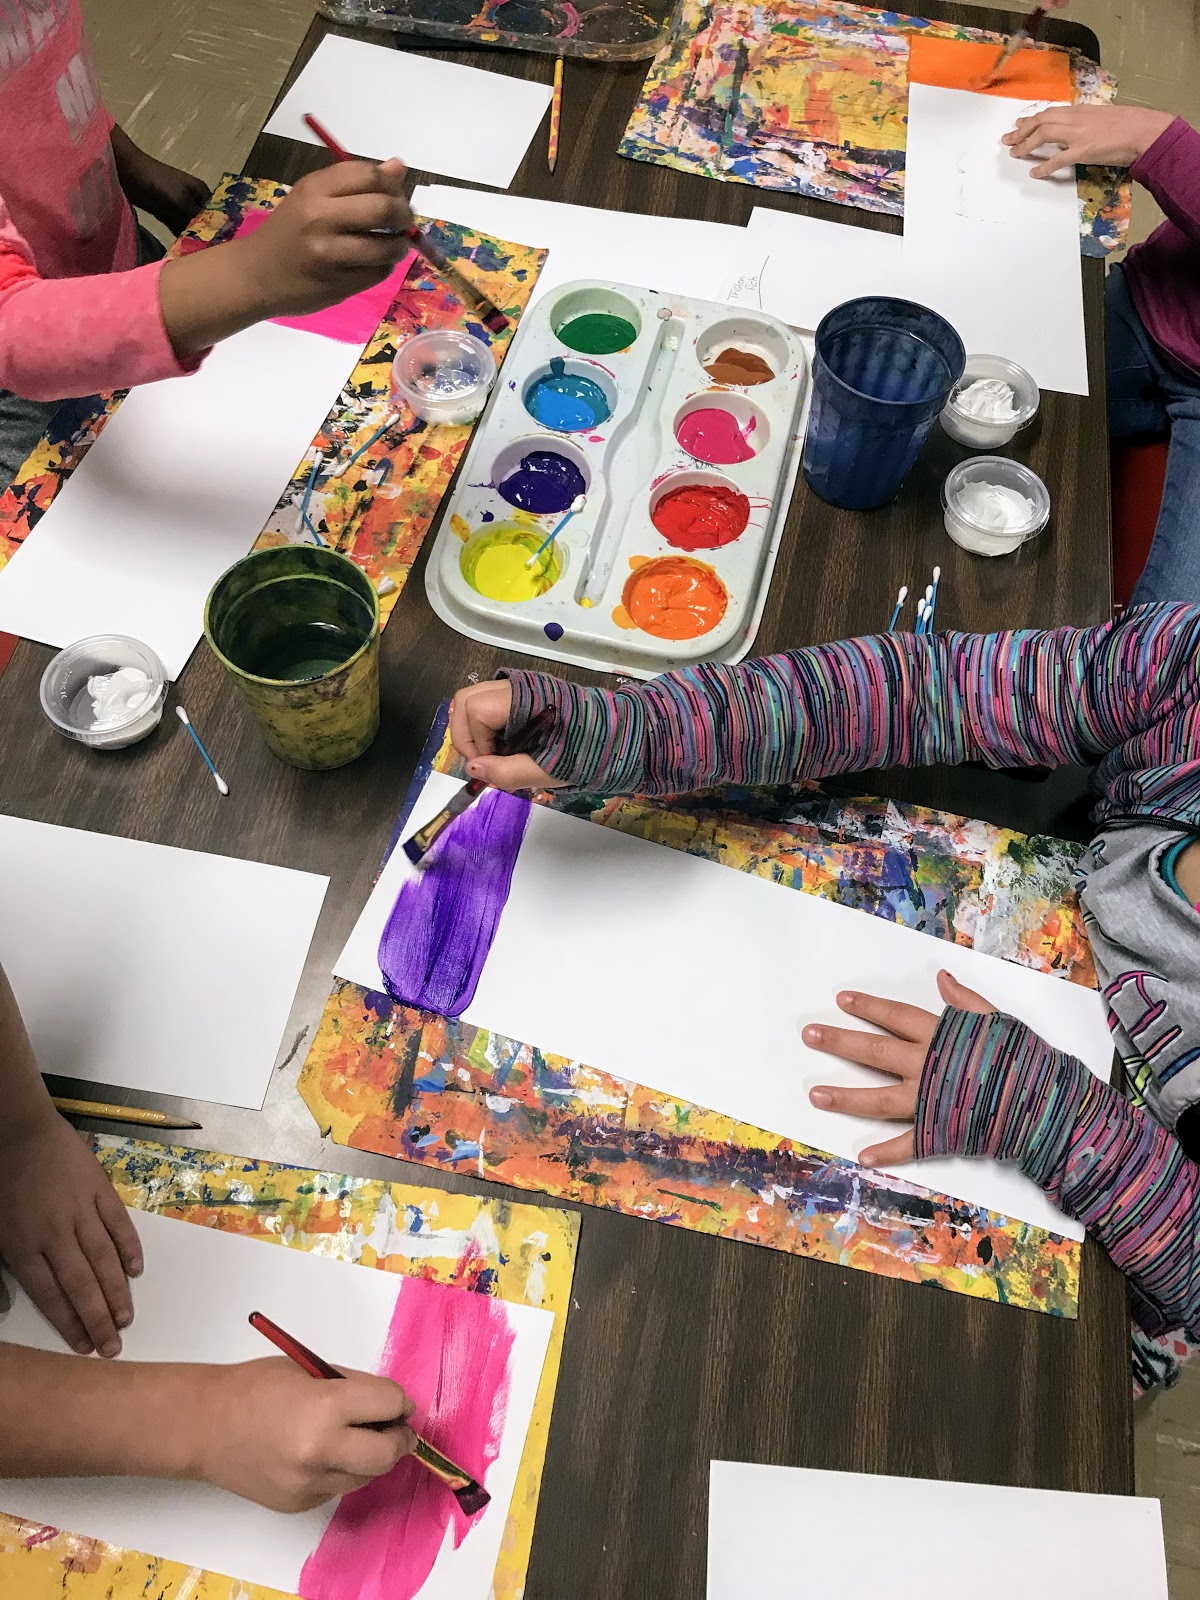
这是菲奇(Fitch)老师的班级,正专注地制作他们的浅色调与甜筒!
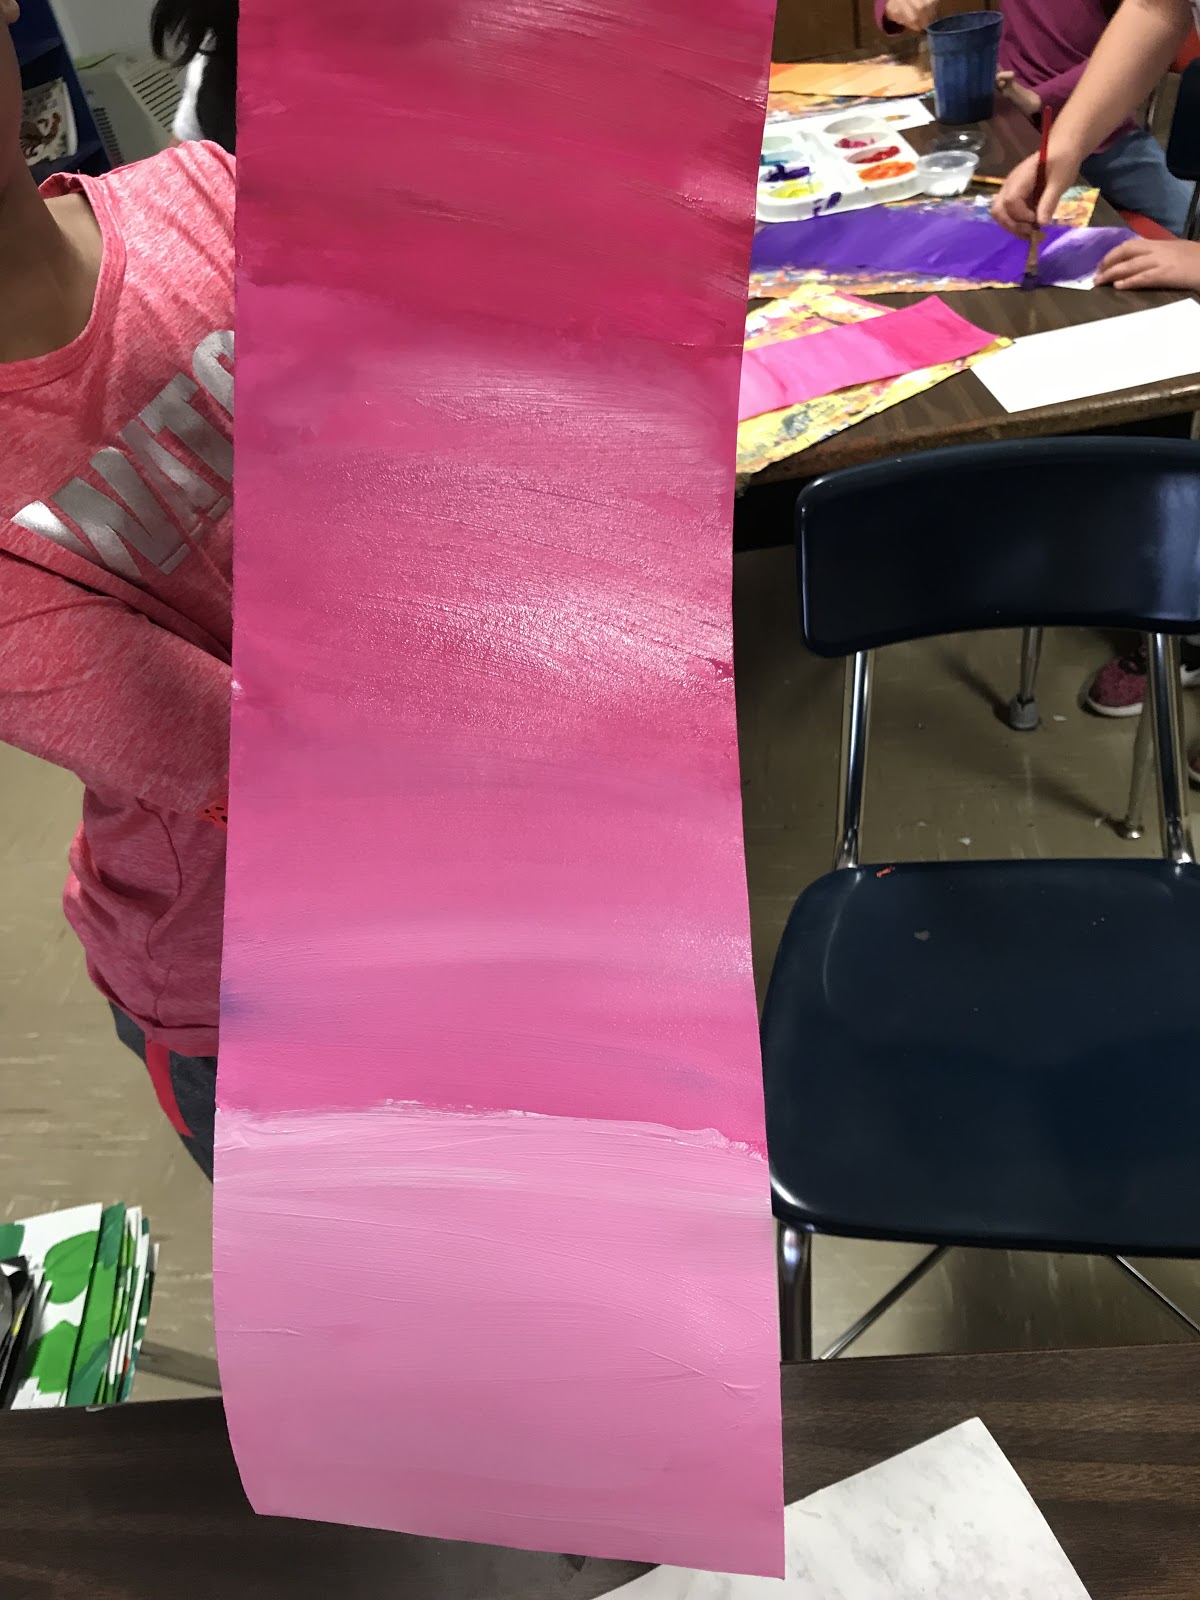
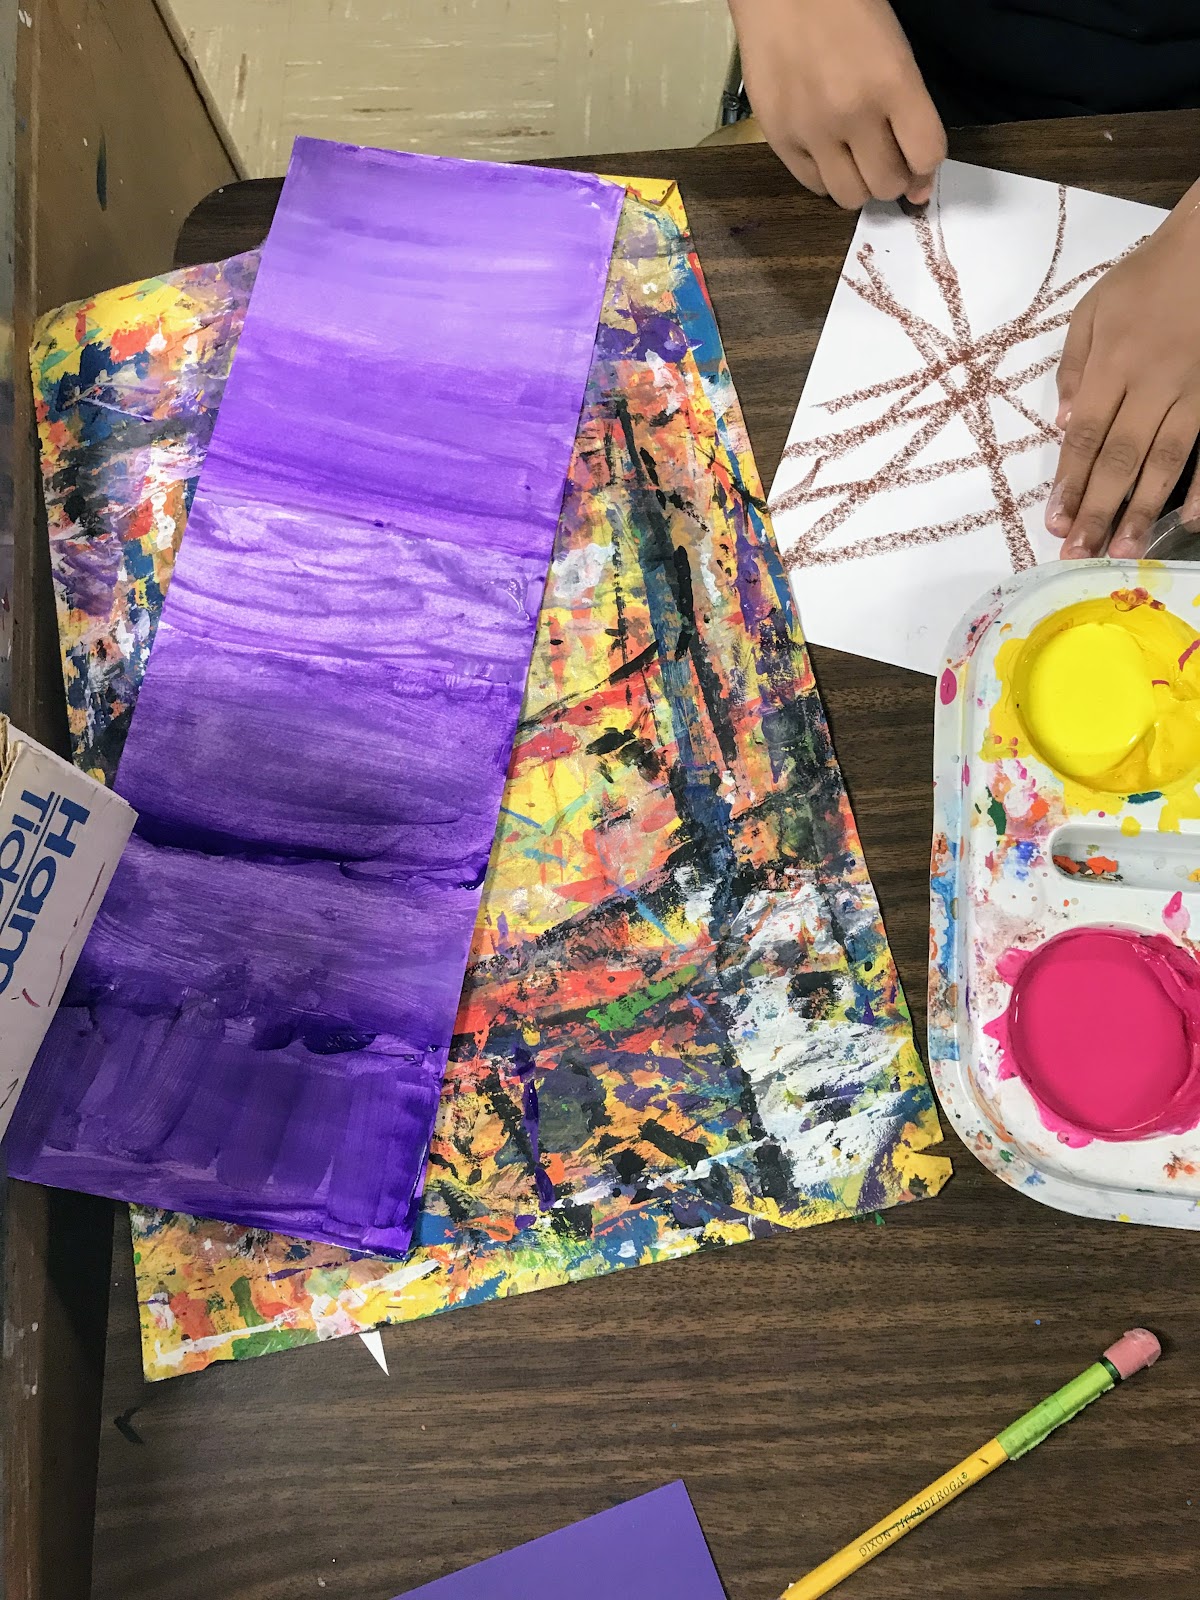
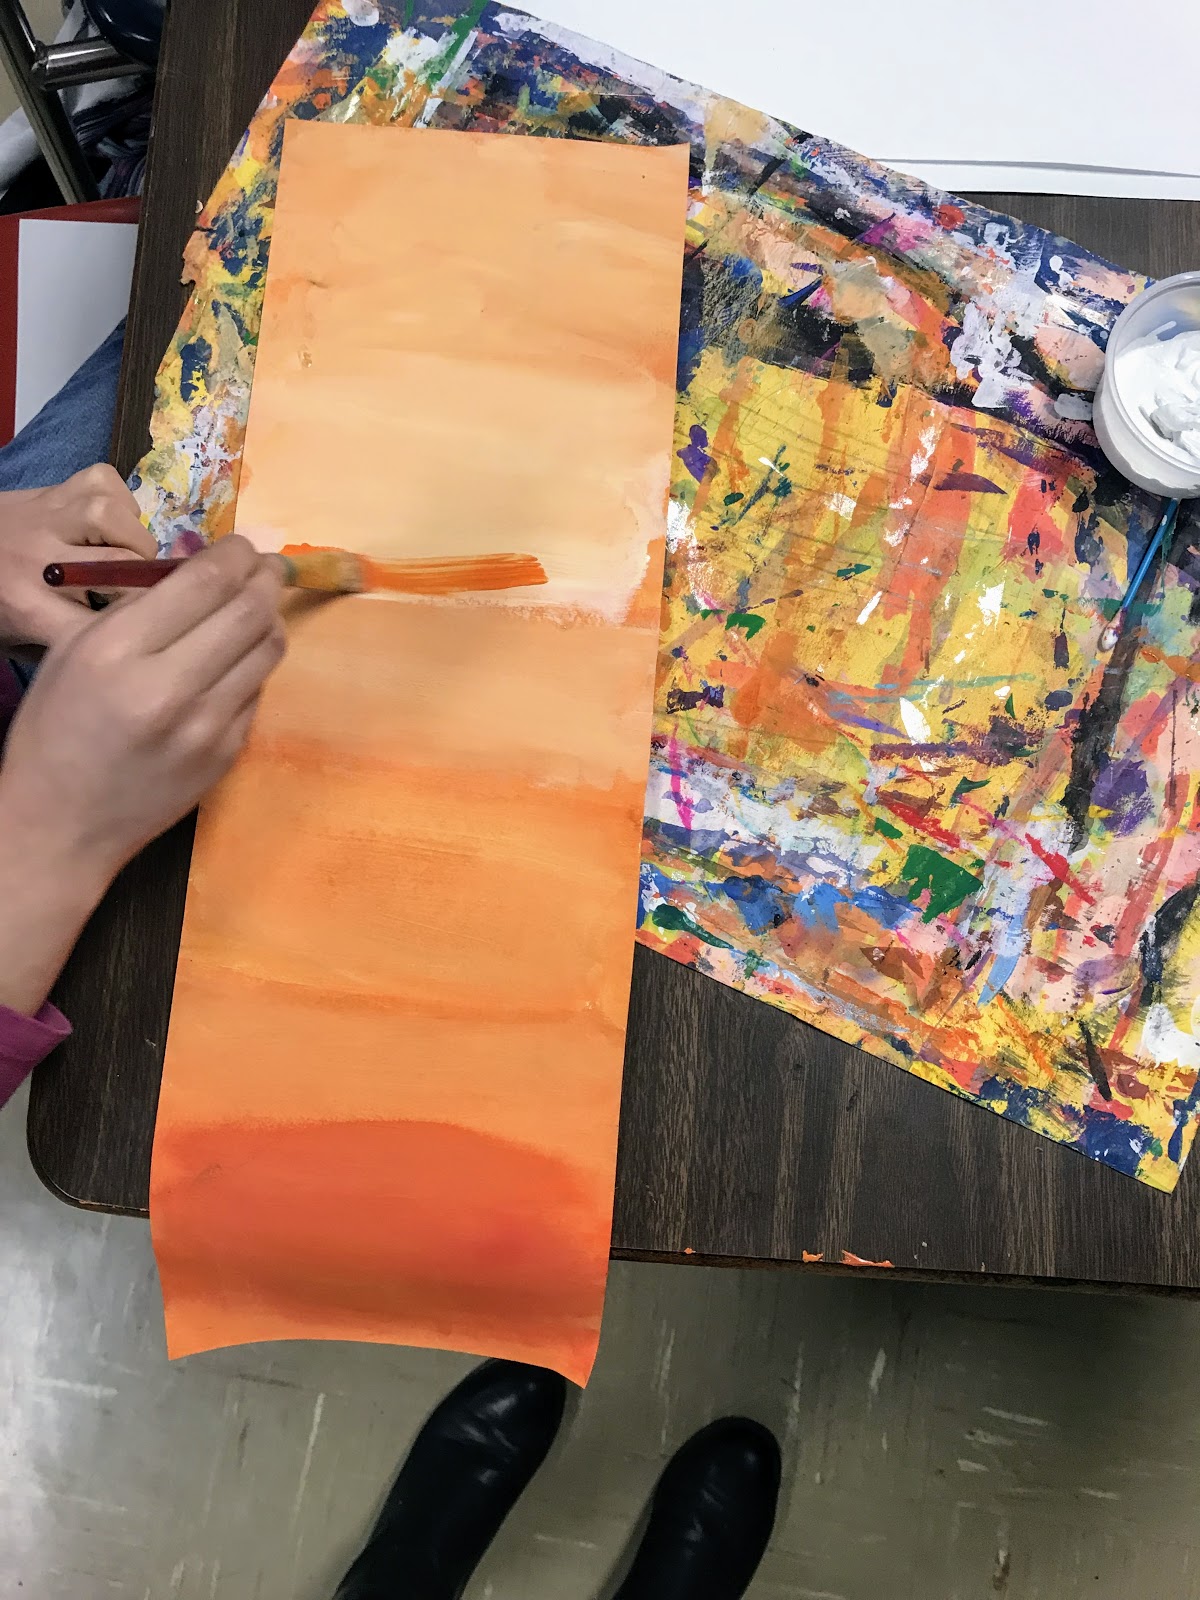
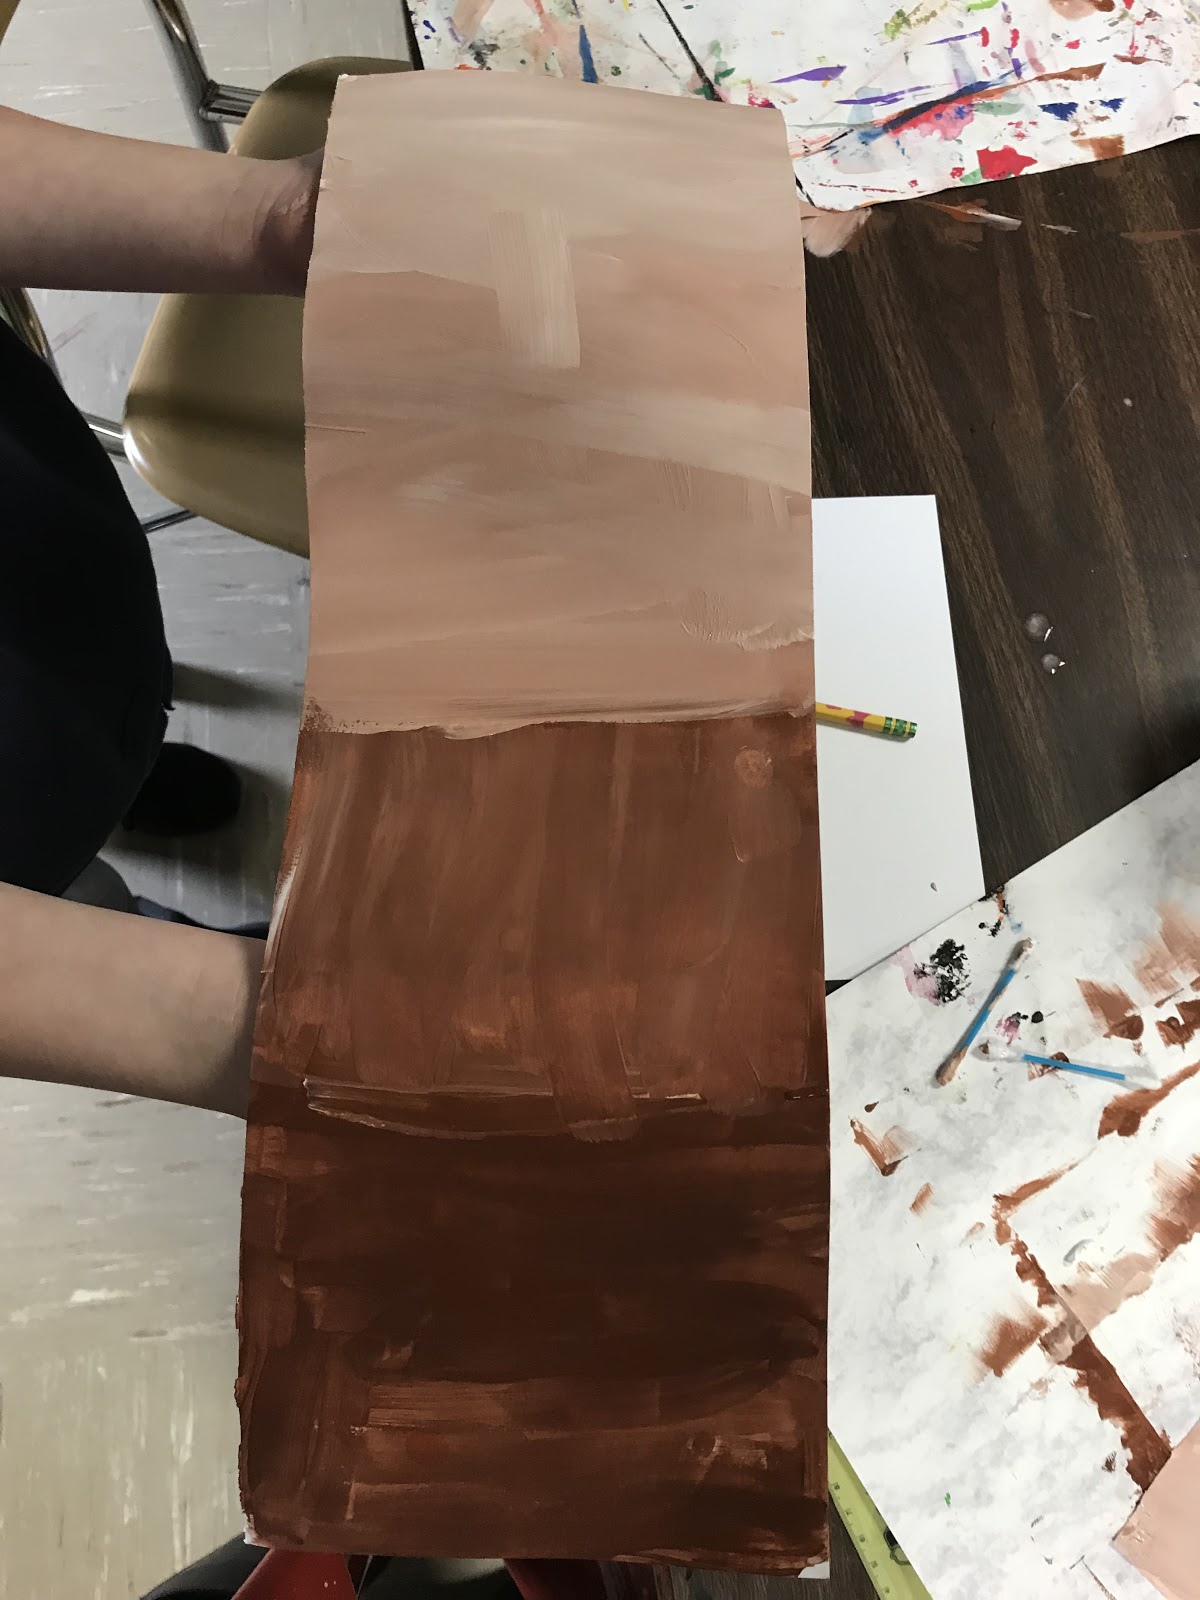
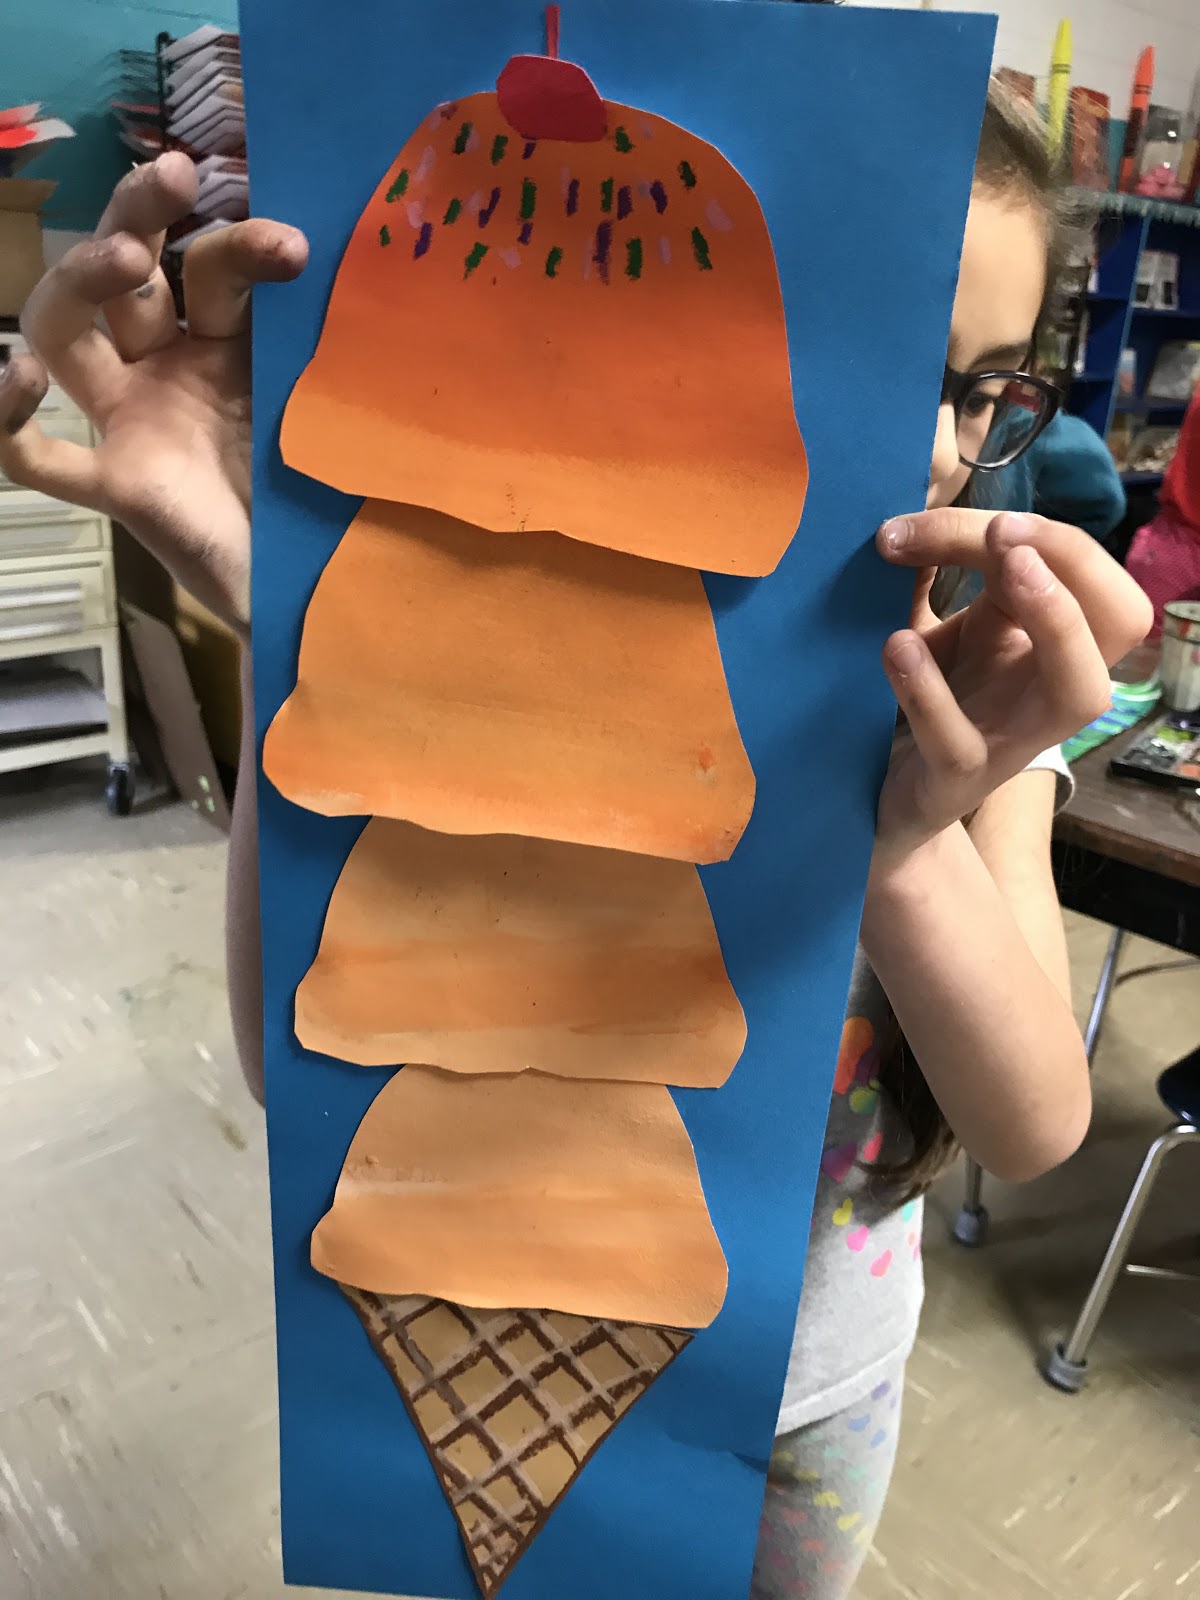
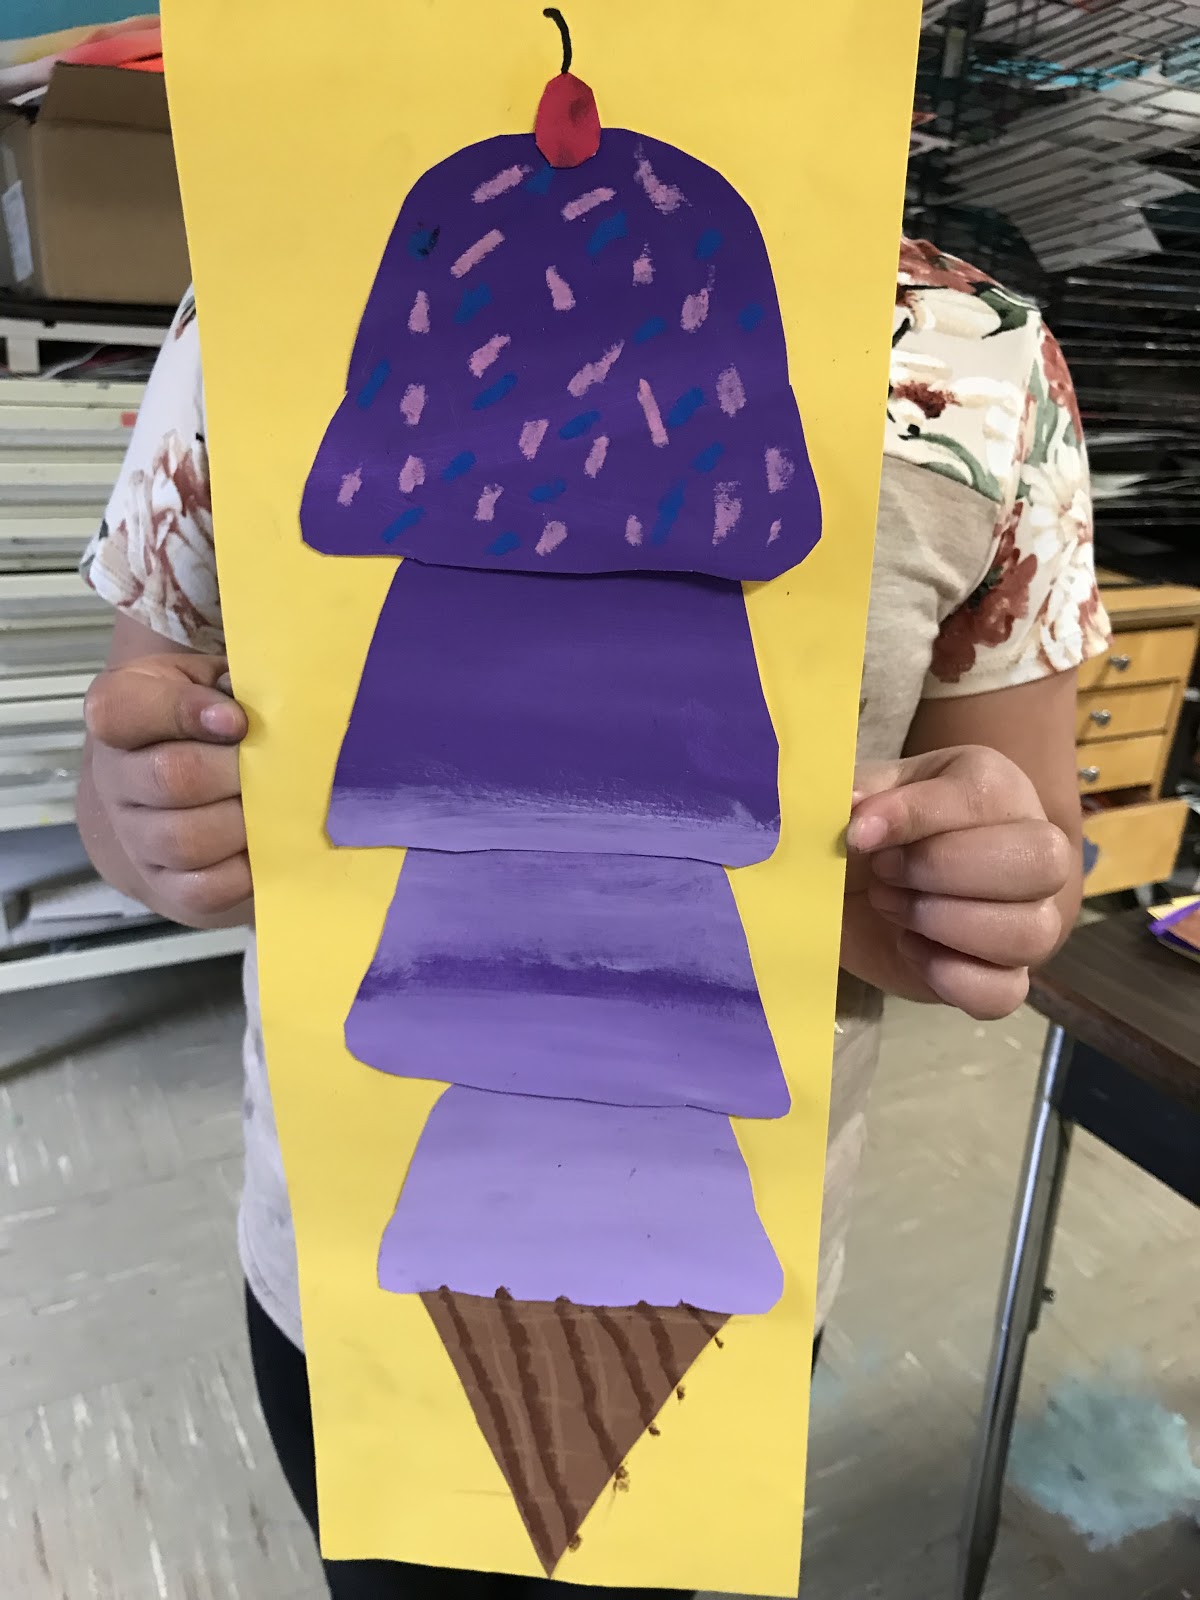
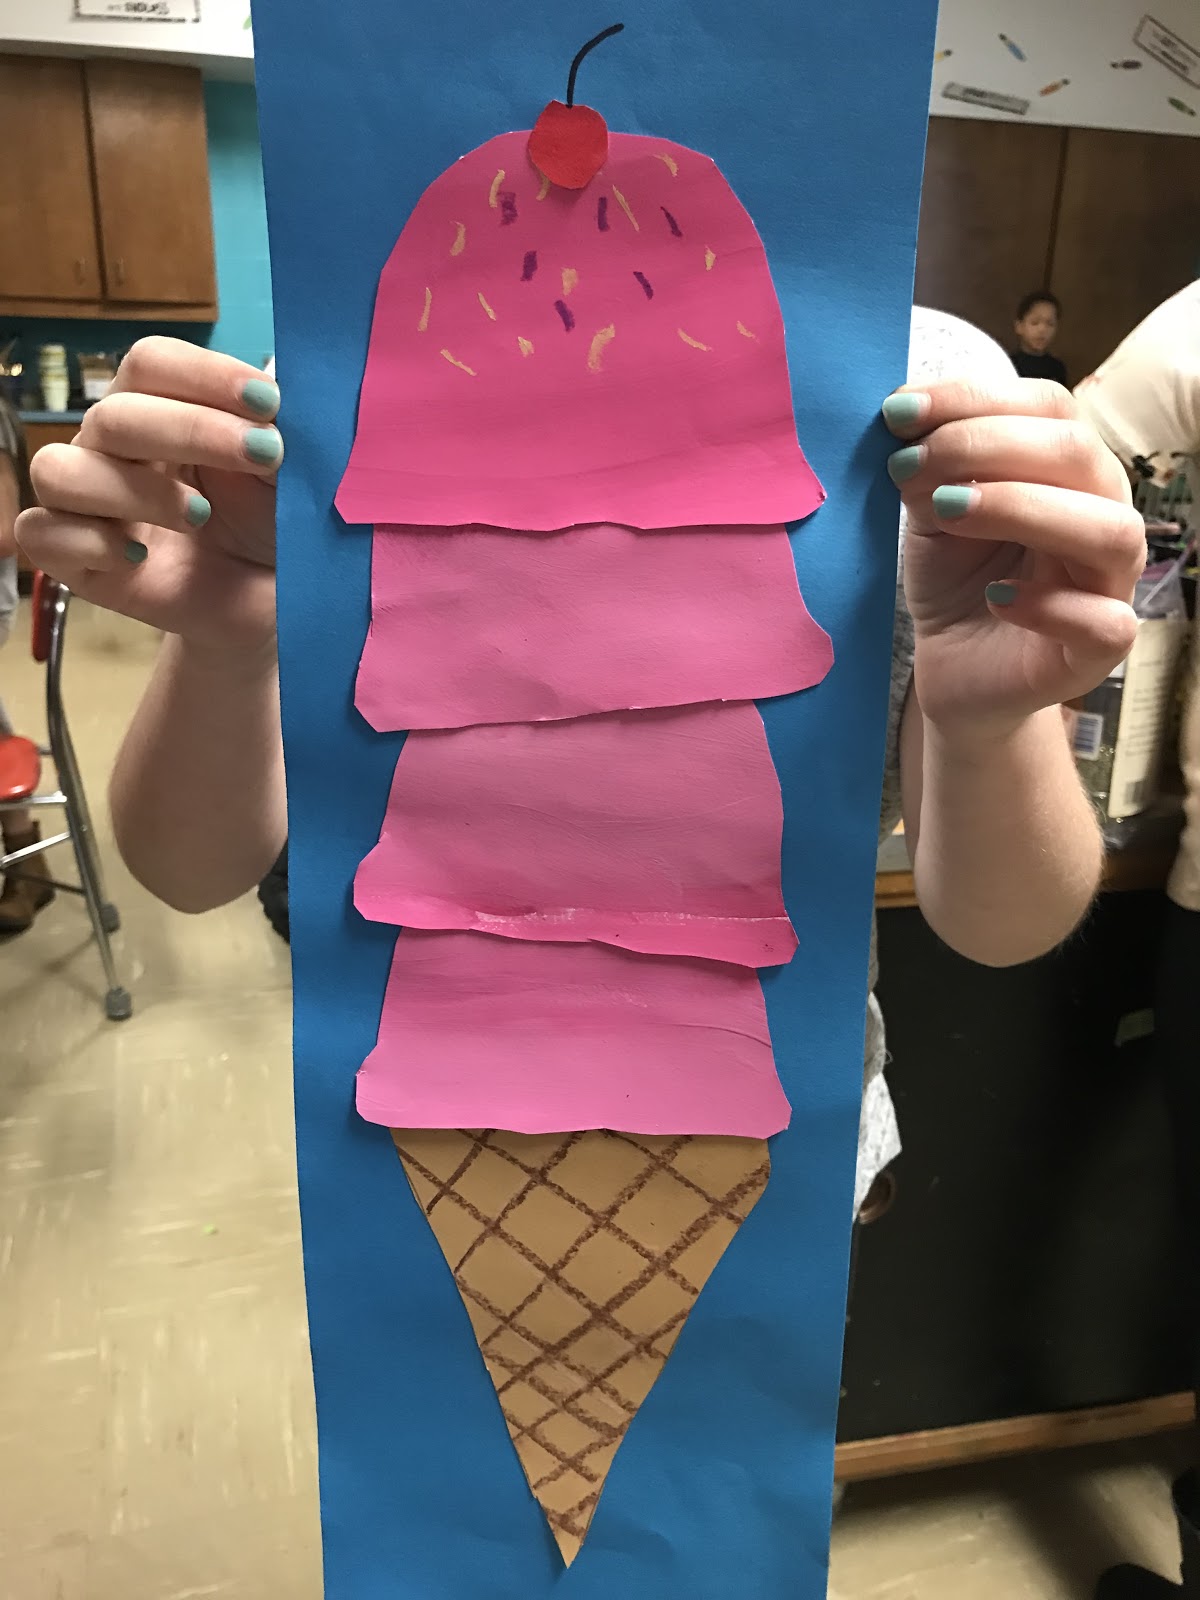
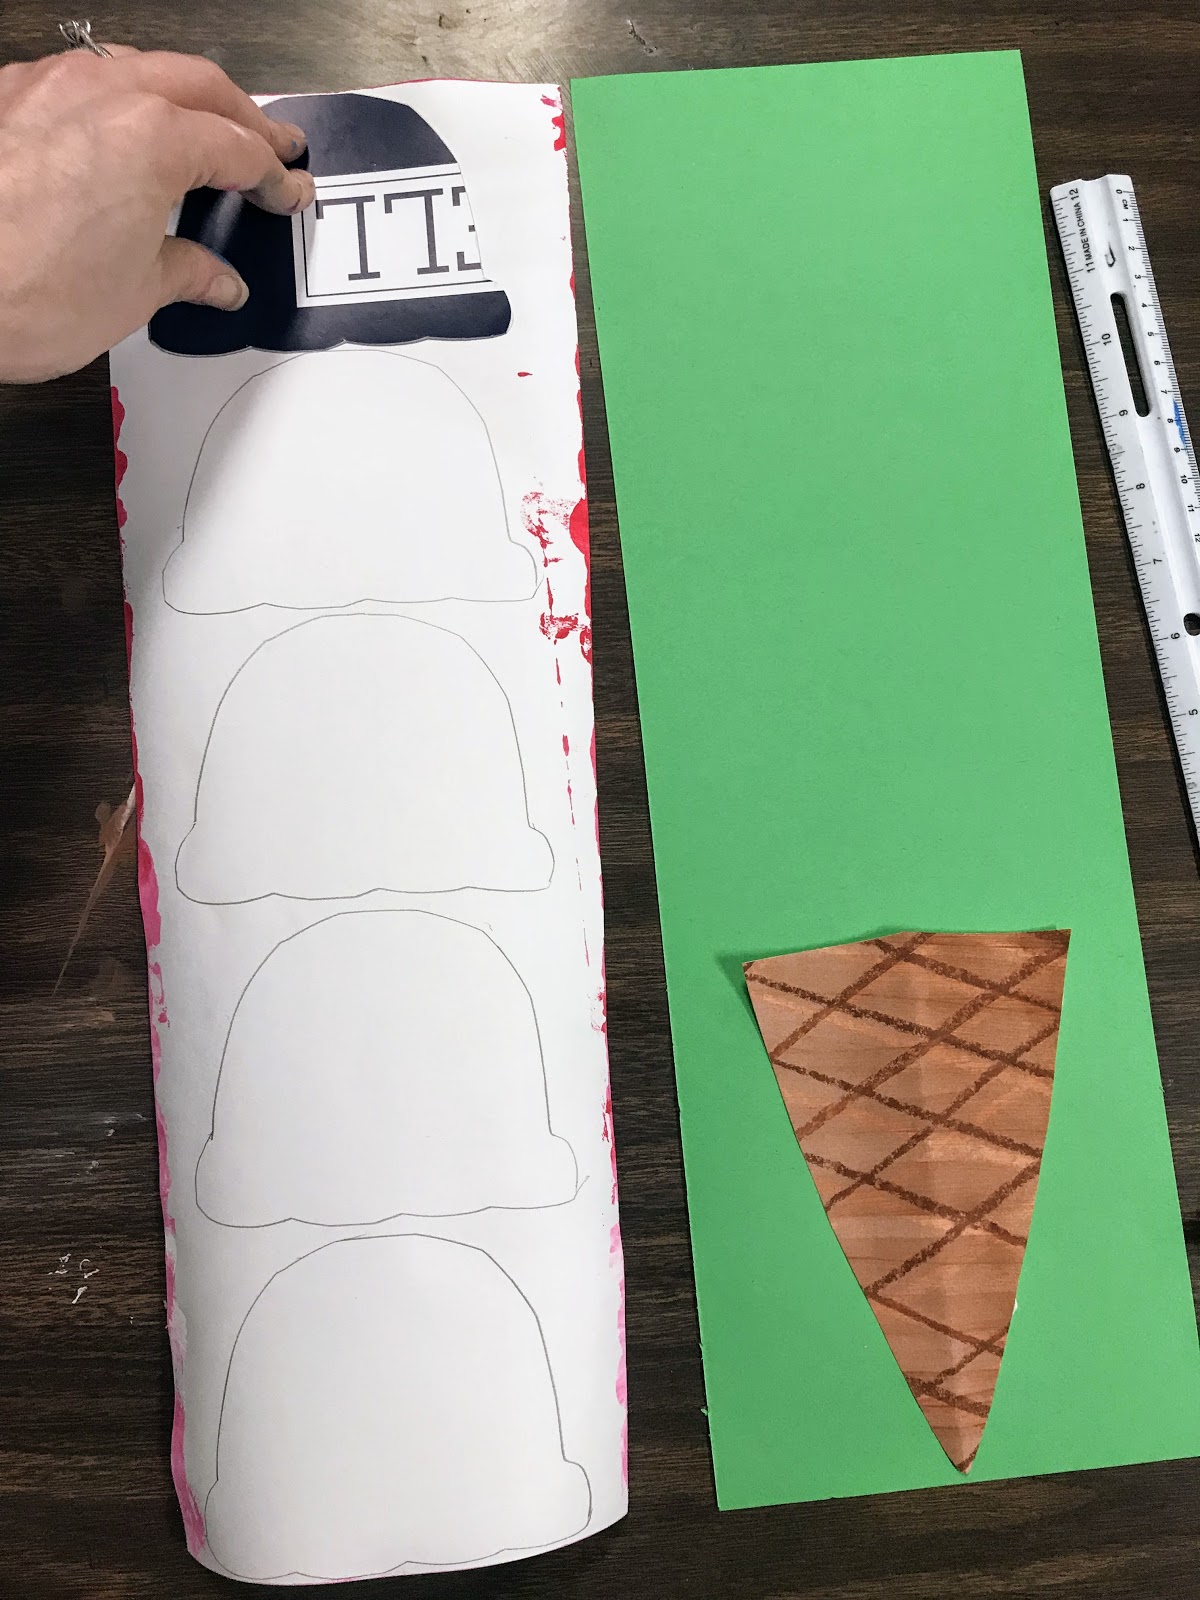
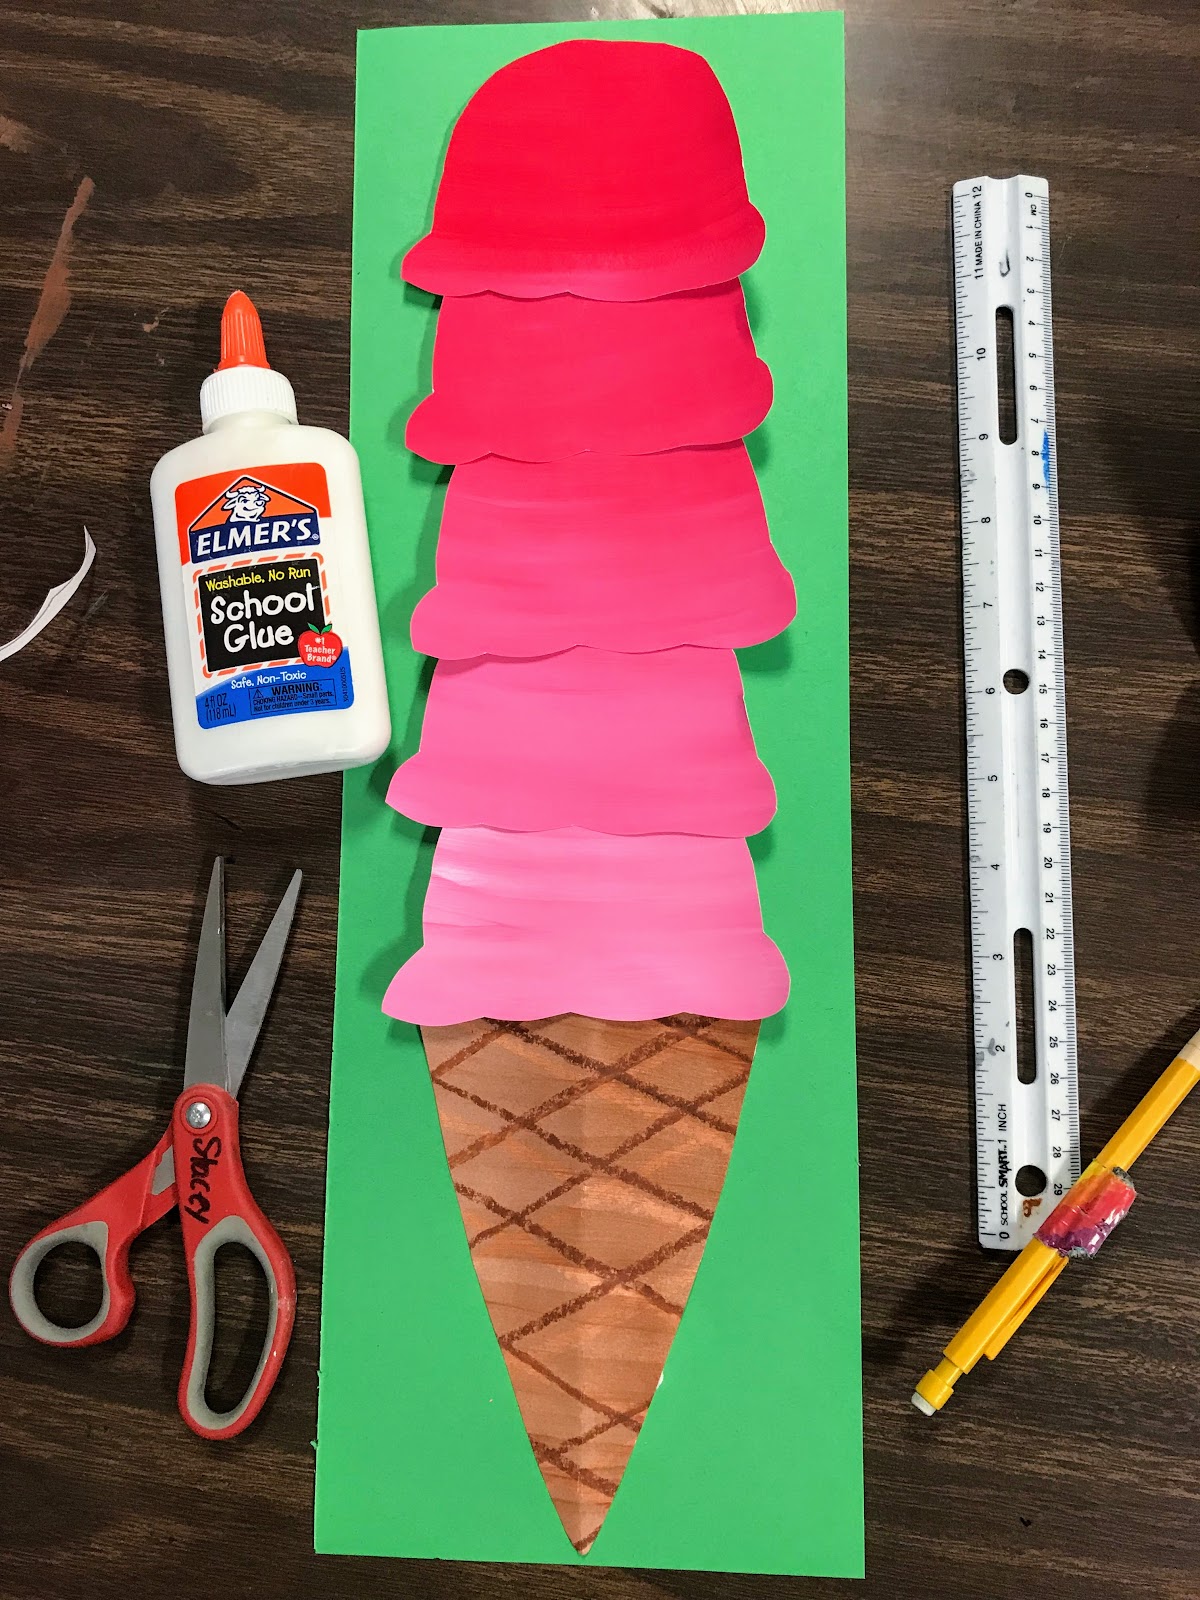
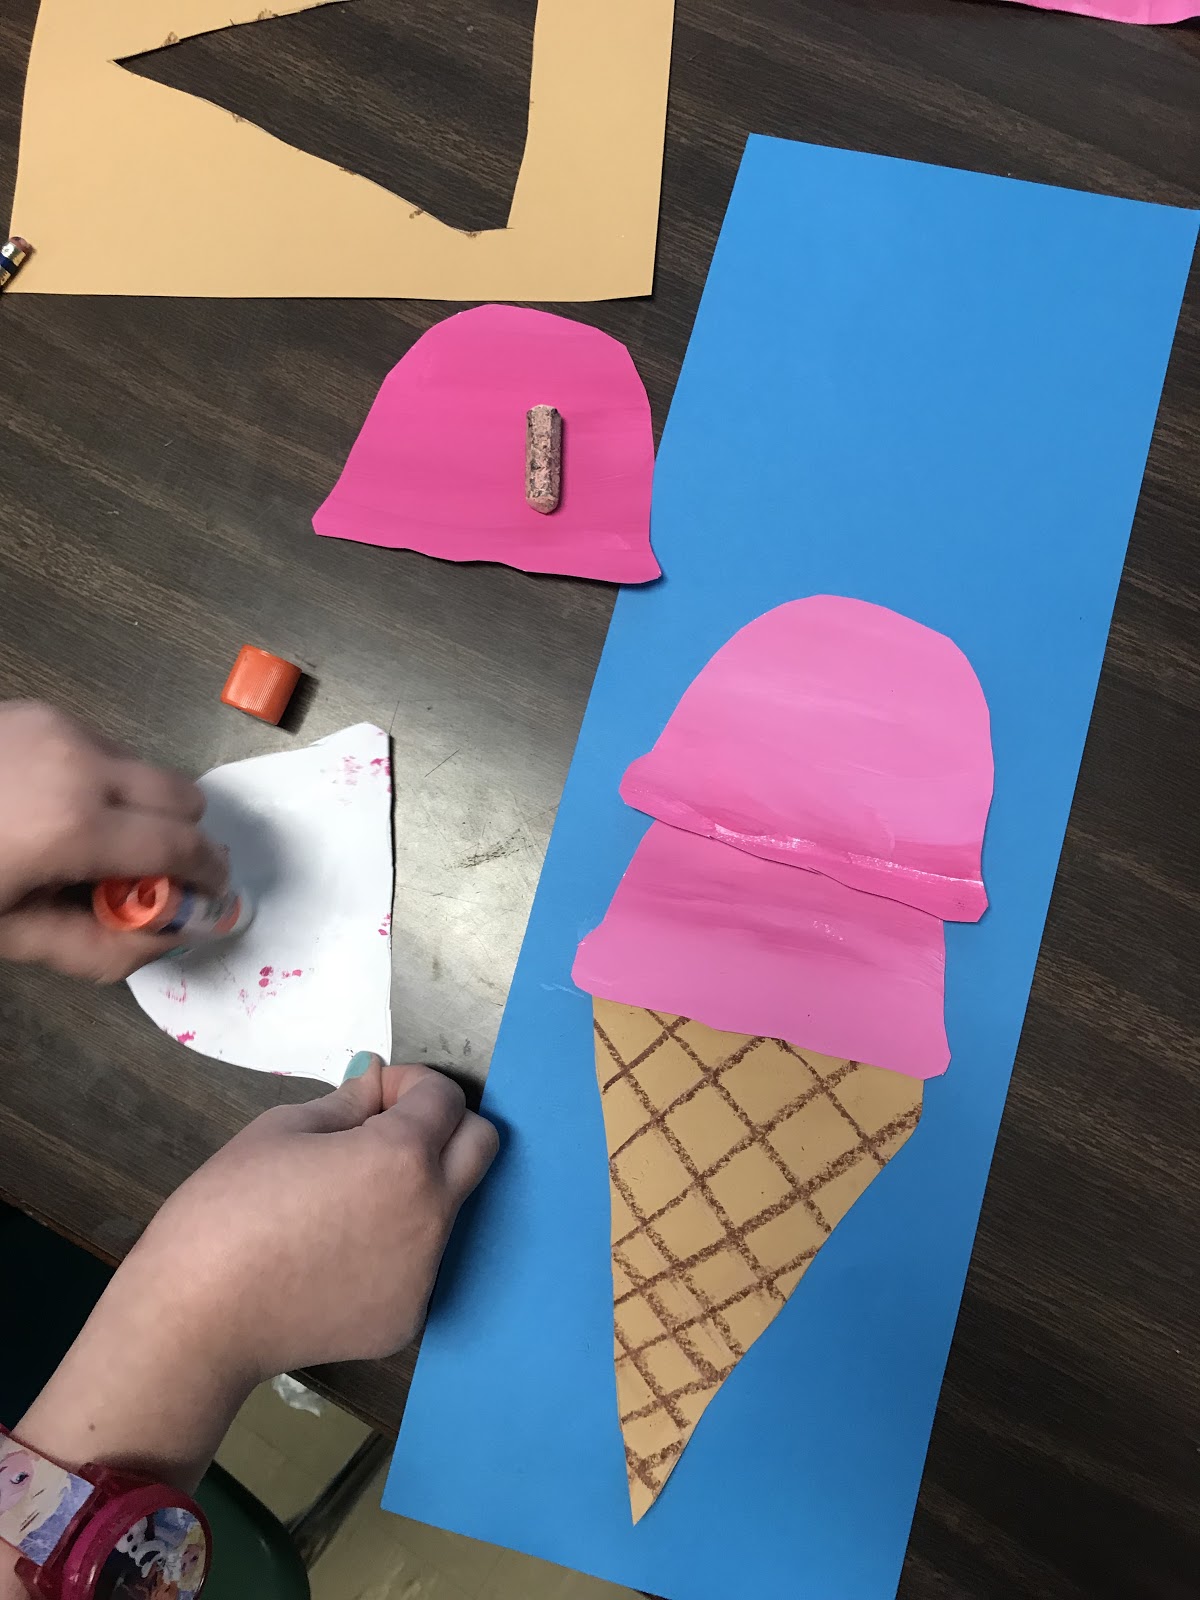
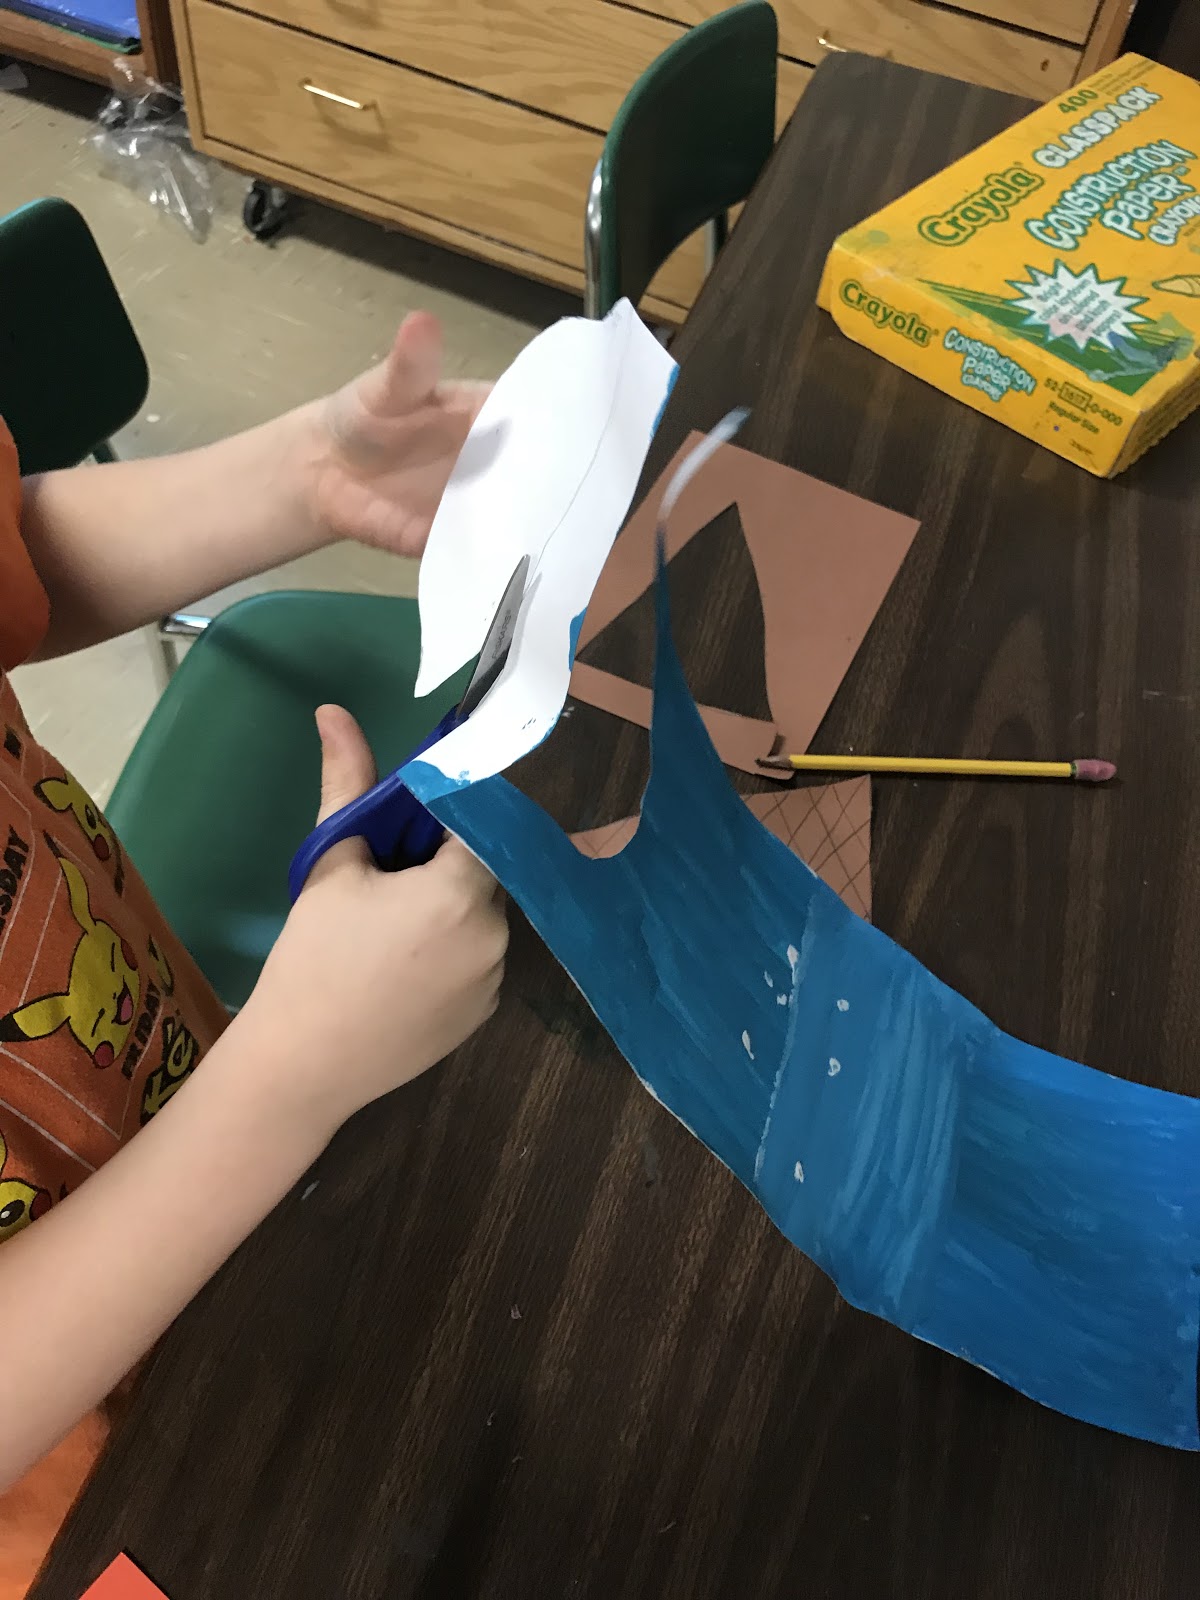
第二天:我将指导学生在纸张背面描摹冰淇淋模板,剪下各部件,并将它们组合粘贴在与其冰淇淋颜色呈互补色的底纸上!
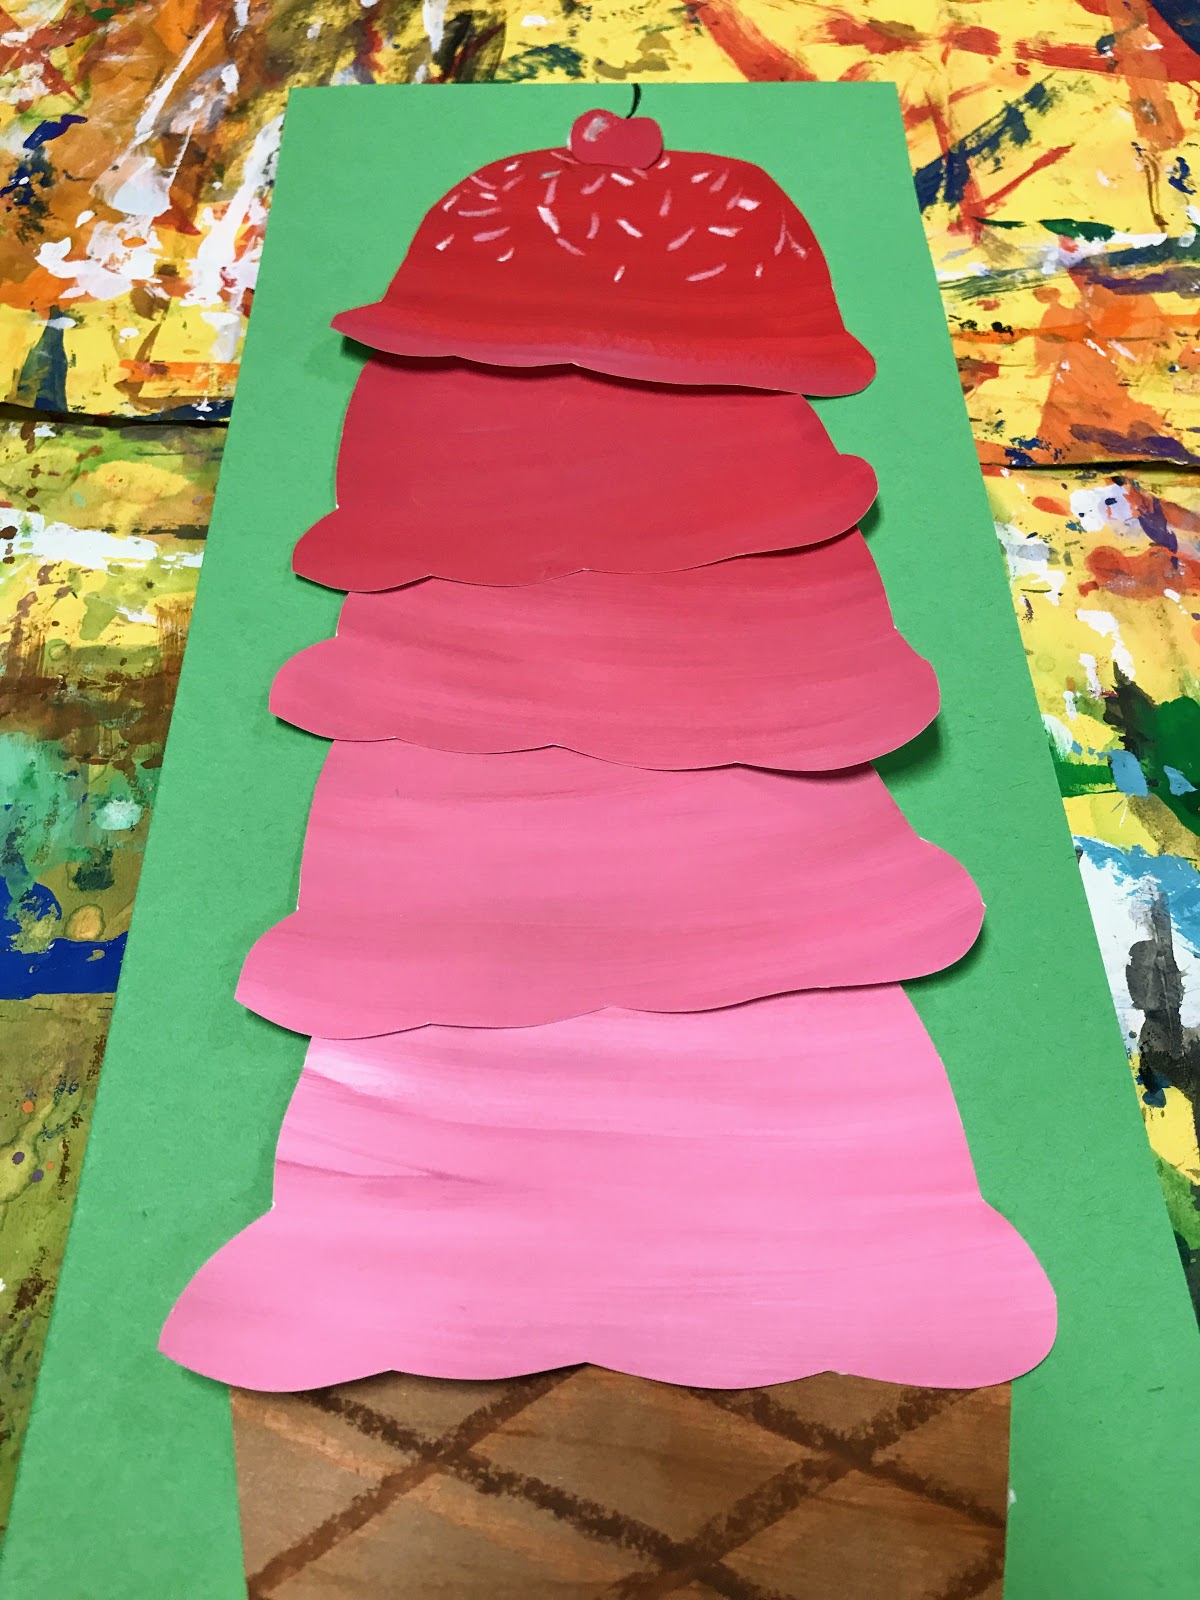
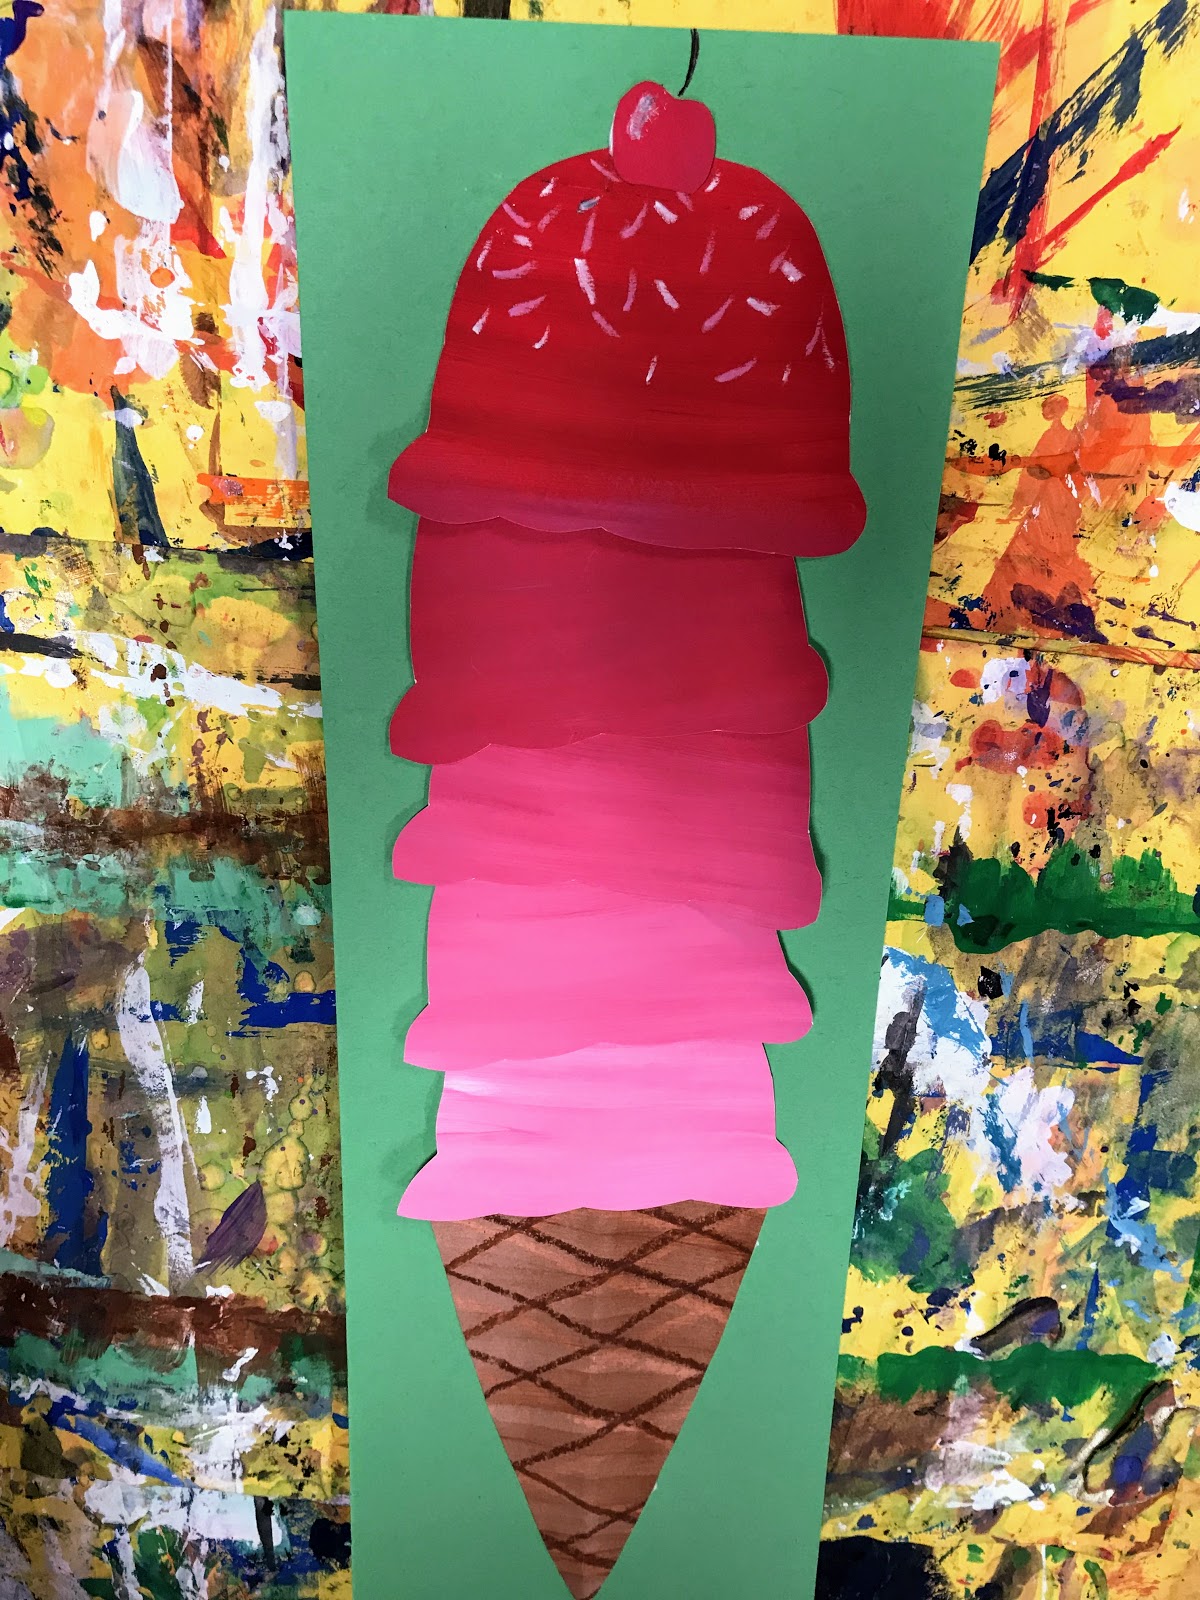
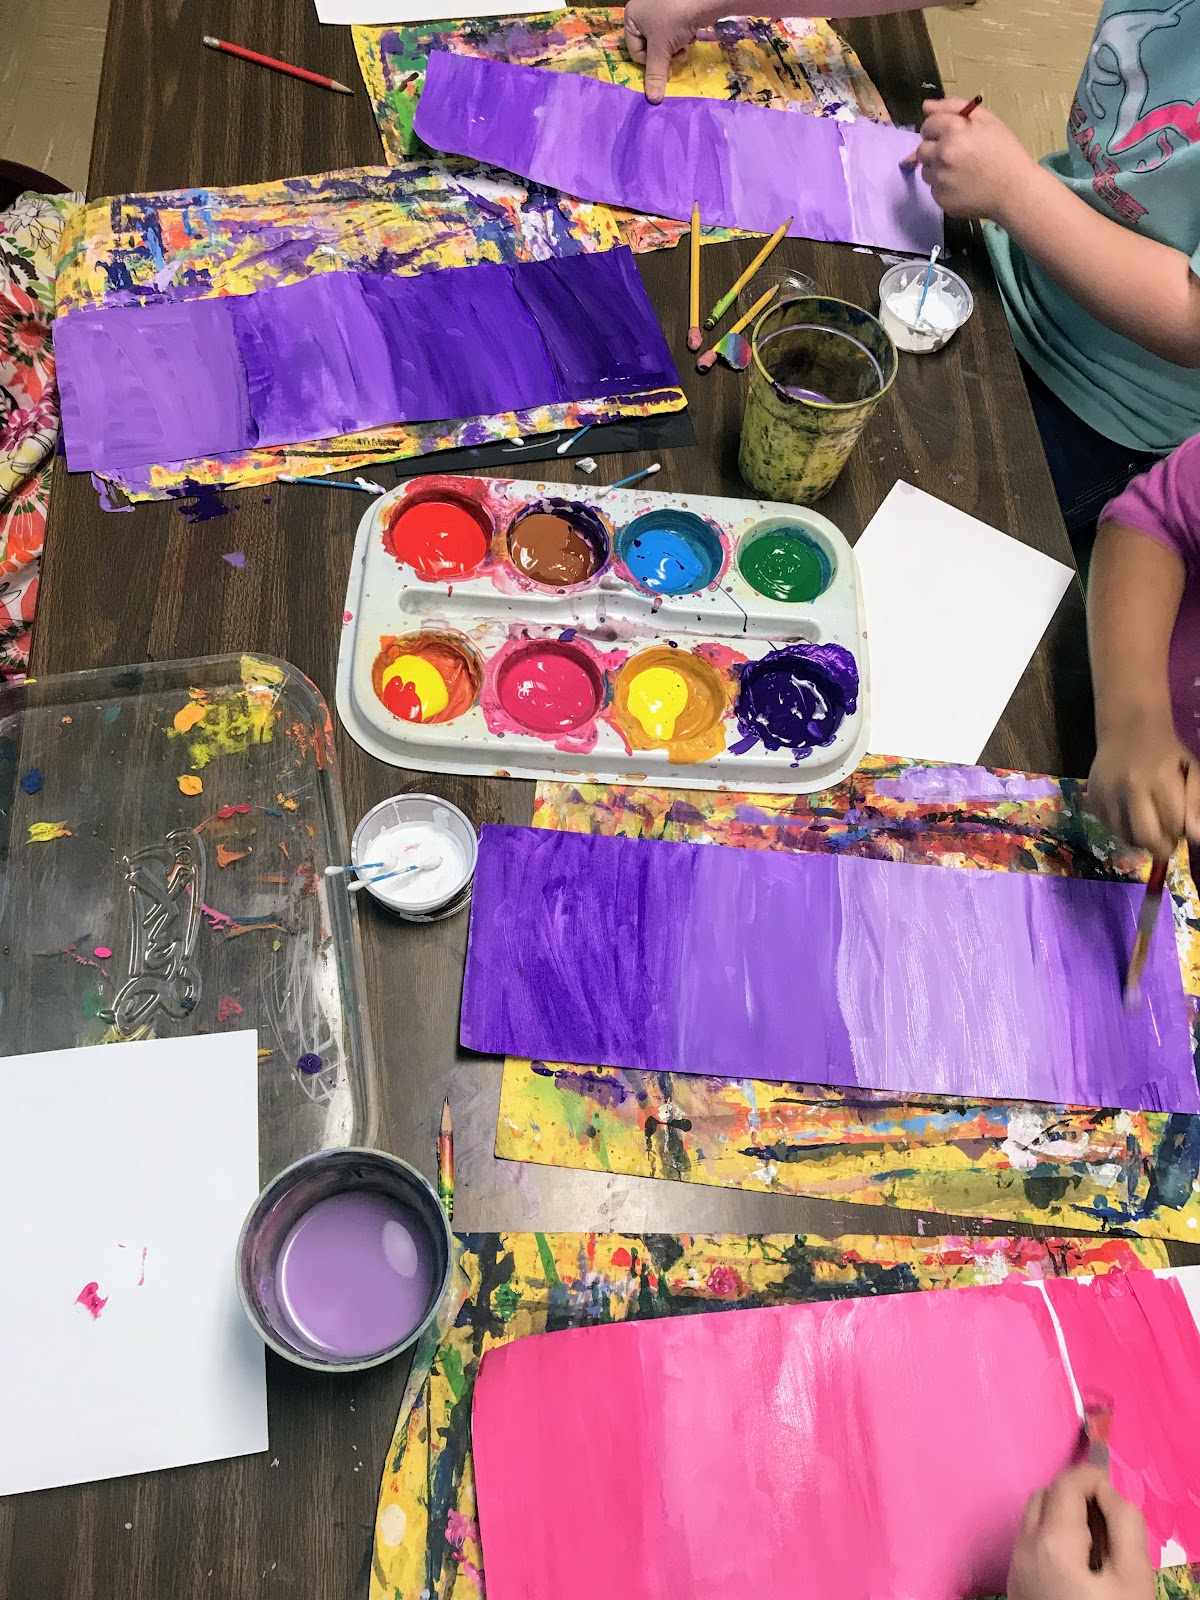
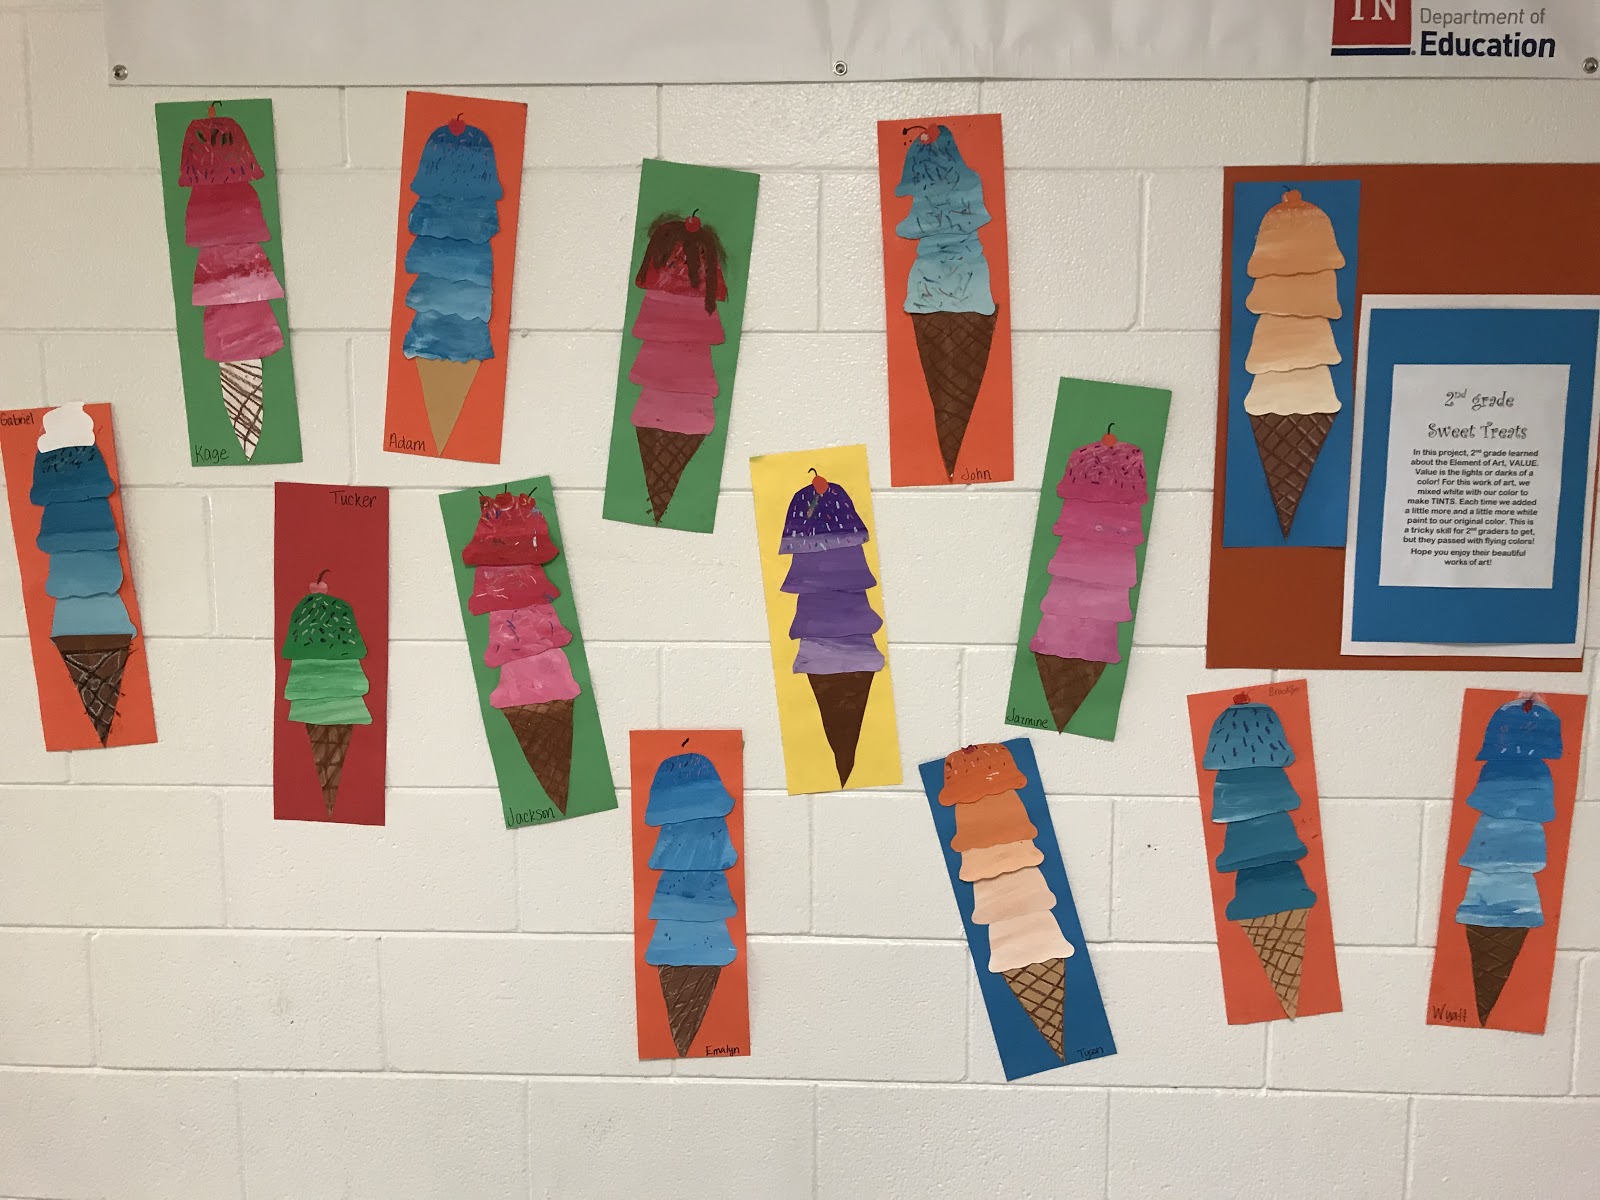
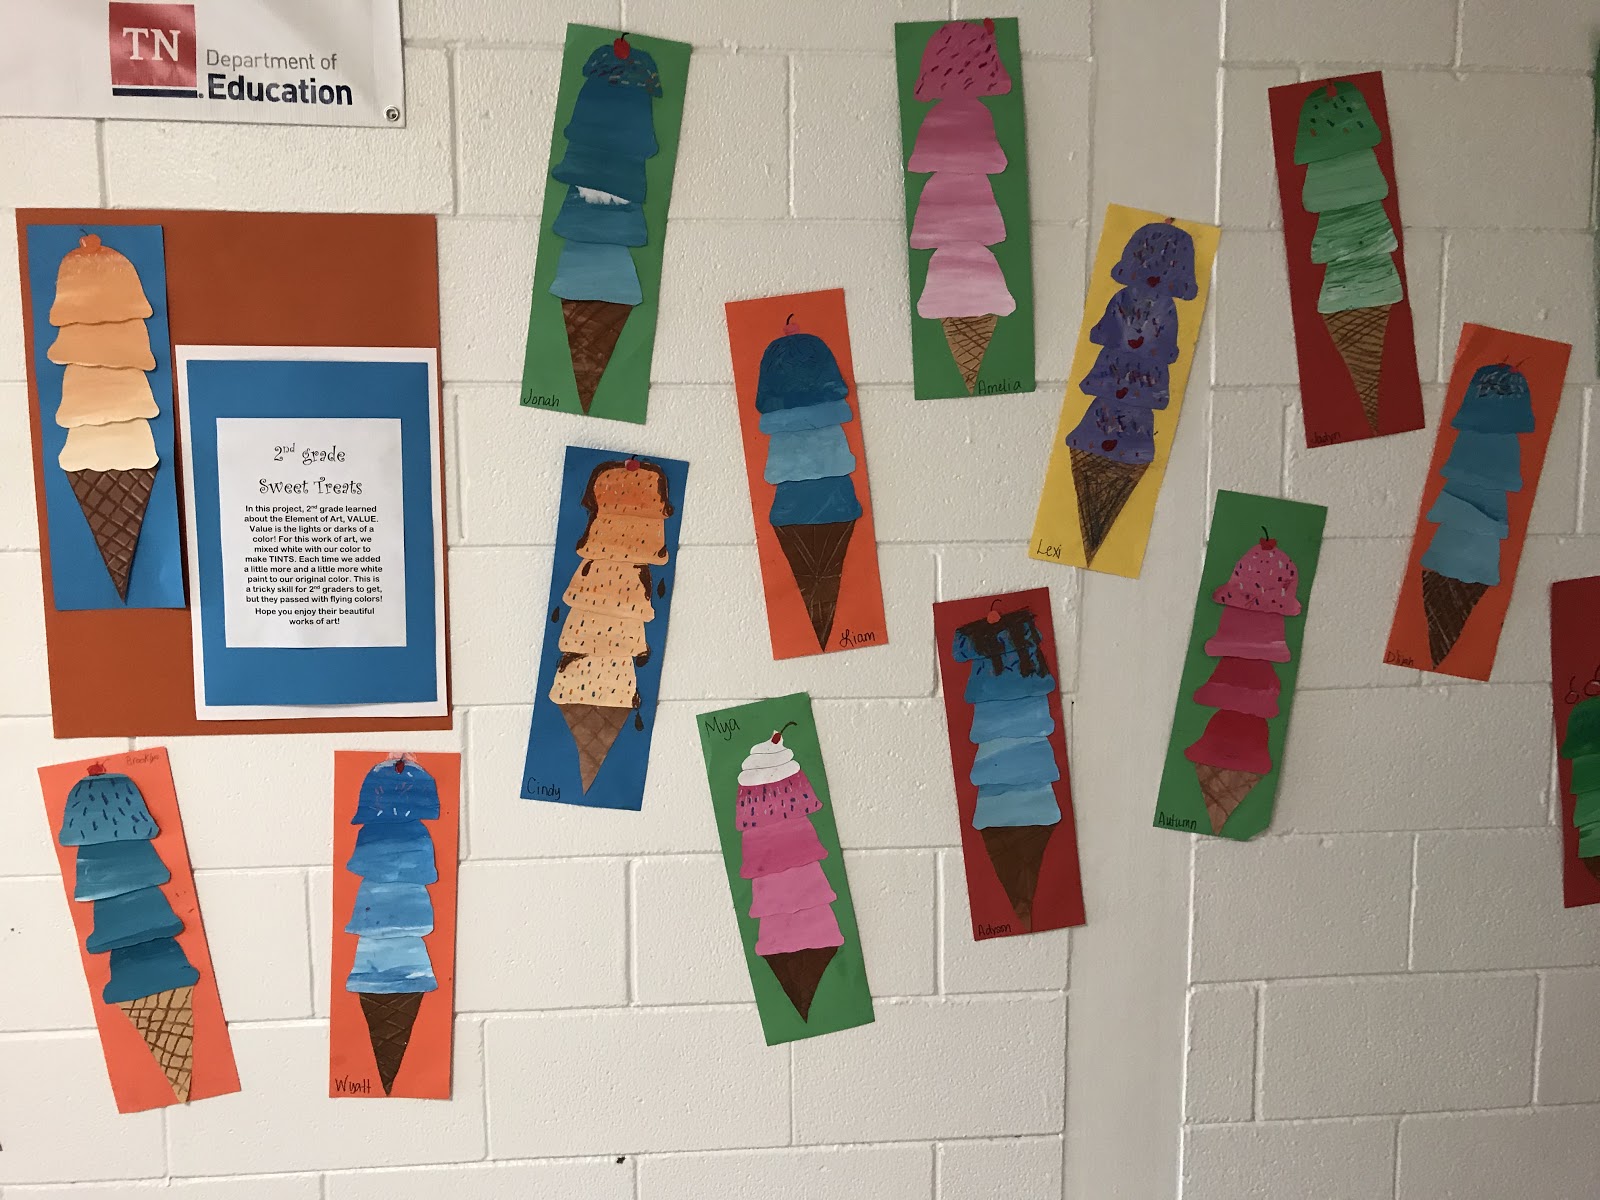
菲奇(Fitch)老师的班级完成得非常出色!
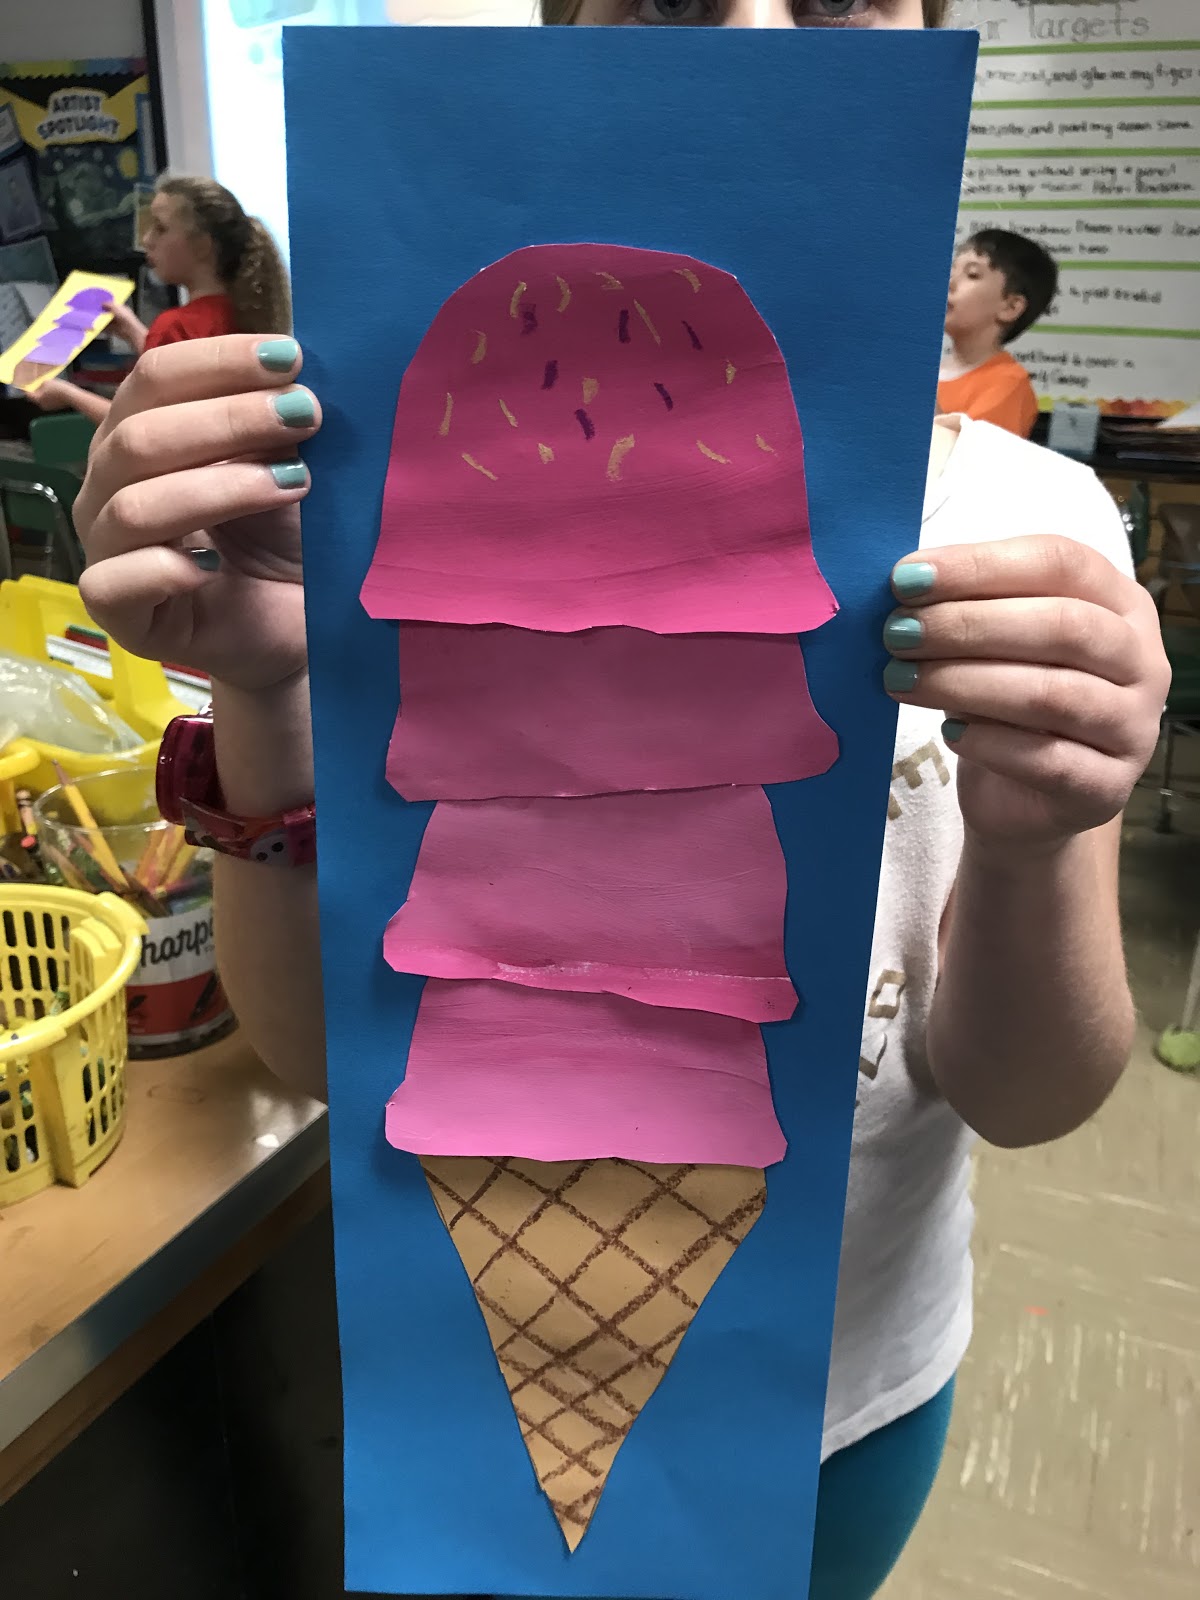
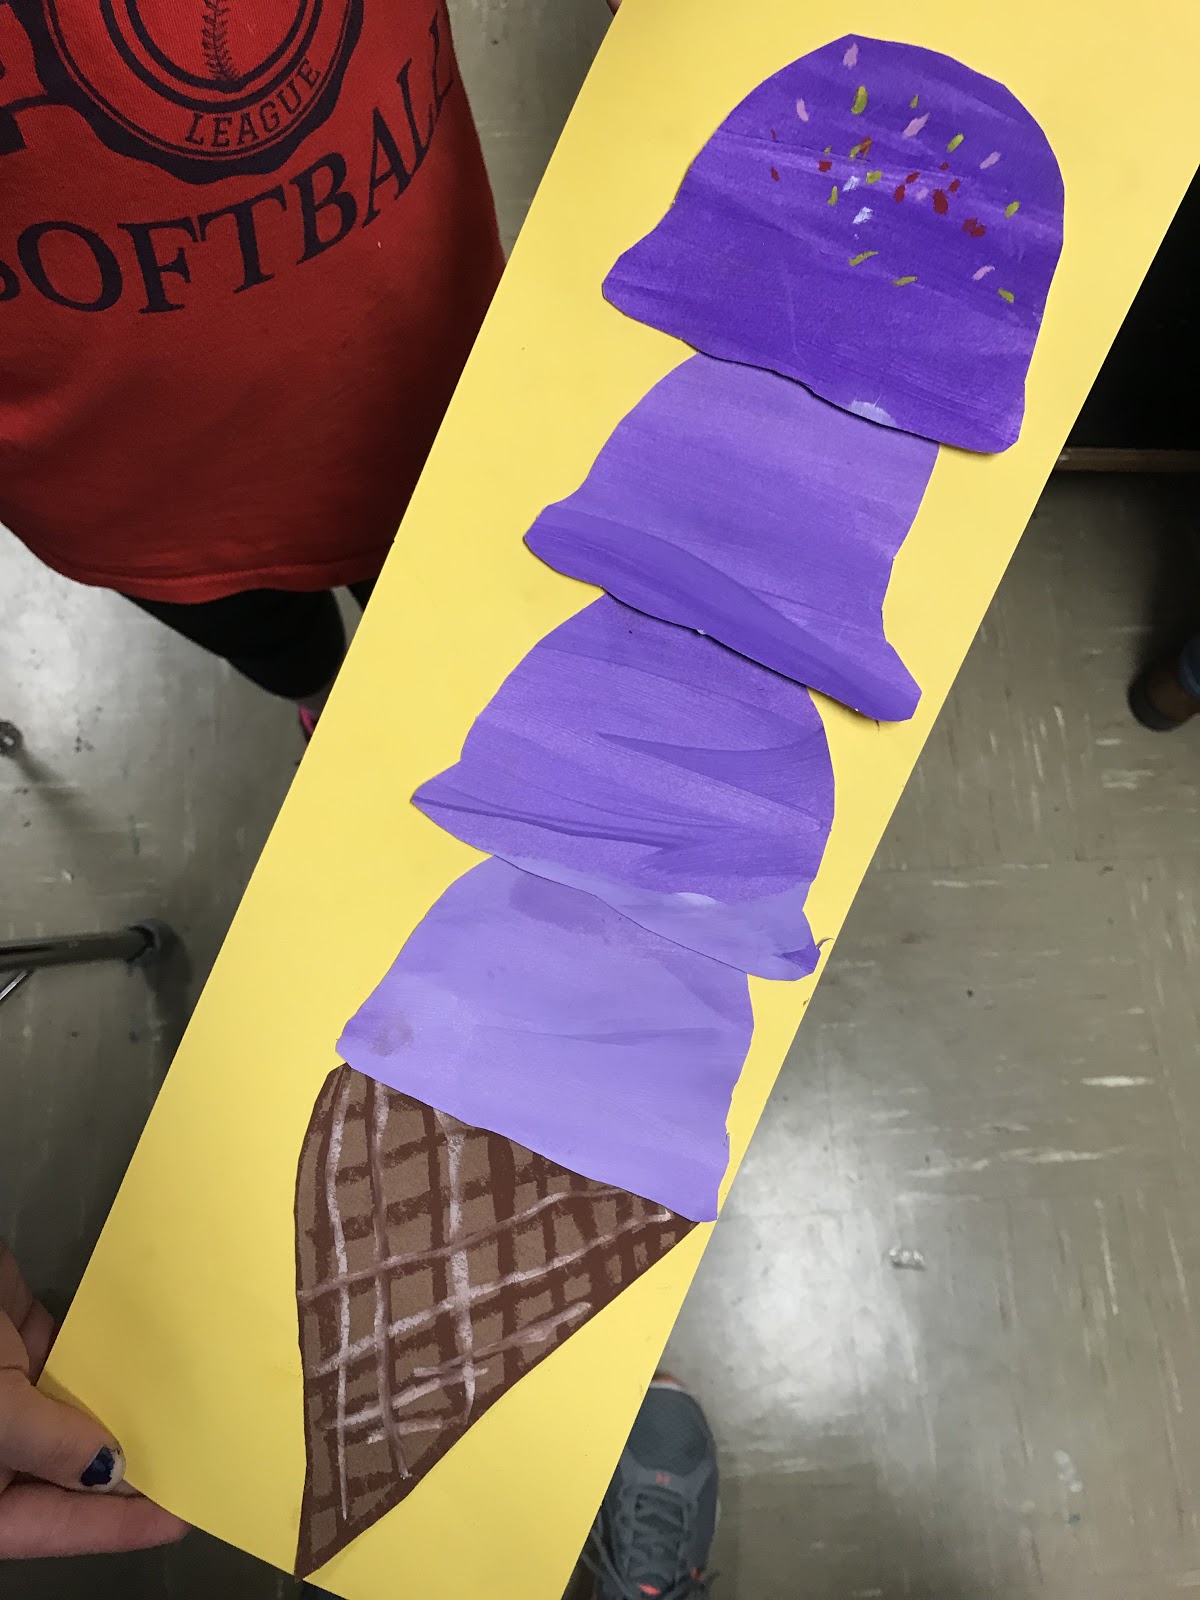
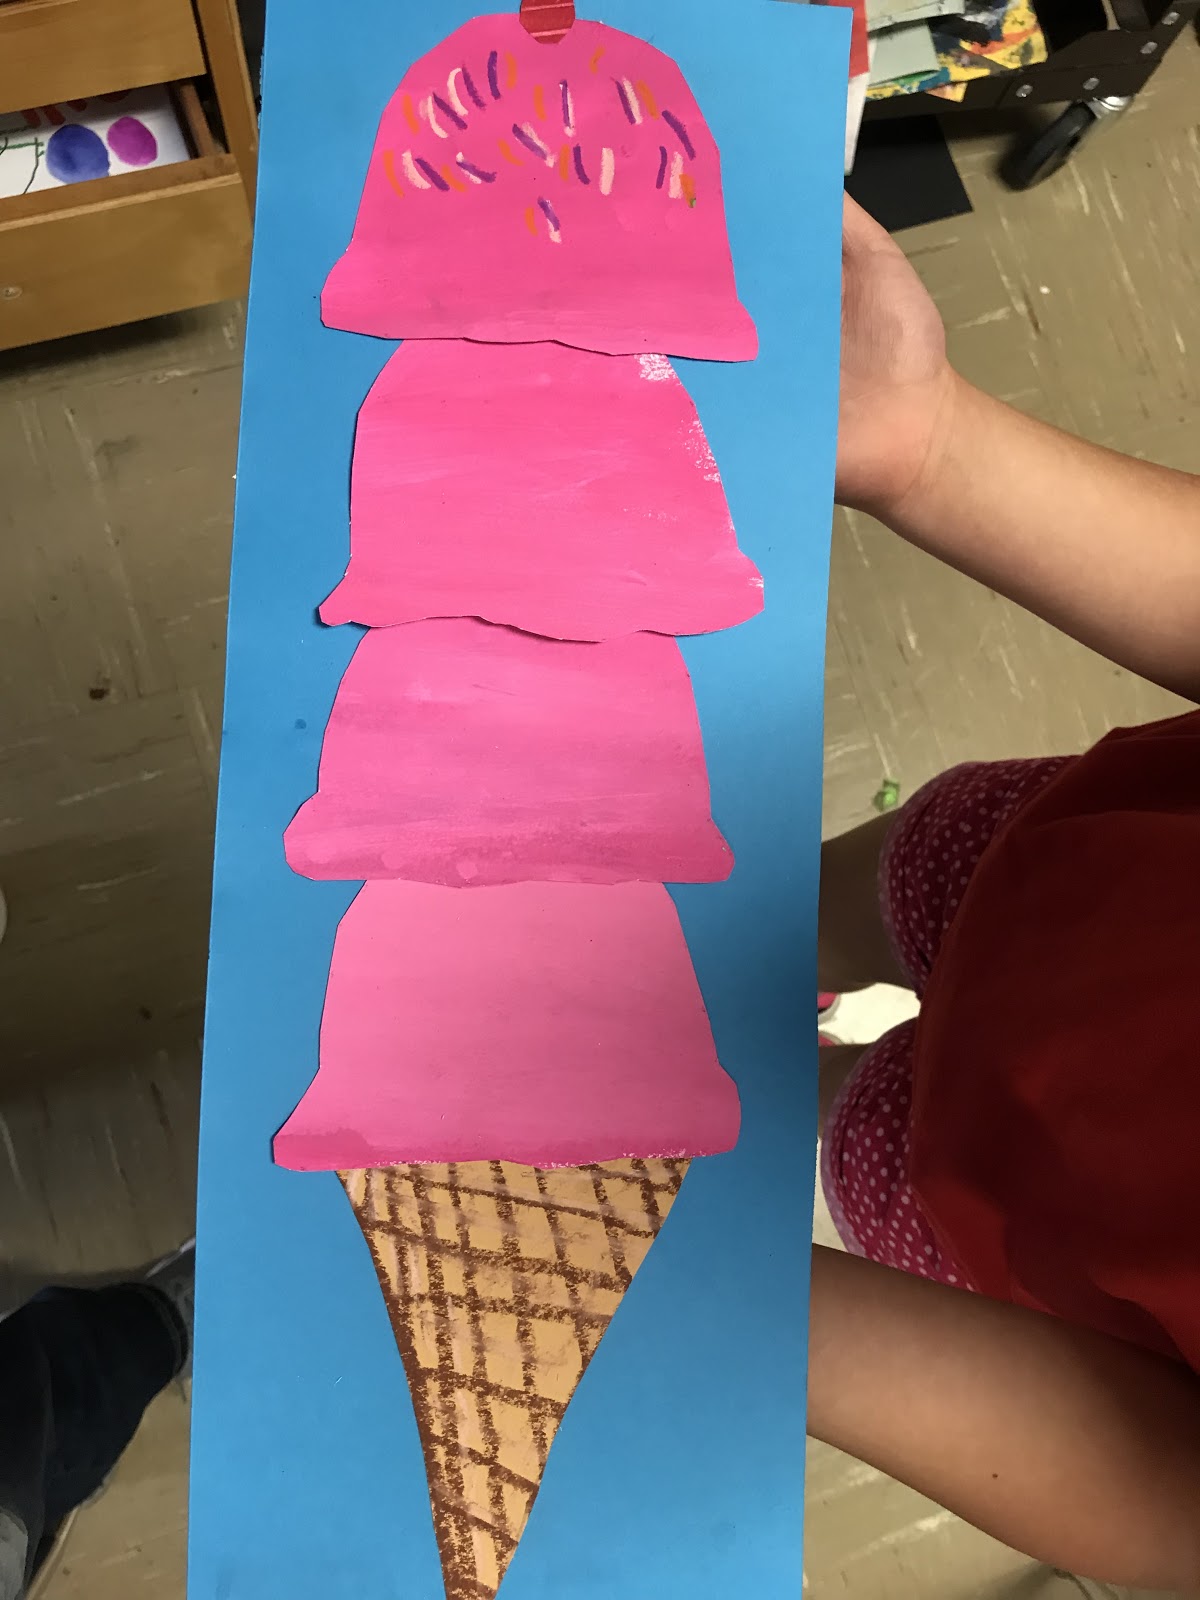
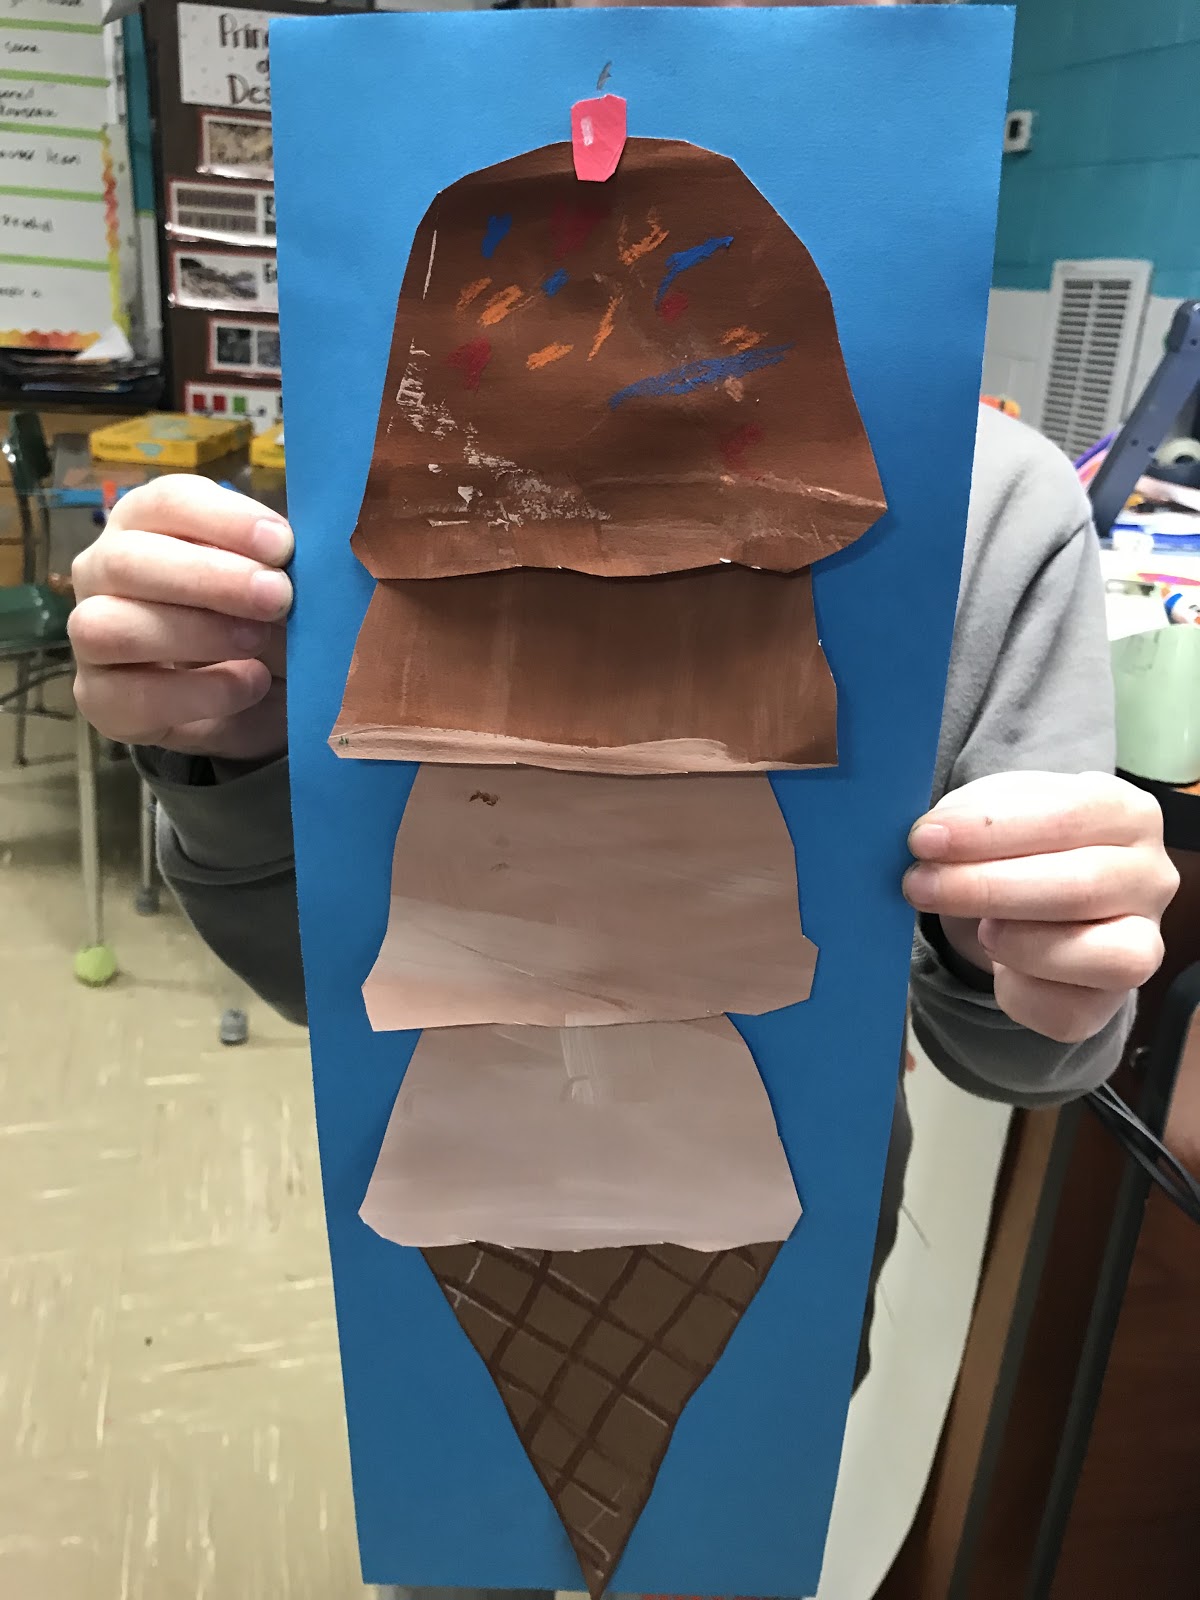
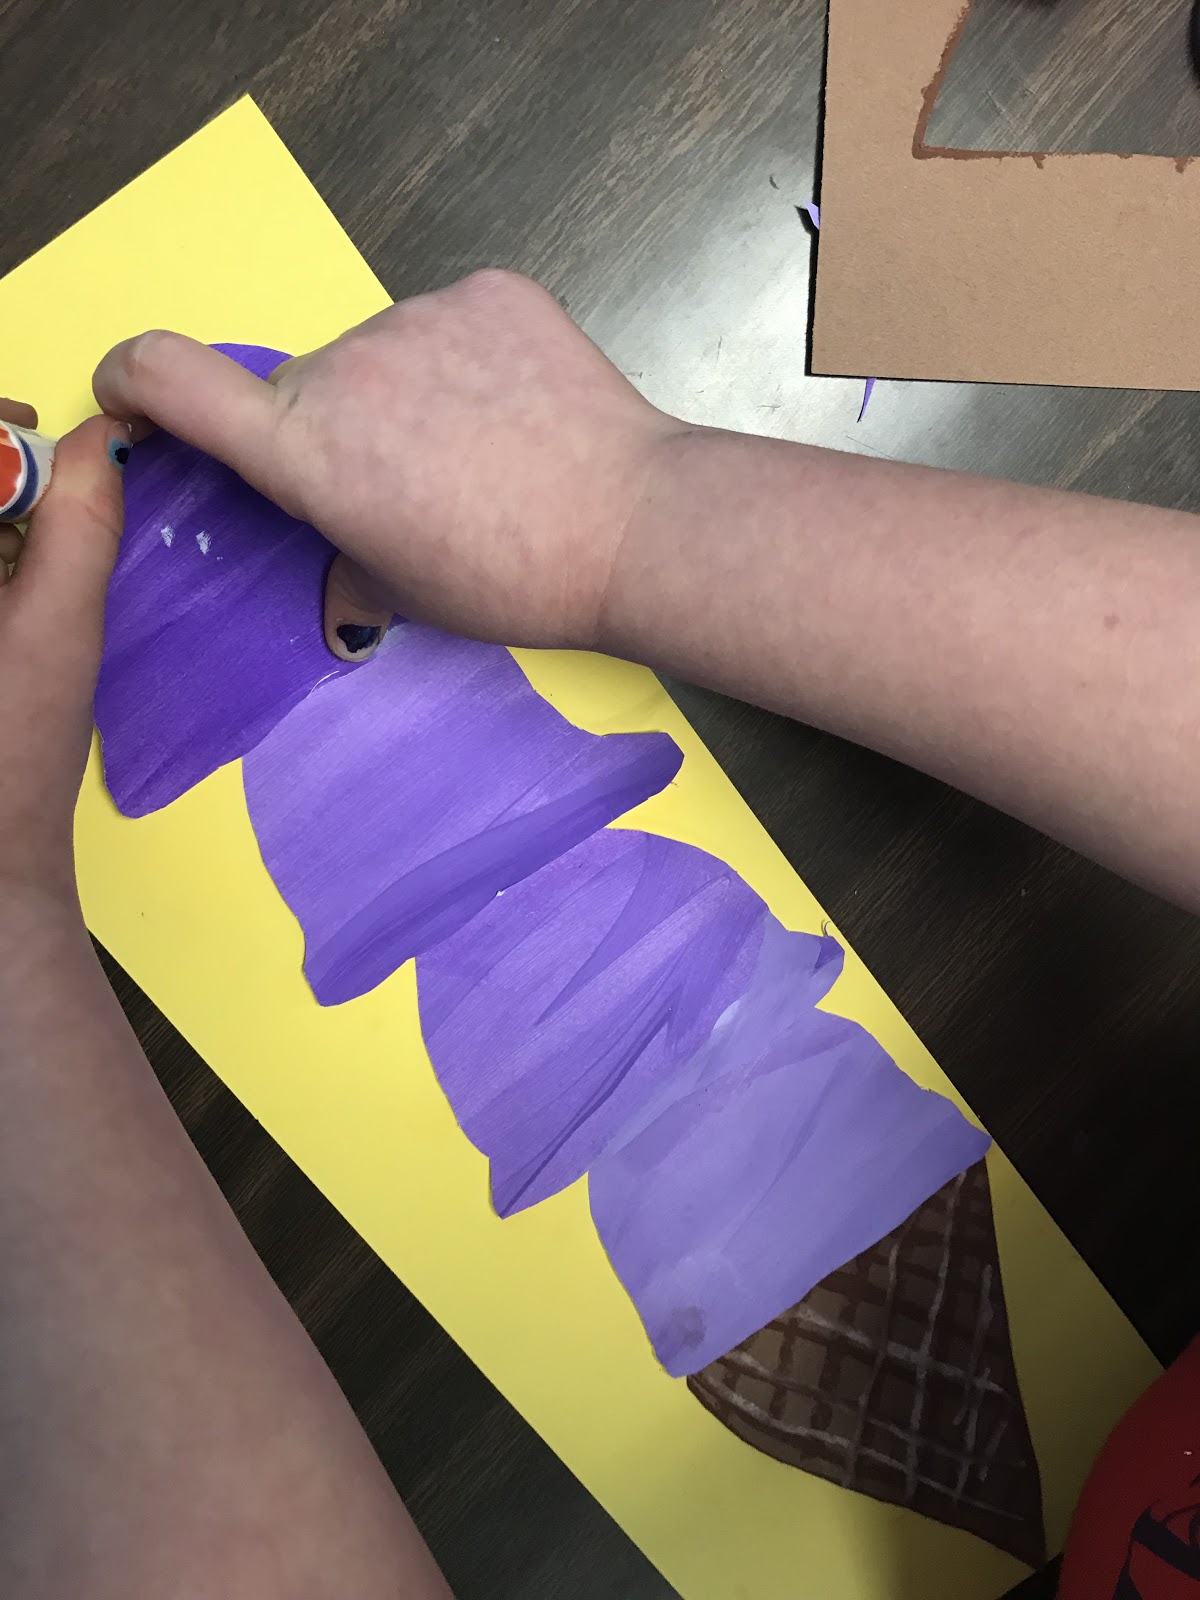
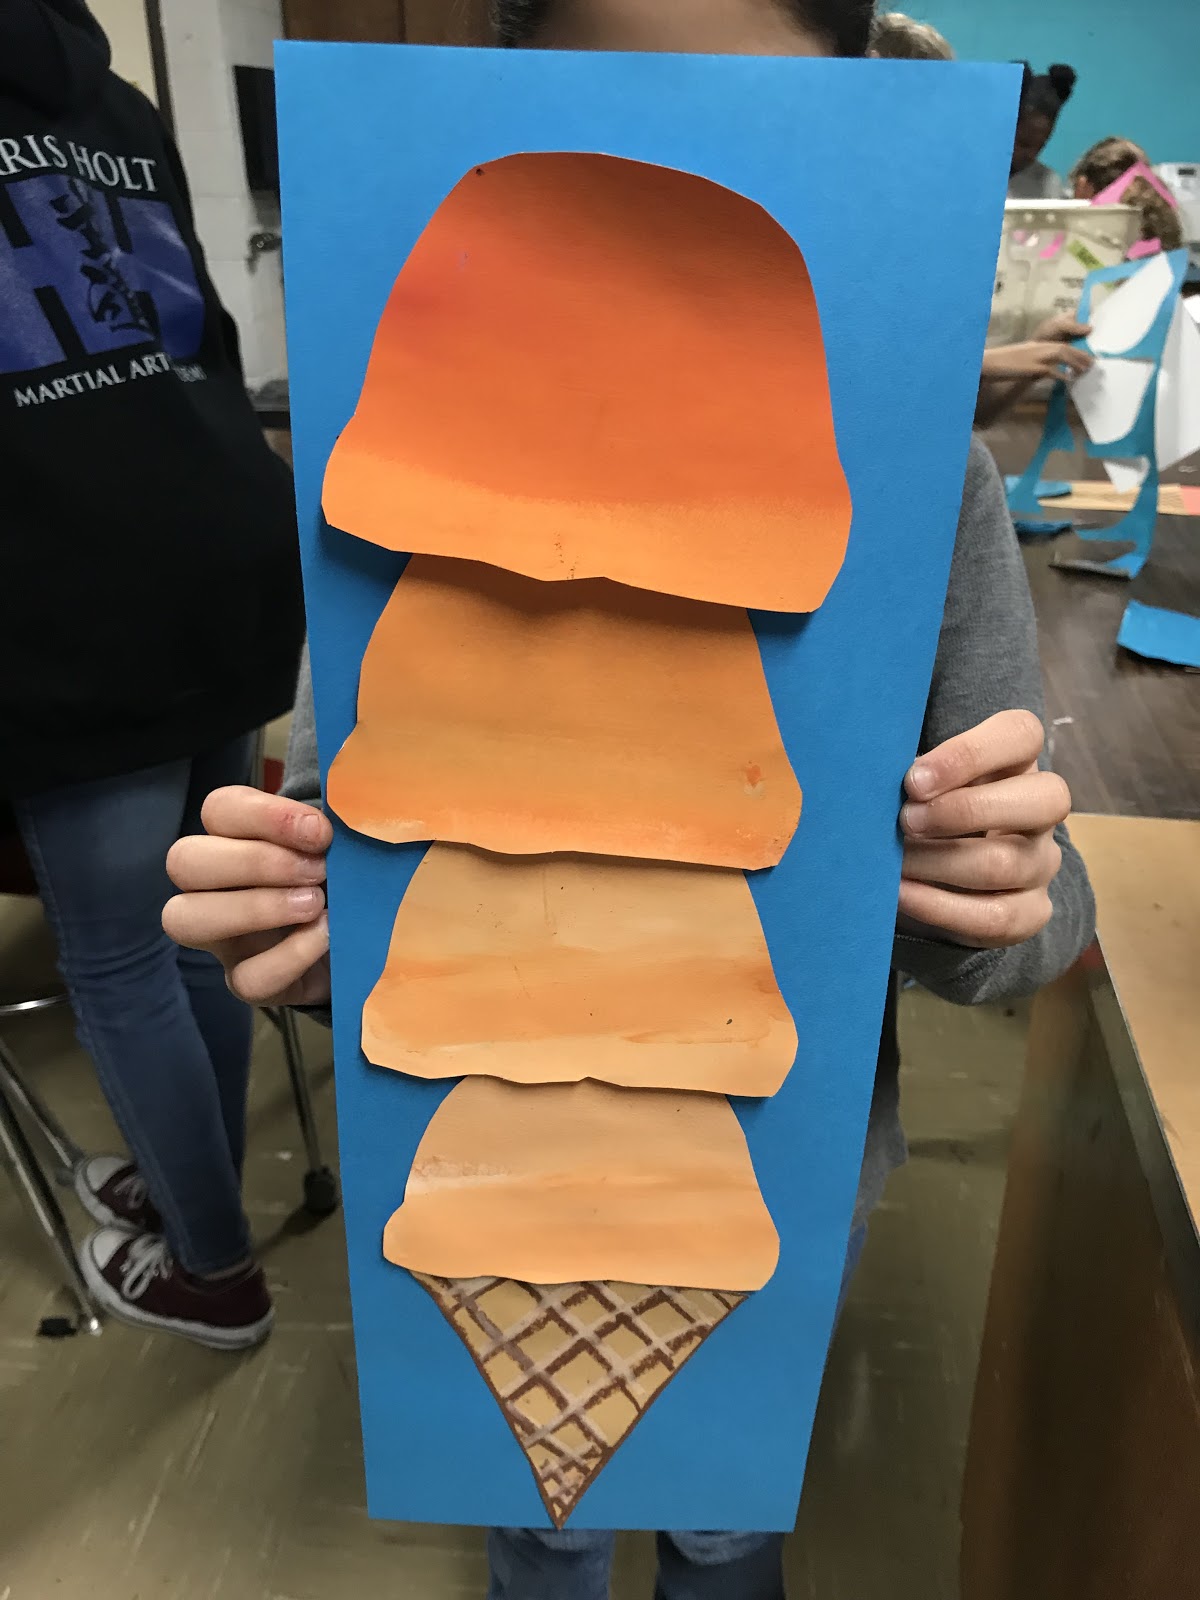
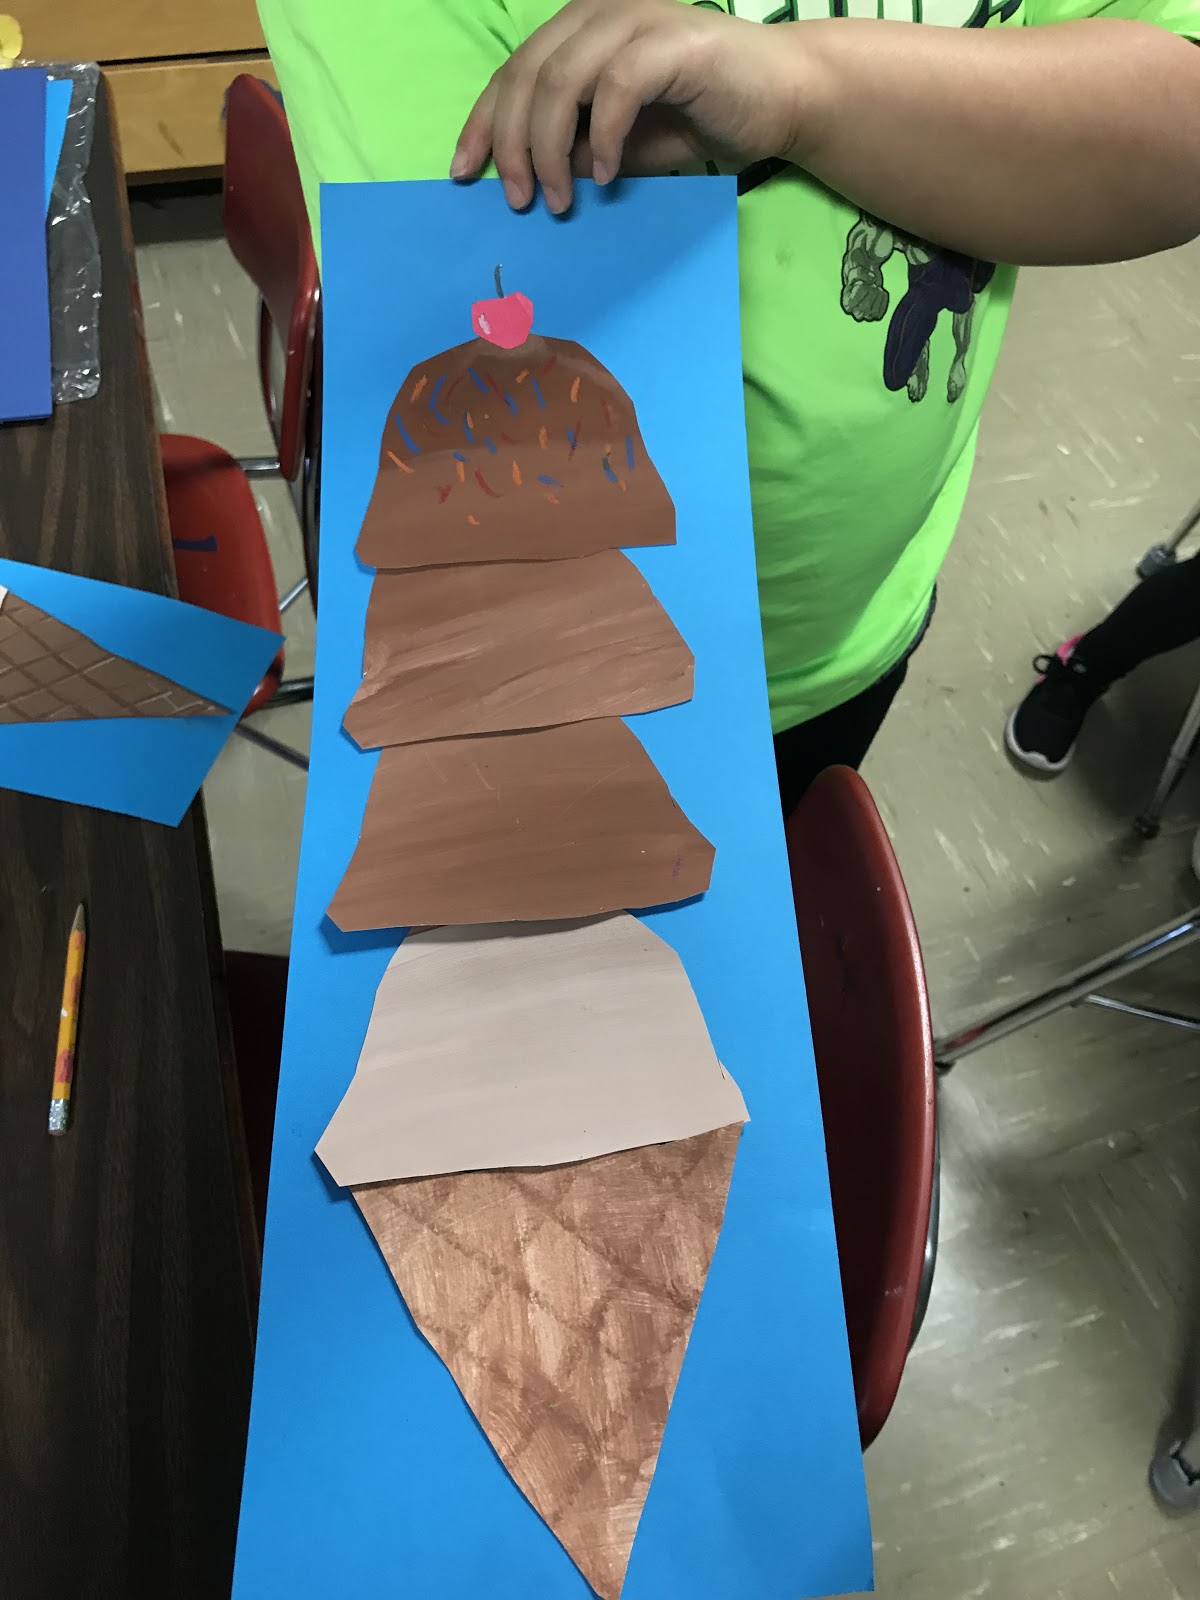
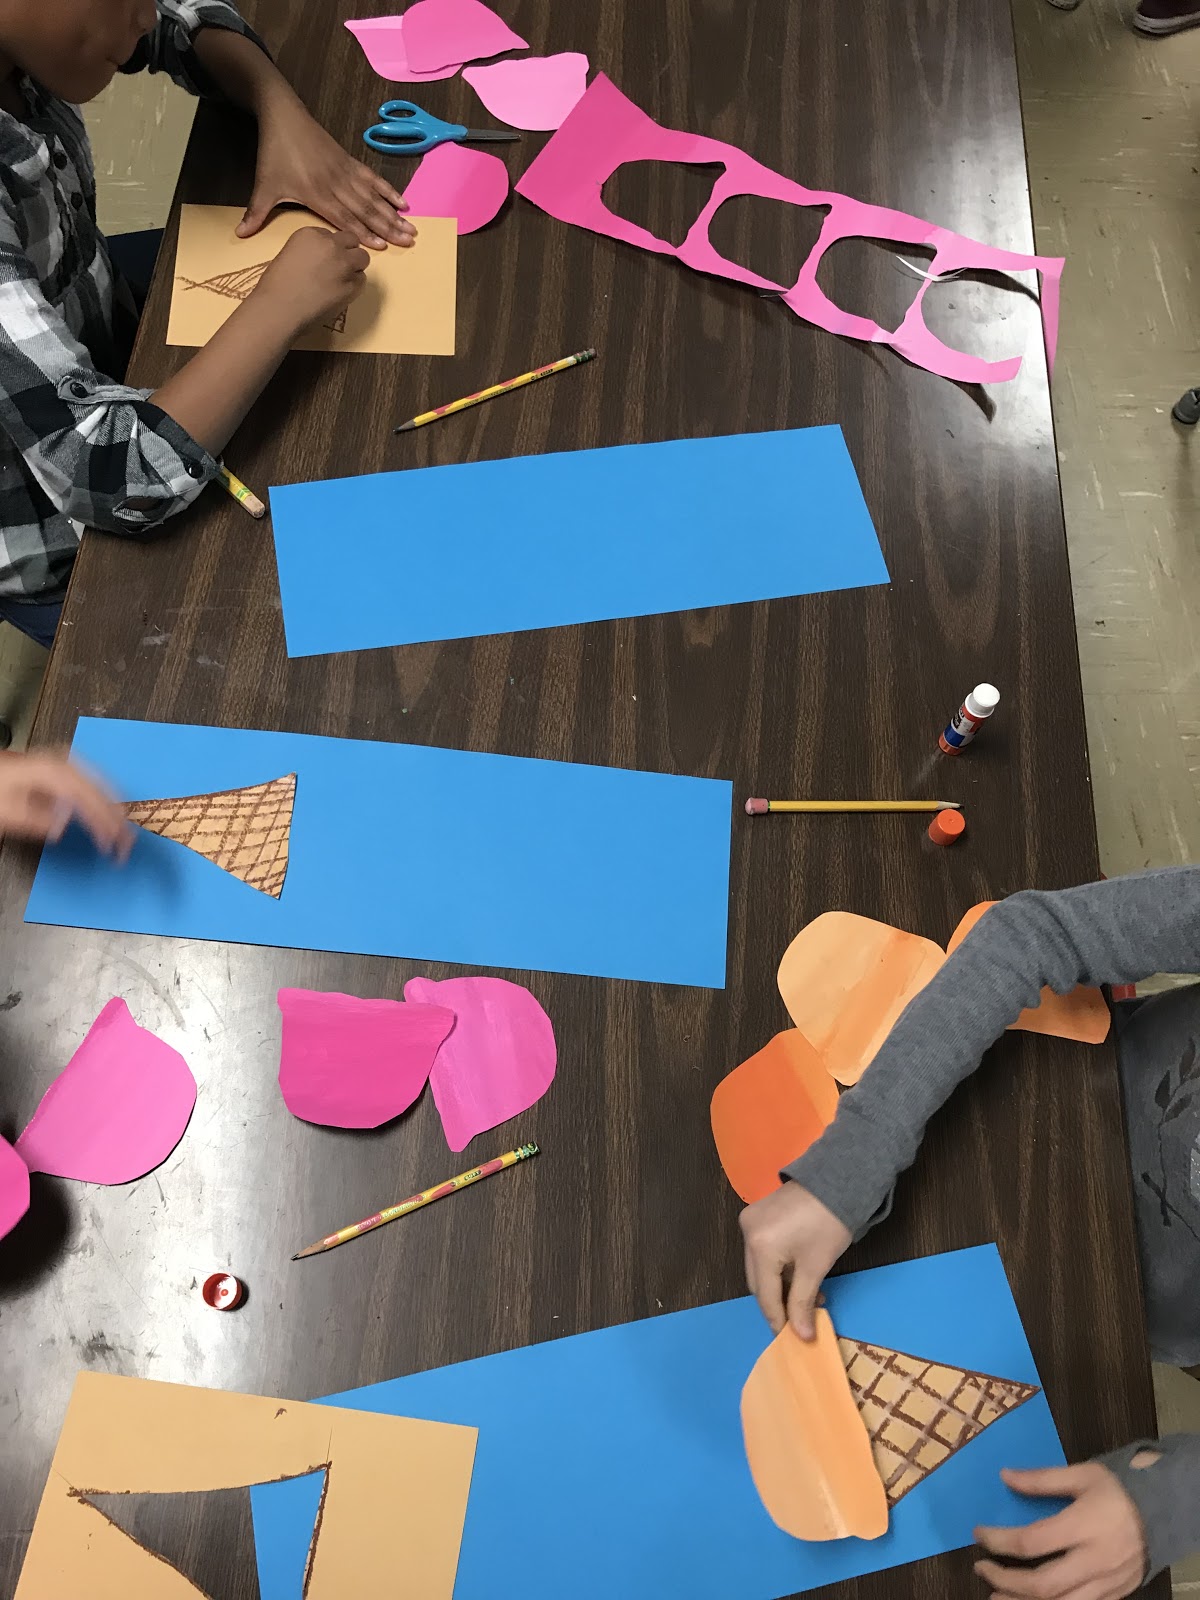
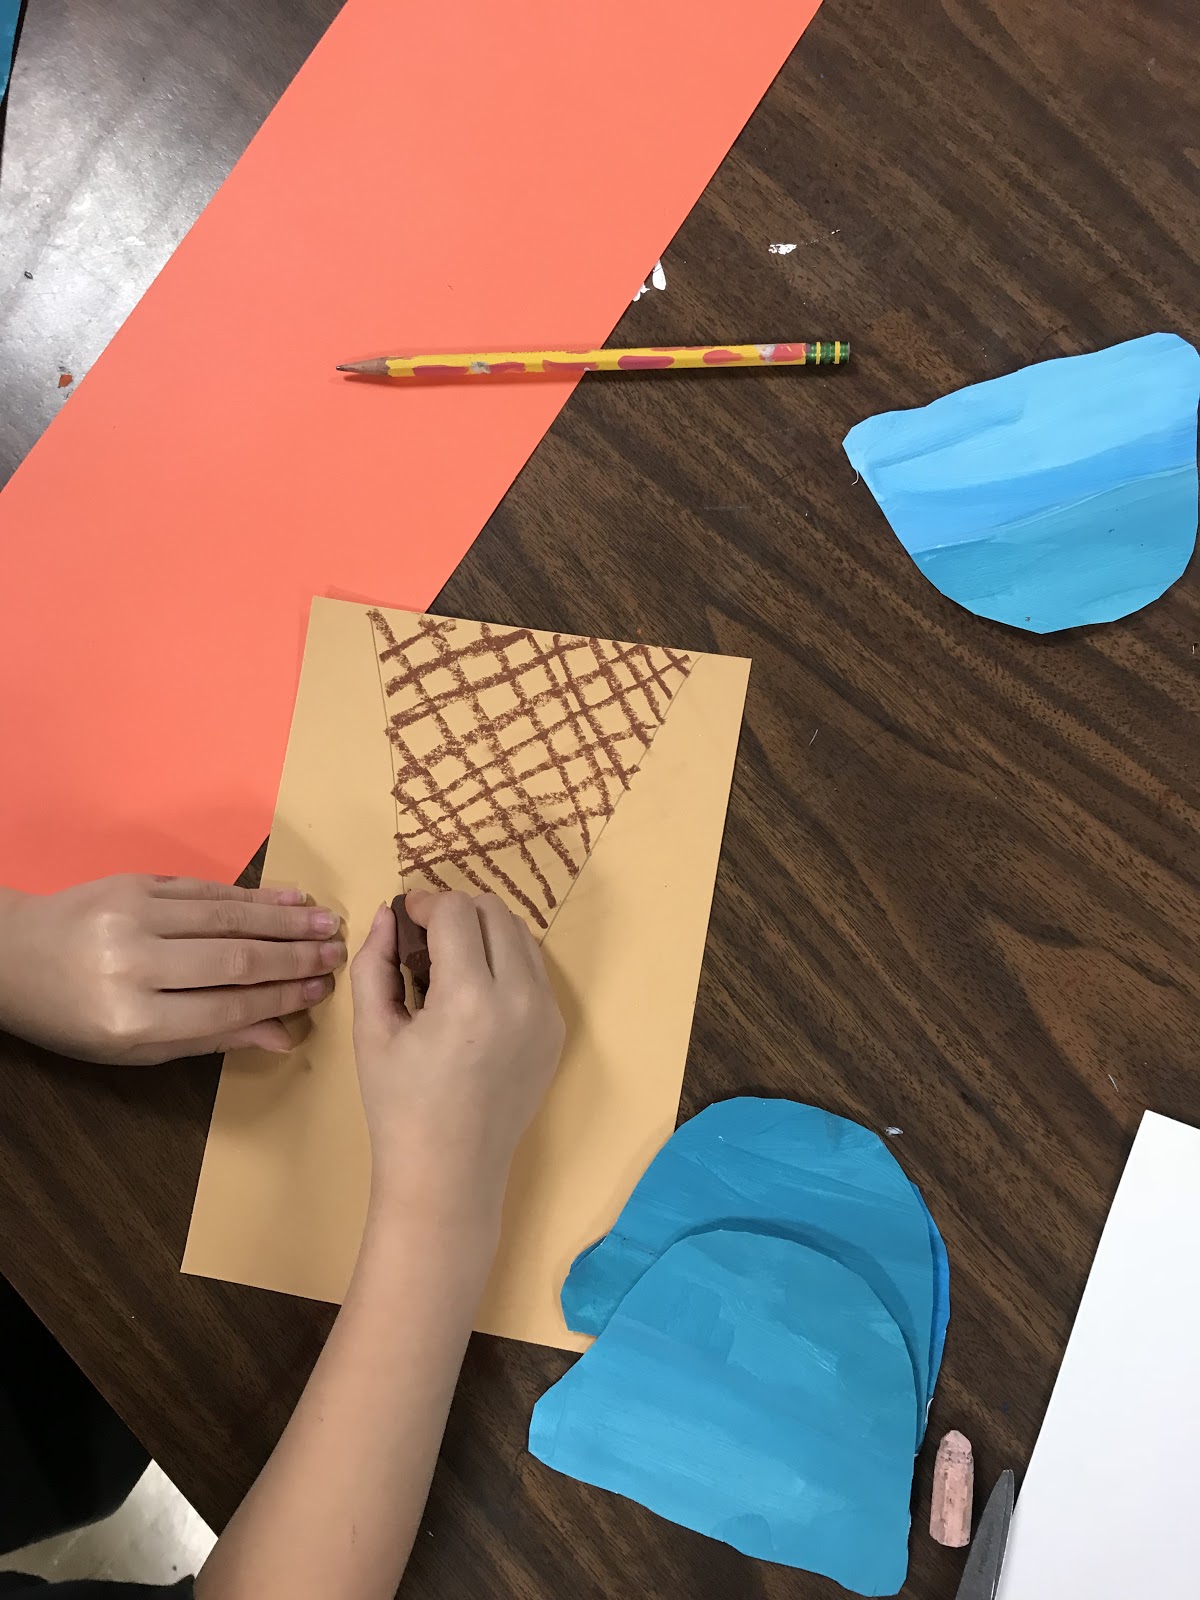
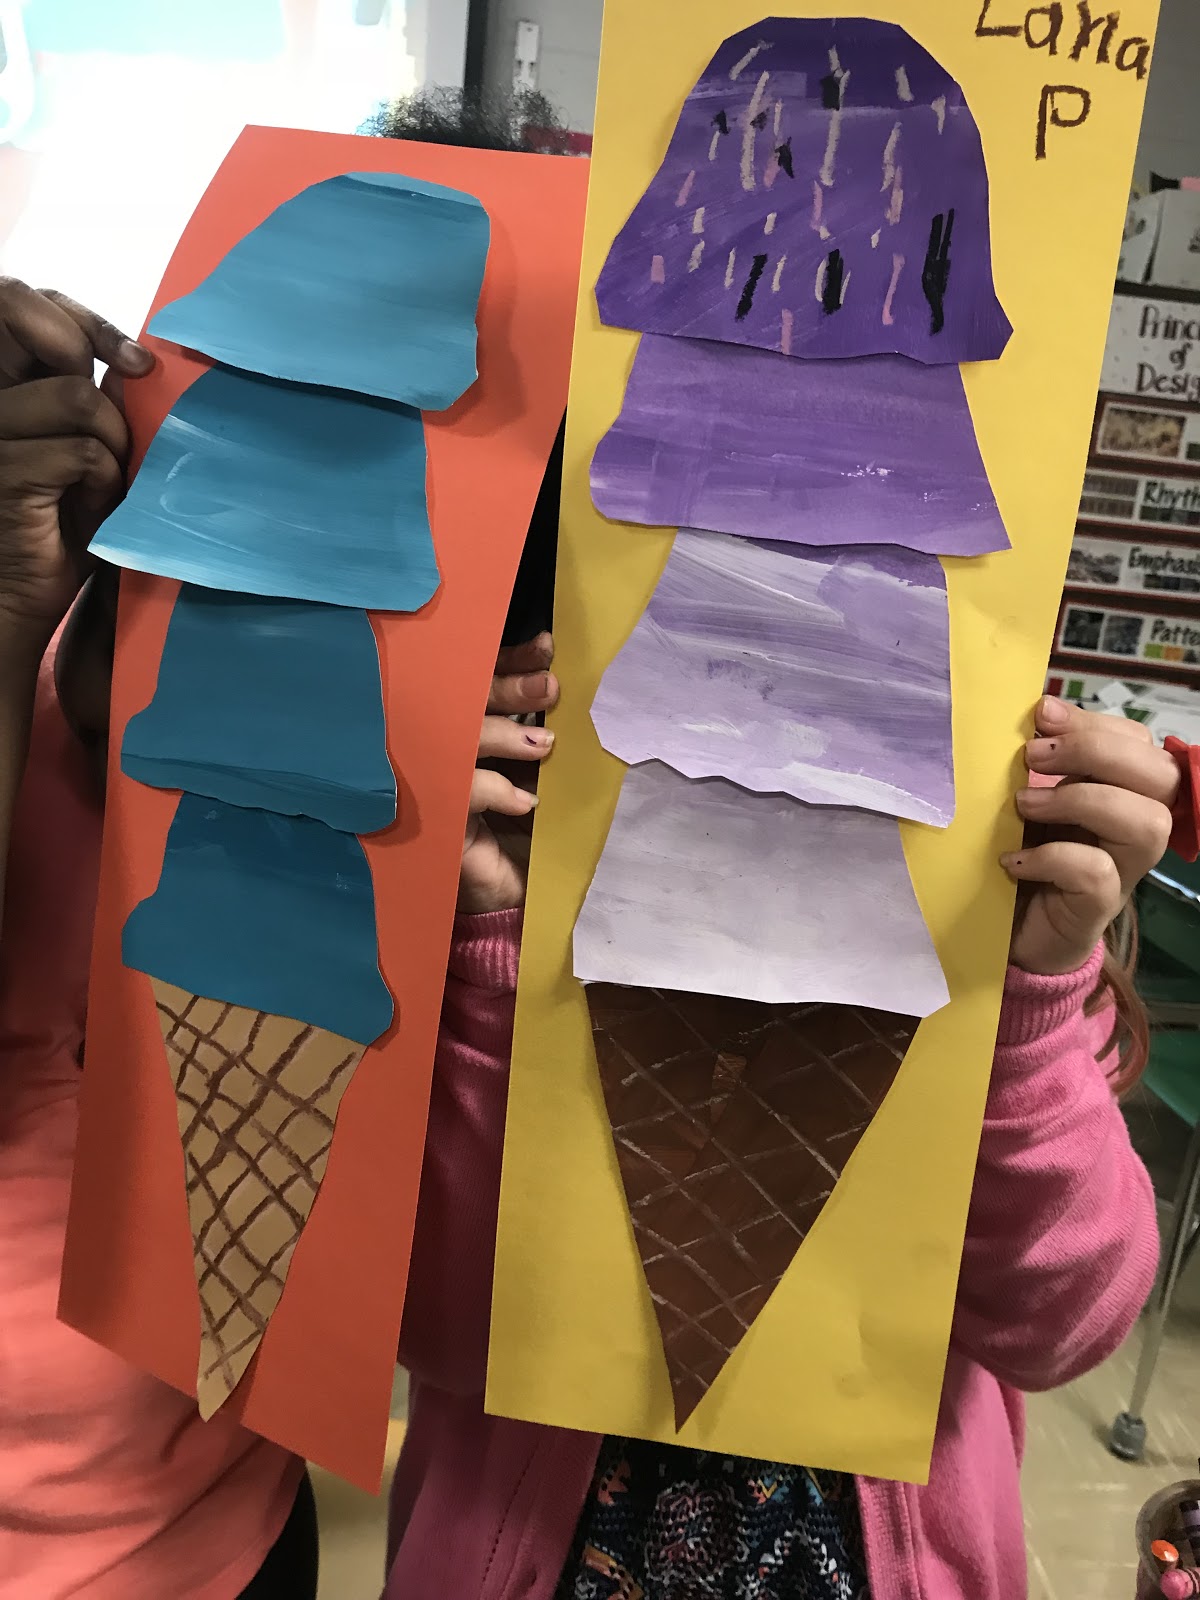
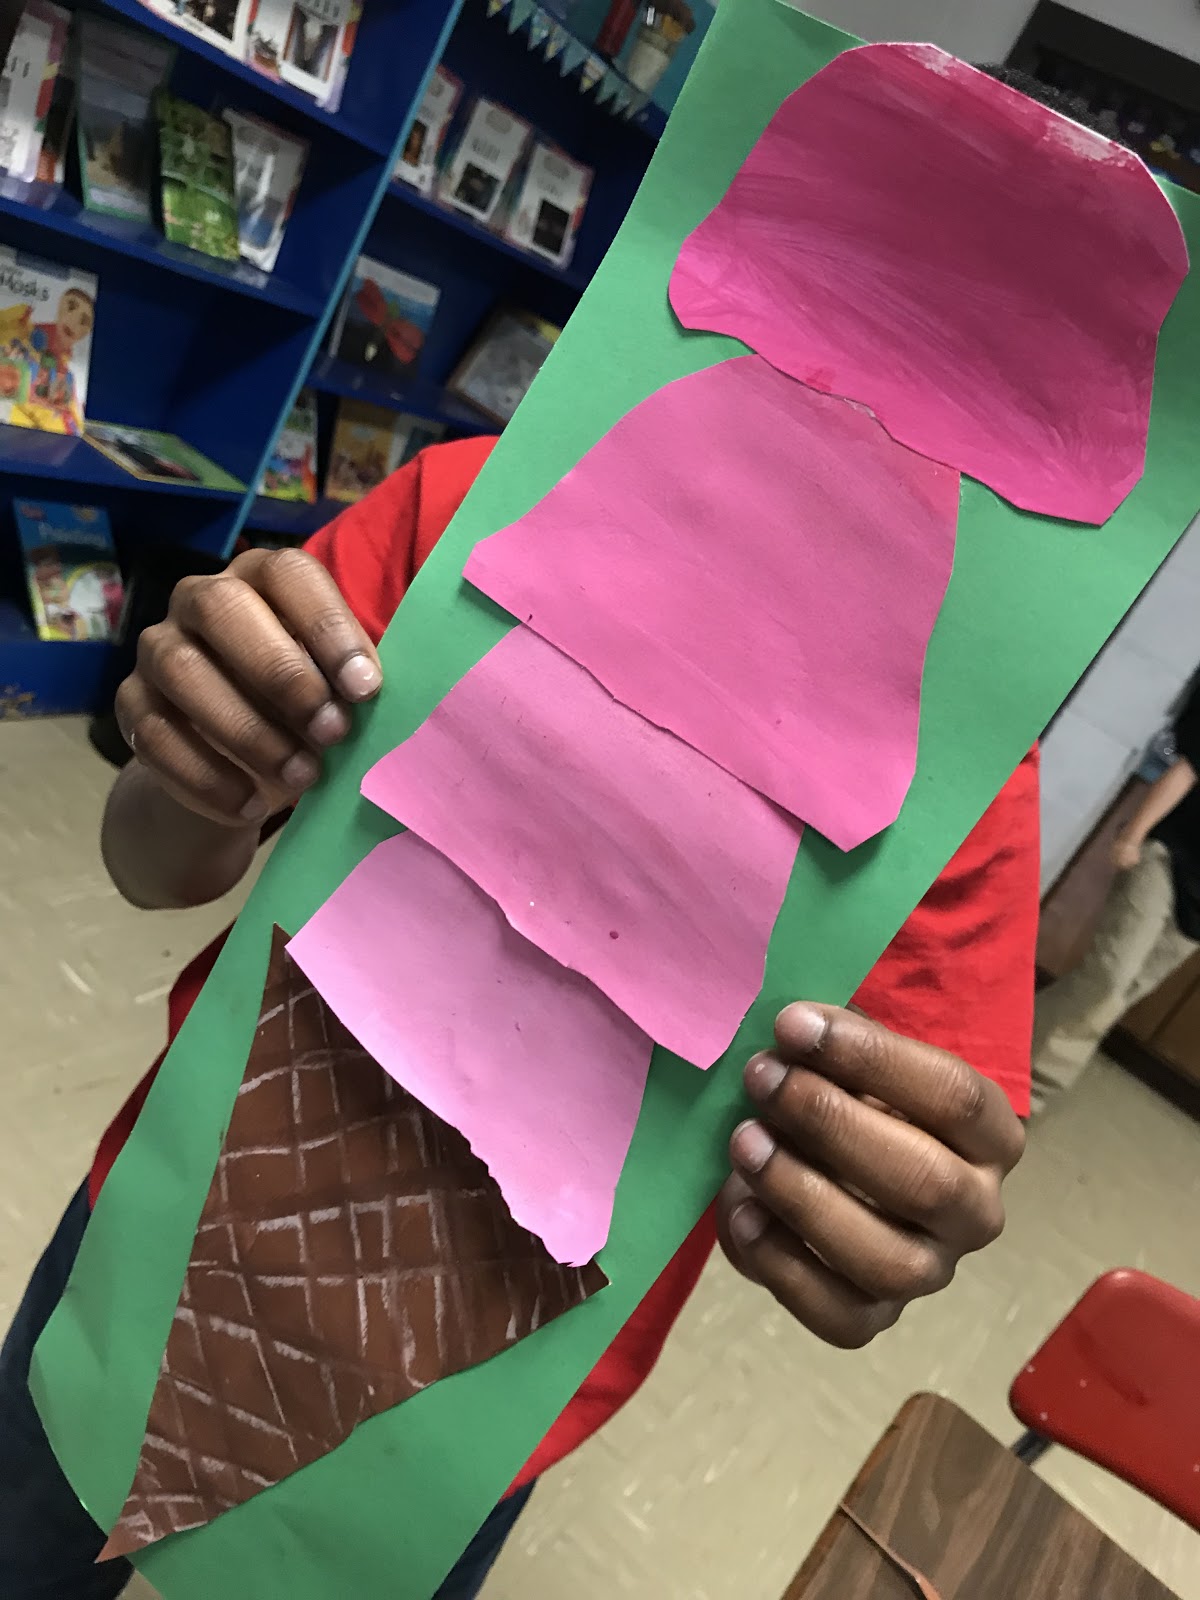
这是帕森斯(Parsons)老师的班级,也正专注投入地创作!
二年级超值甜筒冰淇淋
Today, 2nd grade embarked on a new project! New to me and certainly new to them! I saw this awesome idea on Abby Schukei's blog, Art, Eat, Tie Dye, Repeat and decided to give it a go!
Here's how we created ours!
Materials:
90lb 6x18" paper
6x18" Tru Ray construction paper
Crayola oil pastels
Fiskar scissors
Pencils
Big Kid's Choice flat paintbrushes
Crayola Artista II tempera paint
Day 1: Talk about the Element of Art, VALUE! Value is super duper important, y'all! Value is the lights and darks of a color. We use value to shade things, and to make our pictures just look more AWESOME! ;) I like to say, Value adds $Value$! Need another example of Value...how about the ever popular Ombre craze? It's everywhere! You can have ombre from head to toe if you wanted!
Well, we're making ombre ice cream! lol
Today, we're focusing on the lights or the TINTS. I tell them, not like the tent you sleep in! A TINT is when you add white to a color. (A shade is when you add black to a color, but we're not doing that)
I gather them around my middle table in my room and show them how to paint a 6x18" piece of paper. I start with my plain color, and slowly add dollops of white to make the color get lighter and lighter! I remind them to paint in one direction to make the color smoother too. After I paint my long paper, I show them how to paint their cone paper. I used oil pastels to make crisscrossing diagonal lines. (peach and brown from Crayola's oil pastels) Then, they got to work!
Here's Mrs. Fitch's class, hard at work, making their Tints & cones!
Day 2: I'll get them to trace an ice cream template on the back of their paper, cut them out, and assemble them on a complementary color of their ice cream!
Mrs. Fitch's class doing a great job!
Here's Mrs. Parsons' class, hard at work!