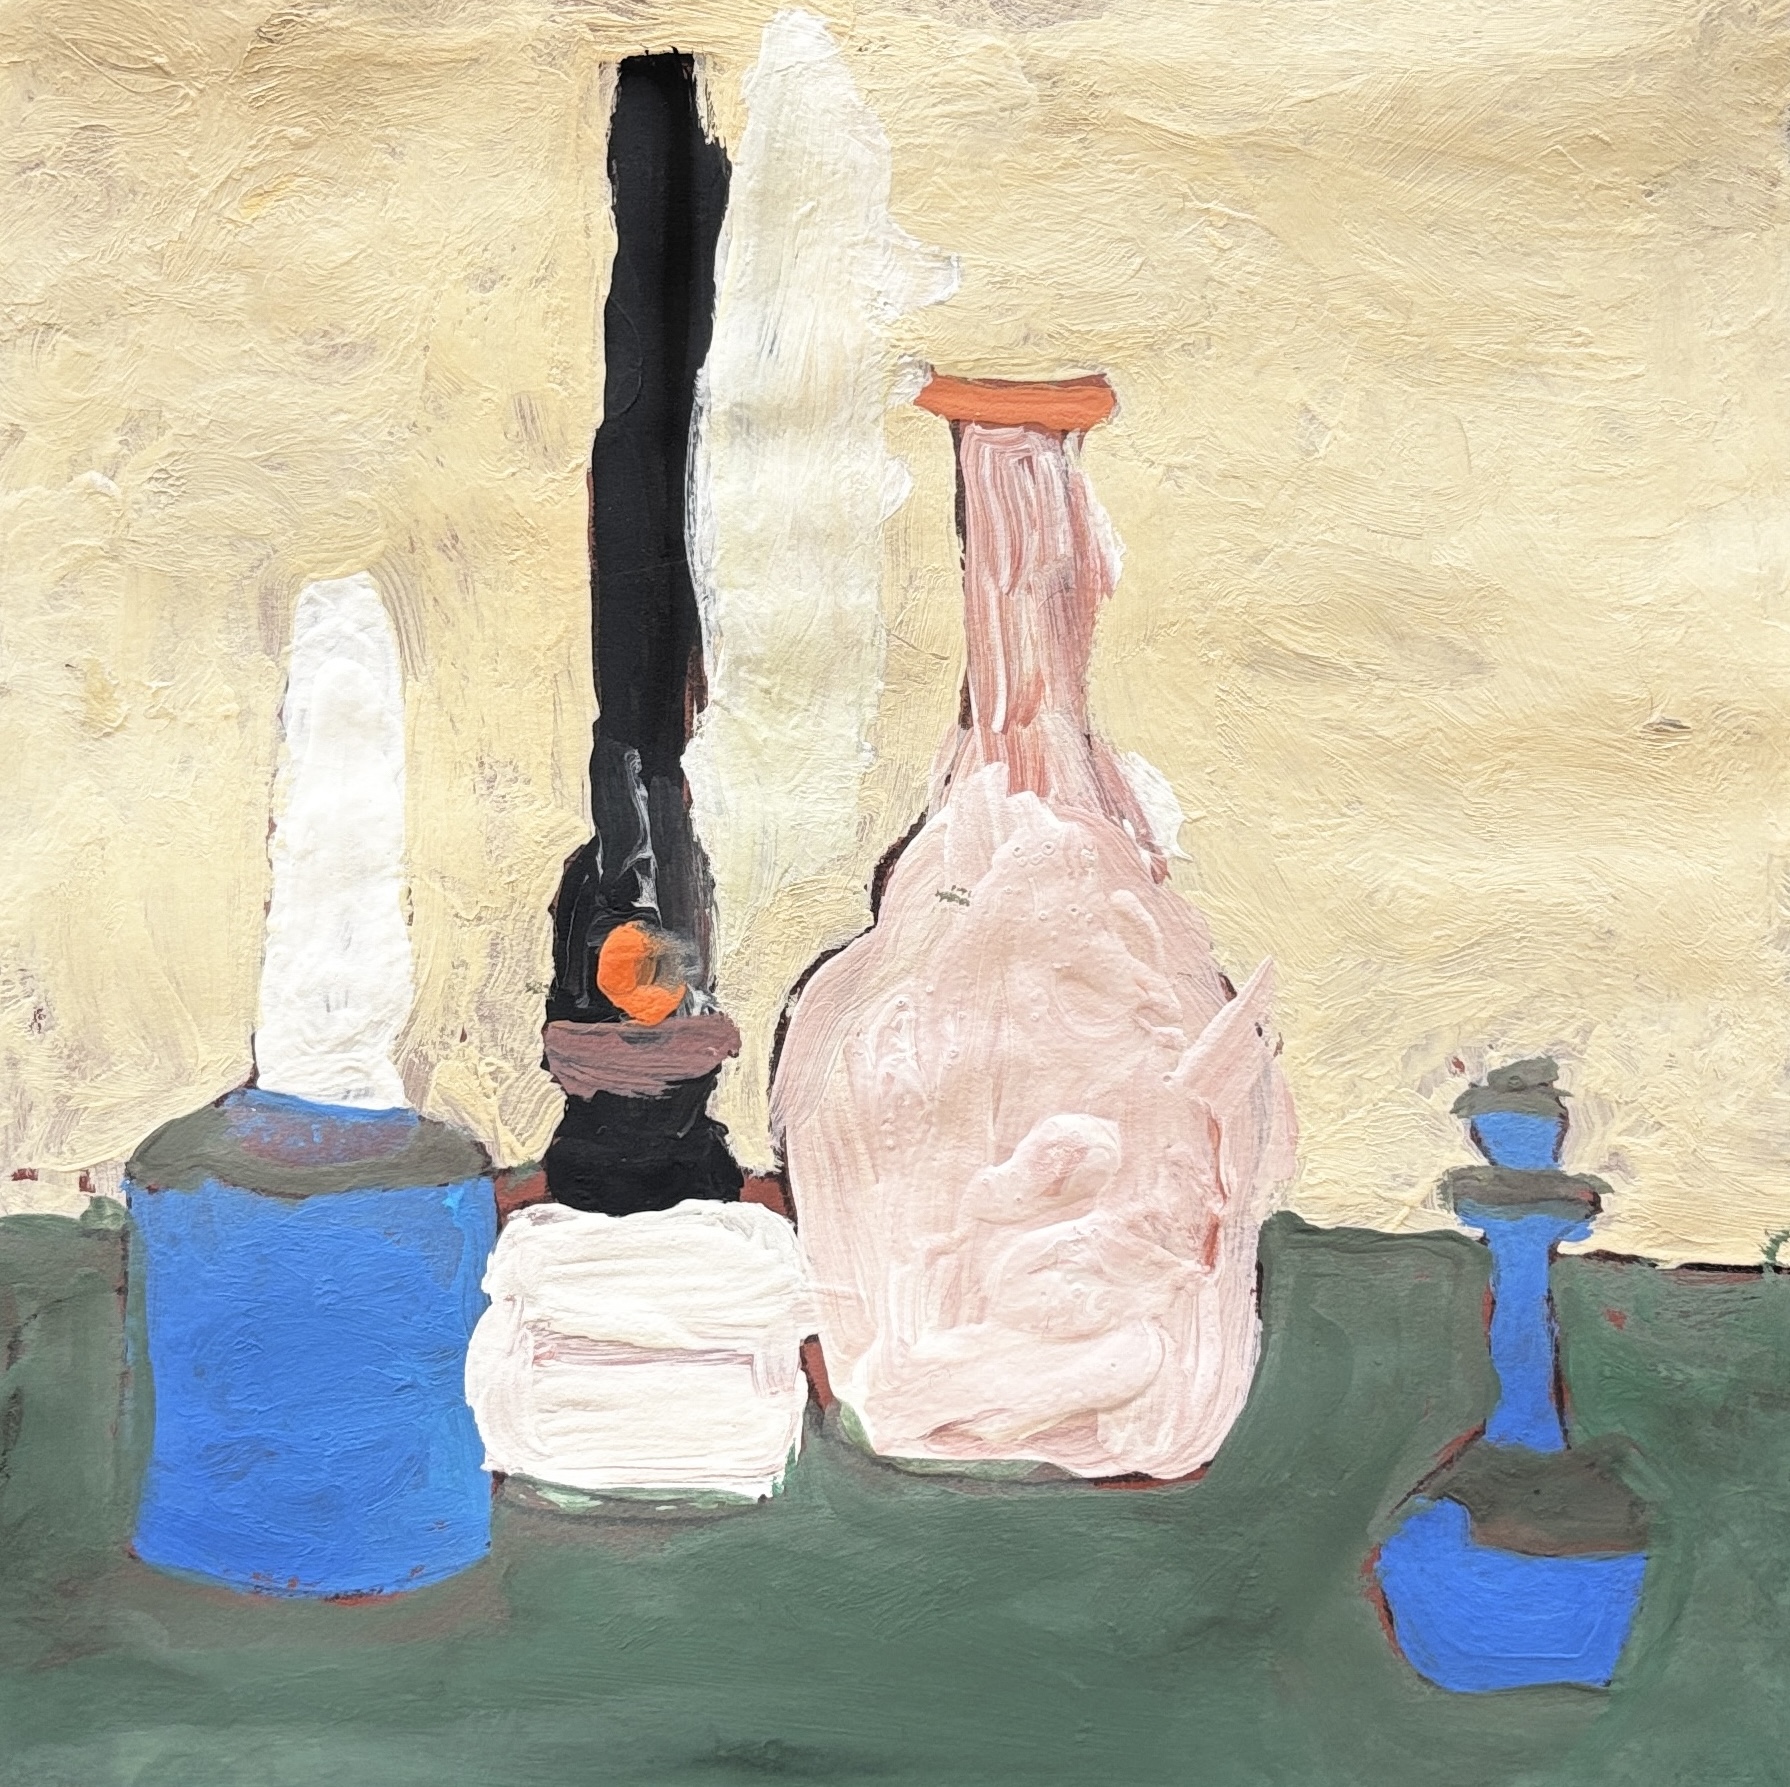
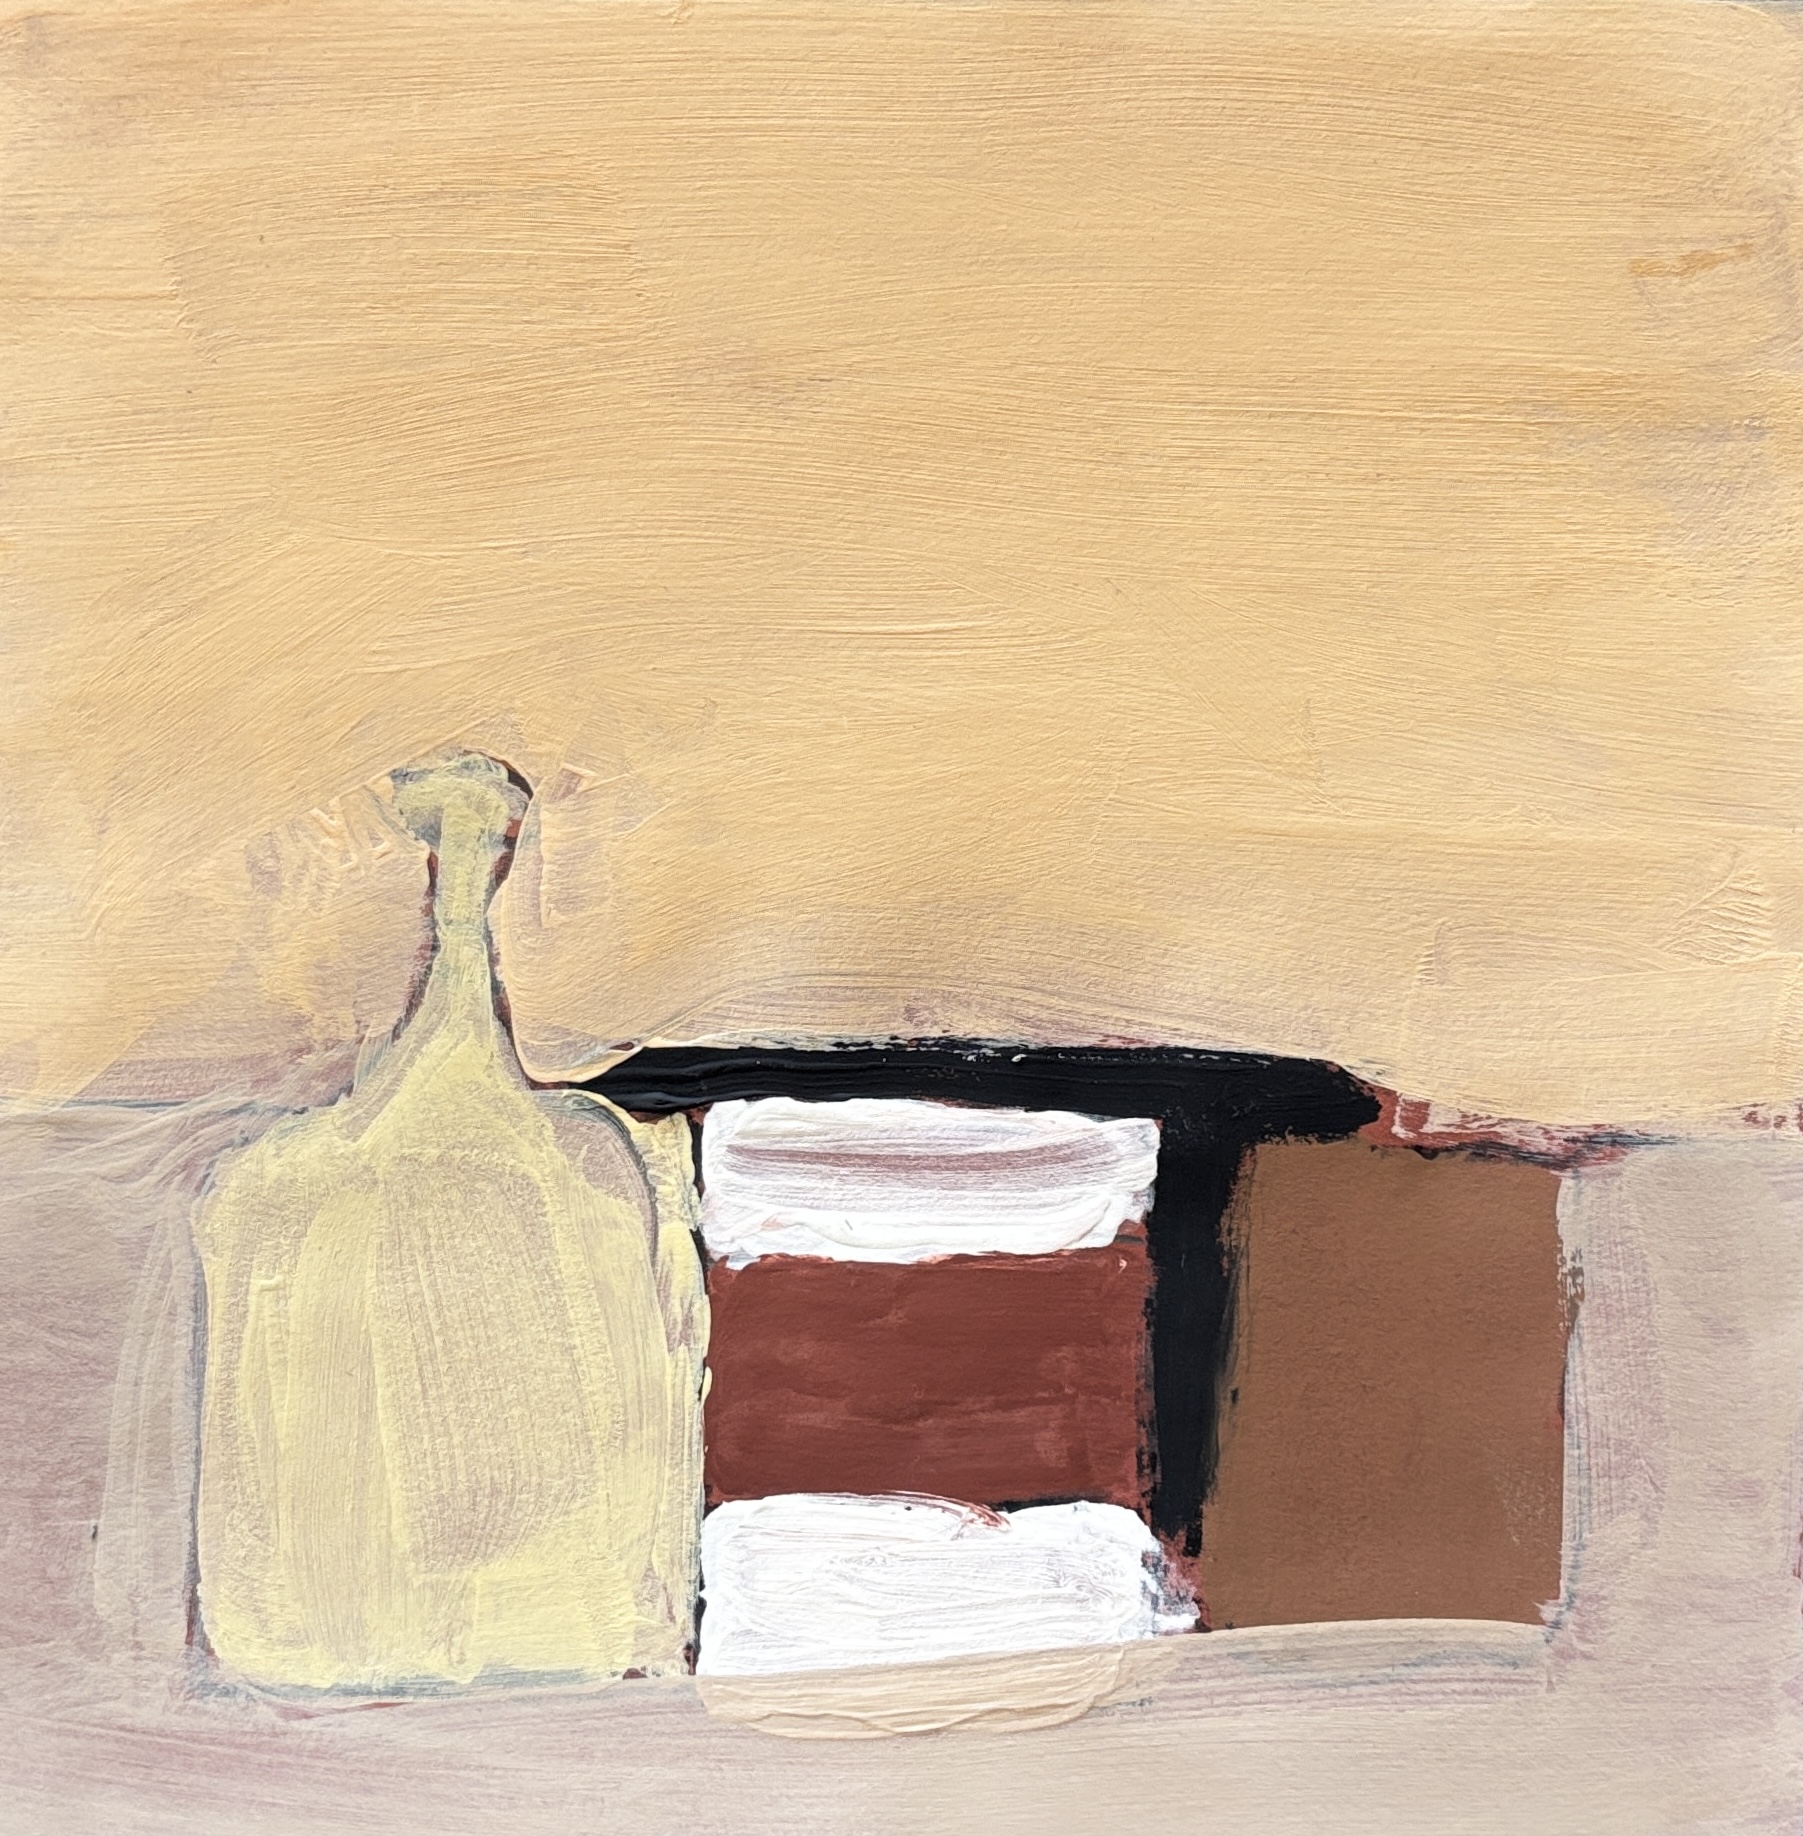
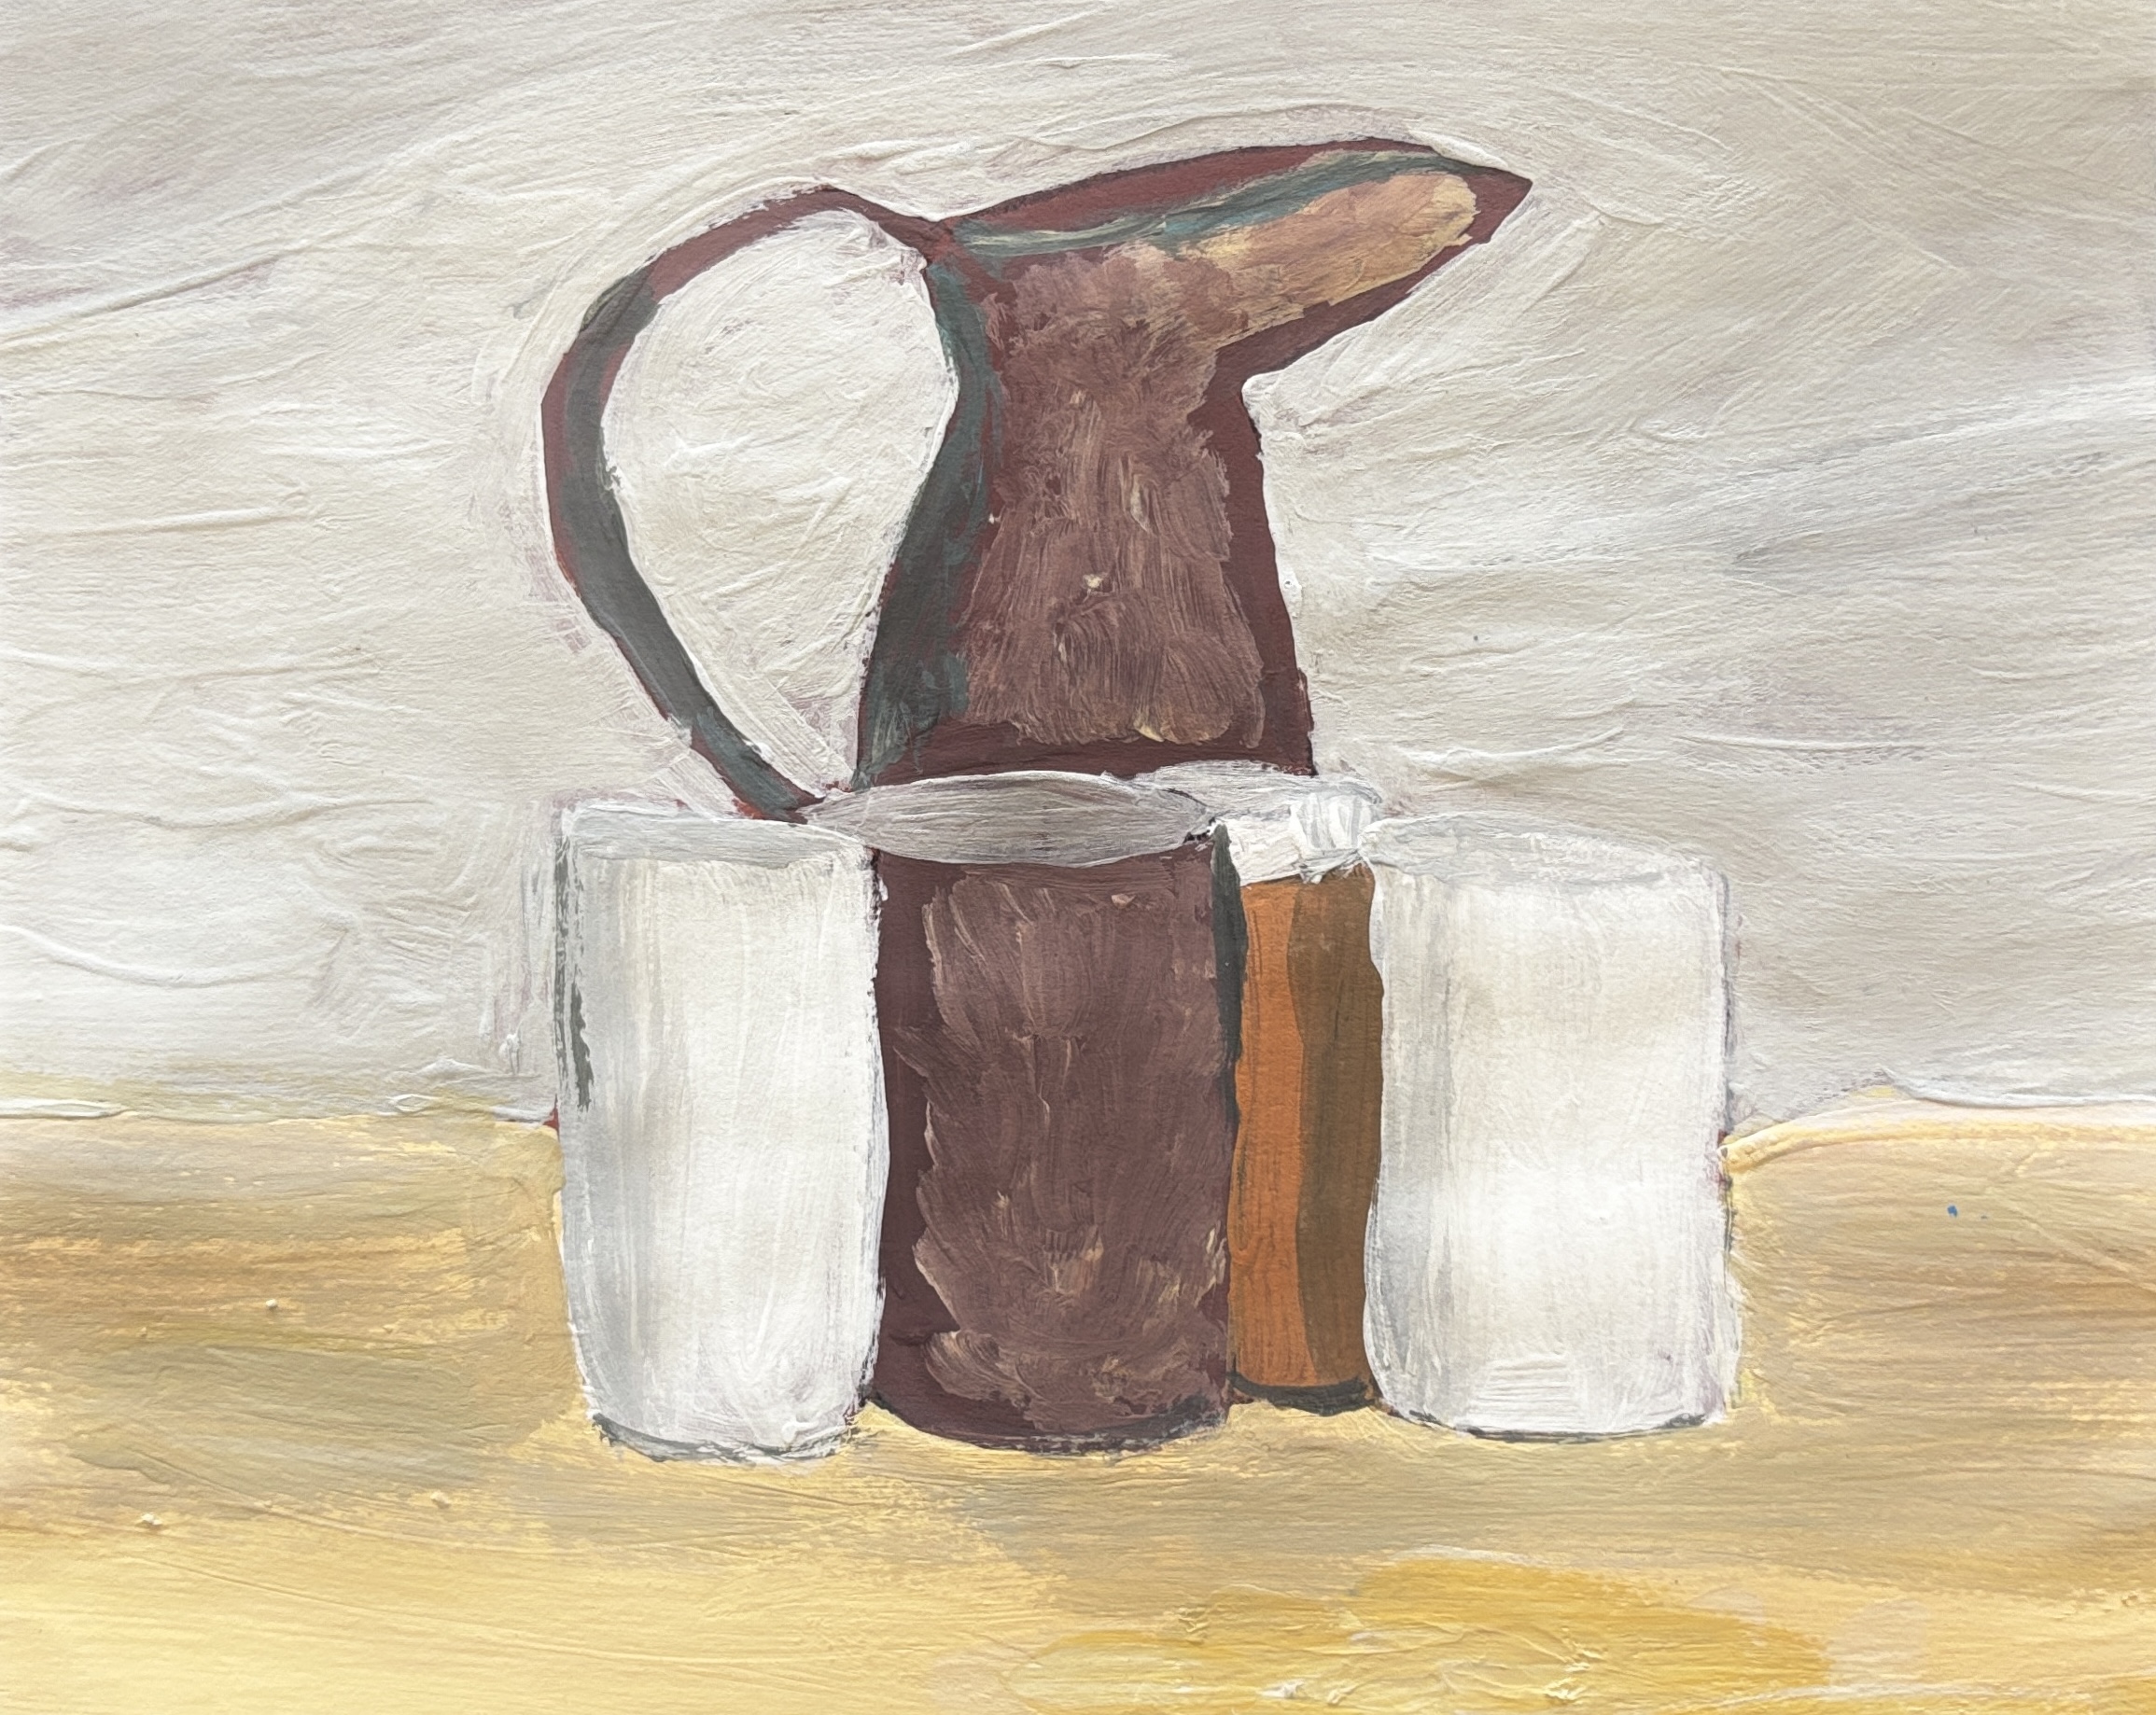
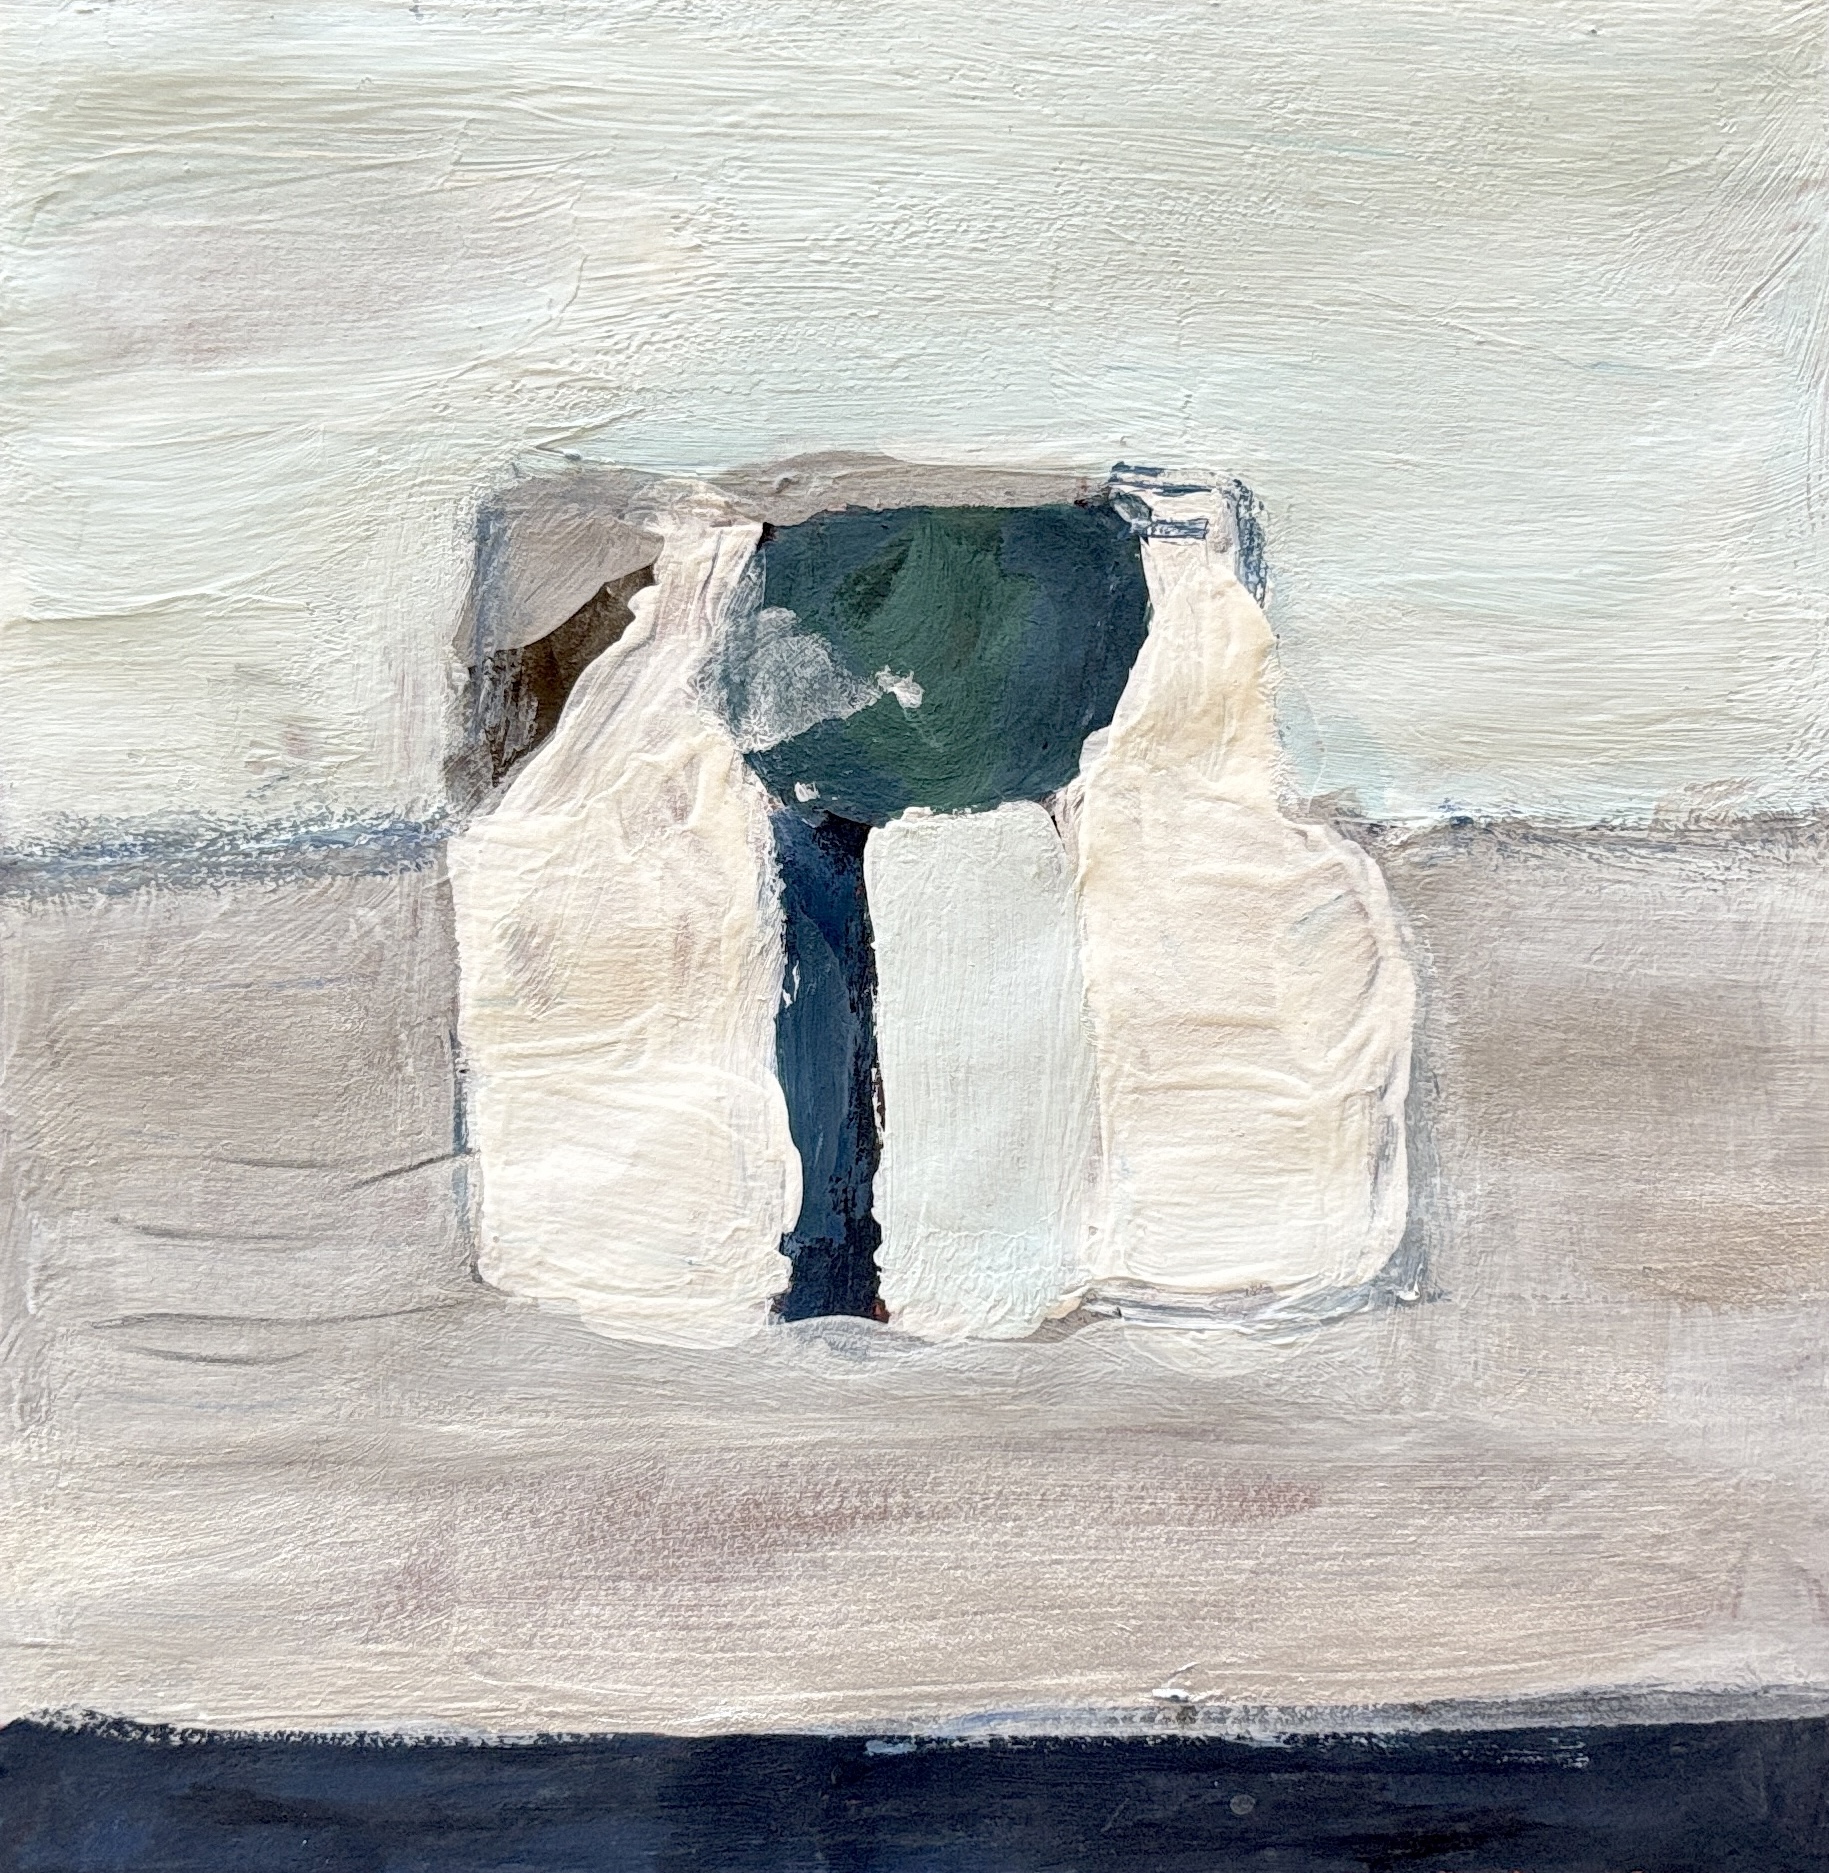
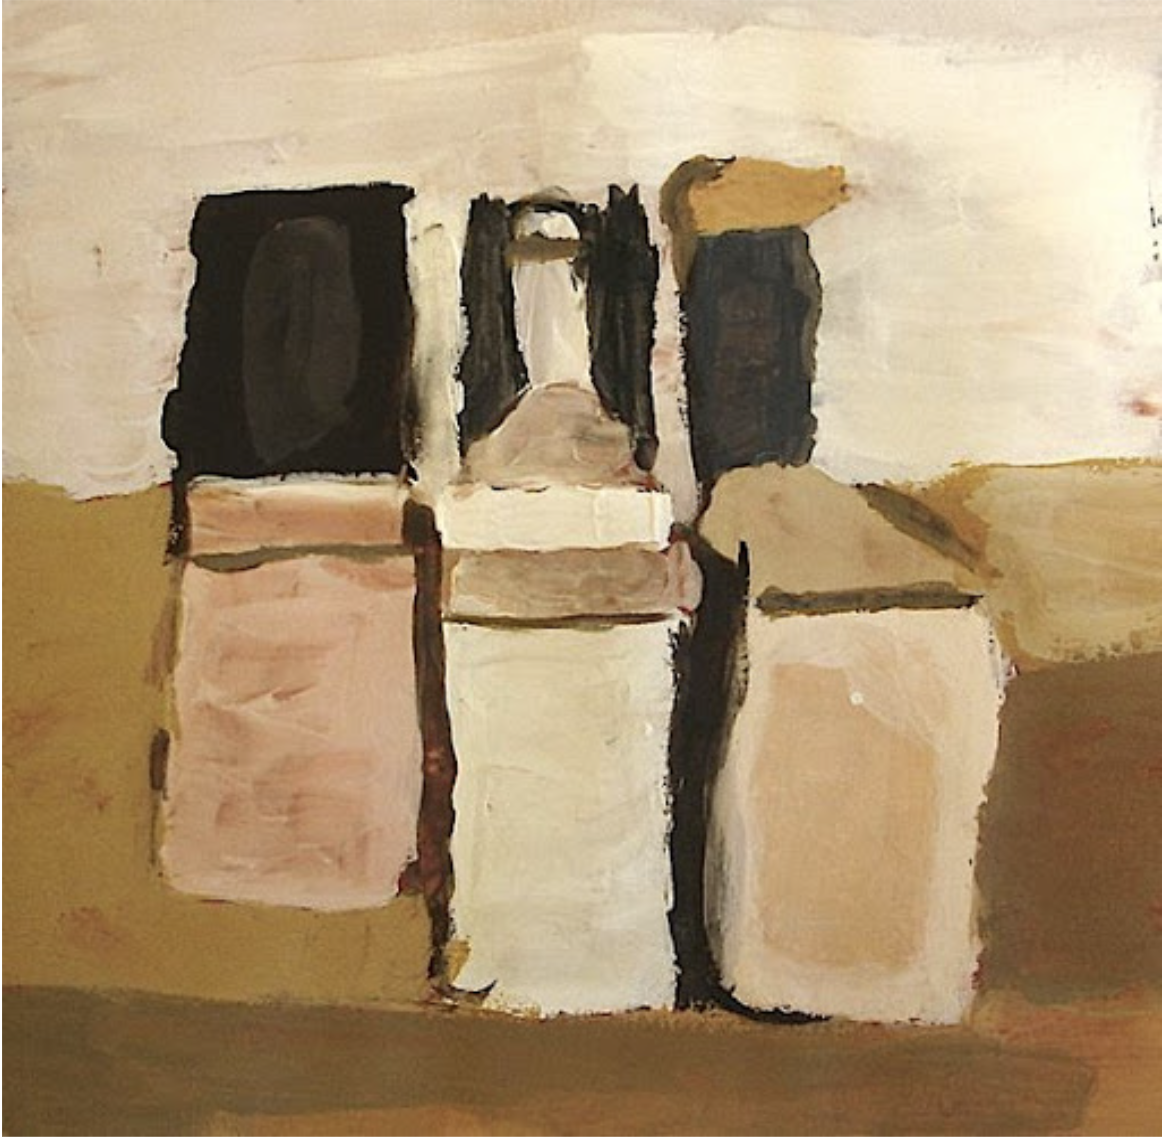
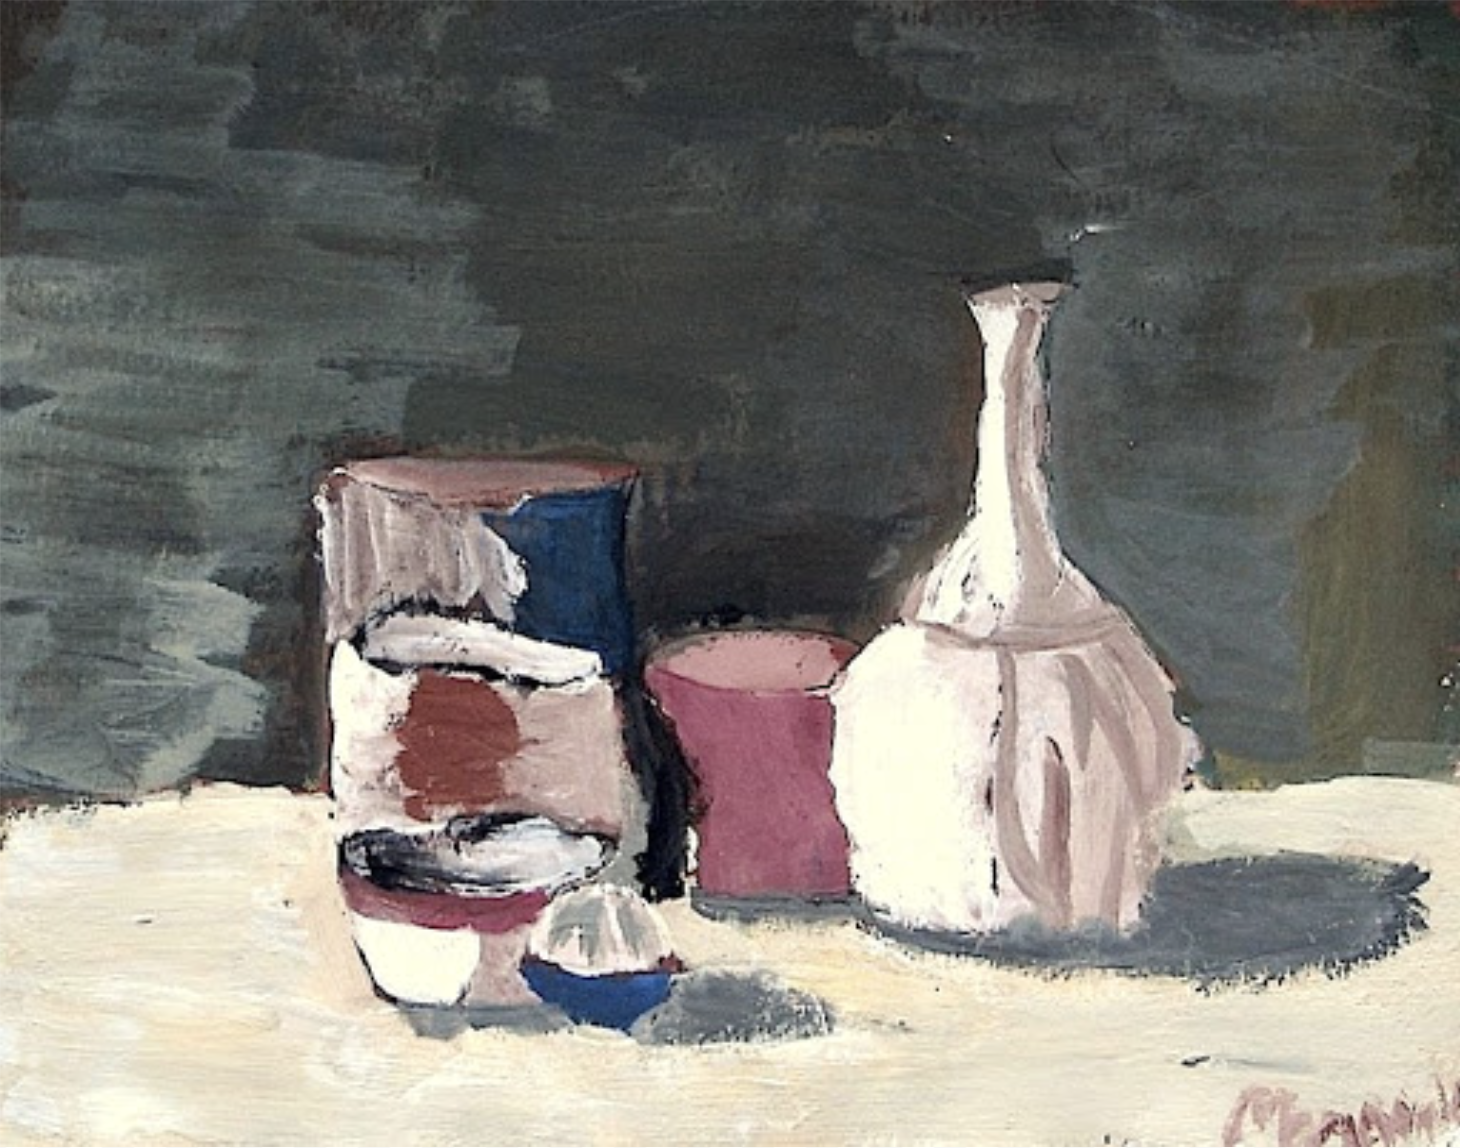
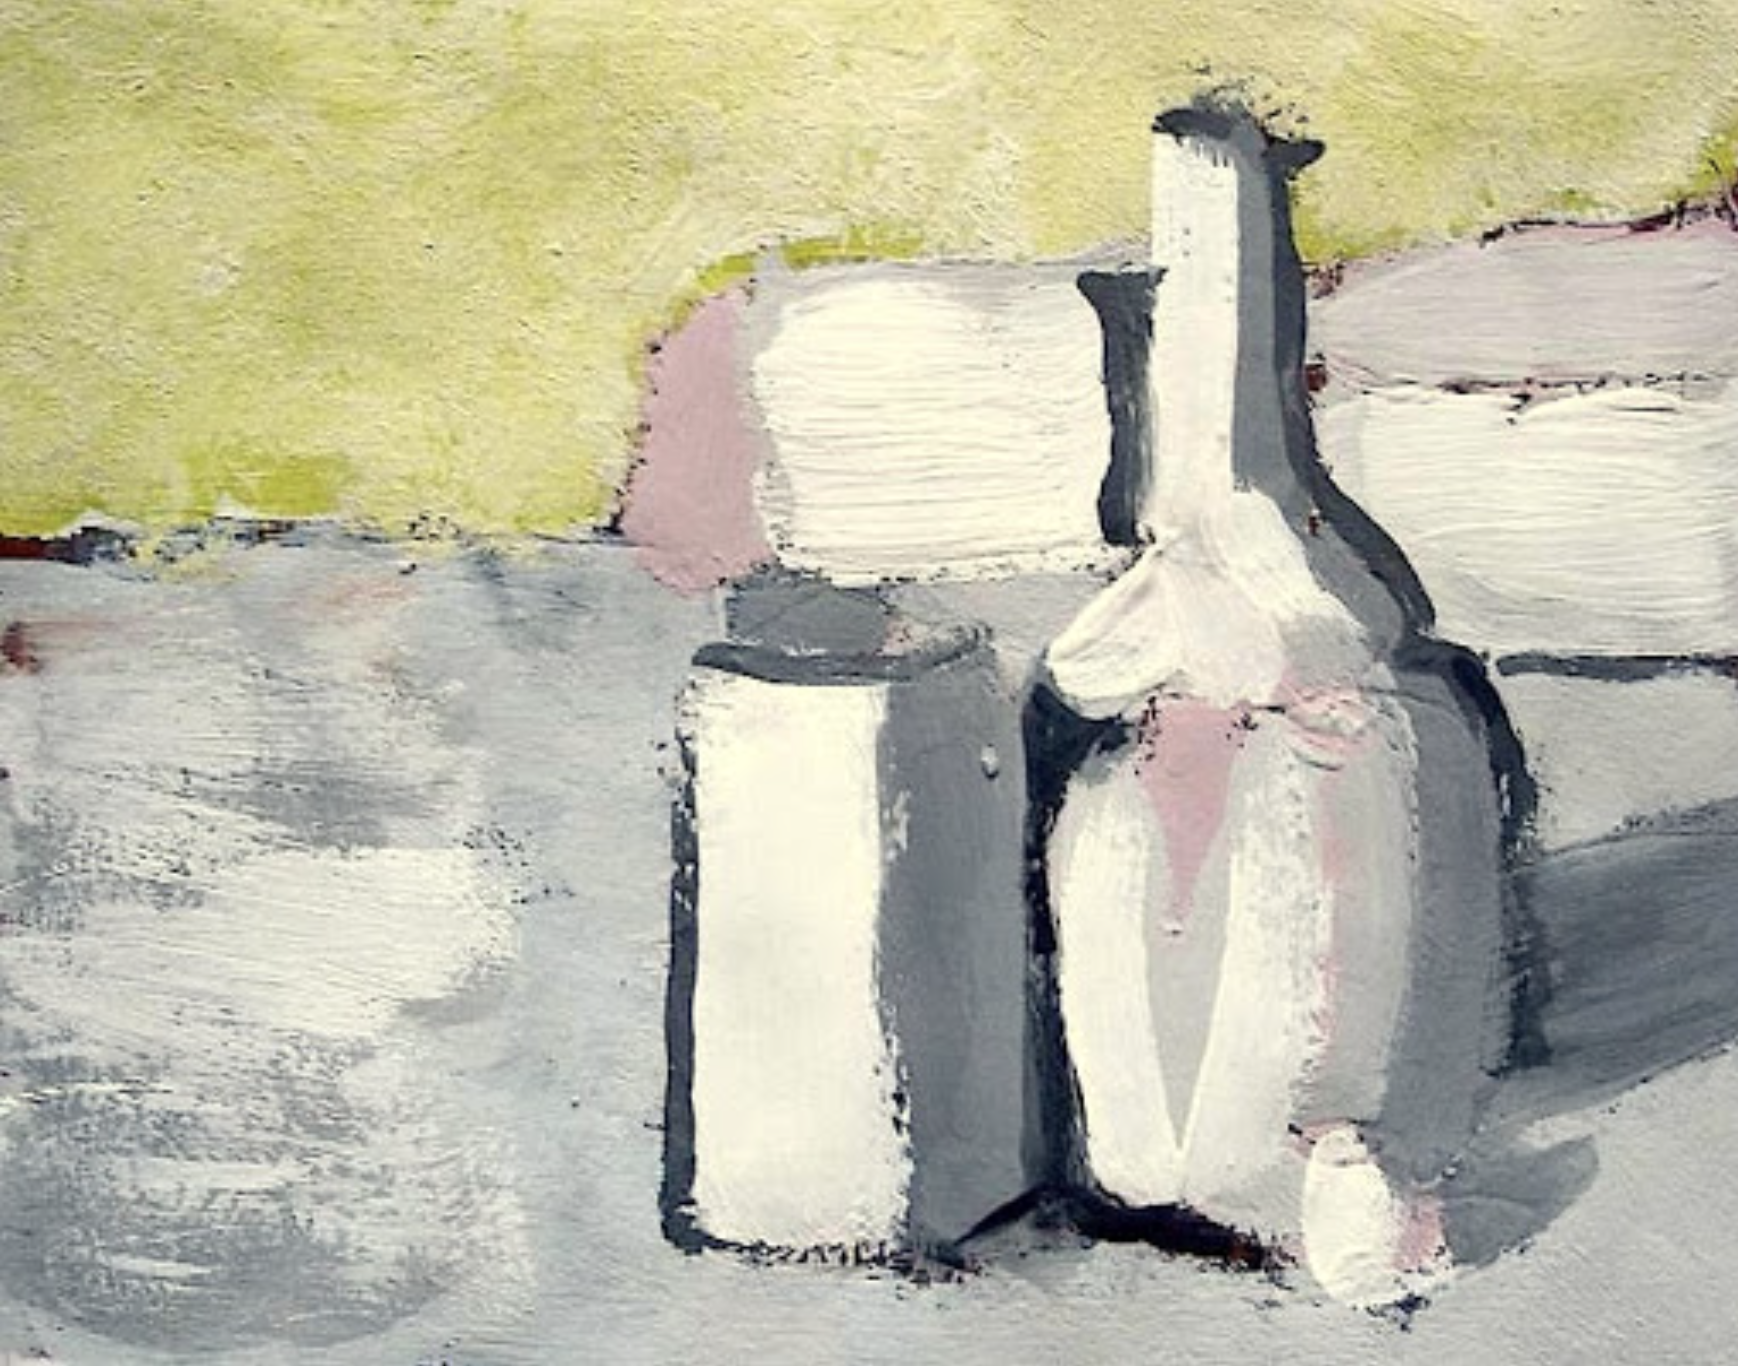
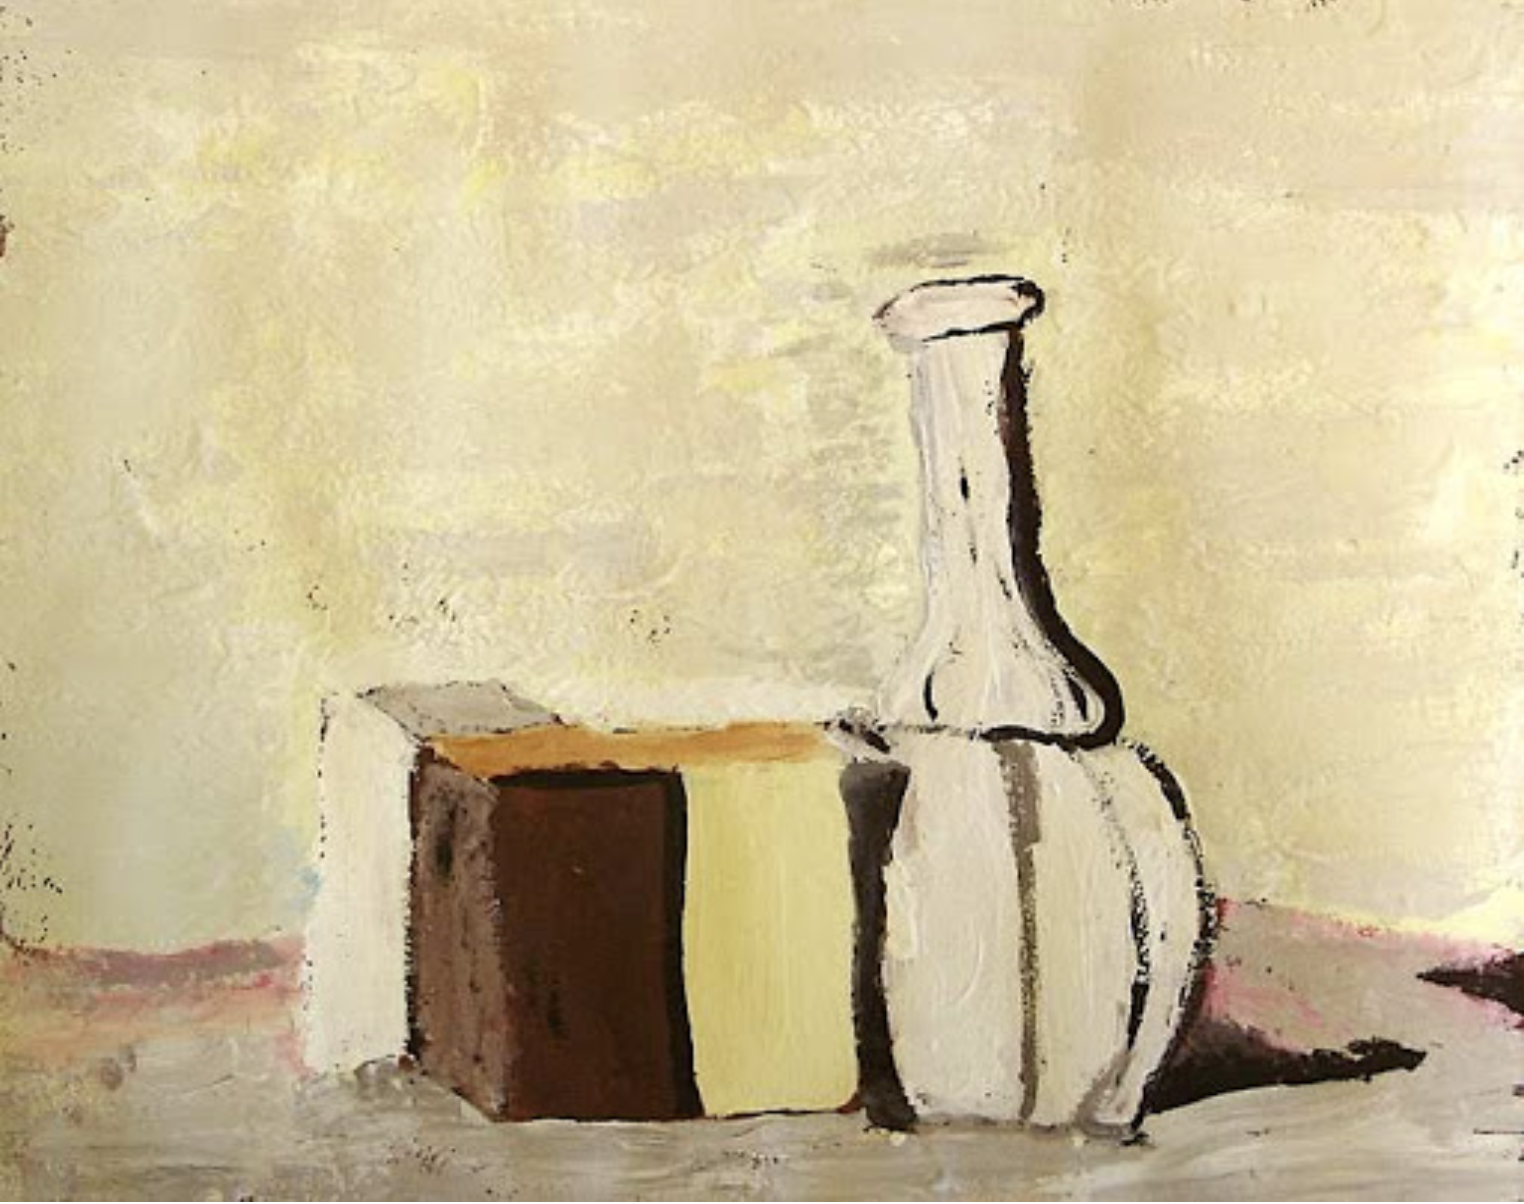
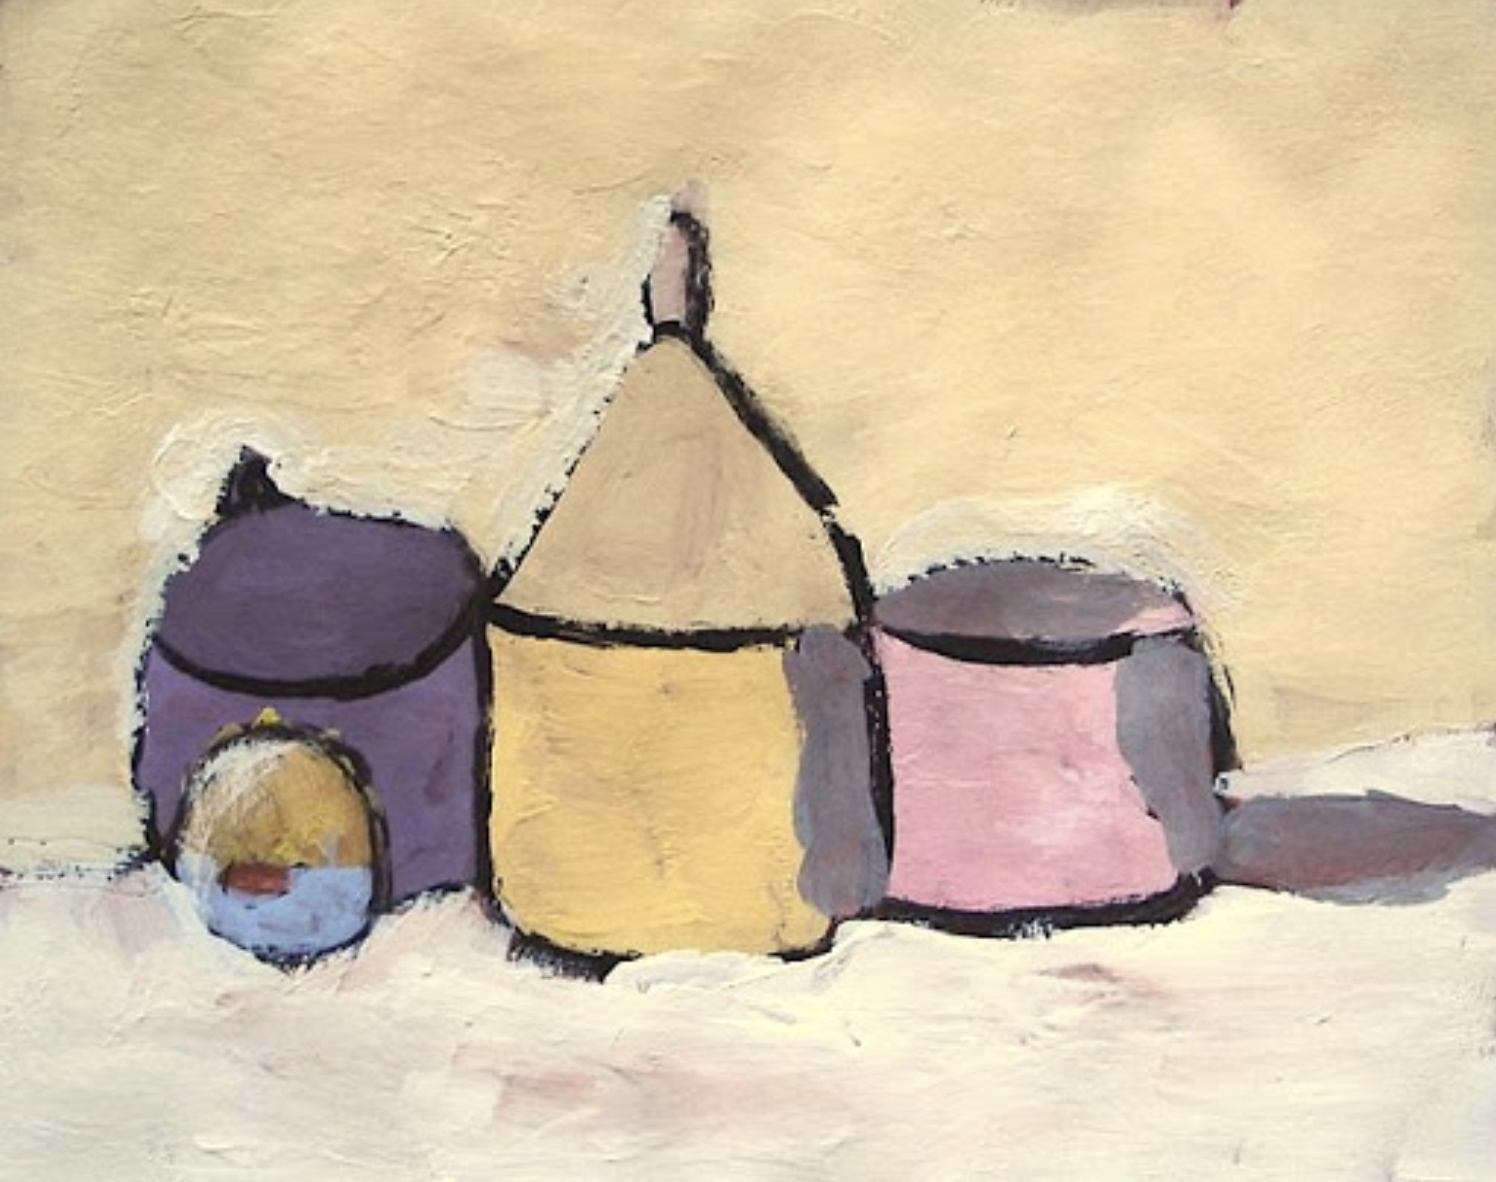
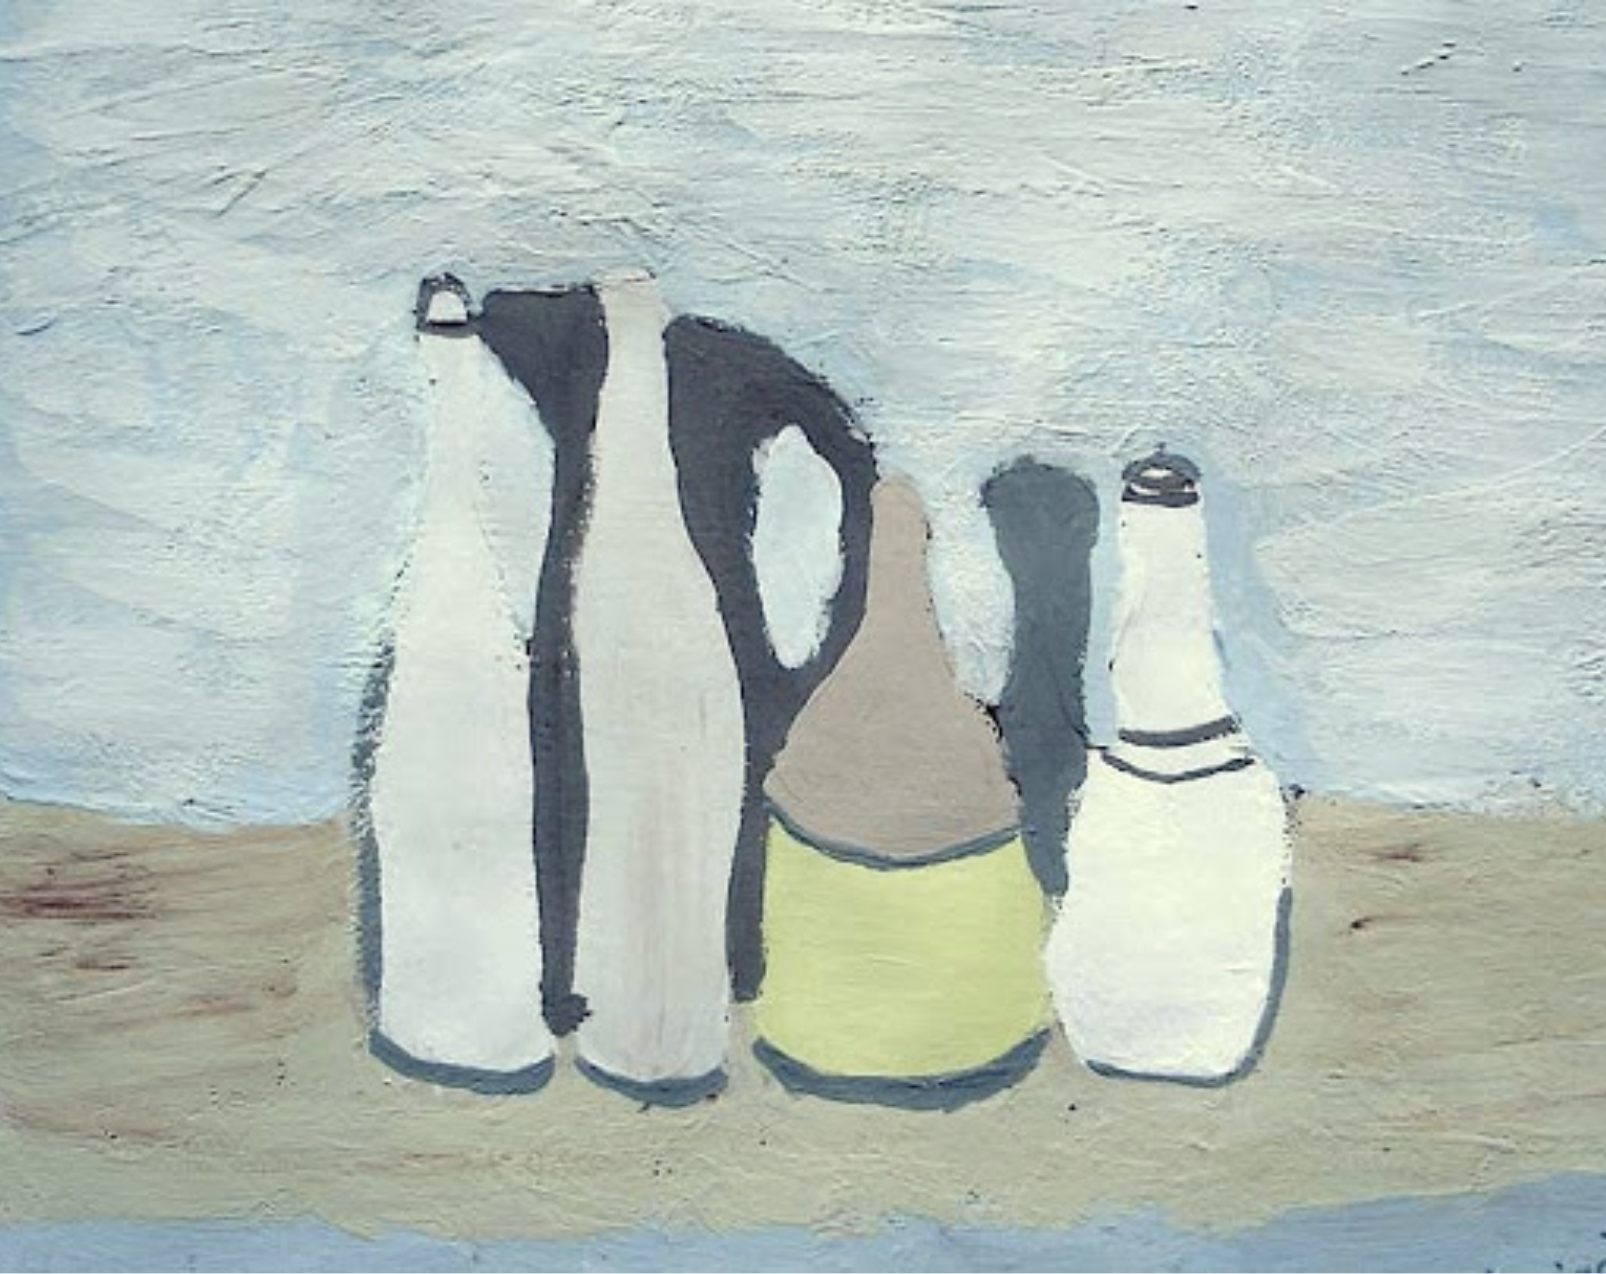
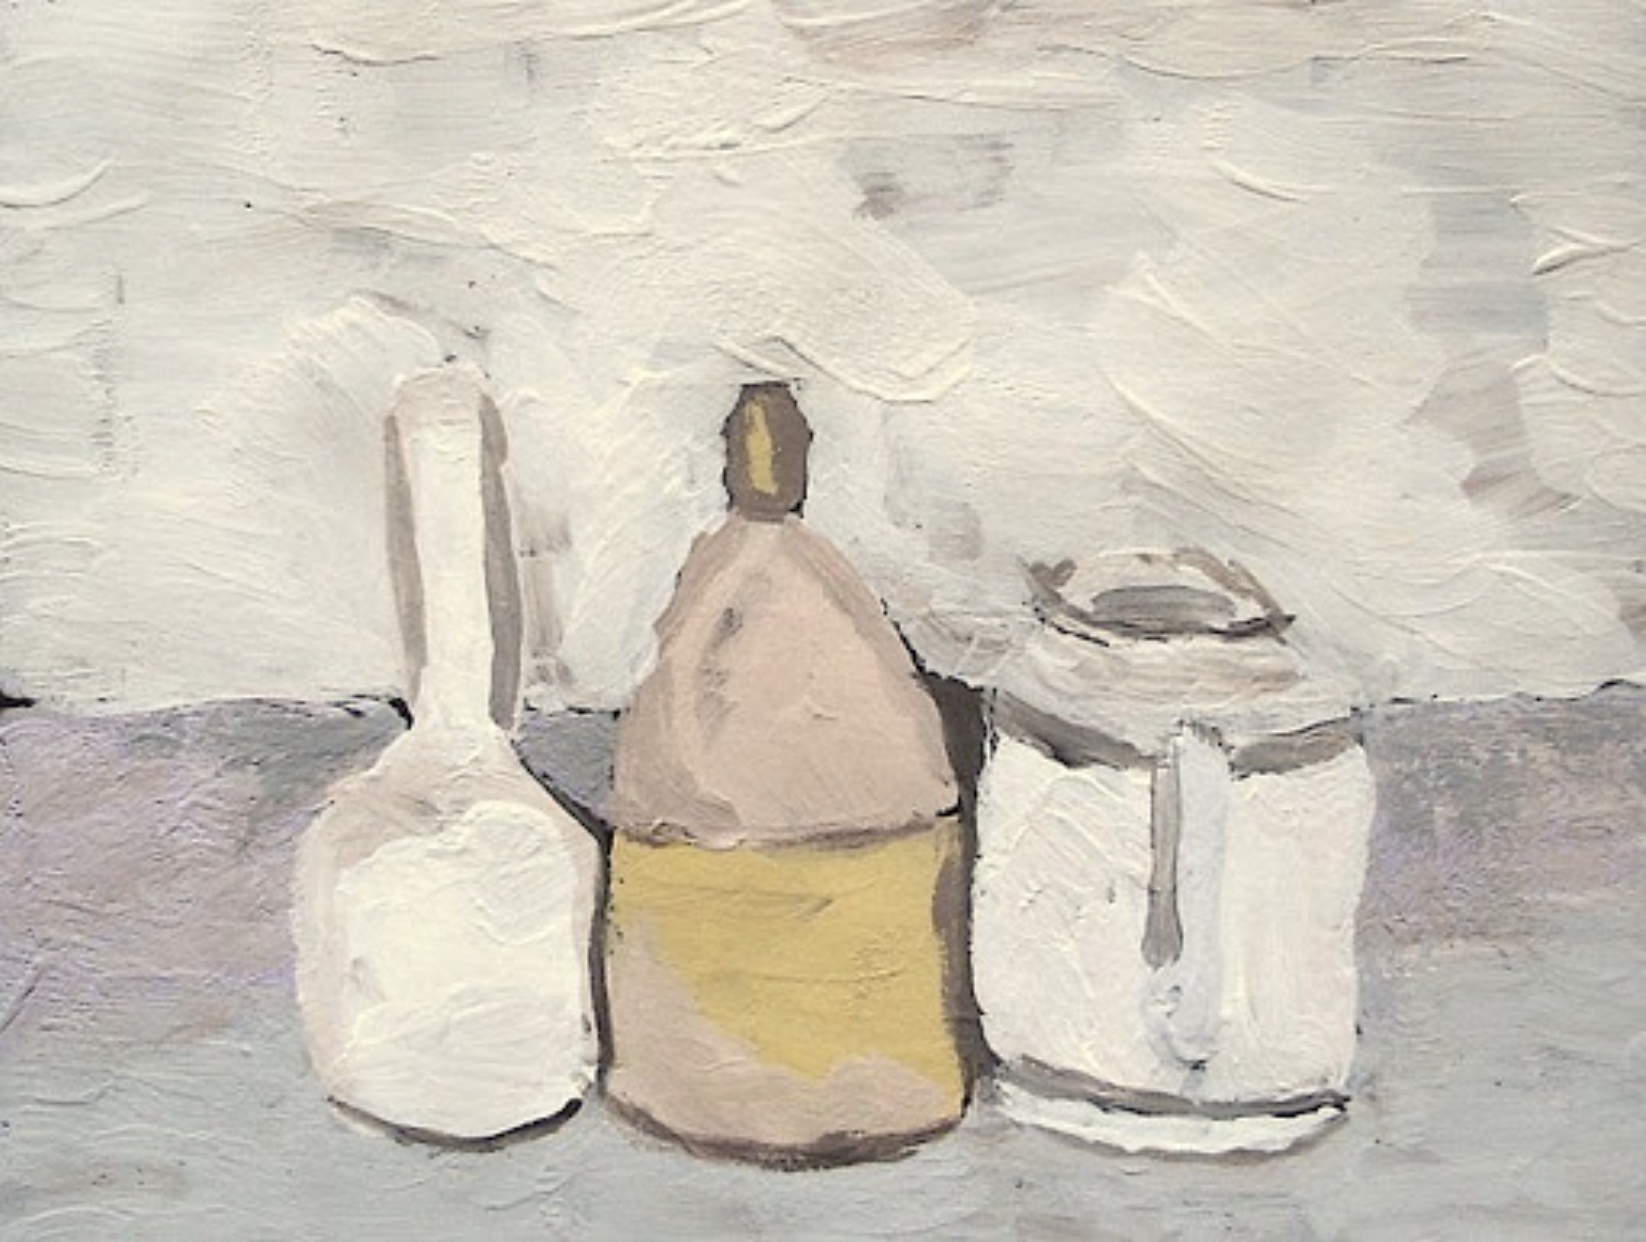
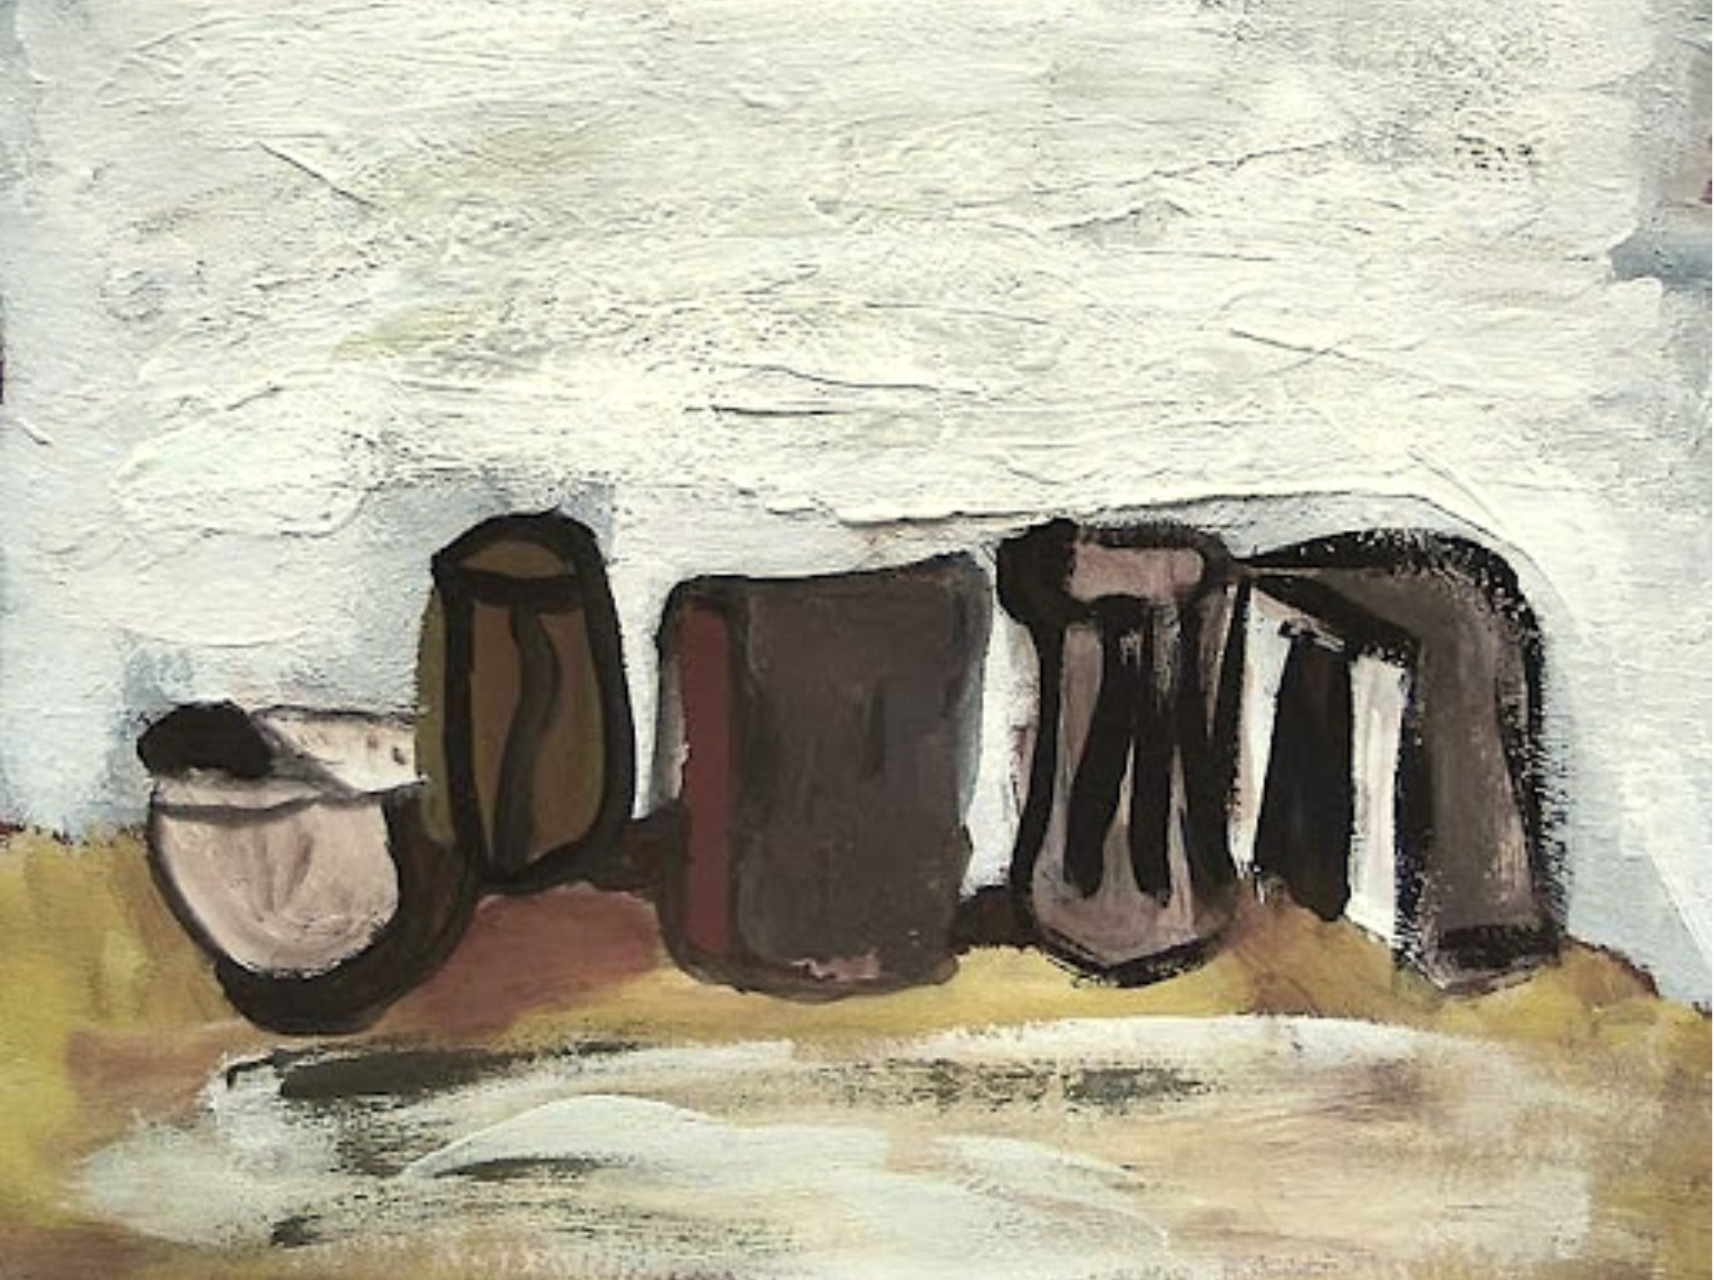
乔治·莫兰迪的静默静物
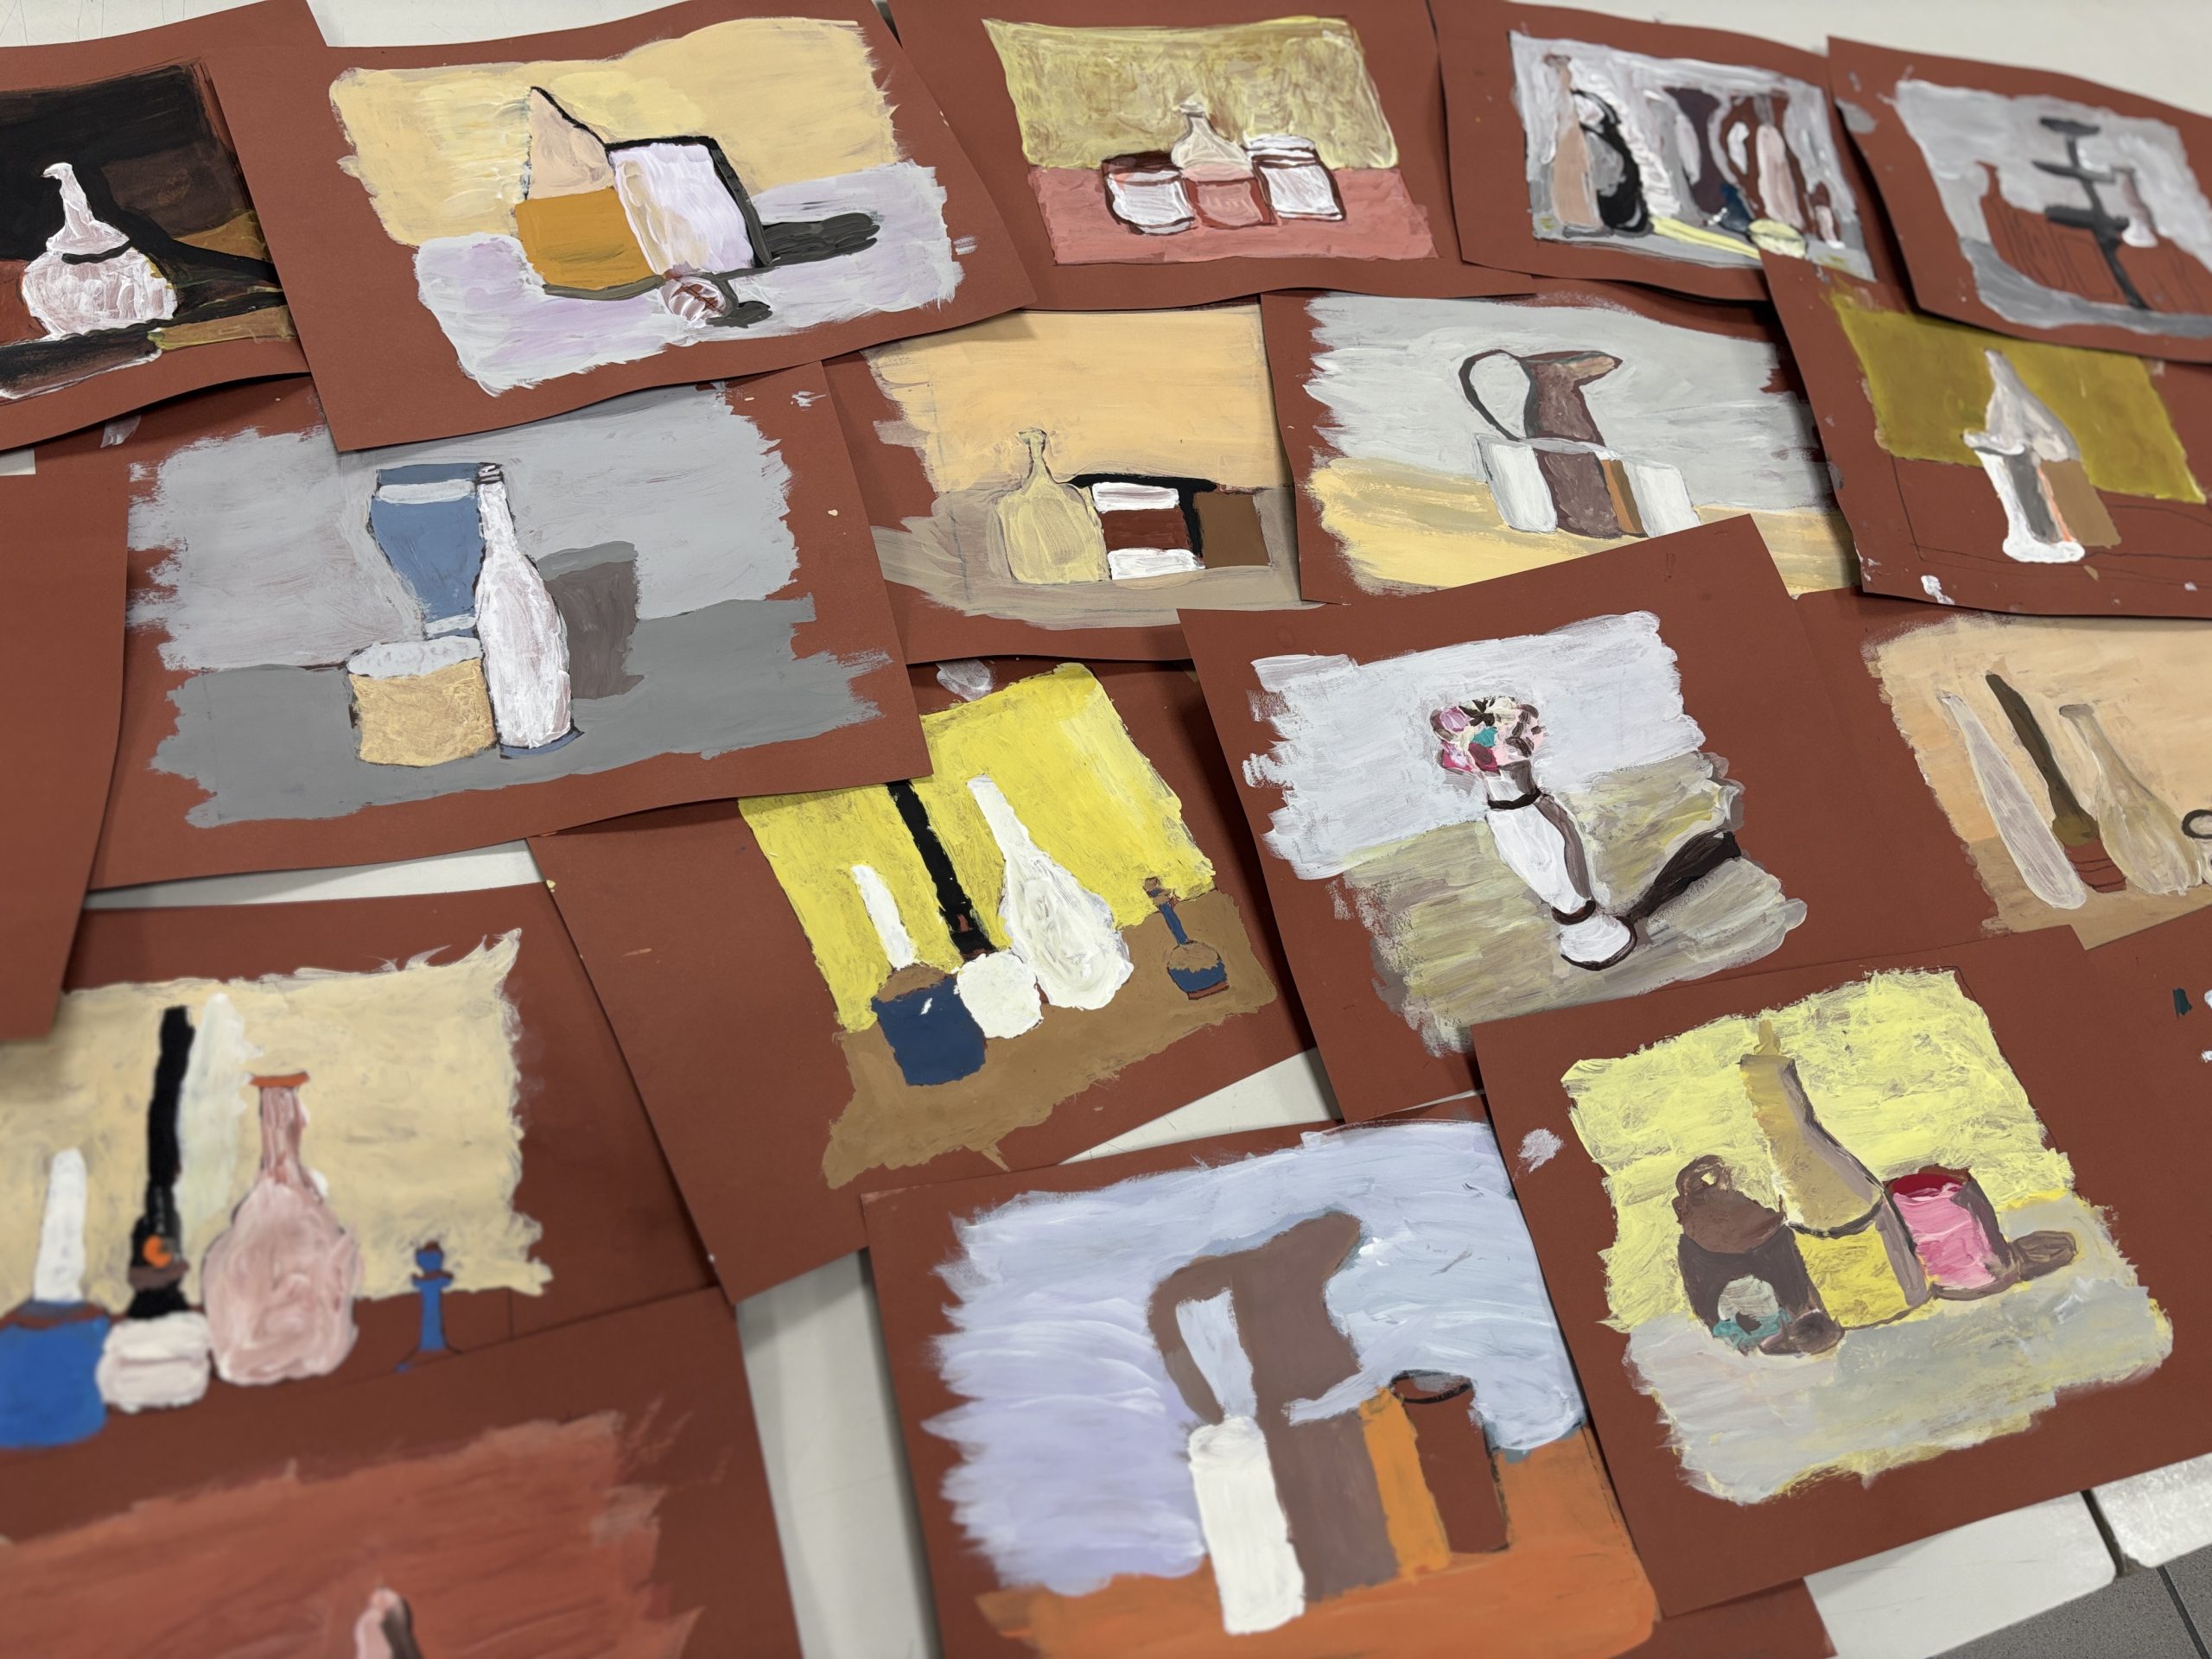
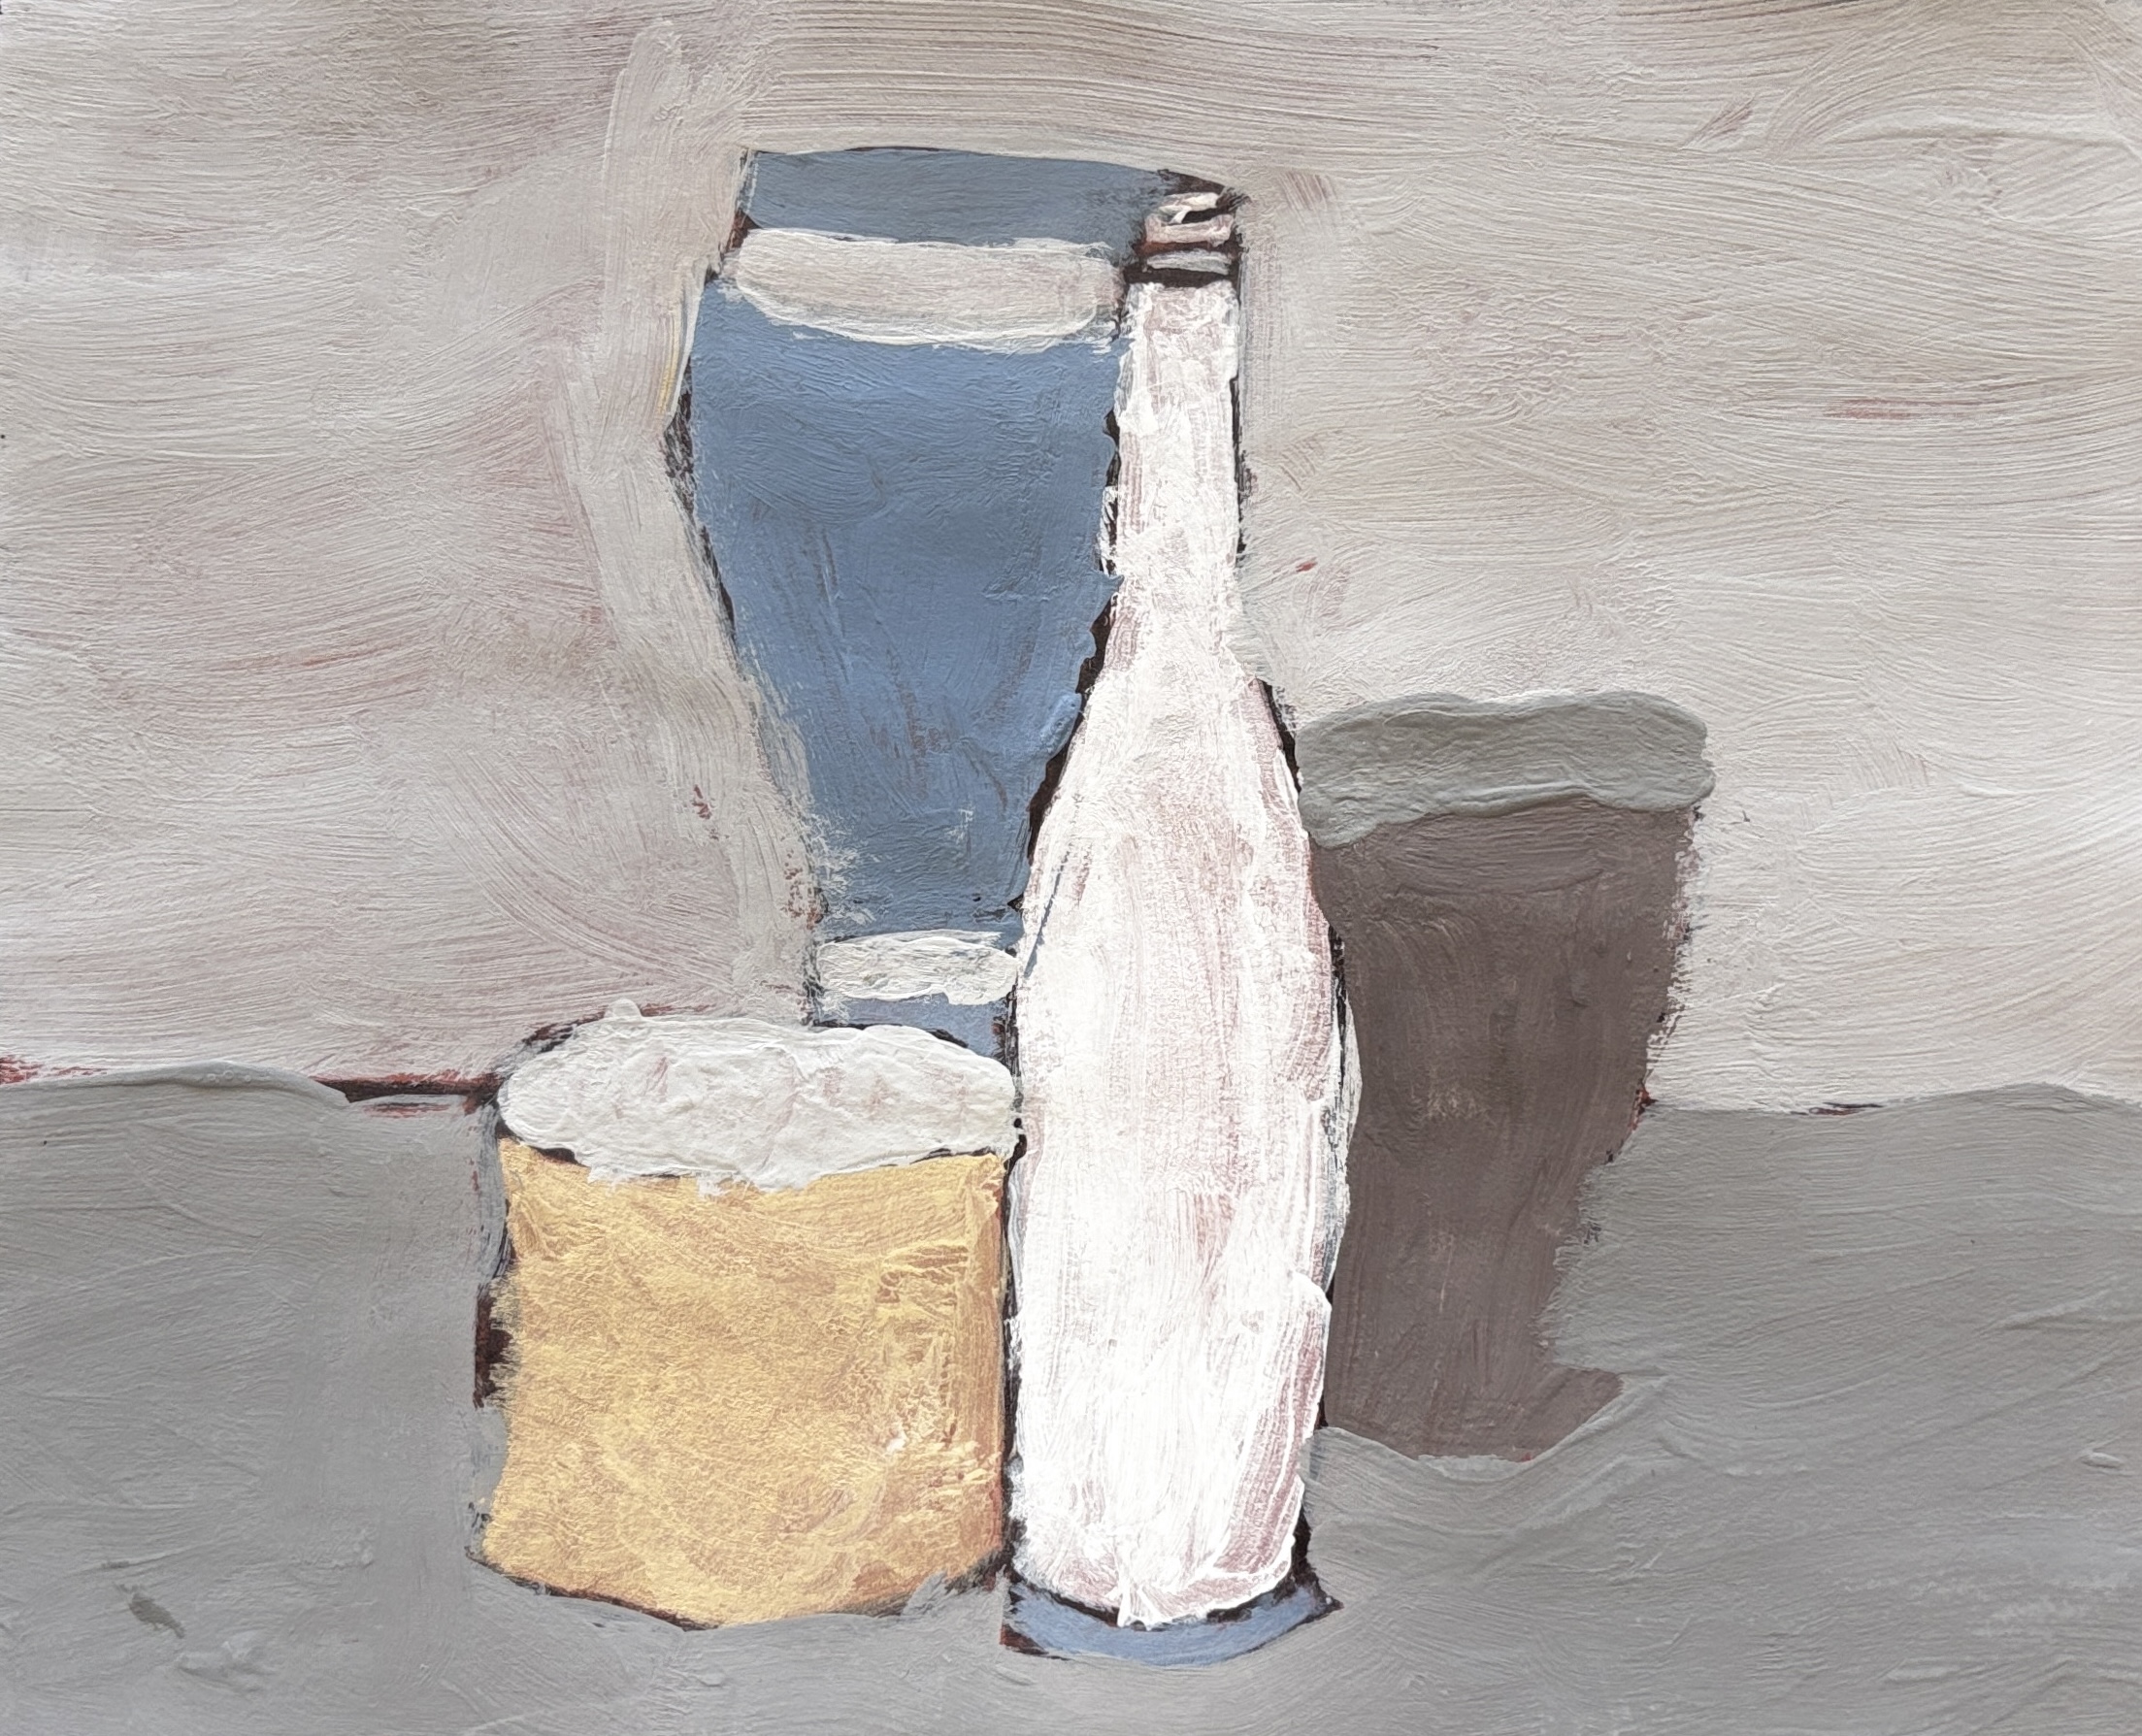
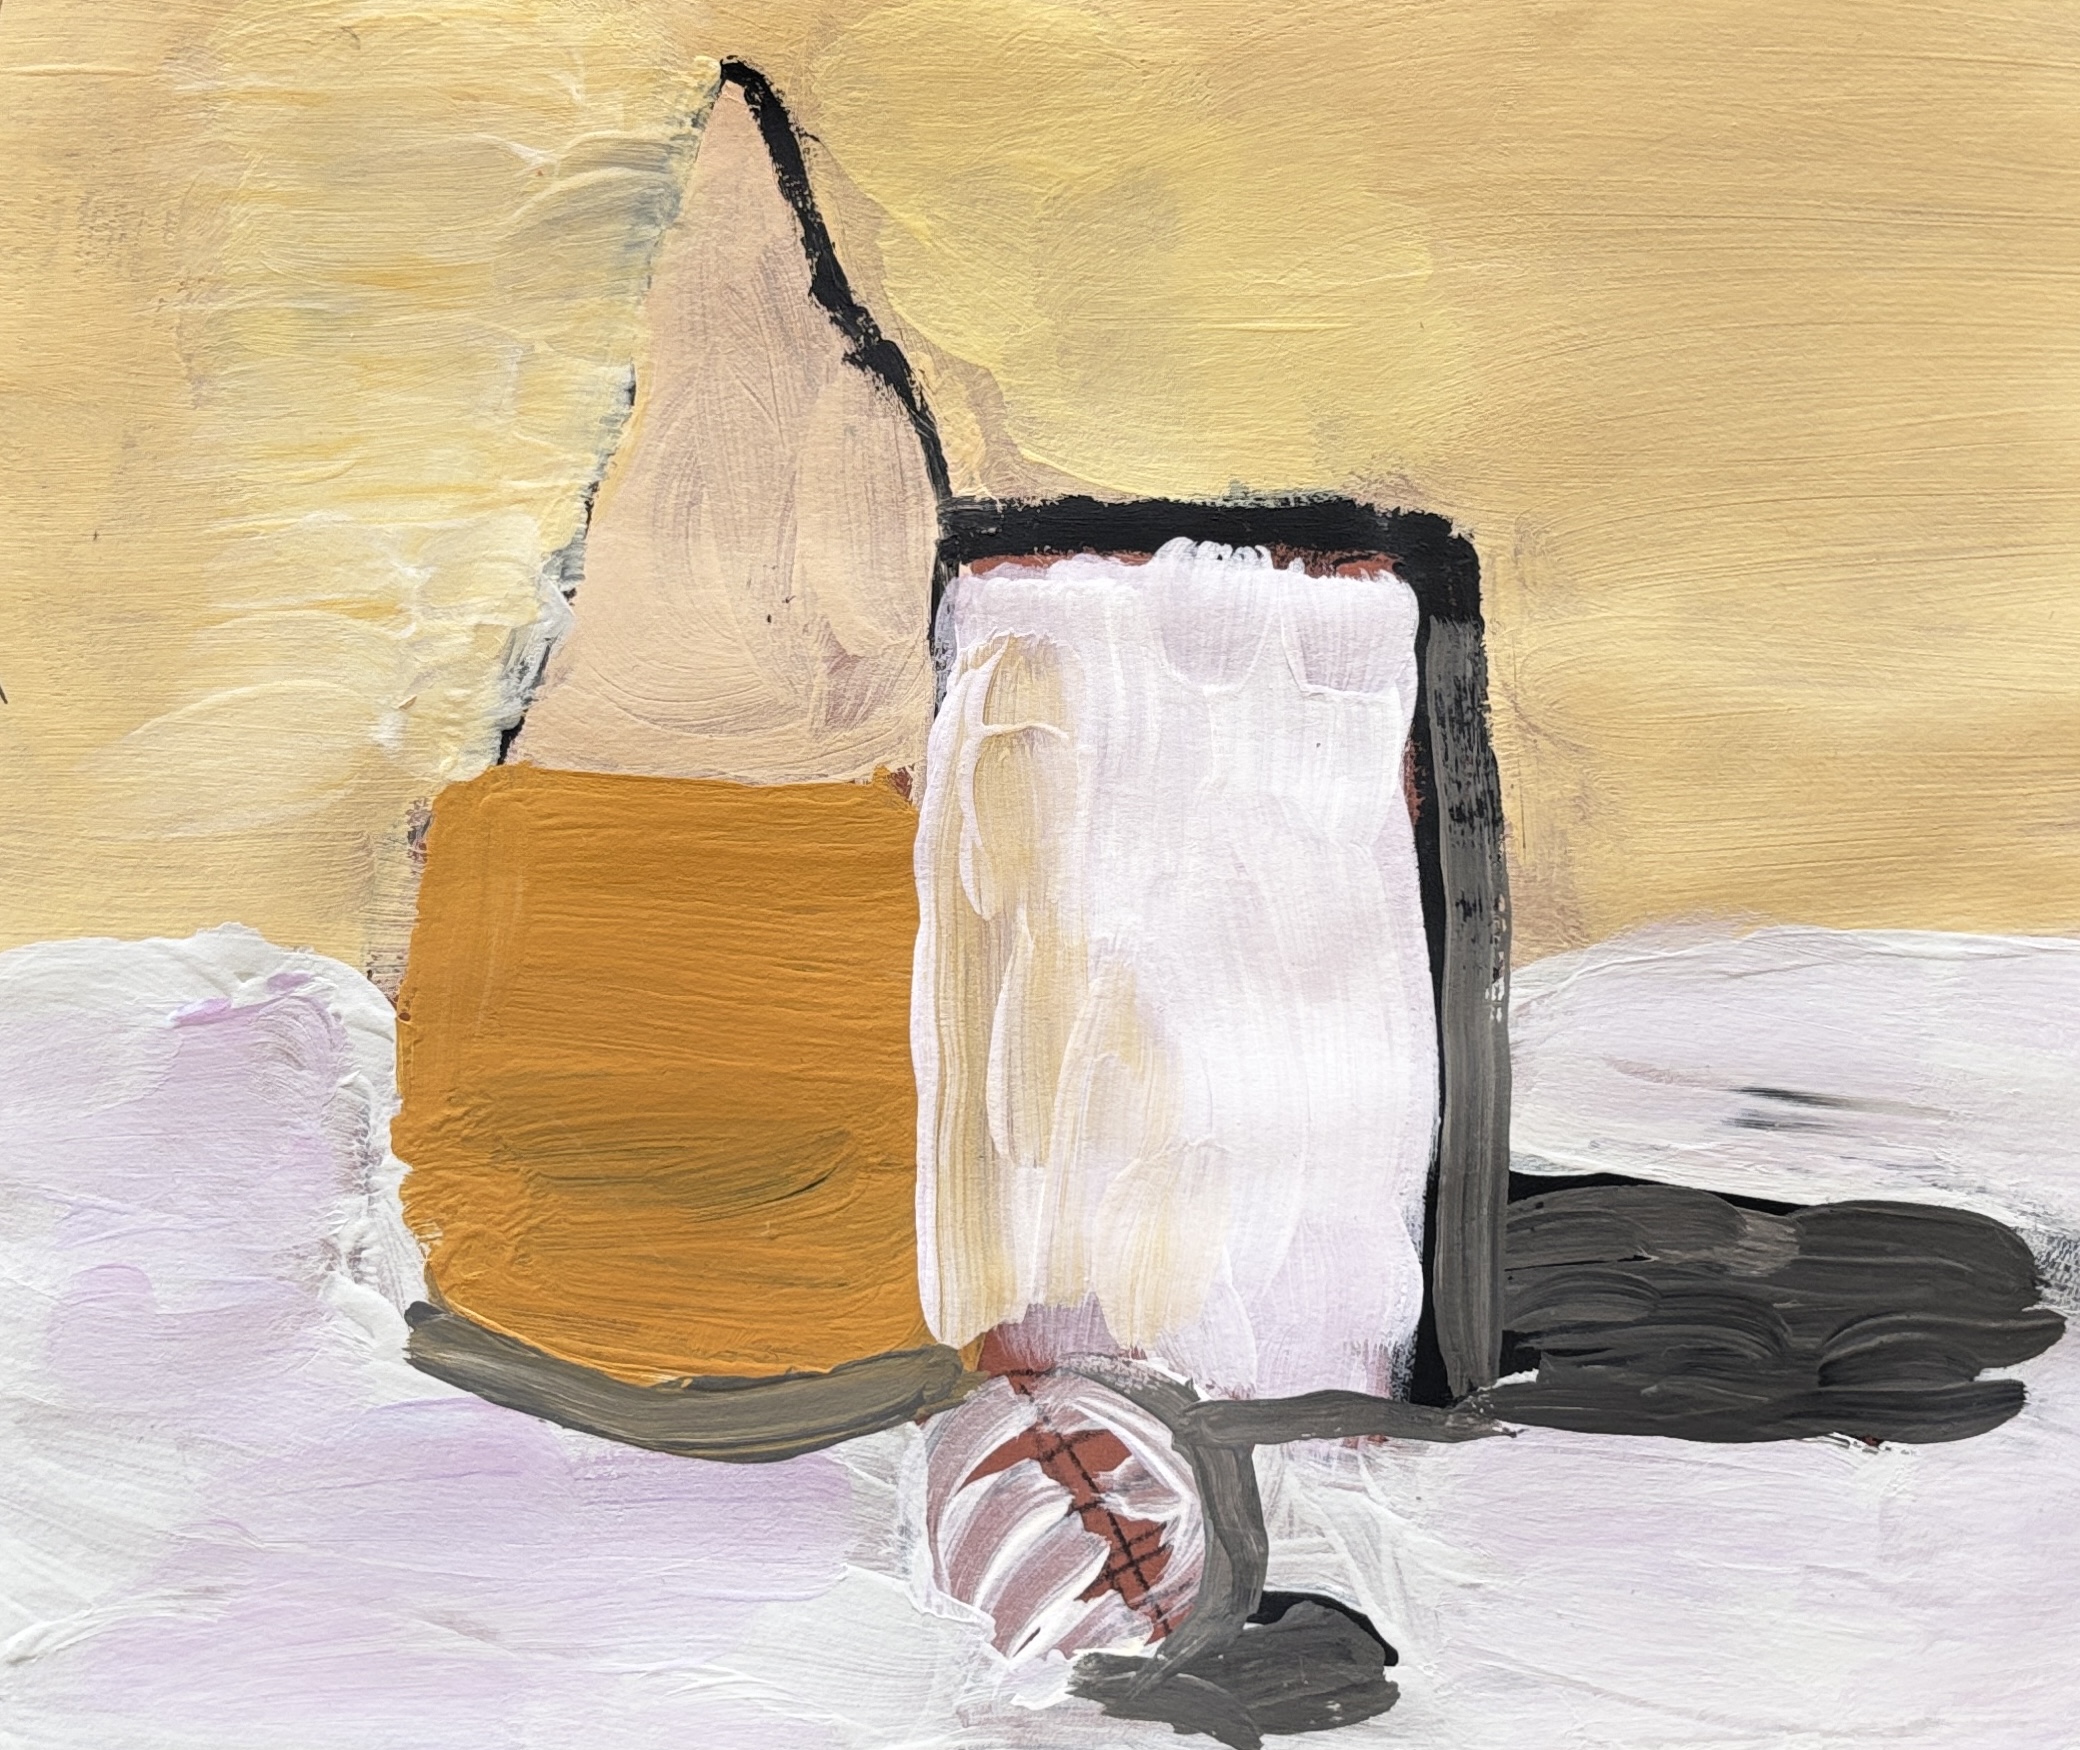
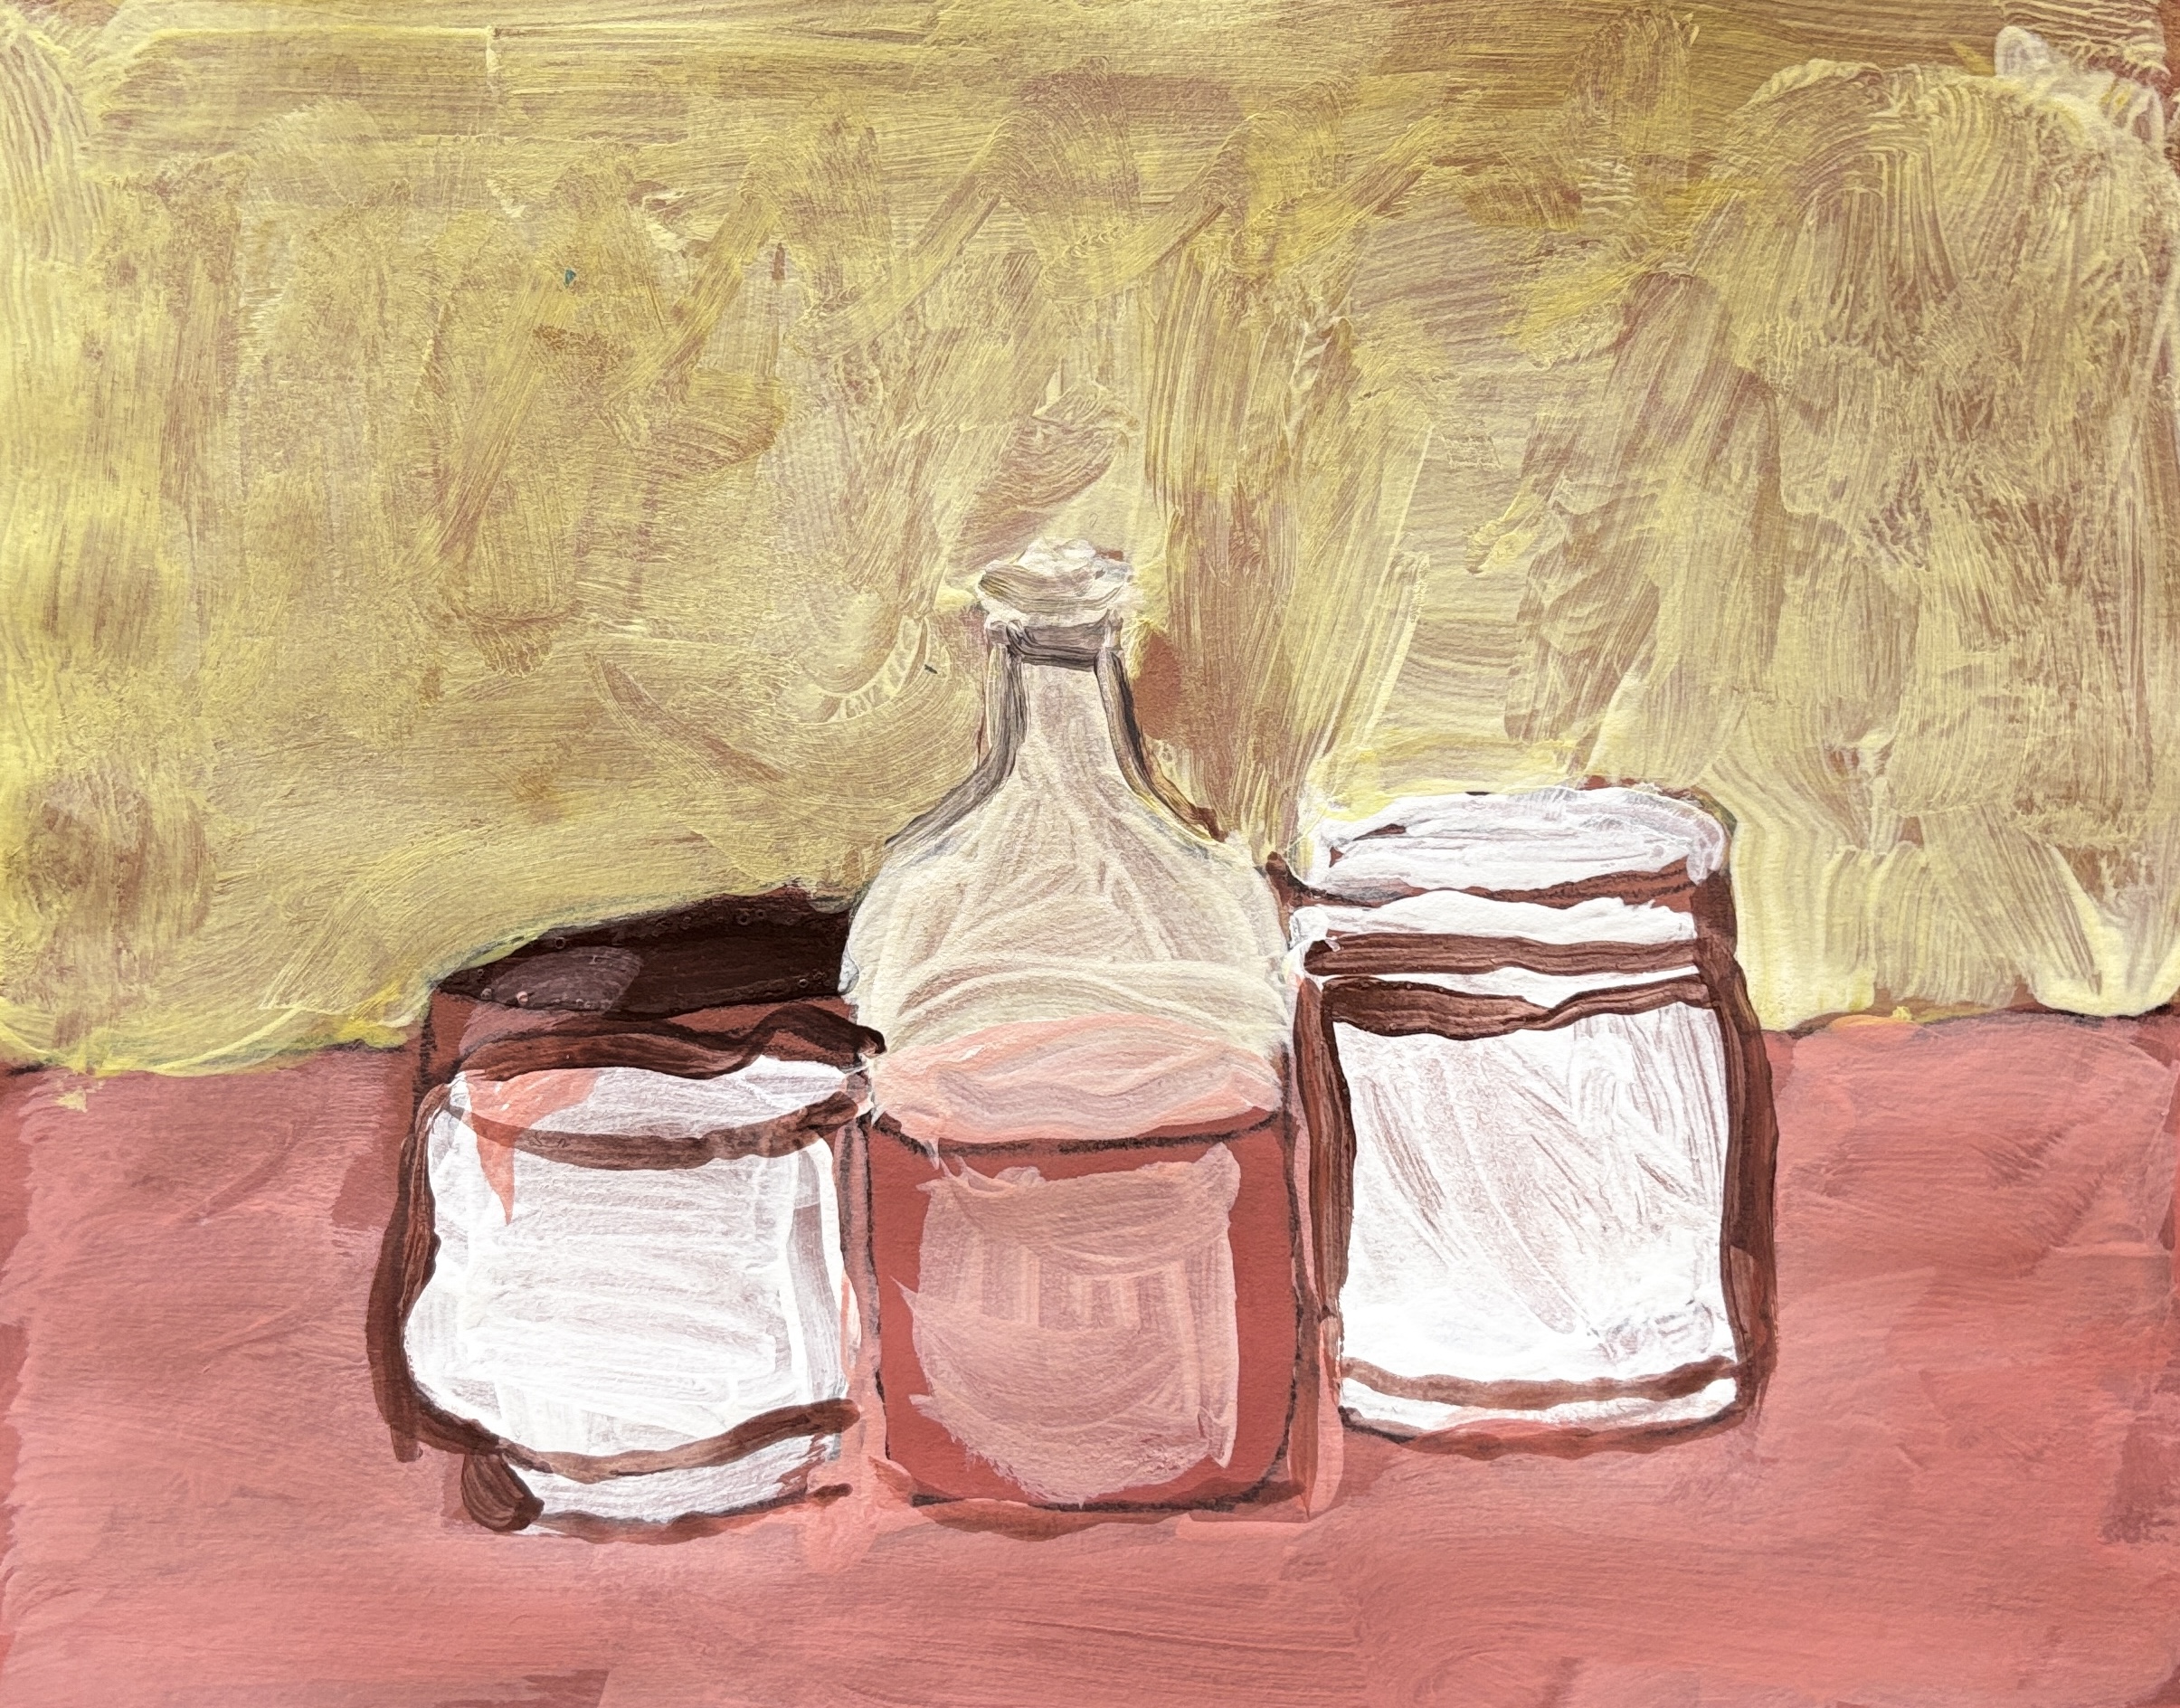
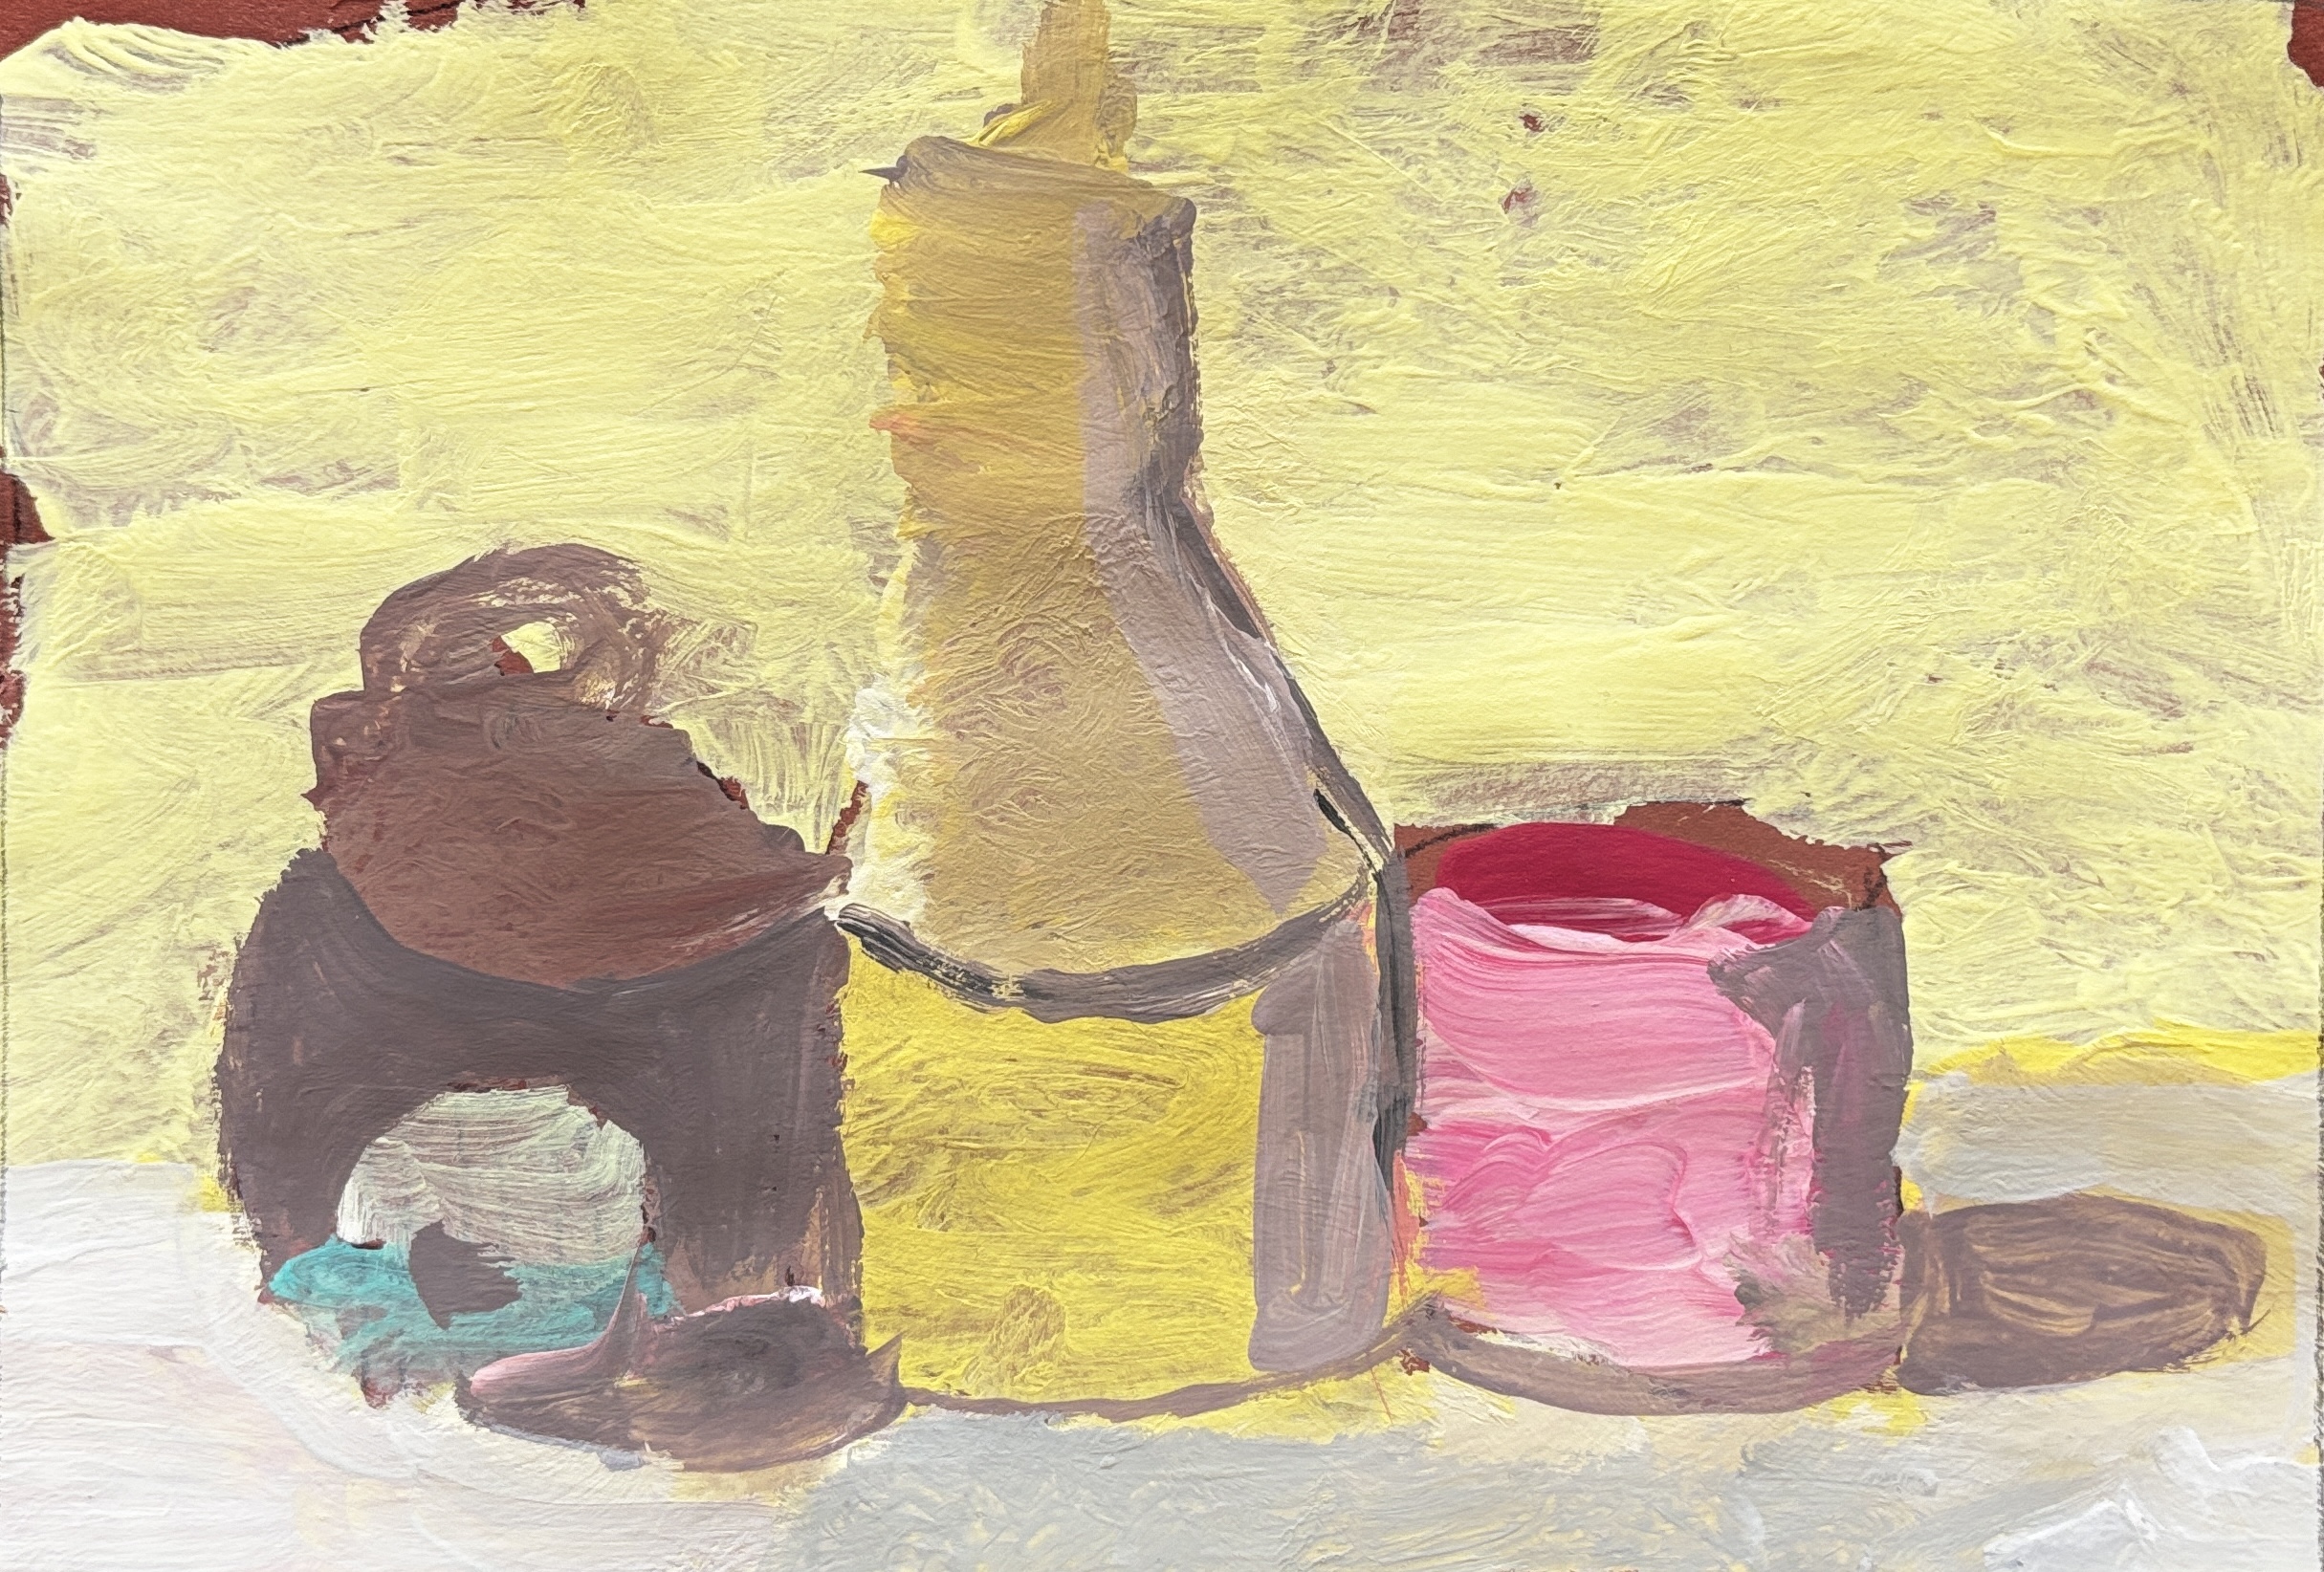
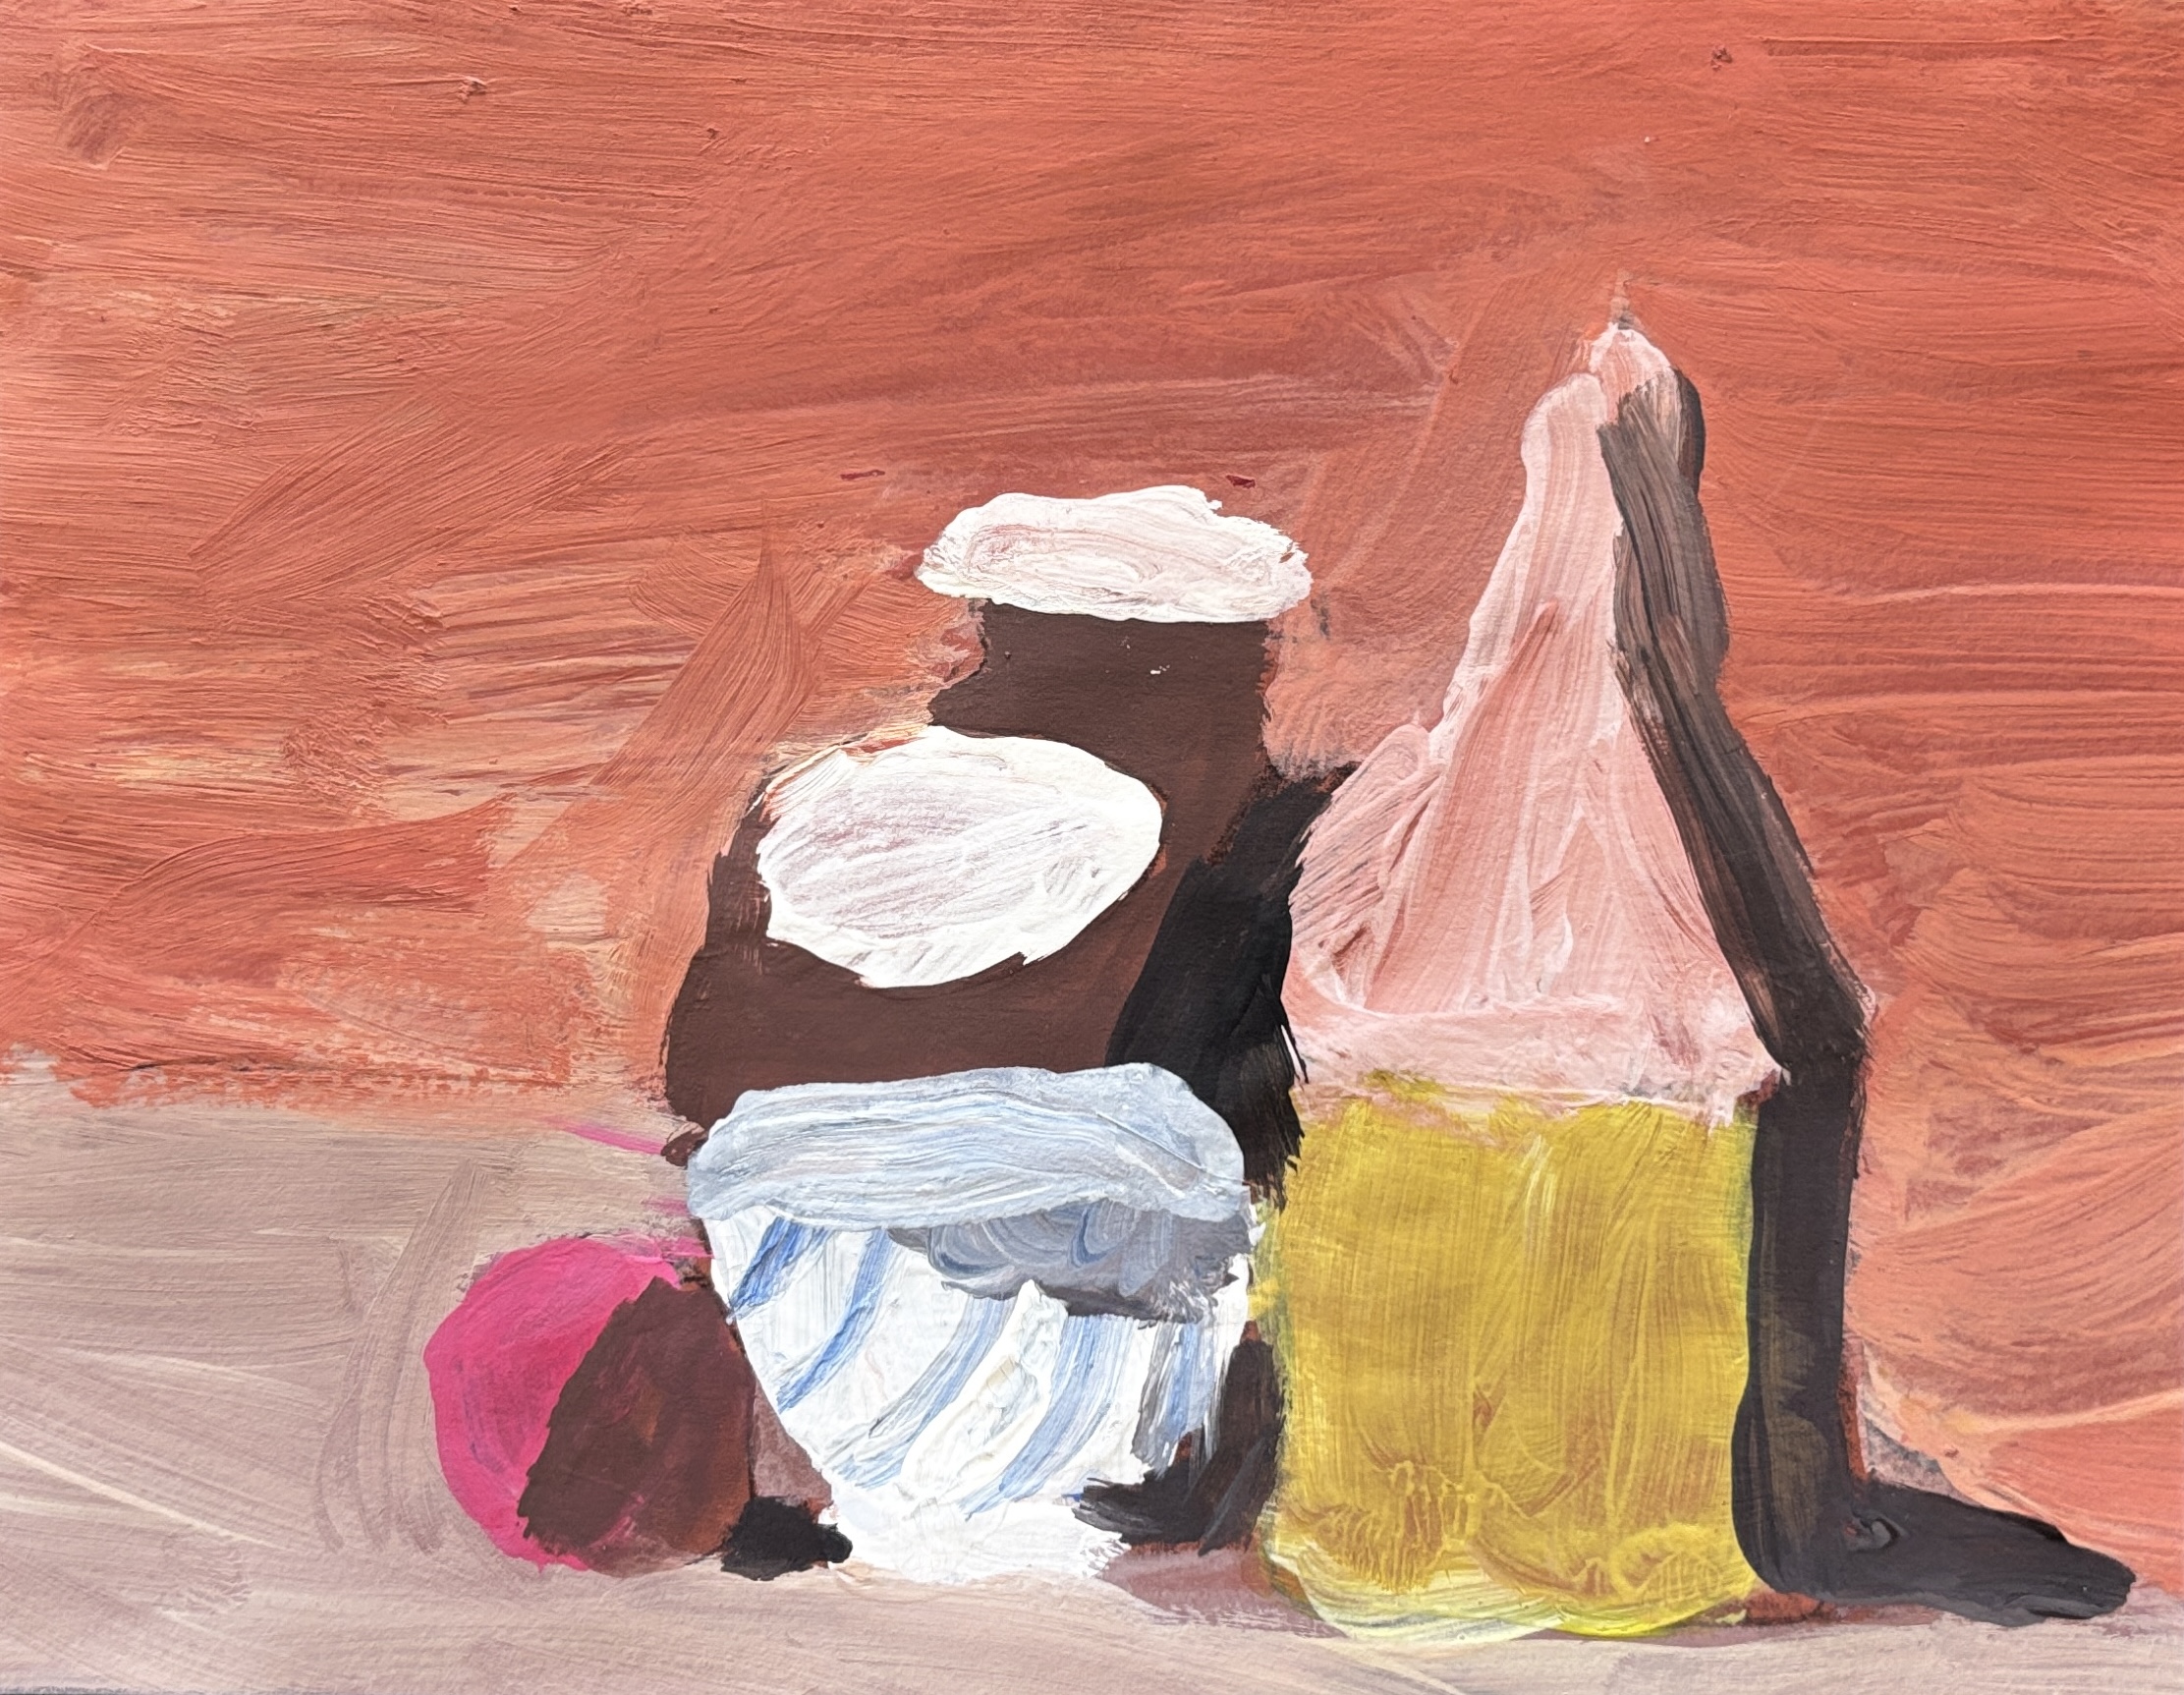
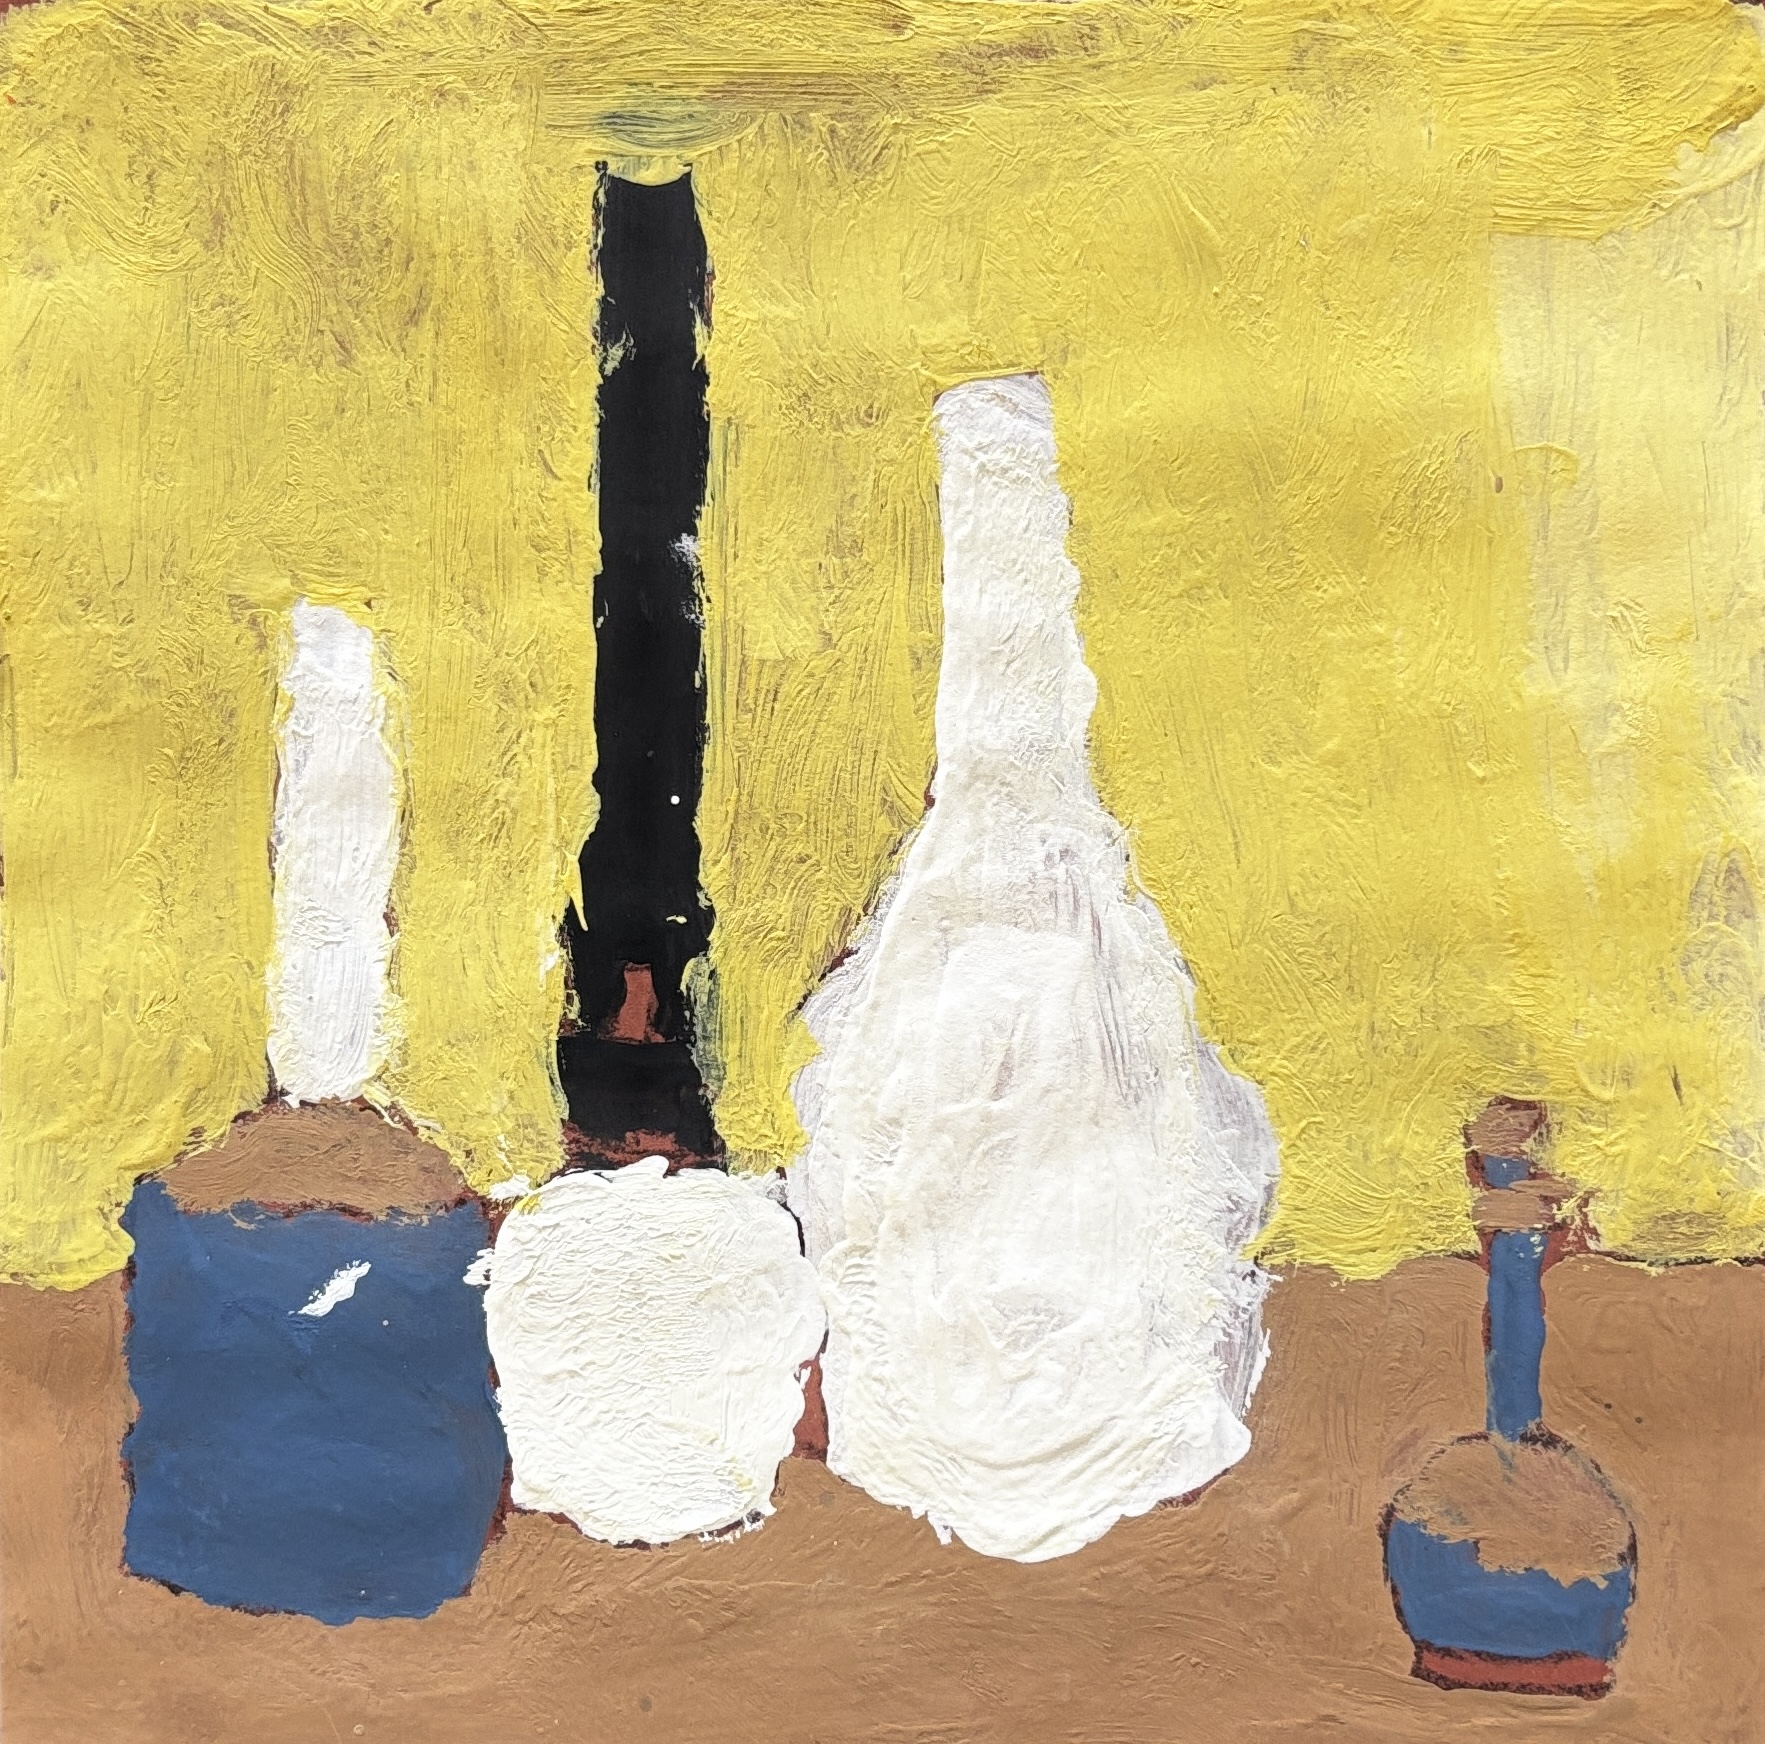
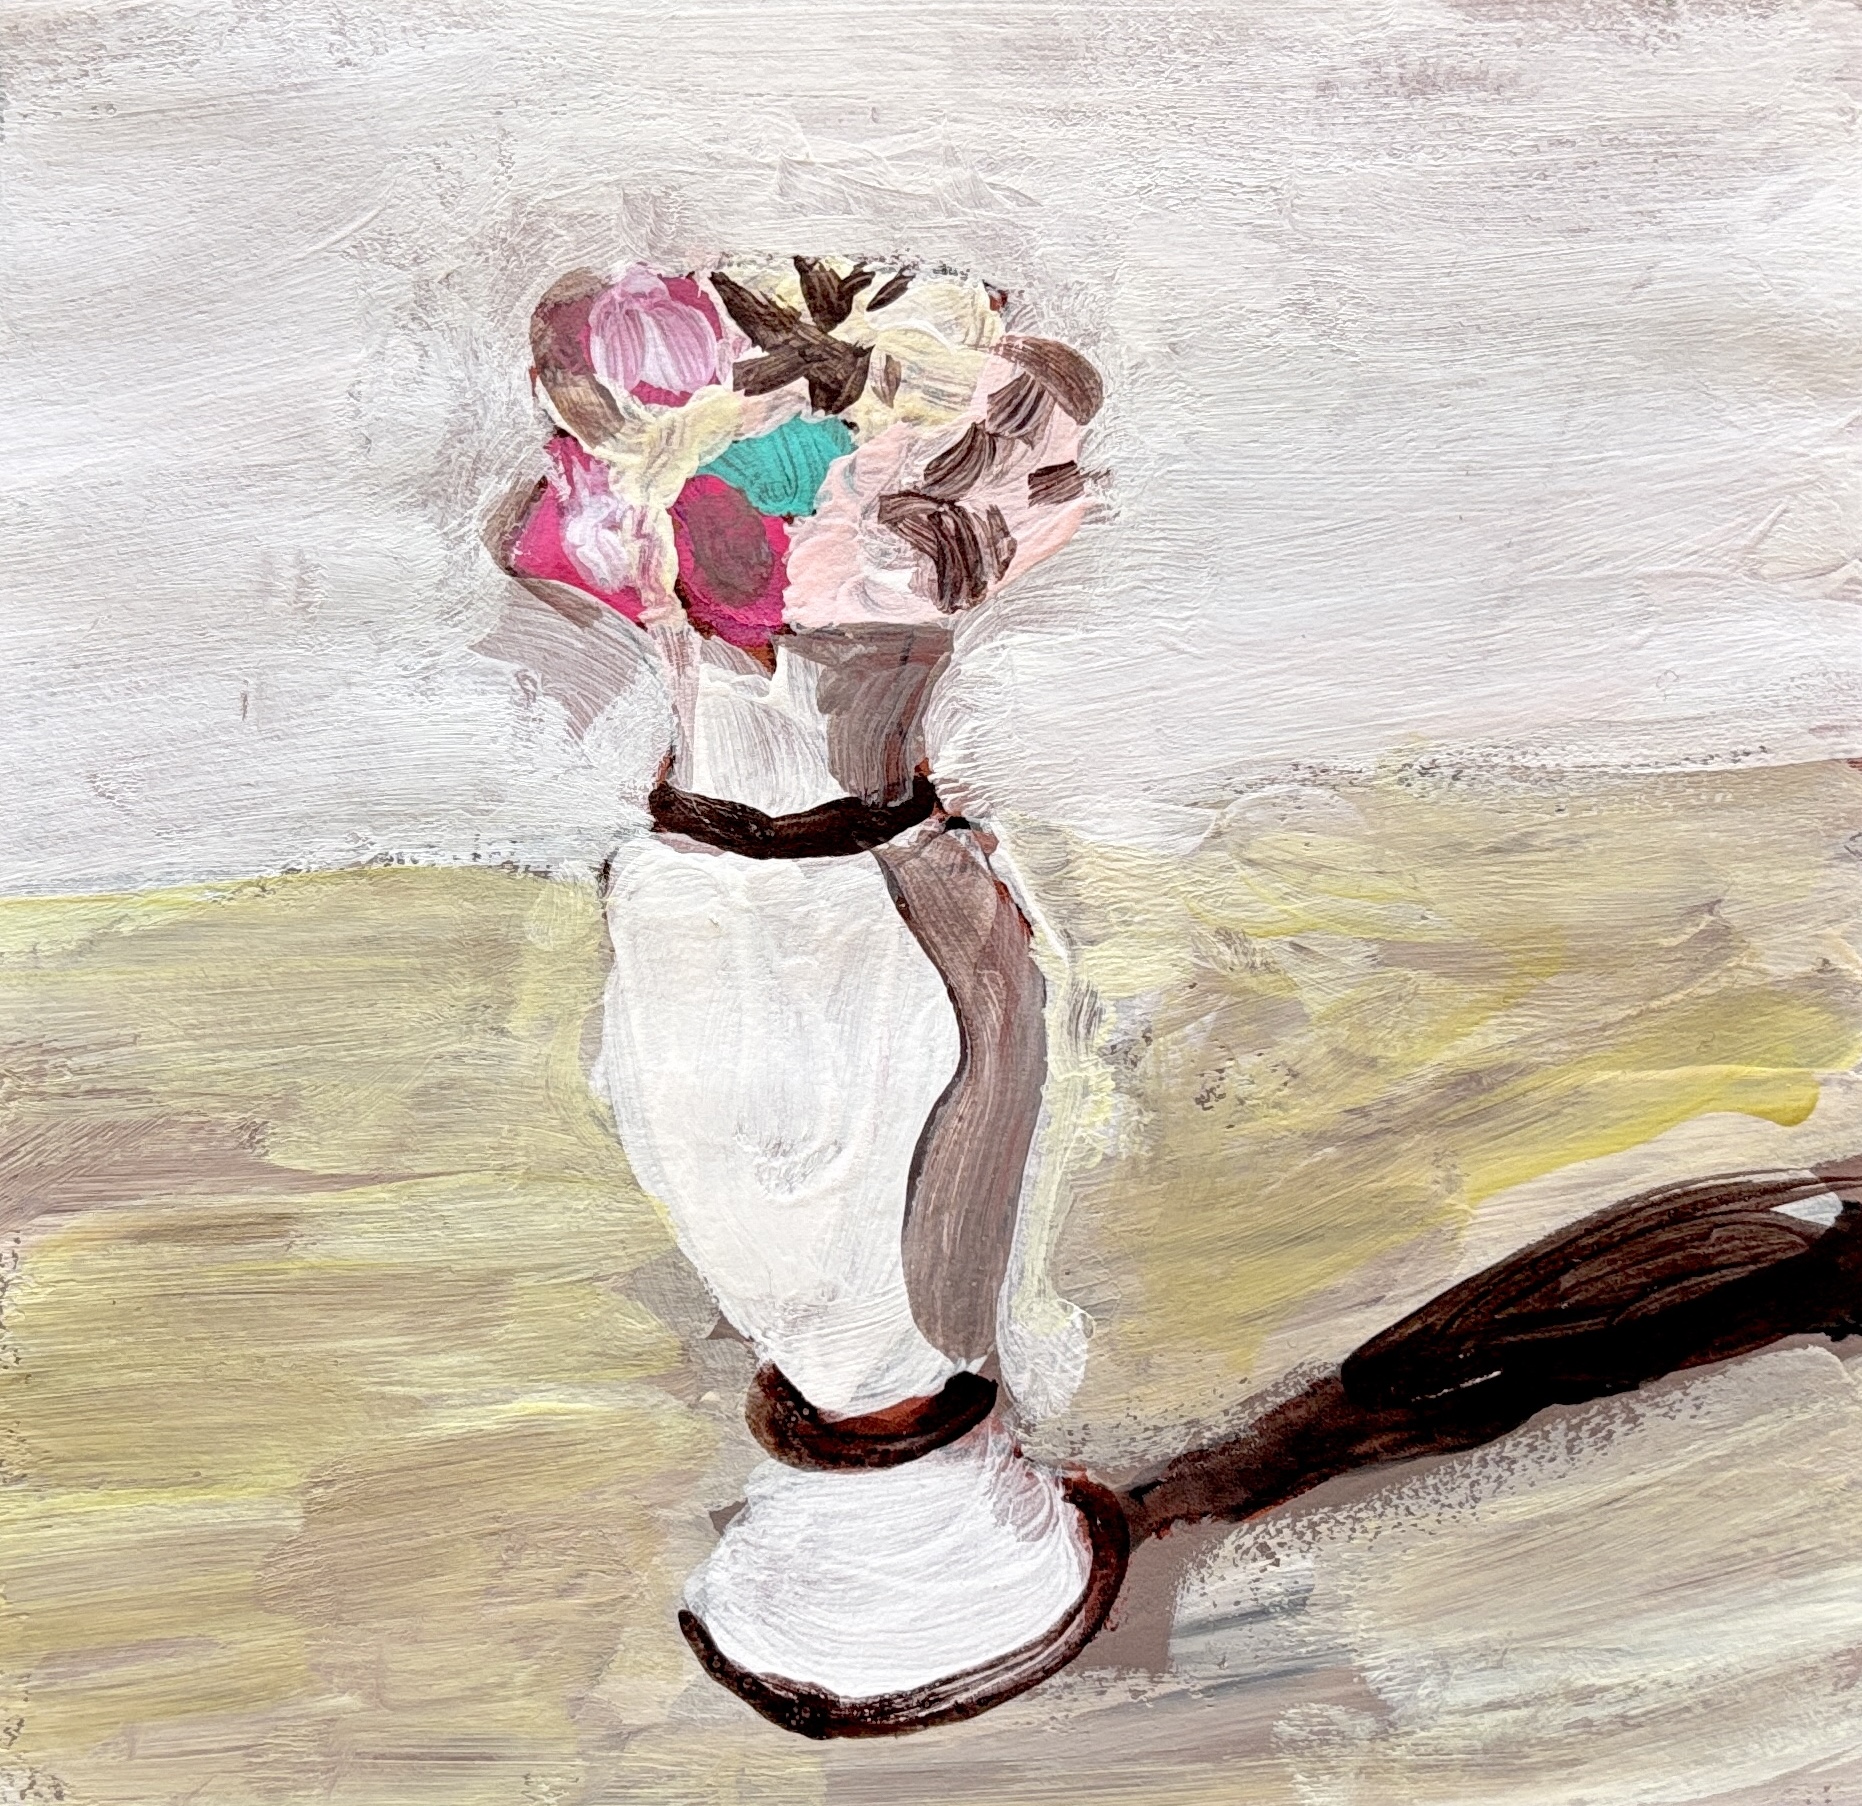
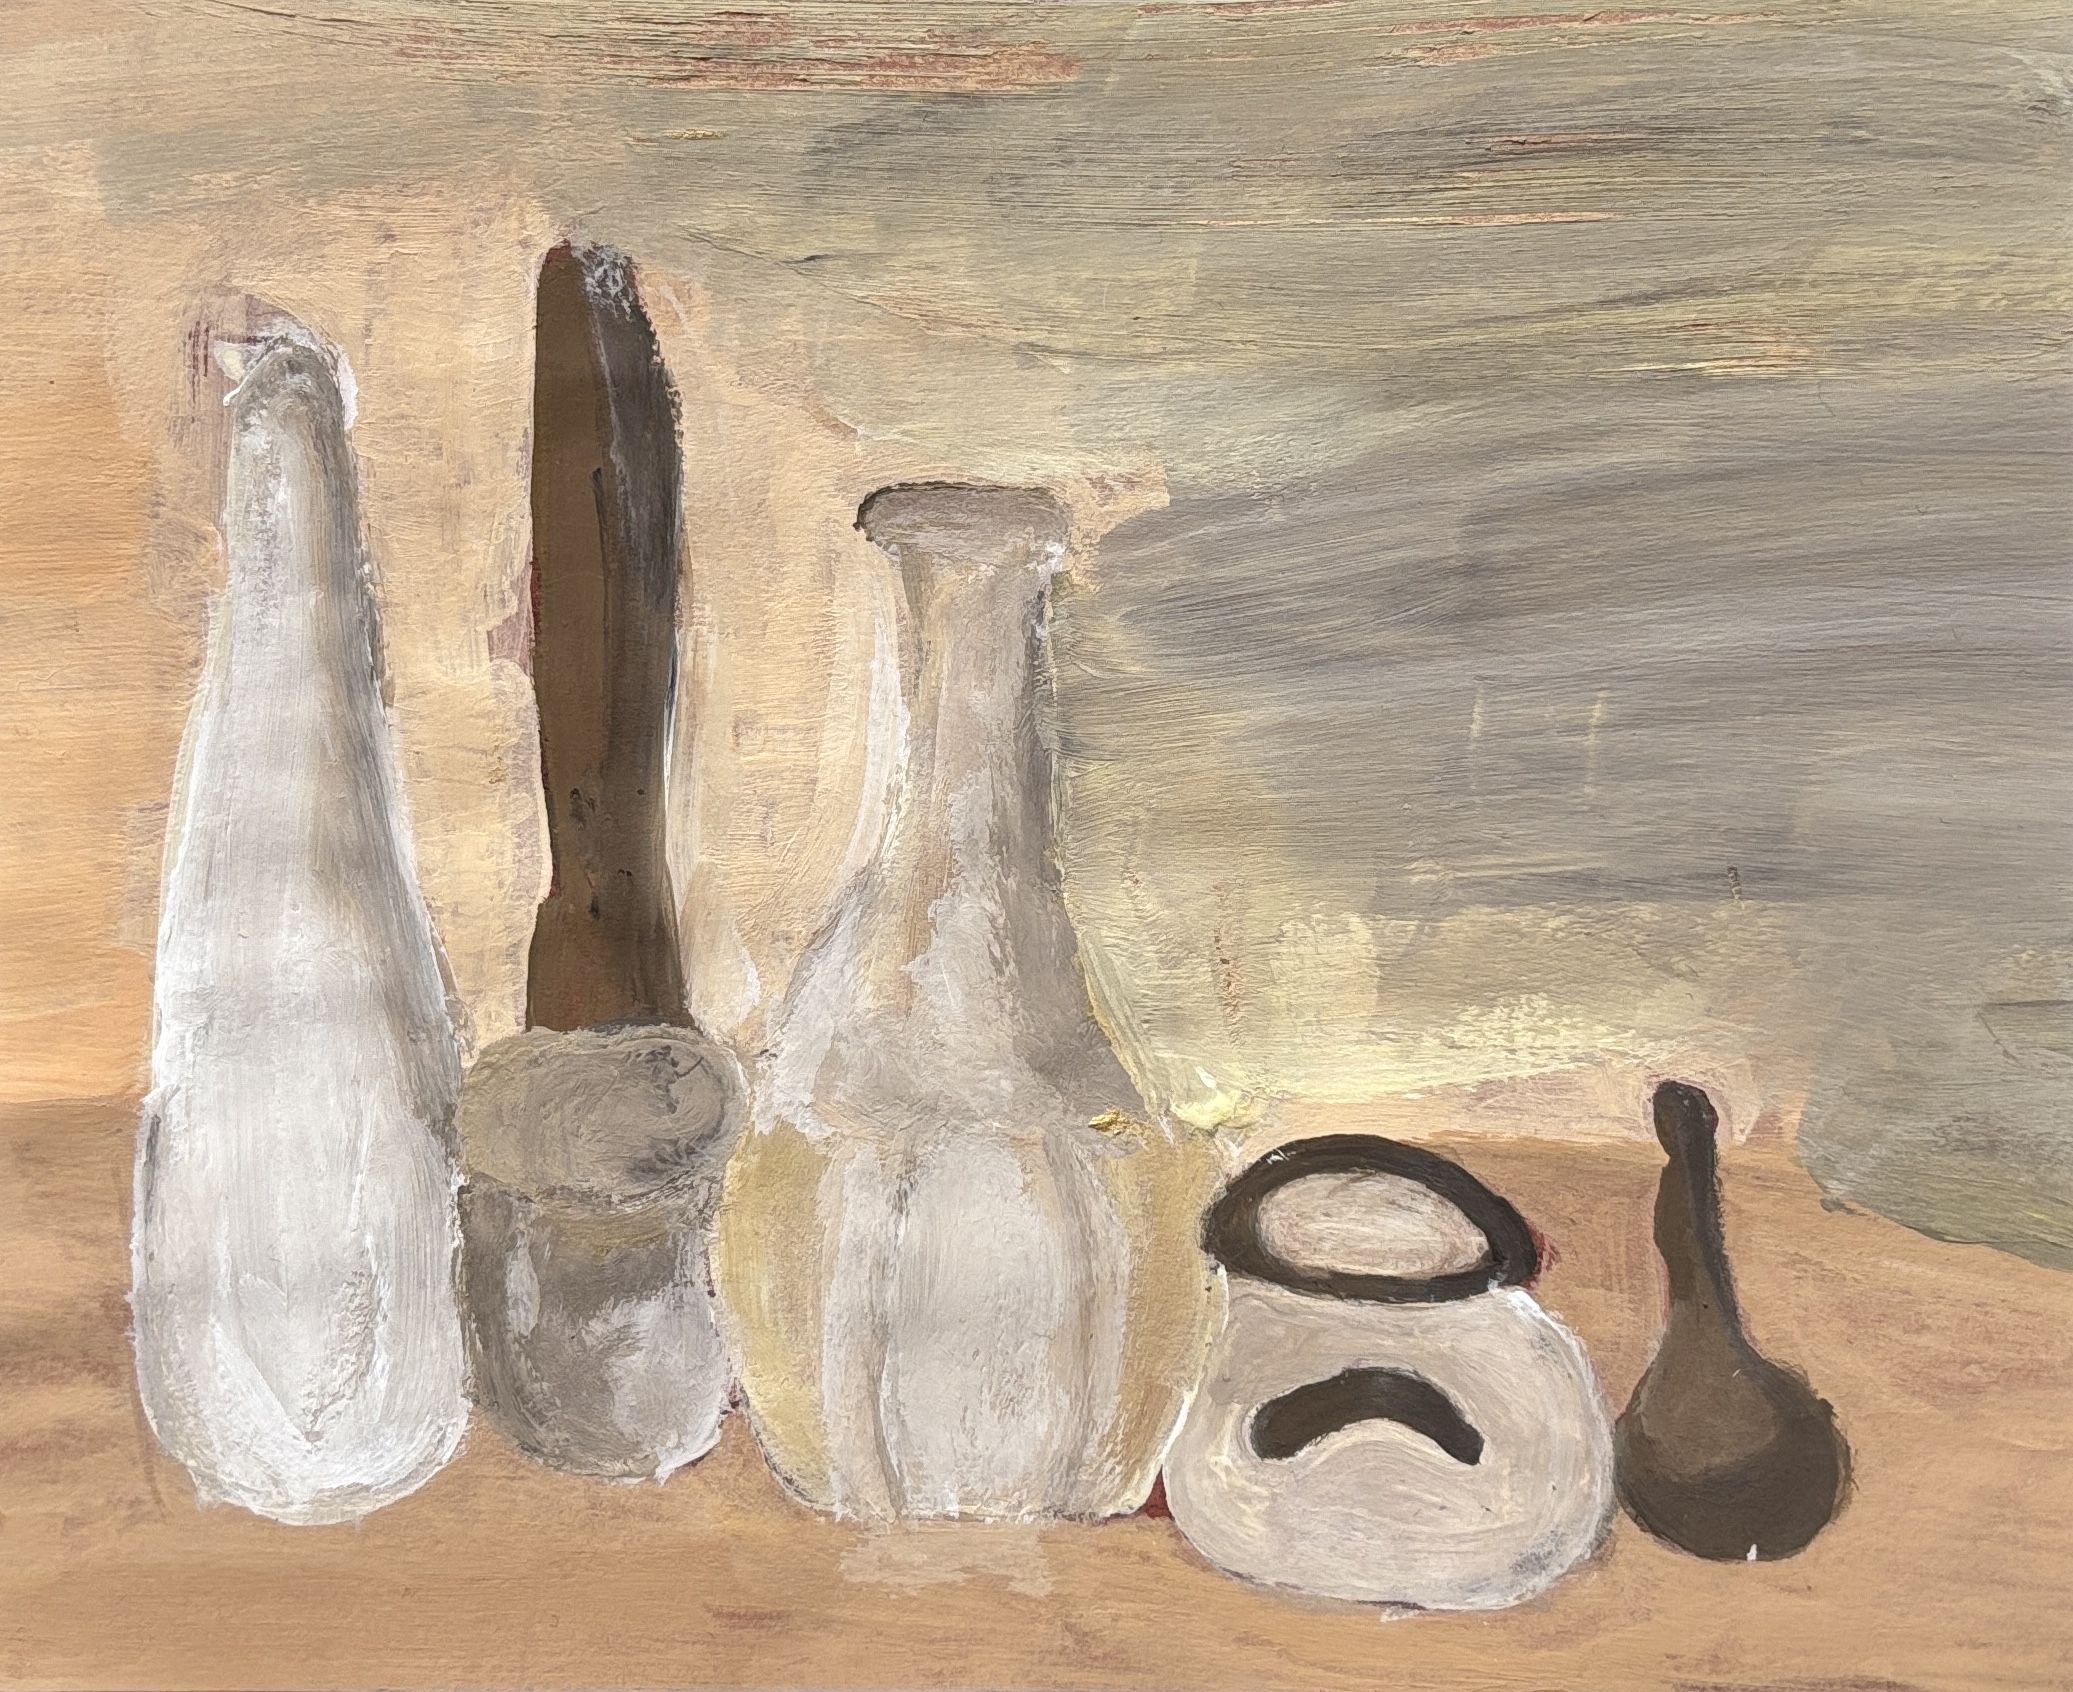
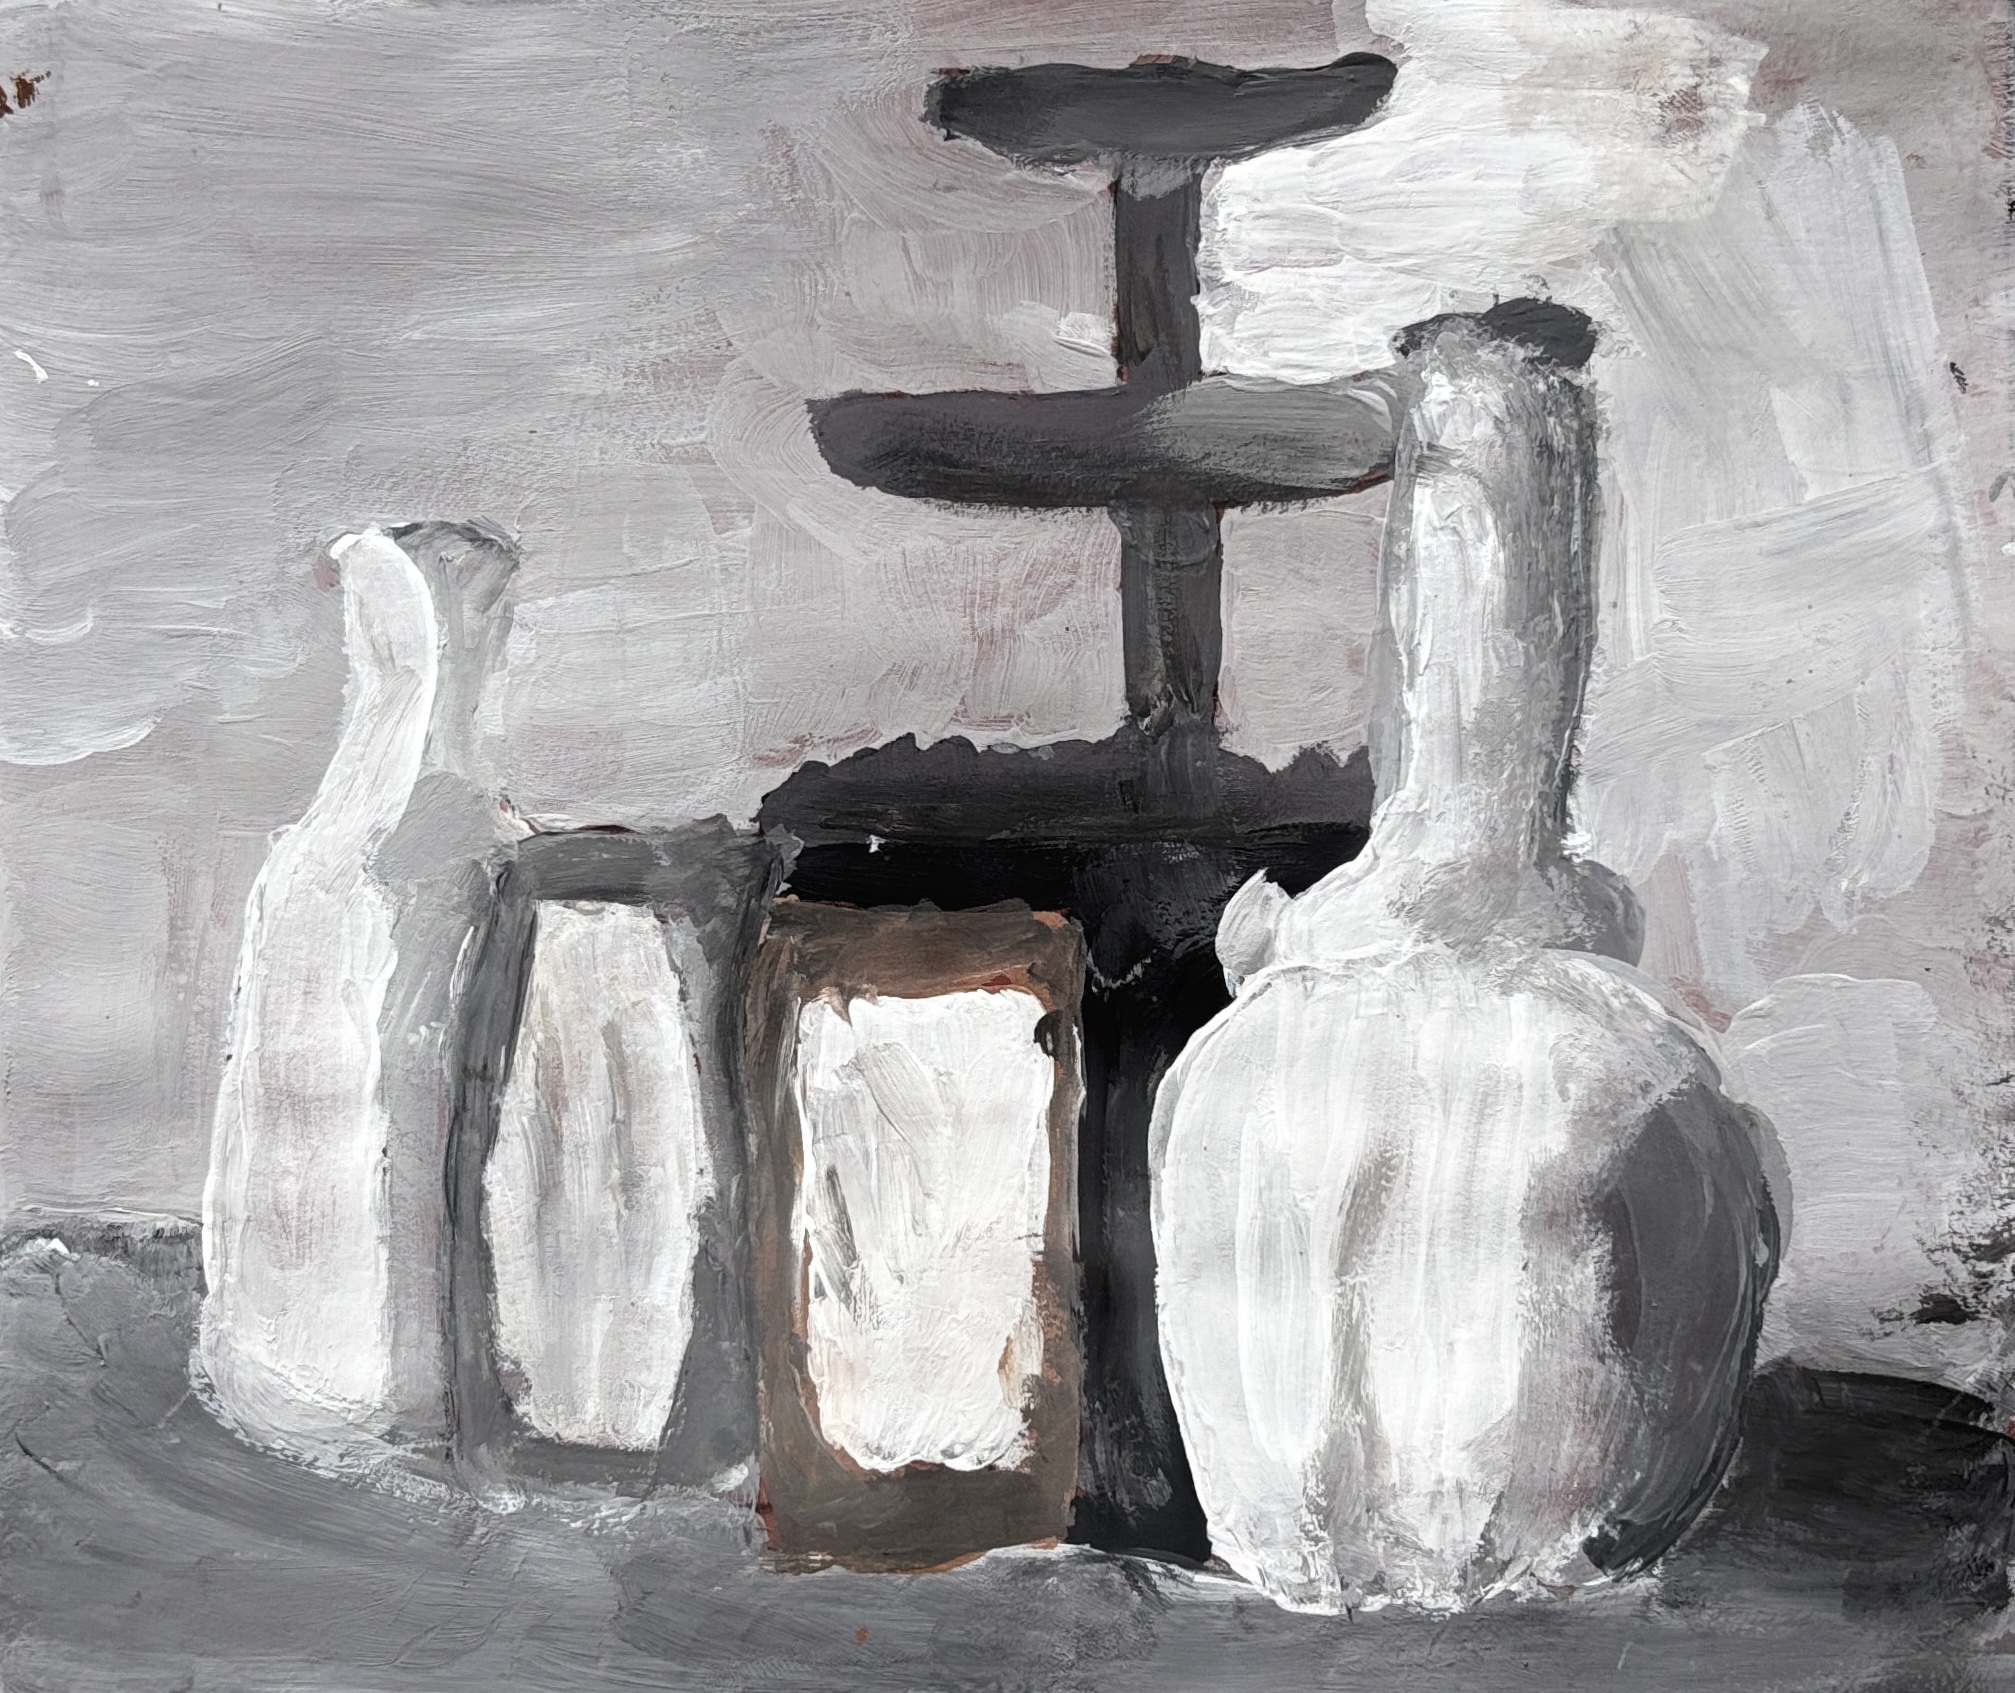
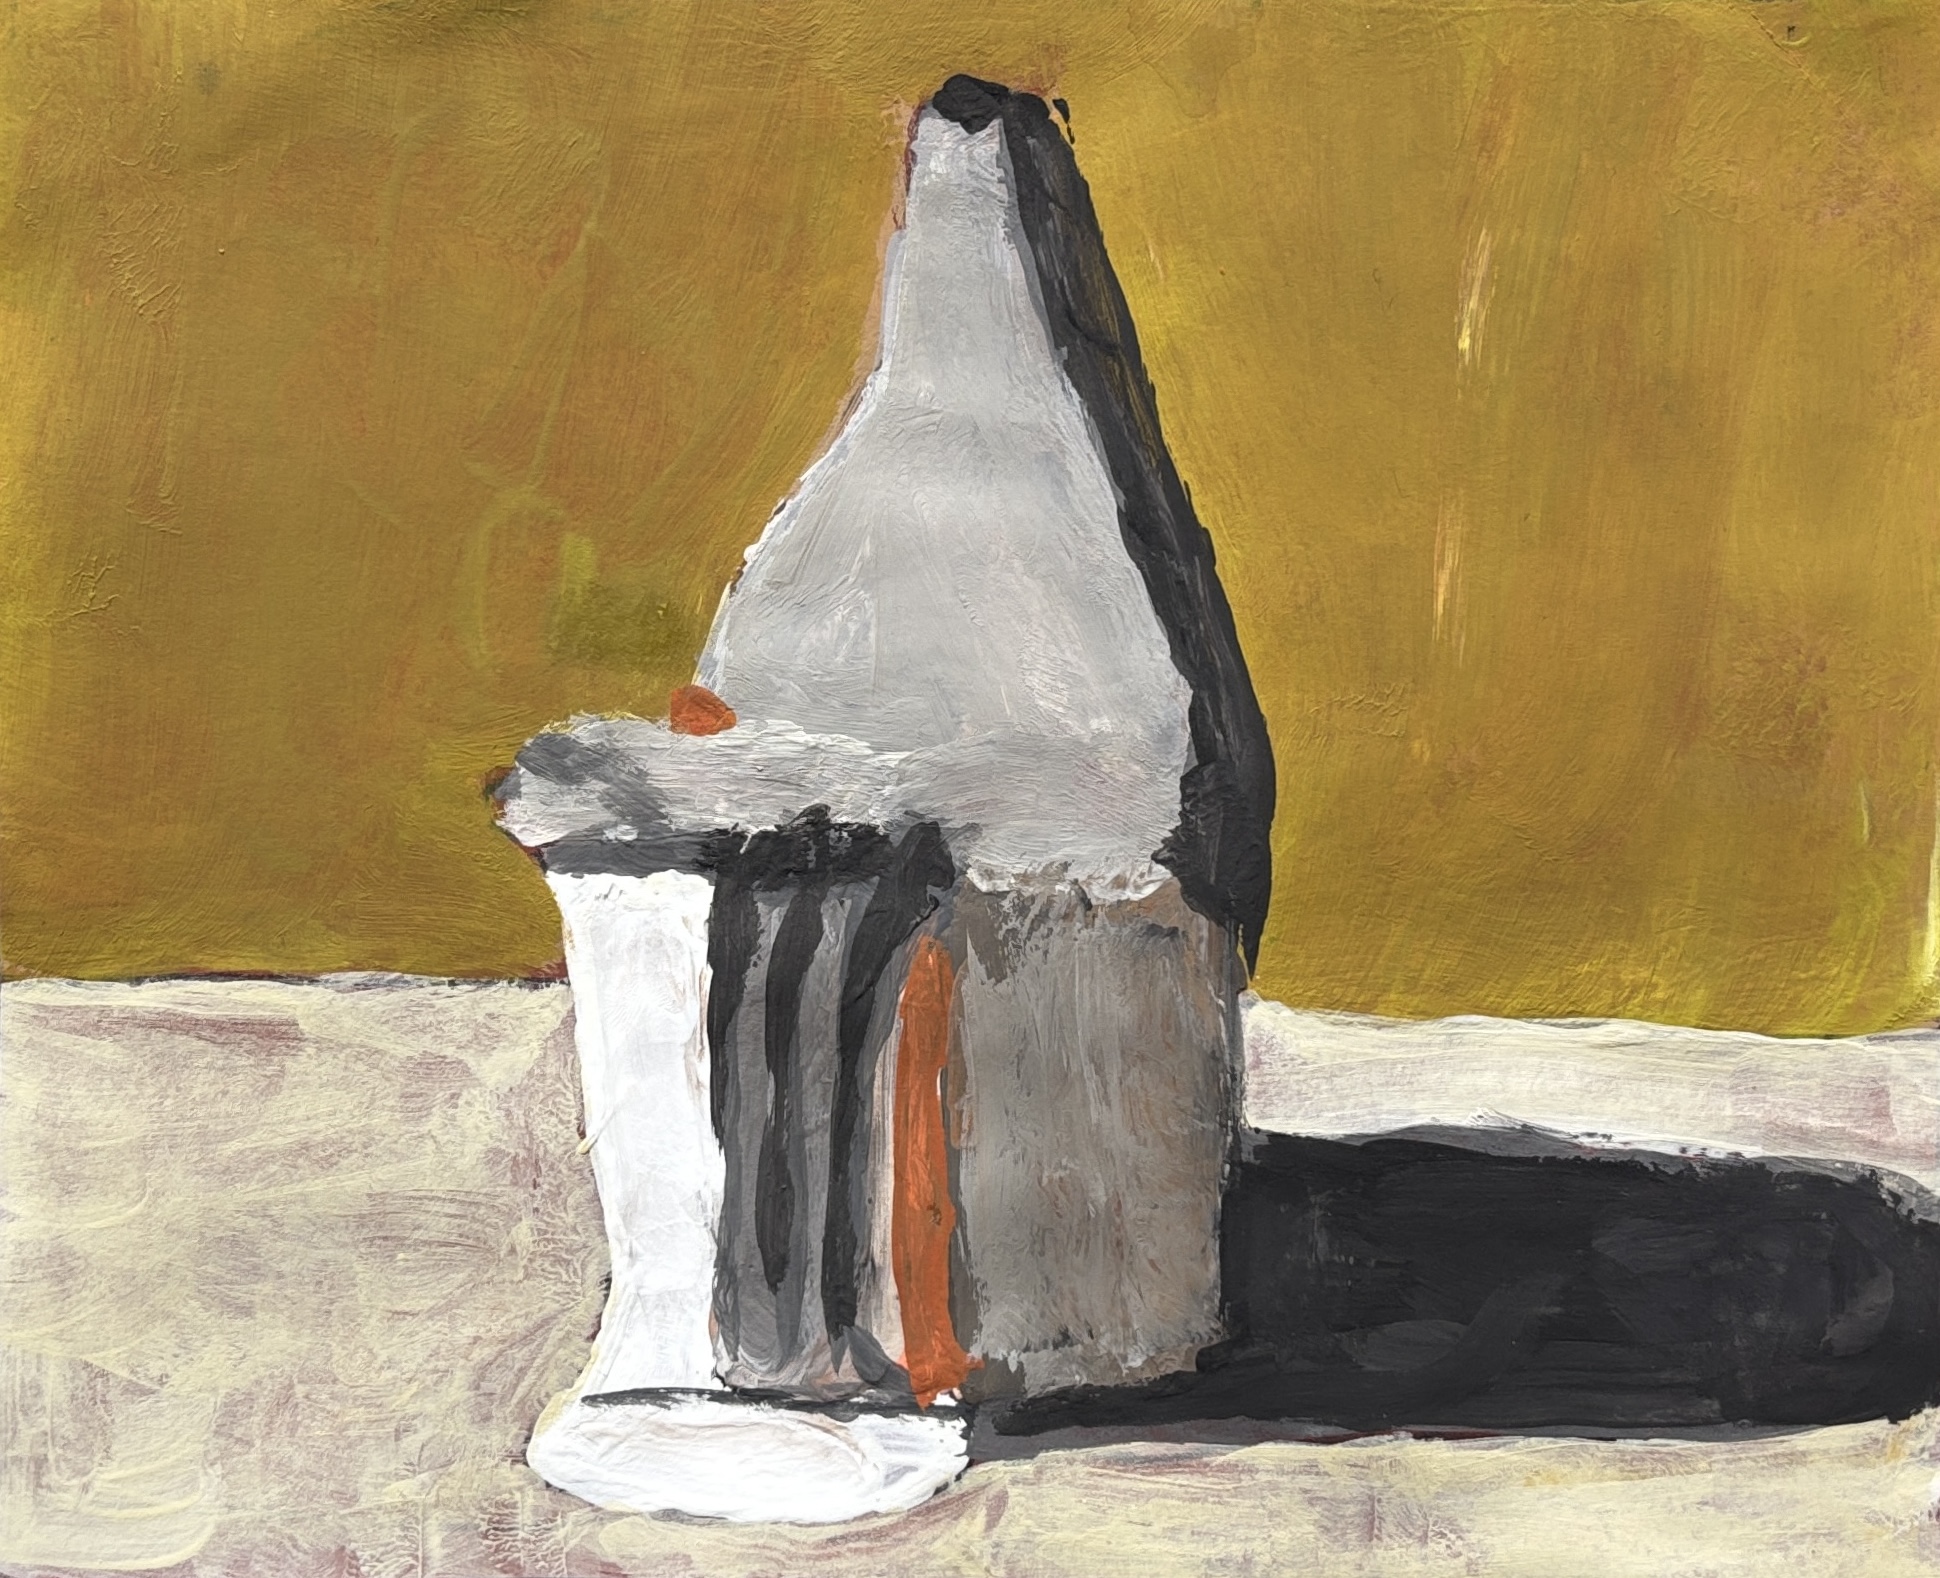
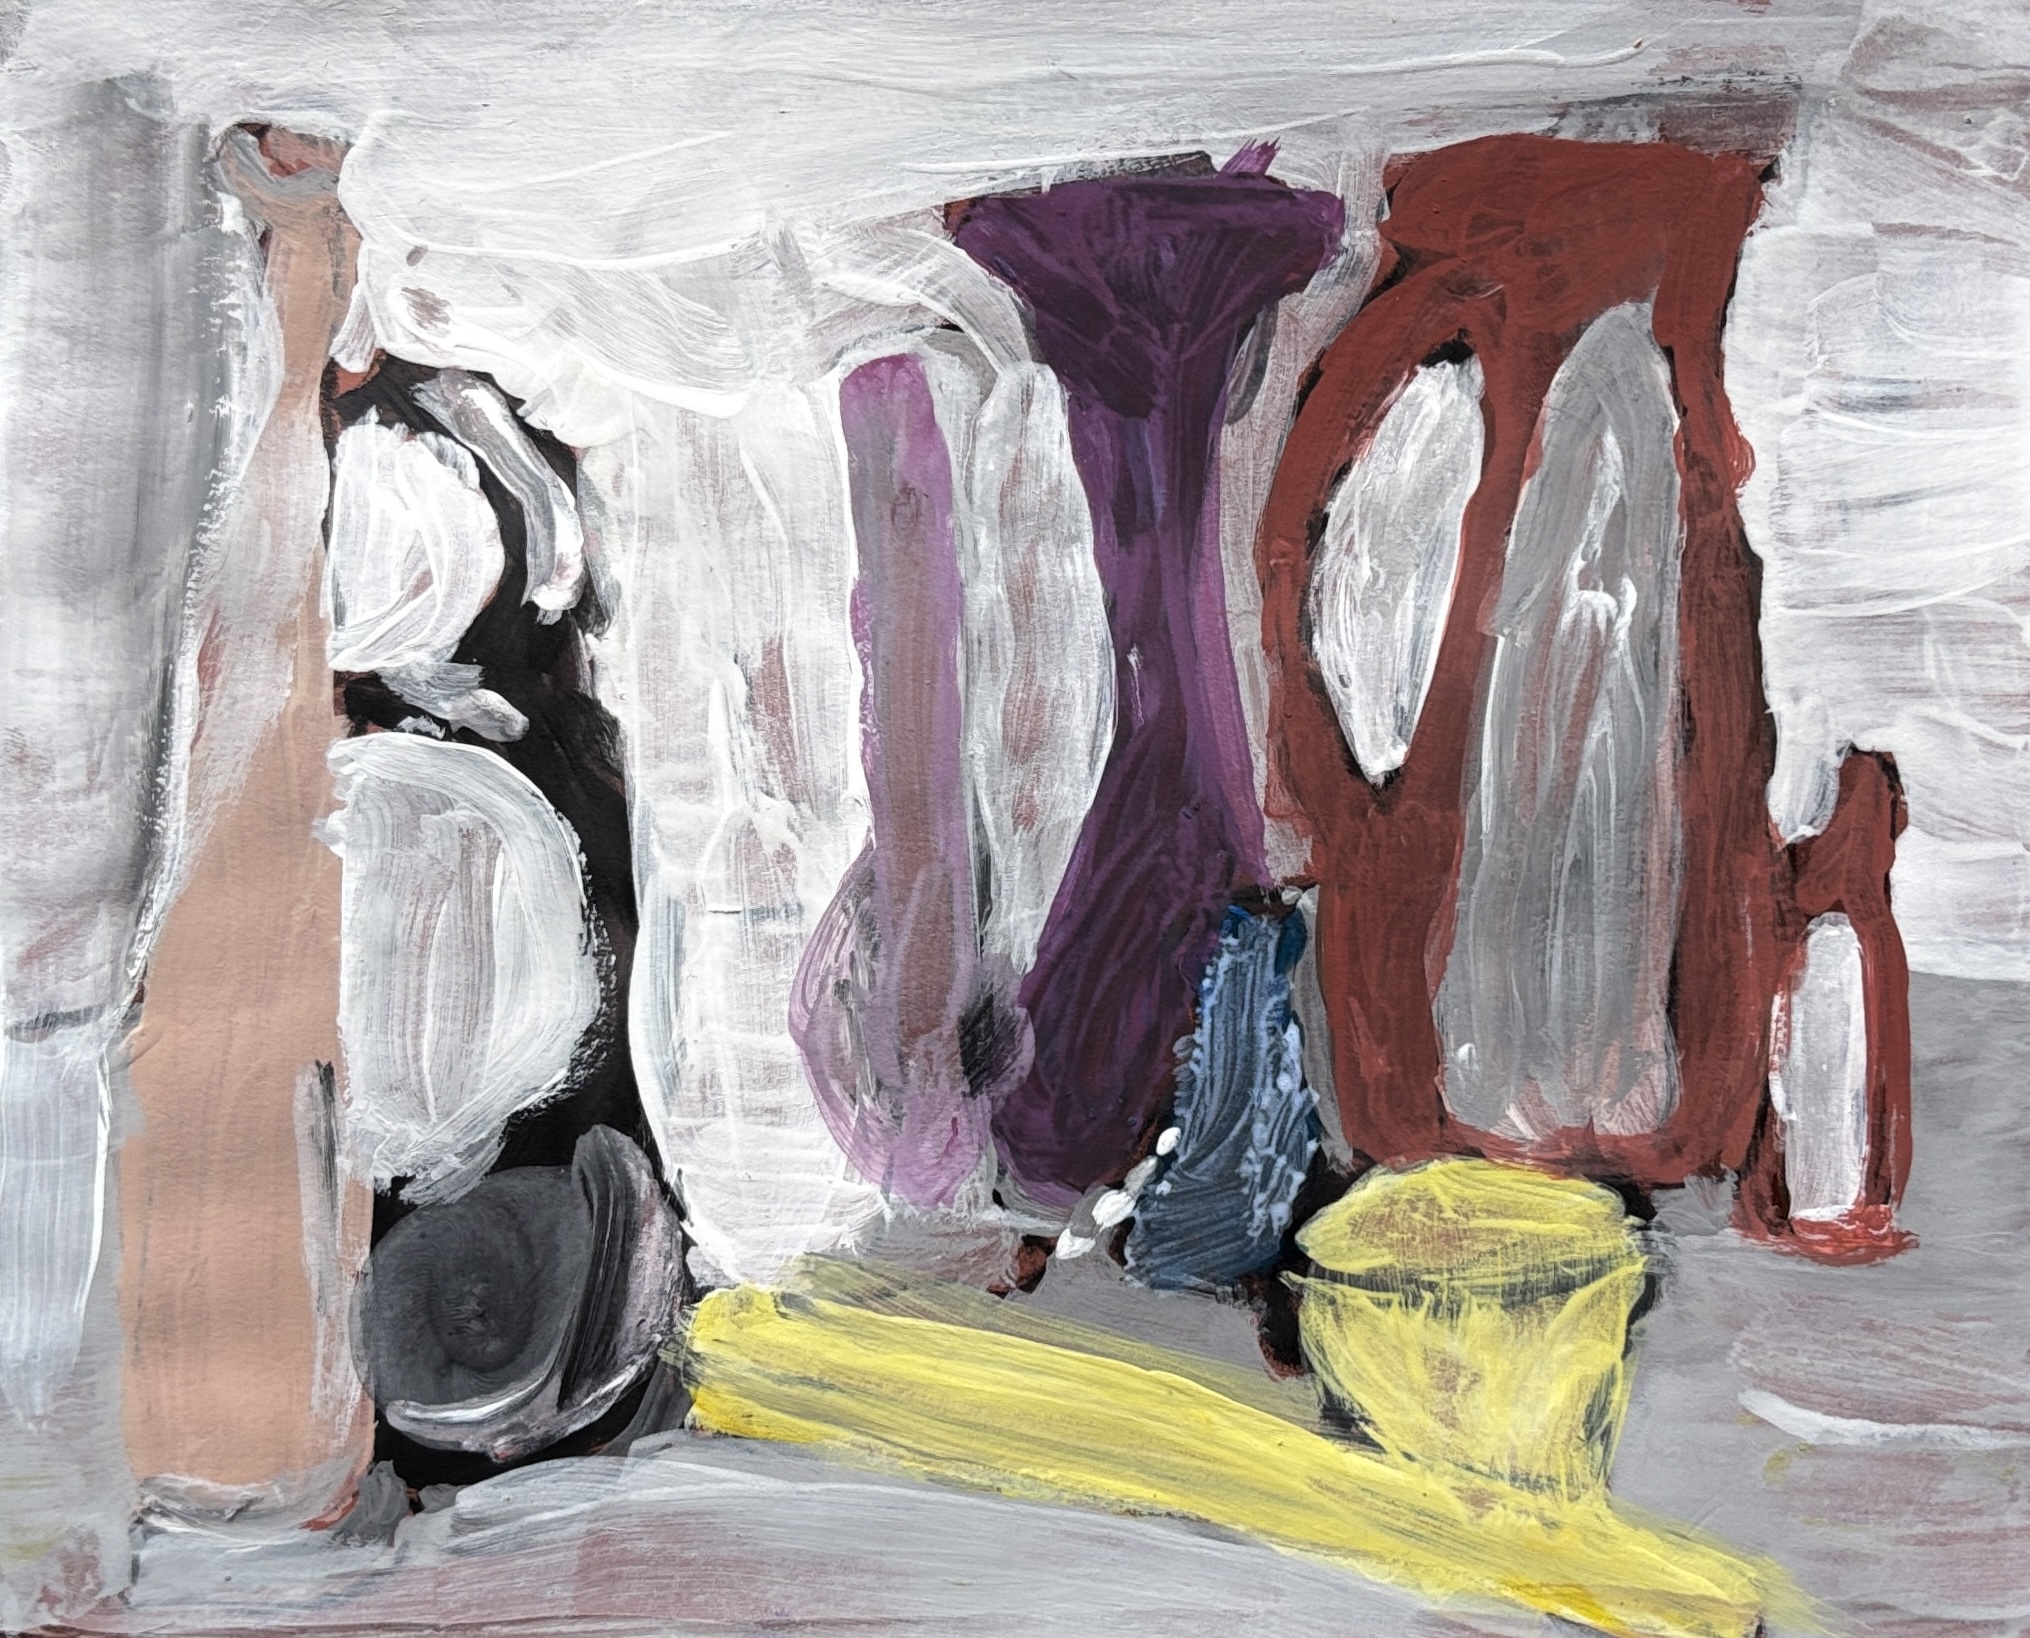
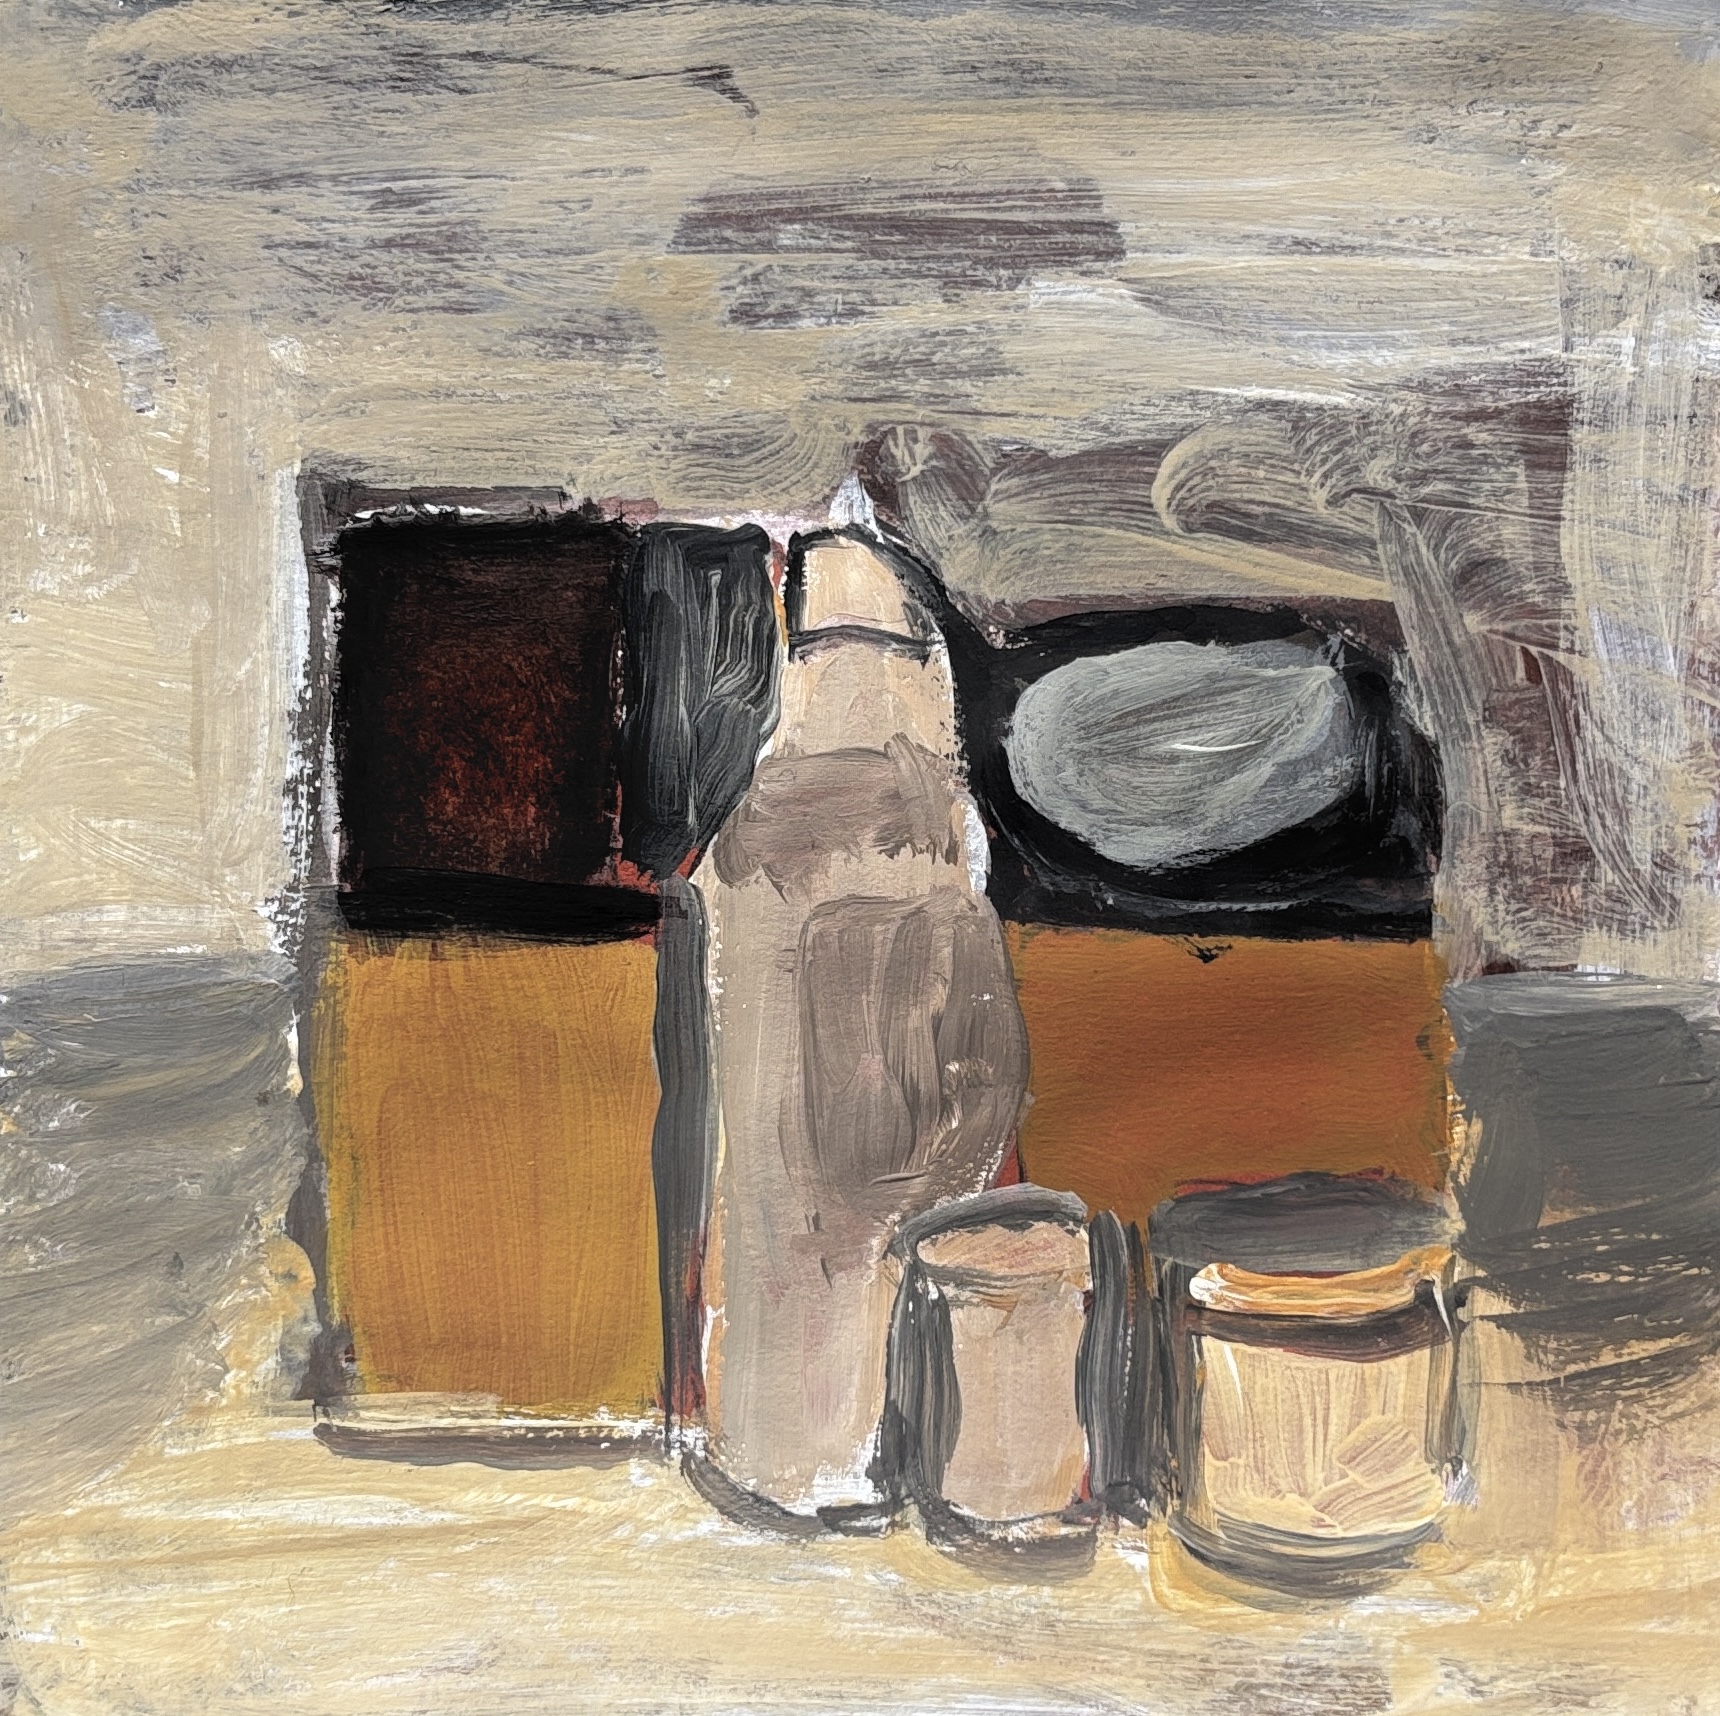
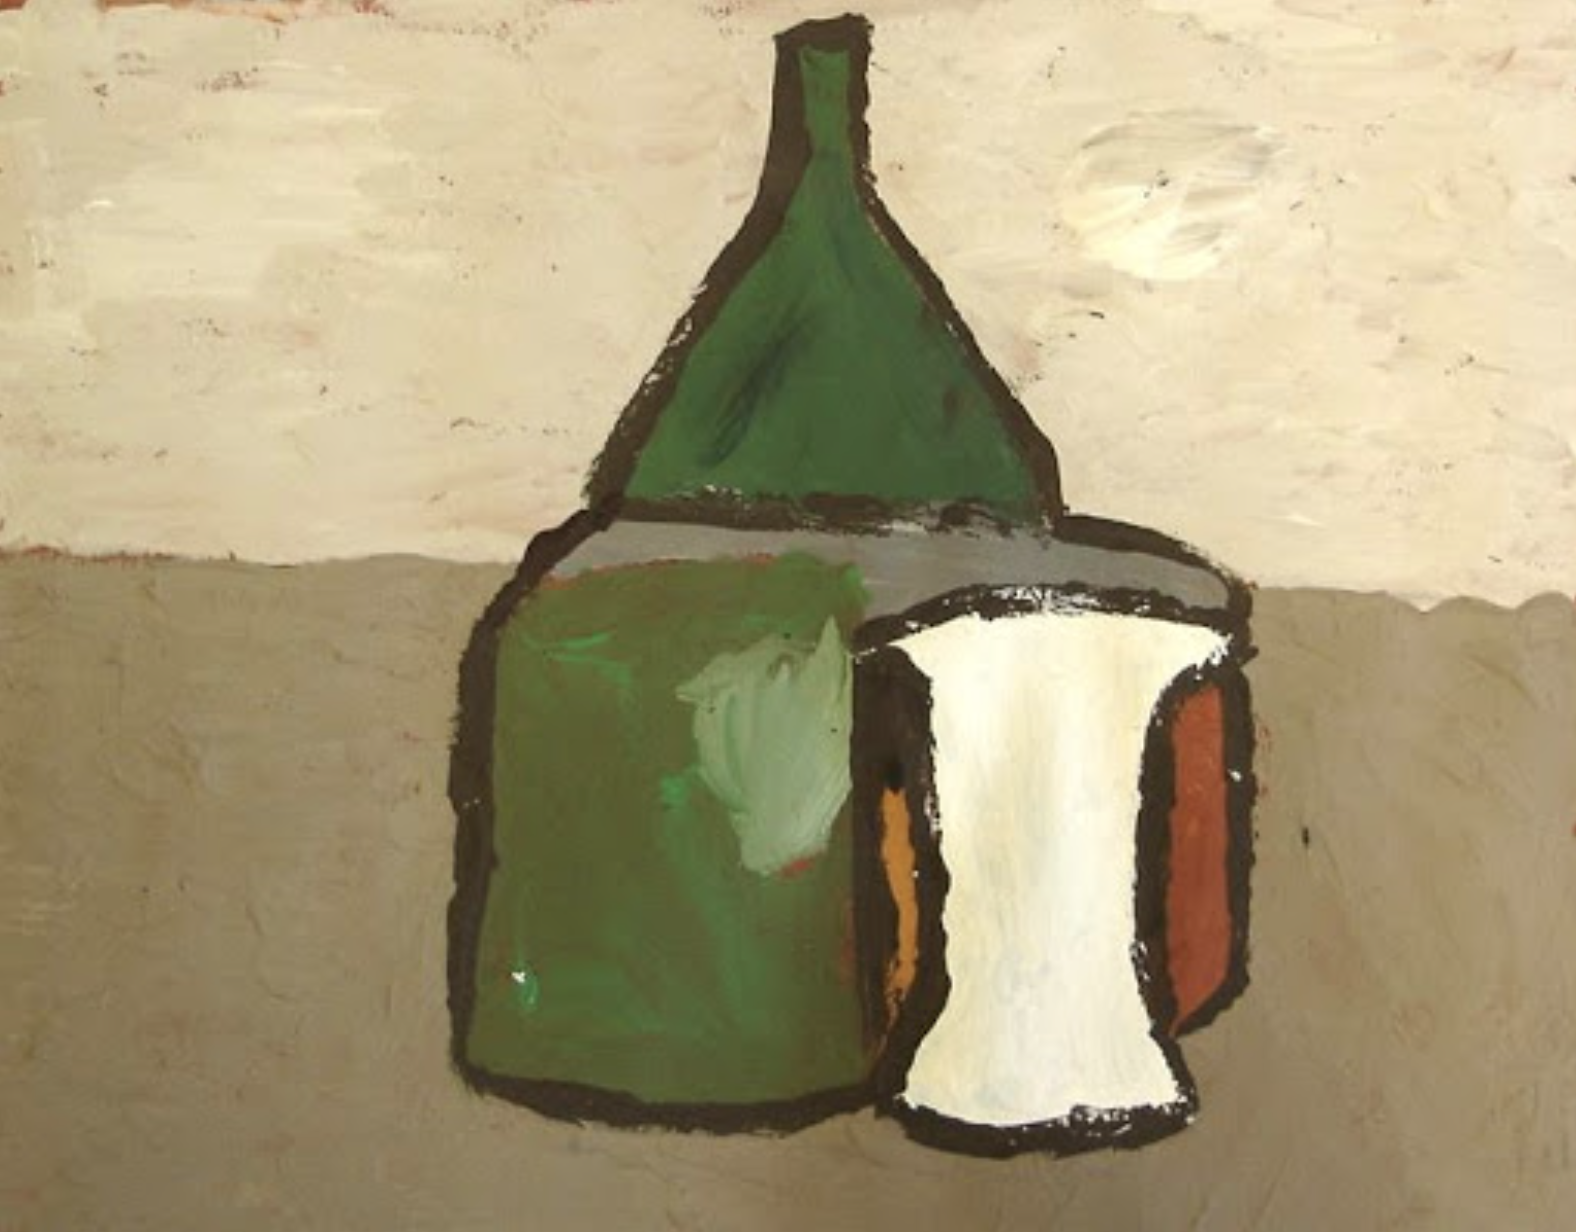
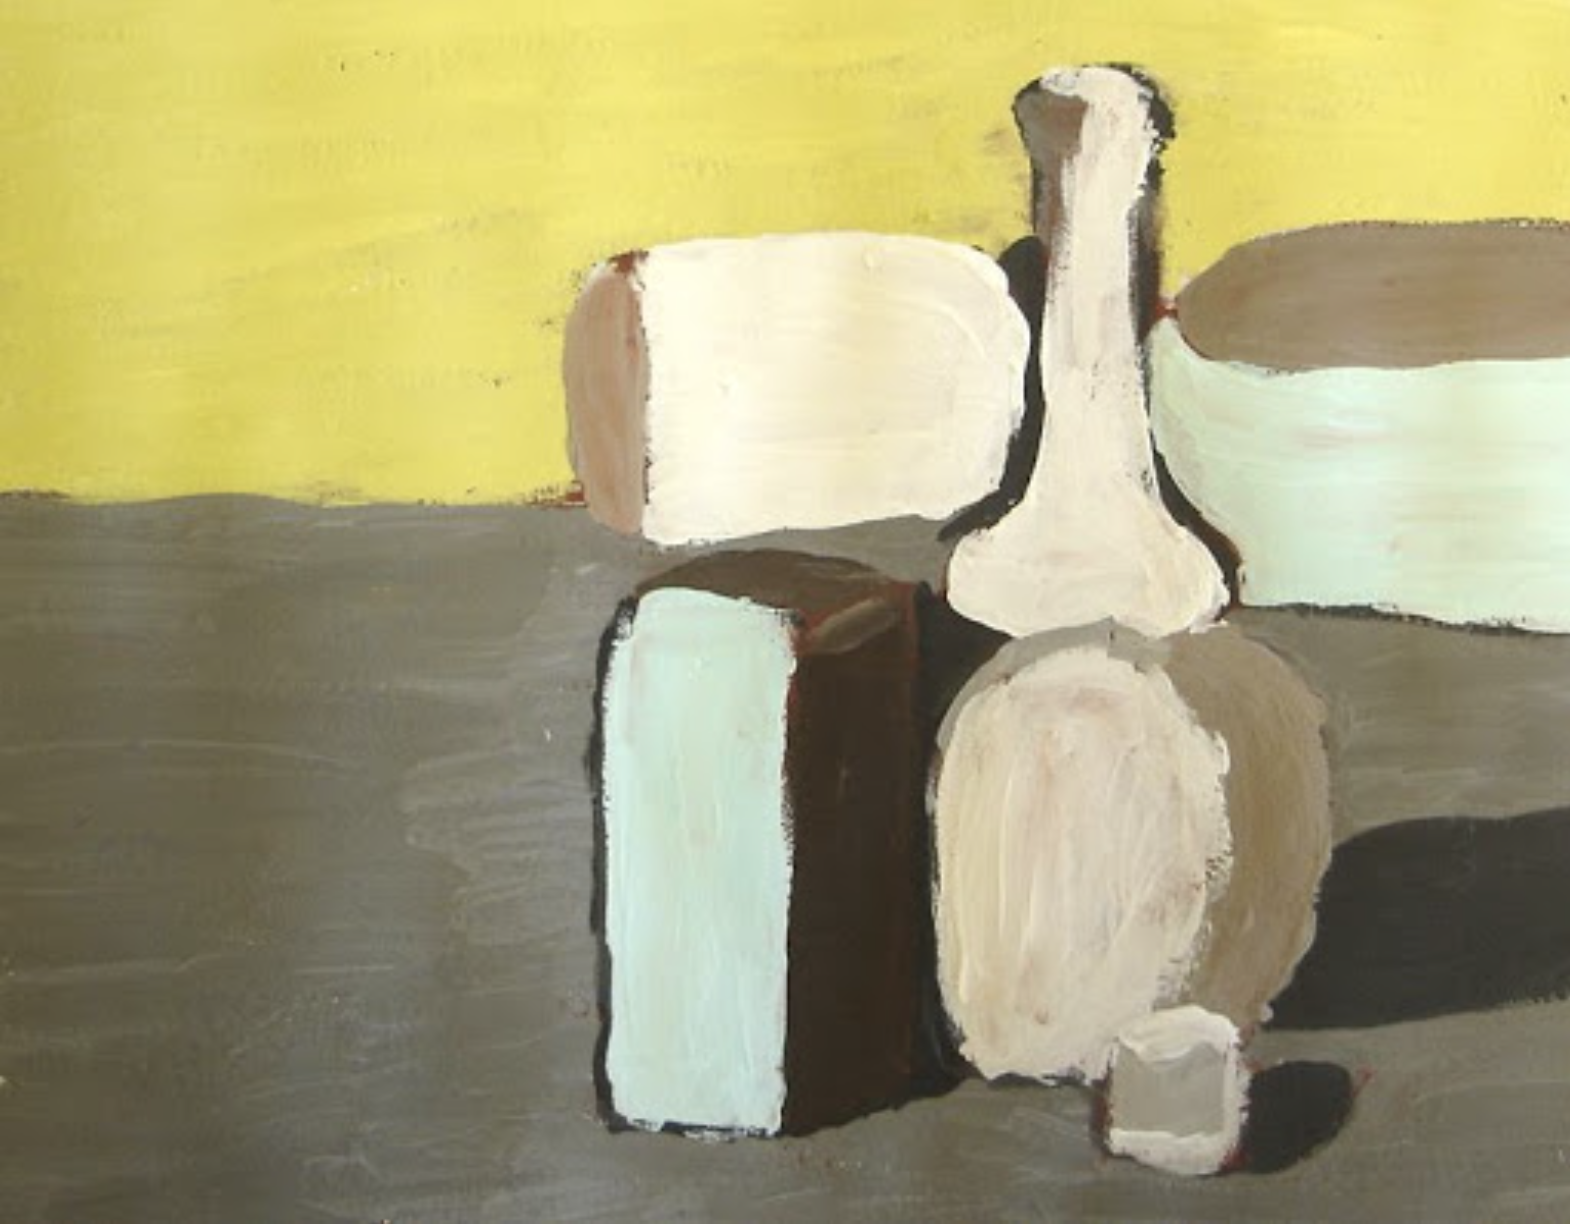
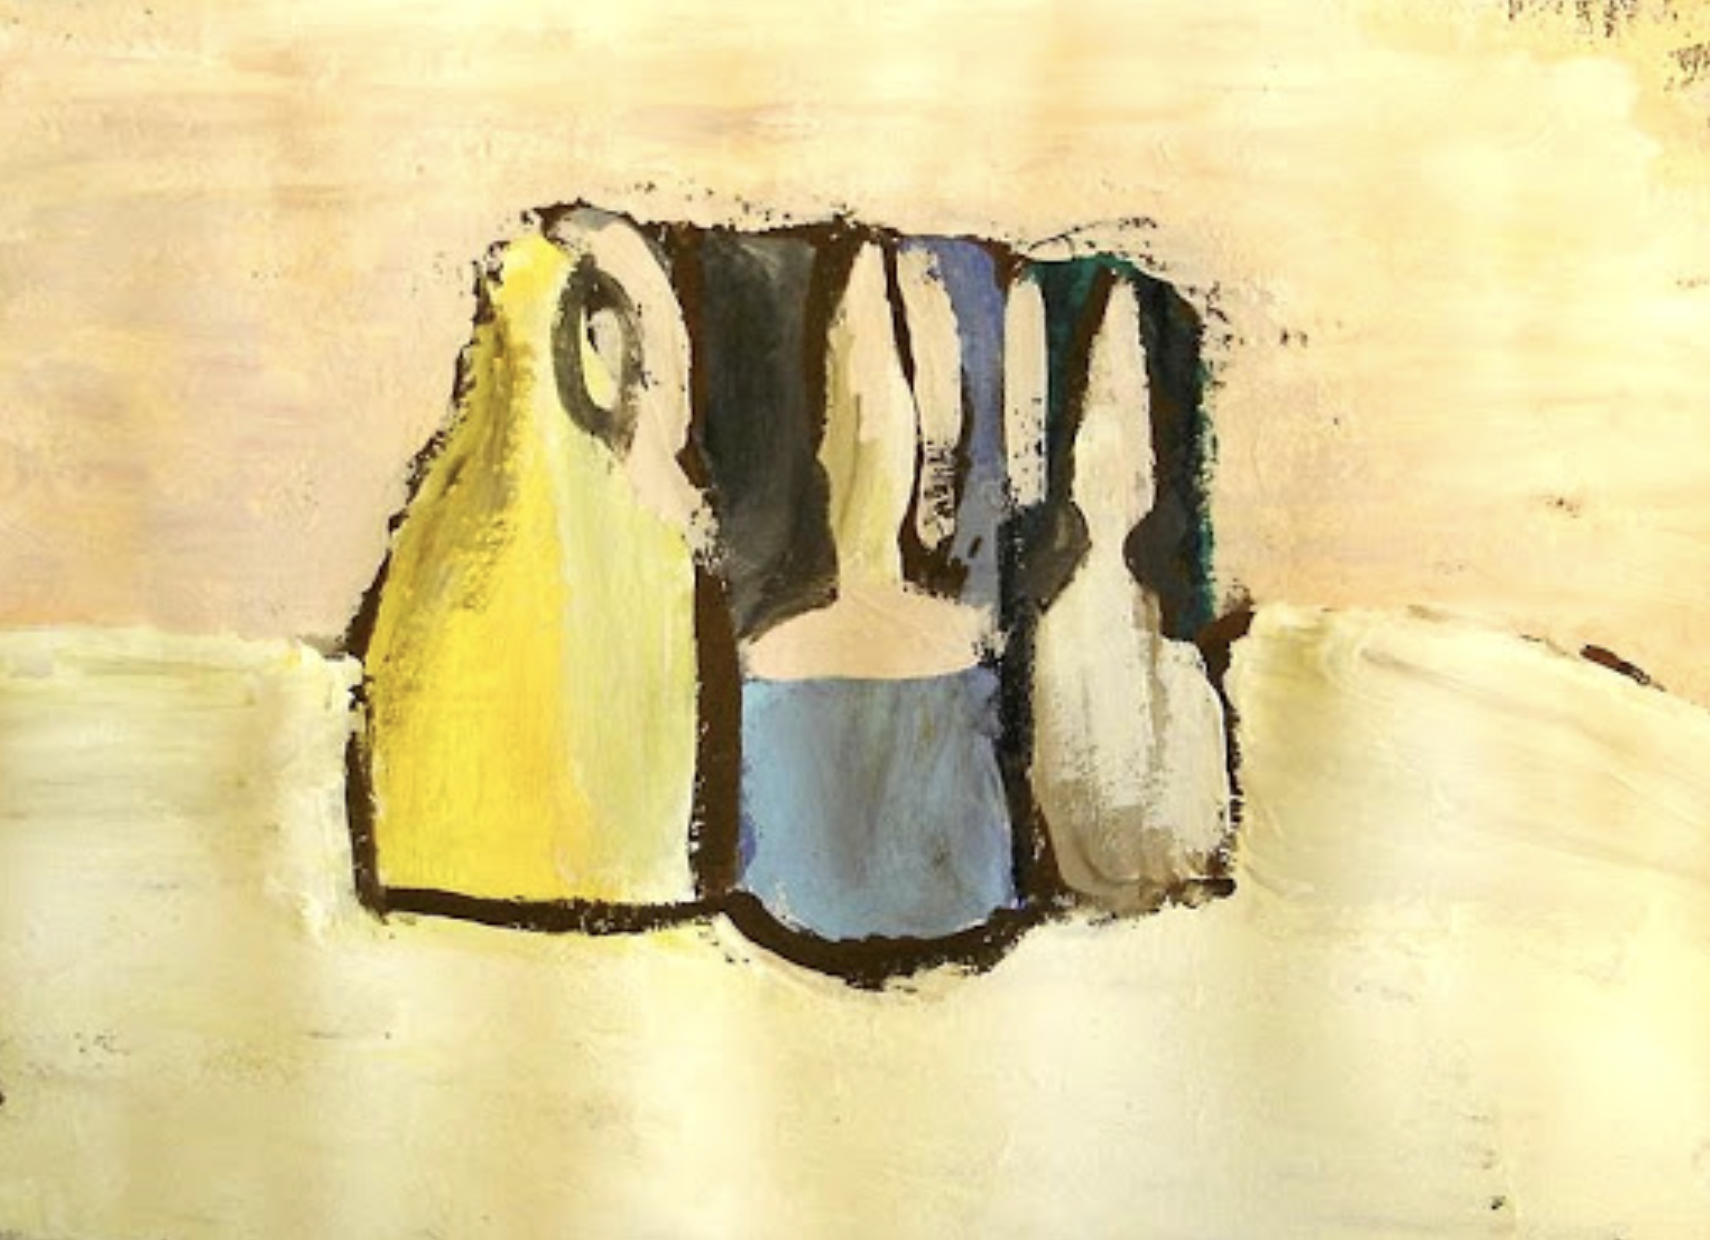
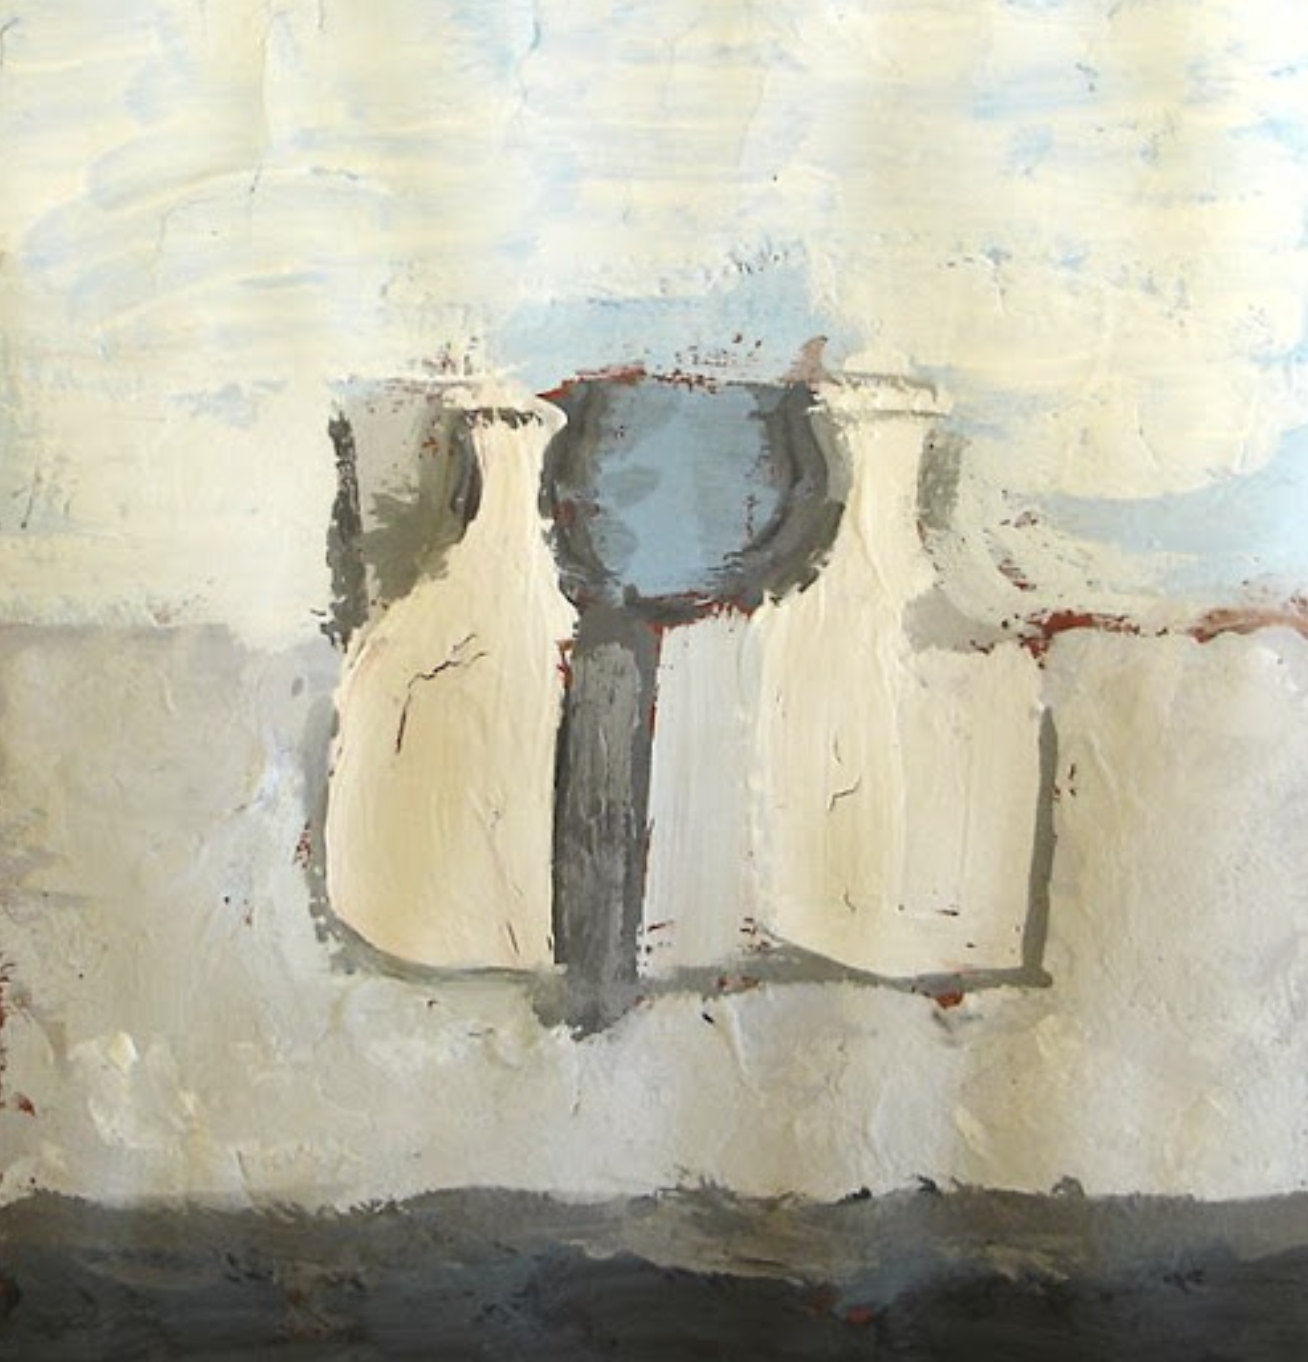
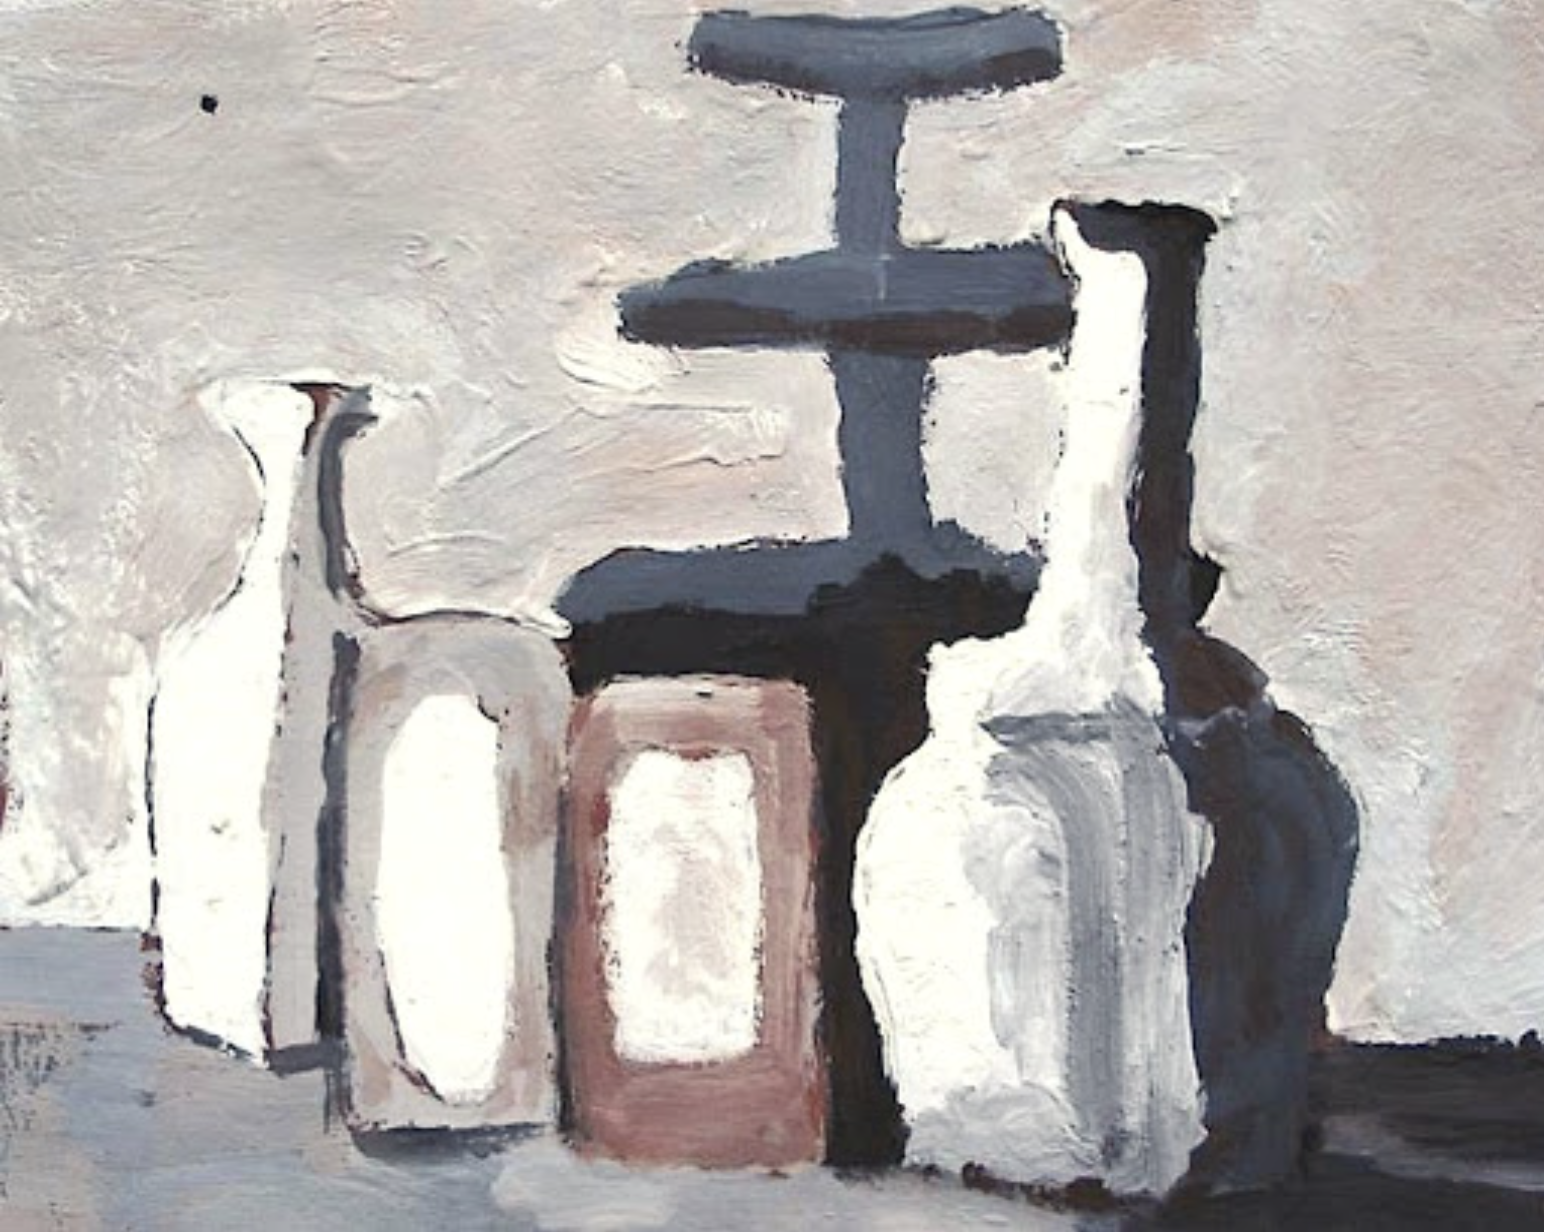
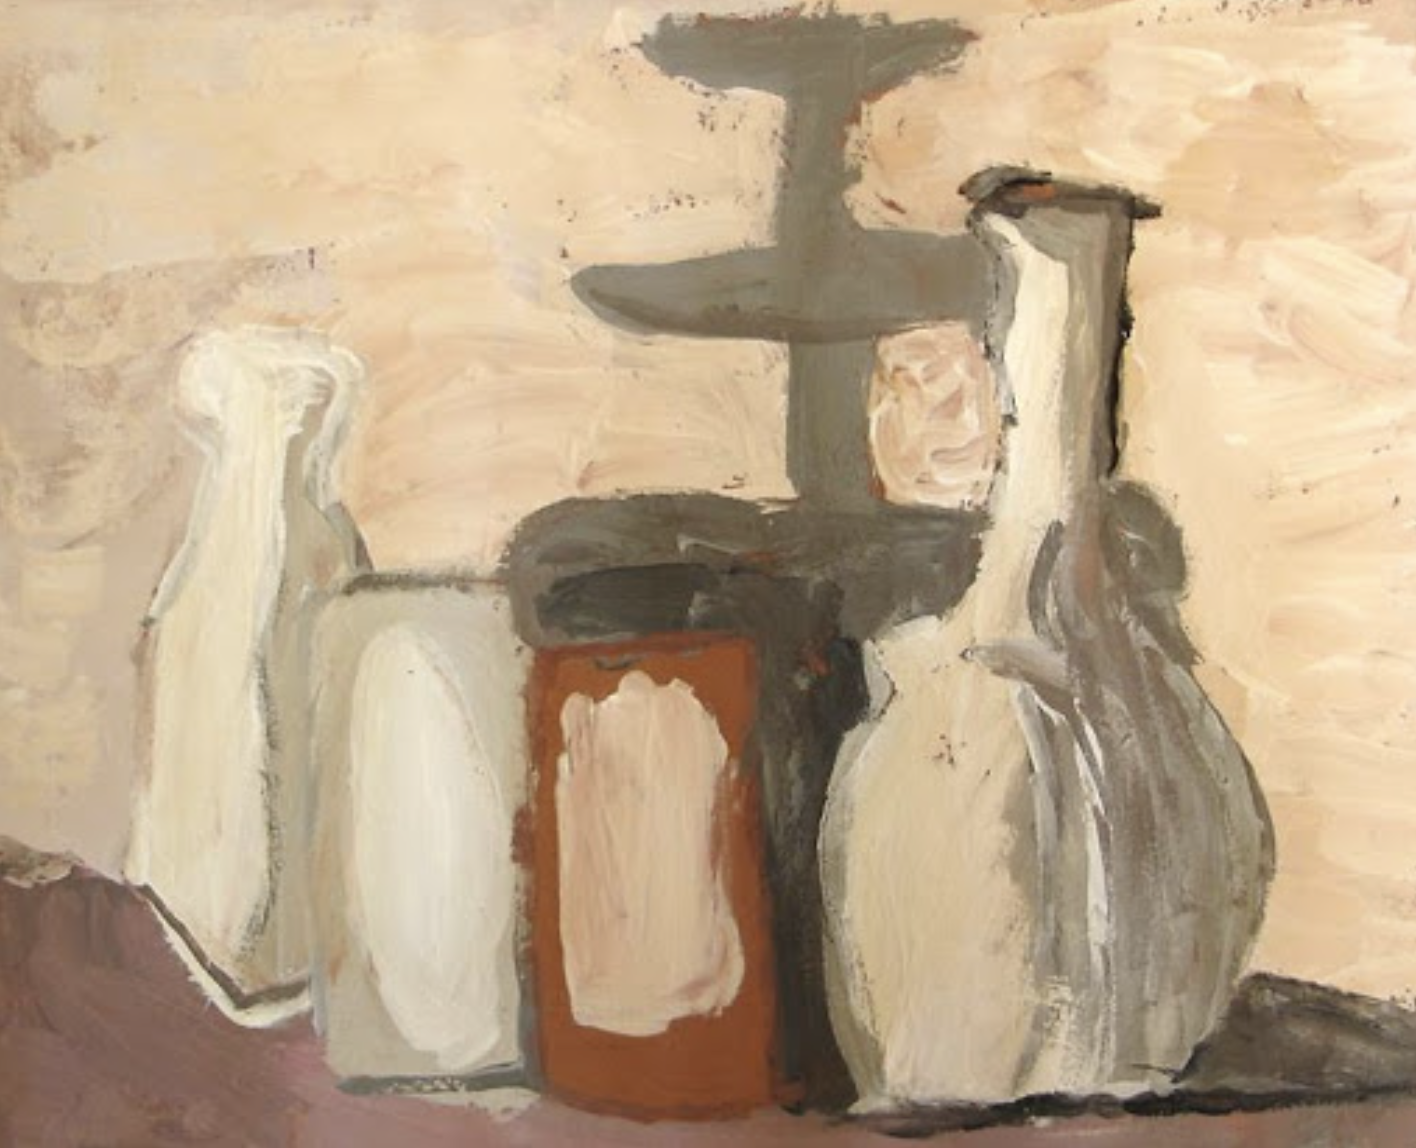
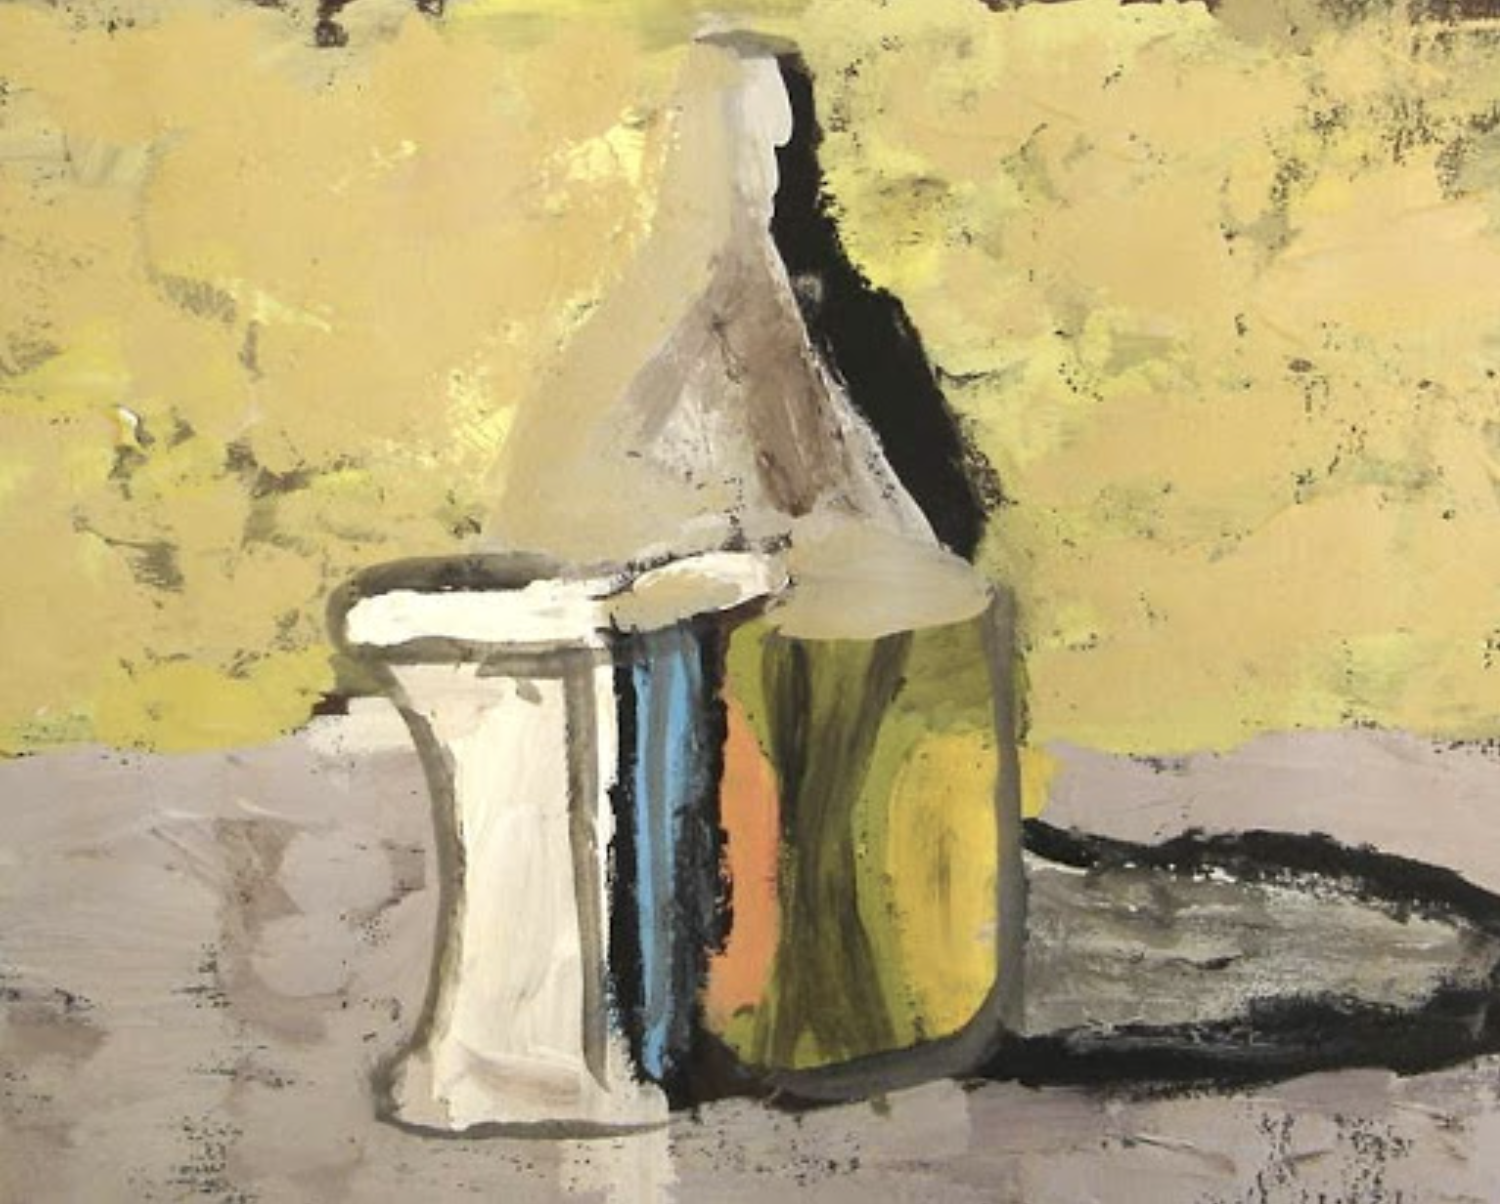
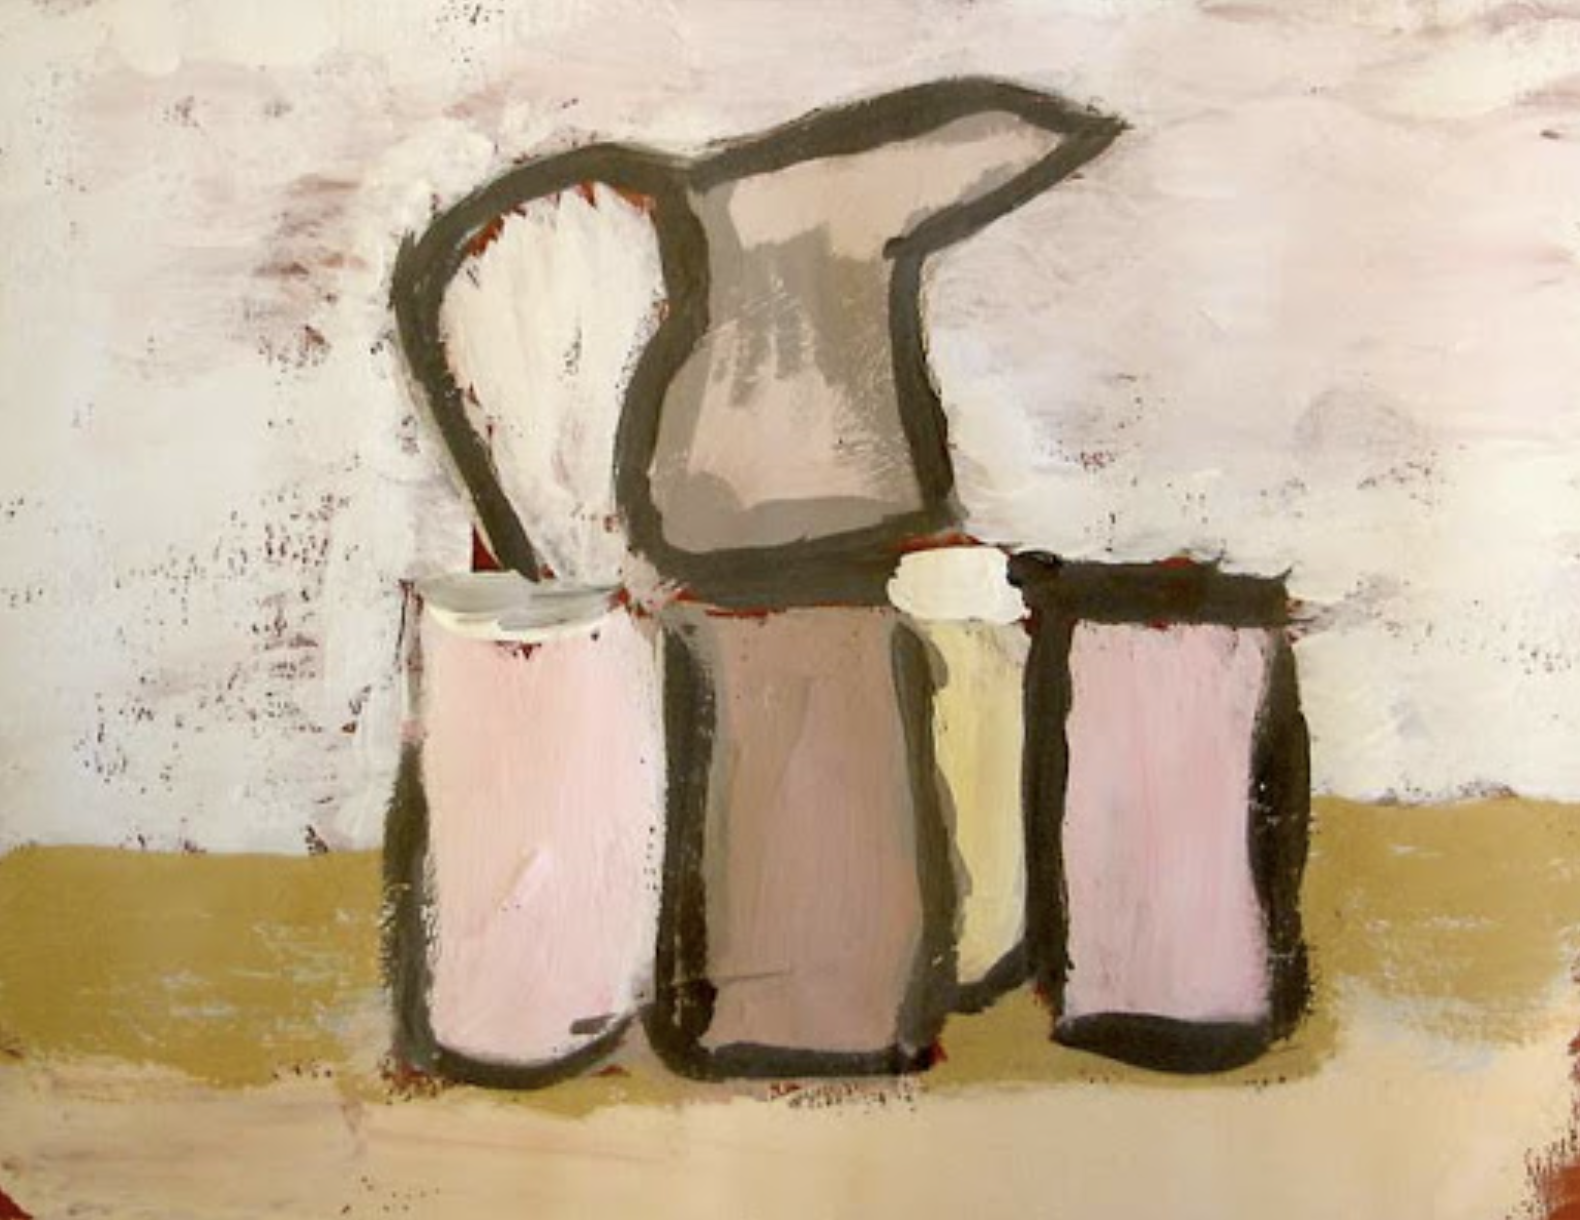
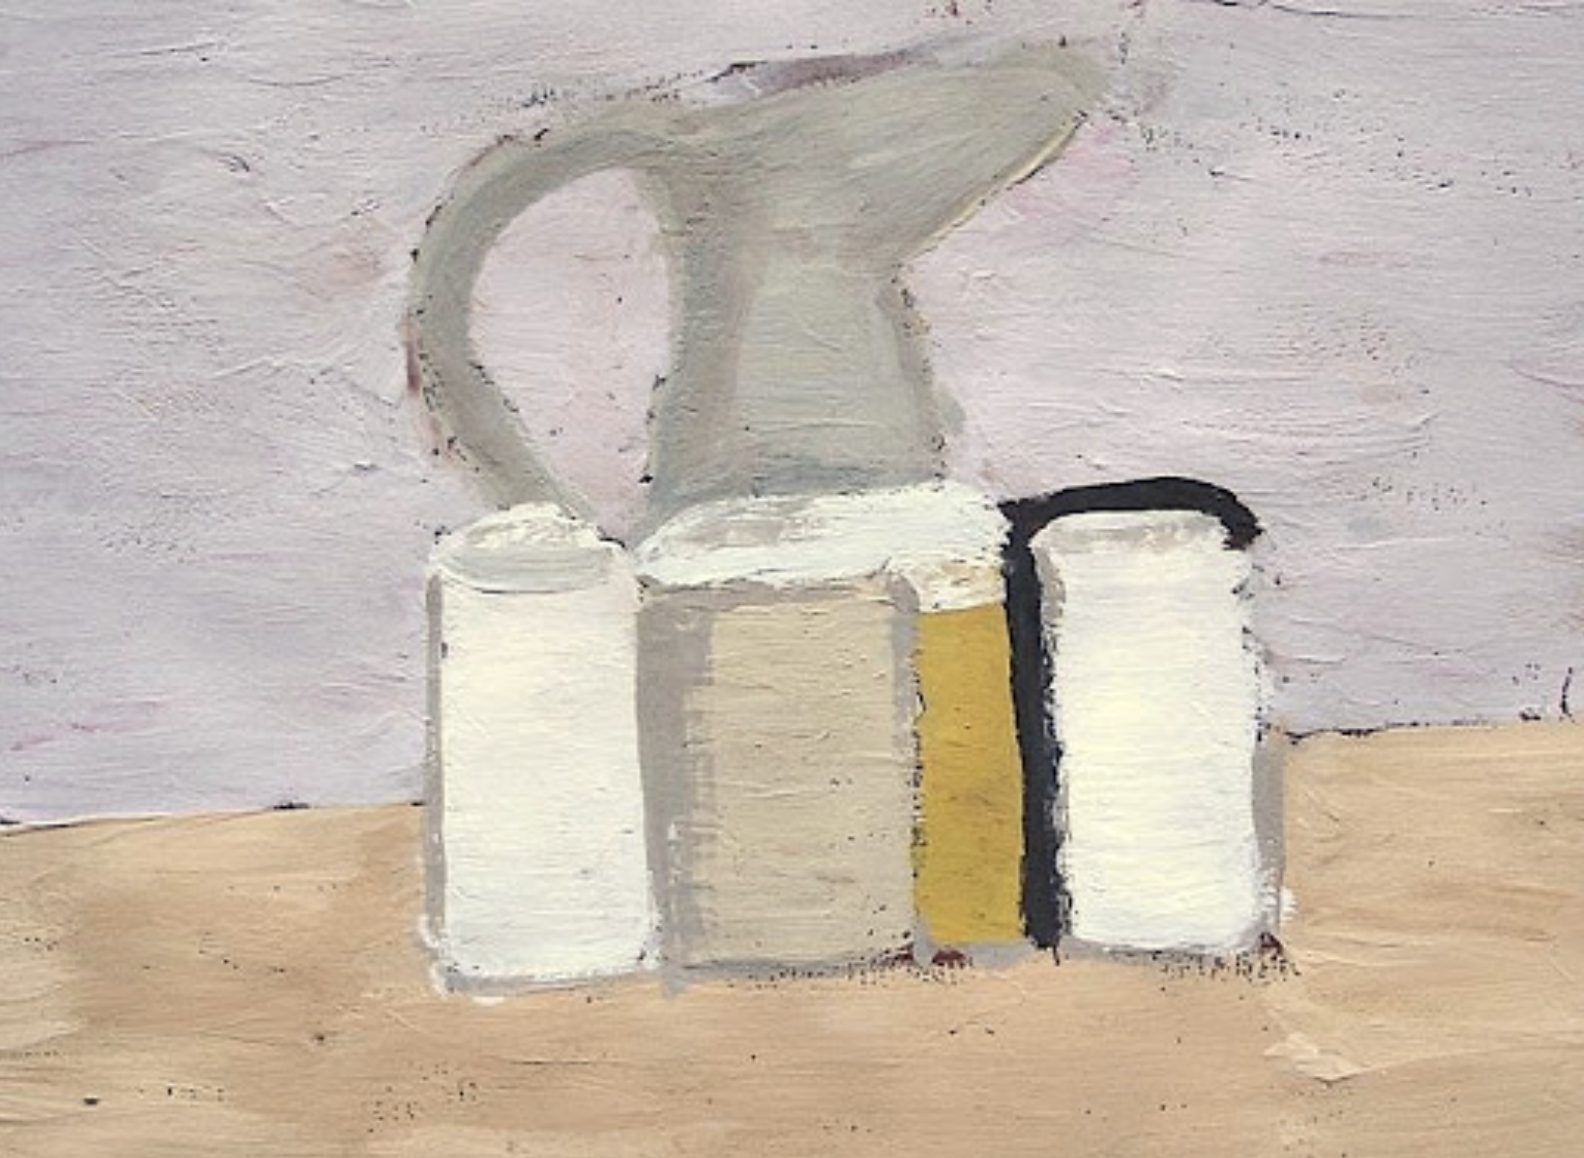
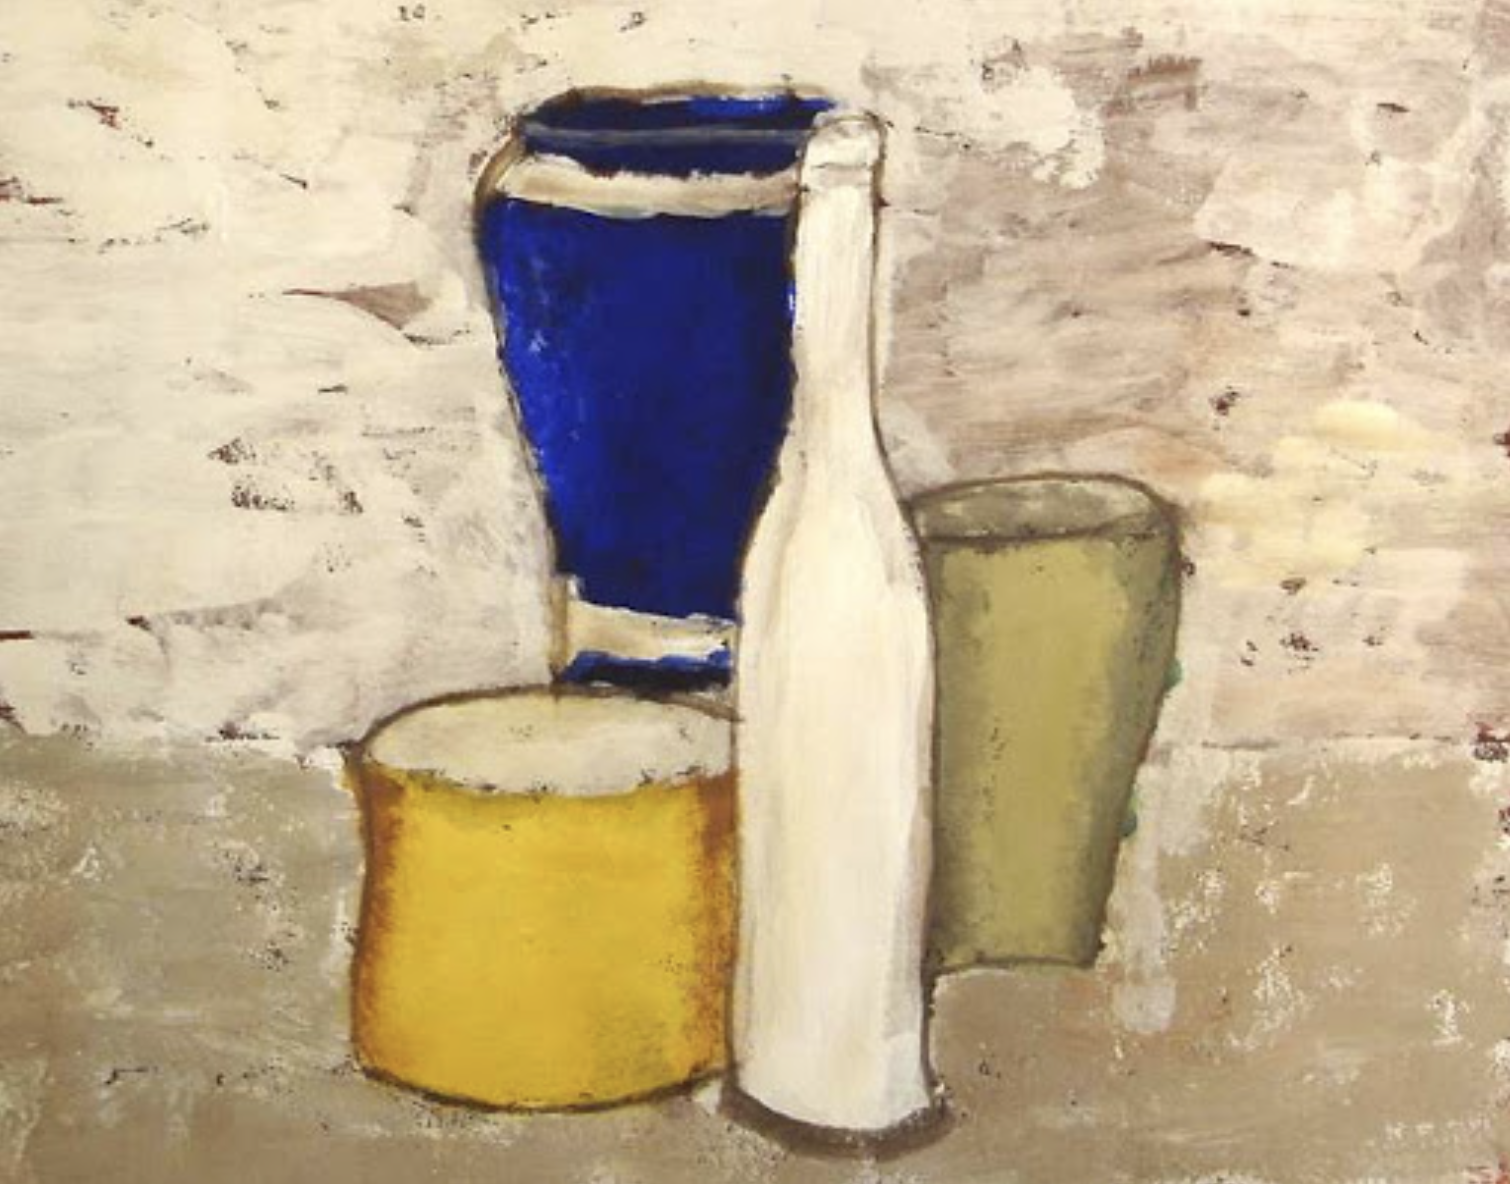
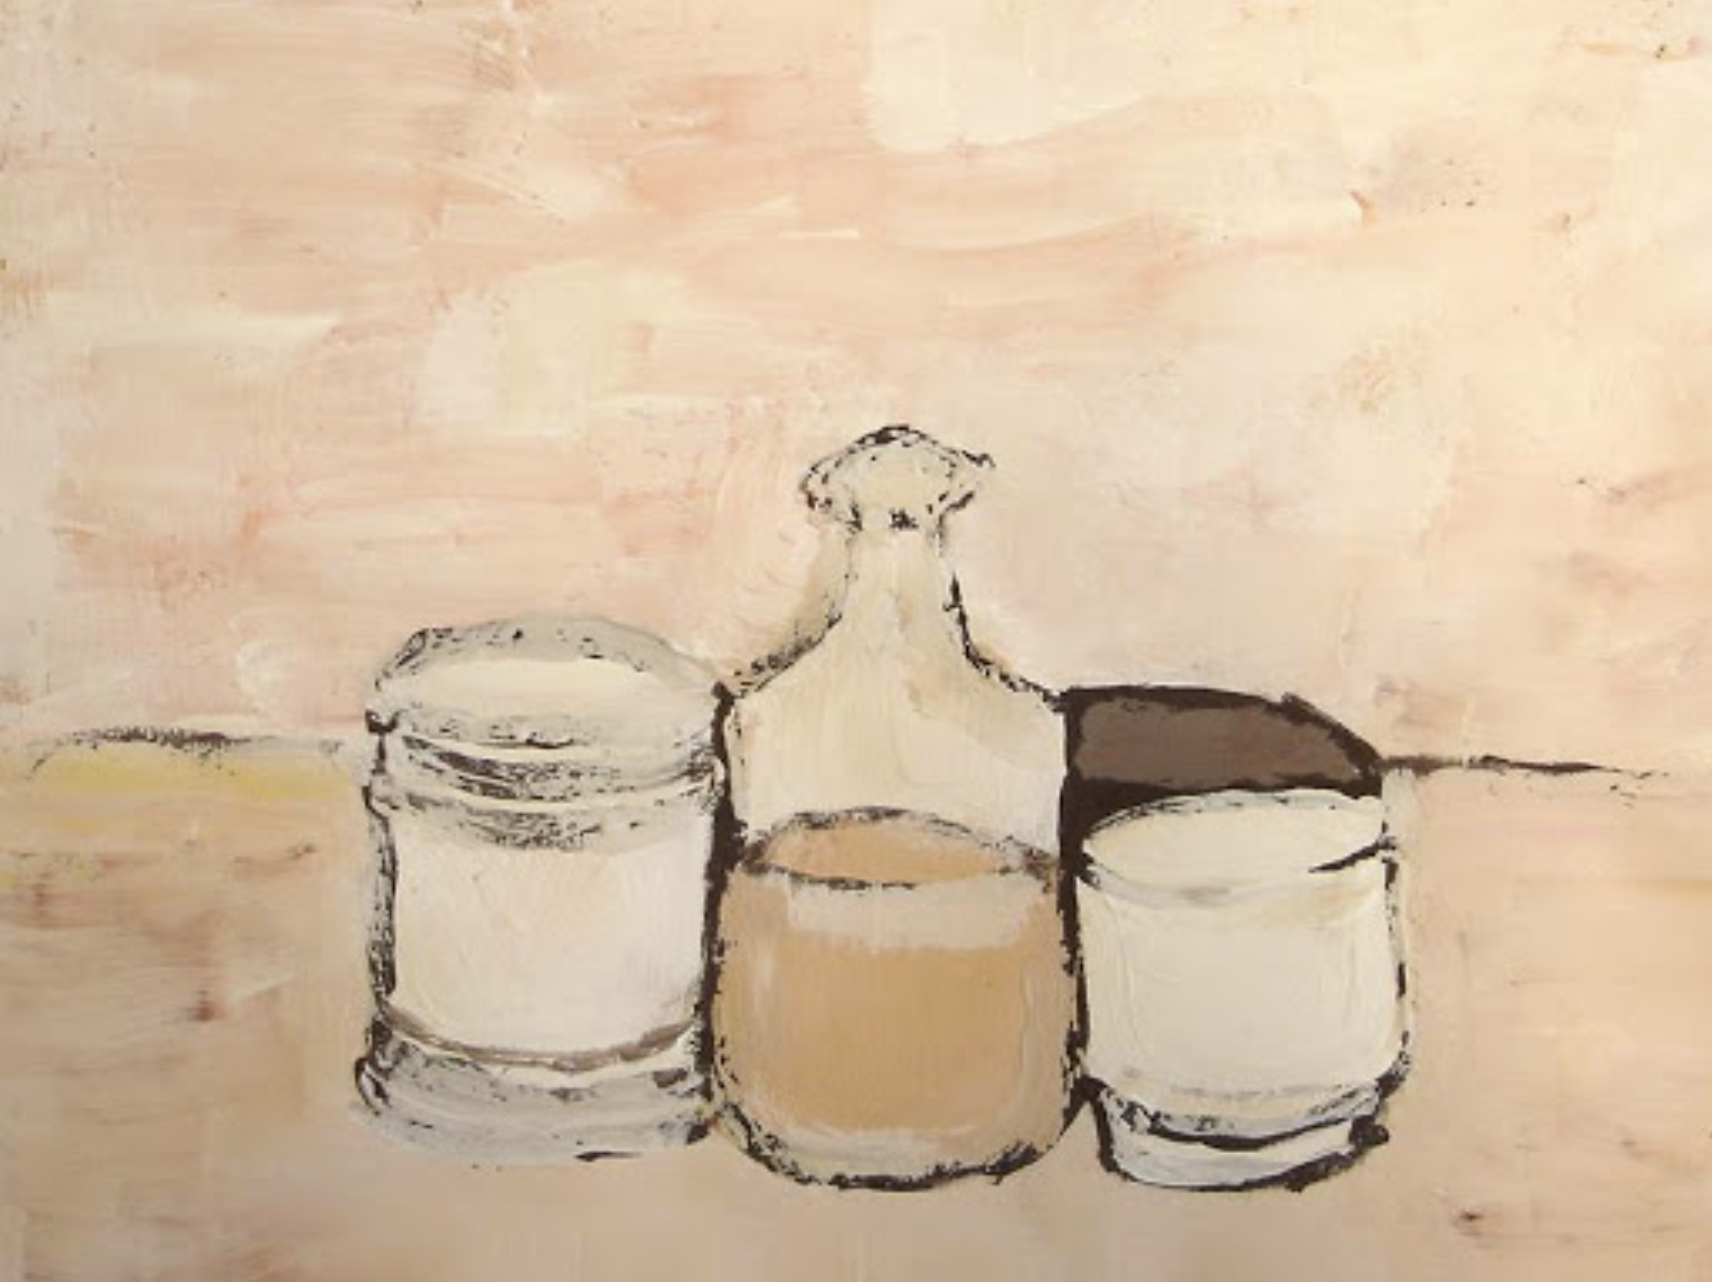
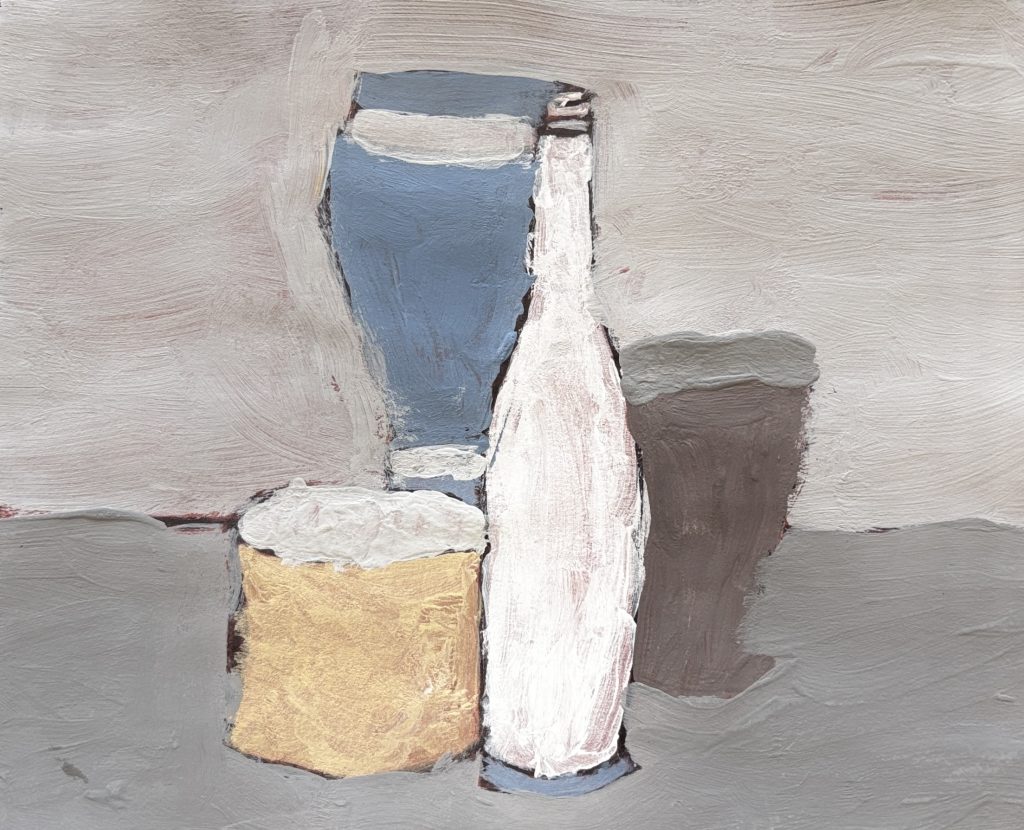
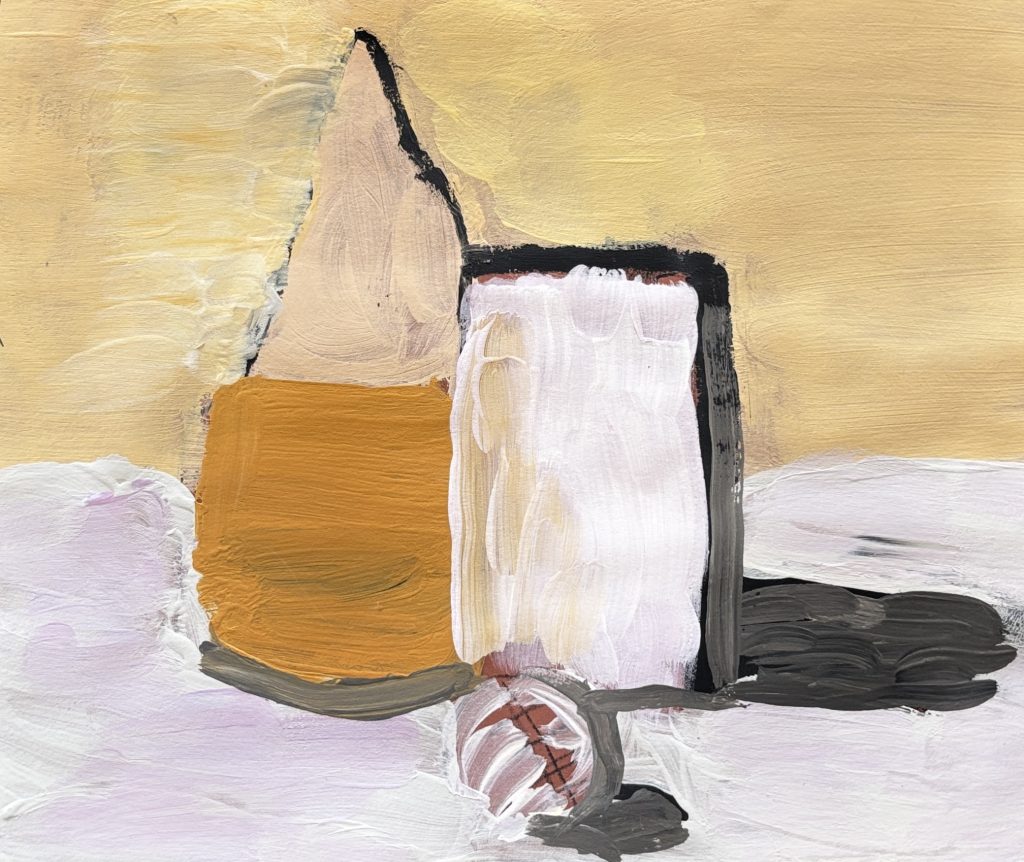
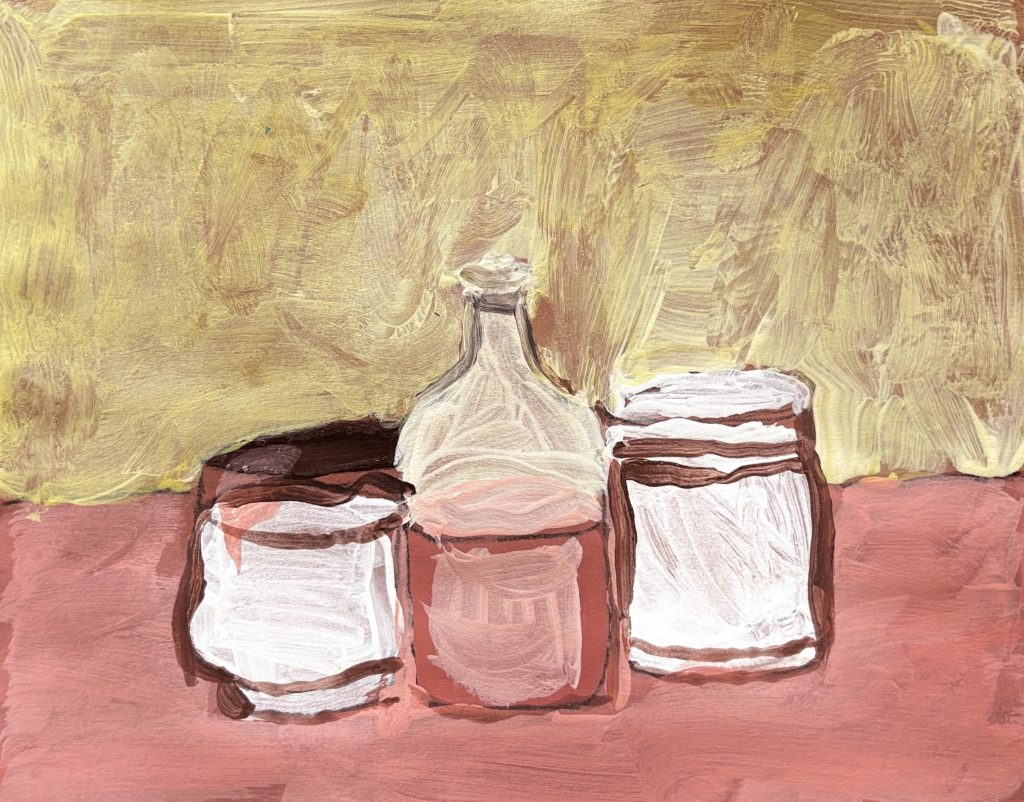
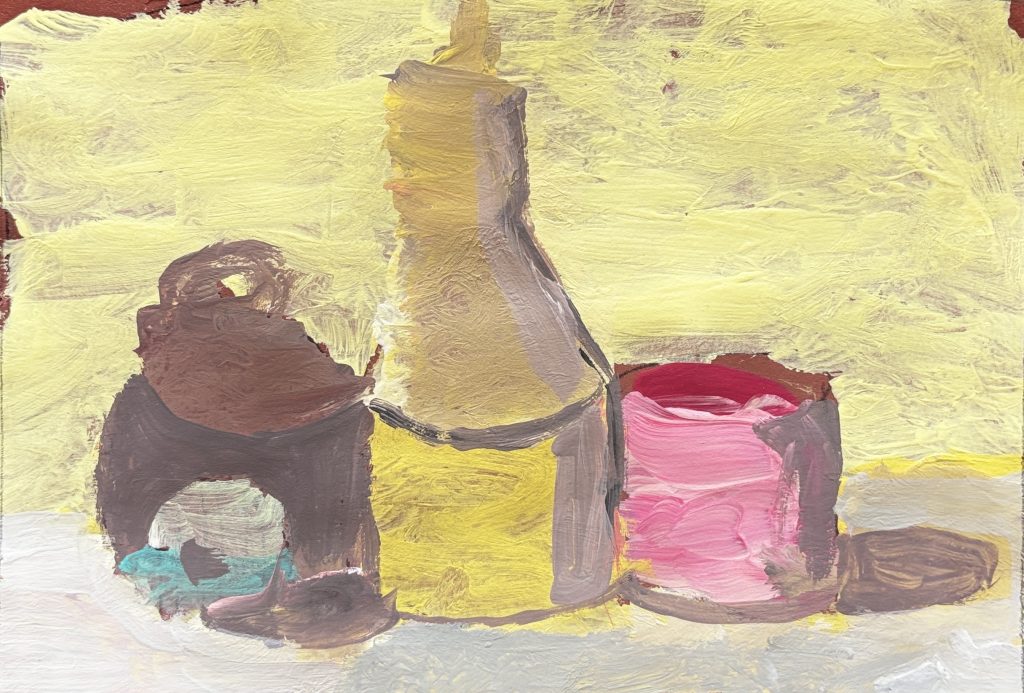
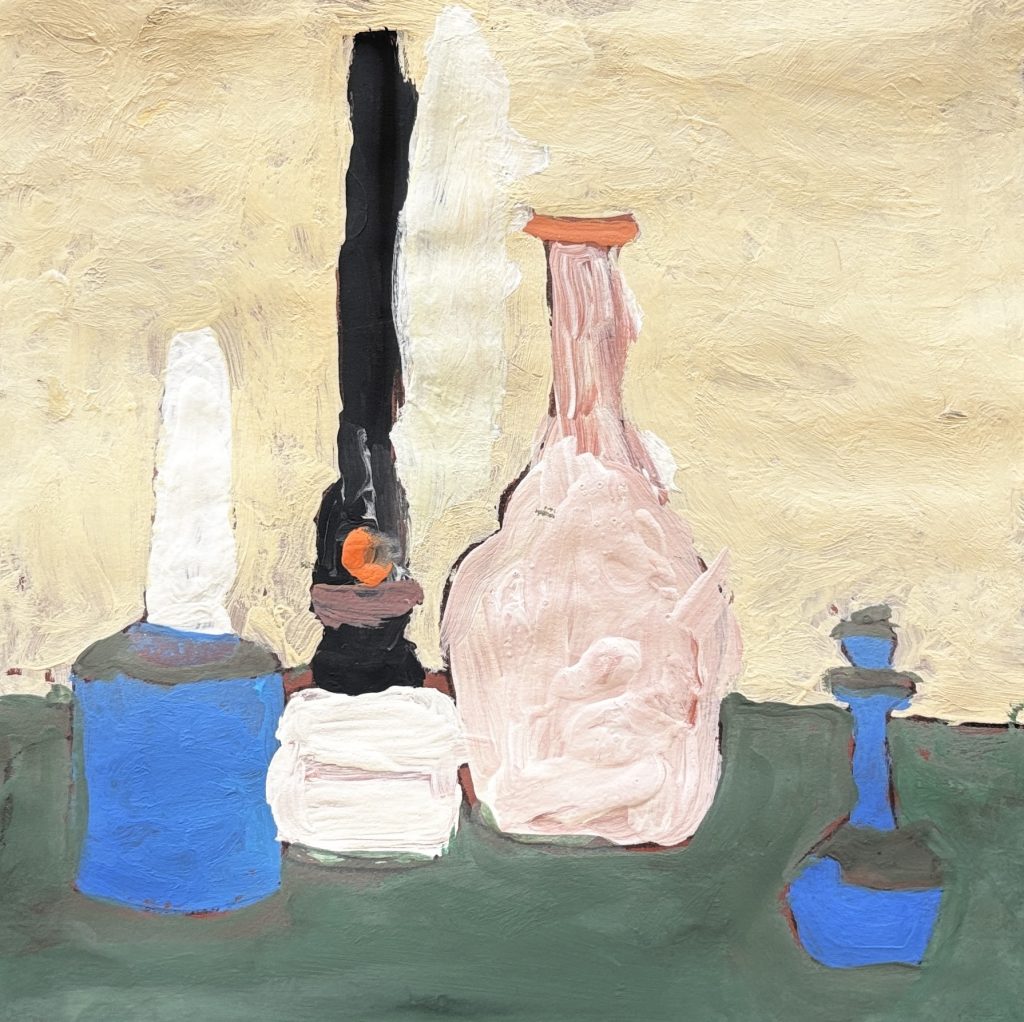
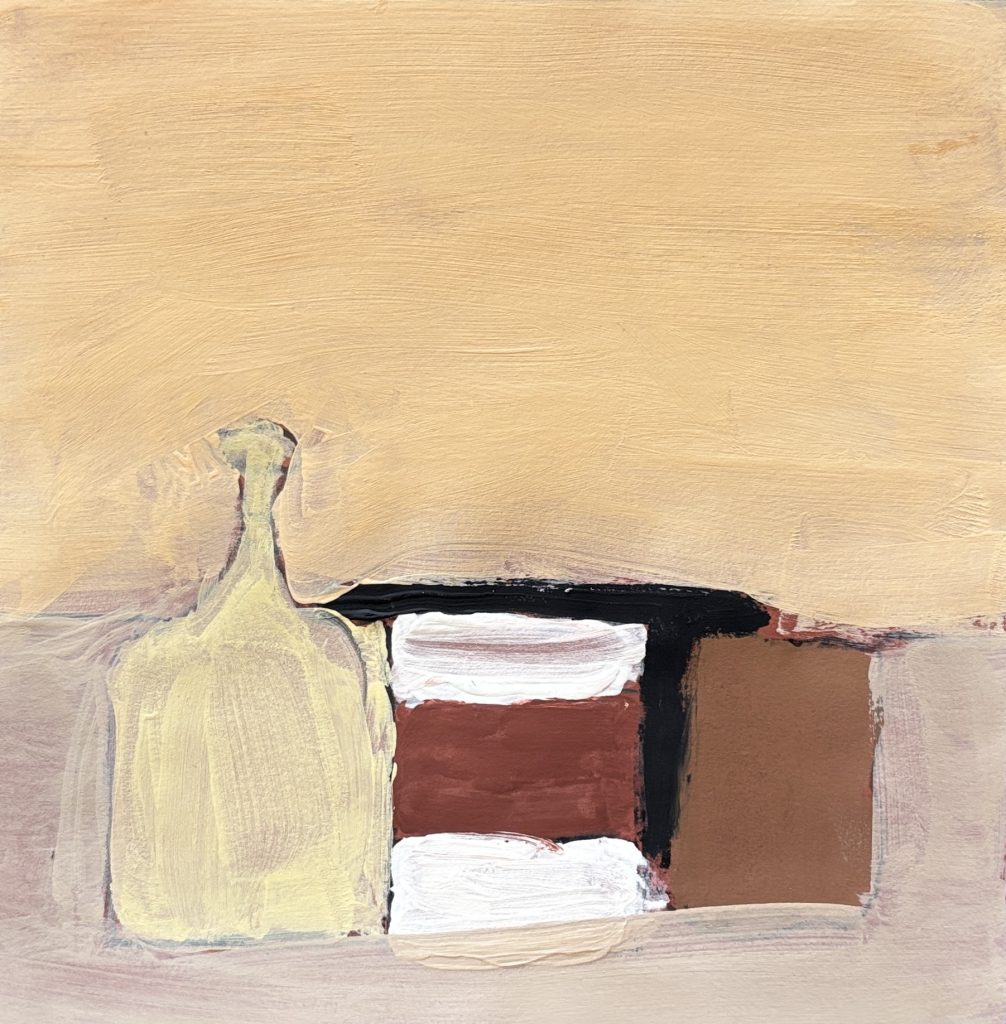
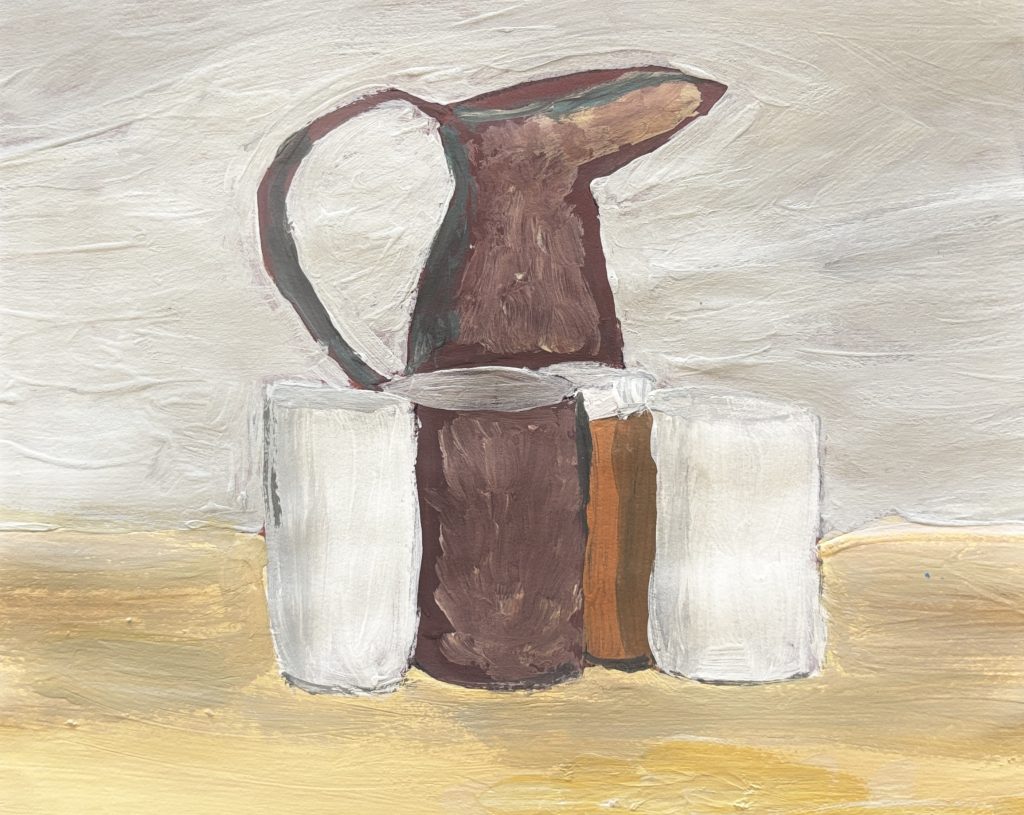
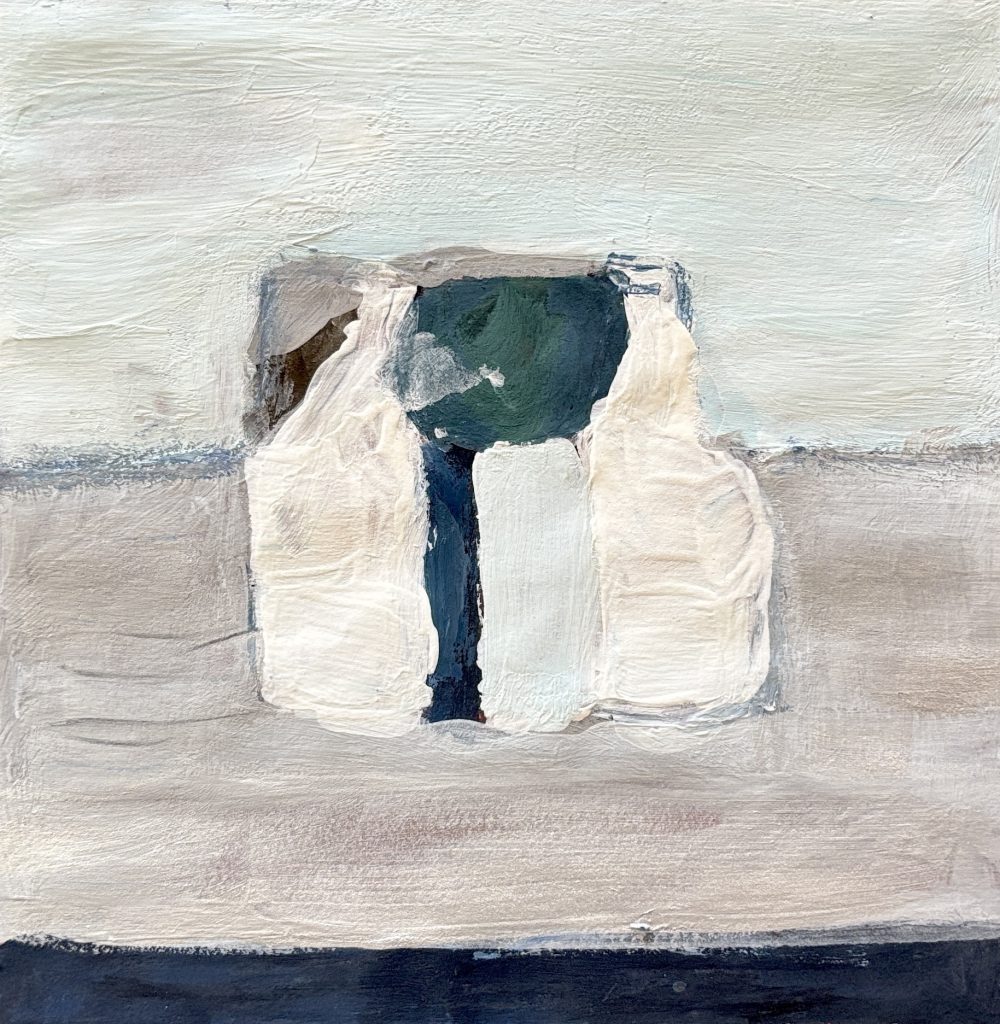
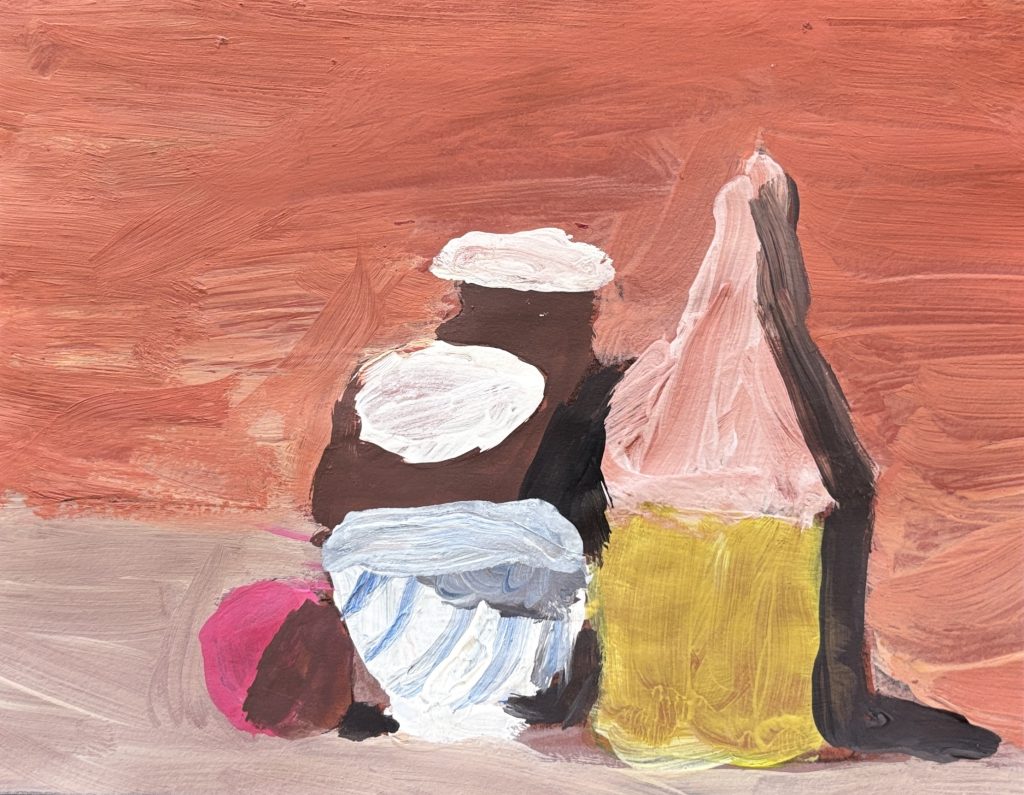
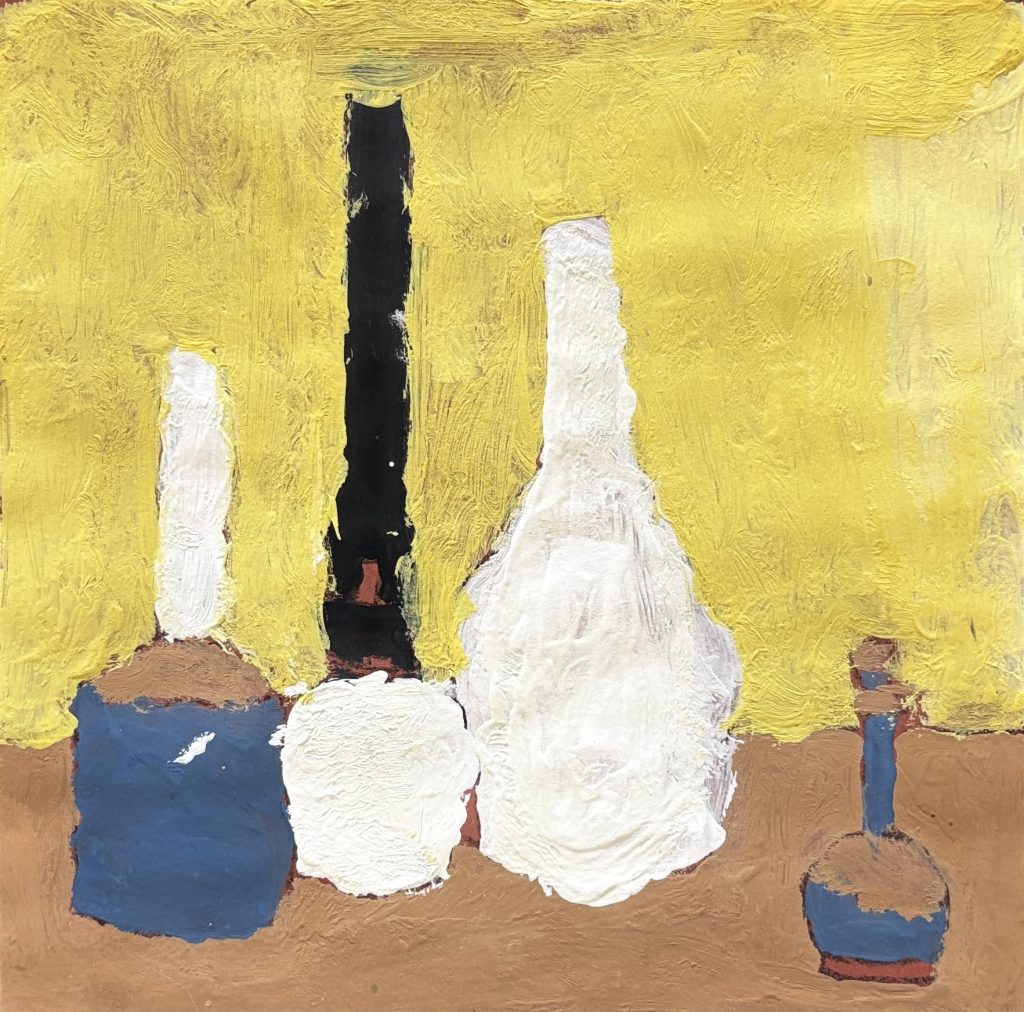
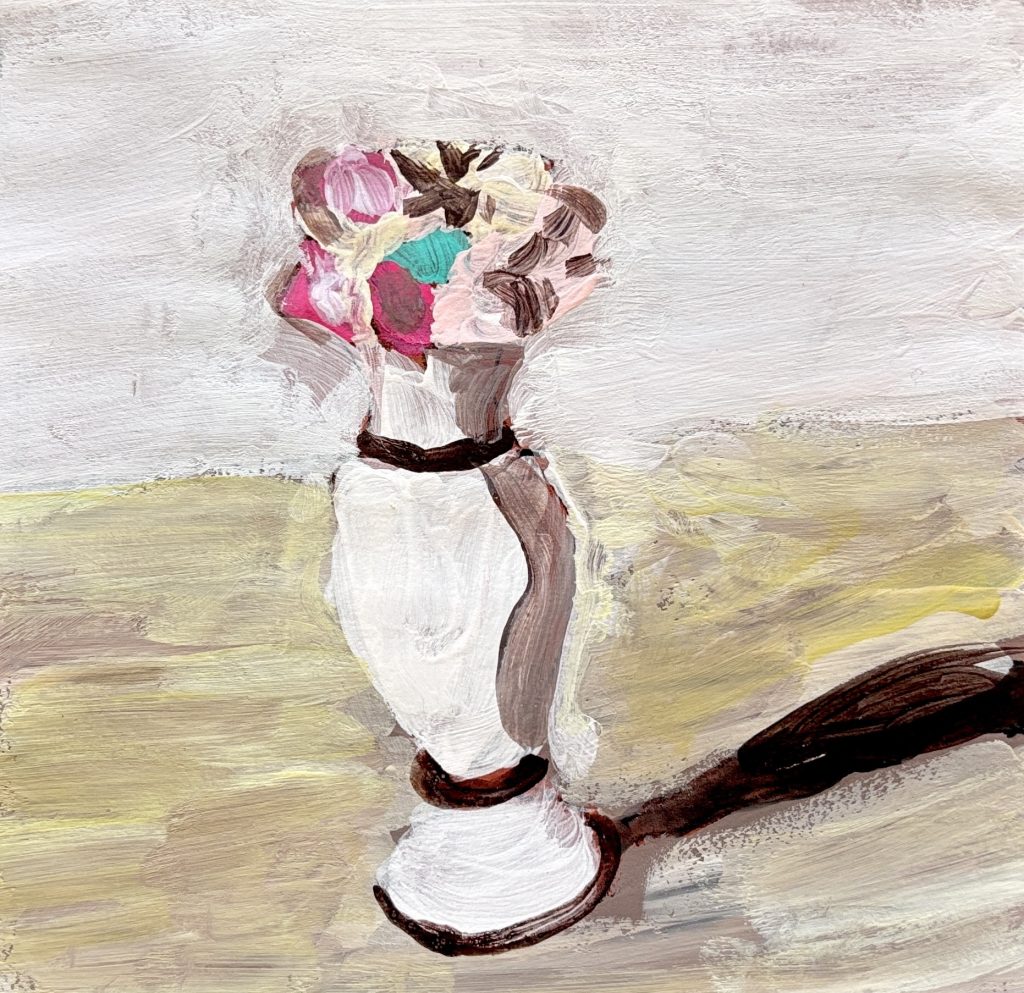
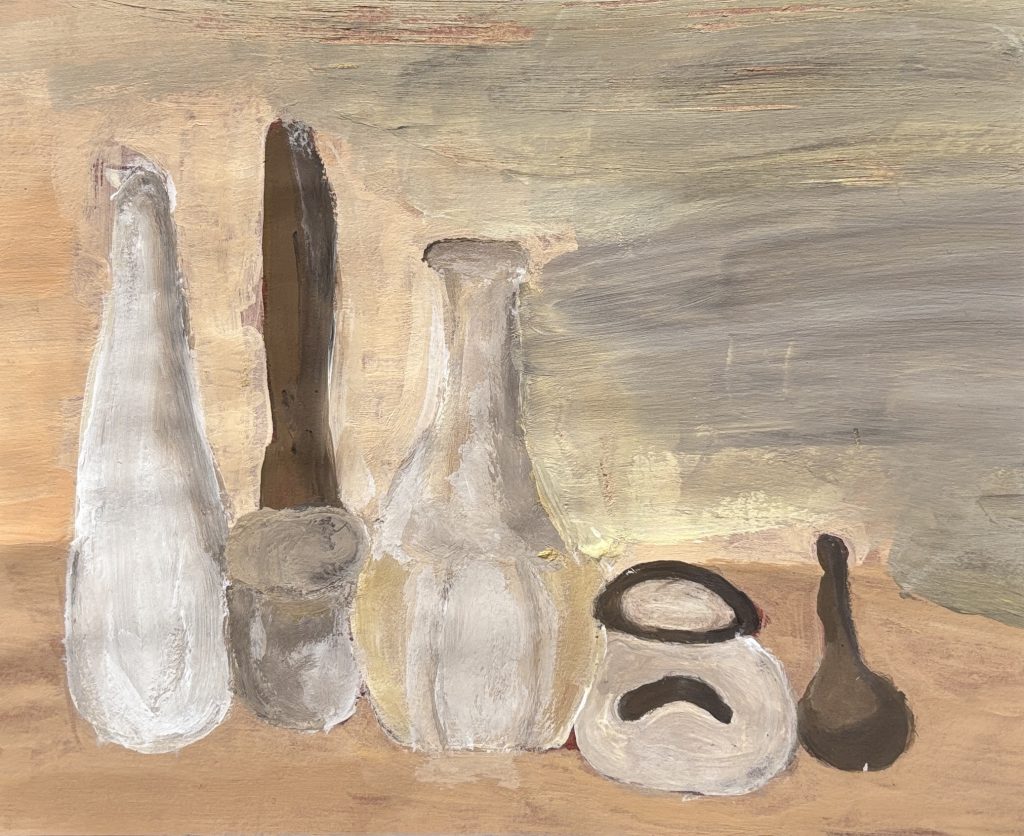
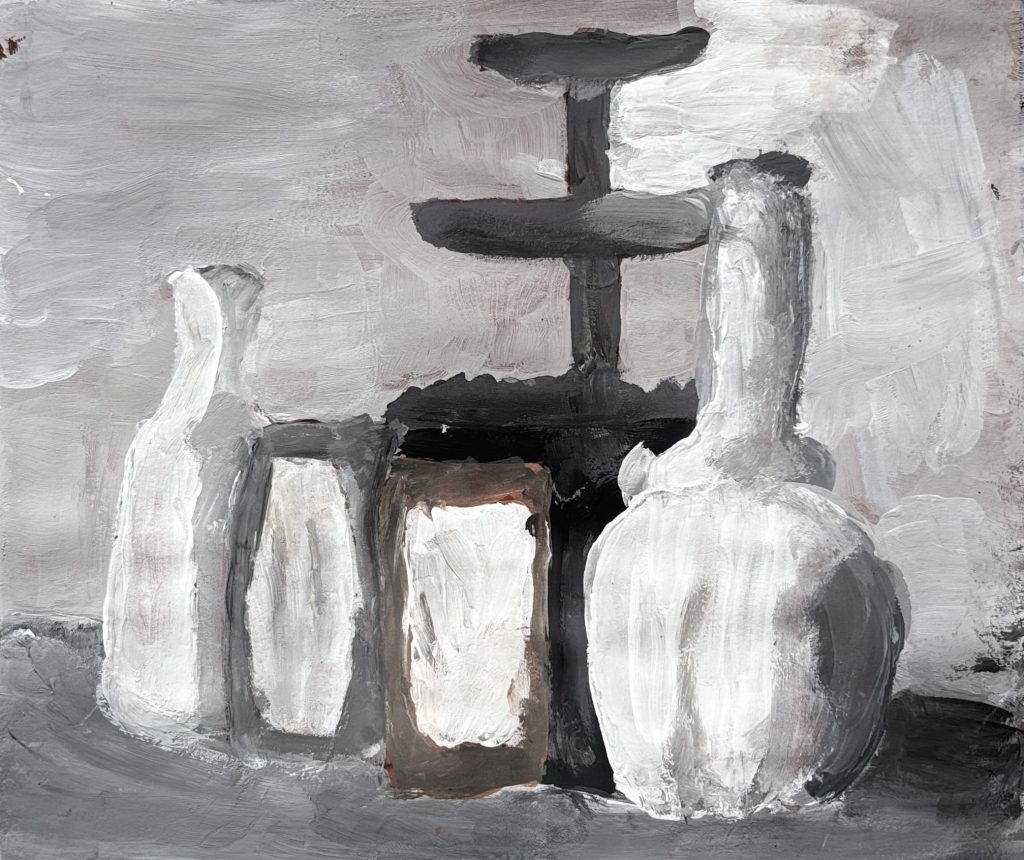
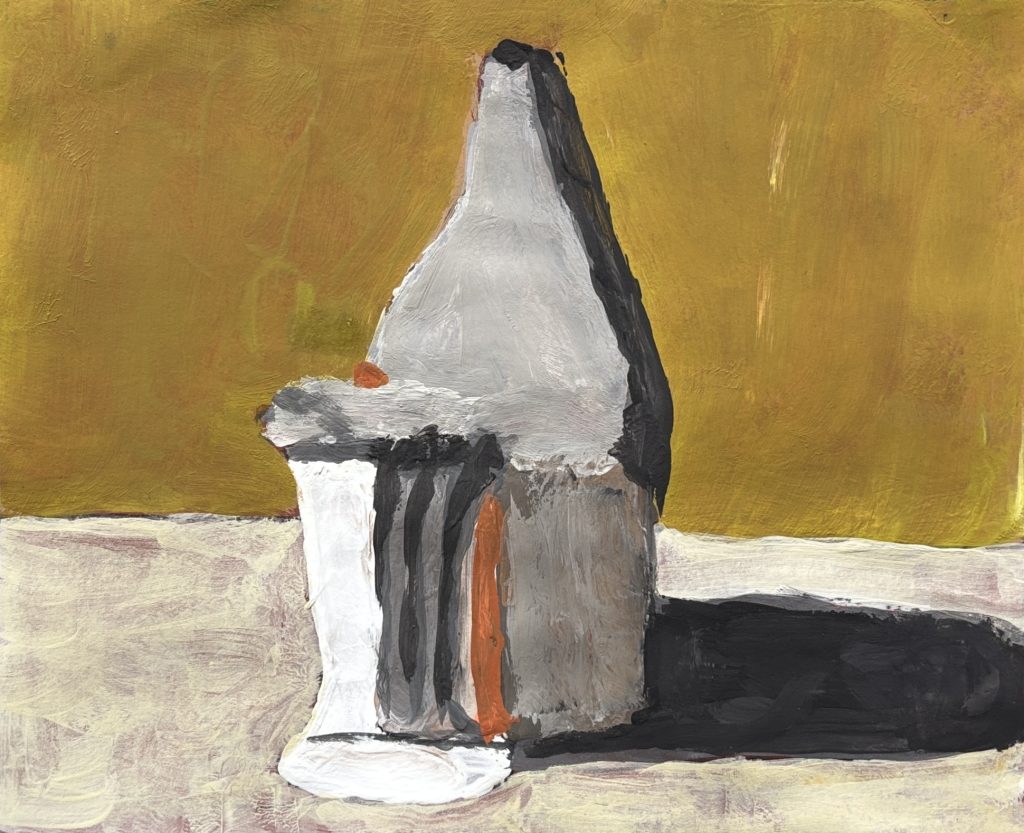
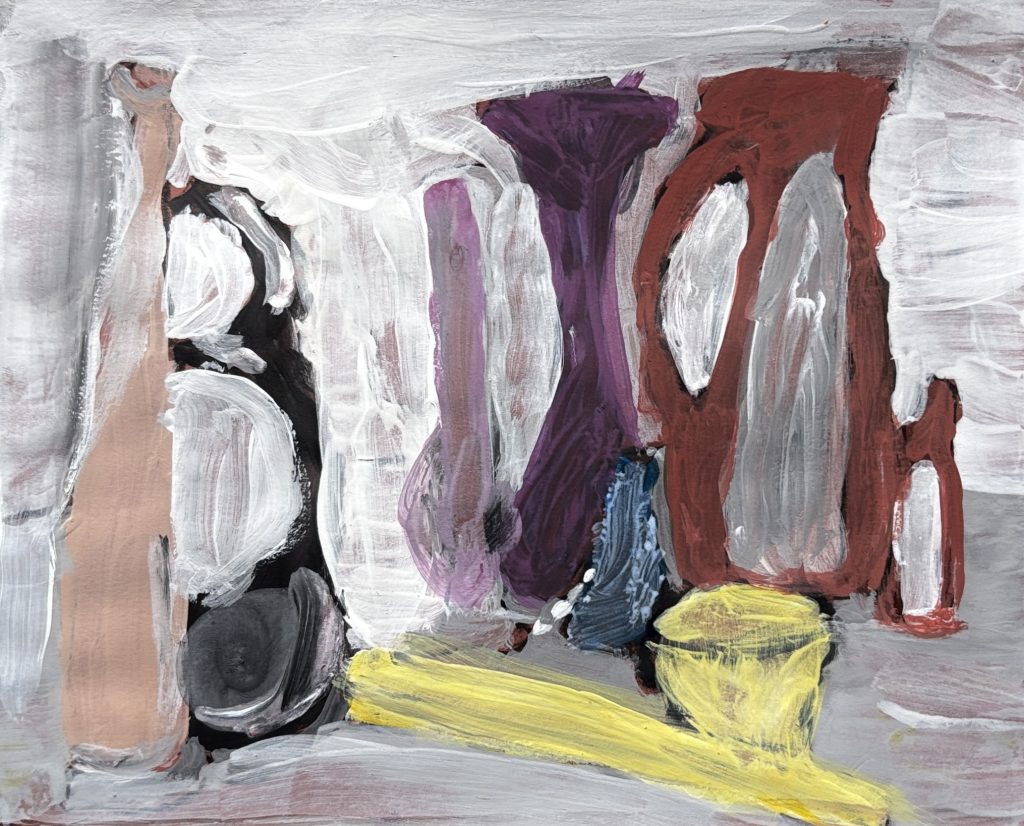
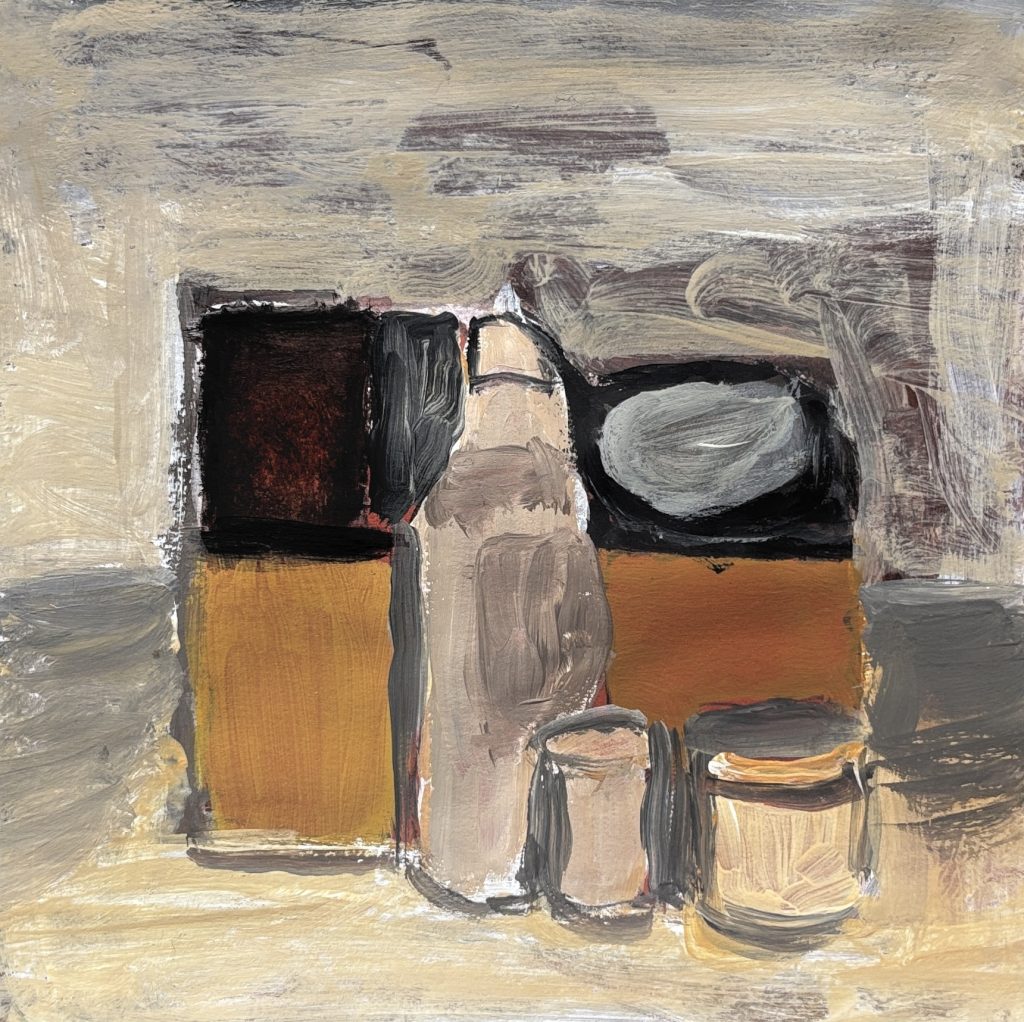
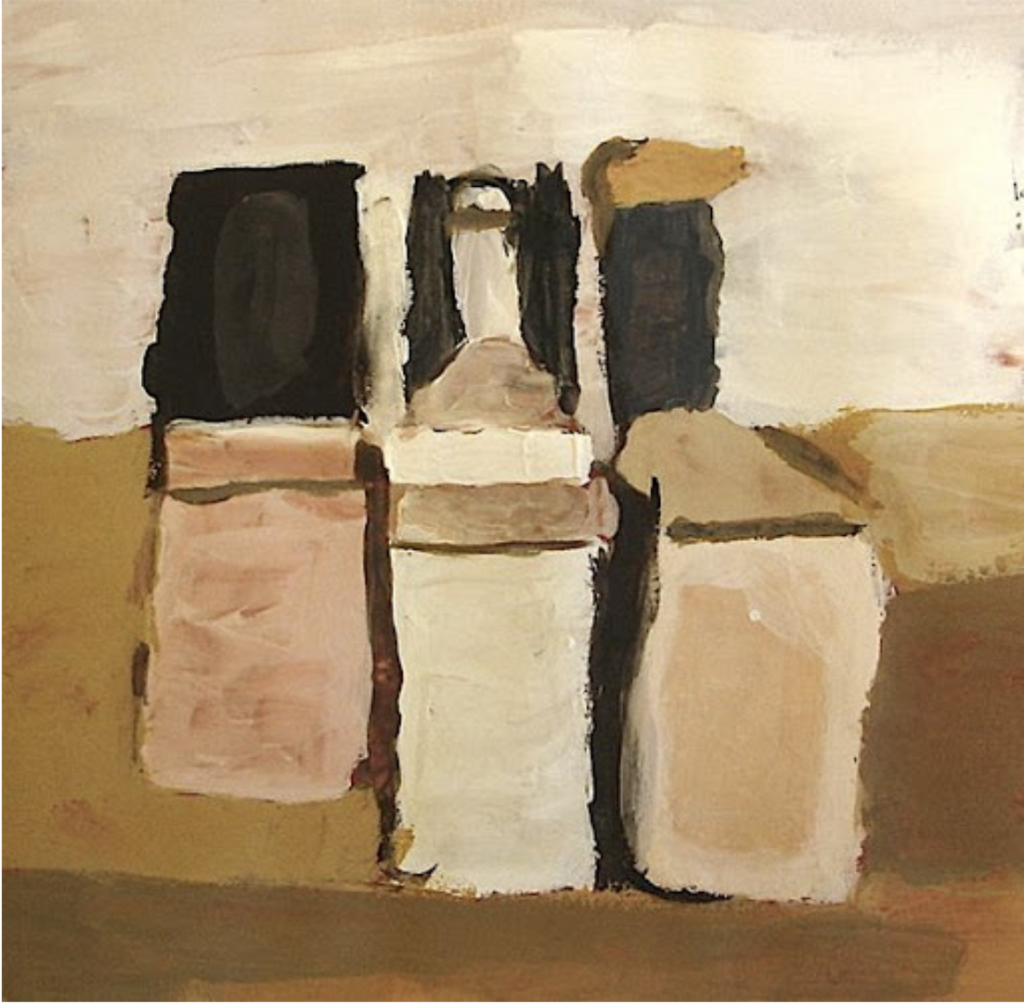
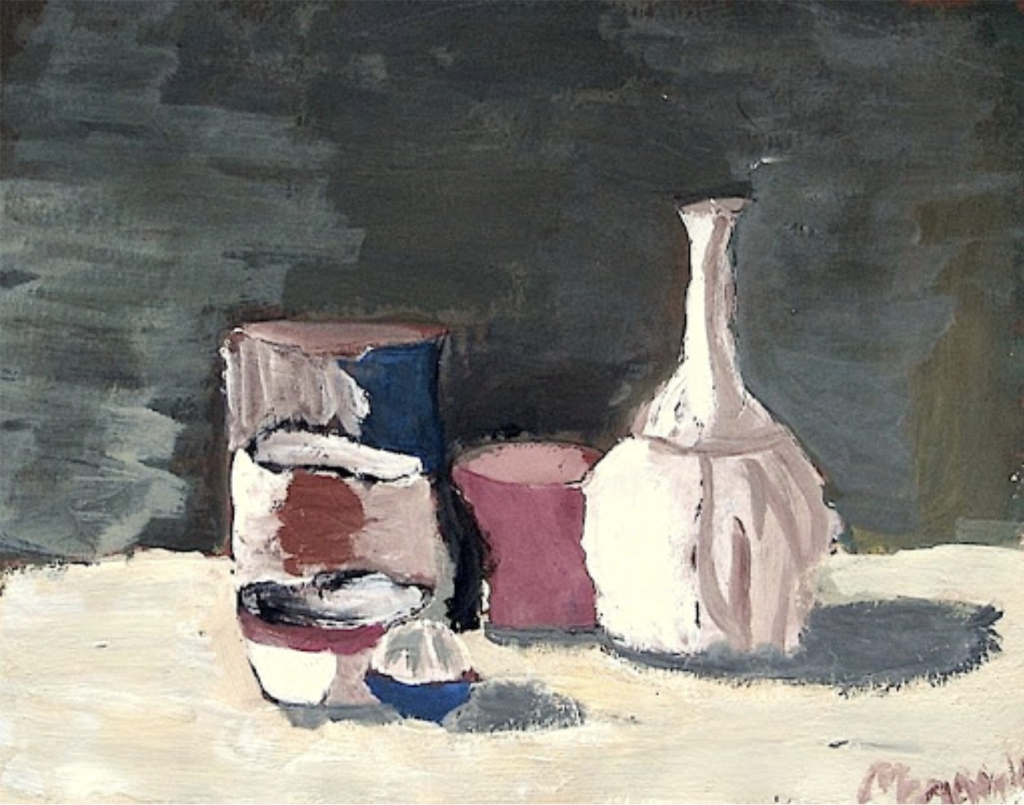
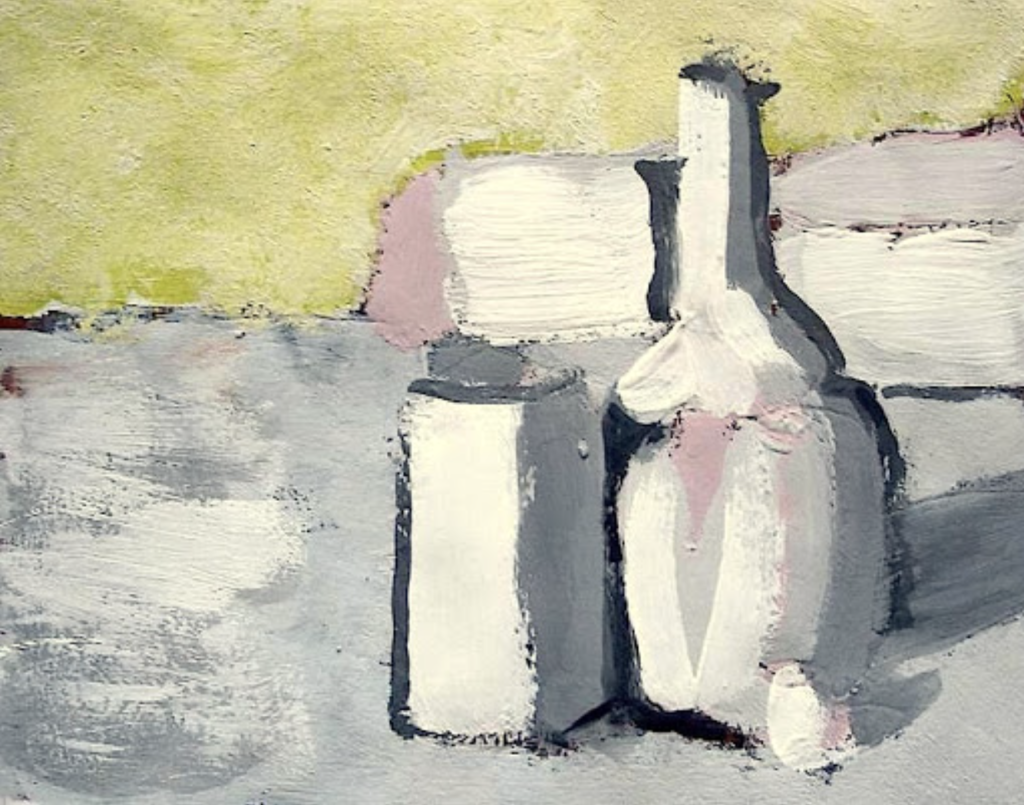
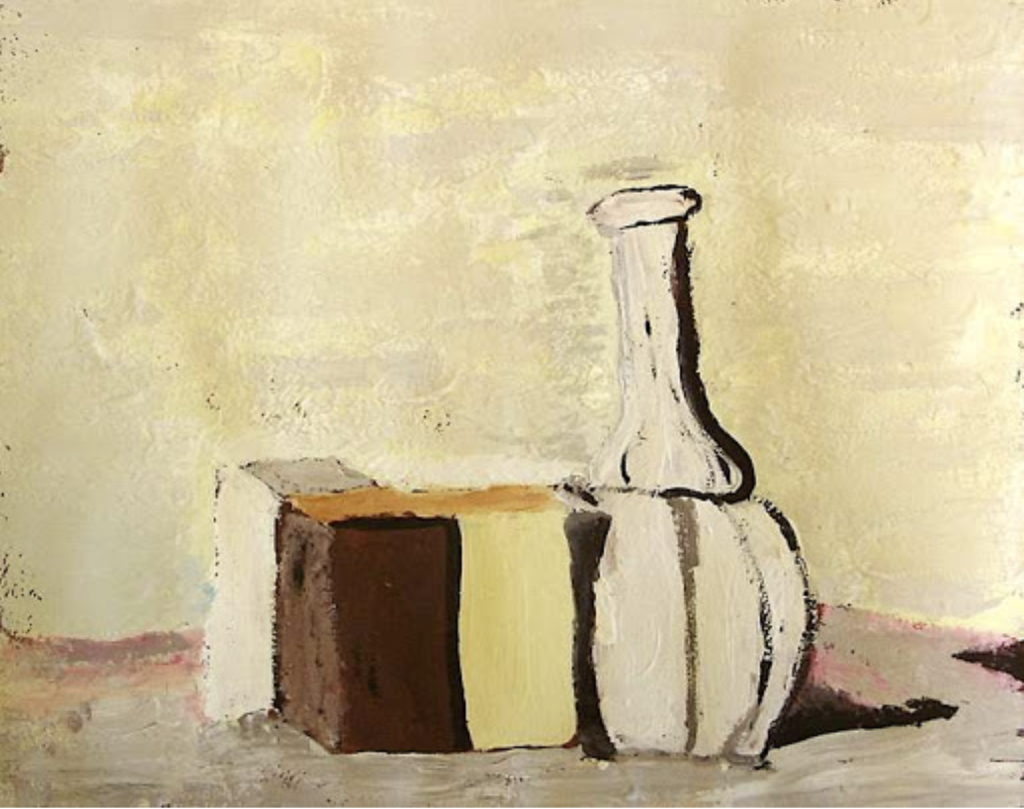
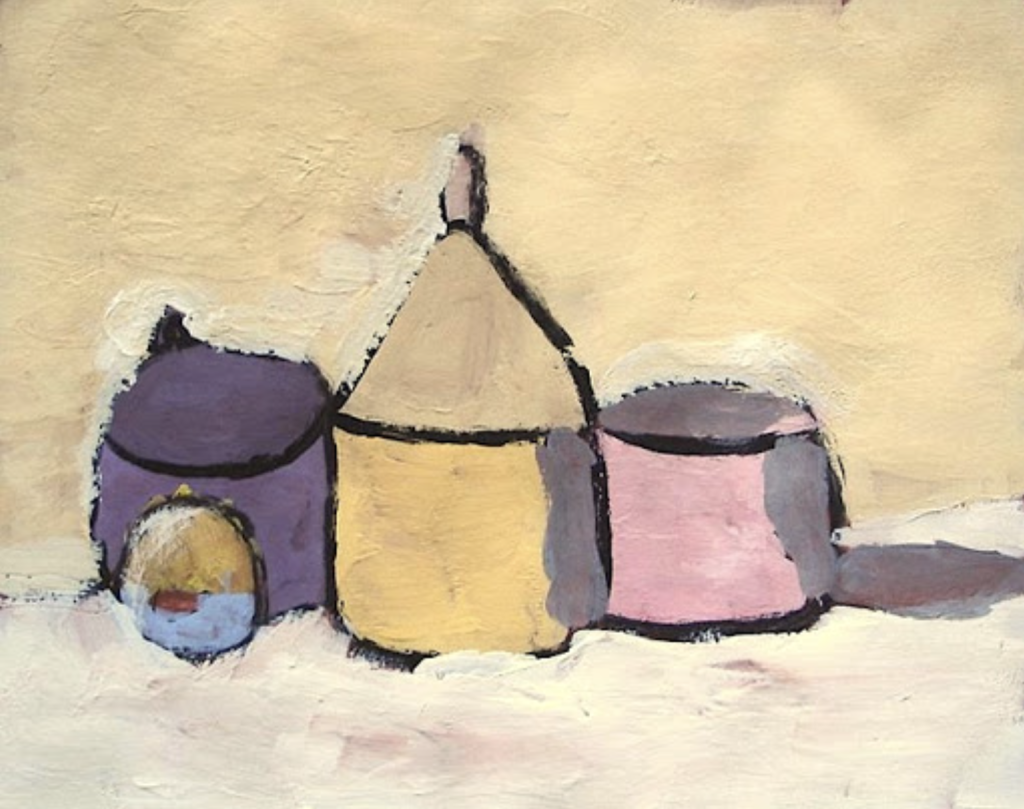
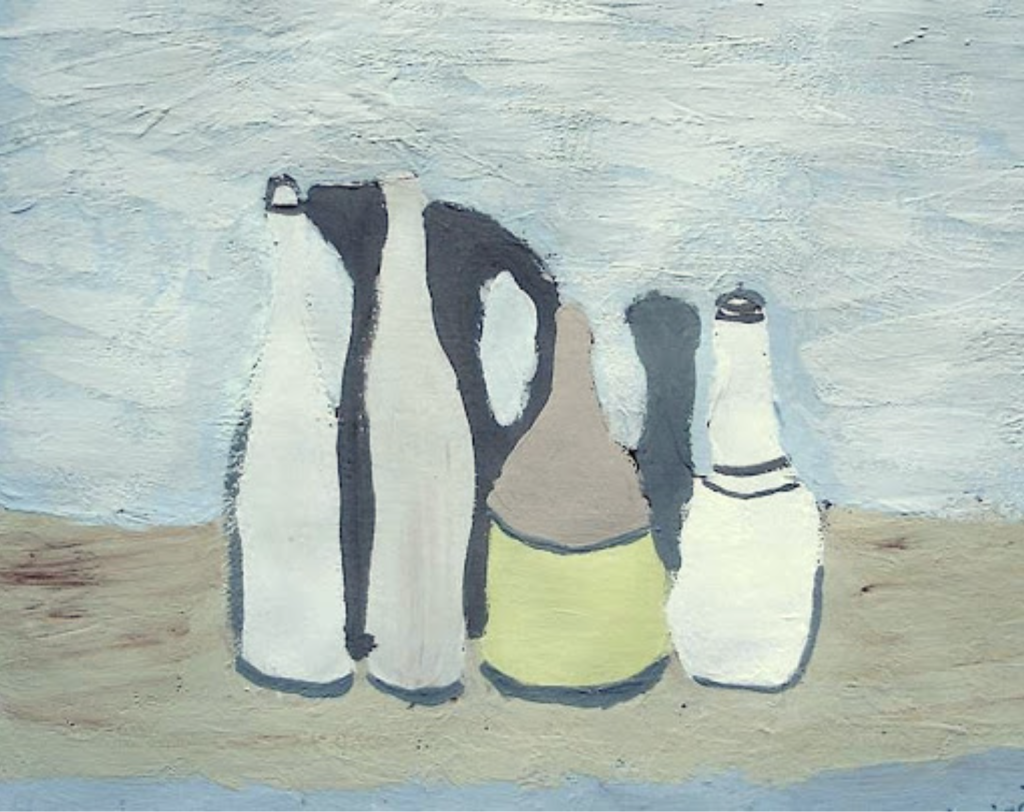
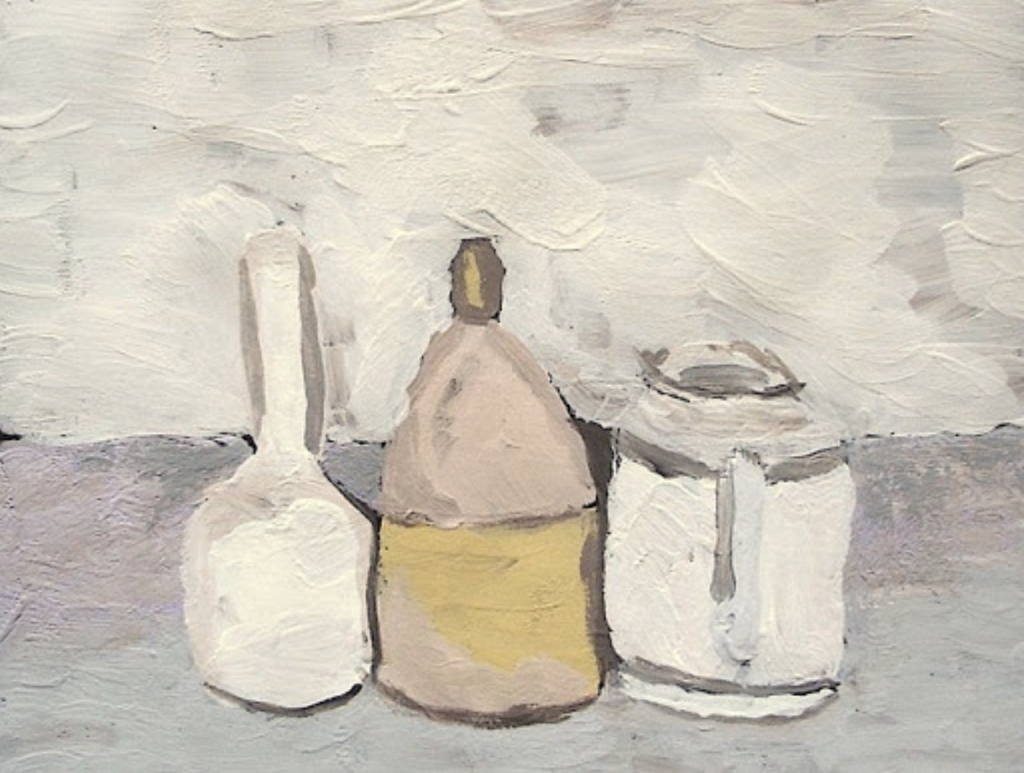
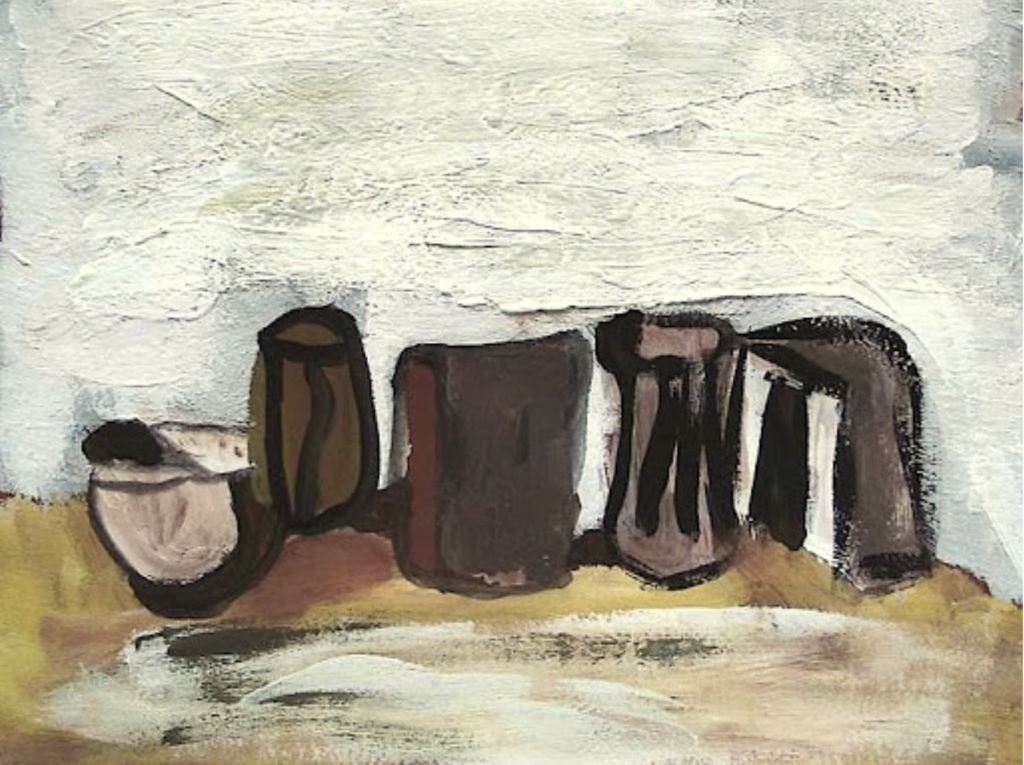
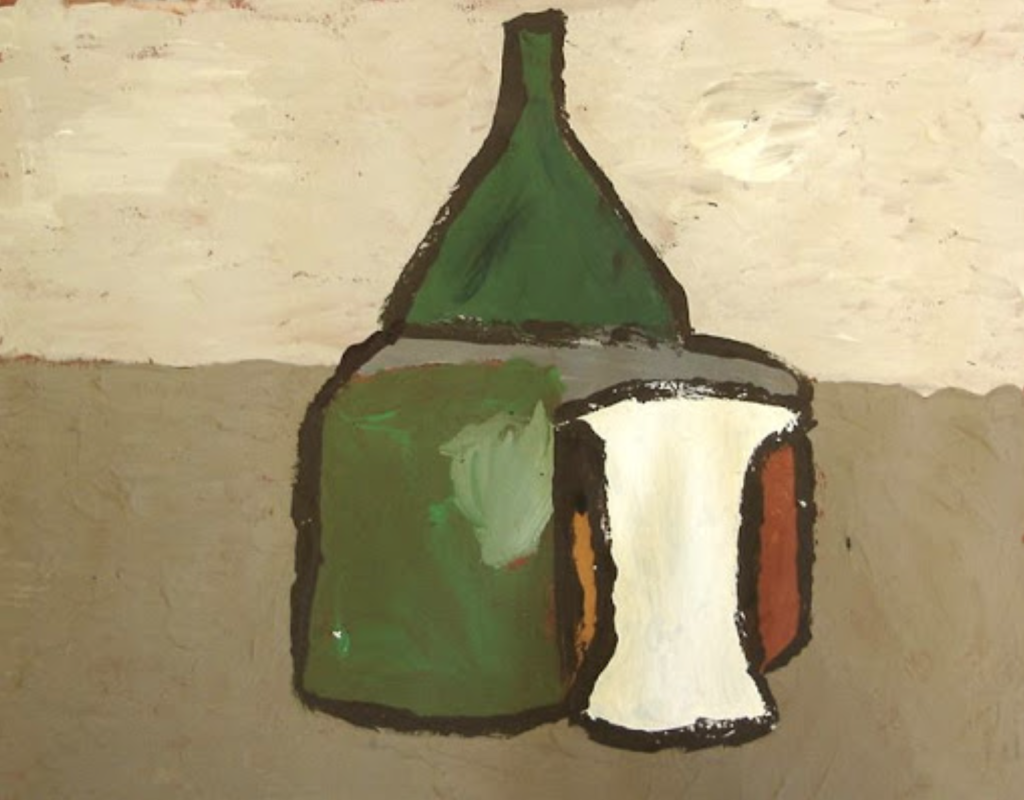
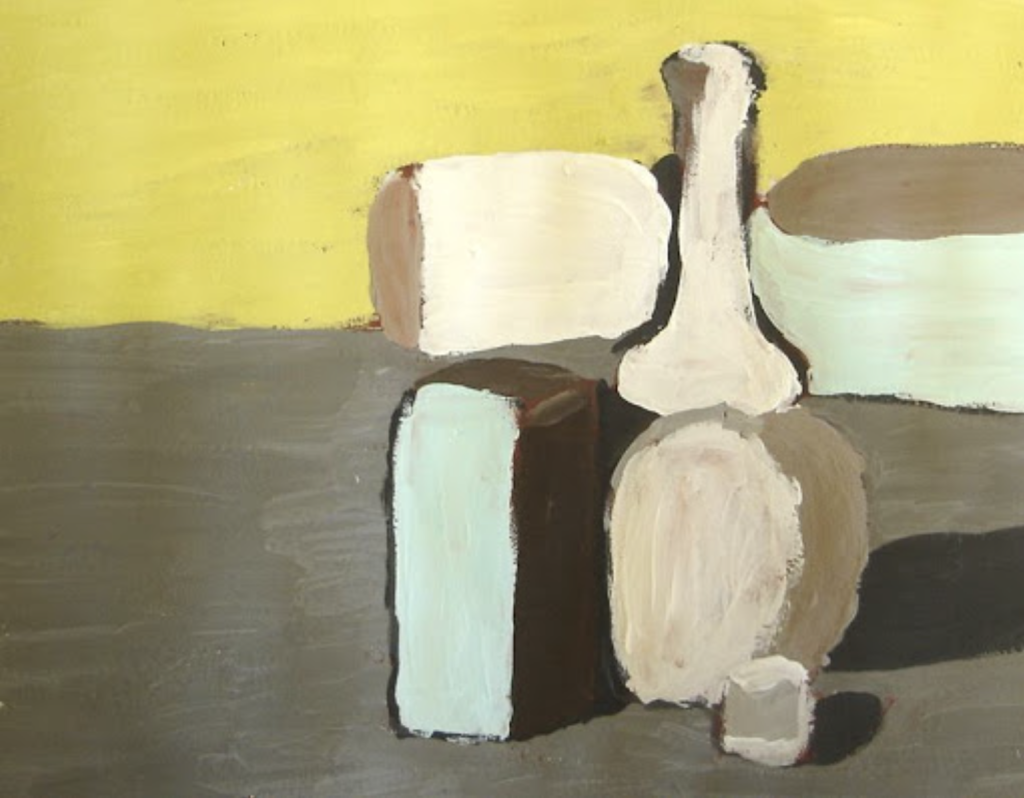
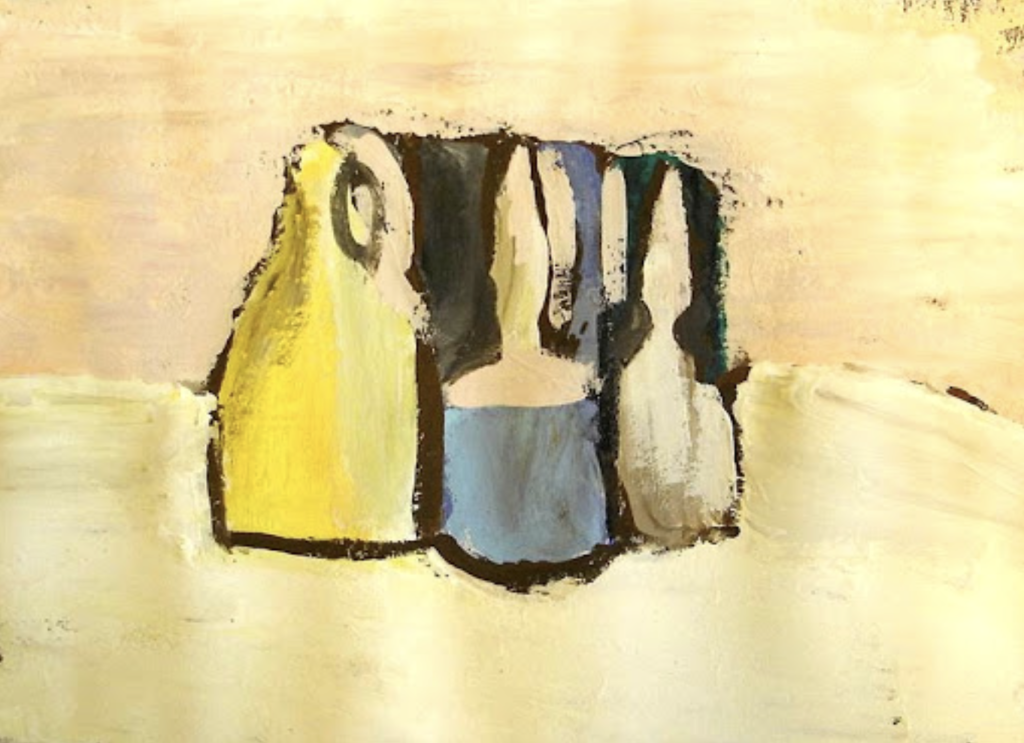
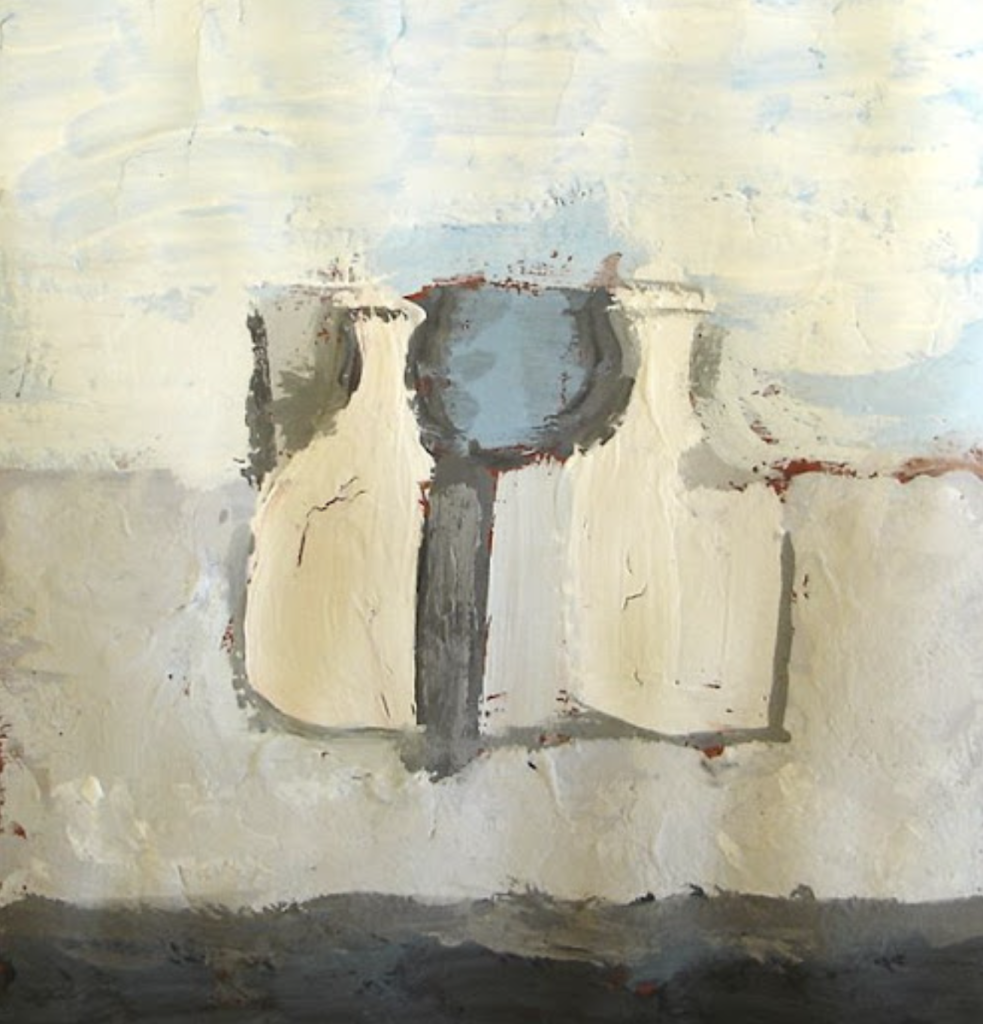
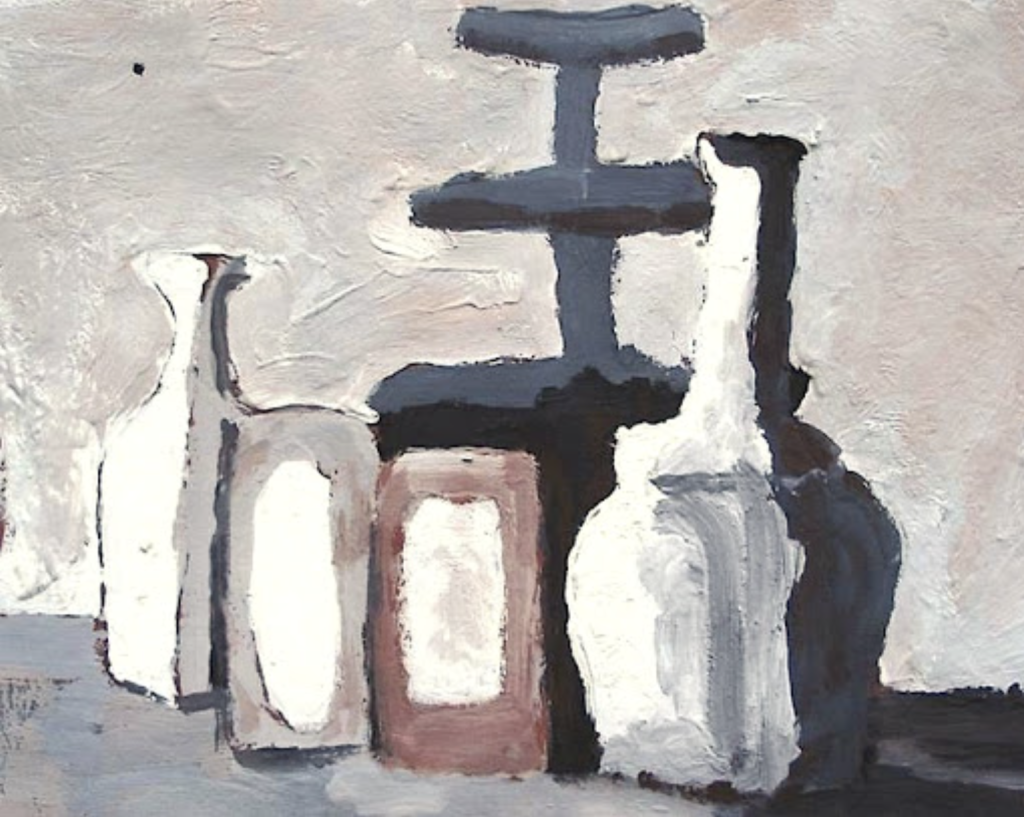
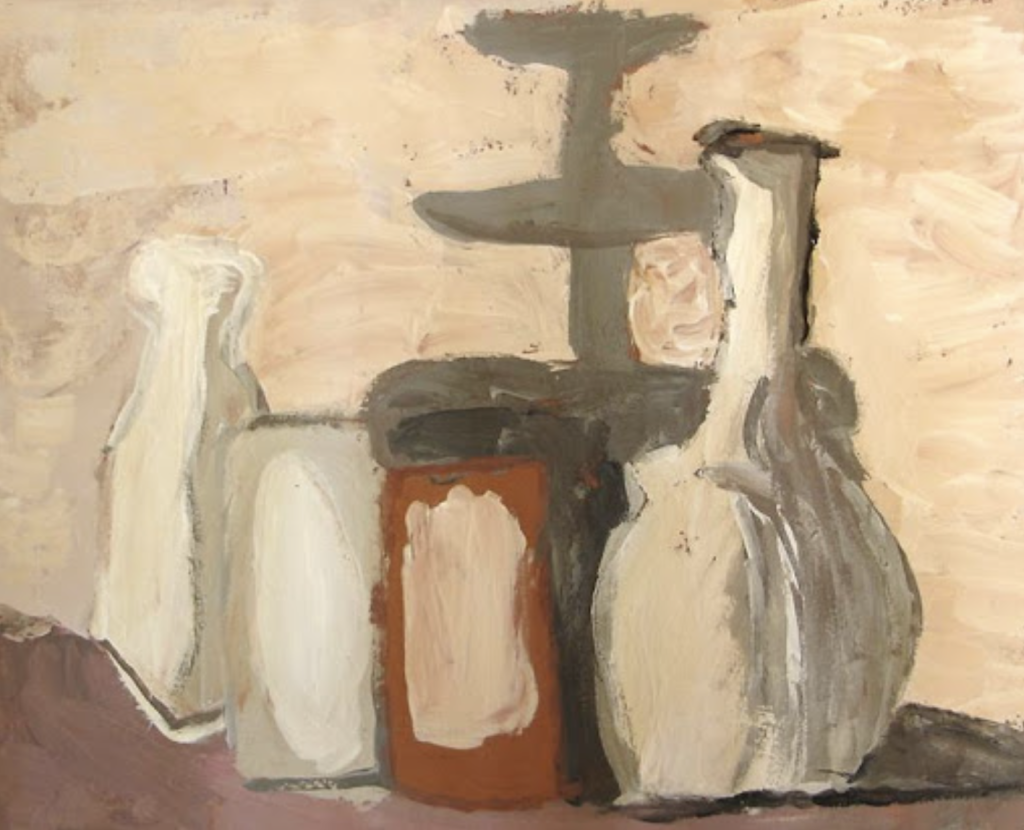
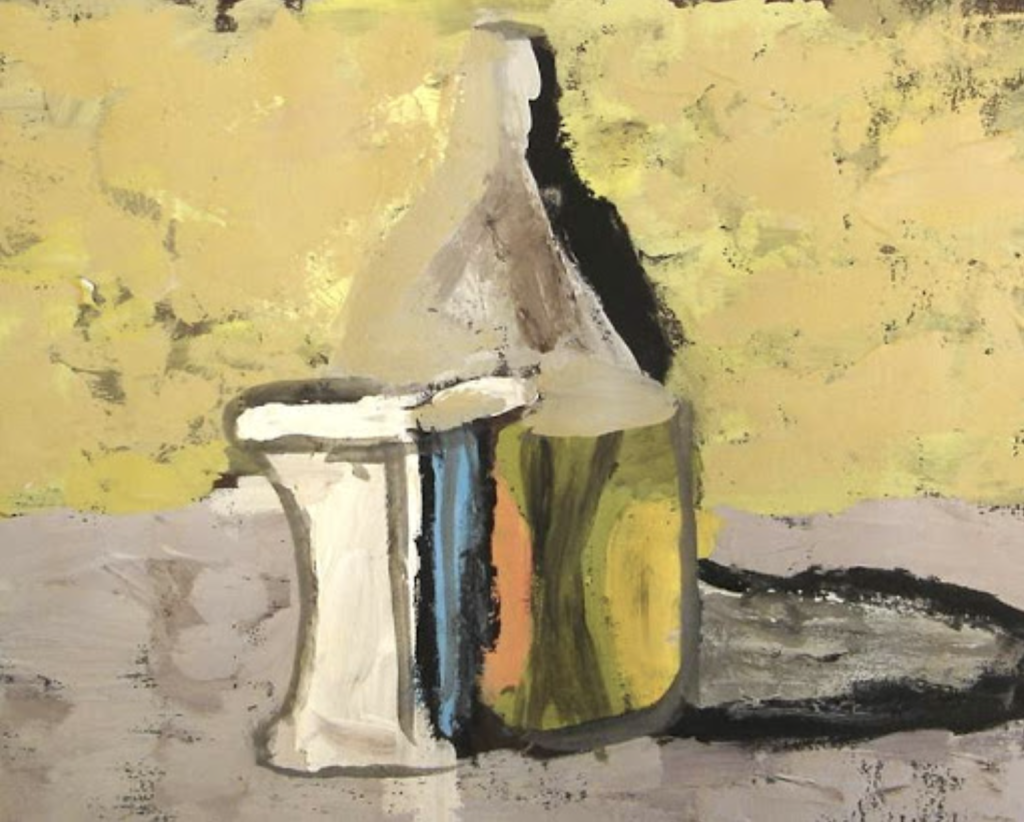
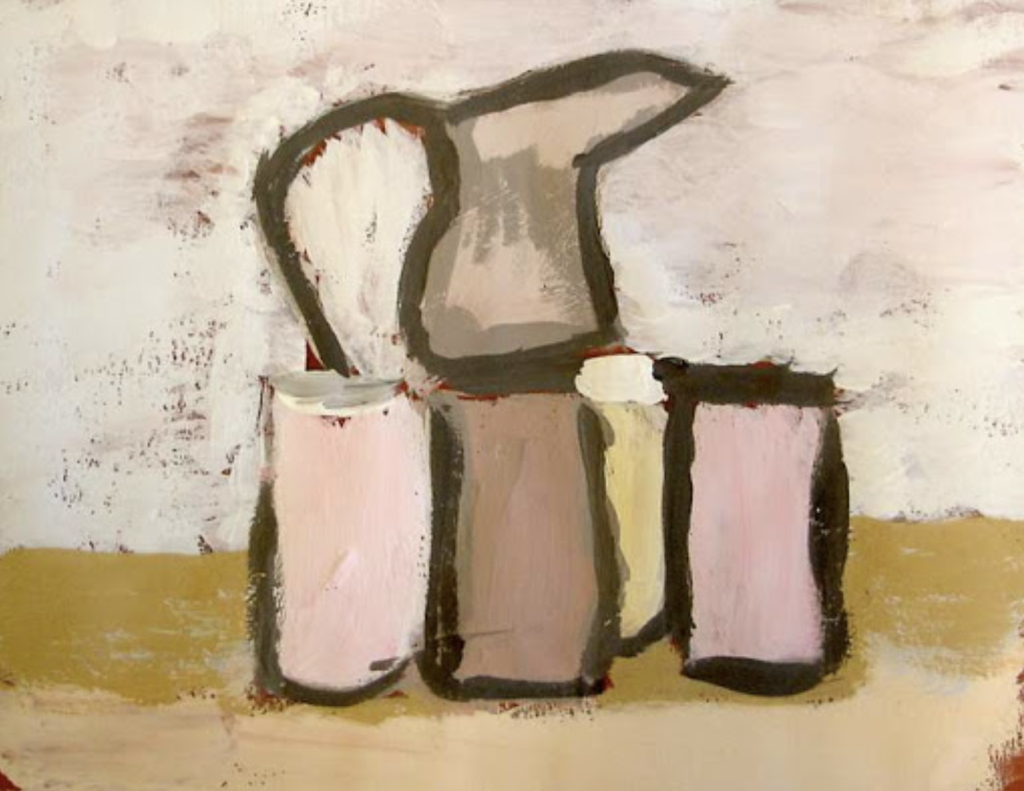
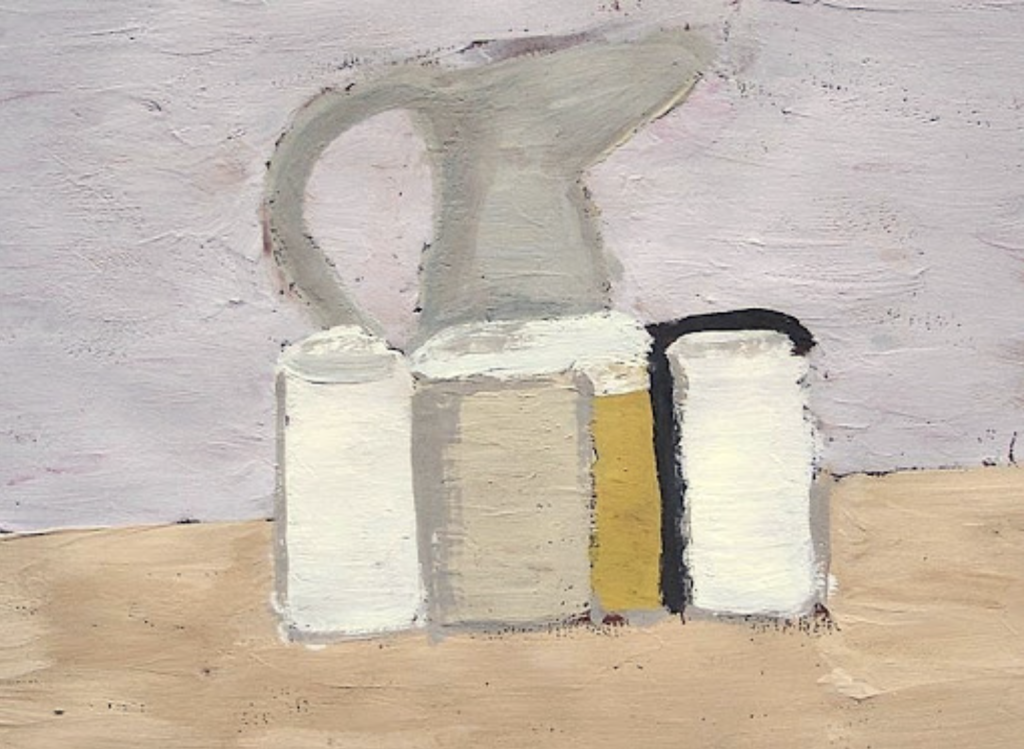
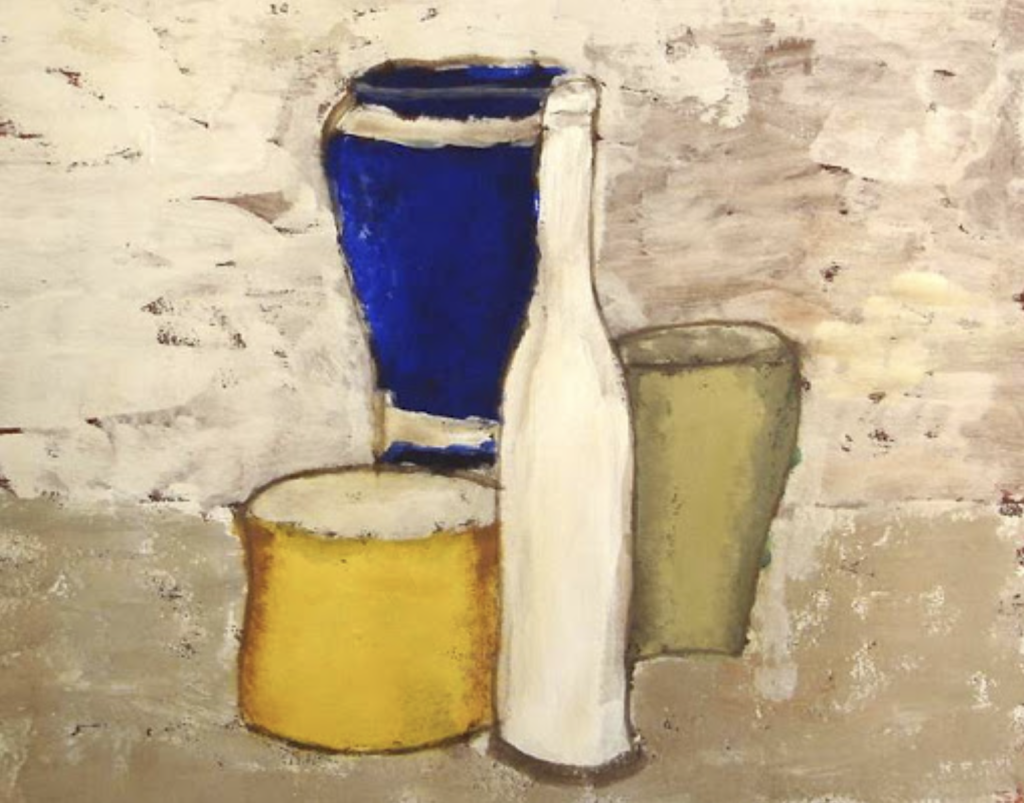
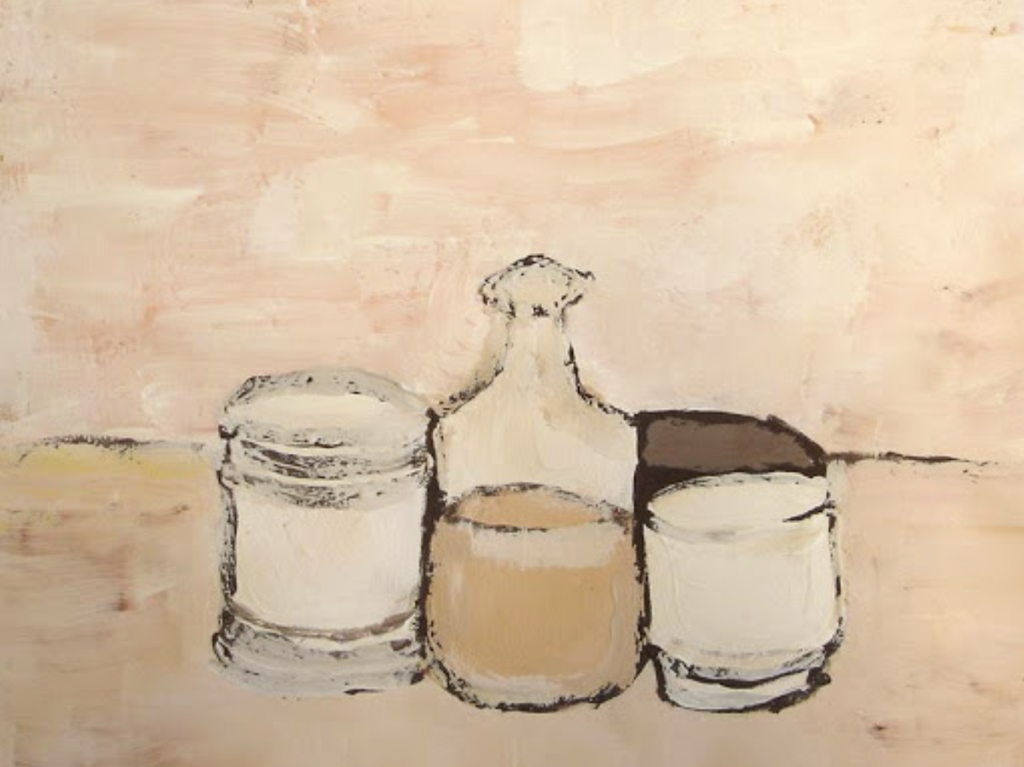
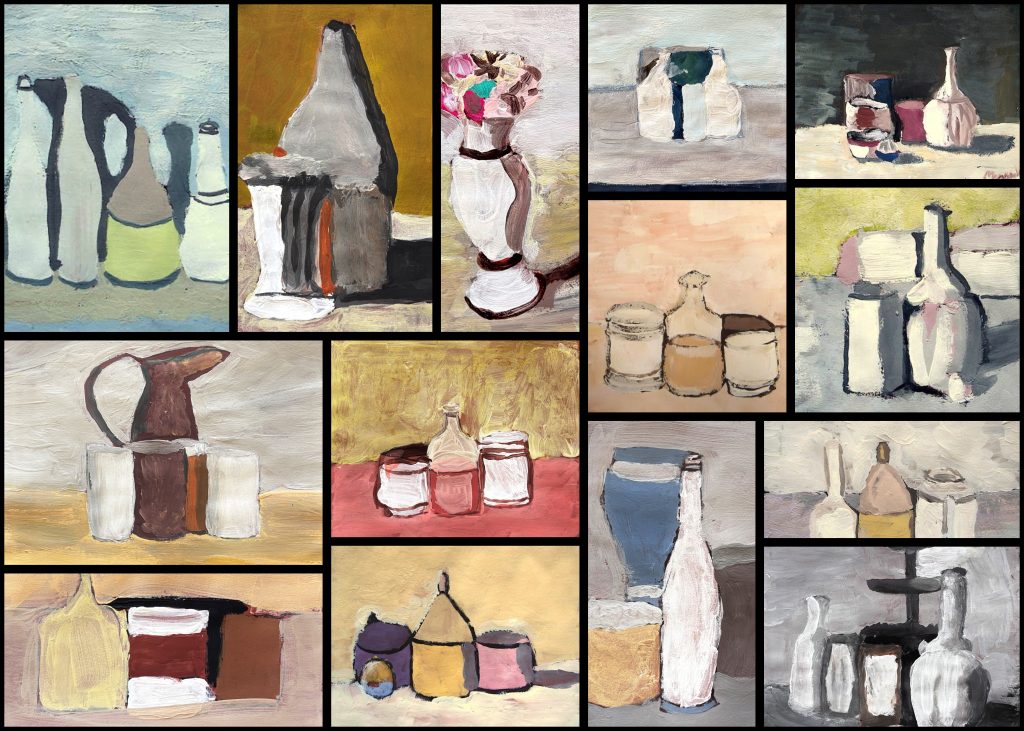
在七年级(Grade 7)课程中,我们探索了乔治·莫兰迪(Giorgio Morandi)充满诗意的艺术世界,沉浸于他由寂静与悬置感构筑的静物画之中。本次工作坊让我们得以锤炼色彩能力:学习观察明度变化,并通过色彩与光线来塑造体积感。除技术训练外,活动更引导学生思考“如何观看”这一命题——在日常看似平凡、简单的物件中发现美与复杂性。
所需材料:
- 莫兰迪作品的复印图片
- 描图纸与复写纸
- 棕色卡纸(作背景)
- 蛋彩颜料及画笔
- 黑色卡纸(作画框)
- 剪刀与胶水
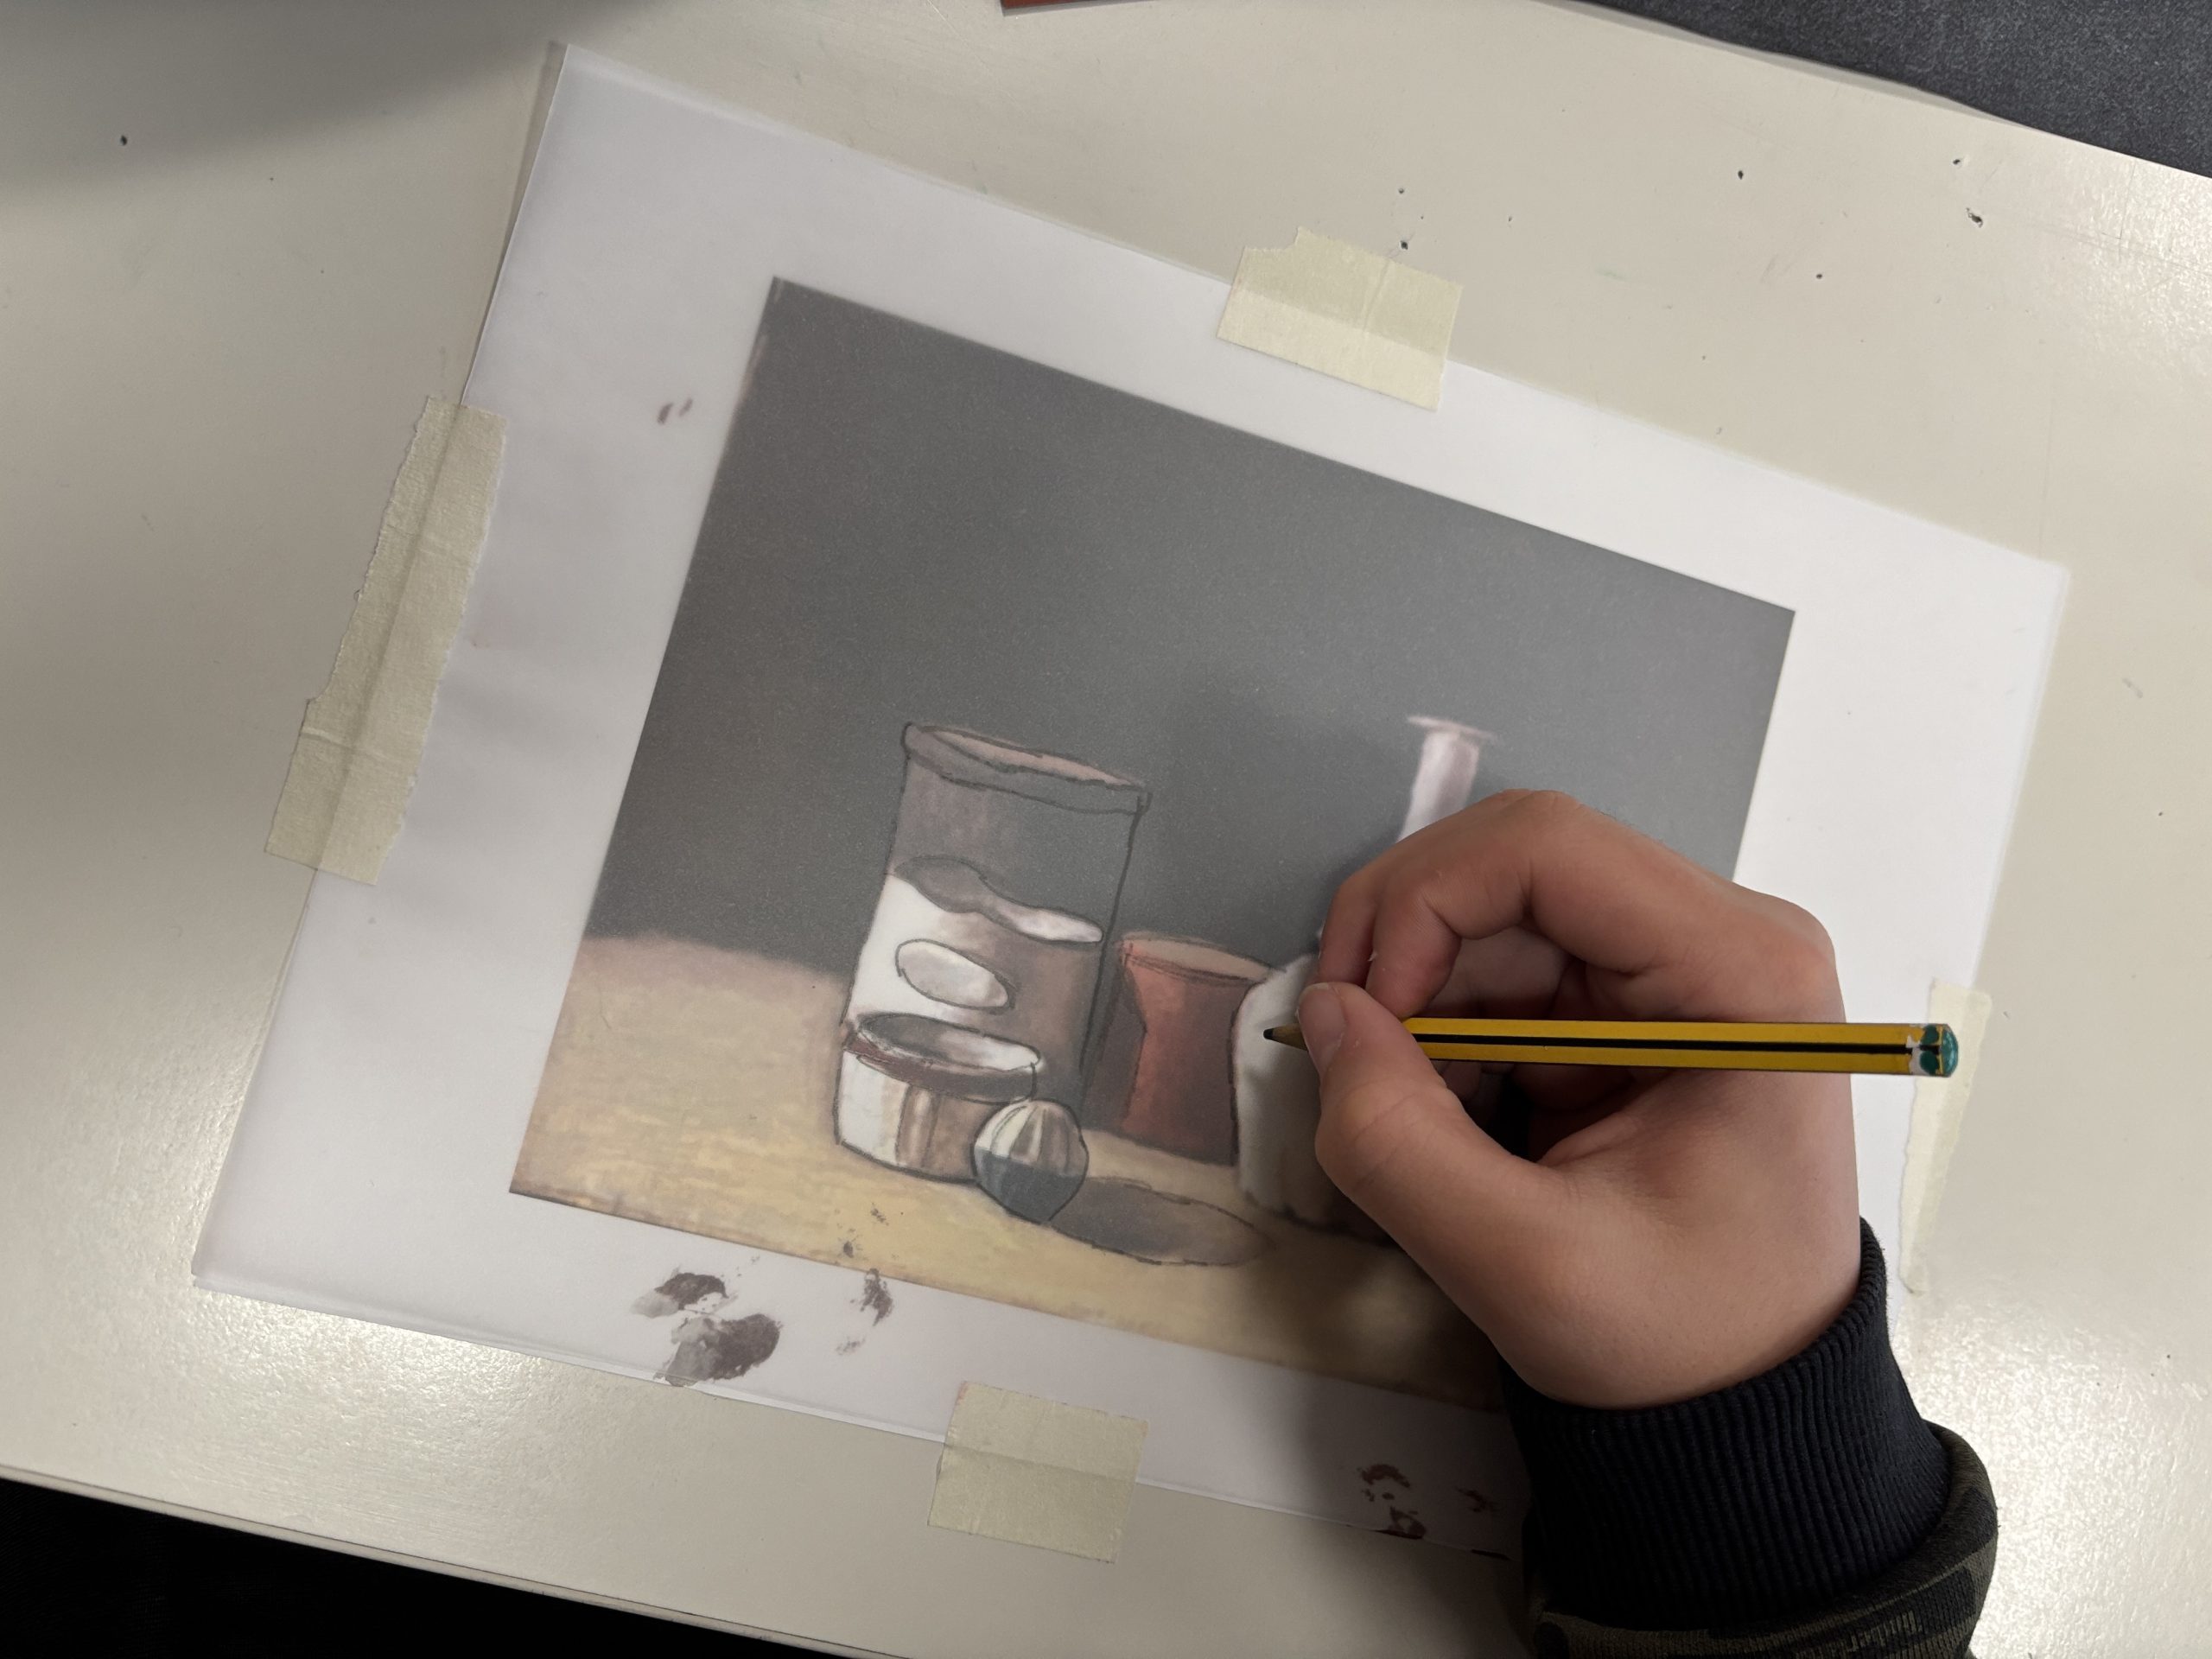
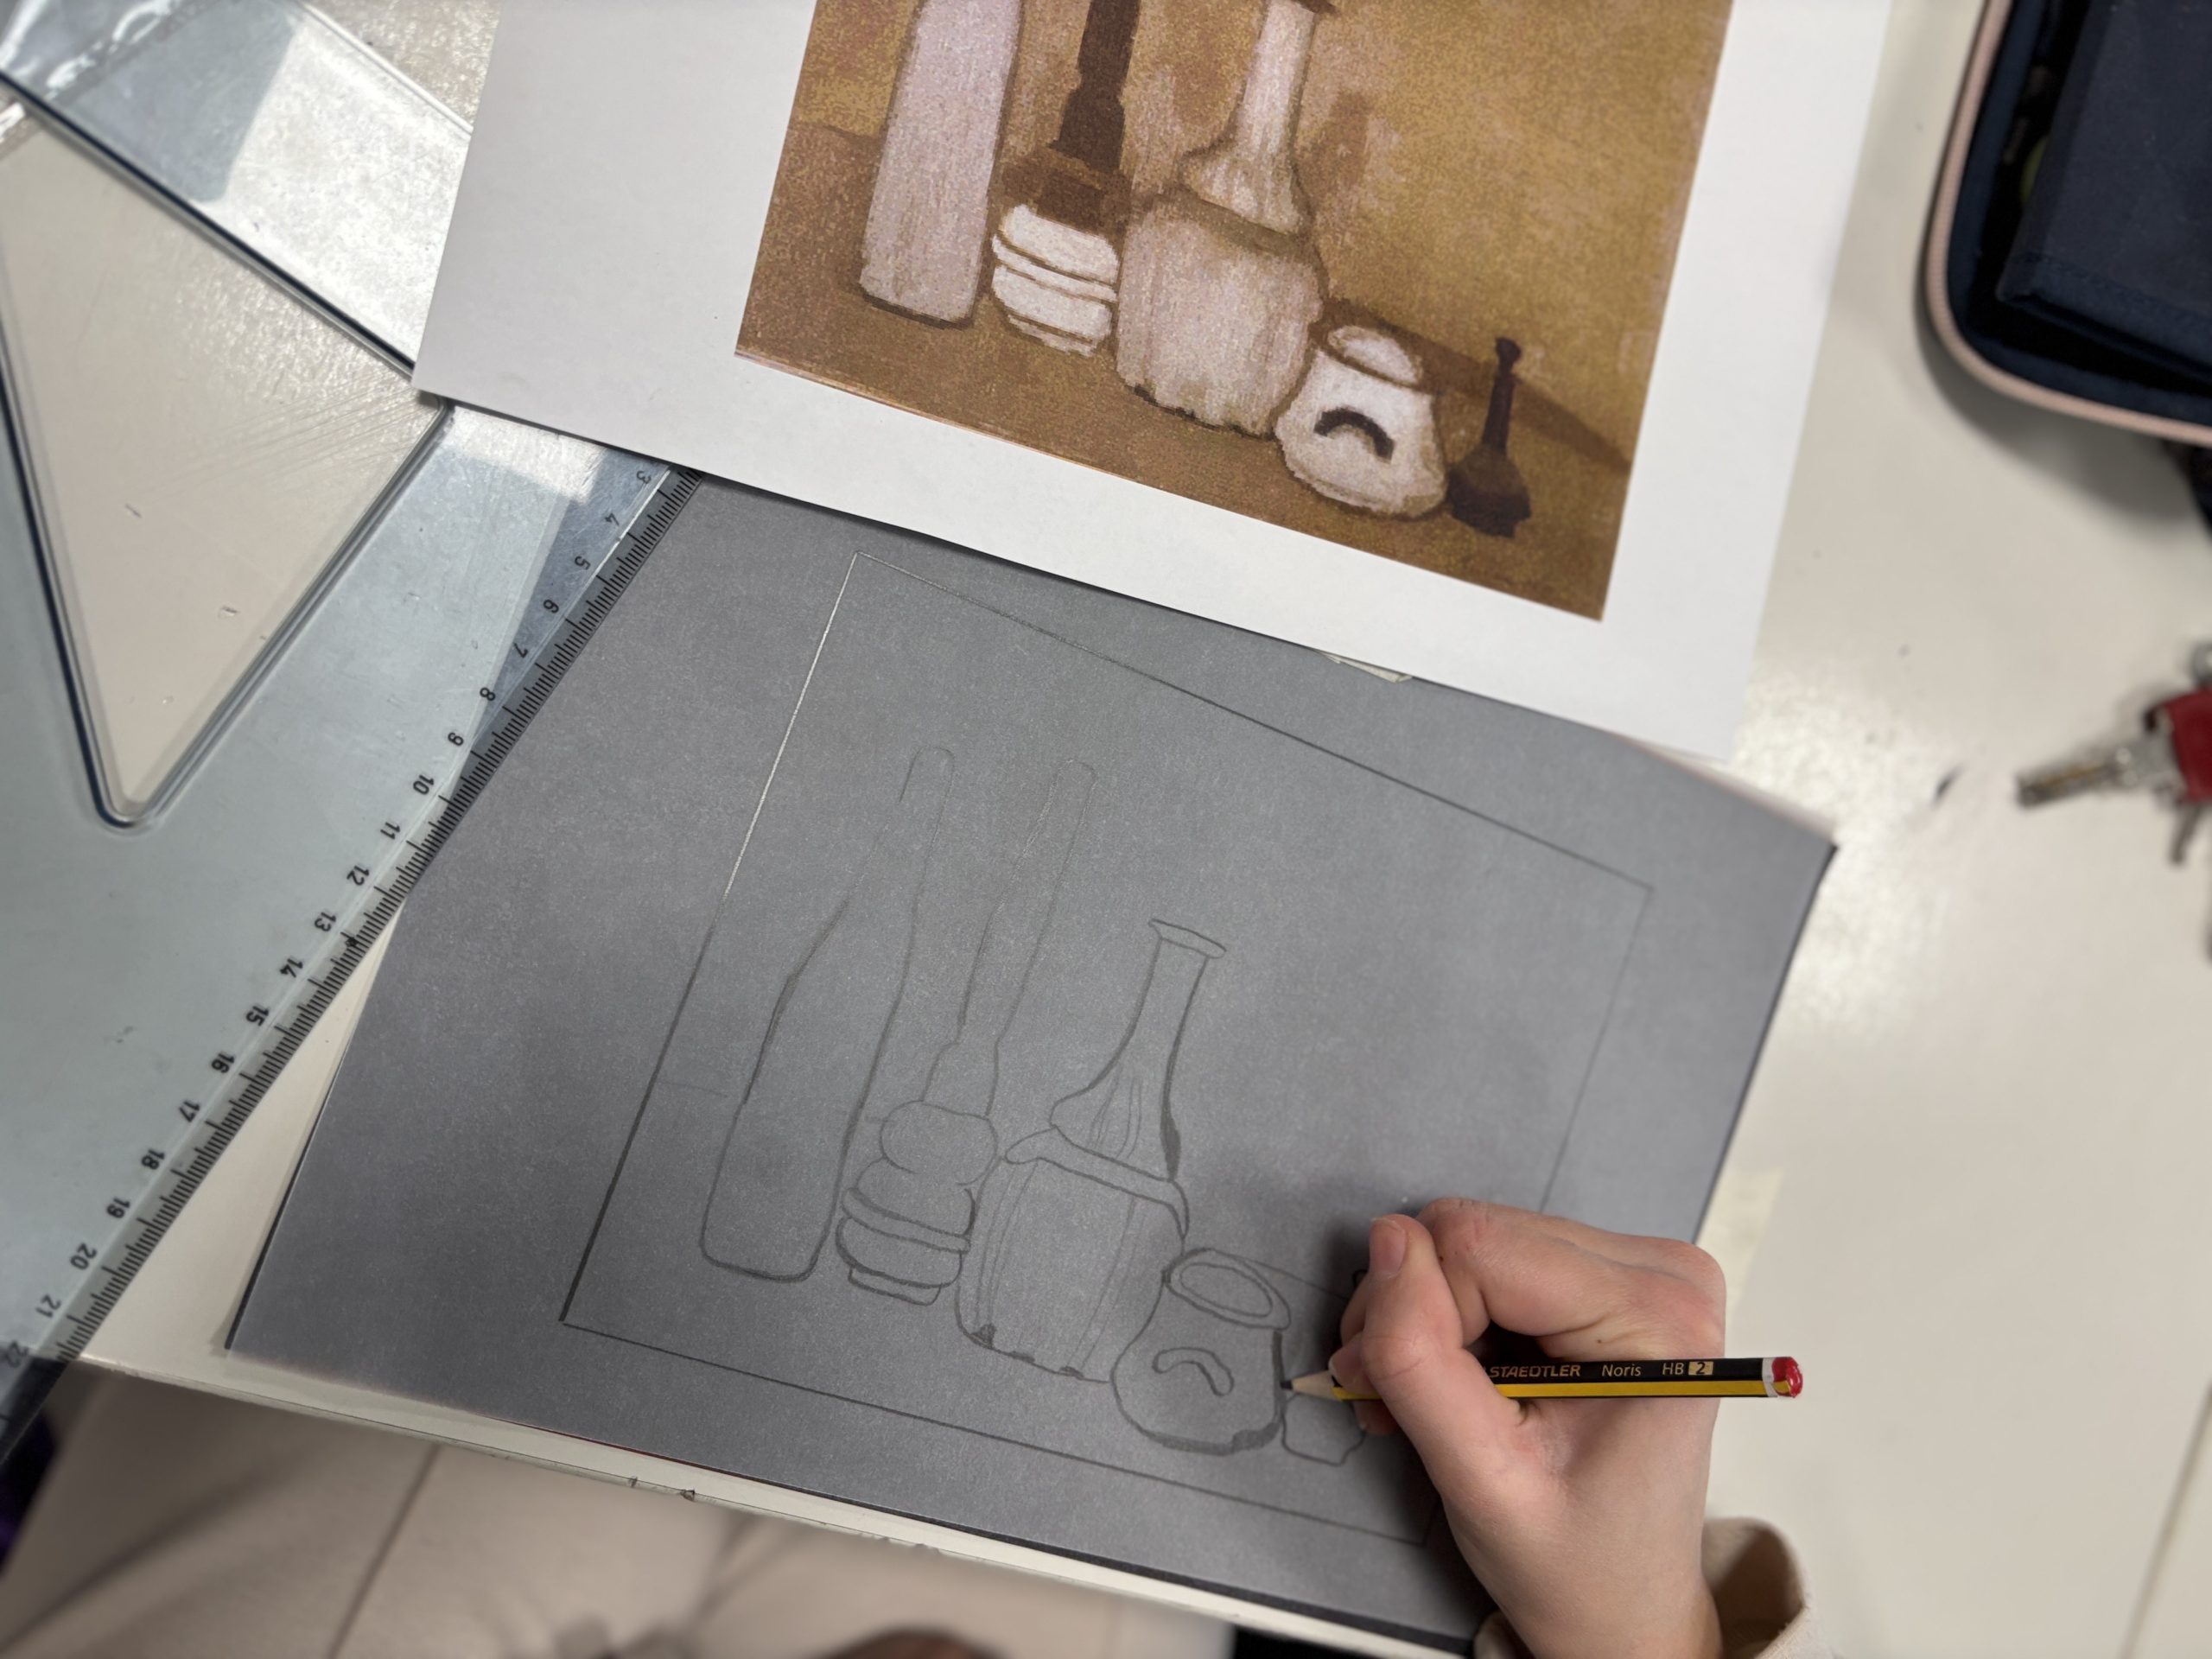
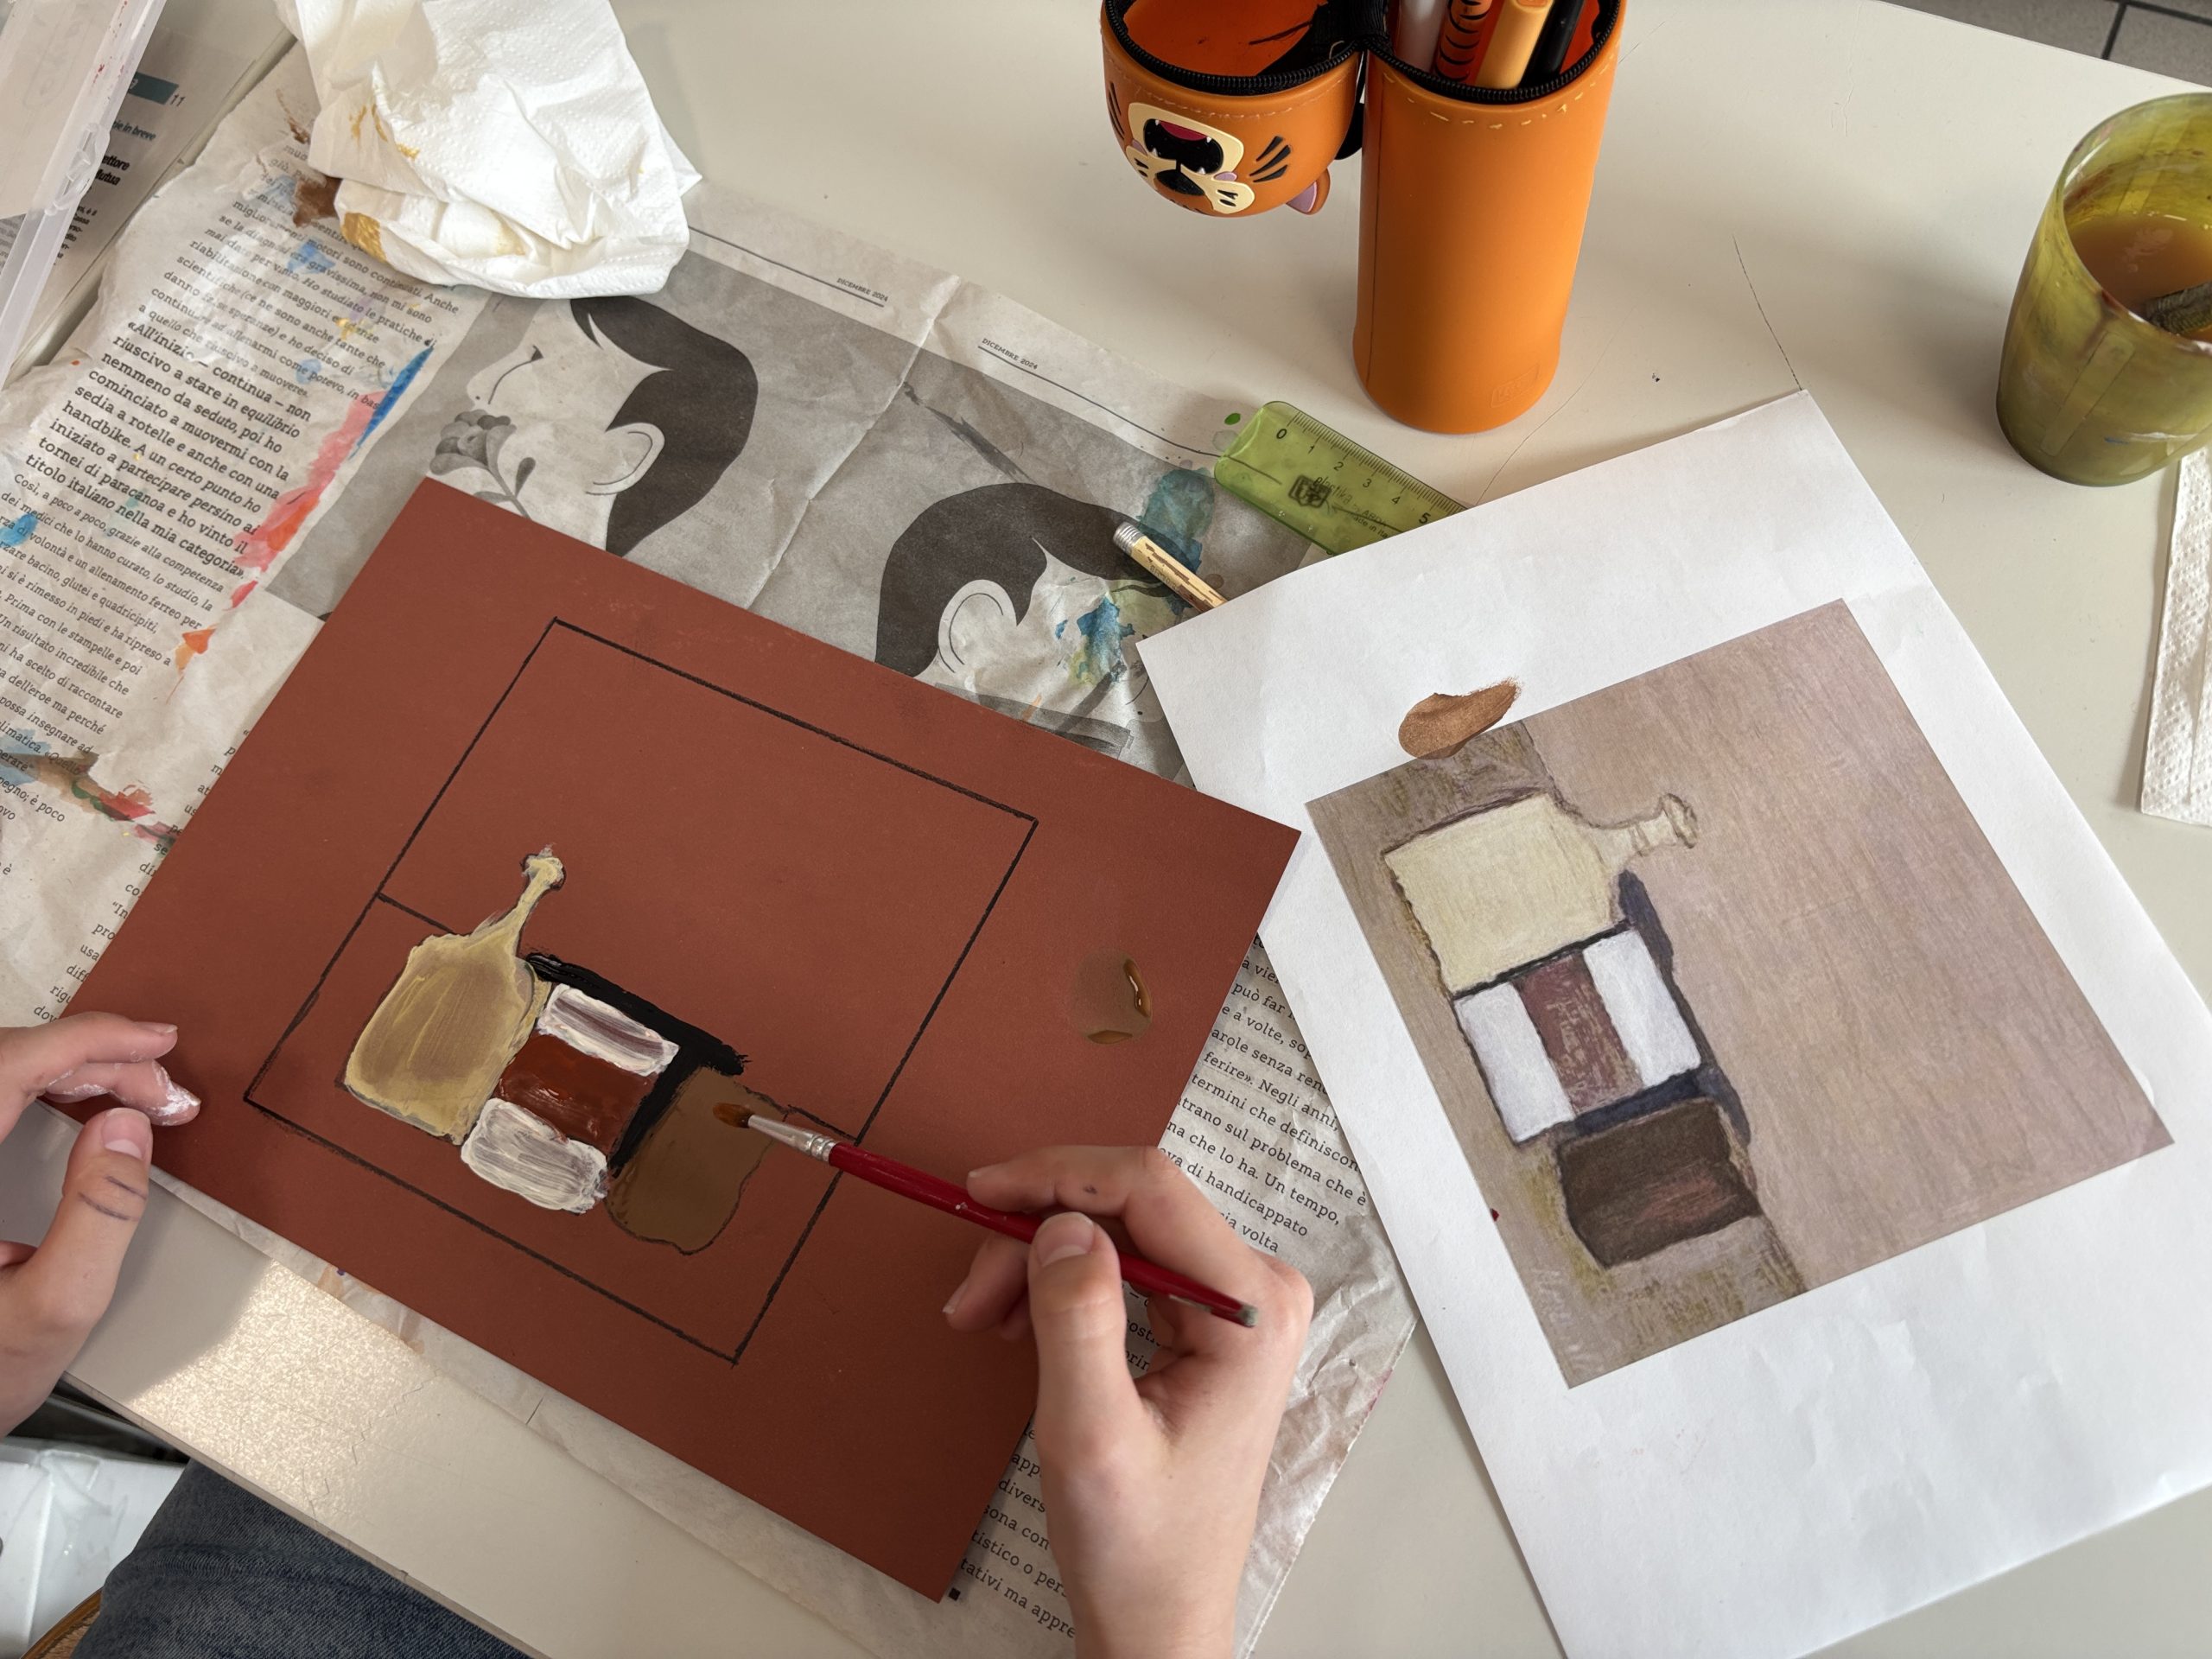
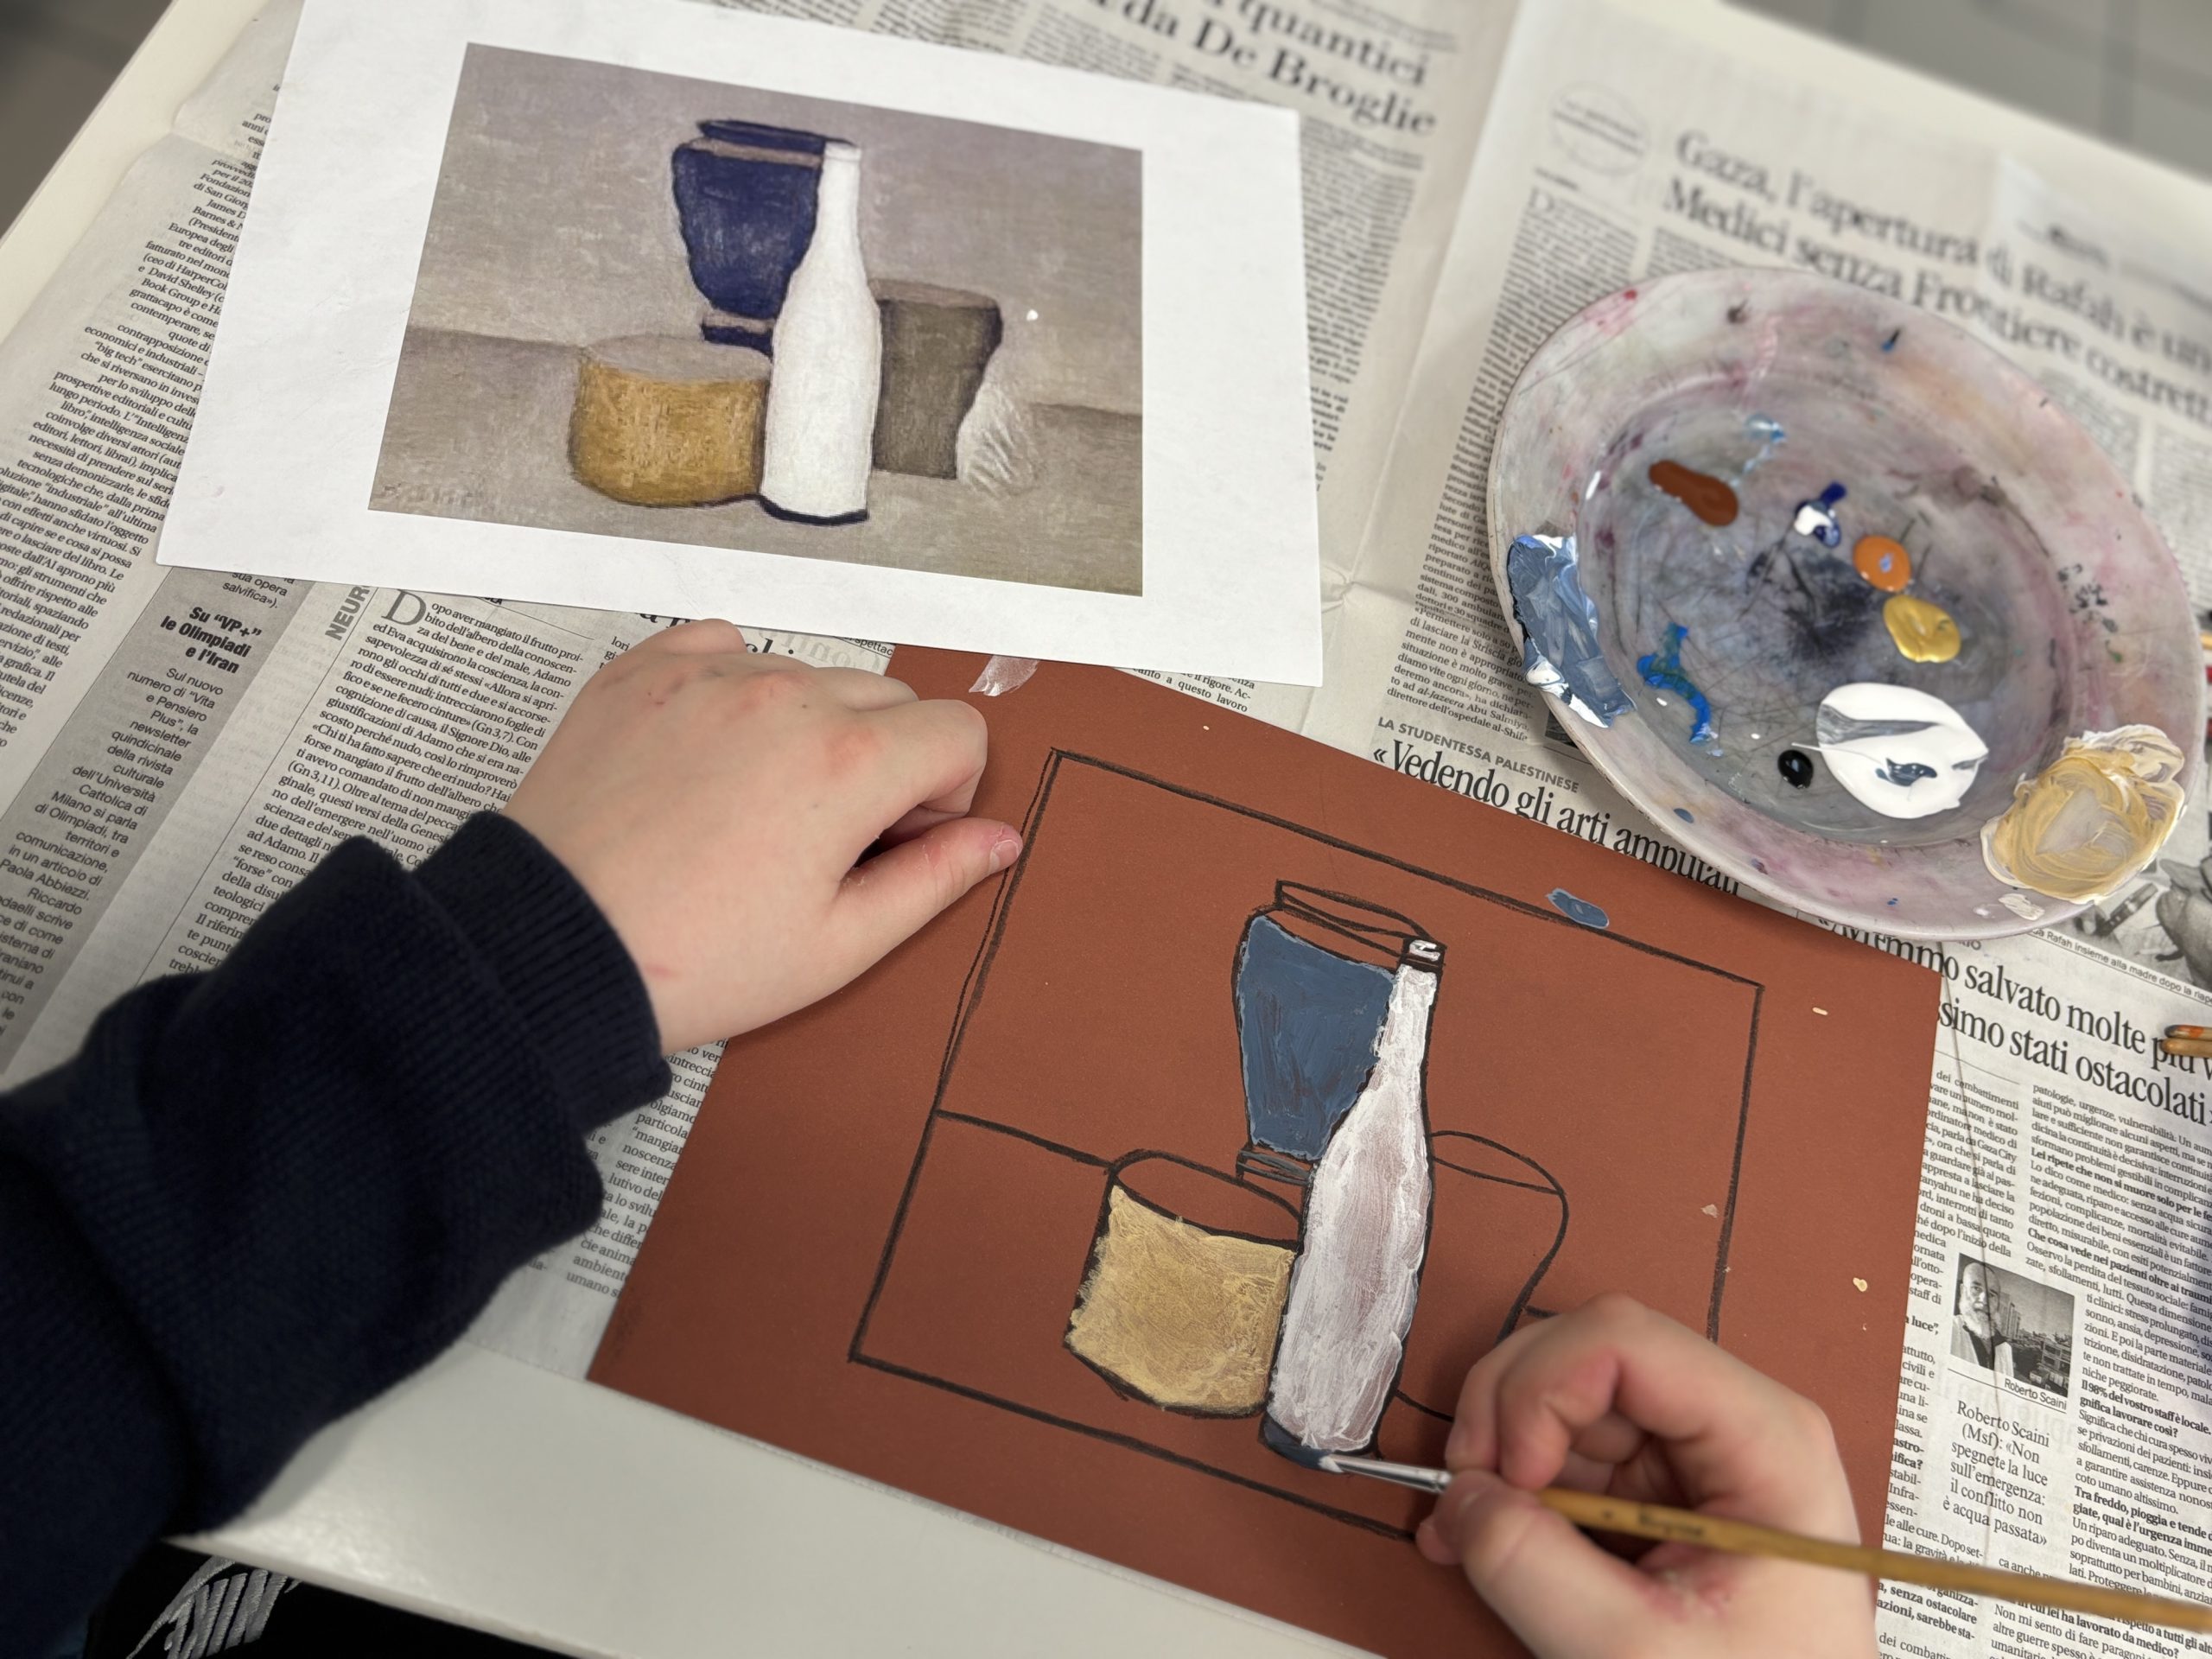
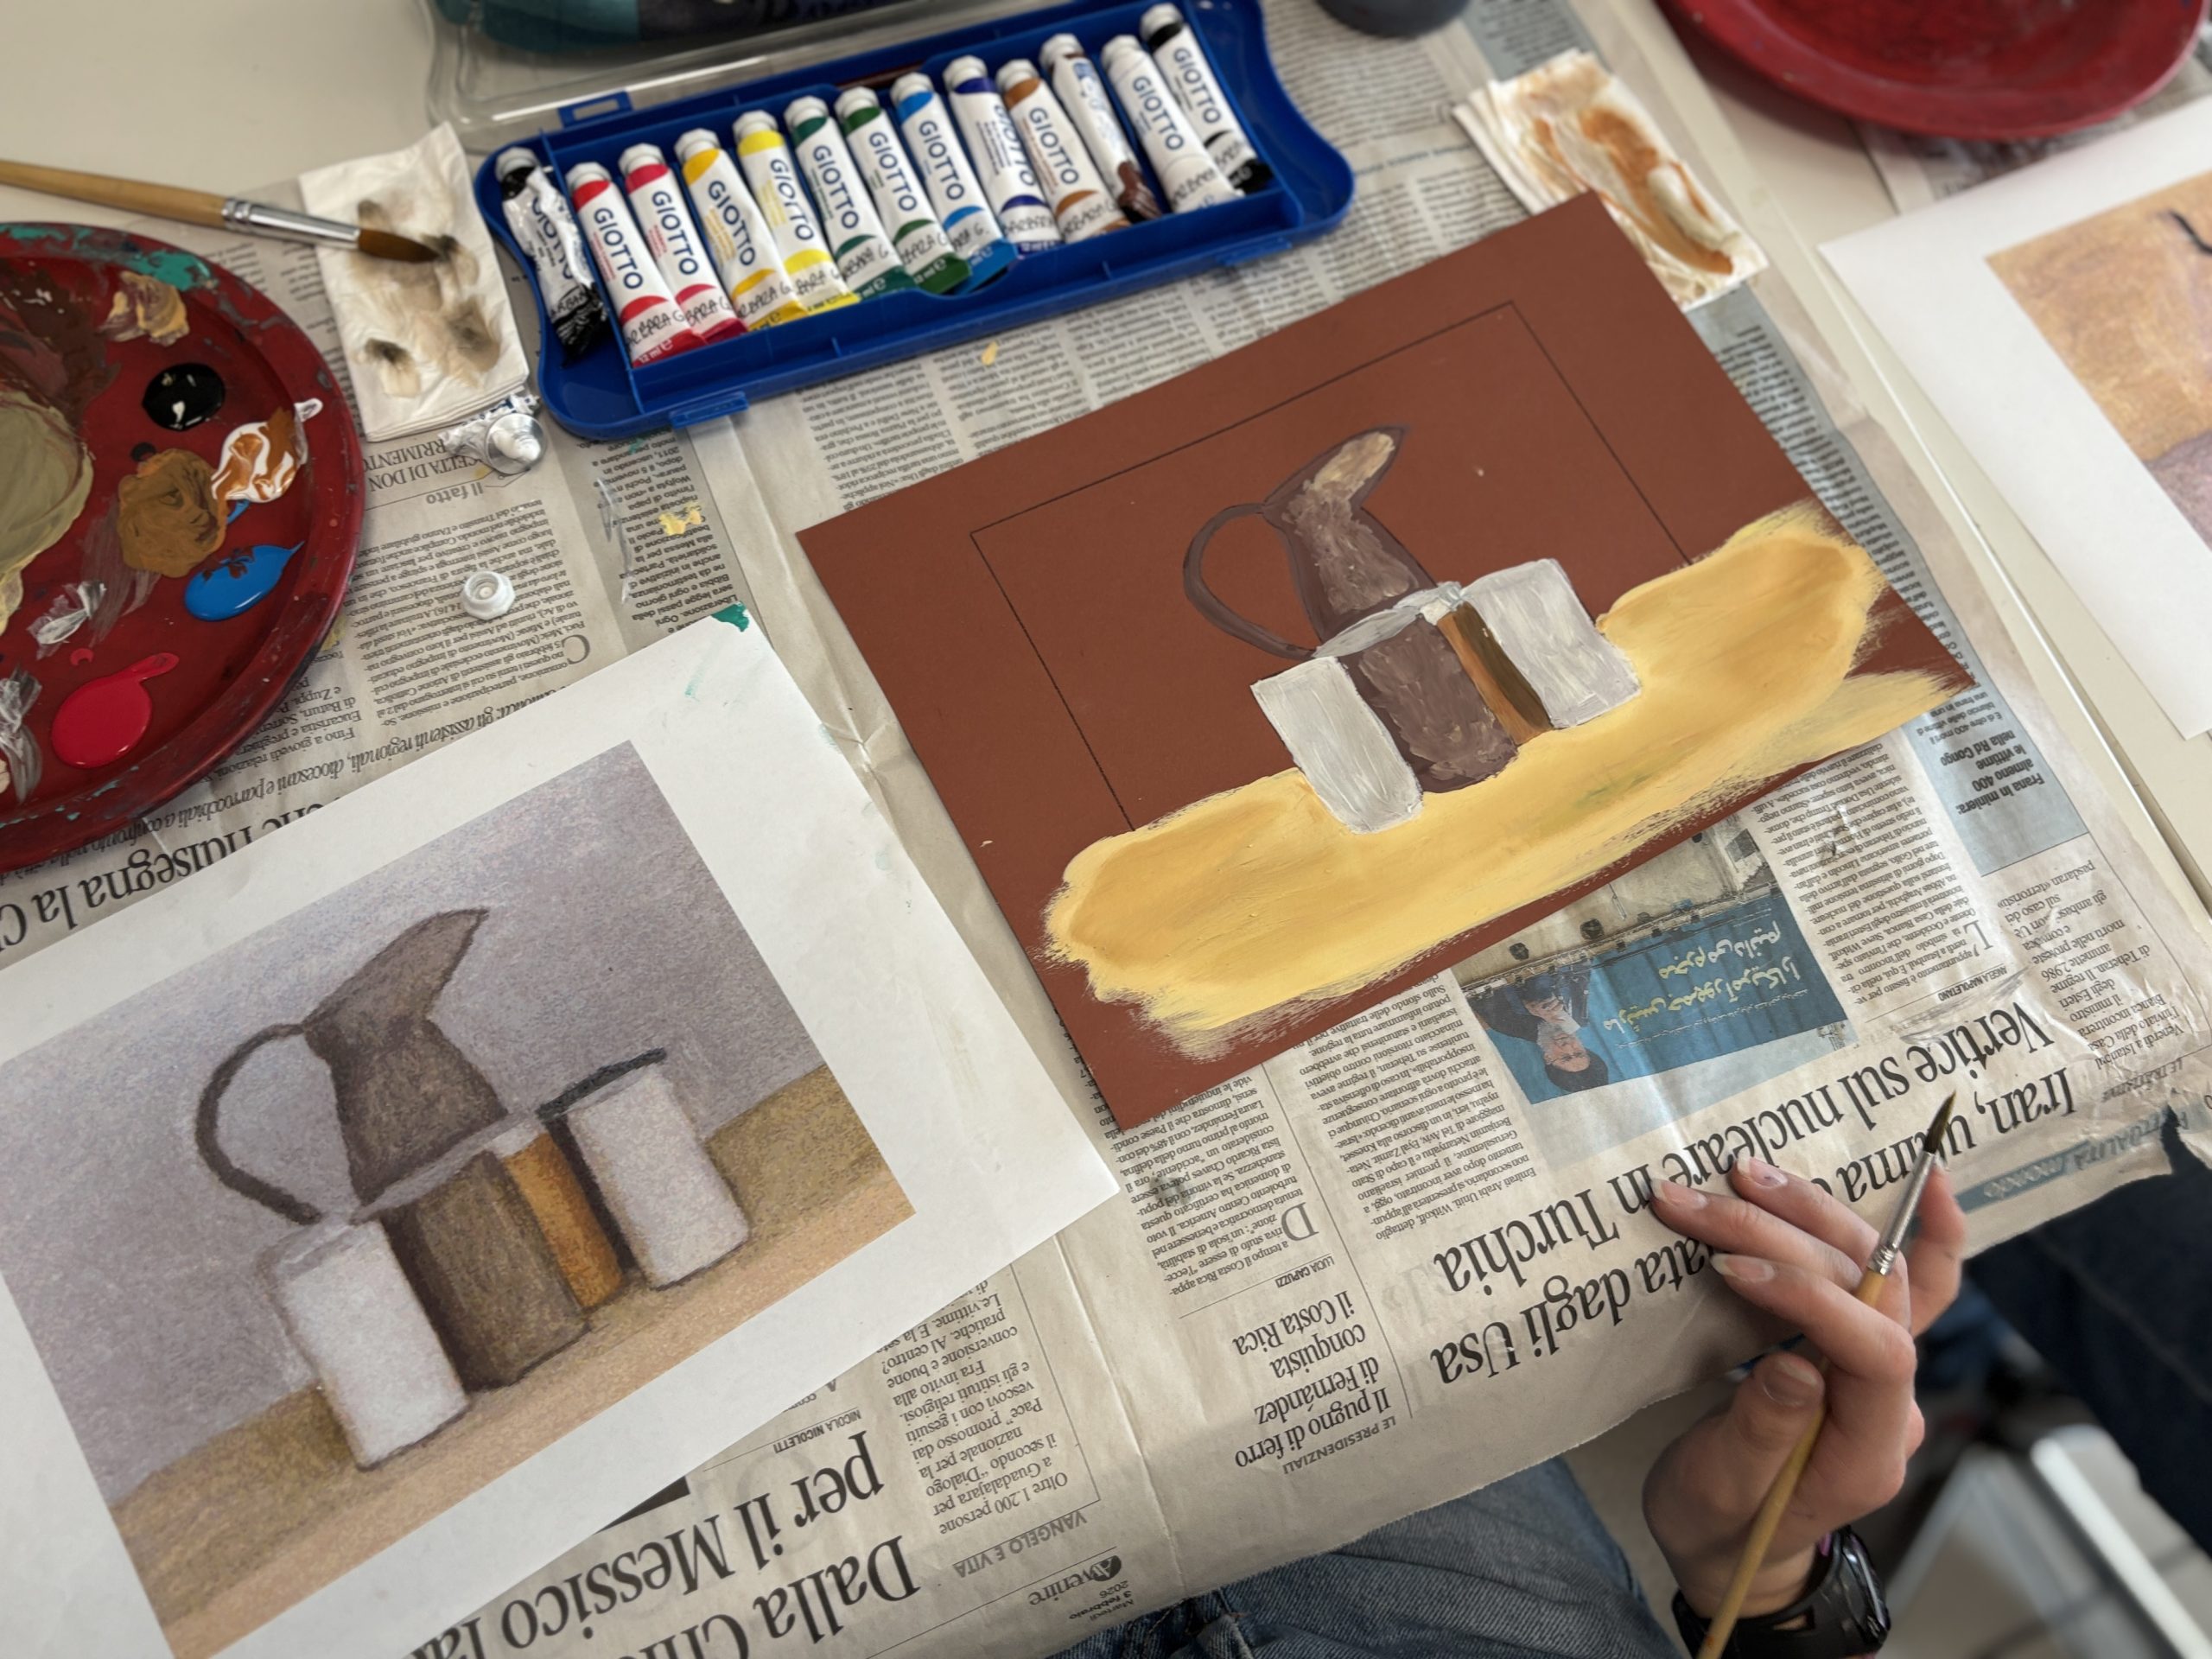
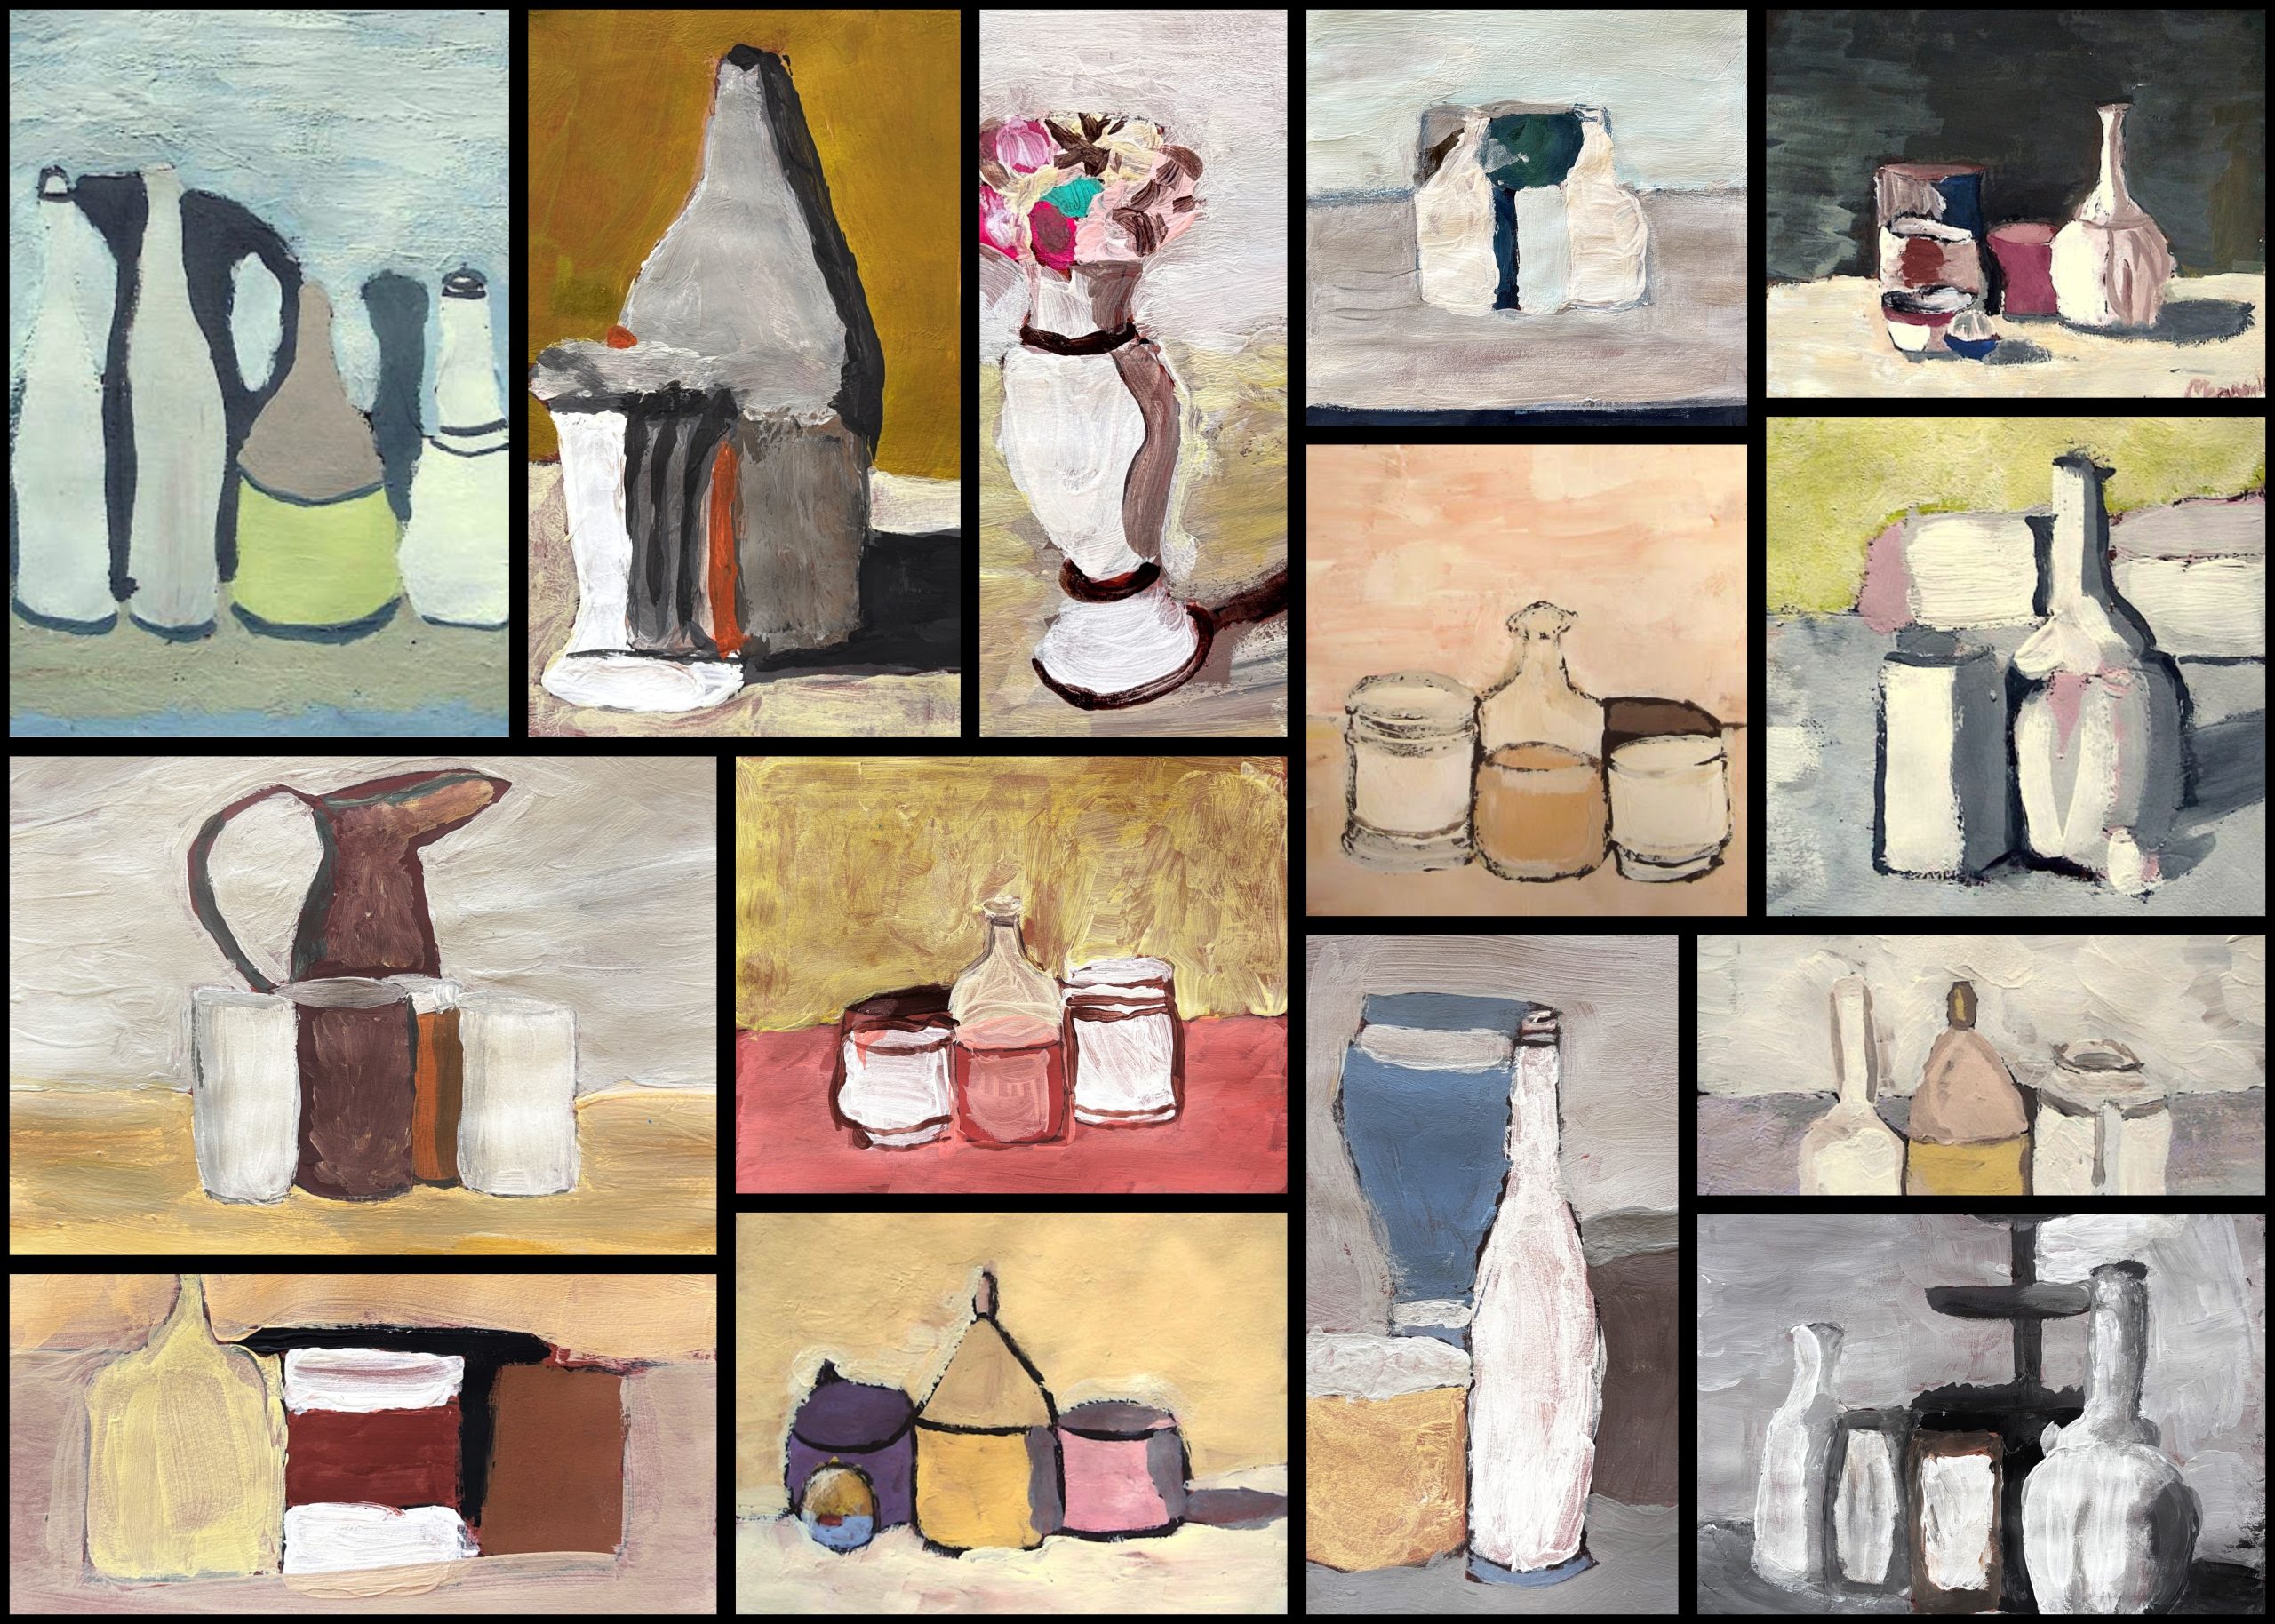
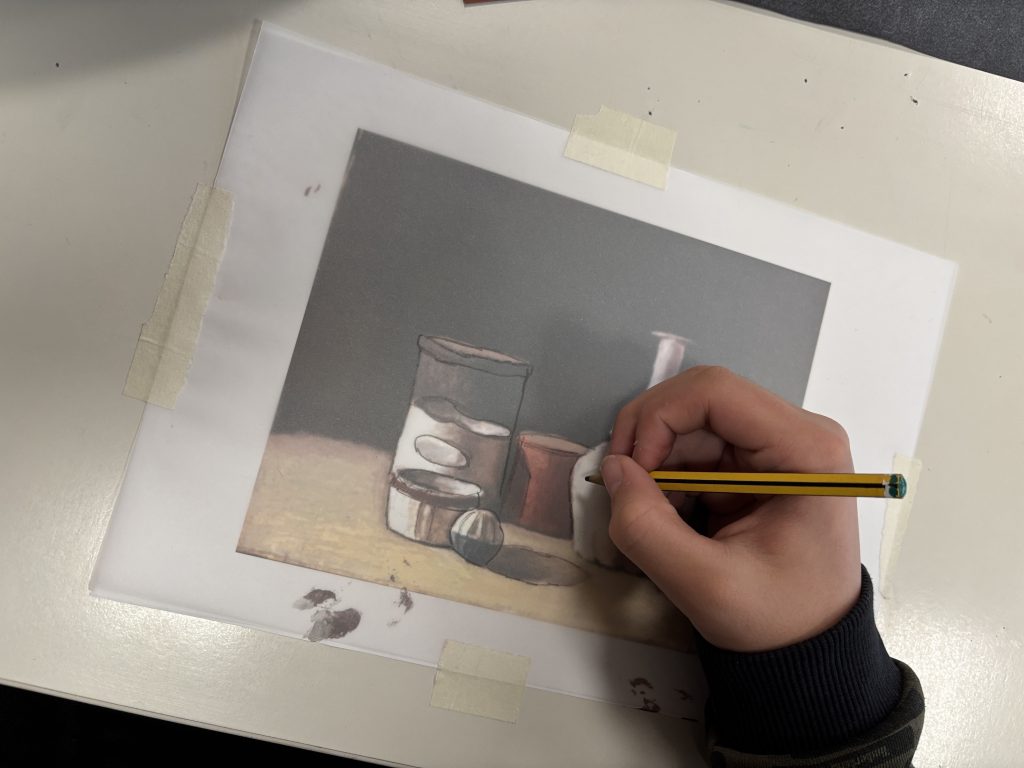
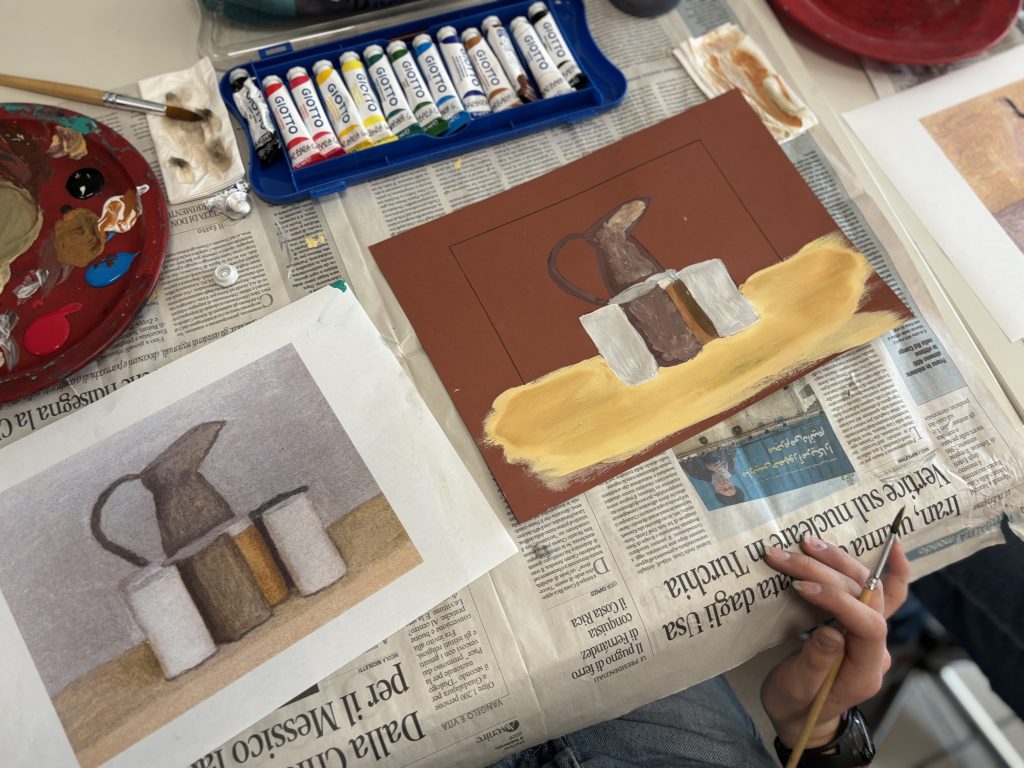
课程伊始,每位学生选择一幅大师作品。我们使用小尺寸复印图,临摹制作“微型”大师复制品。第一步是形体研究:将描图纸覆盖于复印图上,以铅笔勾勒线性素描,不仅标出物体轮廓,也界定阴影、高光区域及画面中所有色彩变化的边界。
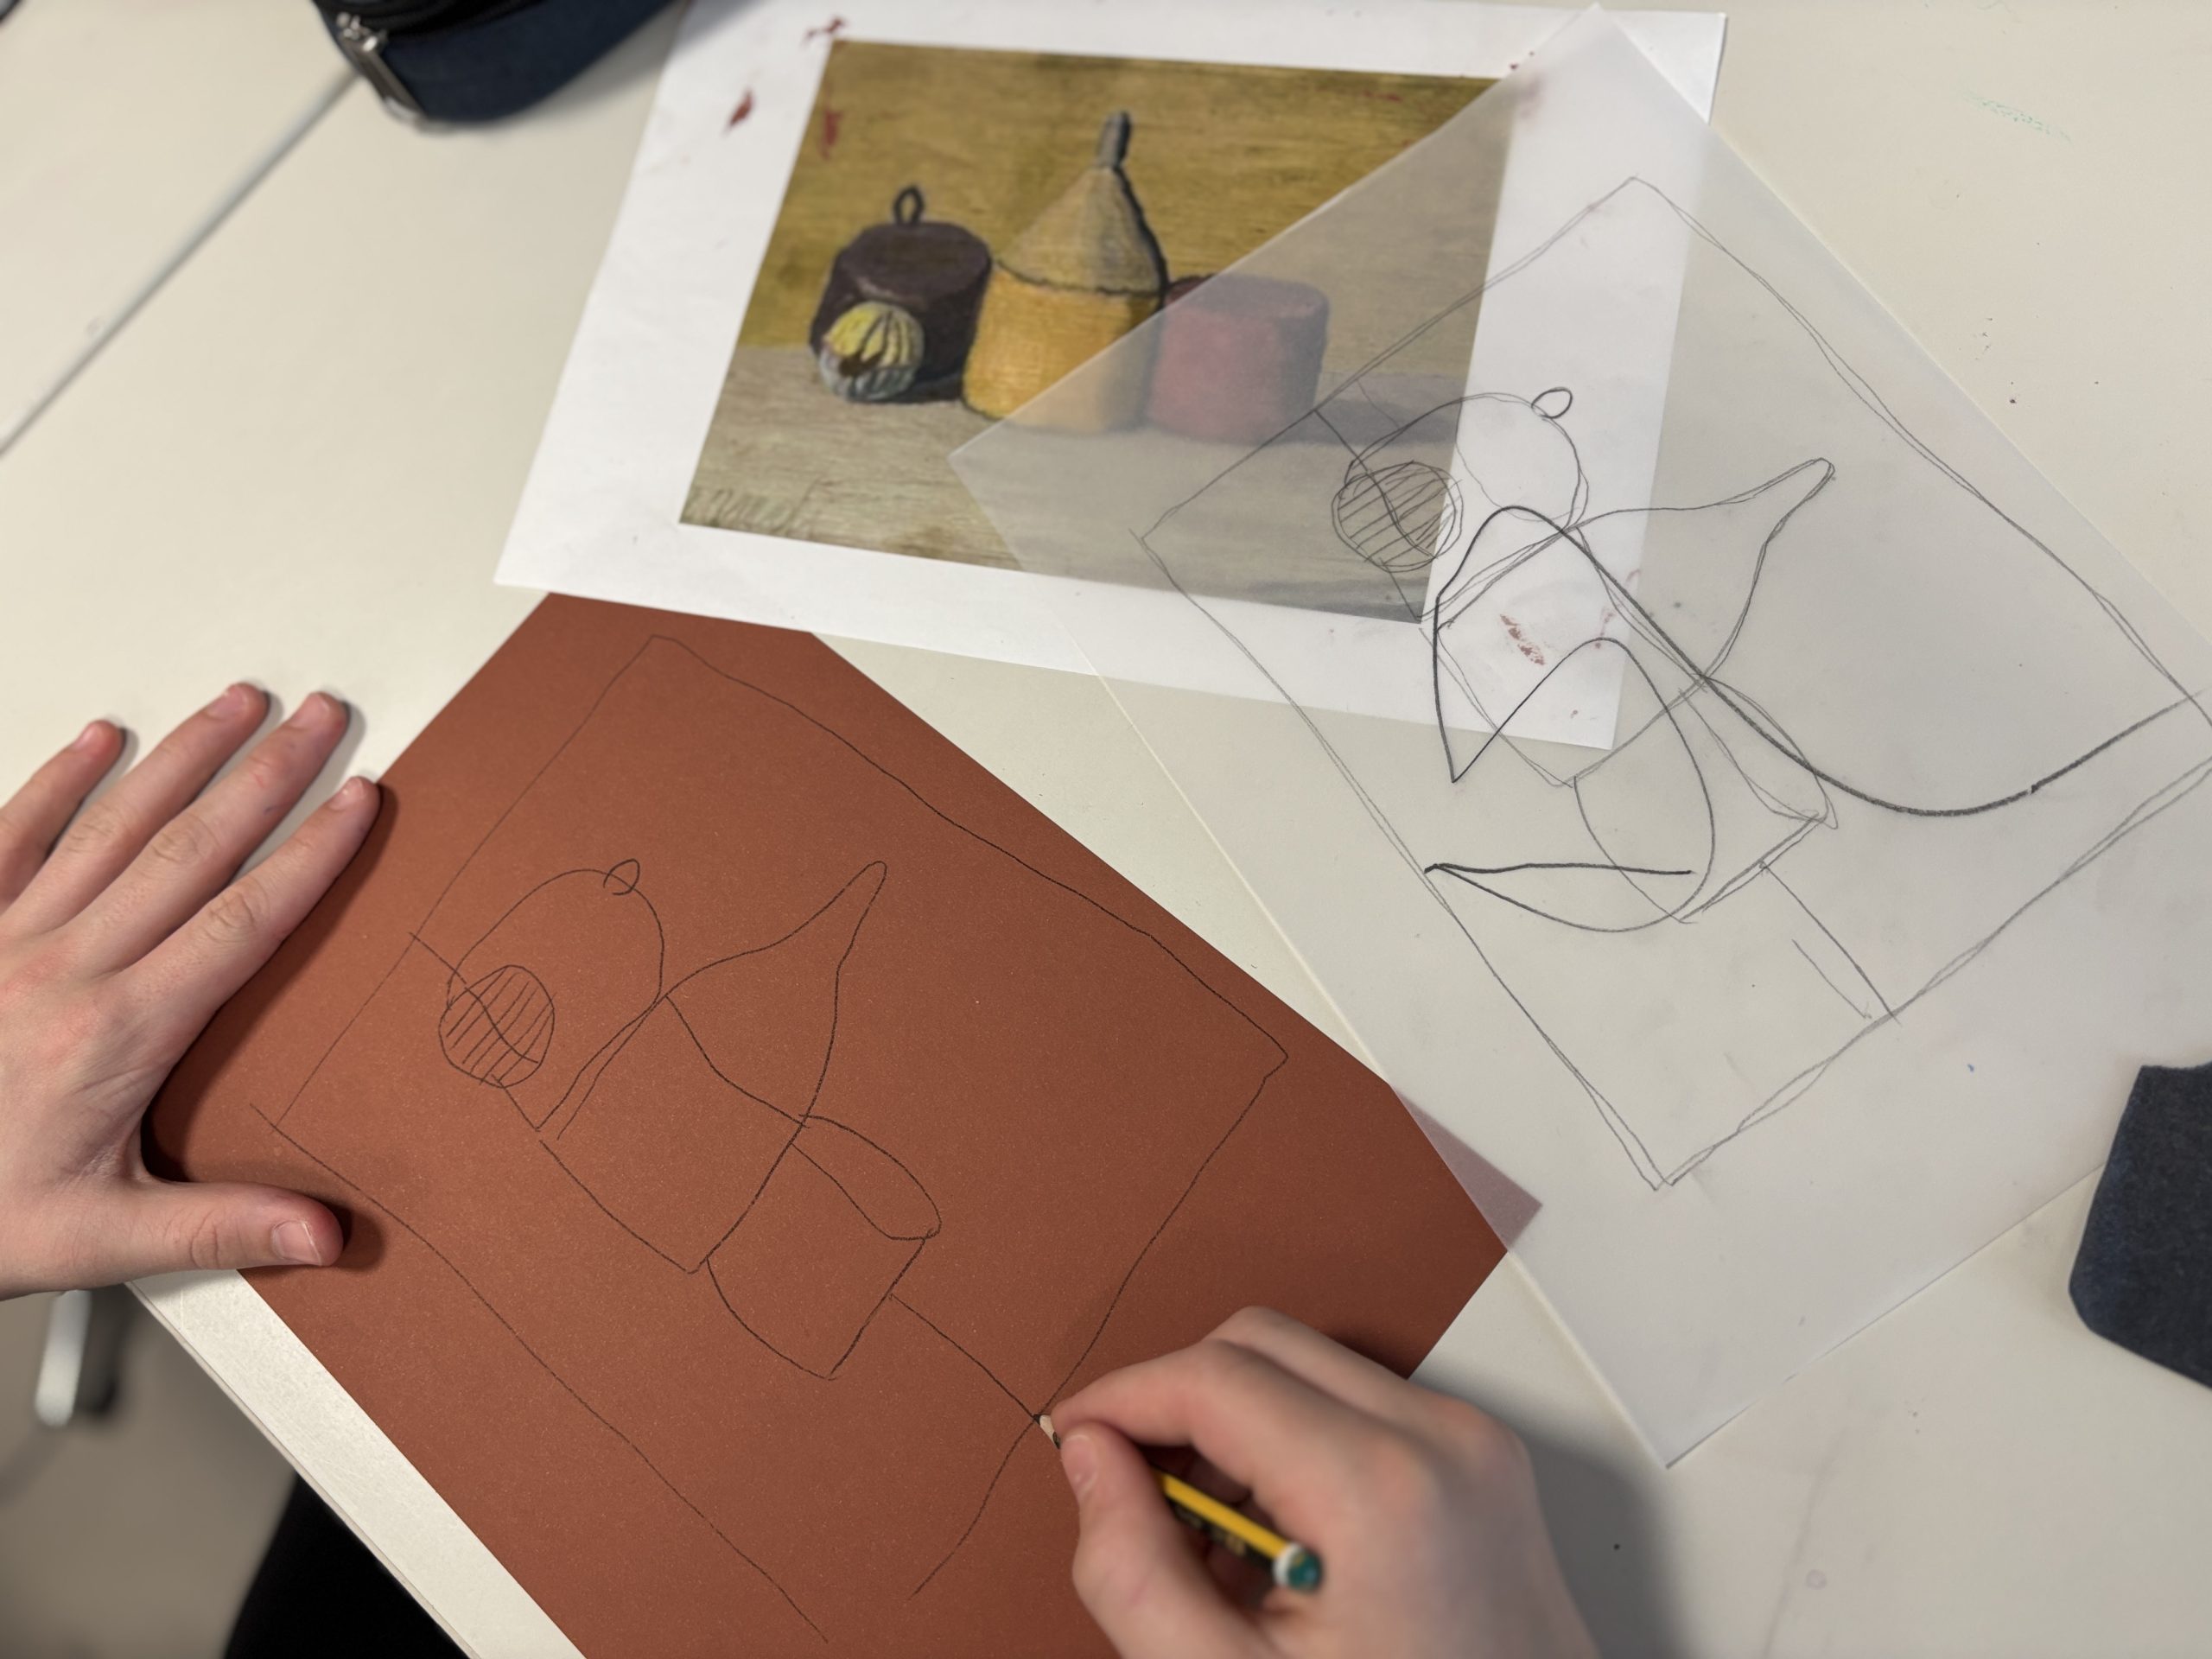
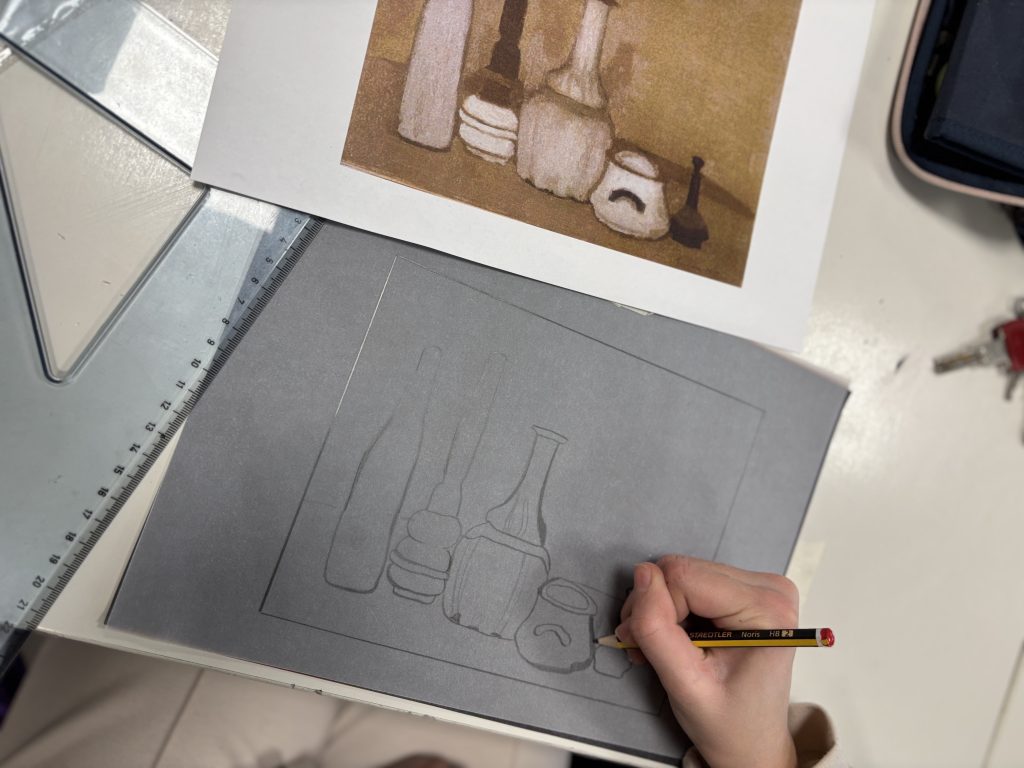
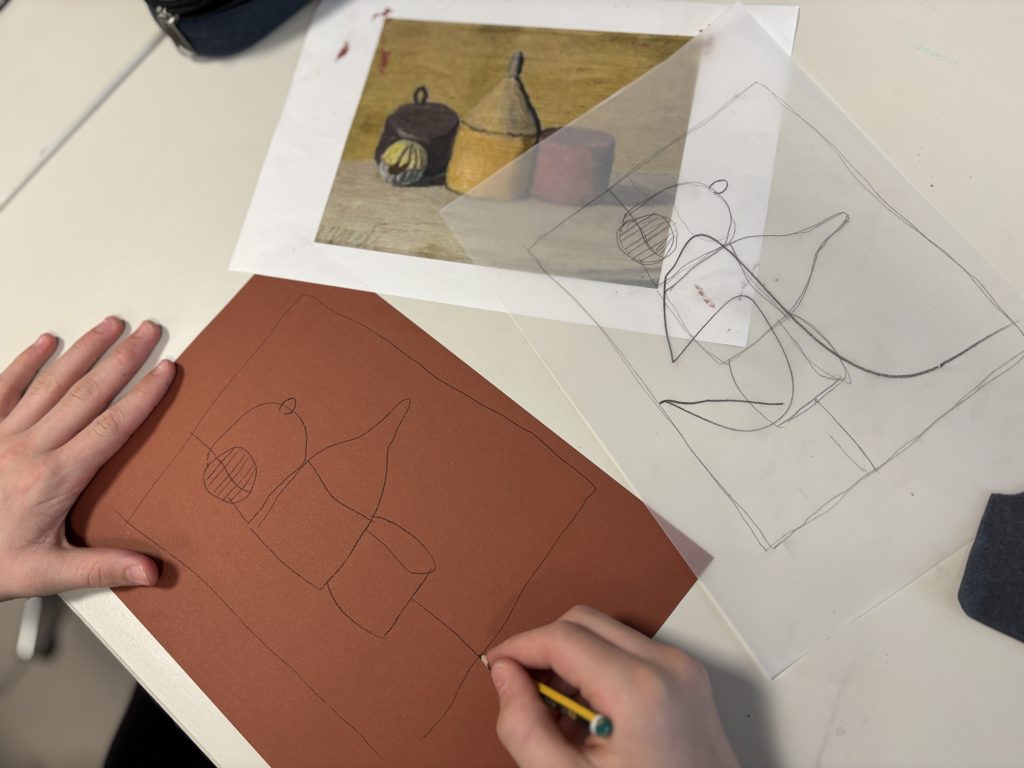
获得这份精细的“线条地图”后,我们用复写纸将其转印至棕色卡纸上。此阶段要求极高精度——既要准确转印原画外缘,也要完整复制所有先前标出的内部线条,从而为后续在彩色底板上的绘画阶段打下完美基础。
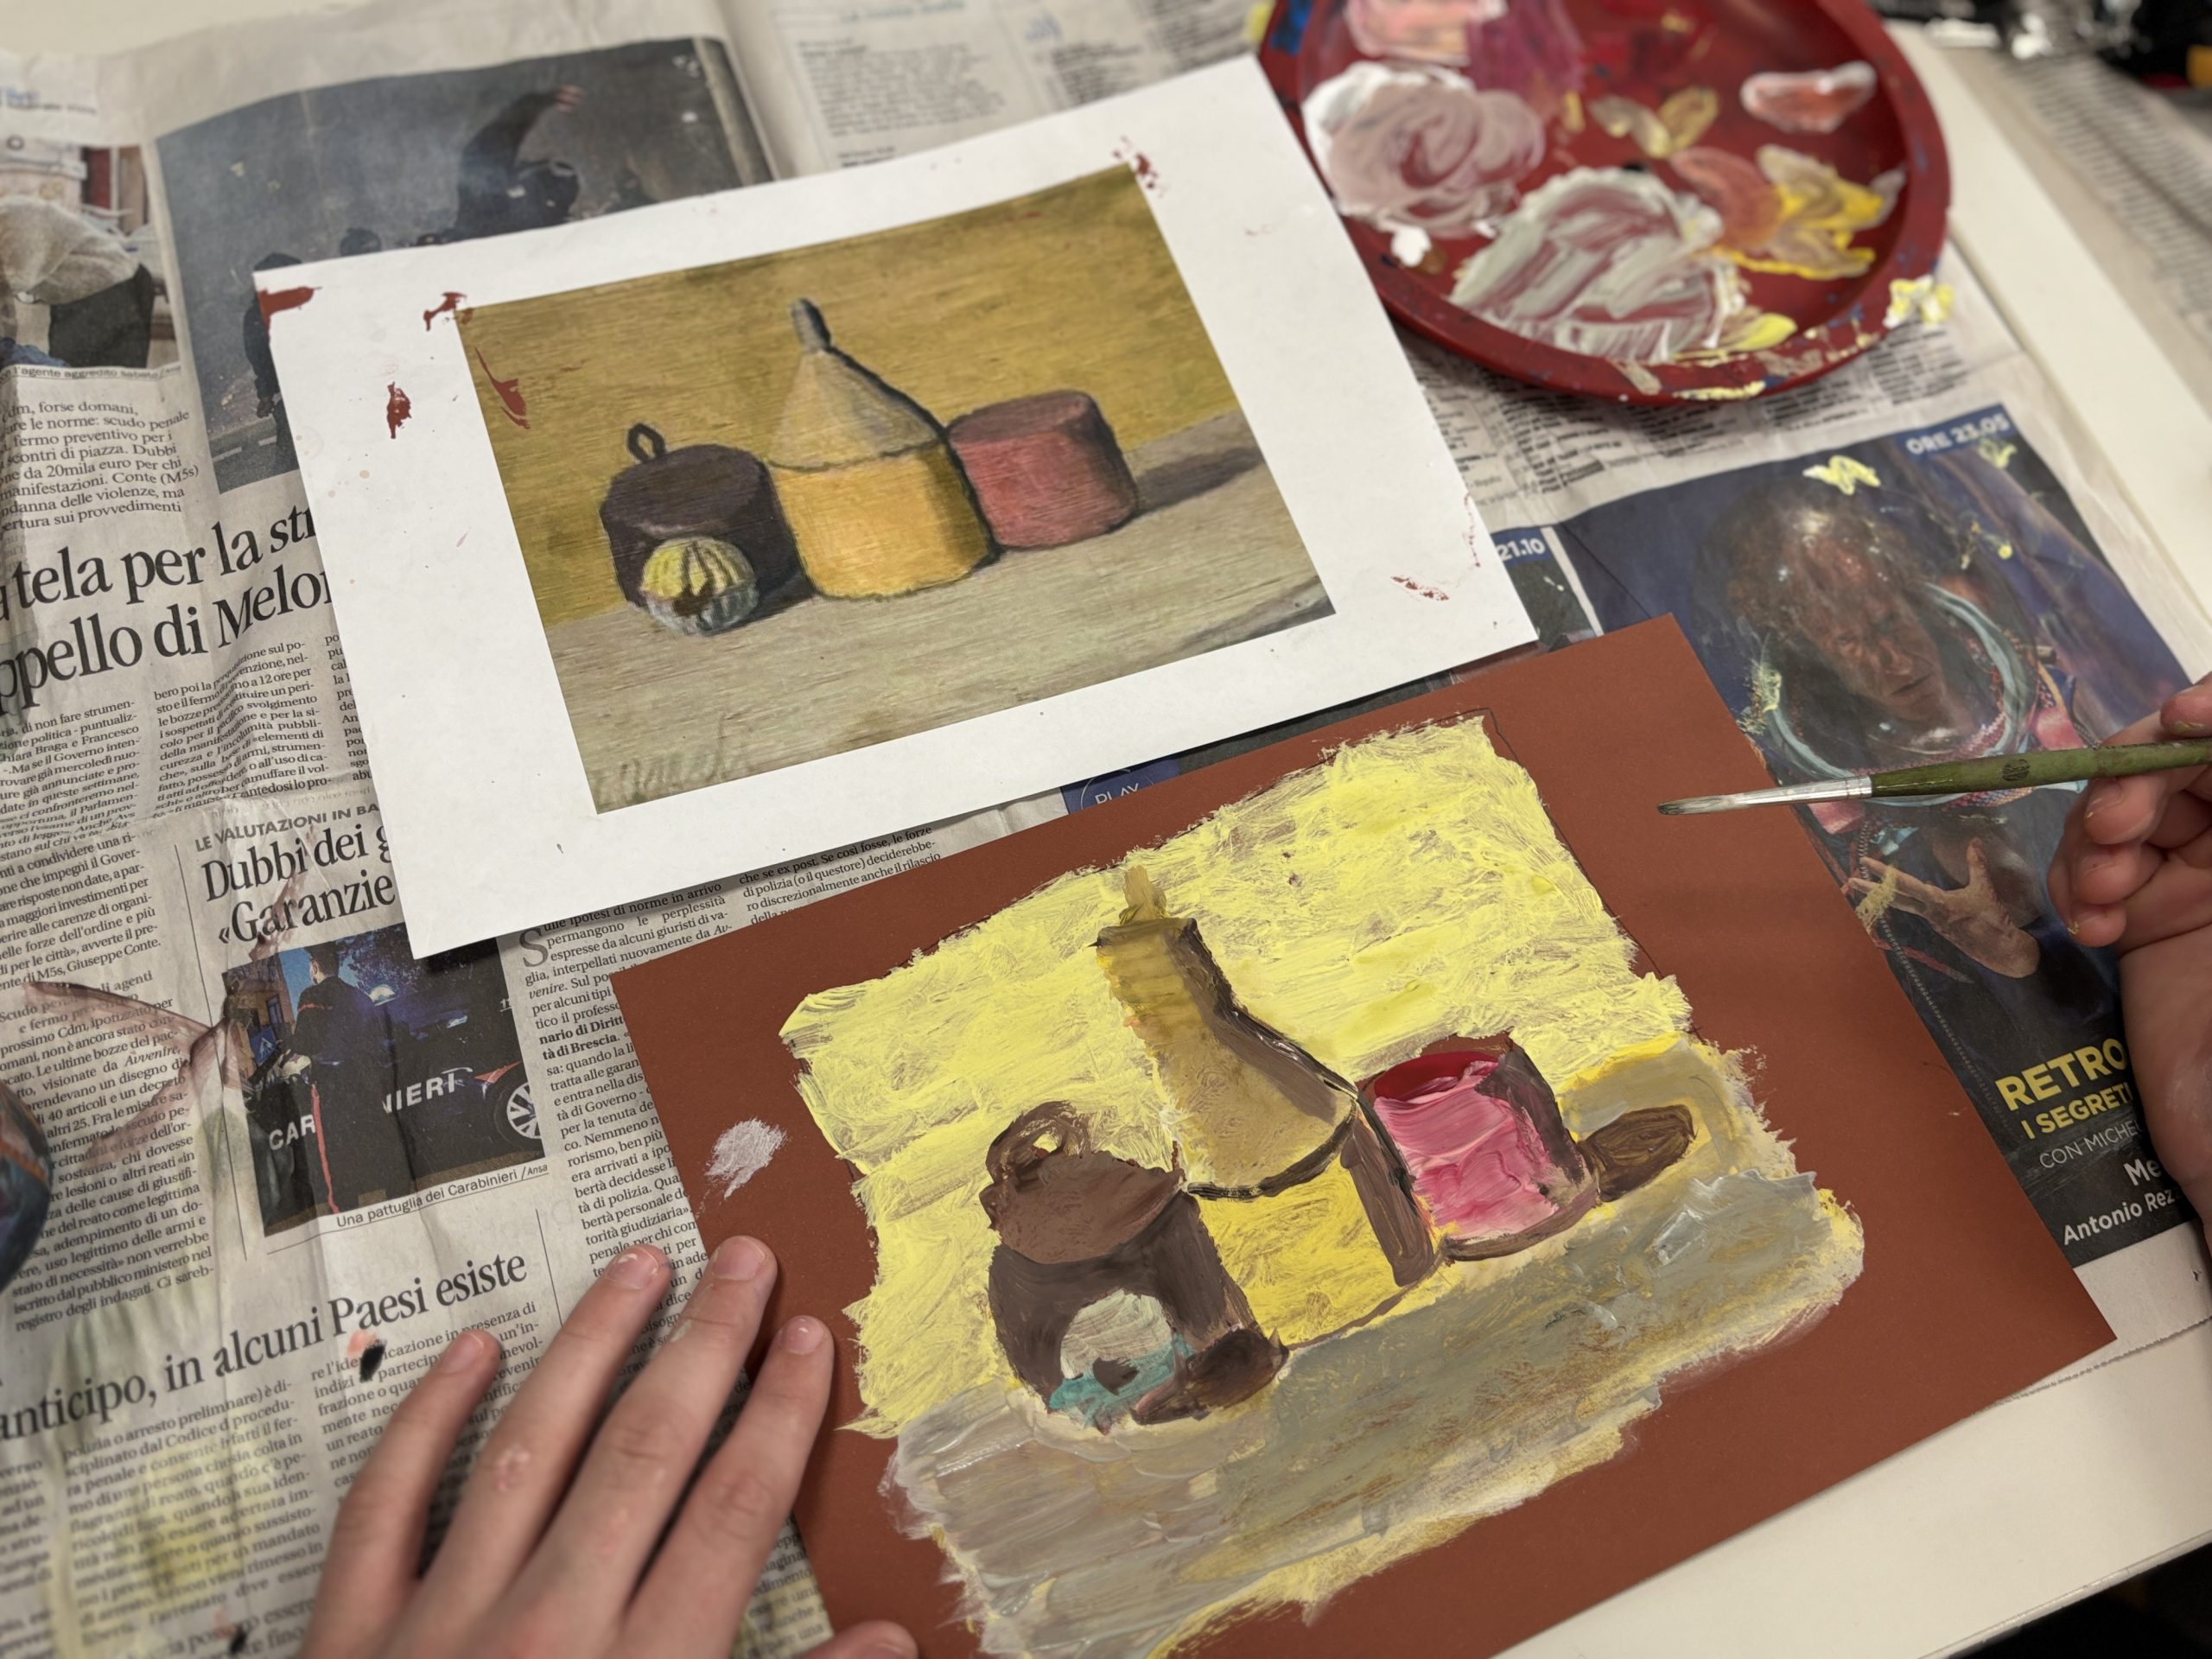
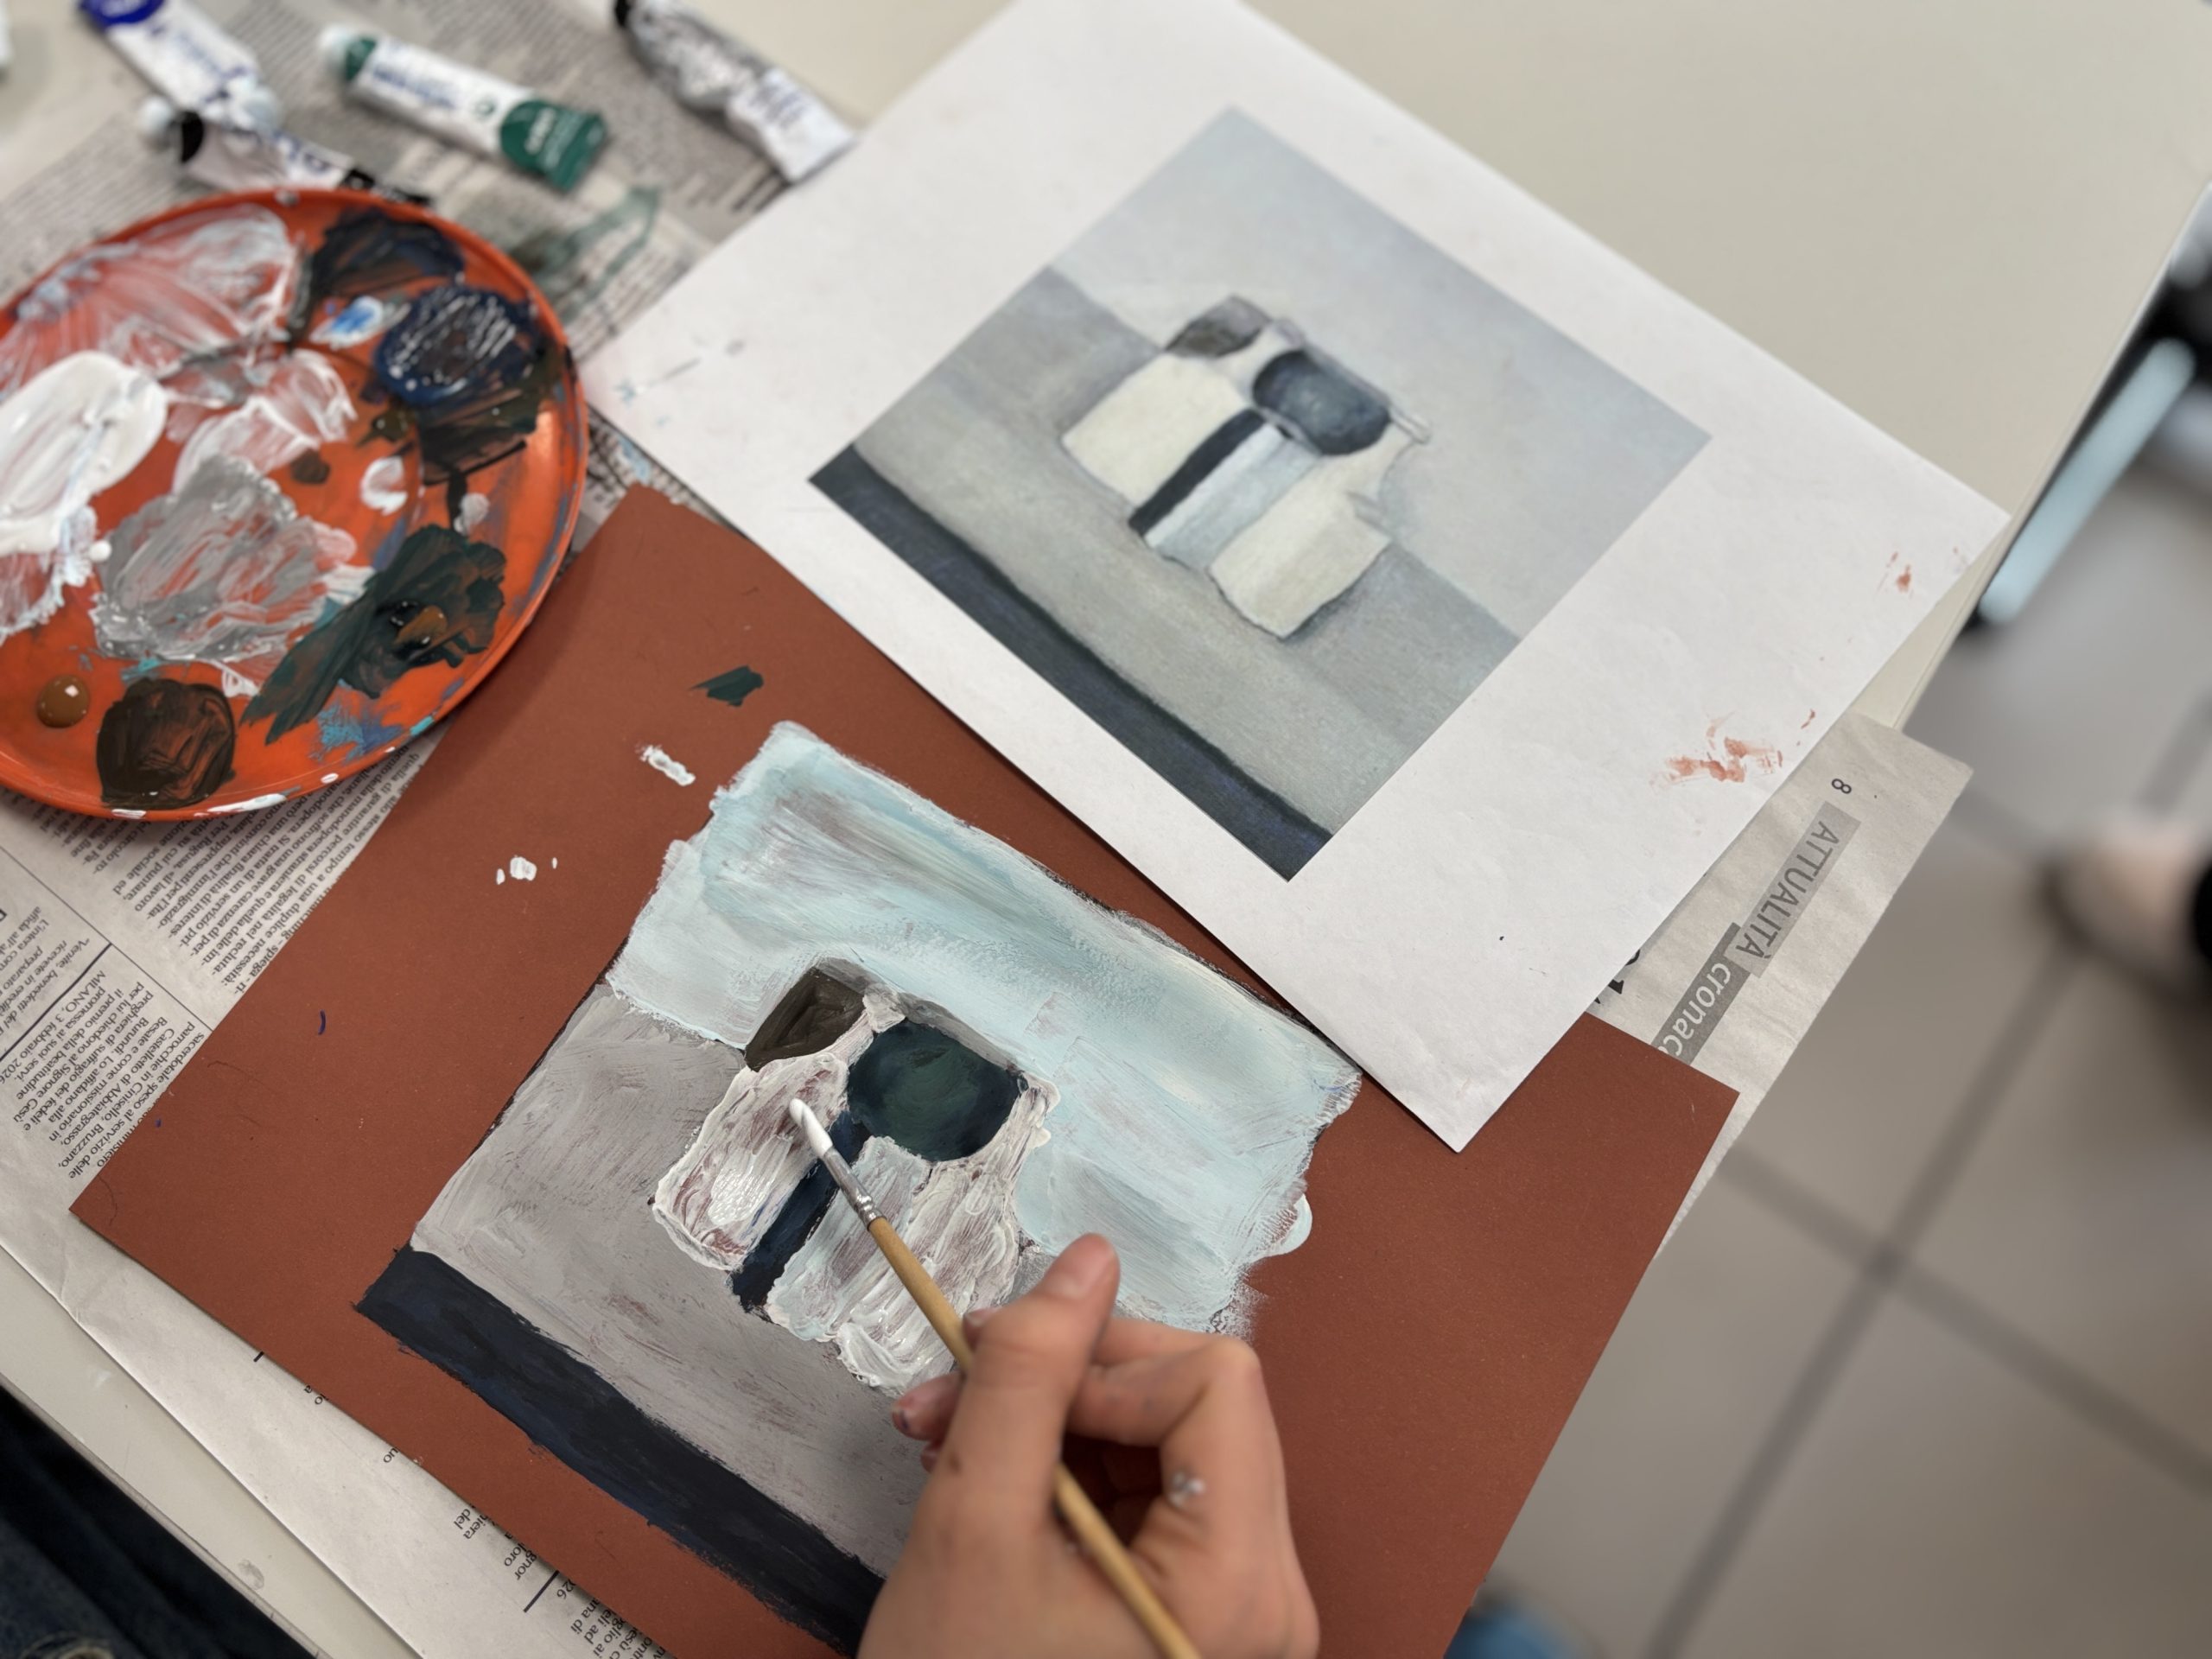
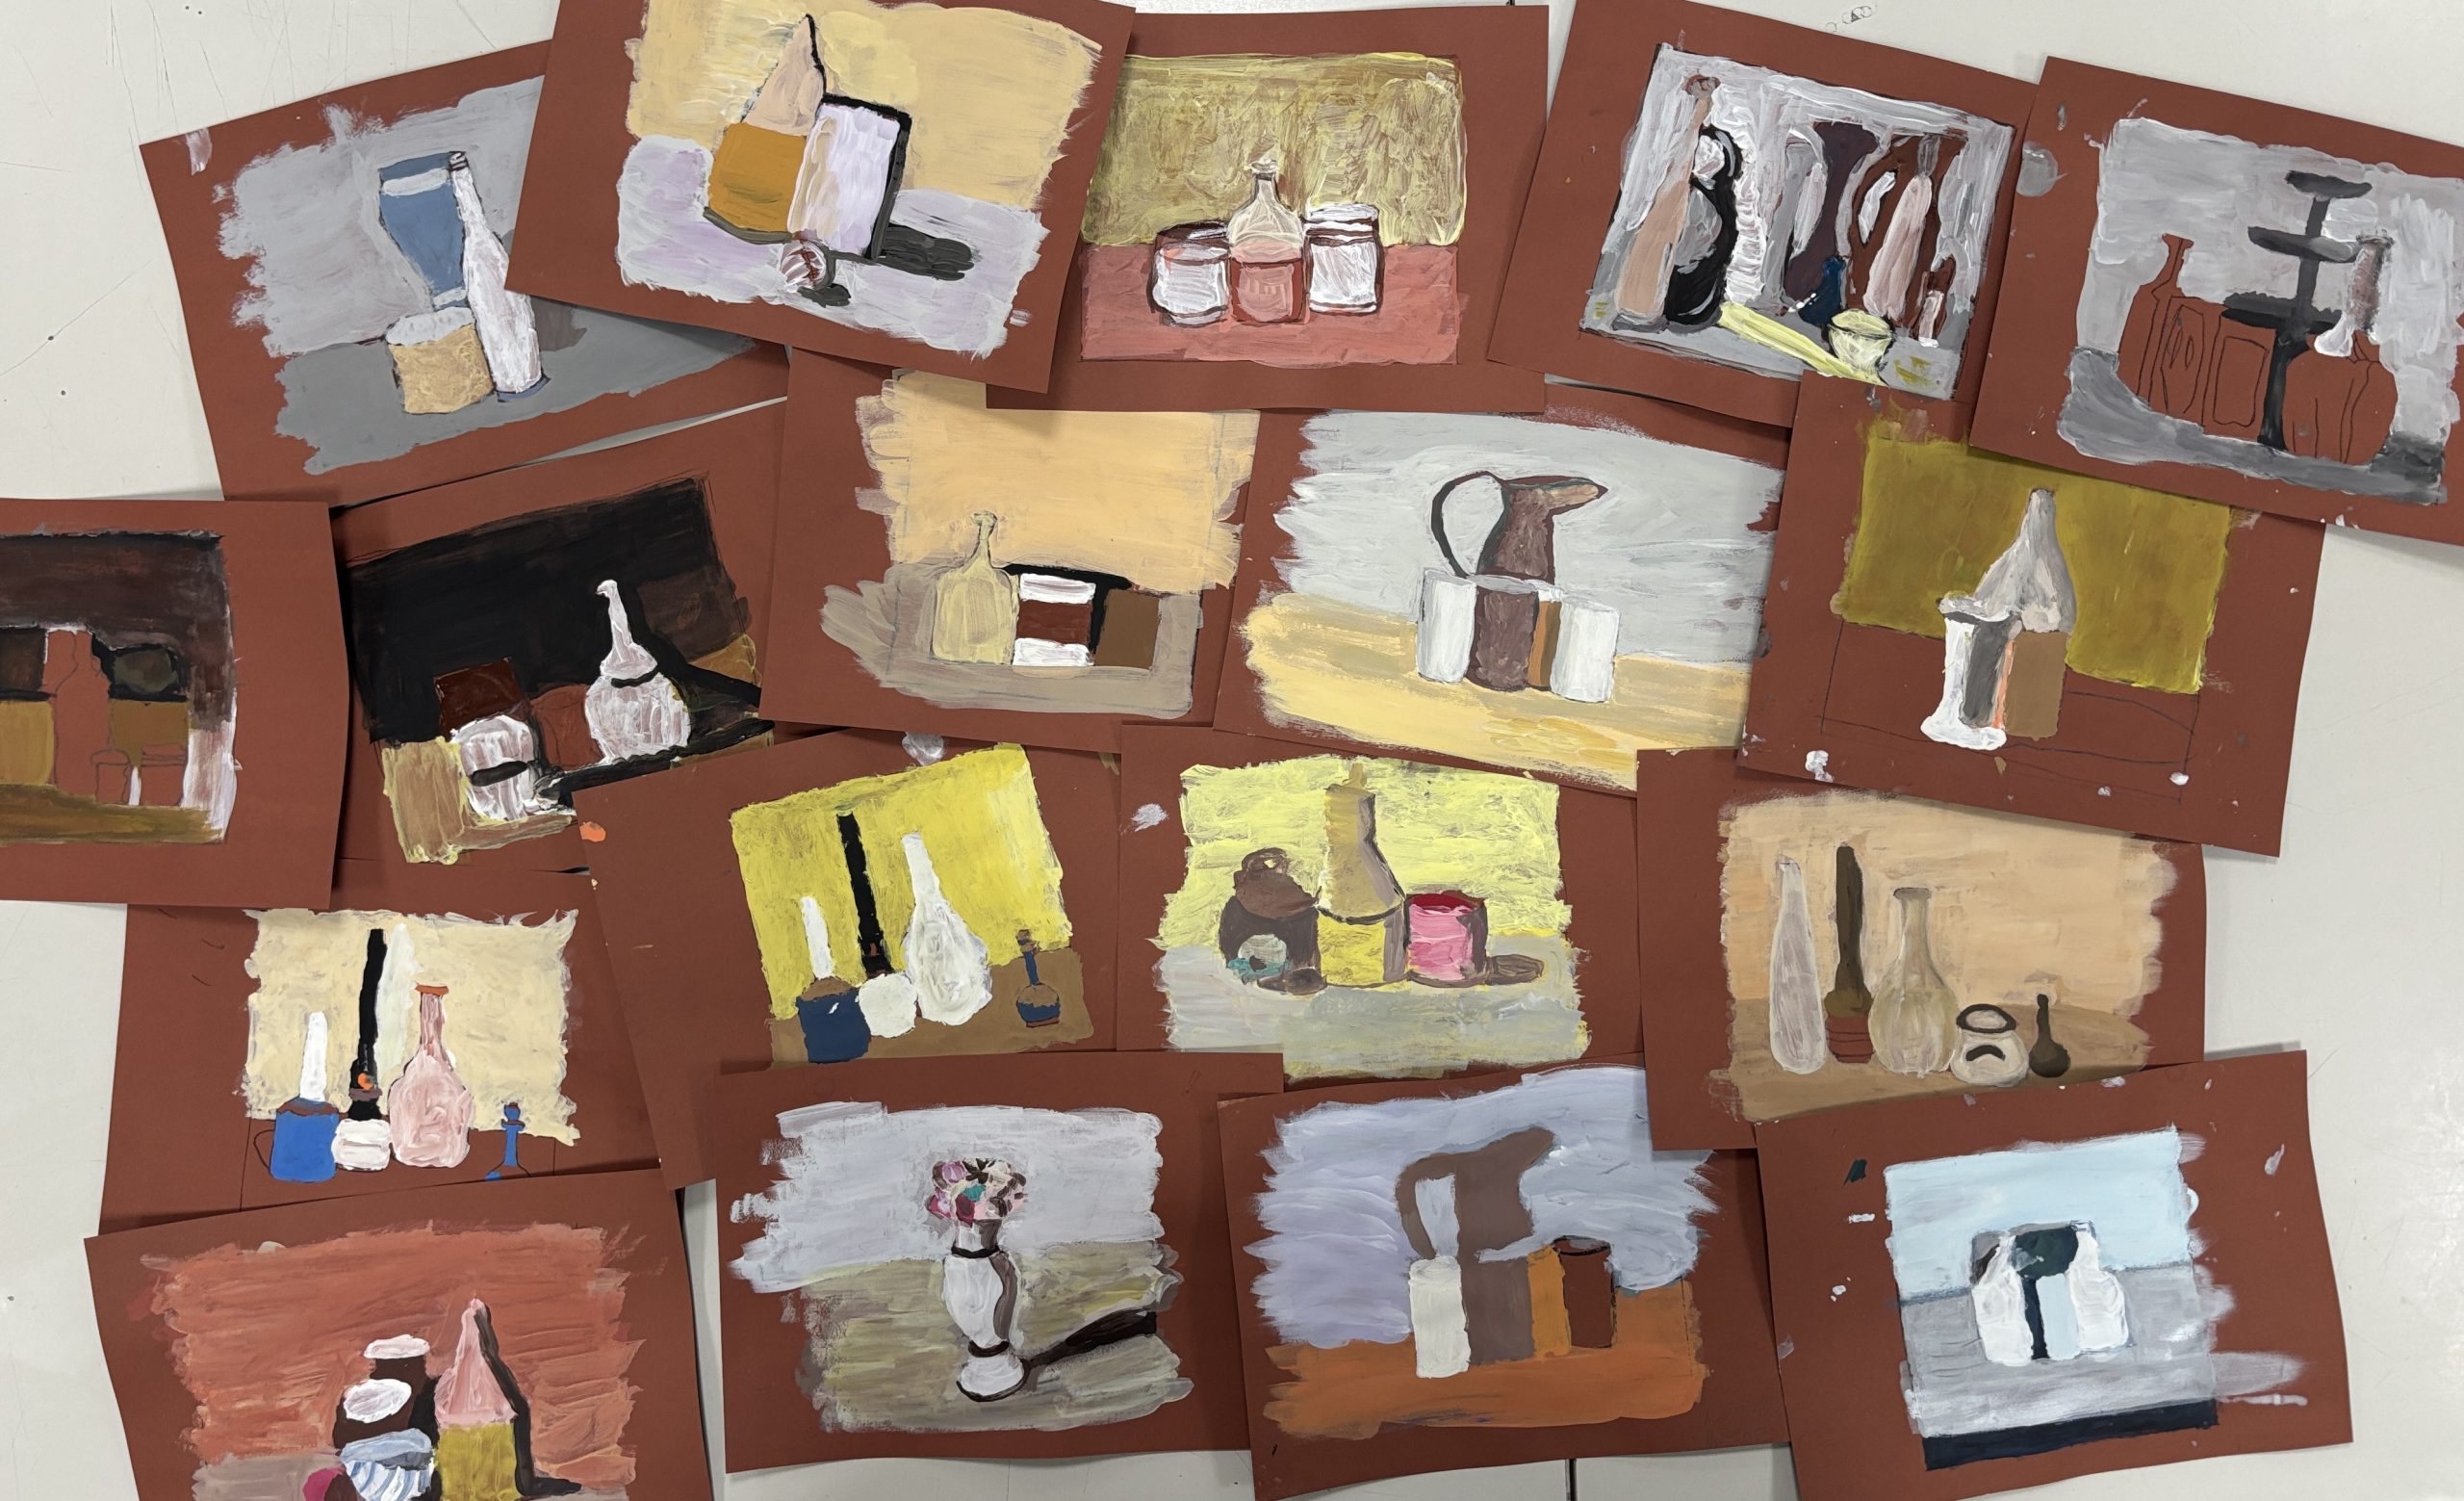
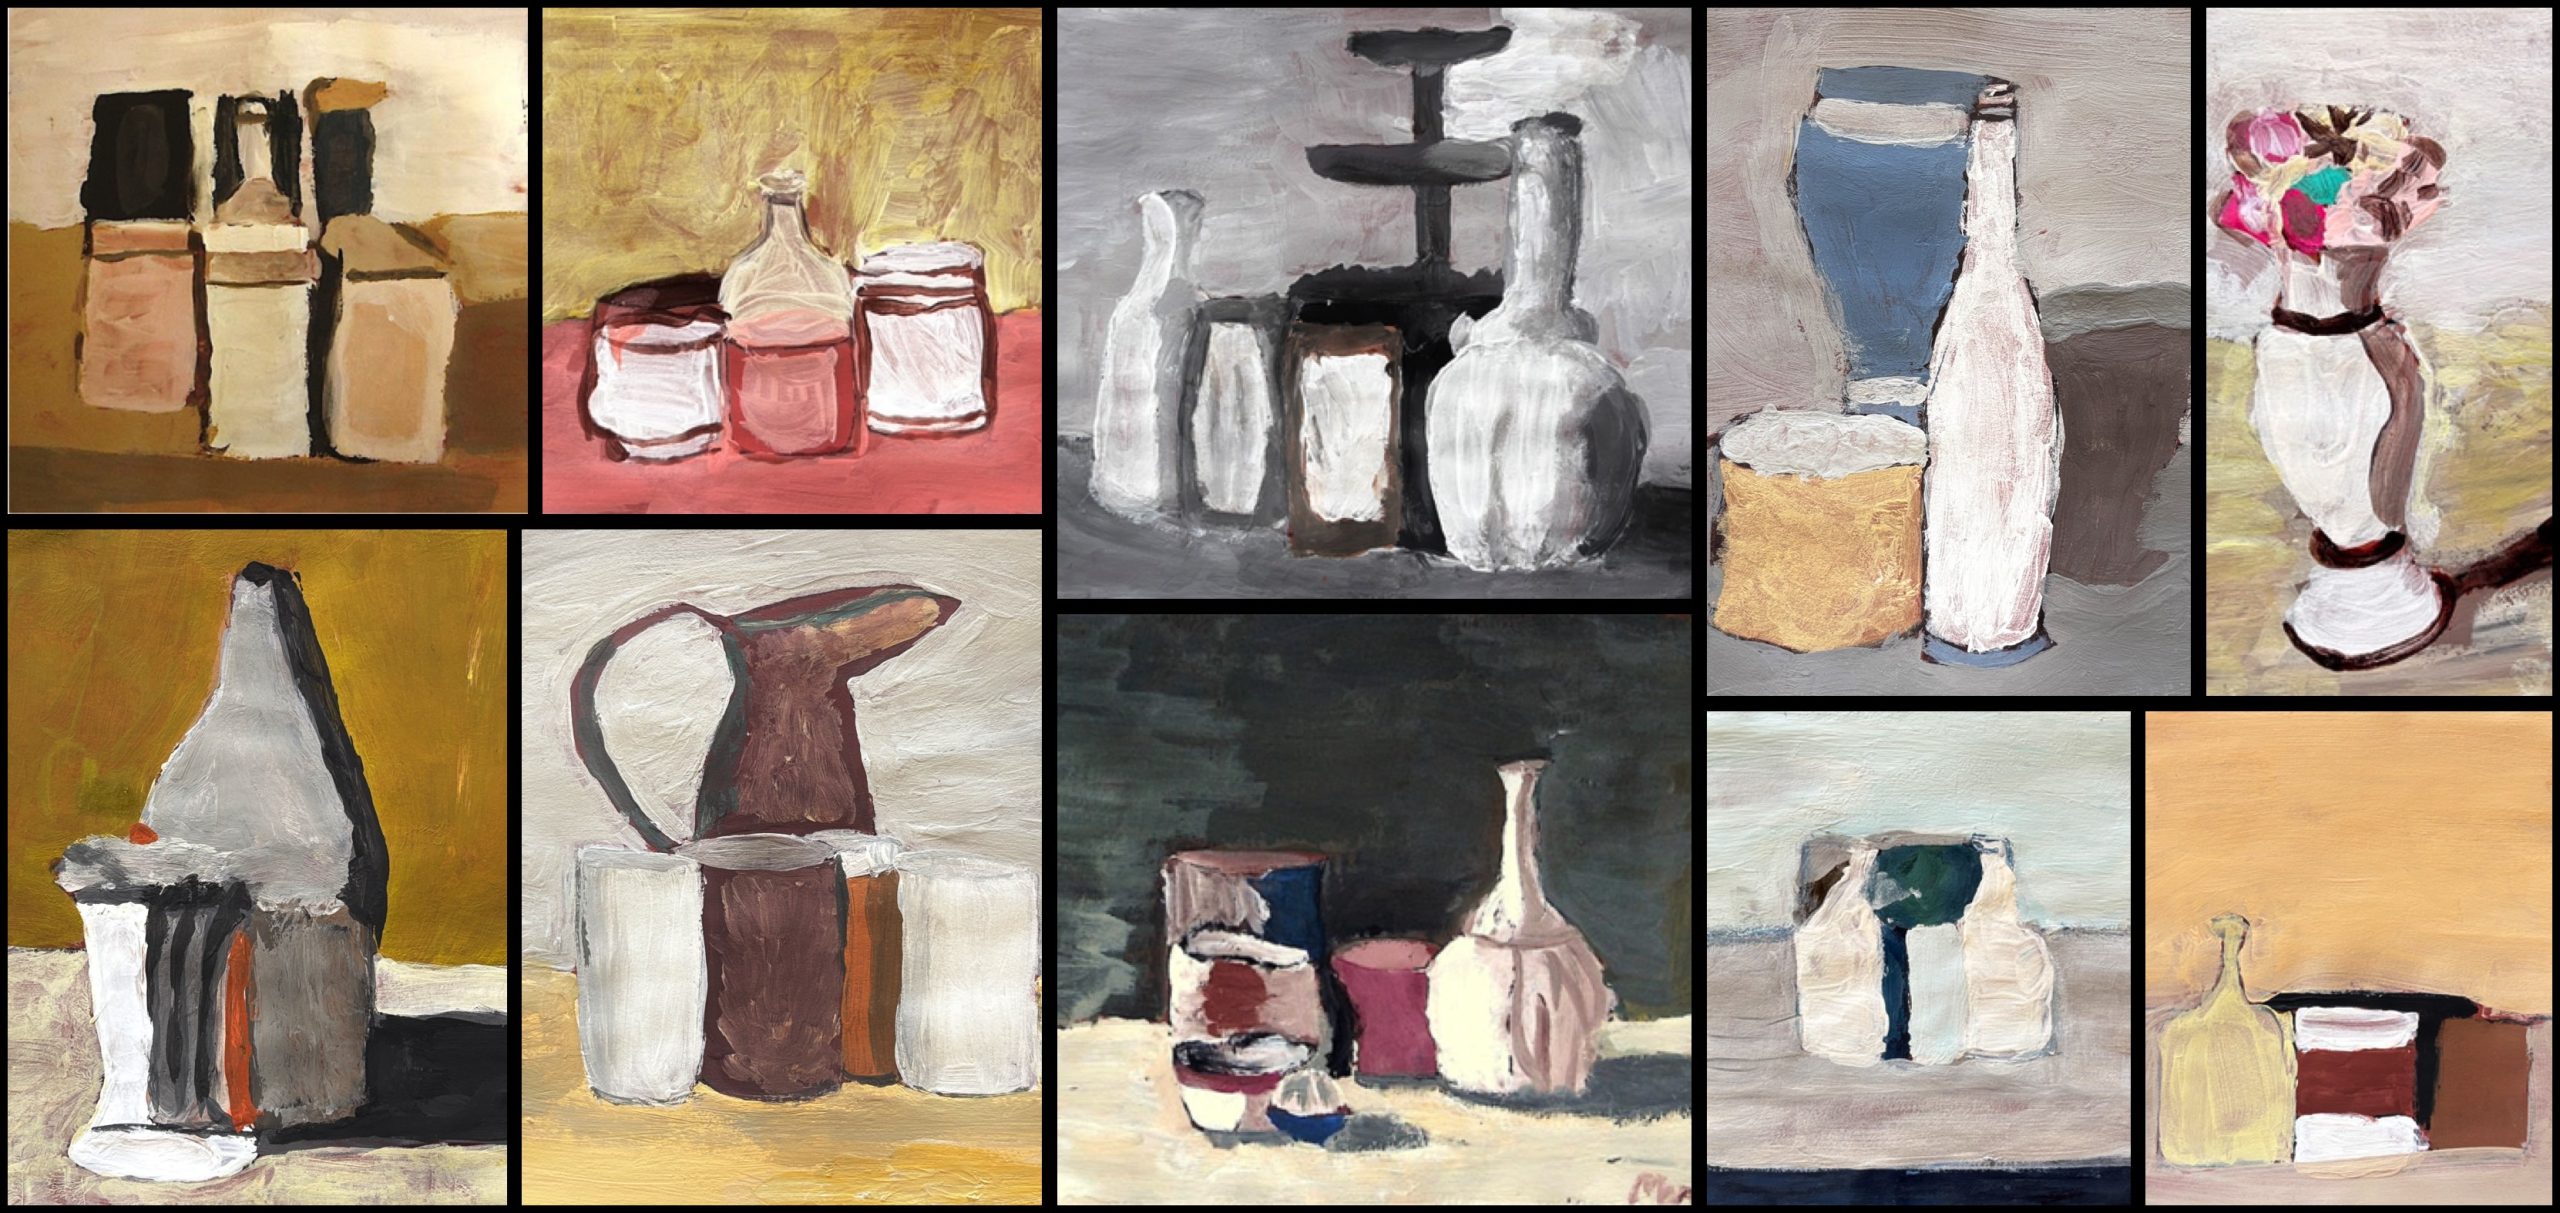
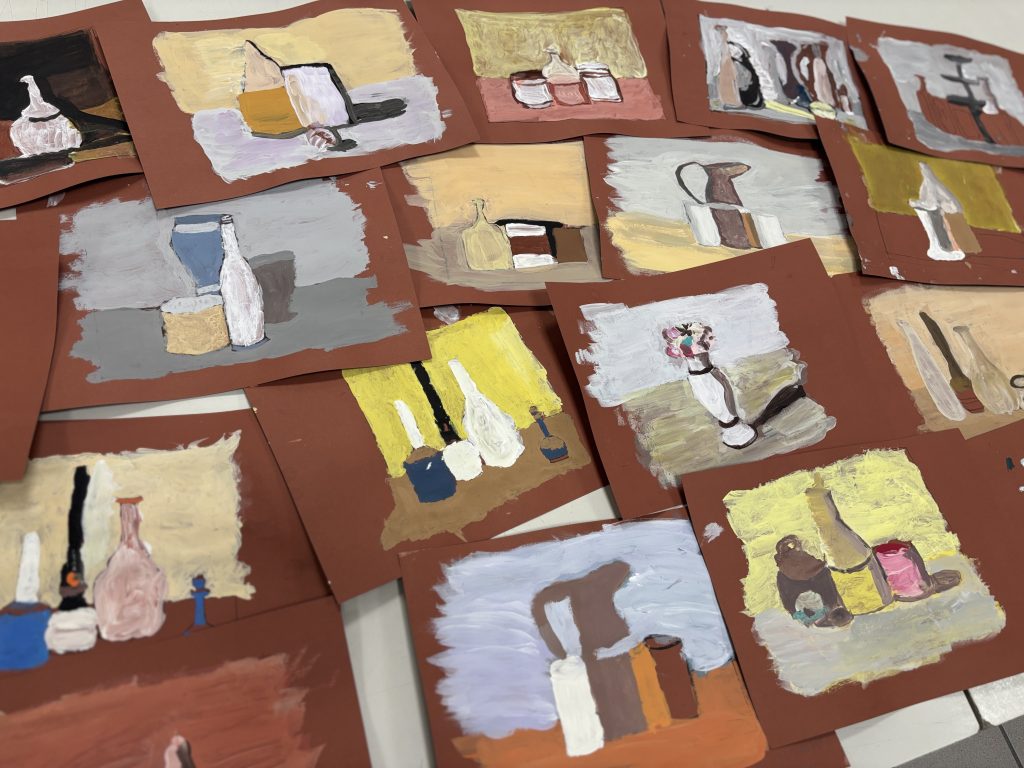
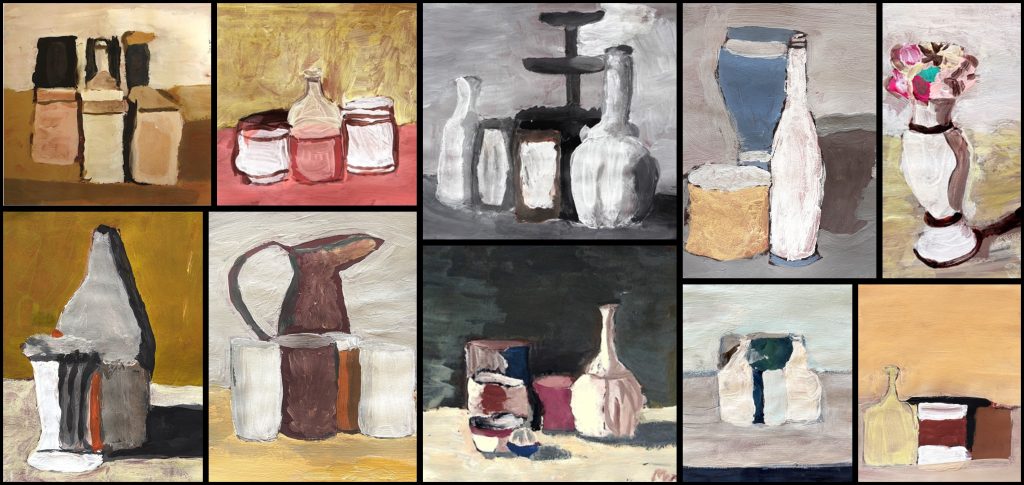
接着进入蛋彩颜料绘制环节,努力模仿莫兰迪厚重、膏状(impasto)的肌理效果与含蓄内敛的色调。核心挑战在于调色:我们实践所学的色彩混合知识,通过巧妙运用黑白两色,调制出“有色彩倾向的灰色”及细腻的明度渐变,力求最大限度还原原作的色彩关系。
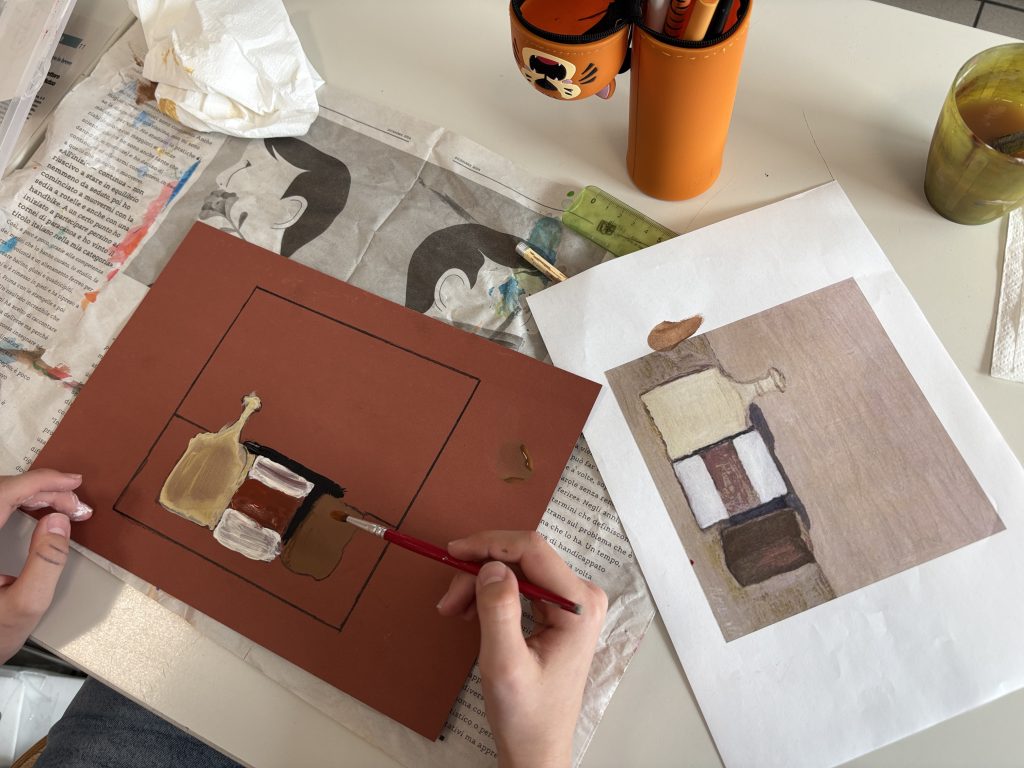
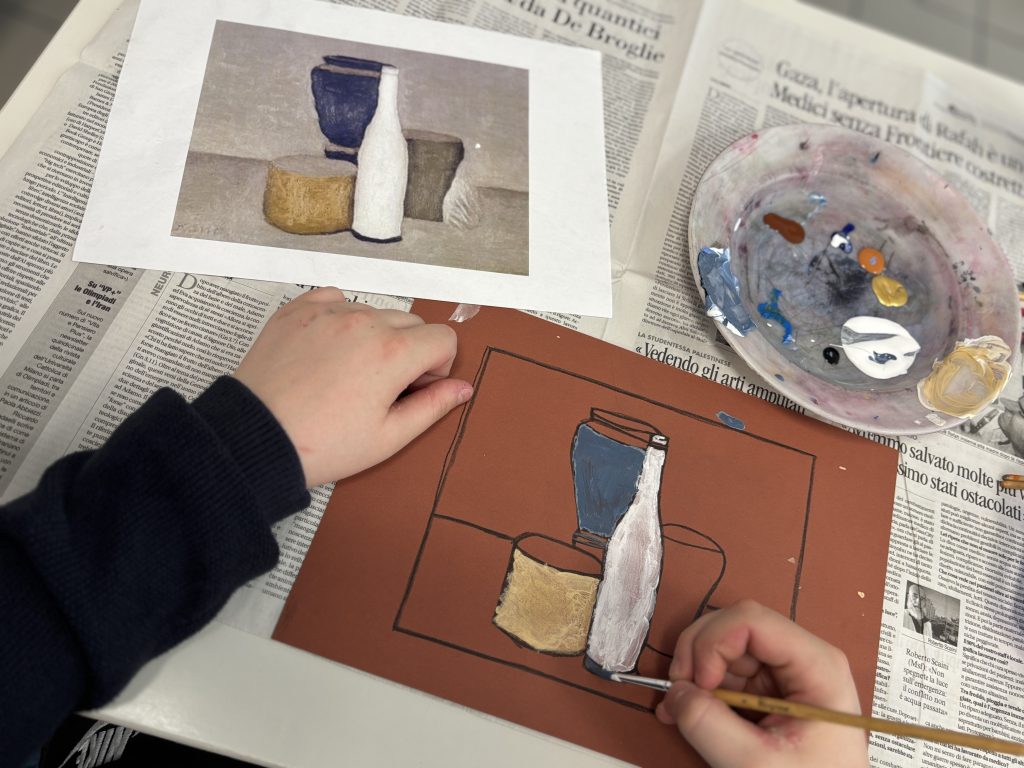
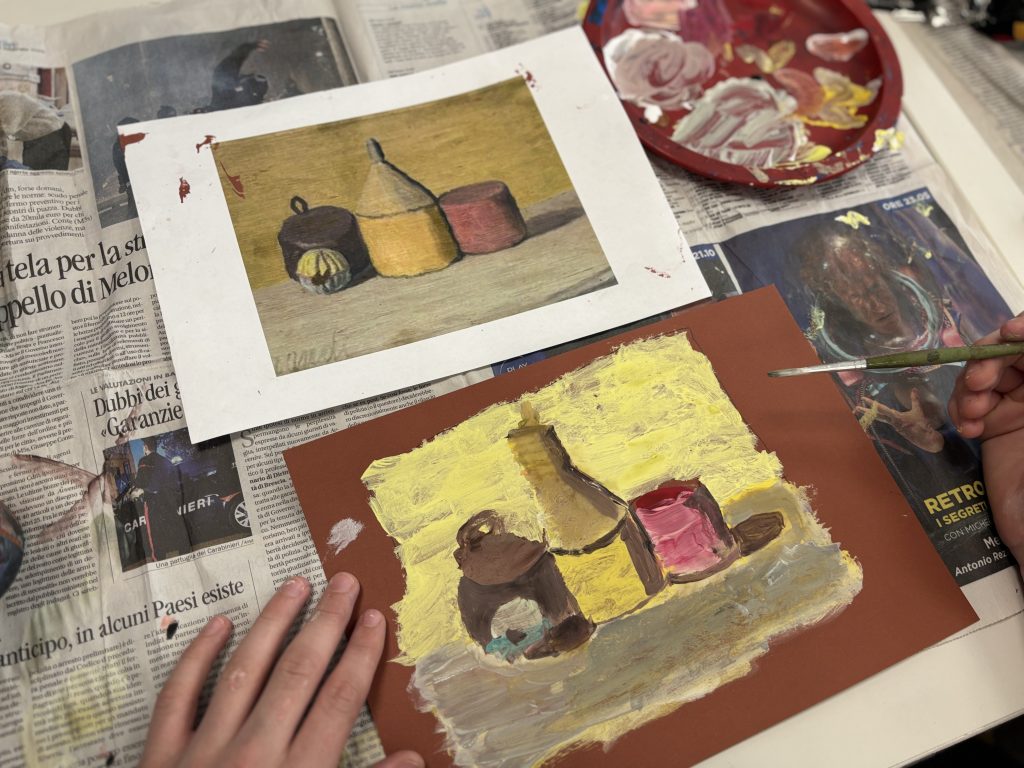
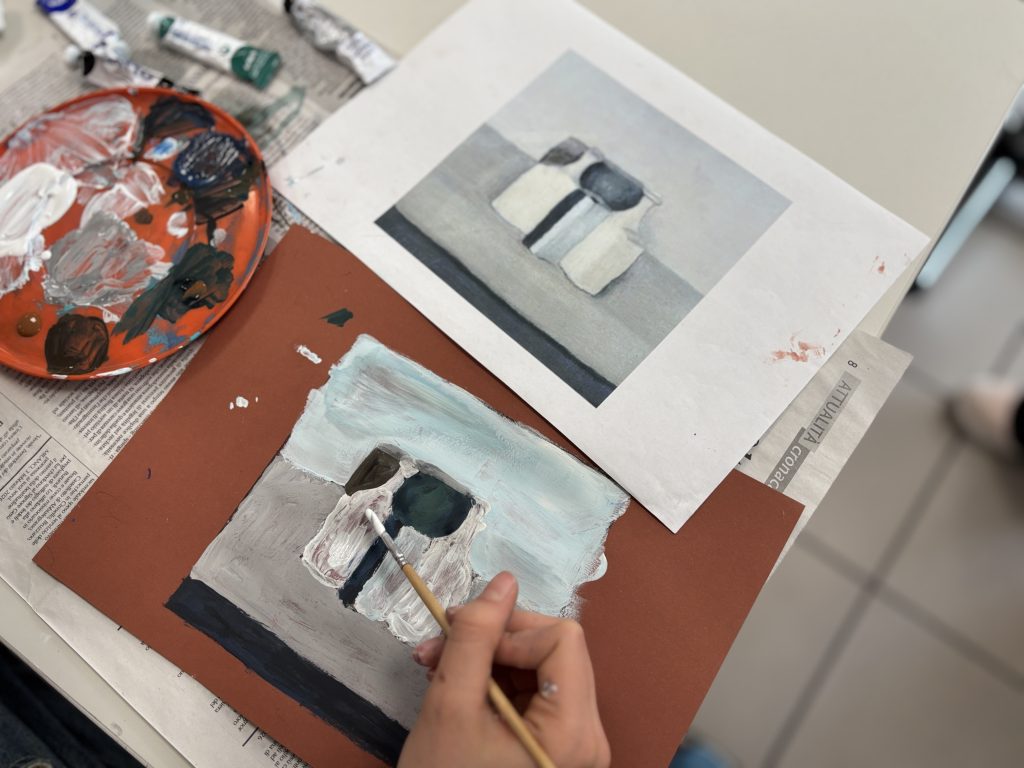
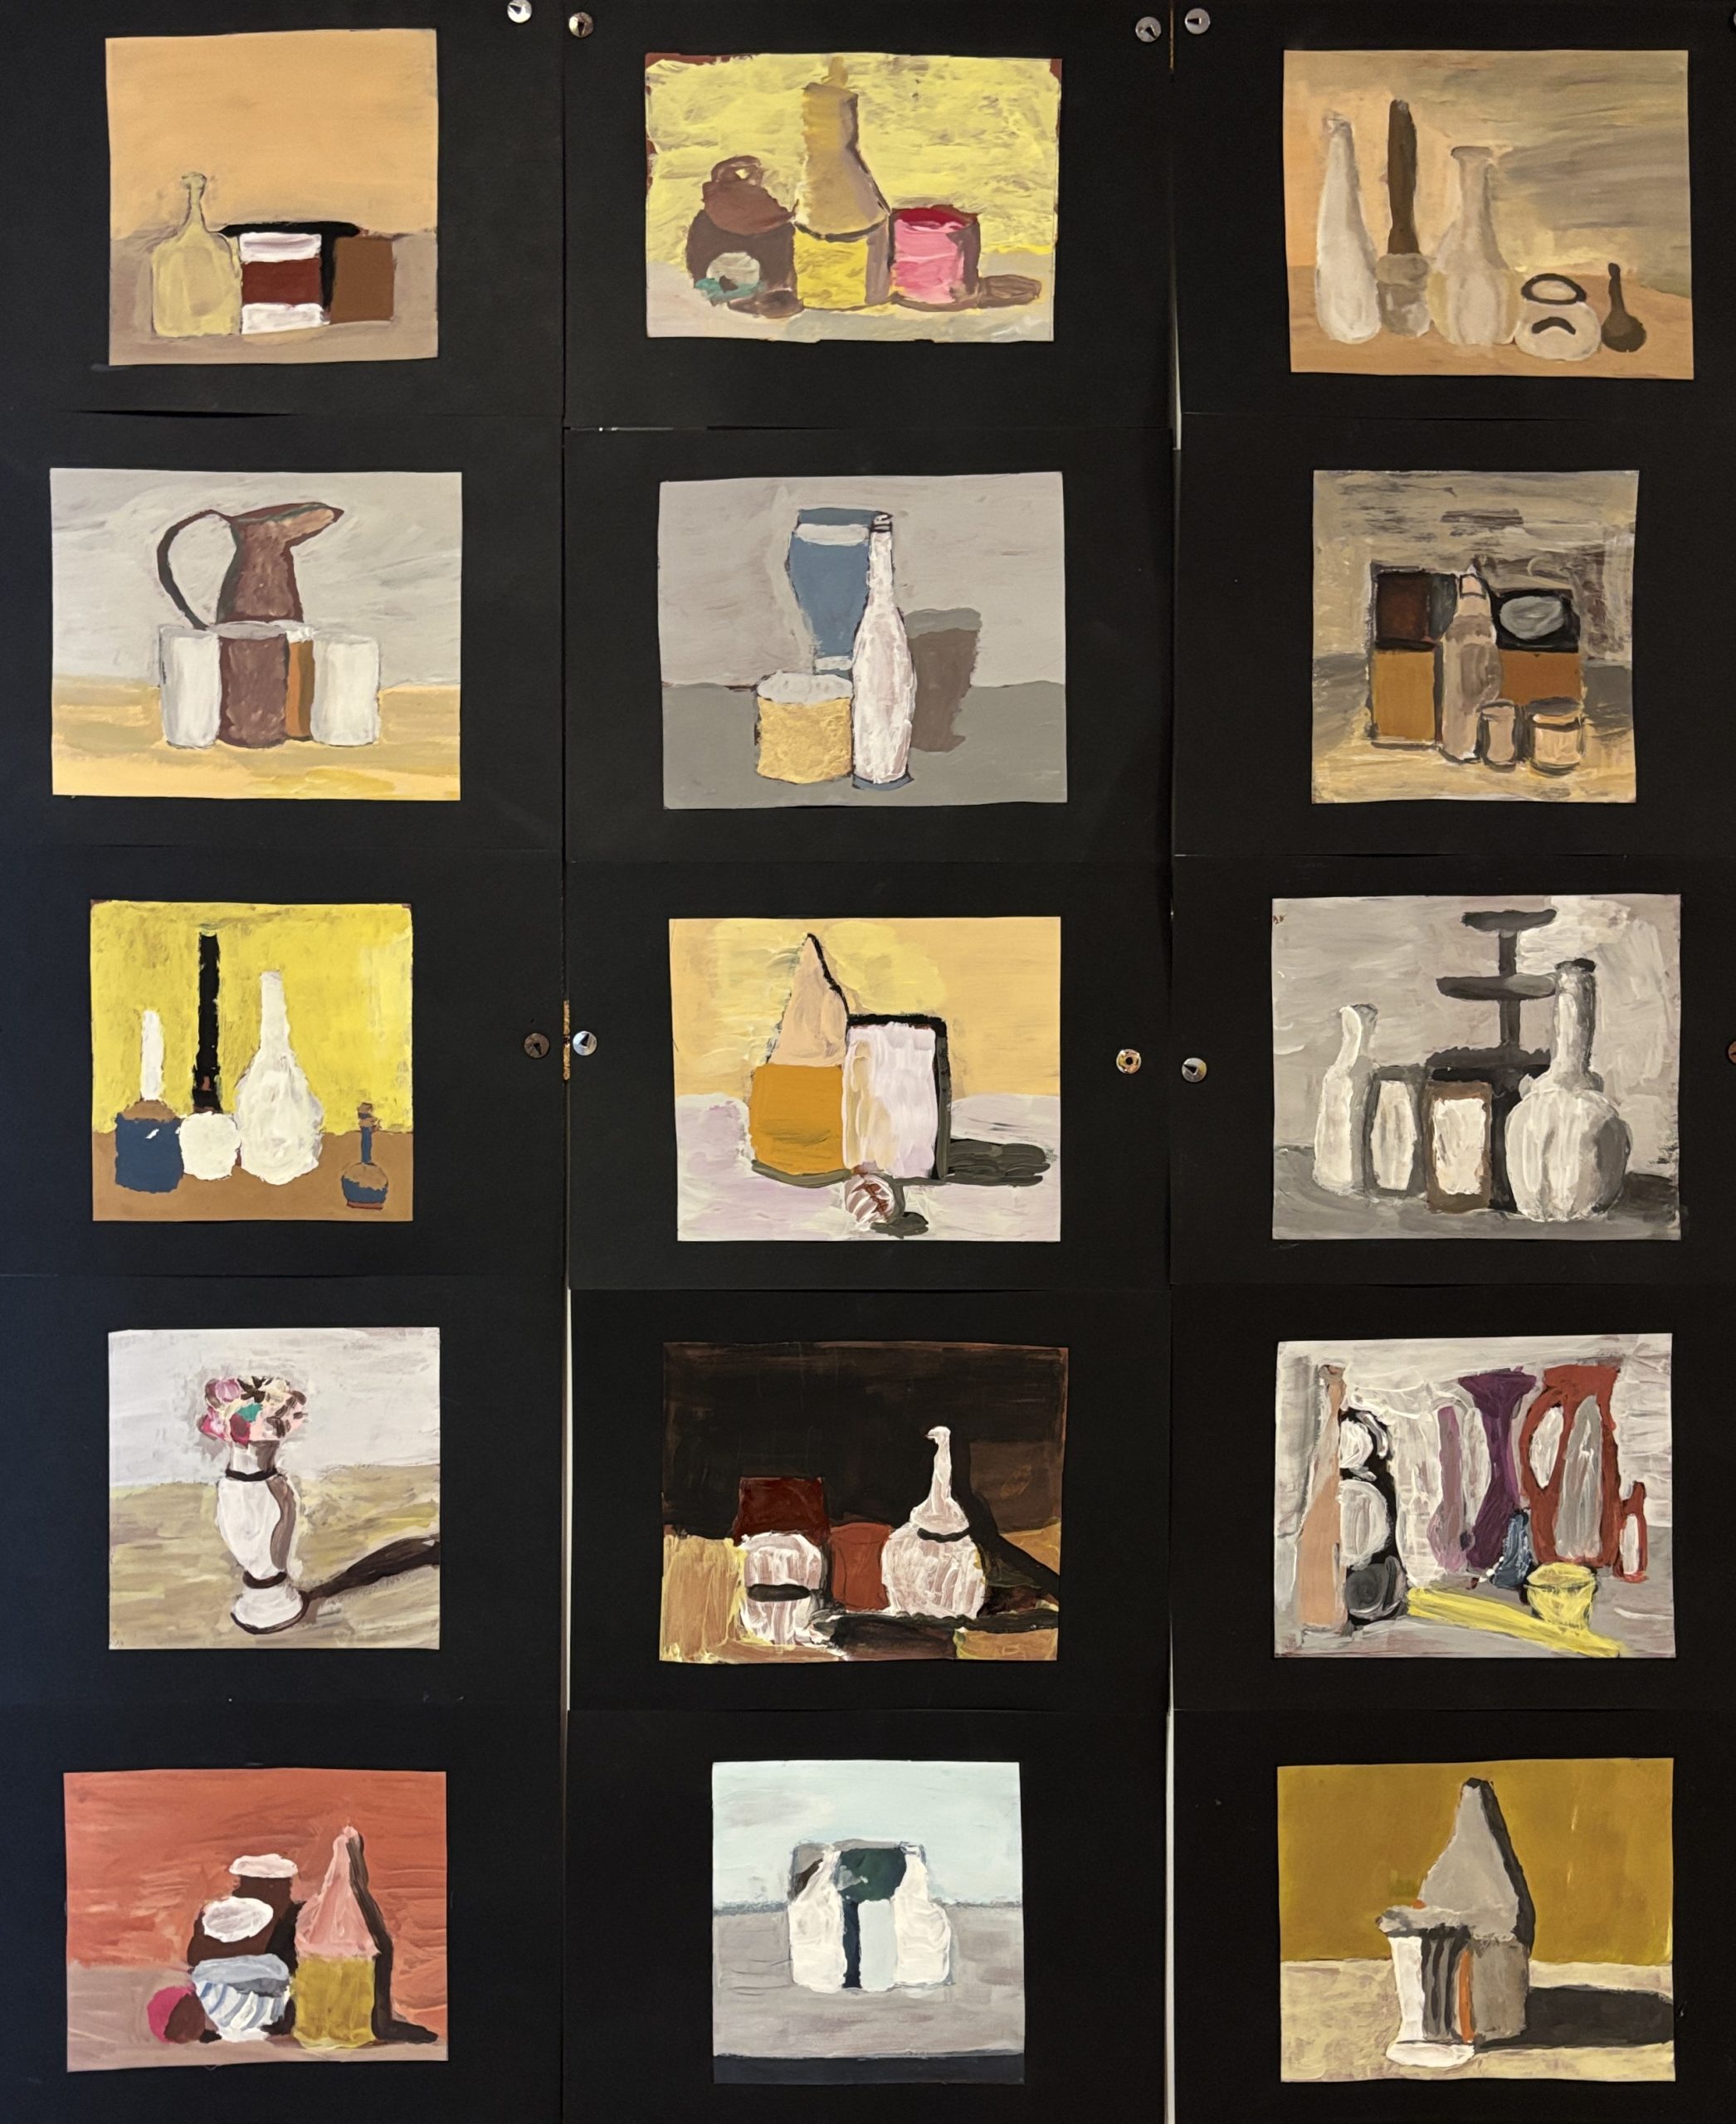
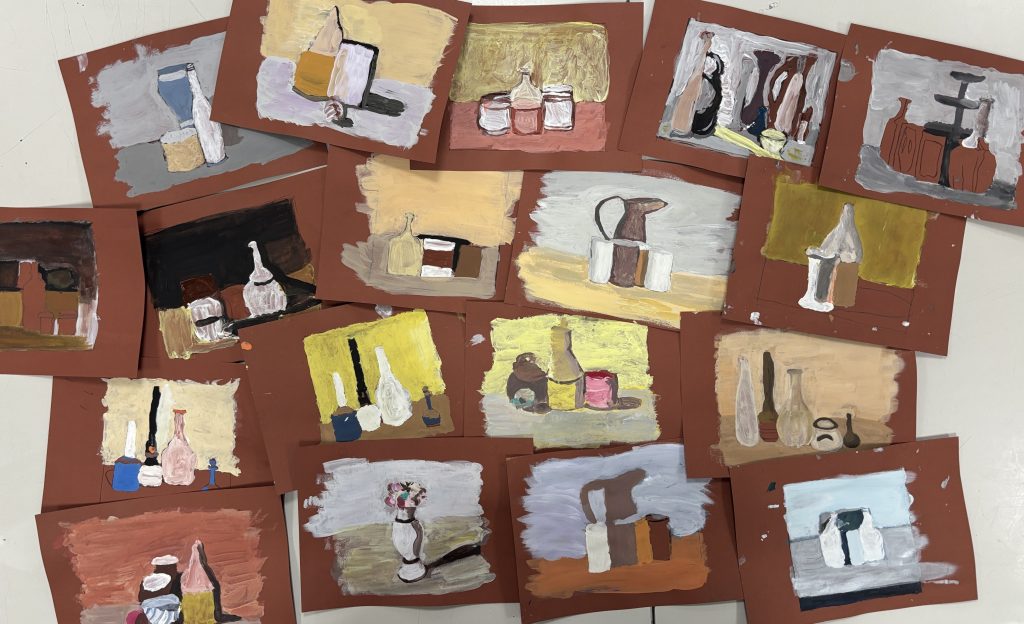
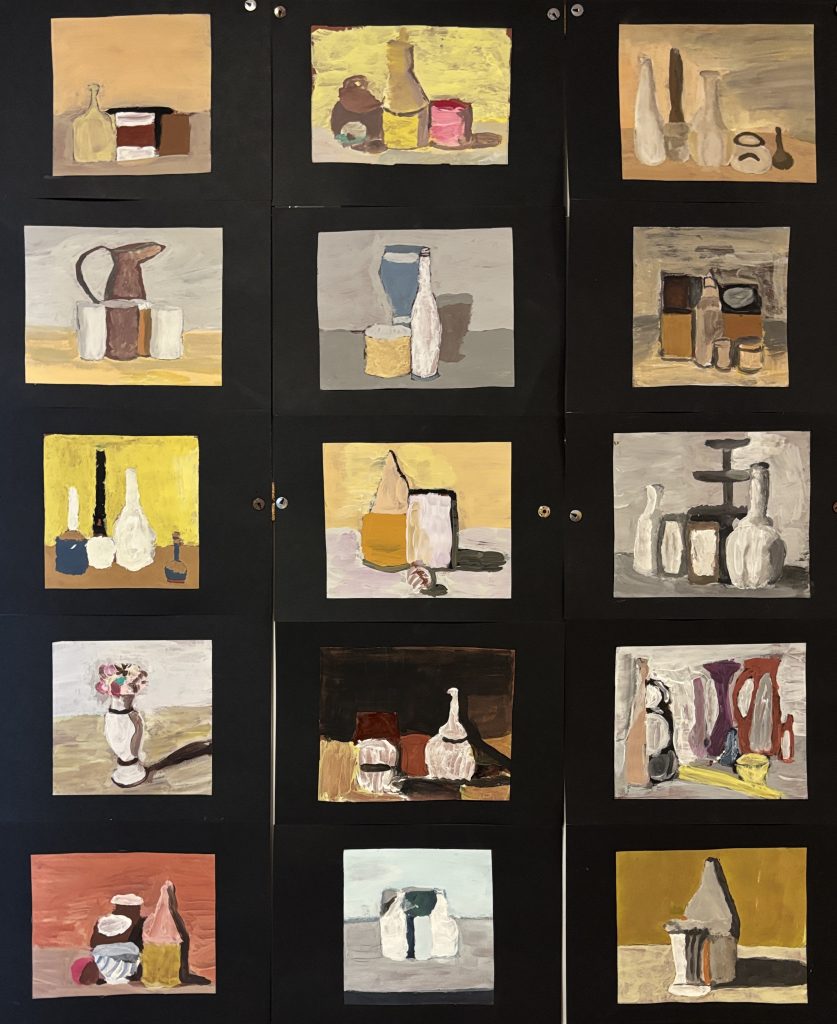
最后,为凸显作品严谨的构图秩序,我们沿最初勾勒的边缘剪下已完成的画作;再将作品粘贴于黑色卡纸之上,形成一道深色画框——以强烈对比烘托出柔和的色彩与莫兰迪静物画特有的“静默诗学”。
如何调制“莫兰迪灰”
为避免灰色显得浑浊如泥或单调似灰烬,我们学会不单靠黑色,而是从原色及其互补色出发来调制灰色。
- 中性灰: 先等量混合三原色(黄、红、蓝),得到近乎黑色的深褐色,再加入白色调和。
- 明度变化: 为使灰色偏暖或偏冷,可微量添加其他颜色:
- 暖灰: 加入少许红色或橙色,模拟陶土器物的反光。
- 冷灰: 加入少许蓝色或紫色,表现玻璃瓶的阴影。
- 青灰: 加入少许黄色与蓝色,用于表现更黯淡、积尘的区域。
- 白的妙用: 白色对实现莫兰迪典型的厚重质感至关重要;它不仅用于提亮,更赋予笔触以实体感与分量。
The Silent Still Lifes of Giorgio Morandi
With our 7th-grade classes (Grade 7), we explored the poetic universe of Giorgio Morandi, immersing ourselves in his still lifes made of silence and suspension. This workshop allowed us to work on color skills, learning to observe tonal variations and manage volumes through color and light. In addition to technical skill, the activity stimulated a reflection on “learning how to look”: finding beauty and complexity in everyday, seemingly simple objects.
Materials needed:
- Photocopies of Morandi’s artworks
- Tracing paper and carbon paper
- Brown cardstock (for the background)
- Tempera paints and brushes
- Black cardstock (for the frame)
- Scissors and glue
To begin, each student chose an artwork by the master. We worked on small-format photocopies to create “miniature” master copies. The first step was the study of shapes: we placed tracing paper over the photocopy and created a linear pencil drawing, identifying not only the outlines of the objects but also the perimeters of the shadows, highlights, and every color variation present in the painting.
Once we obtained our “map” of lines, we transferred the drawing onto the brown cardstock using carbon paper. In this phase, we were very precise in transferring both the outer edge of the painting and all the previously identified internal traces, creating a perfect base for the subsequent painting phase on the colored background.
We then moved on to using tempera paints, trying to imitate Morandi’s thick, doughy texture (impasto) and subdued tones. The main challenge was creating the palette: we put our knowledge of color mixing into practice, giving life to “colored grays” and delicate tonal gradations through a clever use of black and white, striving for maximum chromatic fidelity to the original.
Finally, to highlight the compositional rigor of our works, we cut out the painting following the edges traced at the beginning. We then glued the finished work onto black cardstock, creating a dark frame that enhances, by contrast, the soft colors and the “poetics of silence” typical of Morandi’s still lifes.
How to create “Morandi Grays”
To prevent the grays from looking like mud or simple ash, we learned to create them starting from primary colors and their complements, instead of just using black.
- Neutral Gray: We started by mixing the three primaries (Yellow, Red, Blue) in equal parts to obtain a dark brown, almost black, to which we added White.
- Tonal Variations: To make the gray warmer or cooler, we added a touch of extra color:
- Warm Gray: A hint of red or orange for the reflections of terracotta.
- Cool Gray: A hint of blue or violet for the shadows of glass bottles.
- Greenish Gray: A hint of yellow and blue for the duller, dustier areas.
- The Touch of White: Essential for achieving that thick consistency typical of Morandi; white is not just for lightening, but for giving body to the brushstroke.