乐高版画
原文链接:https://createartwithme.com/lego-printmaking/
日期: 2013-05-05
作者: 米歇尔·伊斯
分类: 二年级、三年级、四年级、五年级、六年级、课后美术班与美术夏令营、美术课程、小学美术、幼儿园至一年级、综合材料课程、版画课程、代课教师教案
标签: 课后美术班、课后美术项目、拼贴版画、自制印台、小工具版画、小工具印刷、乐高印痕、乐高版画、凸版印刷
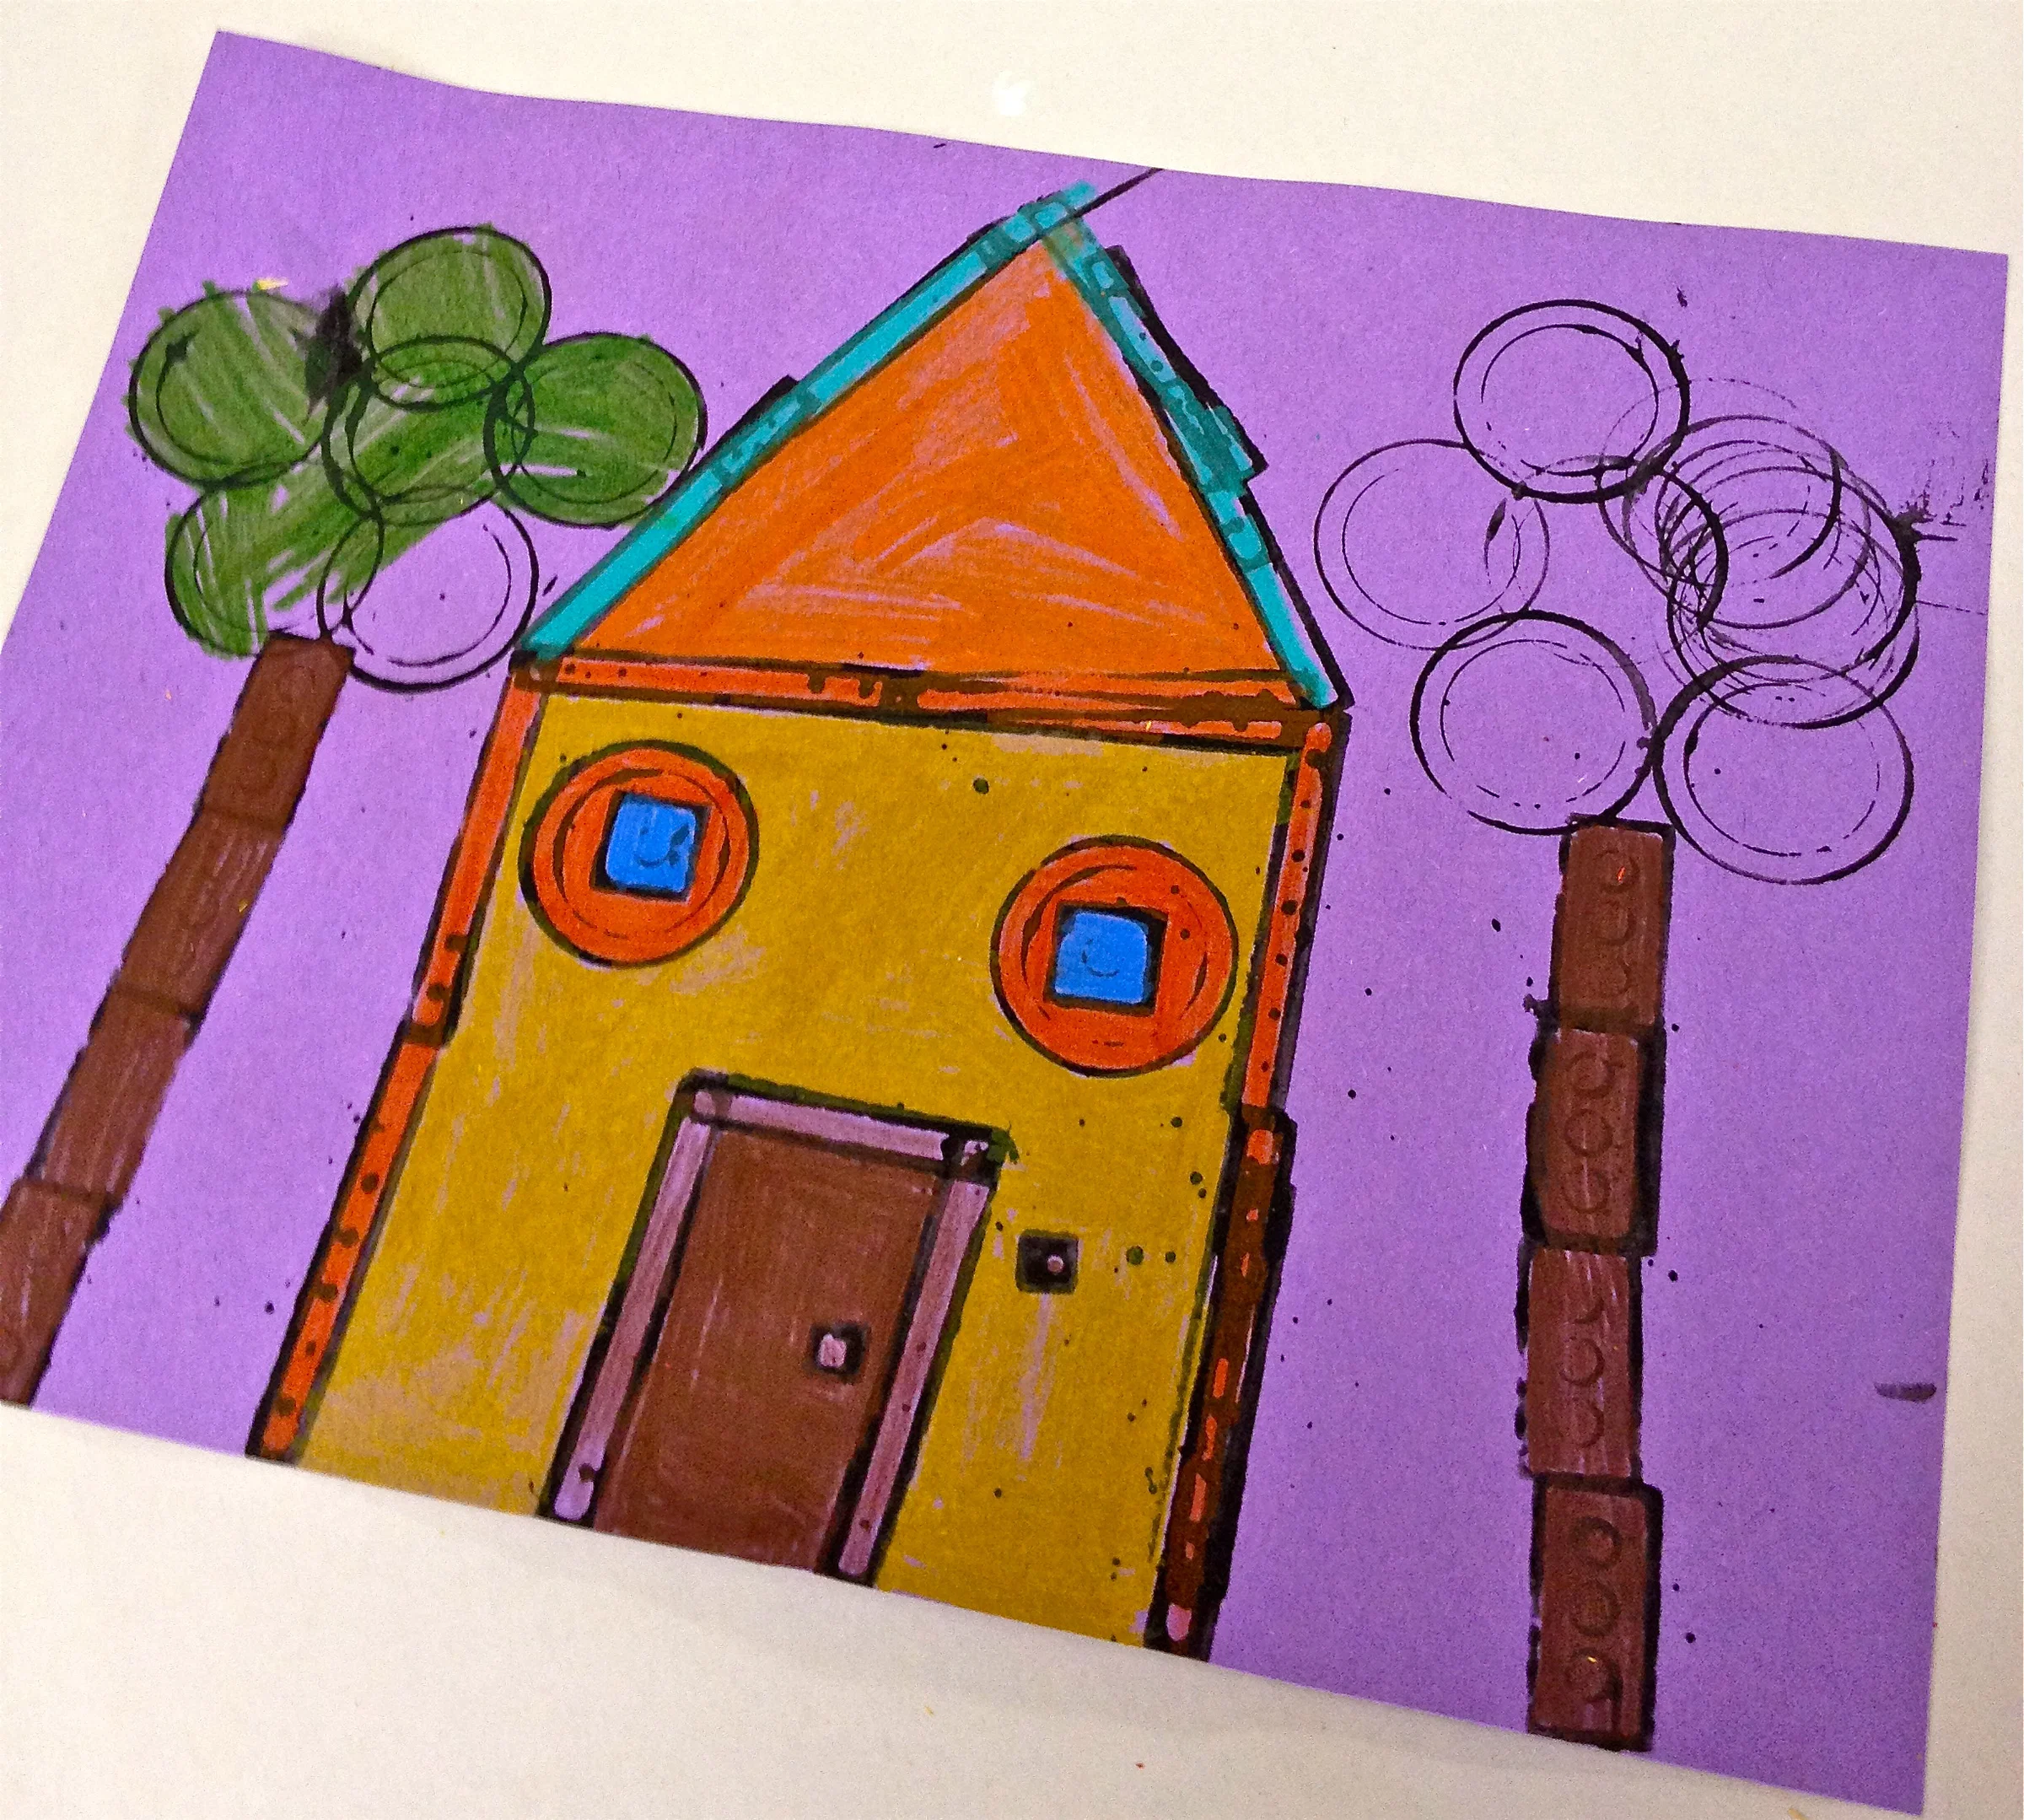
使用自制印台的乐高版画
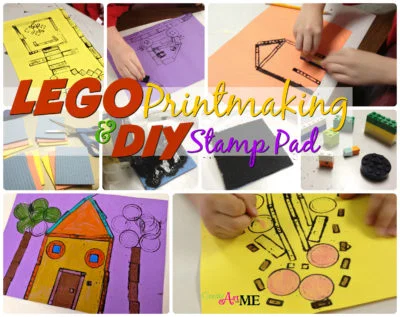 小工具版画是一种向儿童介绍版画艺术的简易方式,而且趣味十足!乐高版画是一项极佳的创意培养项目,有助于激发儿童的想象力与发散思维。本项目最初由Filth Wizardry网站发布,欢迎访问这个出色的博客!我在自己的课后美术班中开展了乐高版画活动,孩子们非常喜欢——事实上,每位学生在一节课内就完成了多幅作品!该课程也非常适合作为代课教师的备选教案!
本课难度适中,适合小学阶段,但亦可延伸至高中美术教学——我计划明年用此项目挑战我的高中美术生!
所需材料: 乐高积木(多种长度与尺寸)、黑色蛋彩颜料、印度墨水、纤维素海绵布套装(3片装);(替代方案:用记号笔为乐高上色后直接按压在纸上)


课前准备:
- 将薄海绵裁成方形——尺寸无需严格限定,只要足够容纳最大块乐高即可用于印刷!

- 按蛋彩颜料∶印度墨水=3∶1的比例配制混合液。
- 将混合液倒入海绵,使其充分浸透(约需20分钟,具体视海绵干湿程度而定),再置于泡沫塑料盘上。此印台可冷藏保存,以备后续使用。我将其装入密封保鲜袋中。
操作步骤:
- 让学生自选一张彩色卡纸。
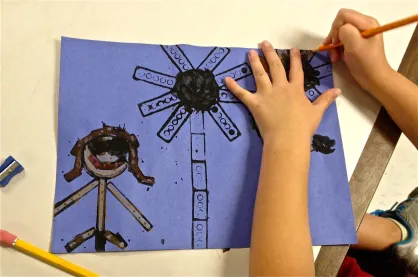
- 教师示范拓印与印刷过程。鼓励学生构思真实或幻想主题,并利用乐高积木印出相应图形。
- 待其自然晾干(通常约5分钟即可干透)。可用吹风机加速干燥。
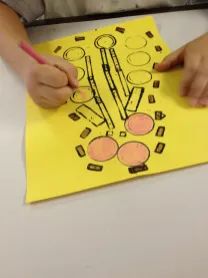
- 用彩铅为已完成的图案上色。
更多版画课程推荐:拼贴版画 或 木刻自画像版画
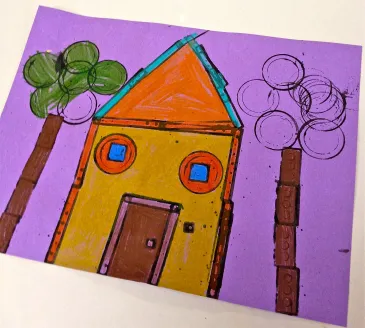
学生作品——接近完成
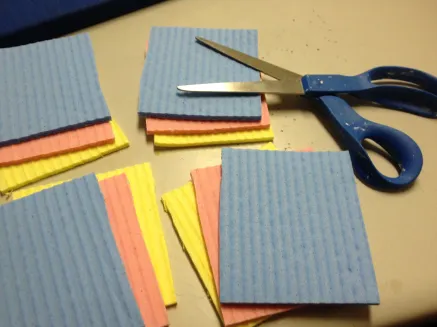
将“薄”海绵裁成3×3英寸正方形
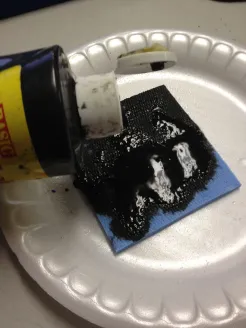
我调配了印度墨水与蛋彩颜料的混合液,制成印台。
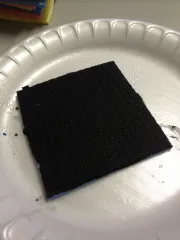
将墨水/颜料混合液倒在海绵上,待其充分吸收后置于泡沫塑料盘中。
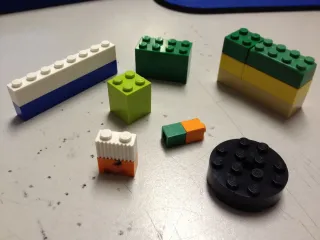
各种尺寸与形状的乐高积木,用于印刷
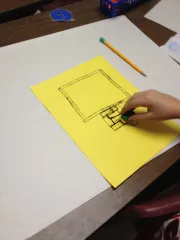
用乐高积木印制图像
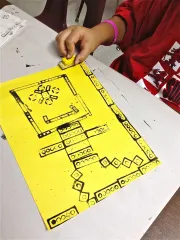
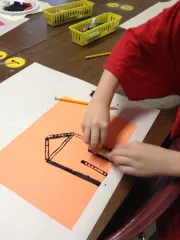
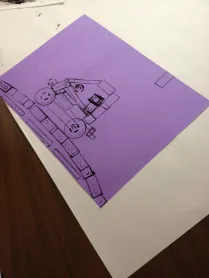
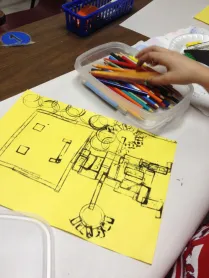
用彩铅为设计图案上色
若您选用本教案或转载相关内容,请务必附上原文链接回溯至我的博客:Create Art with ME
Lego Printmaking
Original: https://createartwithme.com/lego-printmaking/
Date: 2013-05-05
Author: Michelle East
Categories: 2nd Grade, 3rd Grade, 4th Grade, 5th Grade, 6th Grade, After School Art & Art Camp, Art Lessons, Elementary Art, K-1st Grade, Mixed Media Lessons, Printmaking Lessons, Sub Lesson Plans
Tags: after school art class, after school art project, Collagraph Printing, DIY Stamp Pads, gadget printing, Gadget printmaking, lego print, Lego Printmaking, relief printmaking
Lego Printmaking with DIY Stamp Pads
Gadget printmaking is a simple way to introduce printmaking to kids & SO much fun! Lego Printmaking is a great project for developing creativity & helping children to think outside the box. This project was originally created on Filth Wizardry, please visit this great blogsite! We did Lego Printmaking in my After School Art Class & the children LOVED it-in fact each child created several in one class! This would also make a great SUB lesson!
This lesson is simple enough for elementary, but can be adapted up through high school art-I will be challenging my HS art students with this next year!
Supplies: Legos (various lengths & sizes), black tempera paint, India Ink, Cellulose Sponge Cloths, Set of 3, (Alternative option: color Lego with a marker & press onto paper)
Preparation:
- Cut thin sponges into squares- it does not have to be this size-just big enough for the largest Lego to fit on it for printing!
- Prepare a mixture of 3:1 Tempera paint to India Ink.
- Pour onto sponges & let soak in completely (about 20 minutes depending on the dampness of the sponge) & place on Styrofoam plates. These can be refrigerated to keep good for future printing. I put mine in zip lock bags.
Instructions:
- Have students choose a colored sheet of construction paper.
- Demo stamping & printing. Encourage them to think of something real or fantasy to create & use the LEGOS to print the shapes.
- Let dry (should dry pretty quickly-about 5 minutes). Speed up the drying process with a hair dryer.
- Color design with colored pencils.
For more Printmaking Lessons try Collagraph Printing or Linoleum Self Portrait Printmaking
Student artwork-almost finished
Cut “Thin” Sponges into 3×3″ squares)
I made a mixture of India Ink & Tempera Paint to make a stamp pad.
Pour ink/paint mixture onto sponge. Let soak in & place on styrofoam plate.
Various size & shape LEGOs for printing
Use the Legos to print images
Use colored pencils to color in designs.
If you choose to use this lesson or to repost it, please link it back to my blog. Create Art with ME
 小工具版画是一种向儿童介绍版画艺术的简易方式,而且趣味十足!乐高版画是一项极佳的创意培养项目,有助于激发儿童的想象力与发散思维。本项目最初由Filth Wizardry网站发布,欢迎访问这个出色的博客!我在自己的课后美术班中开展了乐高版画活动,孩子们非常喜欢——事实上,每位学生在一节课内就完成了多幅作品!该课程也非常适合作为代课教师的备选教案!

