以“明暗构成”(NOTAN)探索对称性
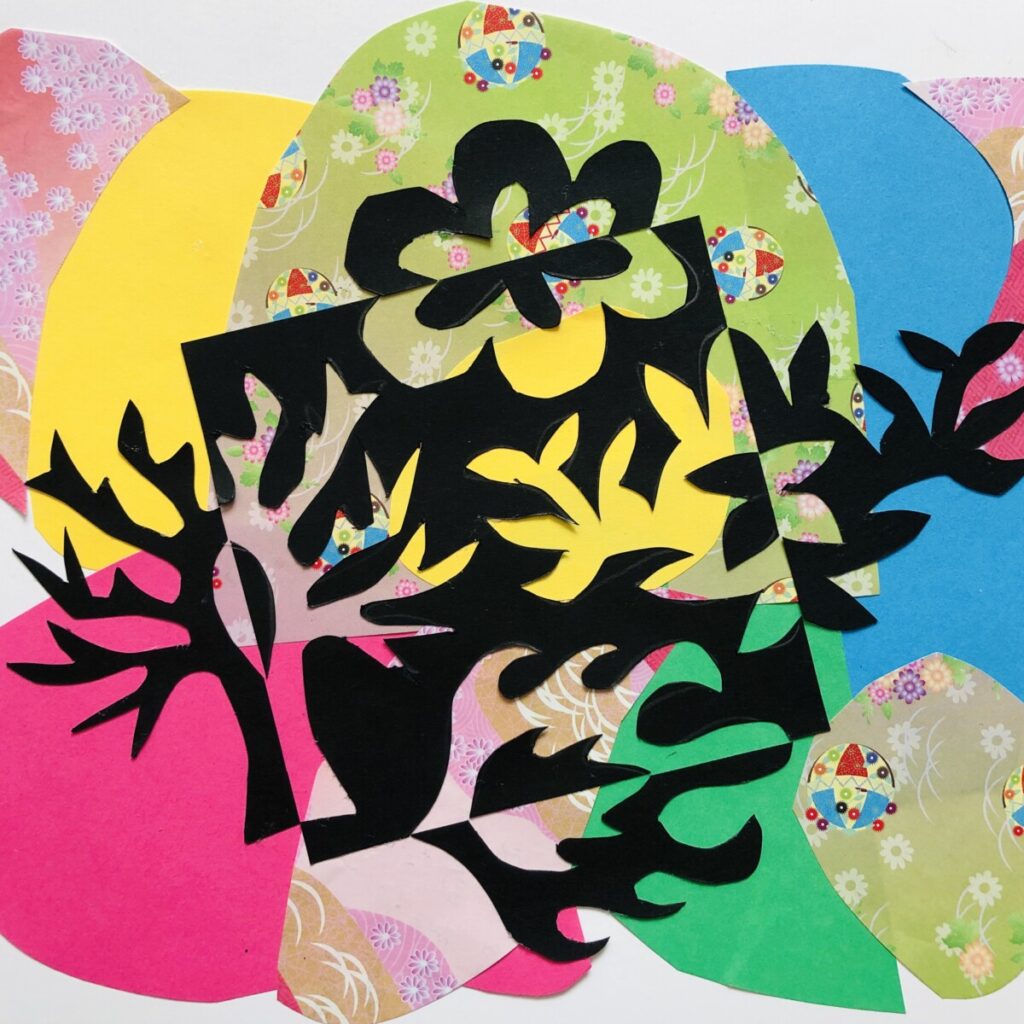
在六年级美术课上,我们学习了各种类型的对称,并通过拼贴方式创作一幅具有左右对称结构的“明暗构成”(NOTAN)作品。NOTAN 是一个日语词汇,意为“明—暗”:这是一种借助对称性、白色(代表明亮与留白空间)和黑色(代表暗部)来营造画面空间和谐与平衡的技法。
通过实践“明暗构成”,学生可探索由对称图形所形成的正形与负形空间。该技法一个特别之处在于:最终效果须待全部制作完成方能揭晓。“正宗”的明暗构成应使用一张黑色卡纸与一张白色卡纸来完成;但我们尝试了彩色背景——即用各色纸张与礼品包装纸拼贴而成的底板。
所需材料:
- 方格纸(用于试做样稿)
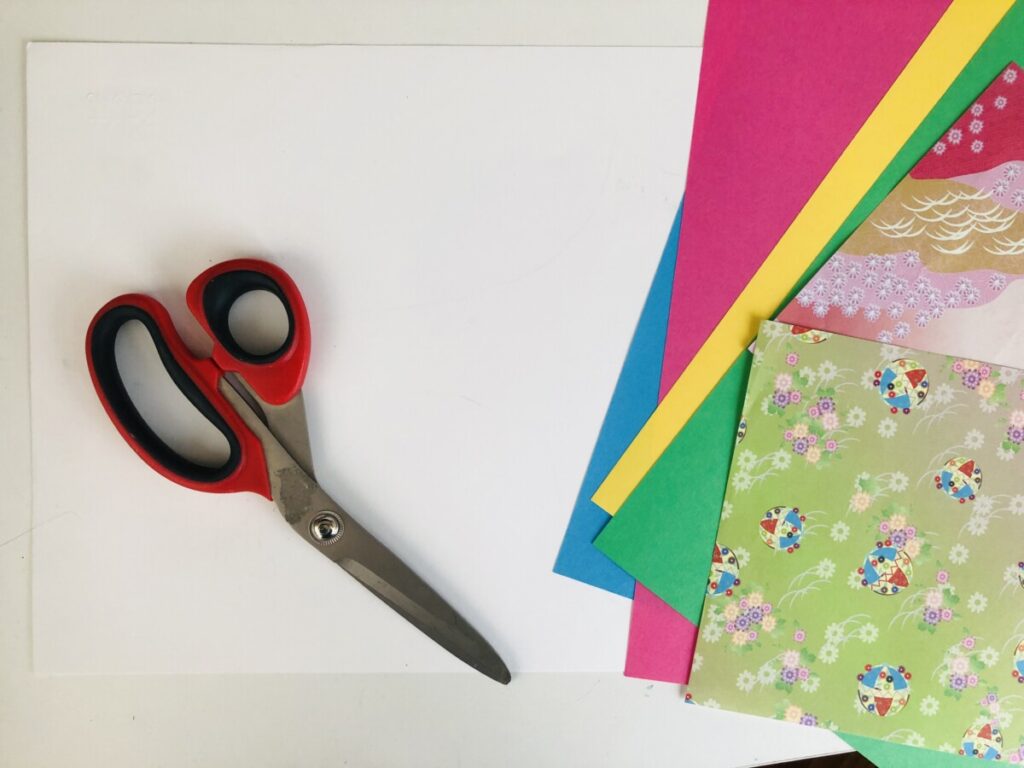
- 黑色卡纸一张(从中裁出12×12厘米正方形)
- 白色绘图纸一张(裁成24×24厘米正方形)
- 各种颜色的彩纸(用于拼贴背景)
- 铅笔、橡皮
- 直尺
- 剪刀
- 固体胶
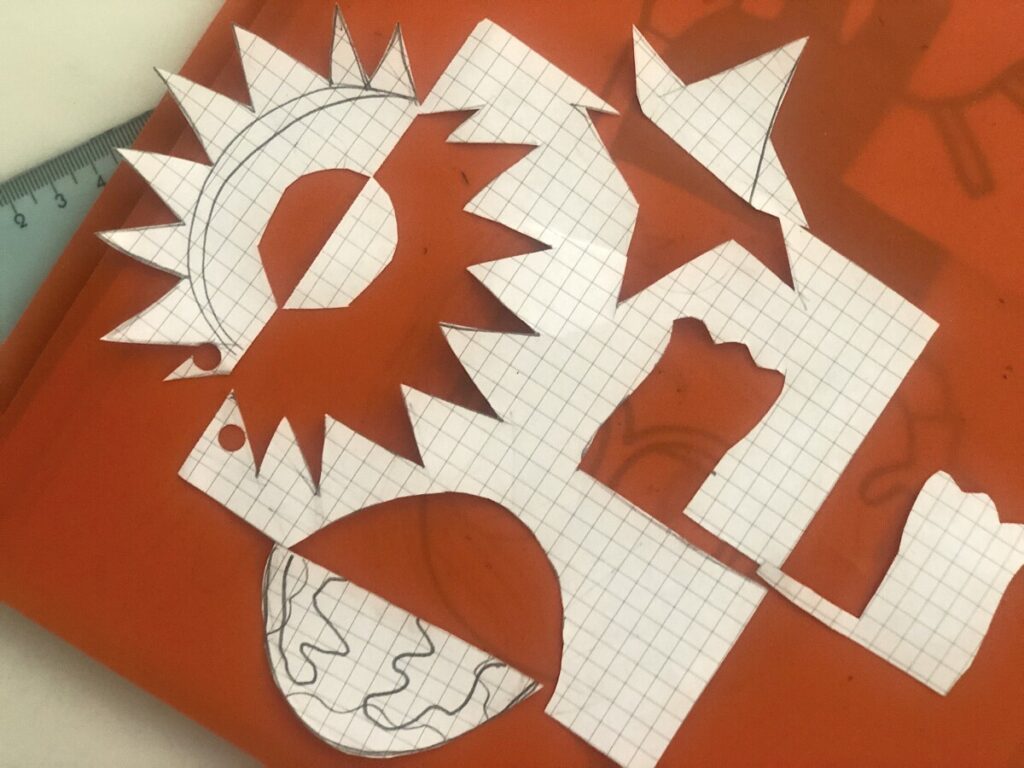
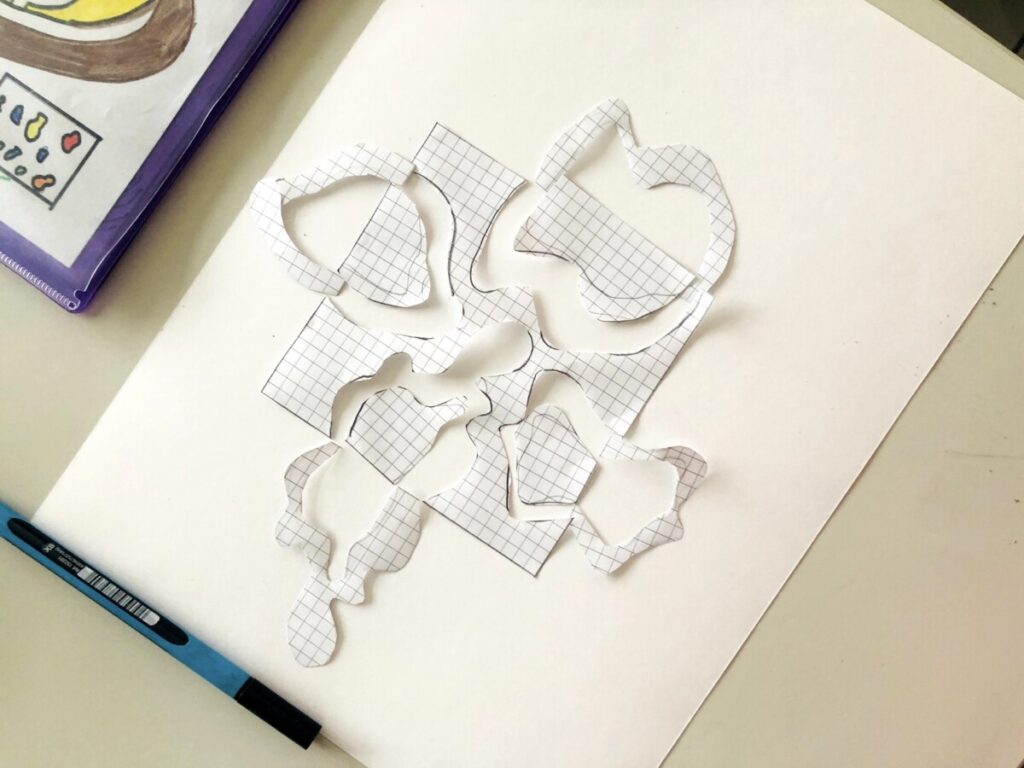
首先,我们在方格纸上进行试做:裁出一块12×12厘米的正方形,在其上练习,理解通过翻转图形获得对称效果的操作原理。需在正方形每一边分别绘制封闭图形,再剪下并翻转。
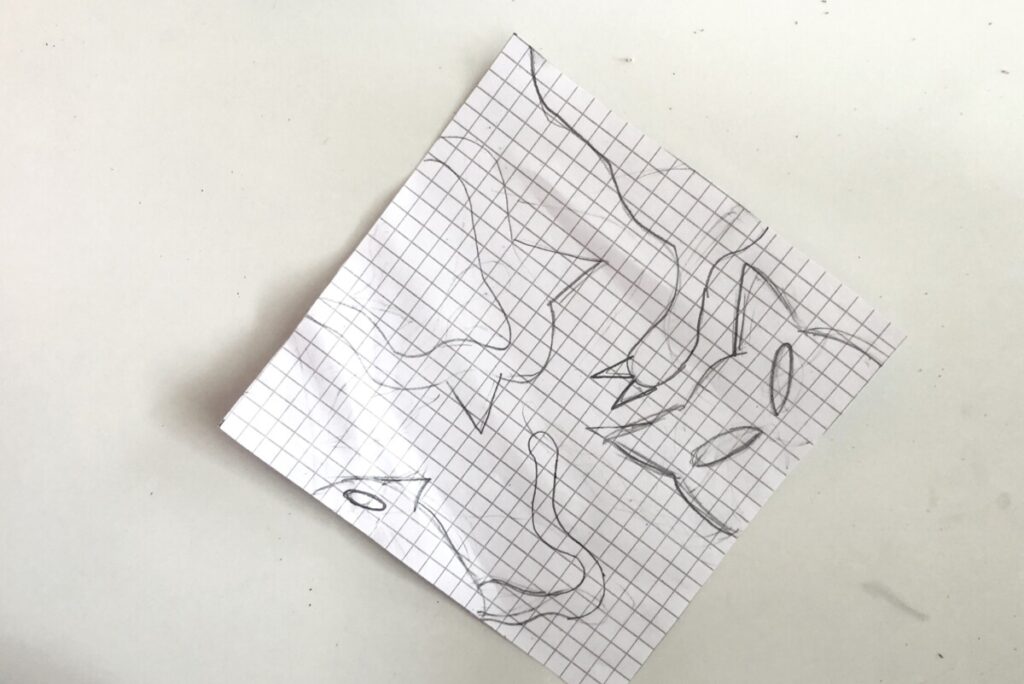
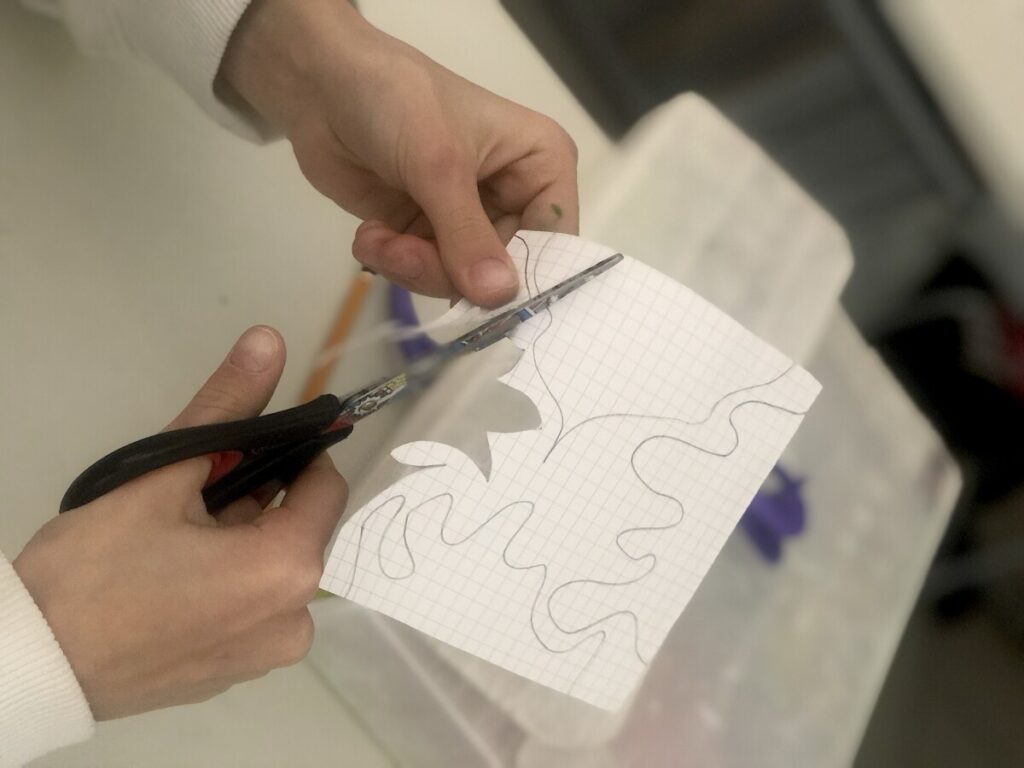
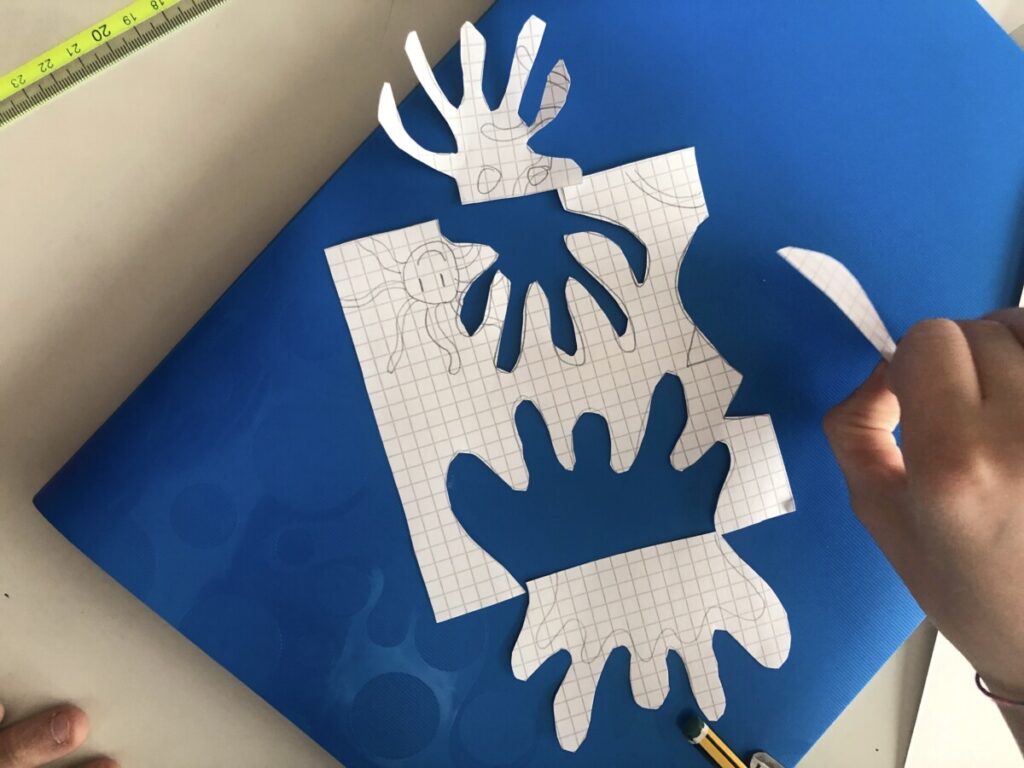
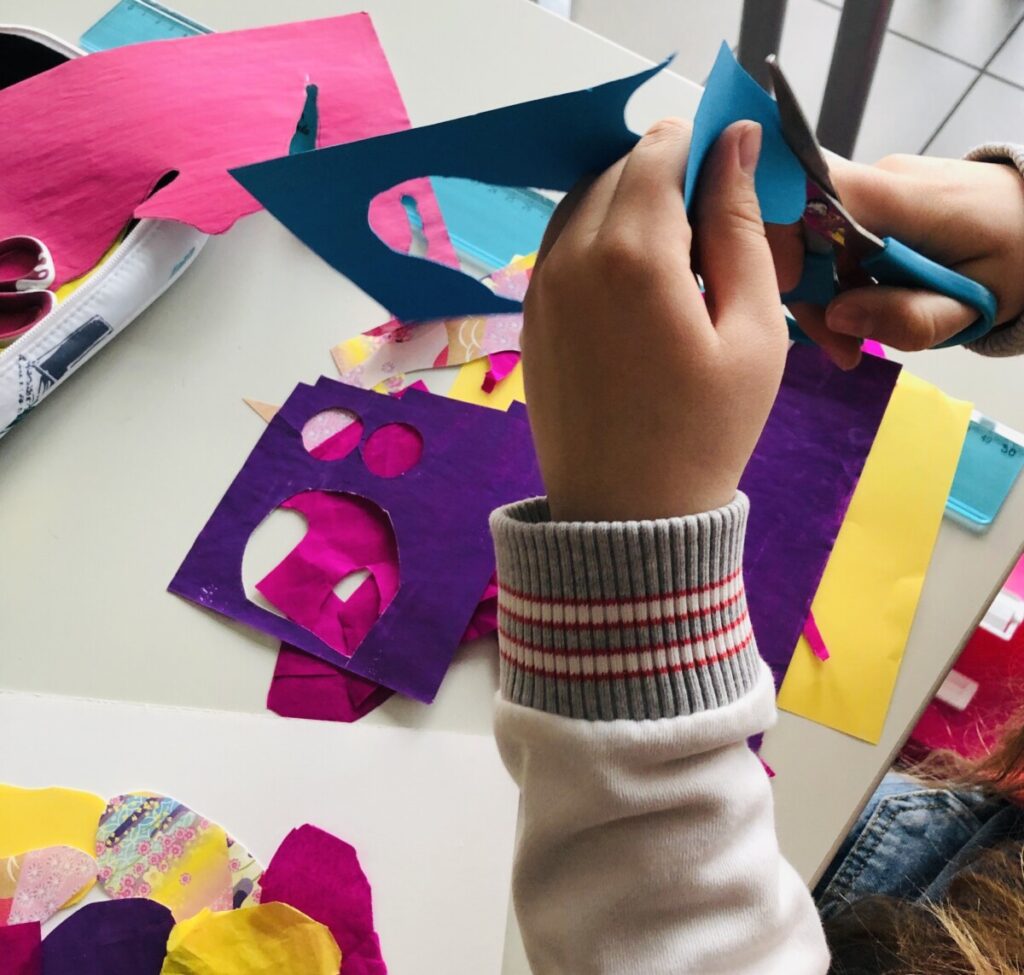
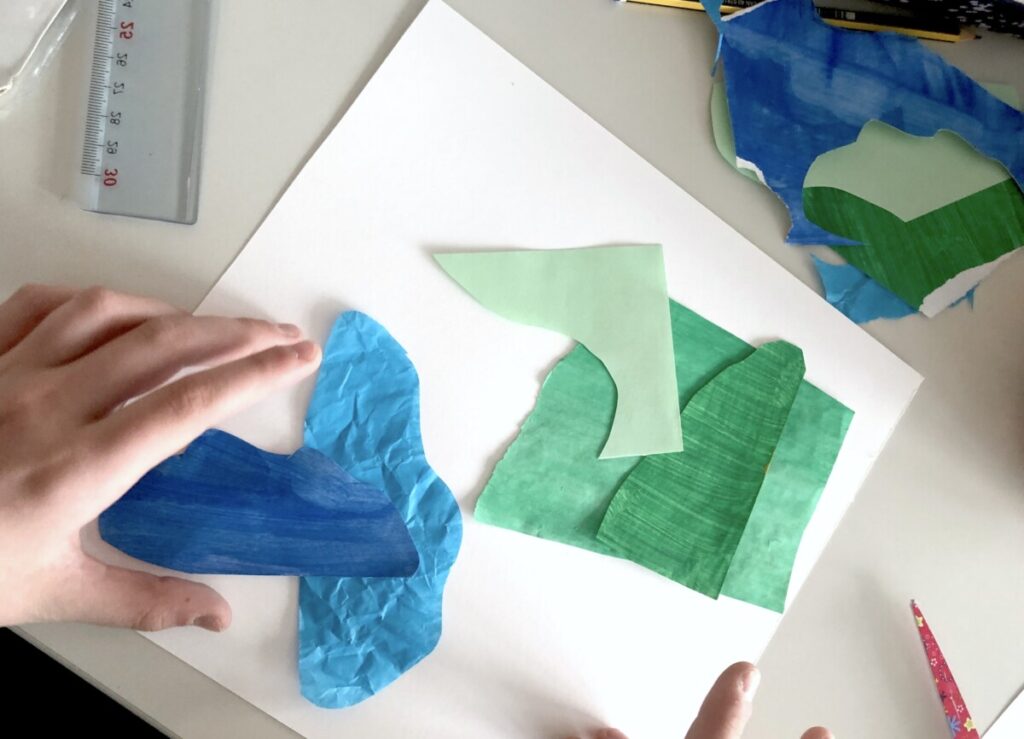
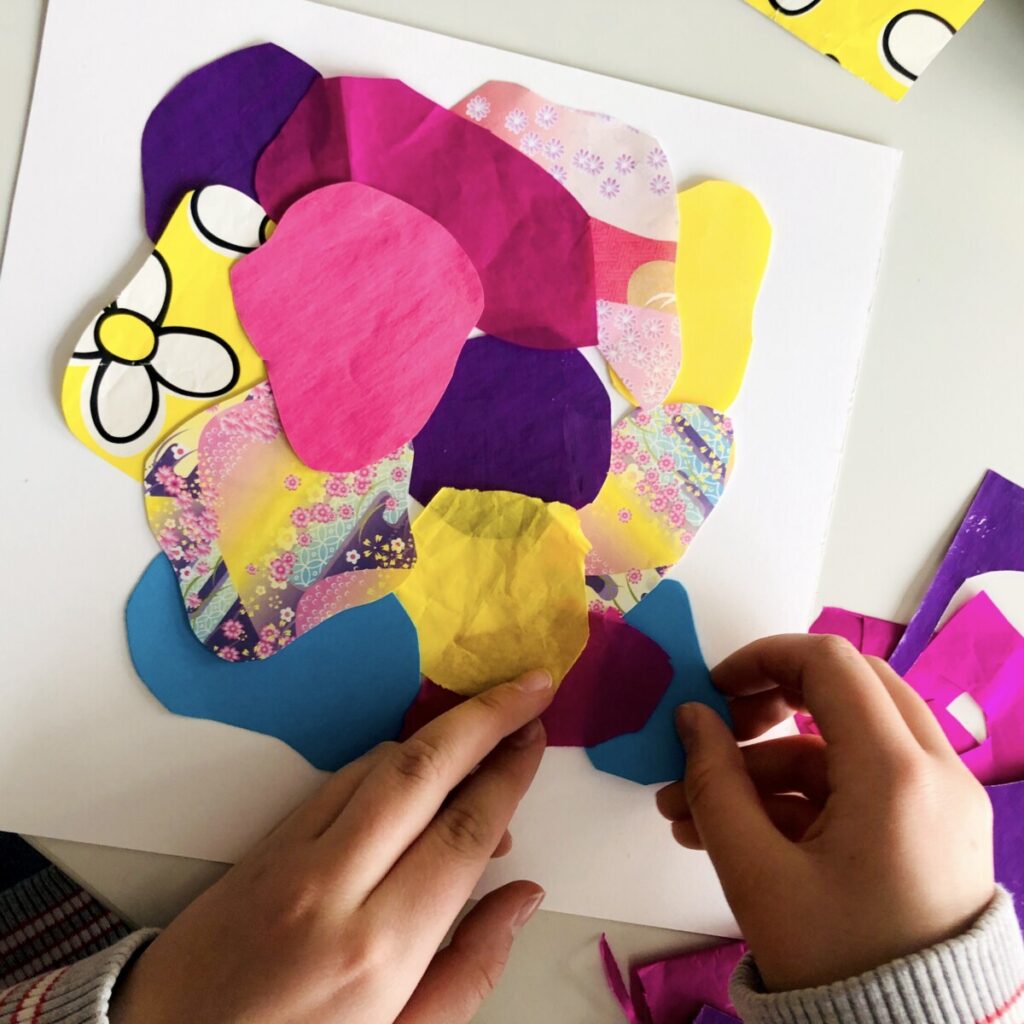
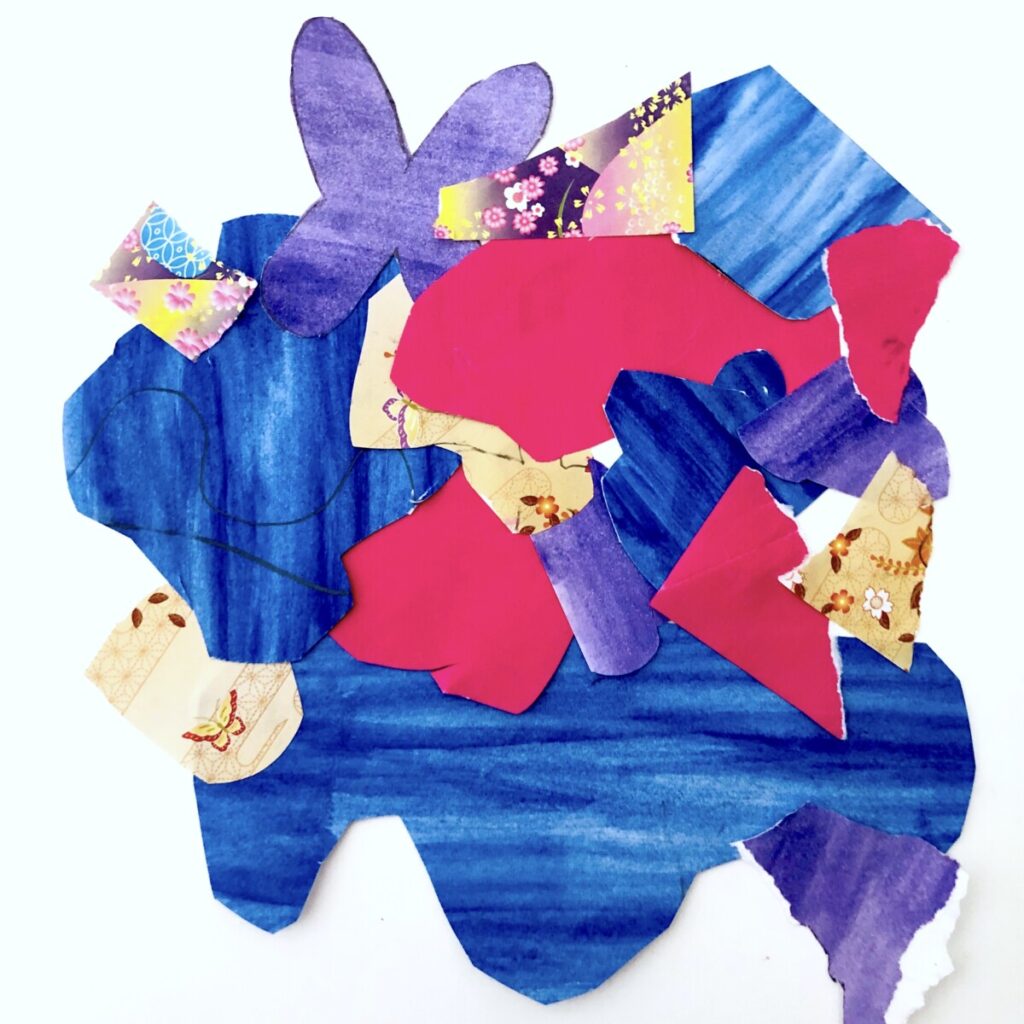
试做完成后,我们在已裁好的24×24厘米正方形绘图纸上制作背景拼贴,选用除黑色外的各色纸张,自由剪出任意形状进行拼贴。
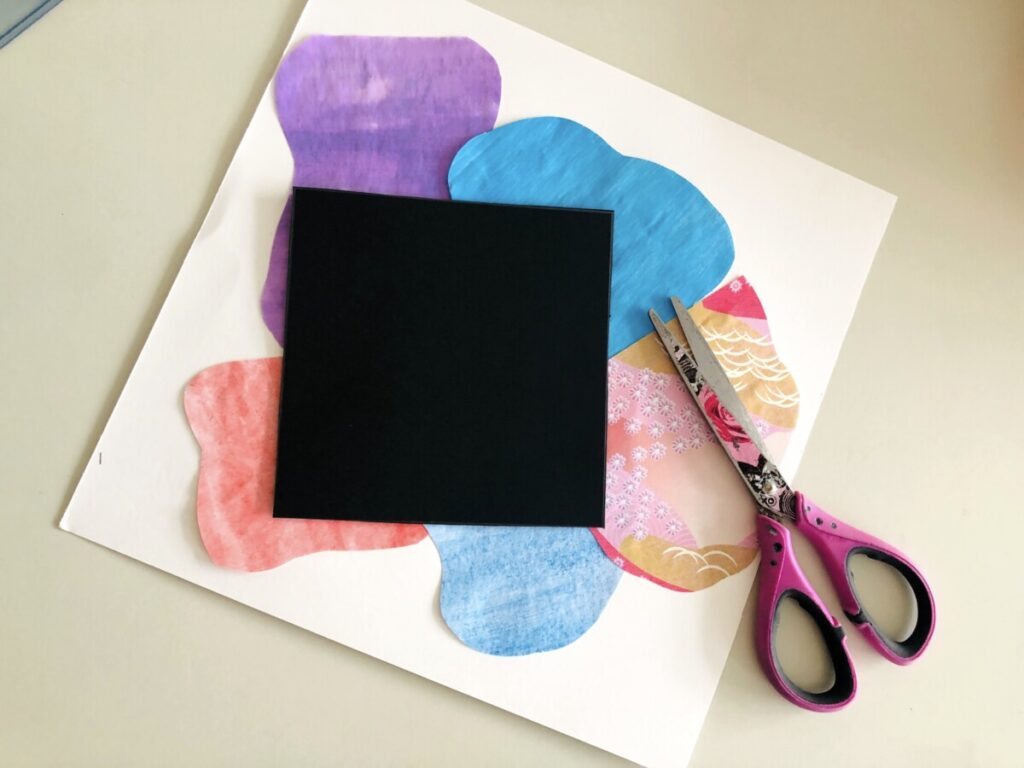
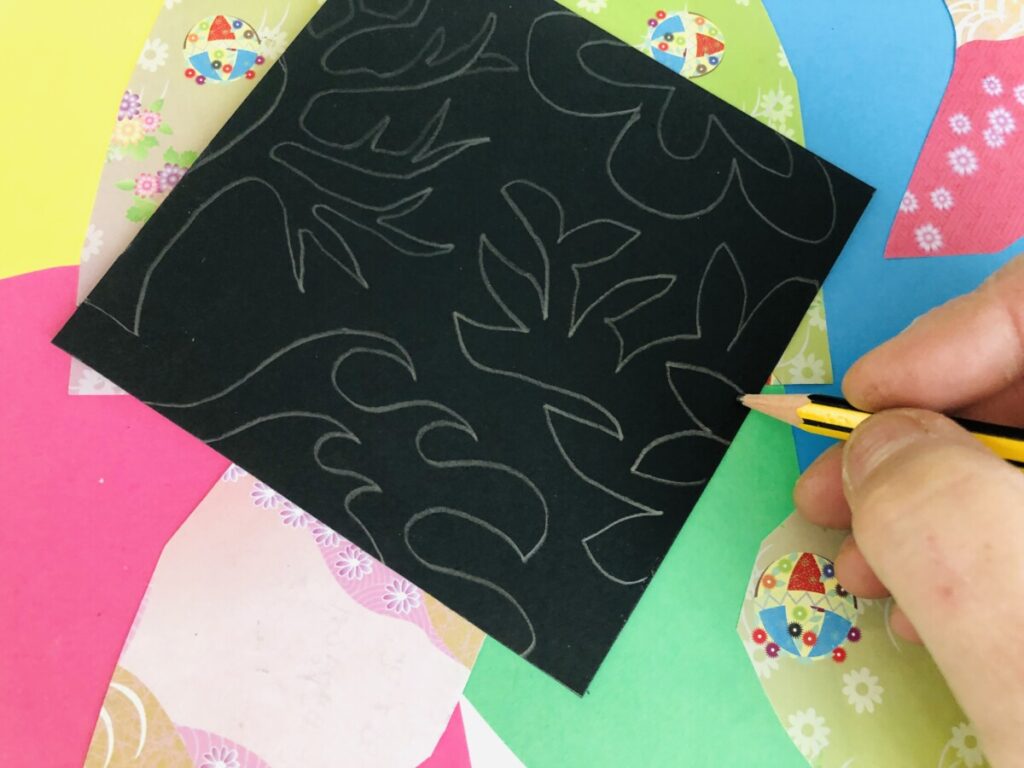
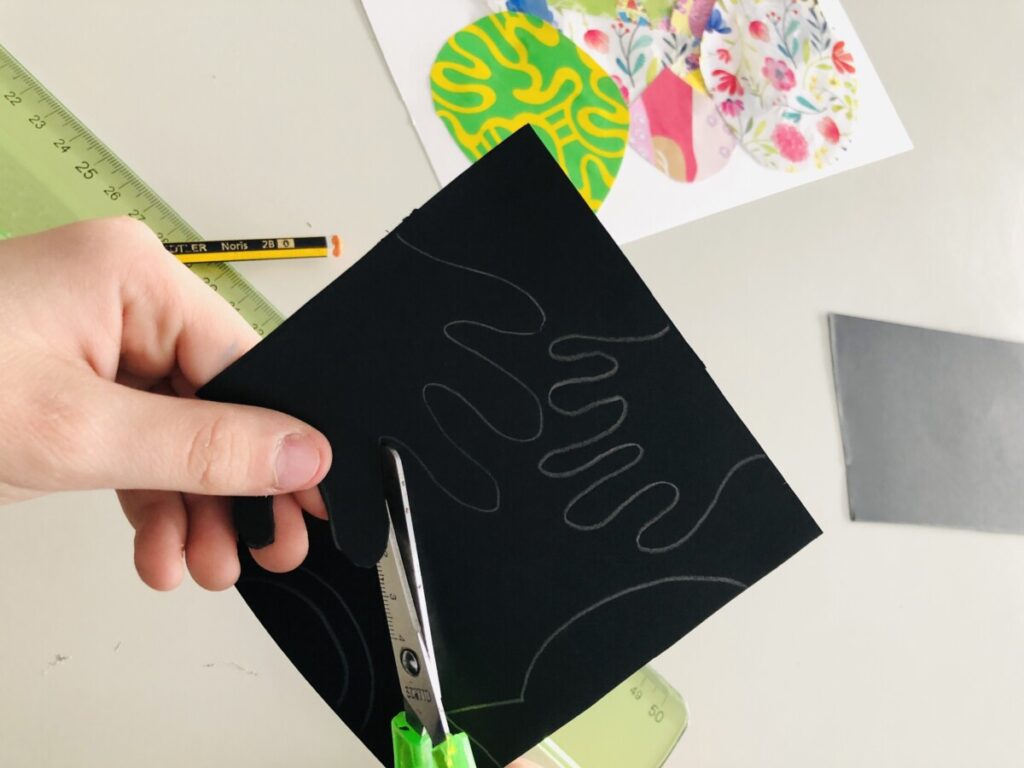
背景拼贴完成后,我们开始准备明暗构成的黑色部分:在黑色卡纸上于正方形各边绘制封闭图形,再将其剪下,并小心保存所有剪下的部件。可重复试做时的图形,也可自行设计新图形。我还建议大家为图形选定一个主题,例如海洋、四季、自然、水果等。
简要步骤如下:
- 将所绘图形剪下,并妥善保管!!!
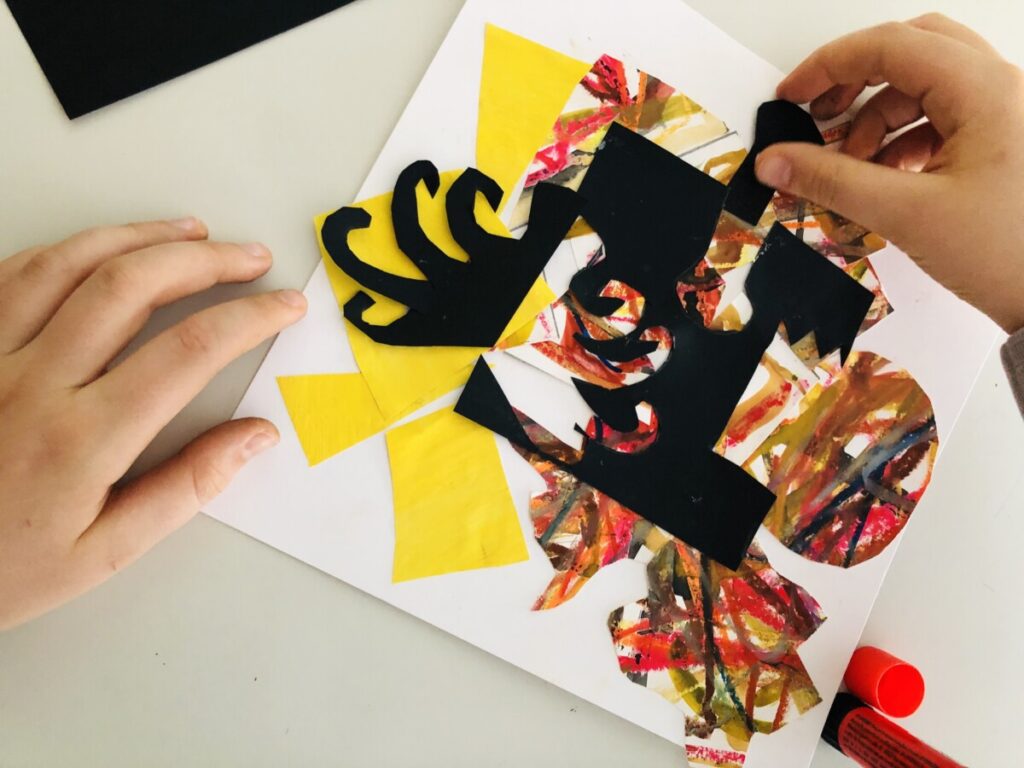
- 首先,将剪完图形后剩余的正方形主体部分粘贴至拼贴底板中央;
- 将剪下的图形翻转;
- 之后,再将这些翻转后的部件逐一粘贴。
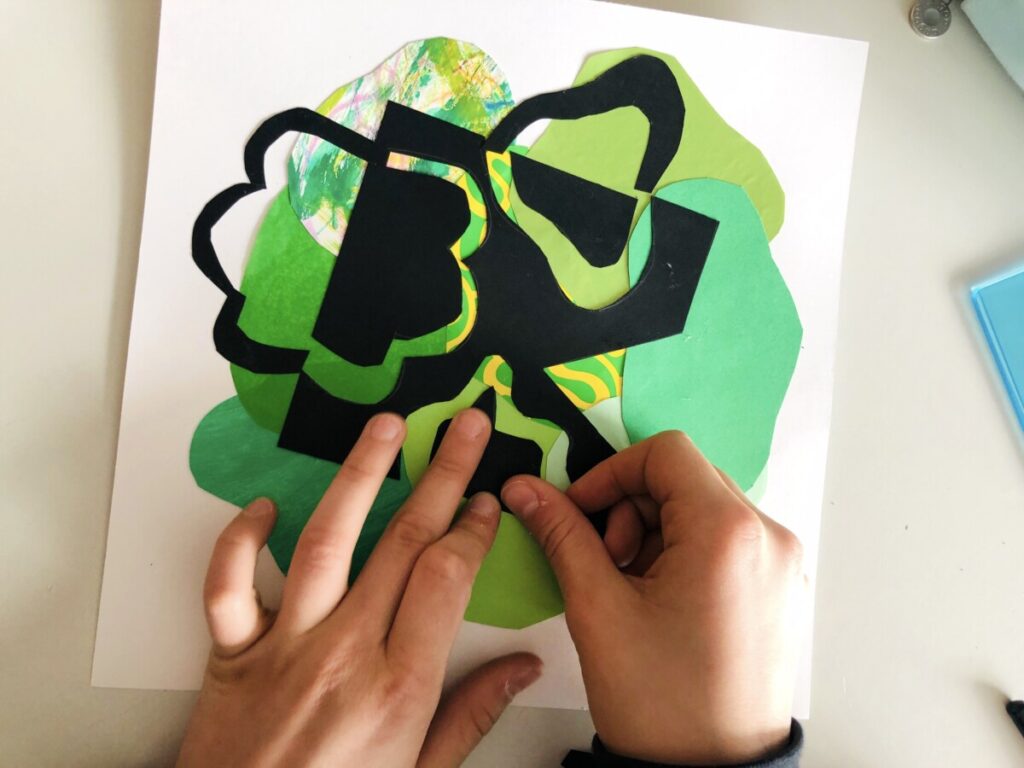
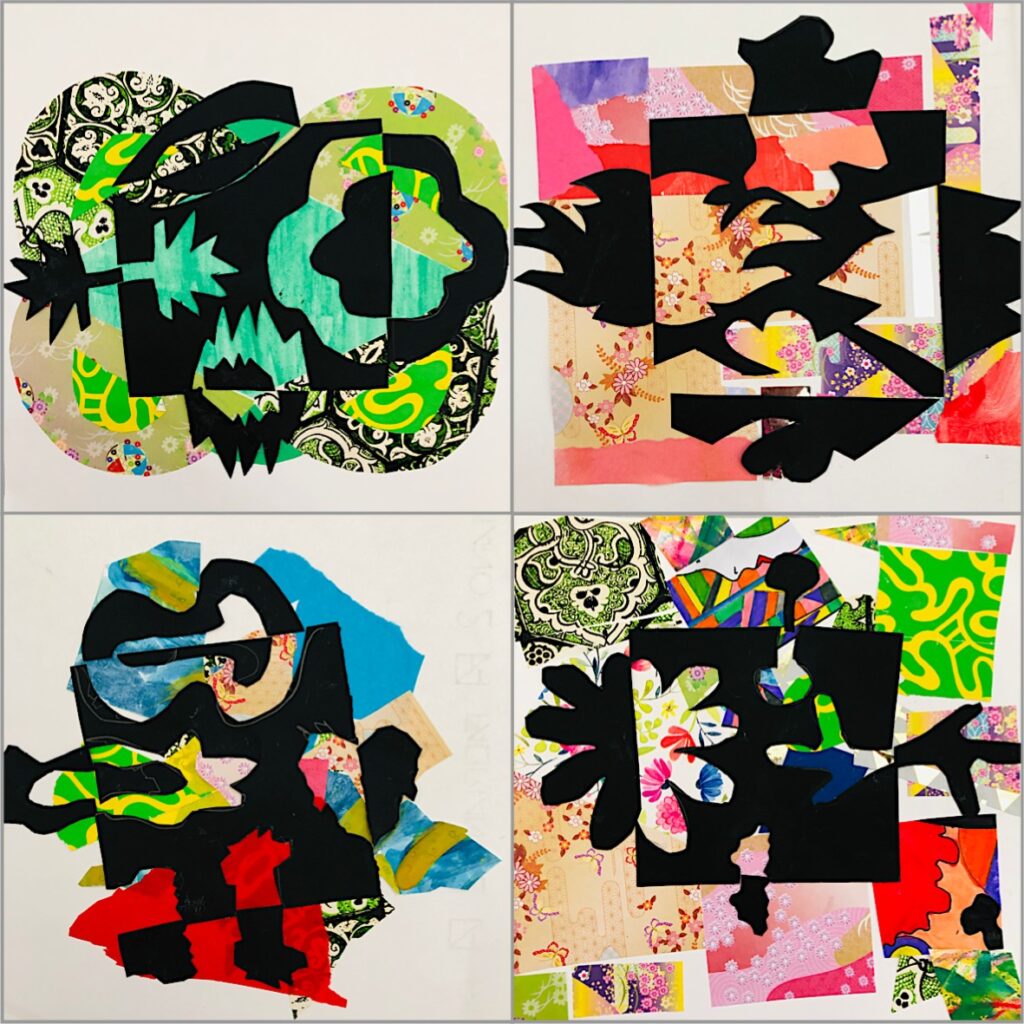
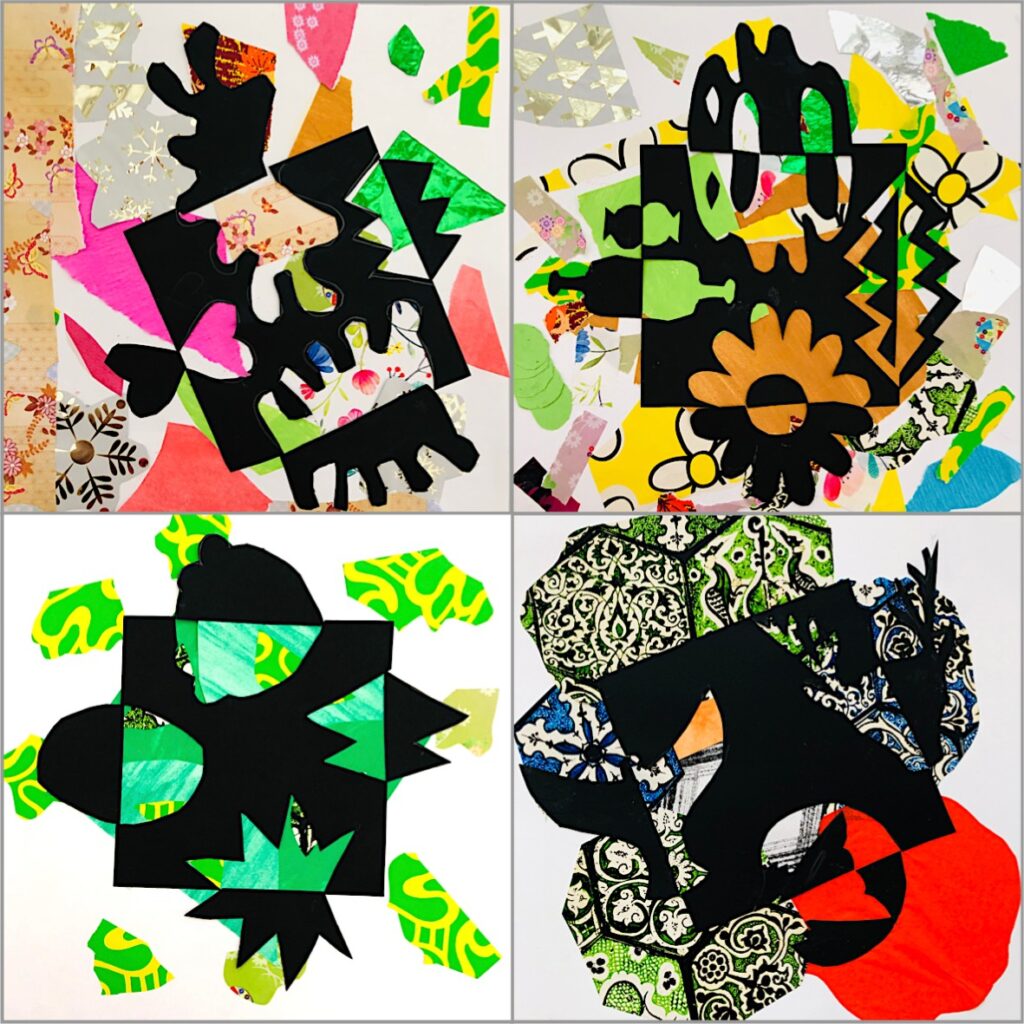
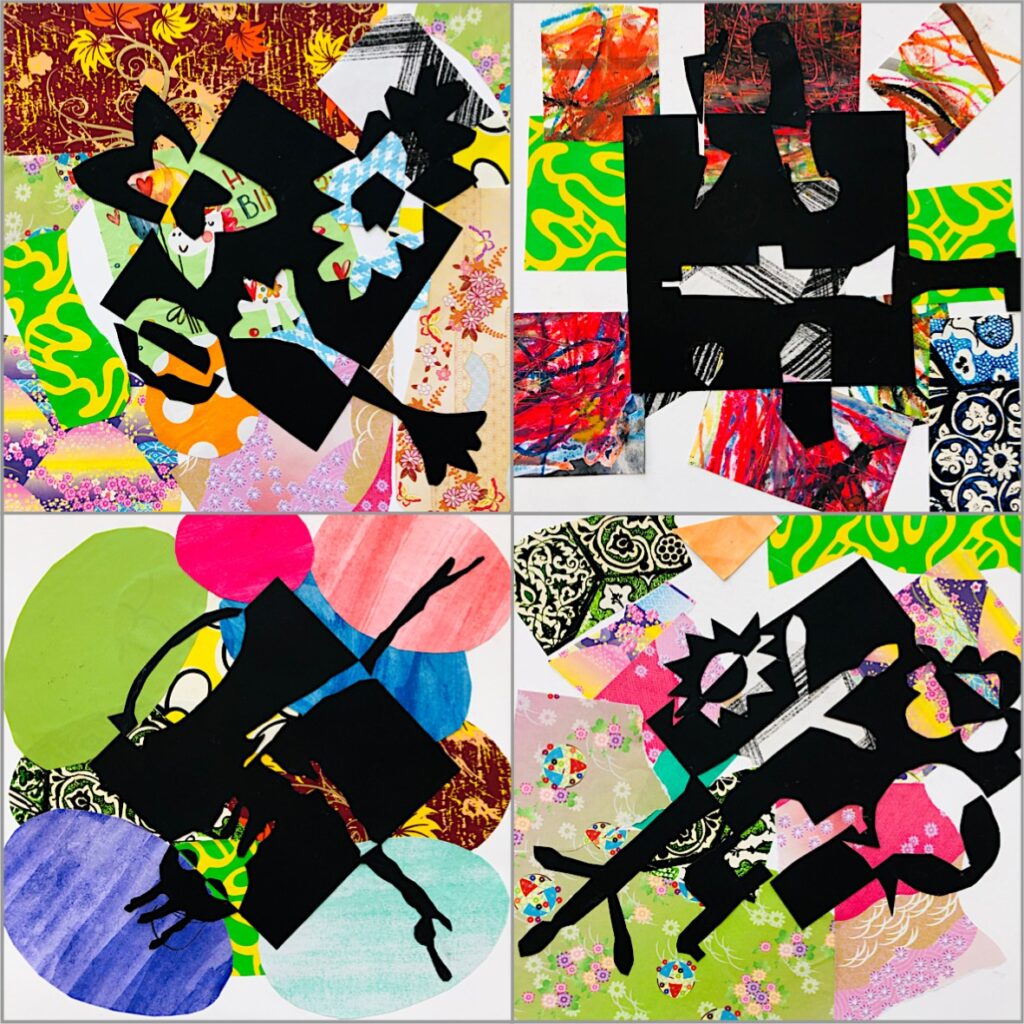
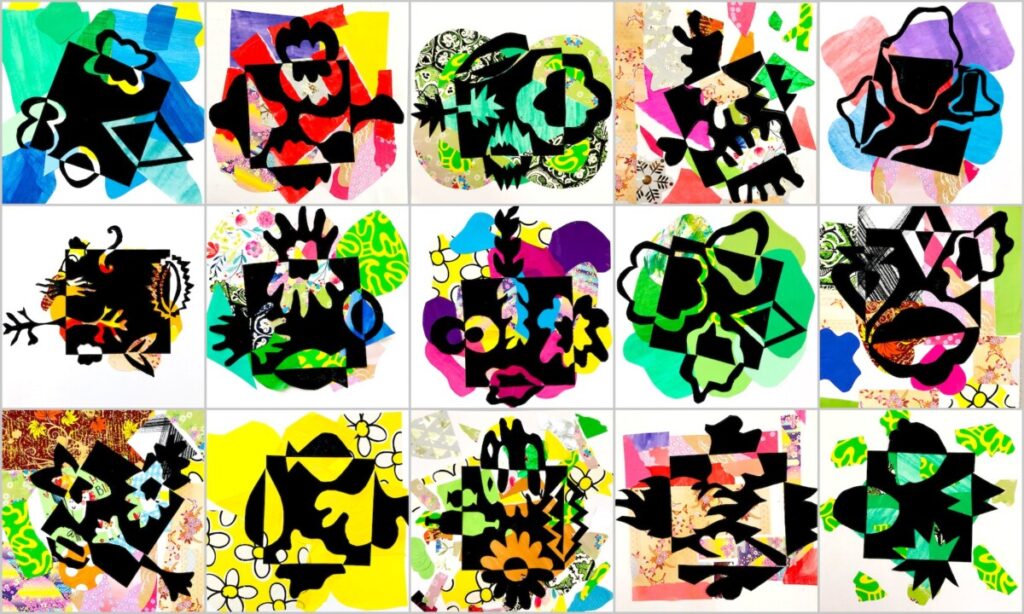
这是我们的明暗构成作品!
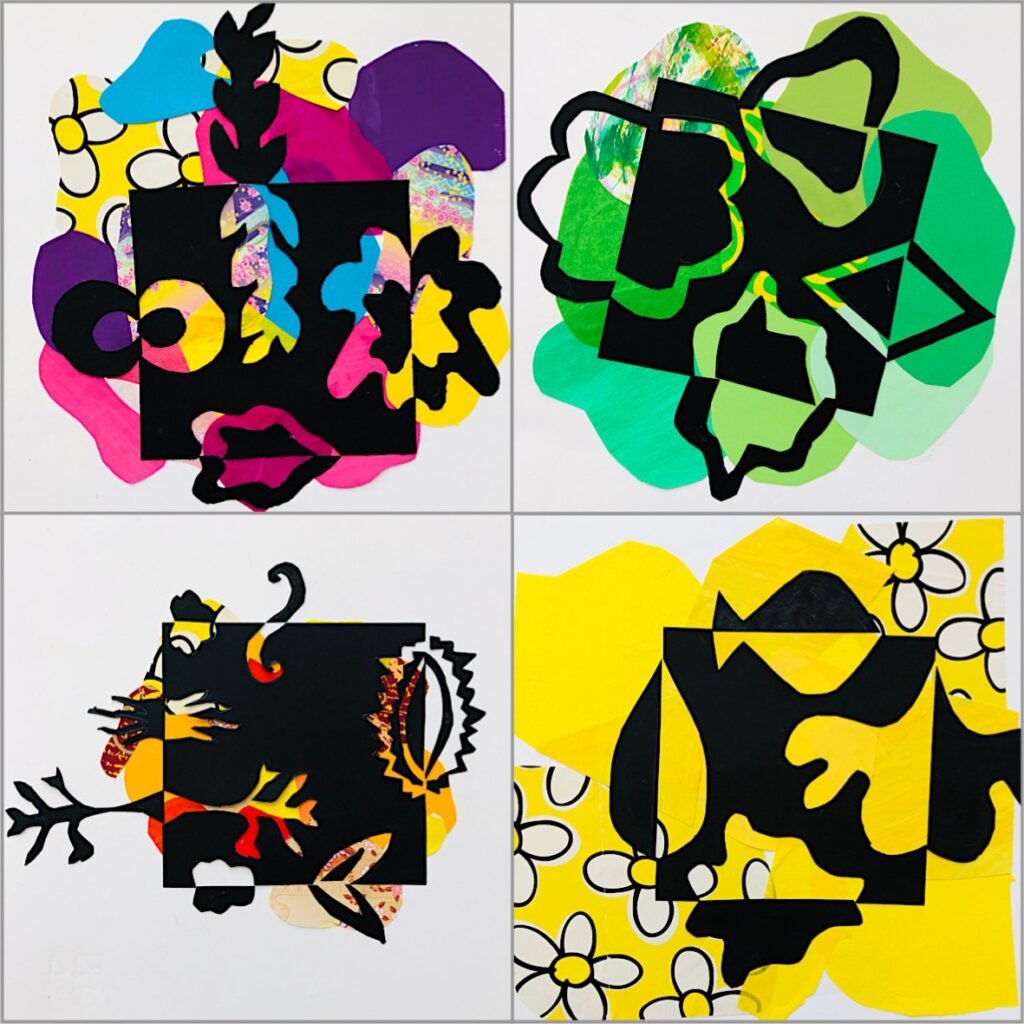
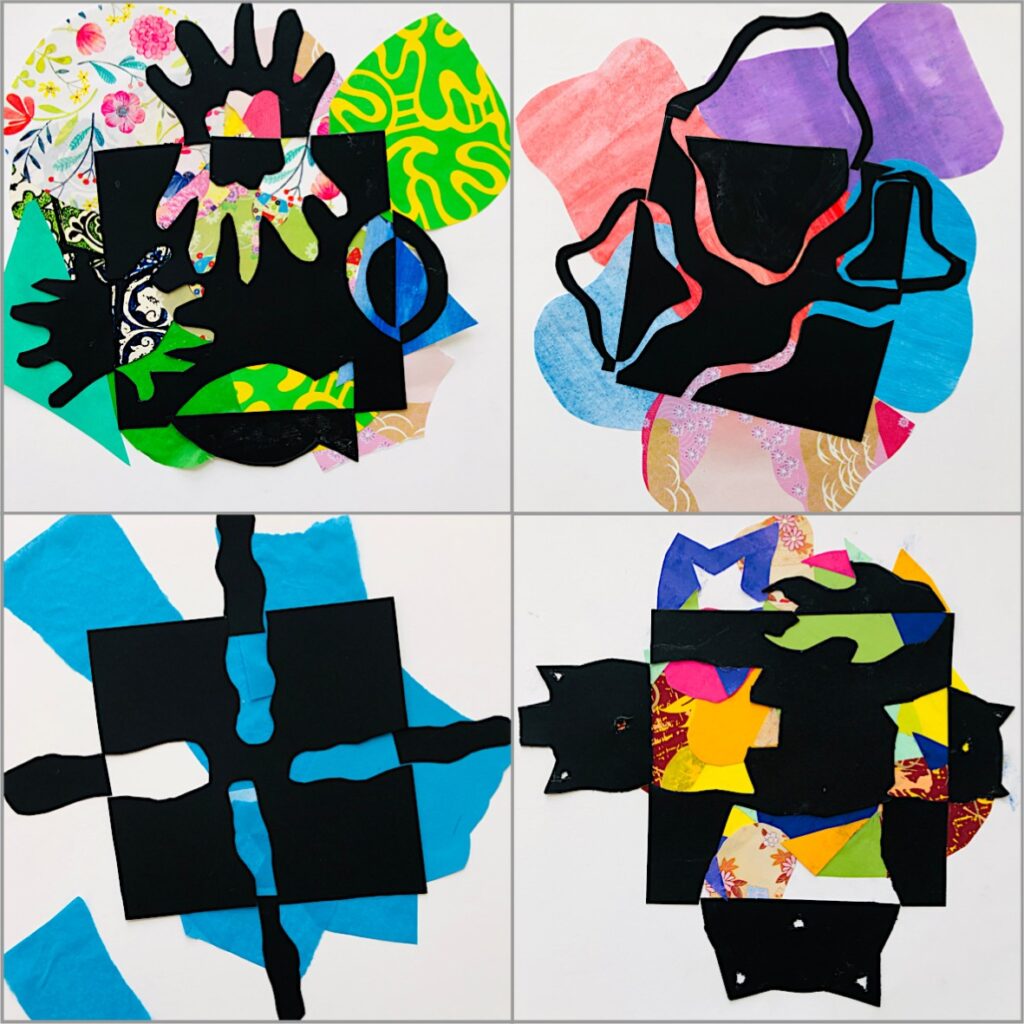
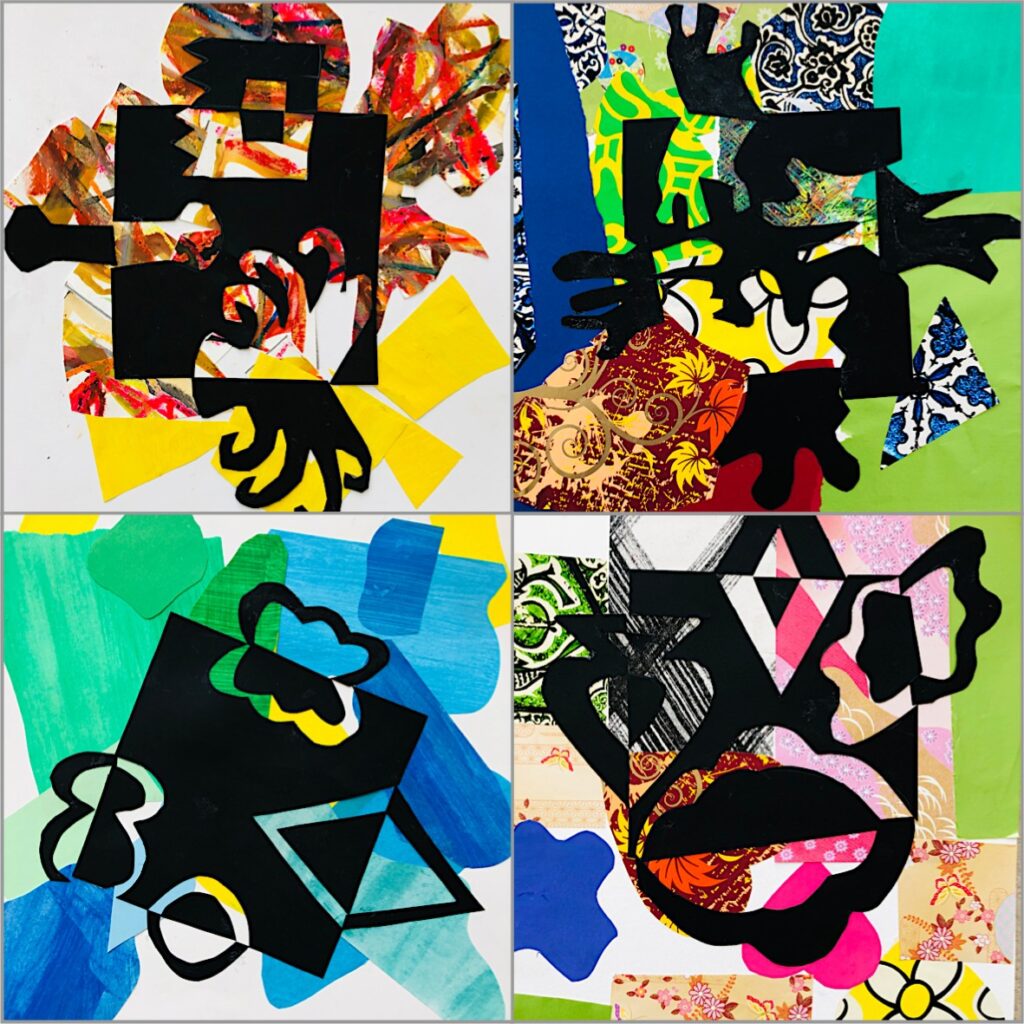
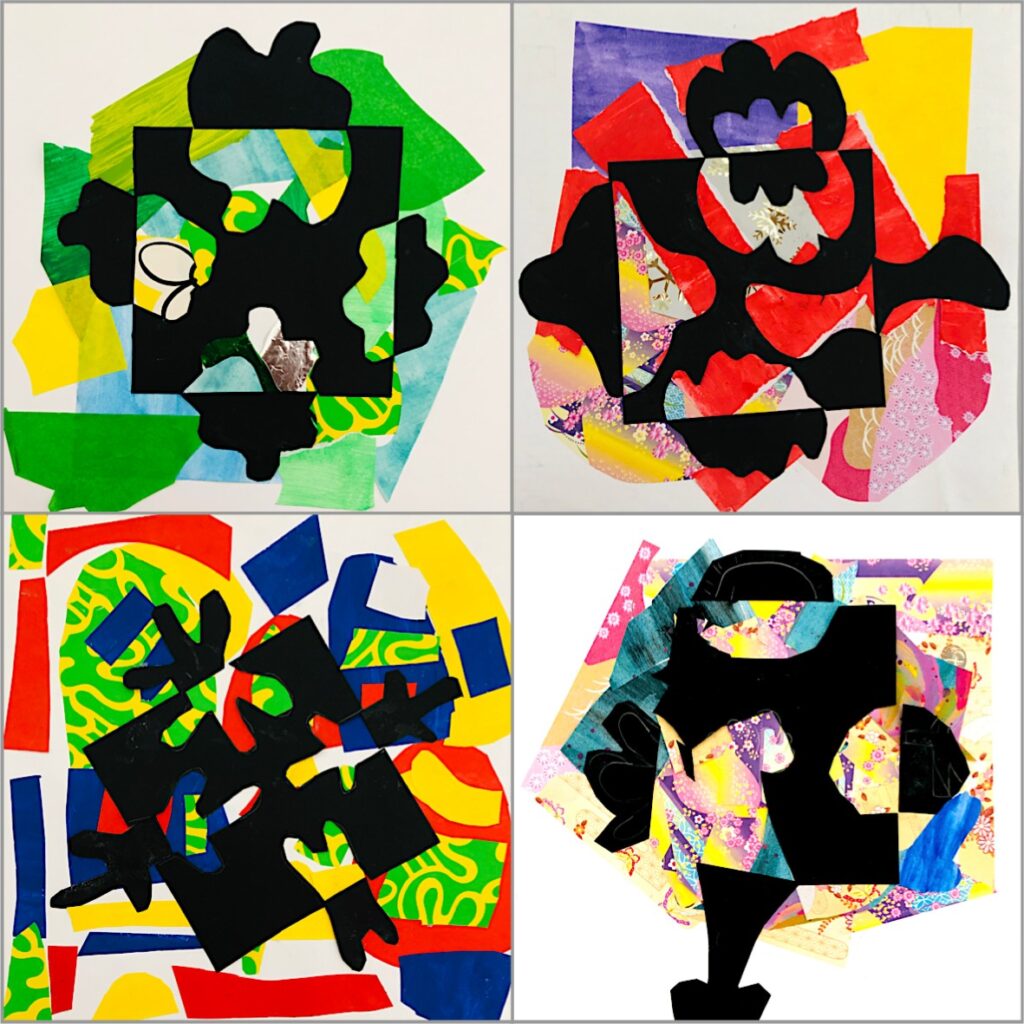
Symmetry with NOTAN
With 6th Grade students, we worked on the various types of symmetry, and we made a collage creating a NOTAN with shapes in bilateral symmetry. NOTAN is a Japanese word that means “dark – light”: it is a technique that teaches how to create harmony and balance in space using SYMMETRY, white, the clear space of light, and black, the darkness.
Experimenting with the NOTAN allows you to explore positive and negative spaces with symmetrical shapes. One of the unusual aspects of this technique is that the final result is not known until the job is done. The “real” Notan should be done with a BLACK sheet and a WHITE sheet: but we have experimented with a colored background, made of a collage of colored paper and gift wrapping paper.
We need:
- Sheet of squared paper (we need it for a test sample)
- BLACK sheet from which to cut out a 12×12 square
- White drawing sheet, cut out in the shape of a square (24×24)
- Colored sheets of any type (we use them for background collage)
- Pencil, eraser
- Ruler
- Scissors
- Glue stick
First, we did some tests with a squared paper, cutting out a 12x12cm square and working on that to understand the mechanism of symmetry obtained by overturning the shapes. You have to draw closed shapes on each side of the square, then cut out and overturn them.
After doing the test we make the background collage on the drawing paper cut out in a shape of a square (24×24 cm), using papers of all colors, except black, and cutting out free shapes.
Once the background collage is done, we prepare the Notan with black cardboard: we draw closed shapes on each side and cut them out, carefully preserving the cut pieces. We can redo the test drawings or invent others. I also suggested looking for a theme for the shapes: the sea, the seasons, nature, fruit, etc.
In a nutshell:
- Cut out the shapes you drew and store them with care !!!
- FIRST glue WHAT REMAINS OF THE SQUARE to the center of the collage
- Overturn the forms
- AFTER that, glue the other pieces
Here are our Notan!


