三级油画棒人造蜡染南瓜
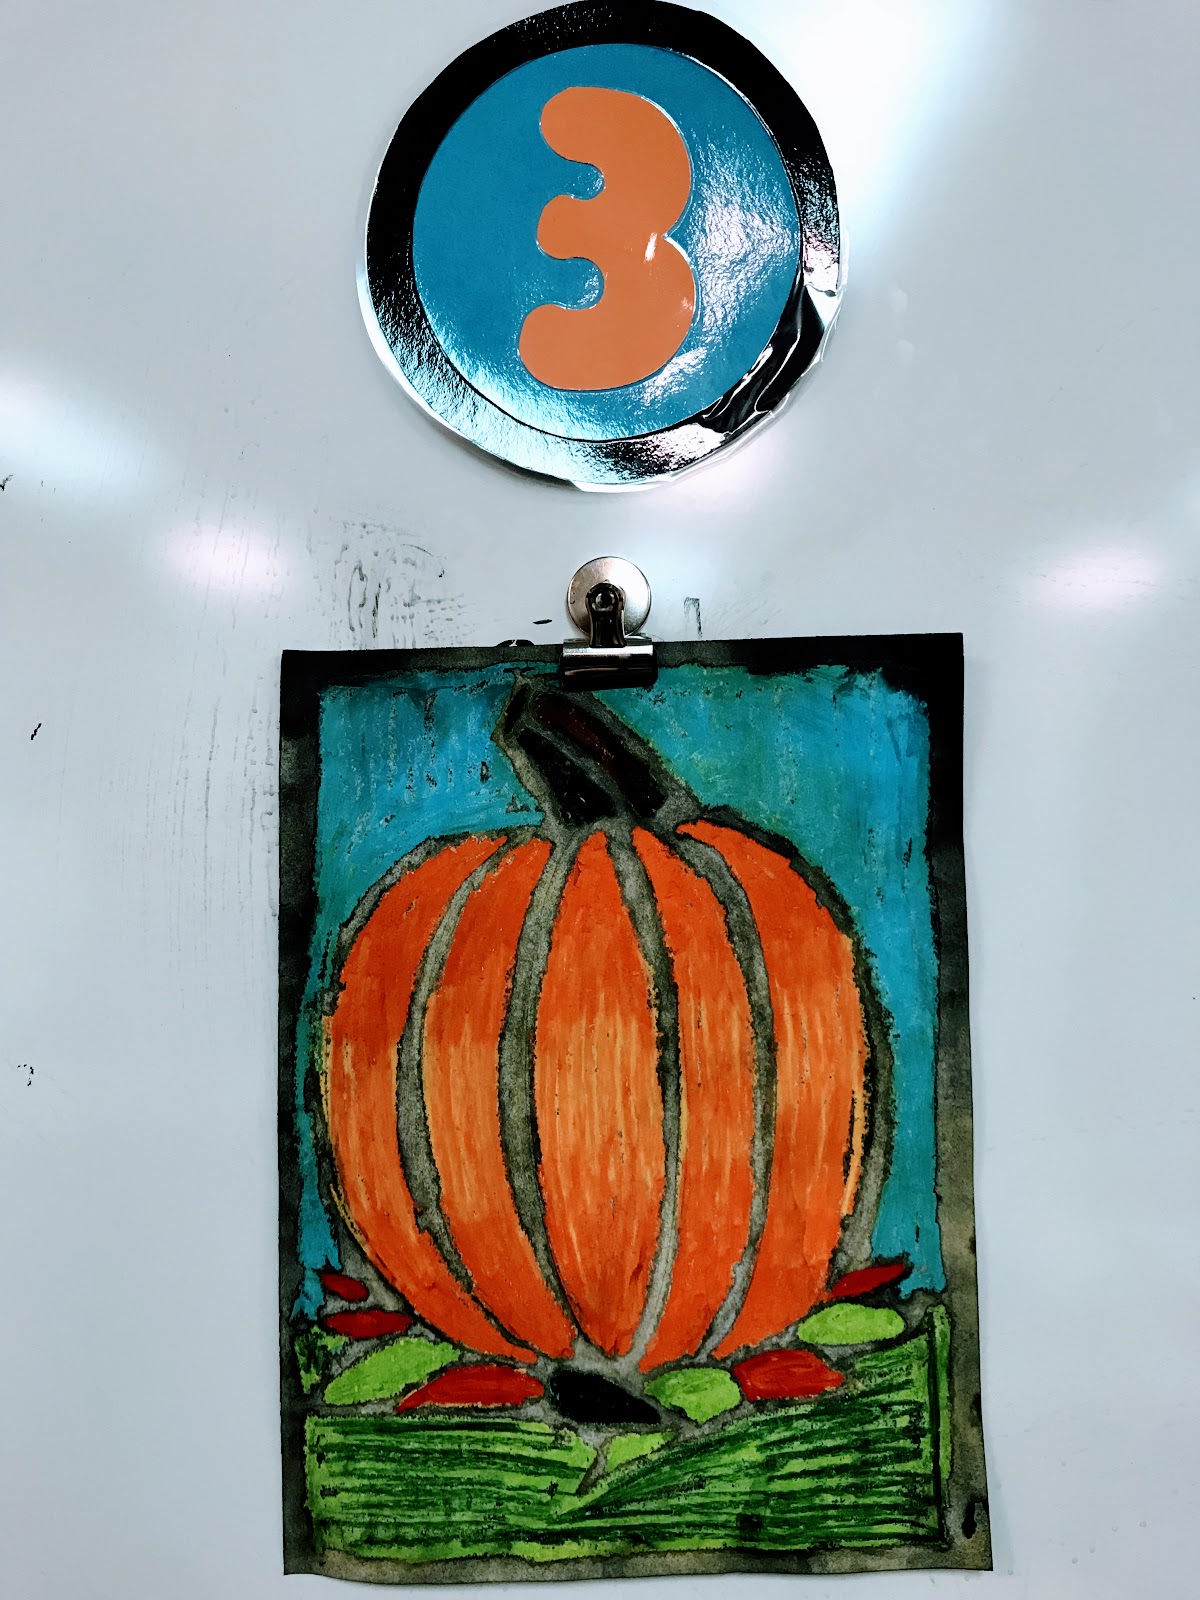
本周,三年级学生尝试了一项新活动!我在A Faithful Attempt 博客上发现了这个创意,很想带我们的学生一起试试!
以下是我们的制作步骤:
材料:
90磅纸(必须用厚纸!)
Sargent 粉笔画棒
Crayola 油画棒
Sax 印度墨水
Ticonderoga 铅笔
第一天:我们先参考了 Faithful Attempt 博客上的范例,并观察了真实的南瓜。我们注意南瓜表面的弧形线条,以及明暗(亮部与暗部)的变化。我们还发现南瓜并非完美的圆形,瓜蒂也并非规整的小矩形。此外,我们还查阅了“蜡染”(batik)的定义,了解这种艺术形式的制作流程。这里有个很棒的网站——Dharma Trading Co.,展示了蜡染作品的实例!
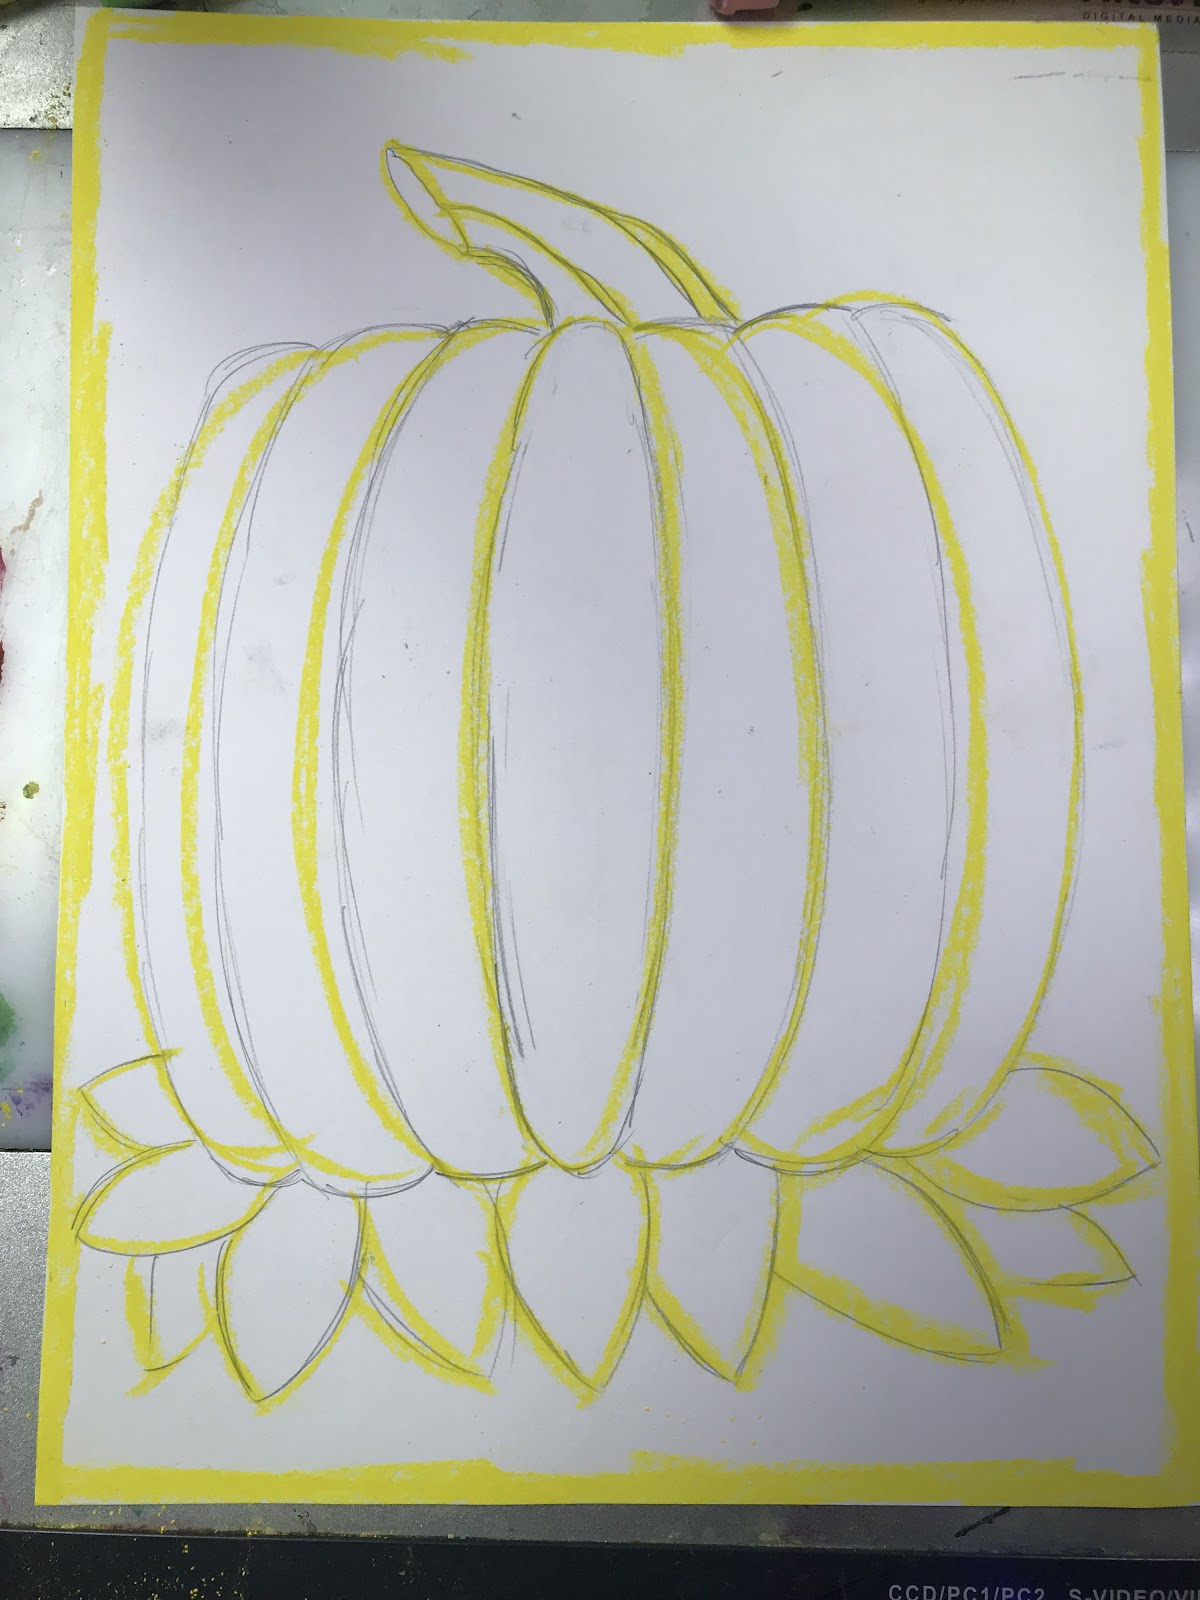
接着,我们开始动手!大家一同分步绘制南瓜。然后,用黄色粉笔描摹自己的线稿。我提醒学生要画得大一些,并用粉笔画出粗而醒目的线条——这些将成为最终作品中的深色轮廓线。
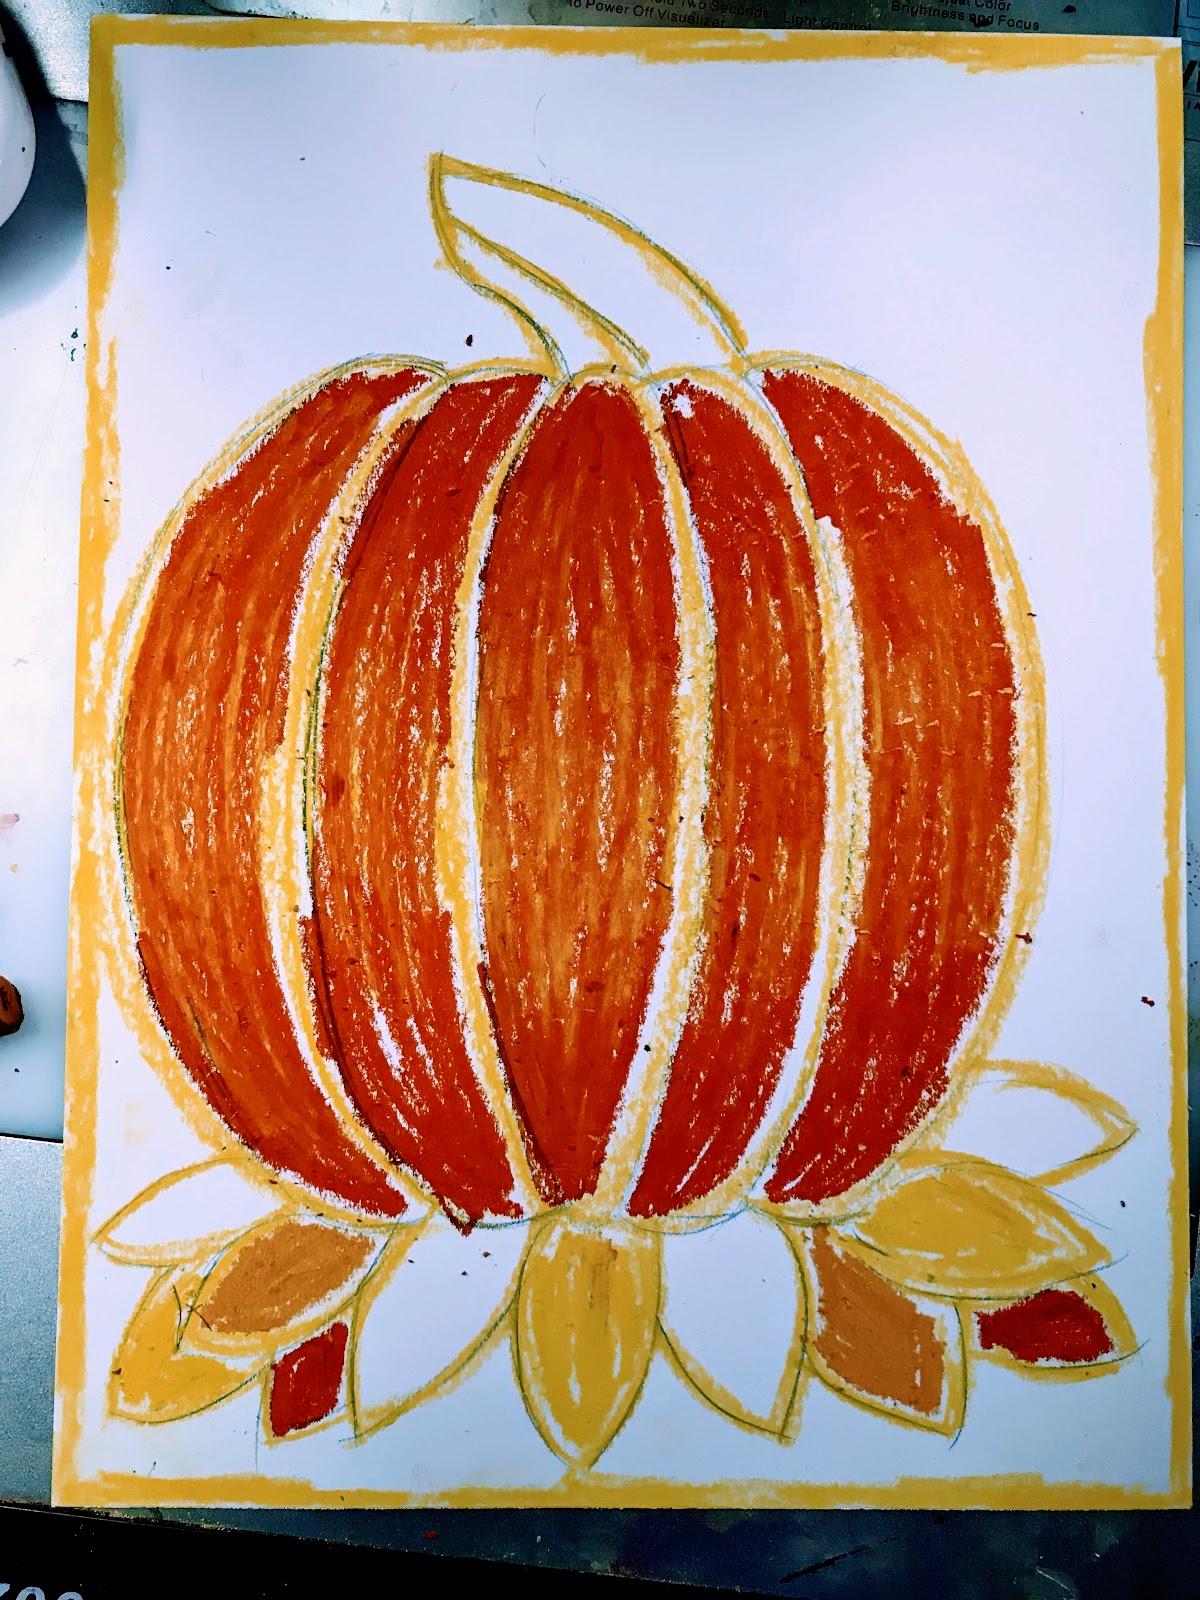
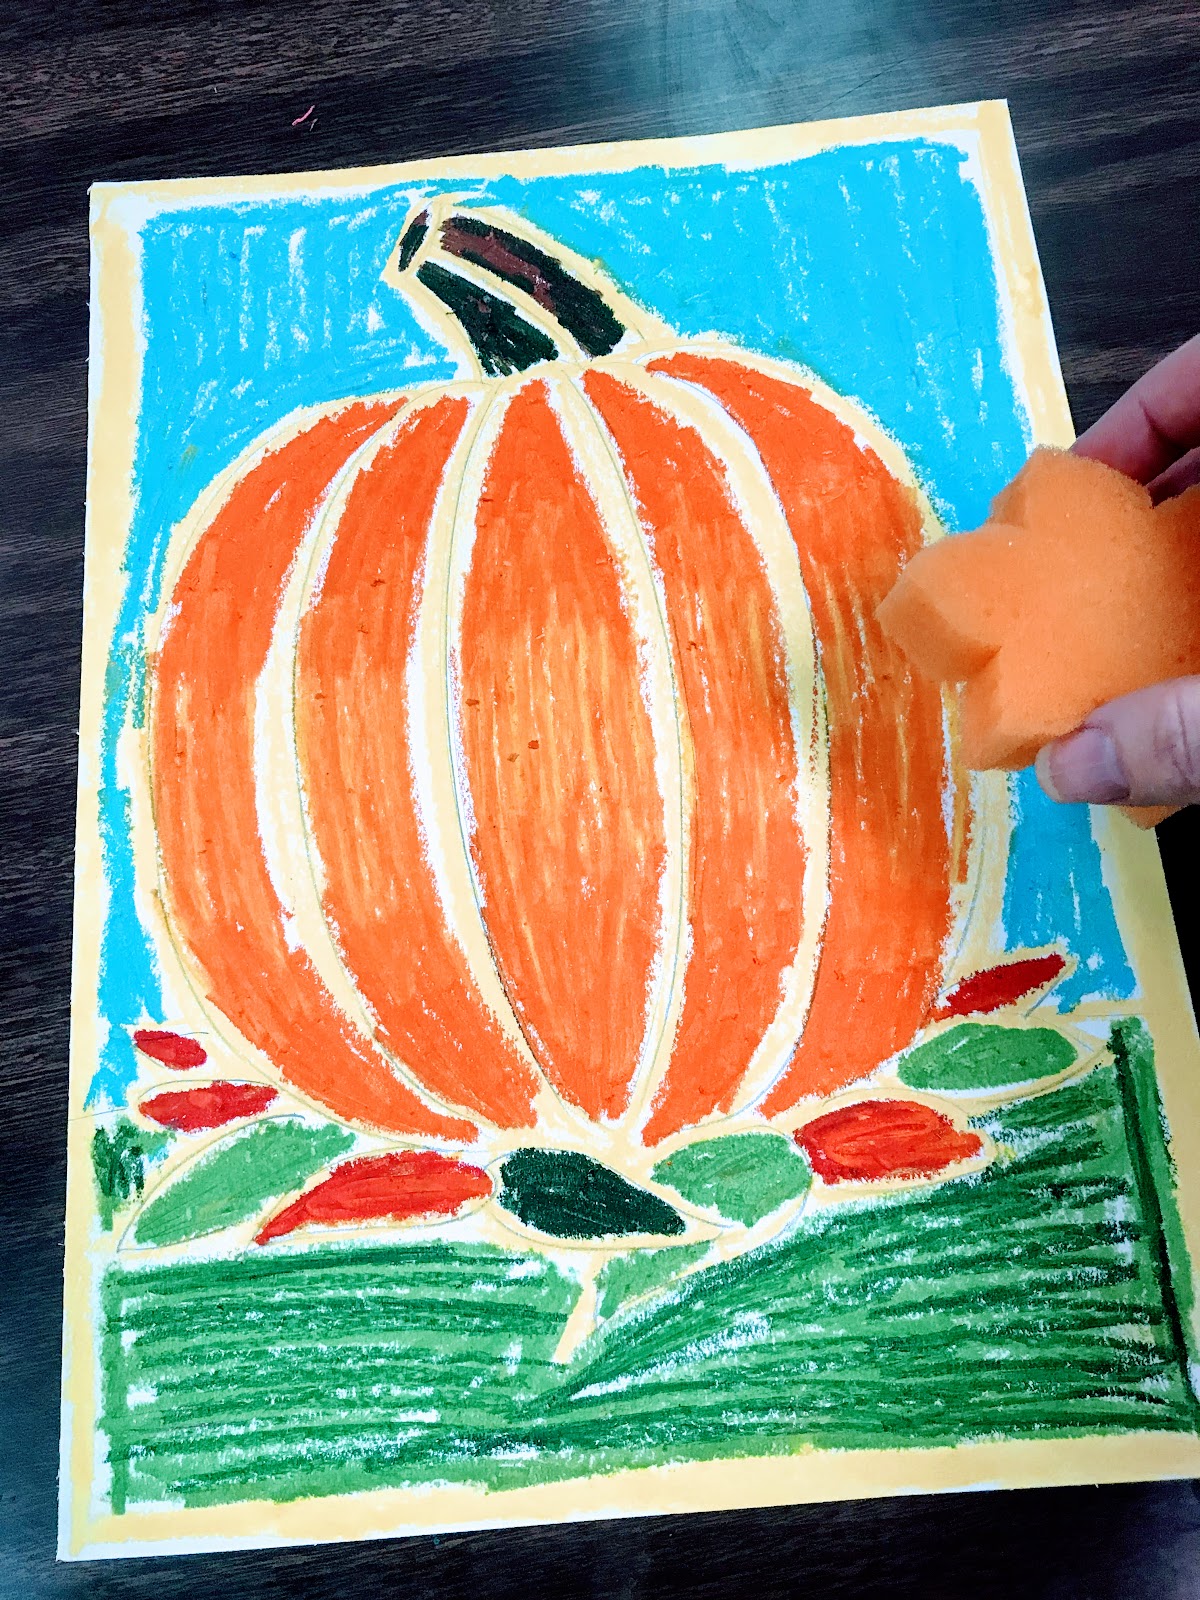
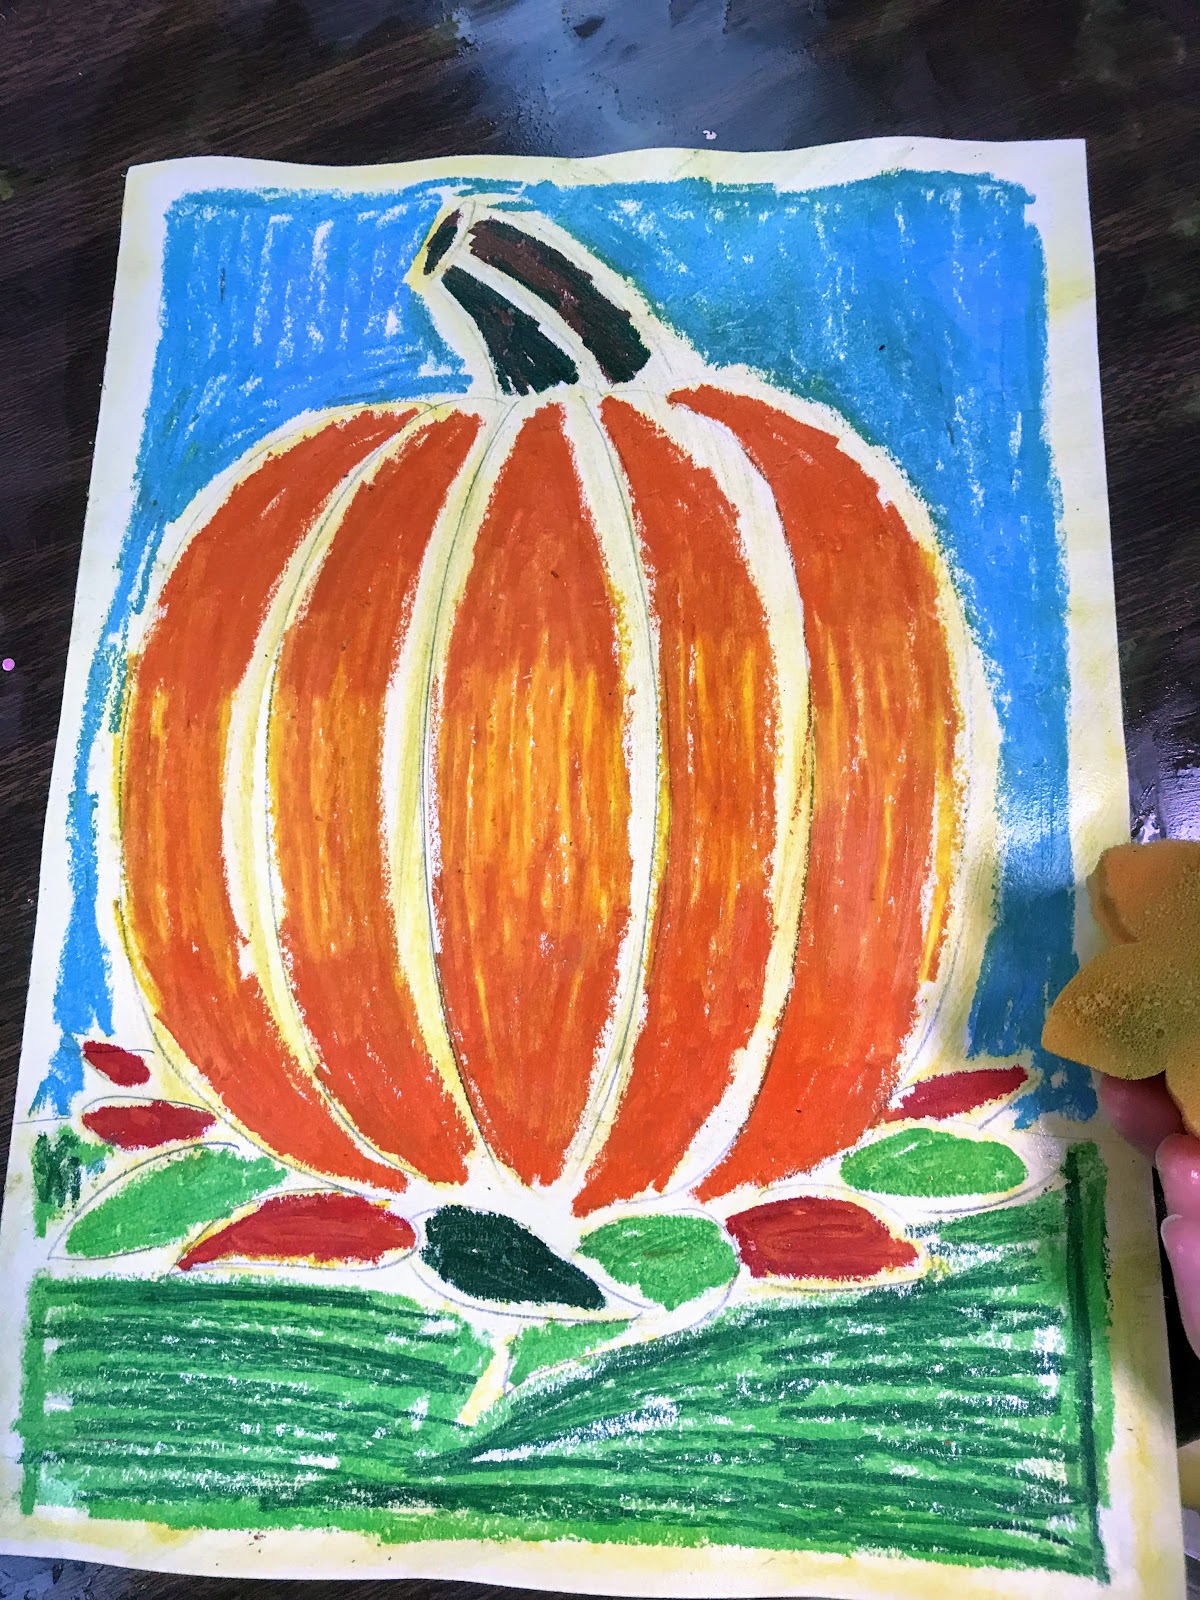
接下来,我示范了上色方法:使用油画棒着色,因为它们能抵抗后续使用的墨水!我提醒学生每次只涂一个区域,并保留粉笔勾勒的轮廓线。我先将中间部分涂成黄色;再将该区域顶部与底部涂成橙色;同时用橙色轻轻覆盖部分黄色区域;最后再用黄色整体晕染整个区域。我特别喜欢油画棒那奶油般柔滑的质地,以及出色的混色效果!瓜蒂用绿色和棕色表现,叶片选用秋日色调,草地用绿色与浅绿色,天空则涂成蓝色。
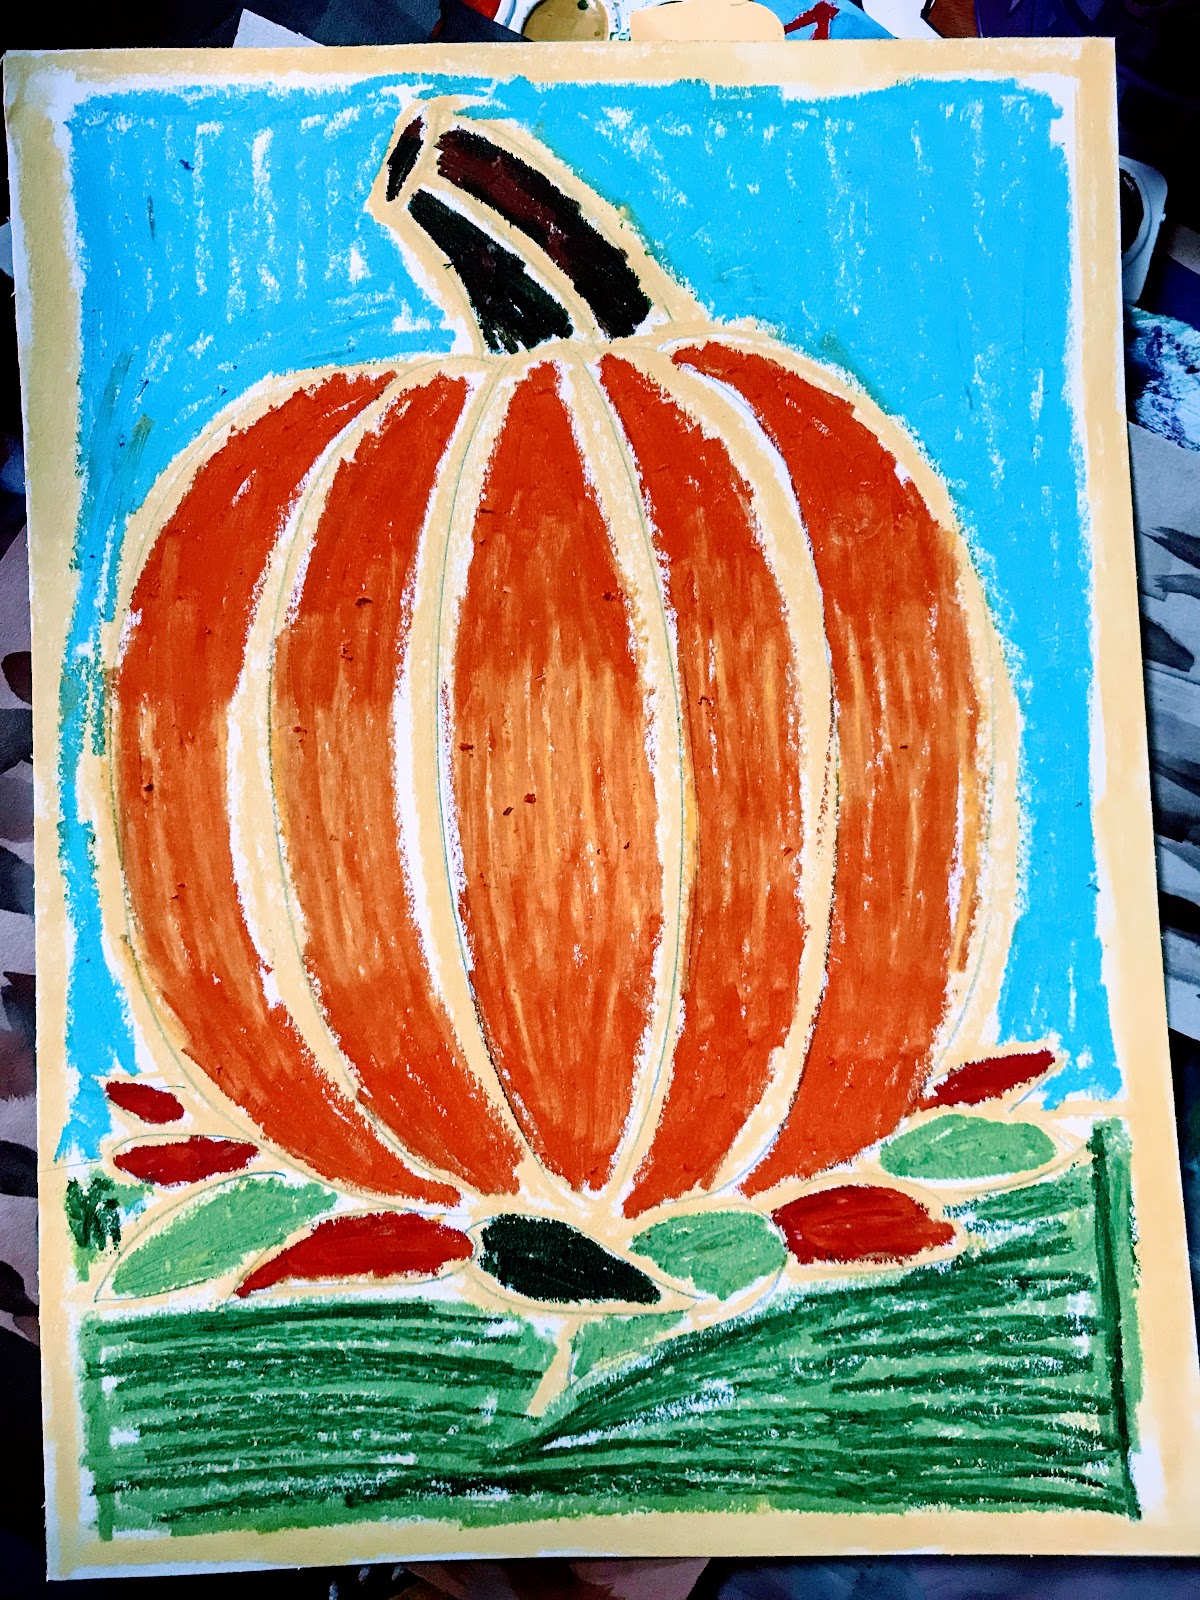
随后,我用湿海绵擦去粉笔痕迹。
第二天:添加黑色墨水!
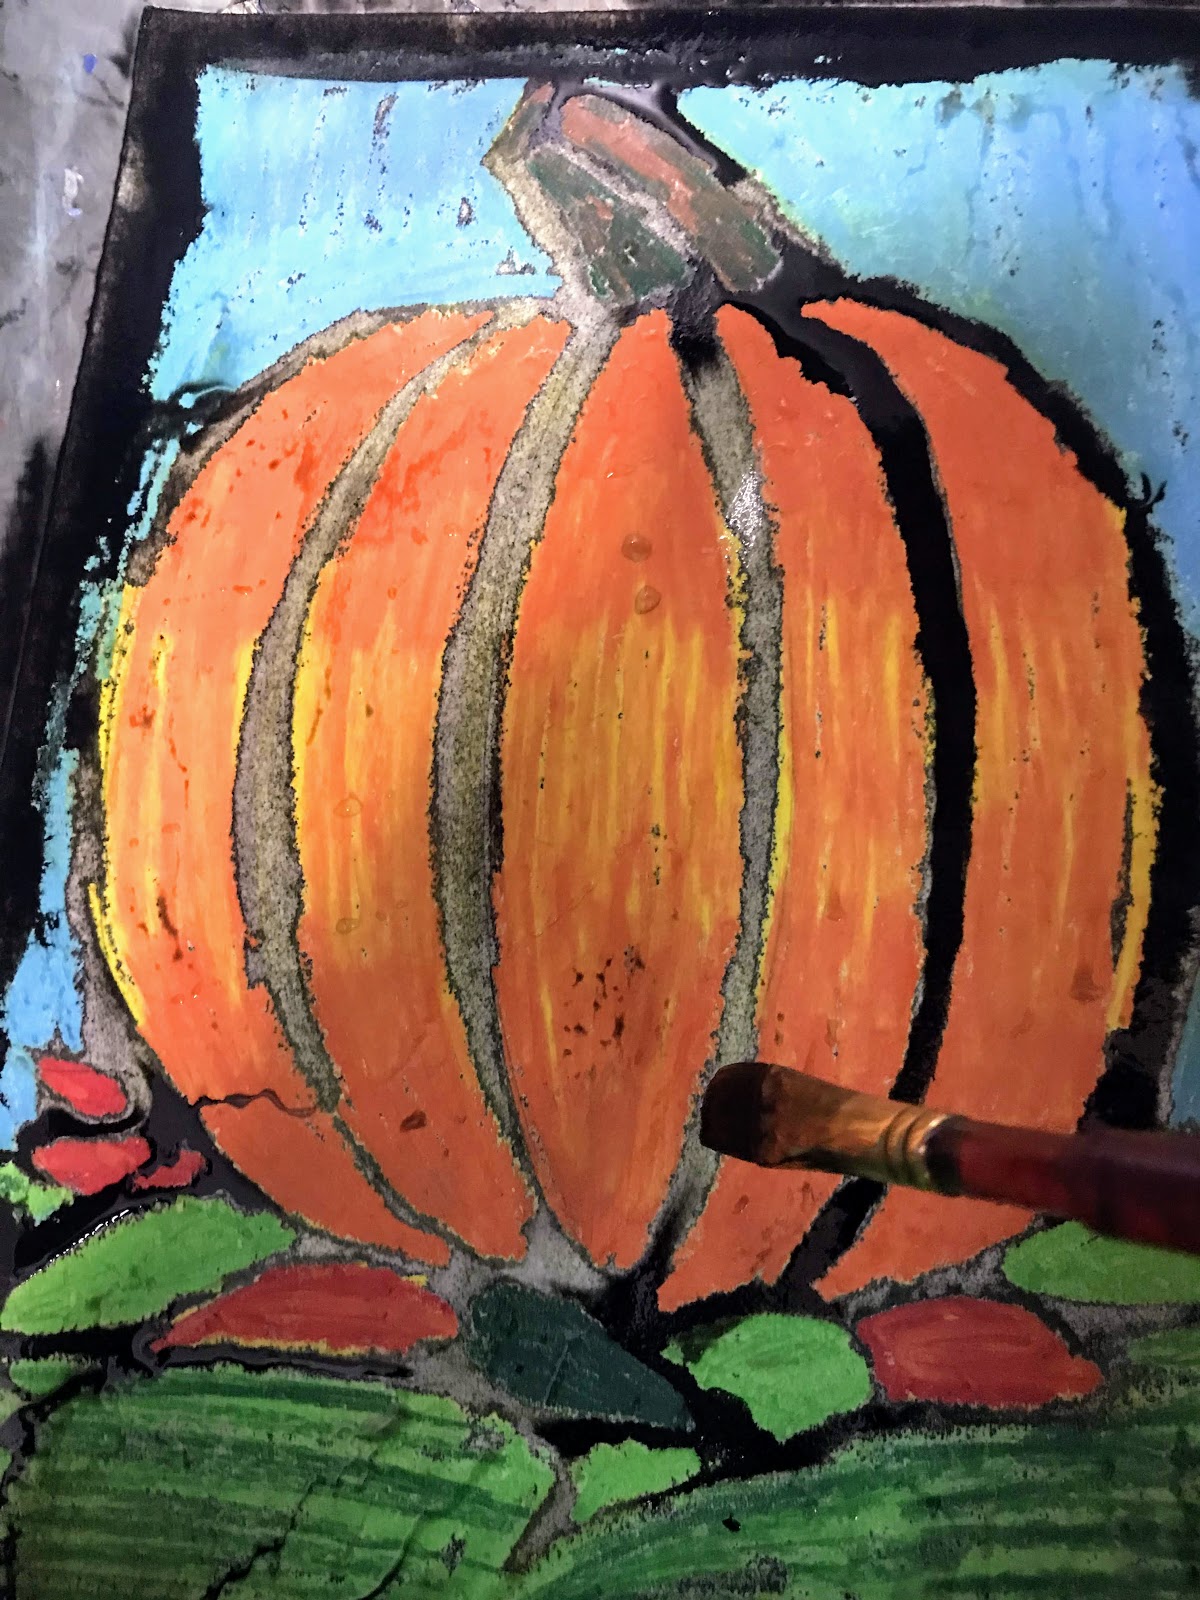
我把作品放在水槽中,用印度墨水通体涂刷一遍。
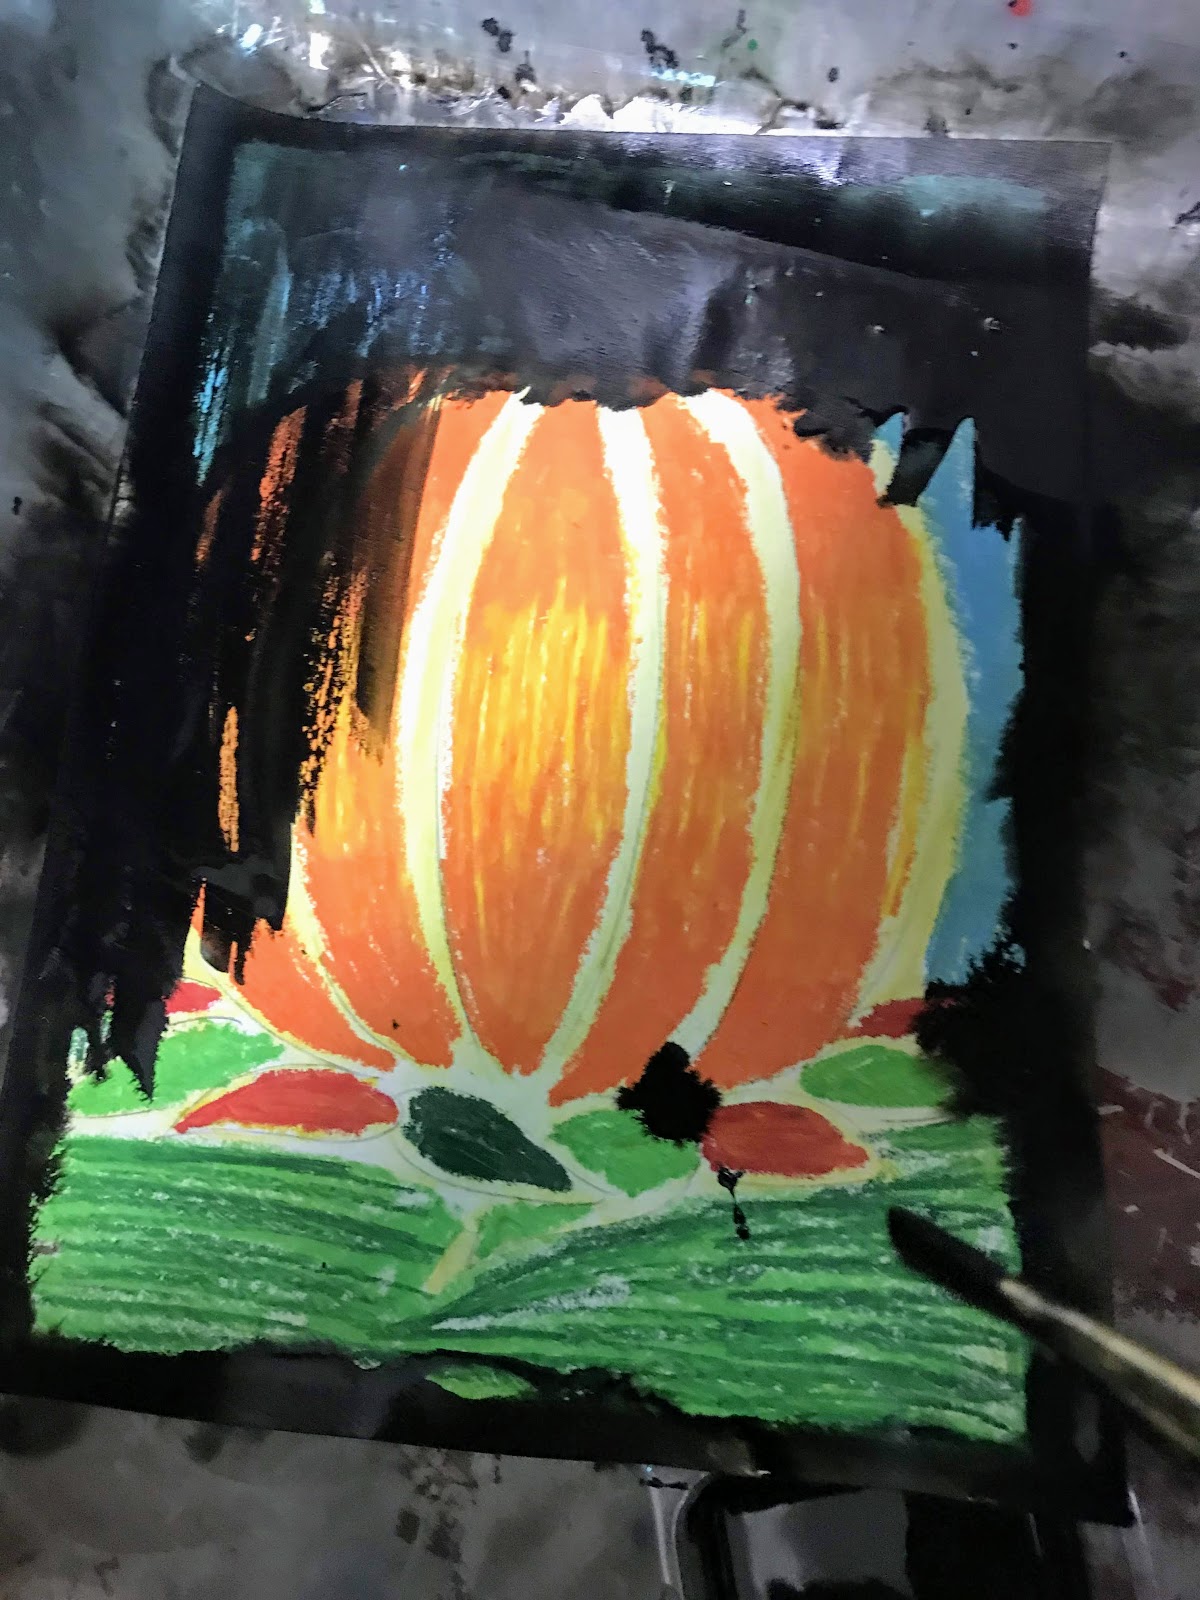
这是一段简短视频,展示我为画作涂墨的过程。
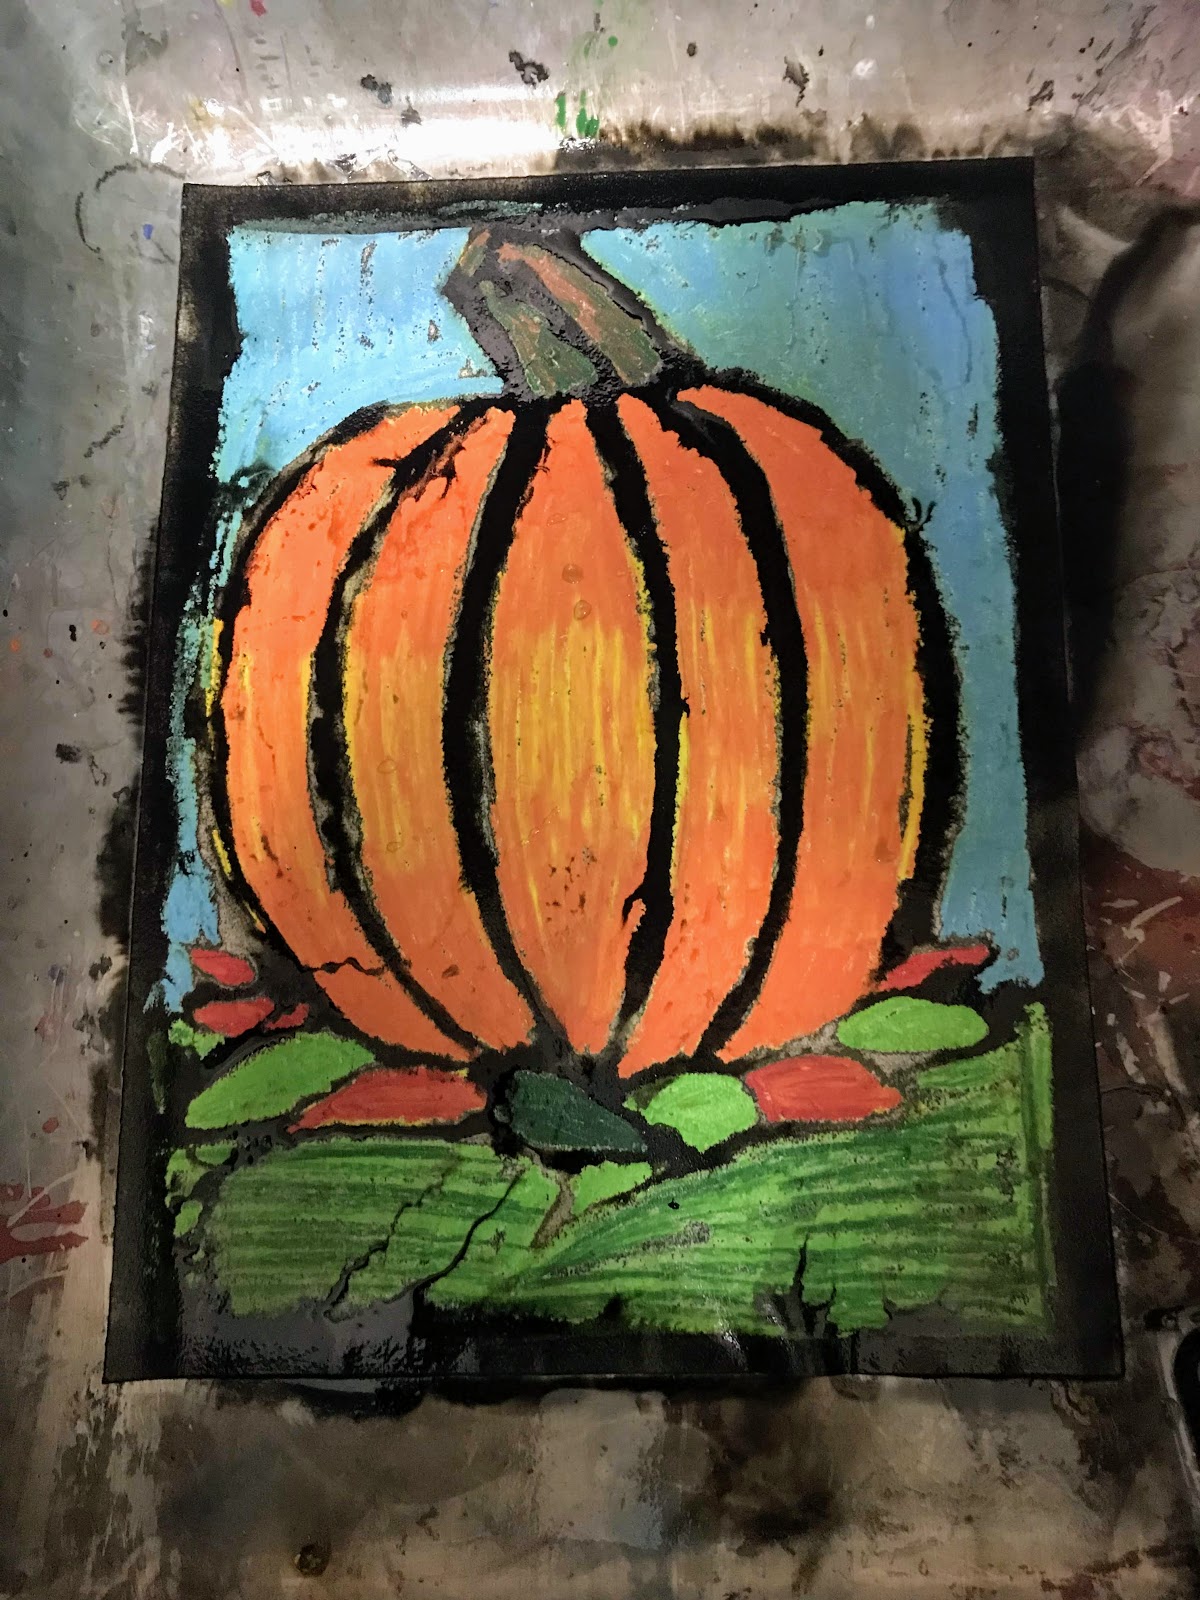
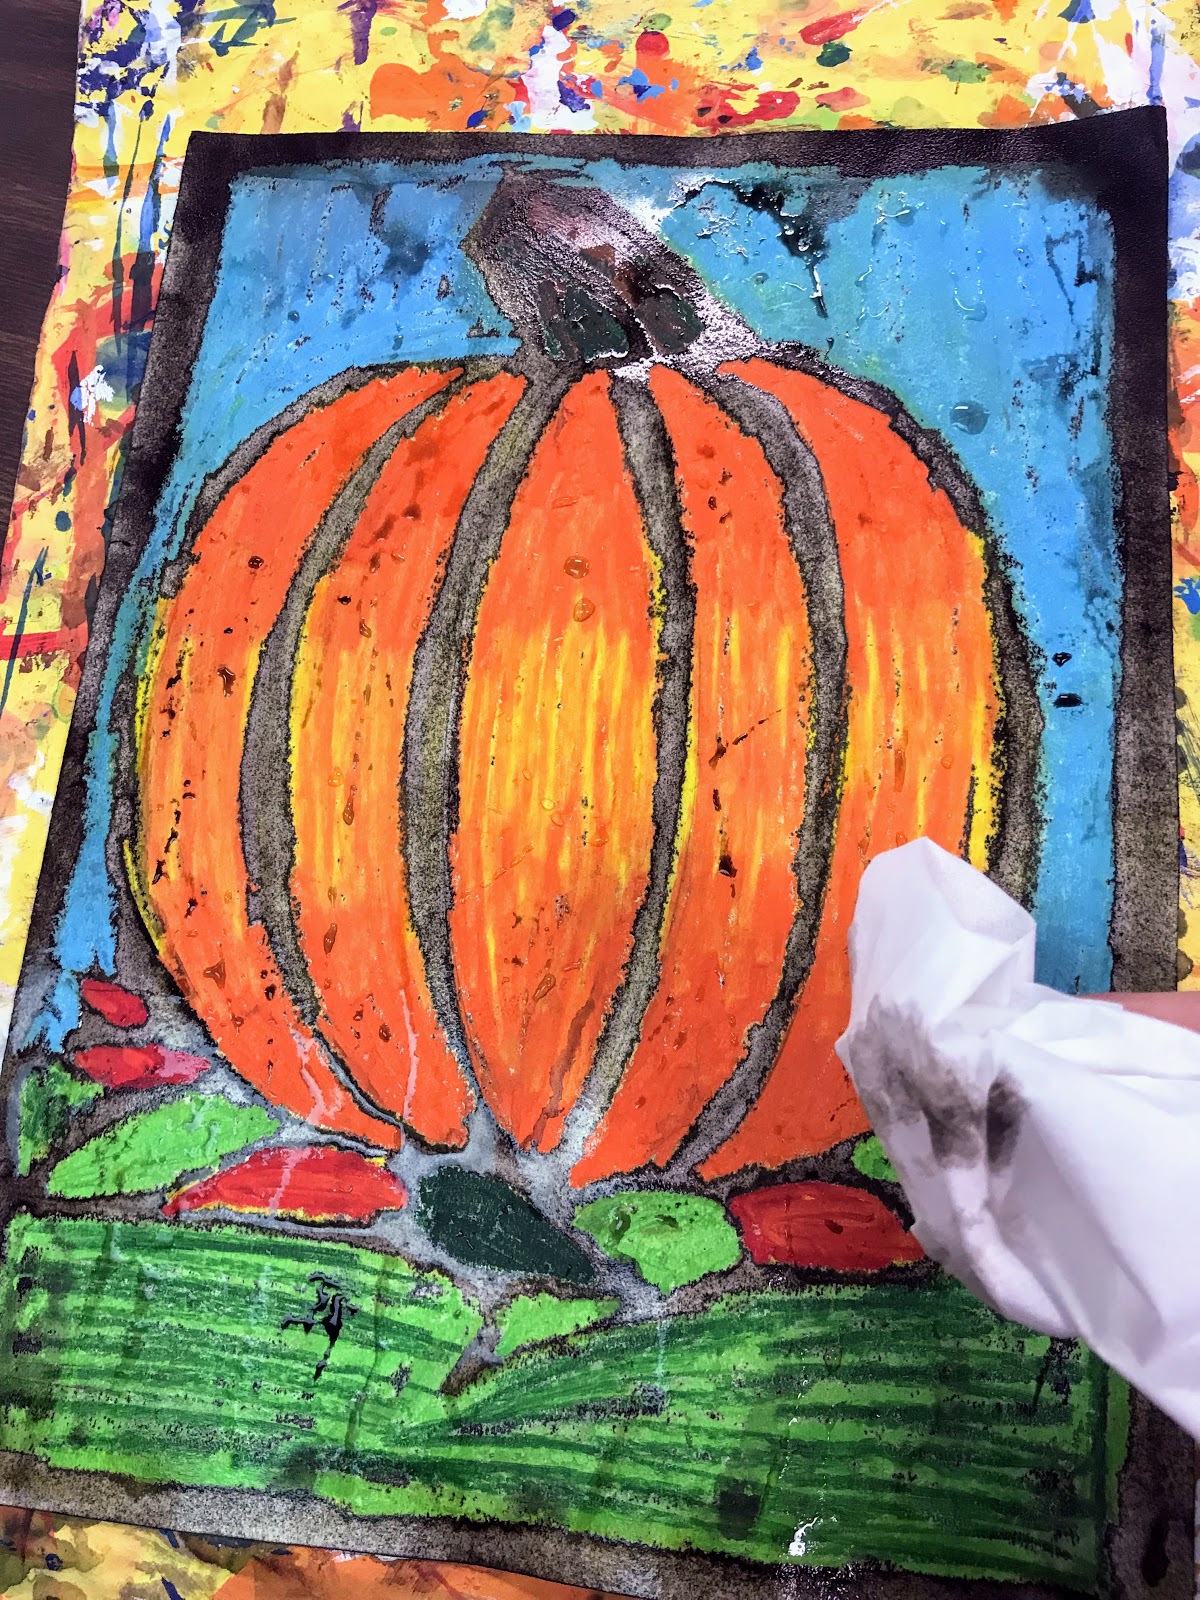
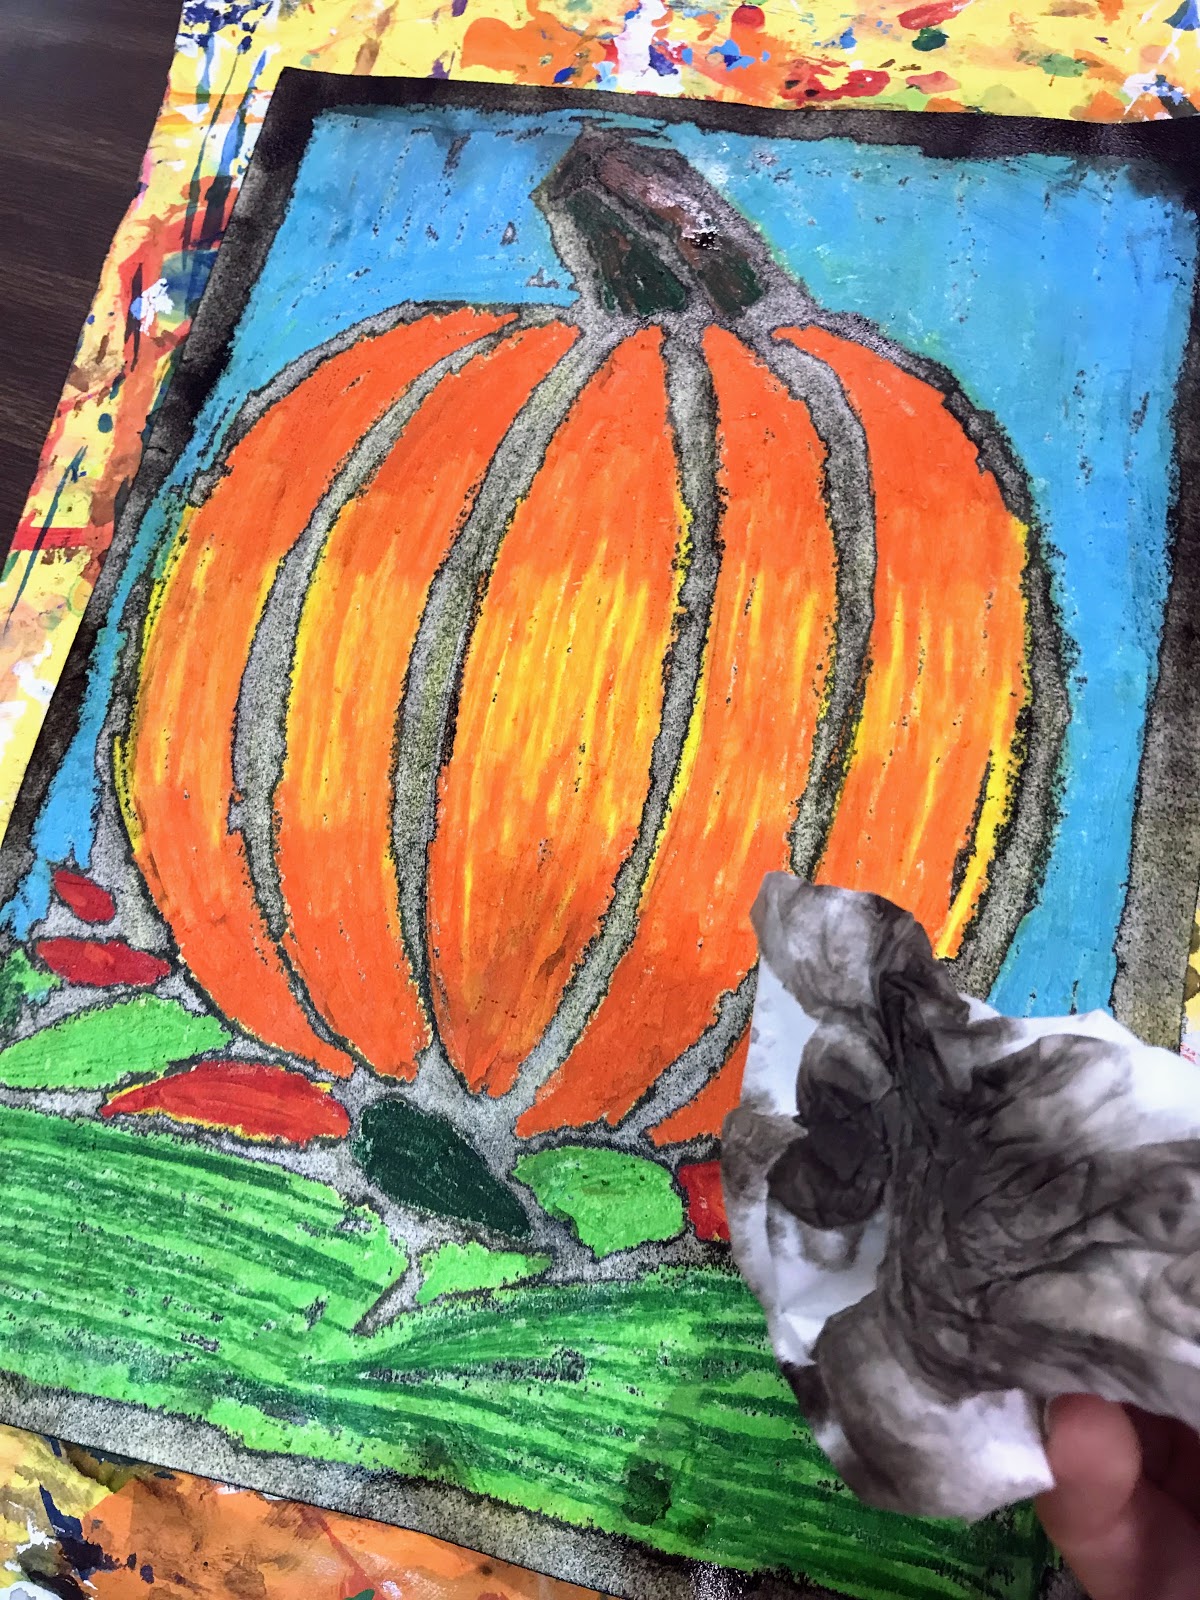
这是冲洗后呈现的效果。
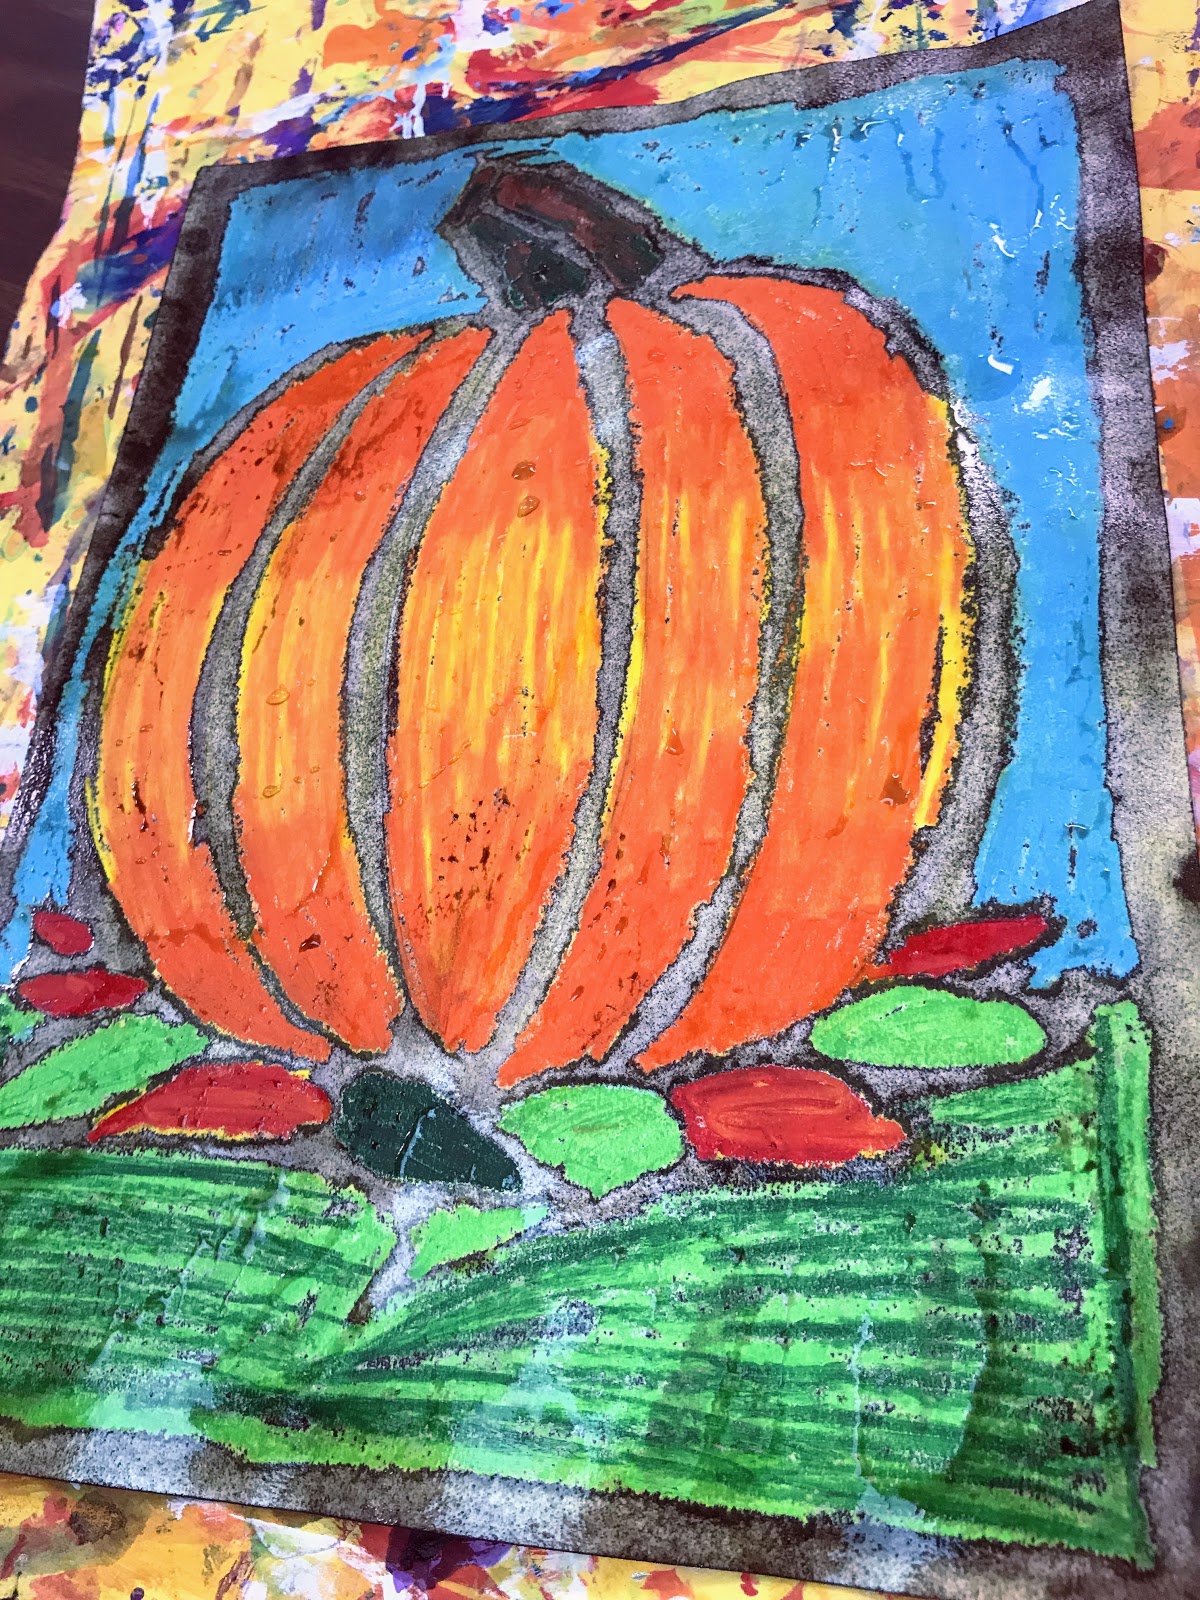
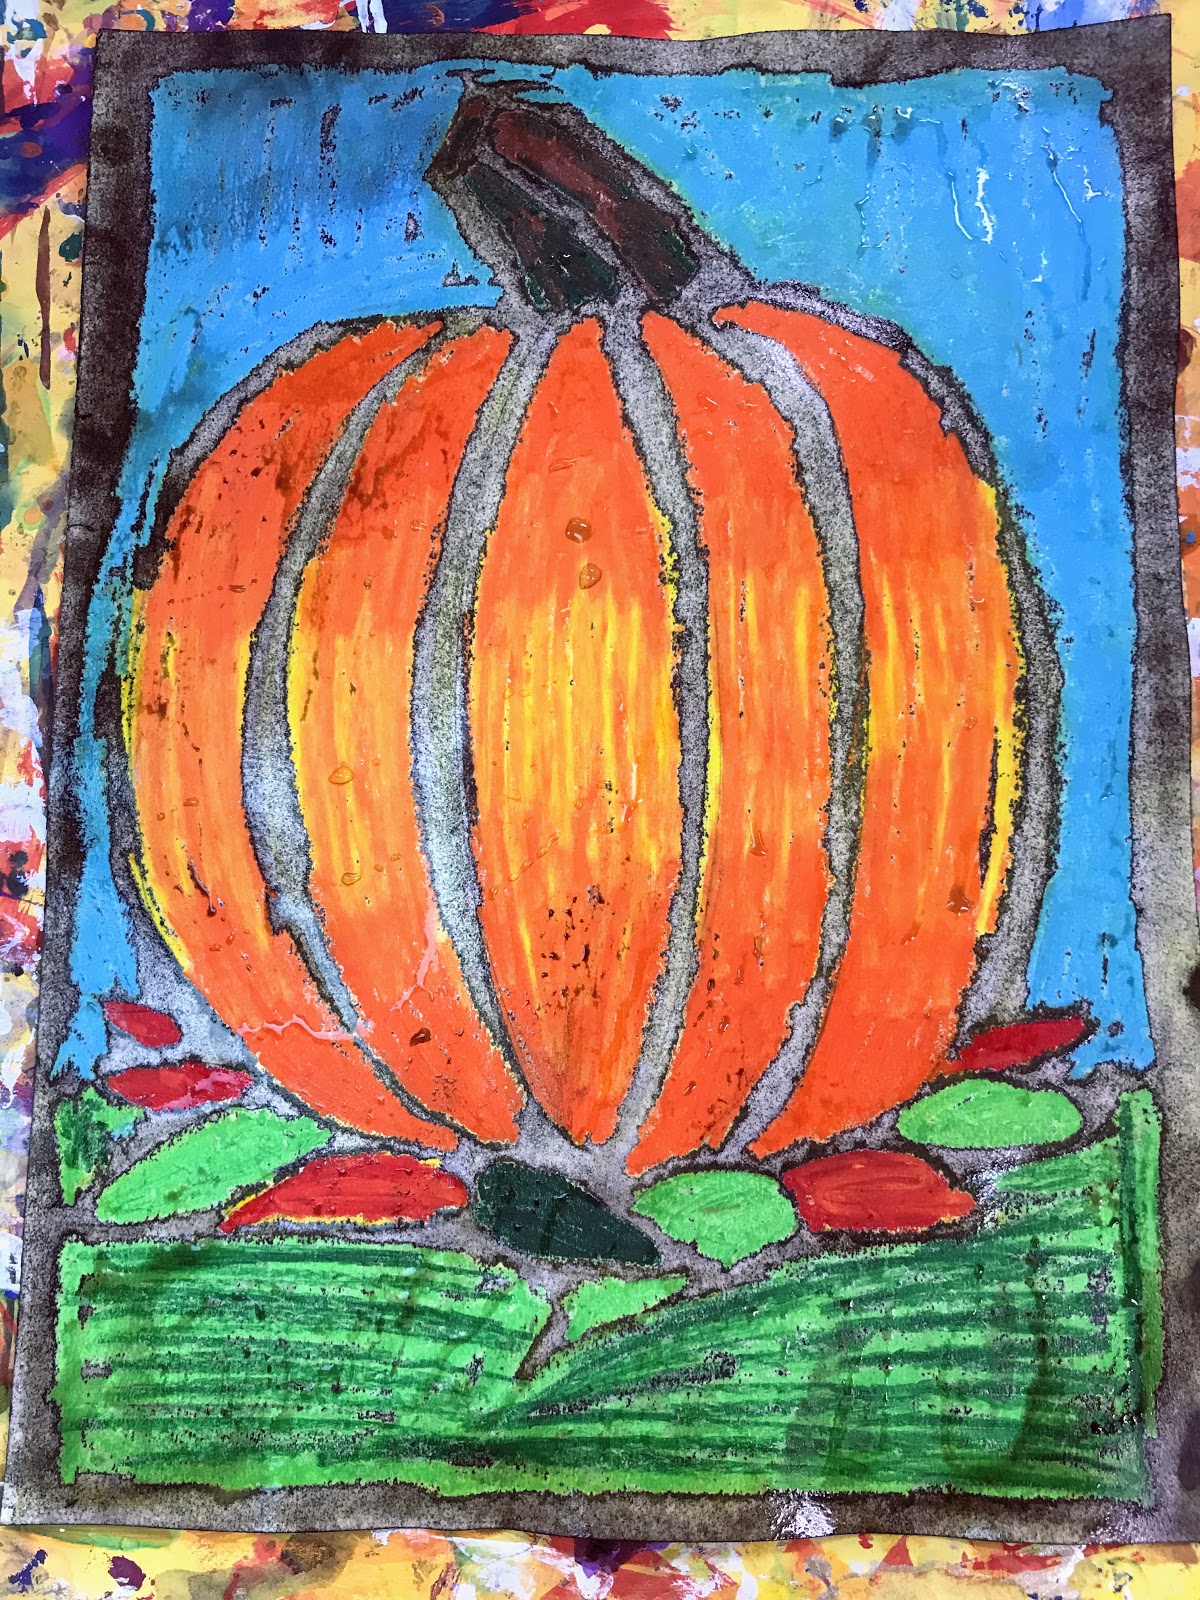
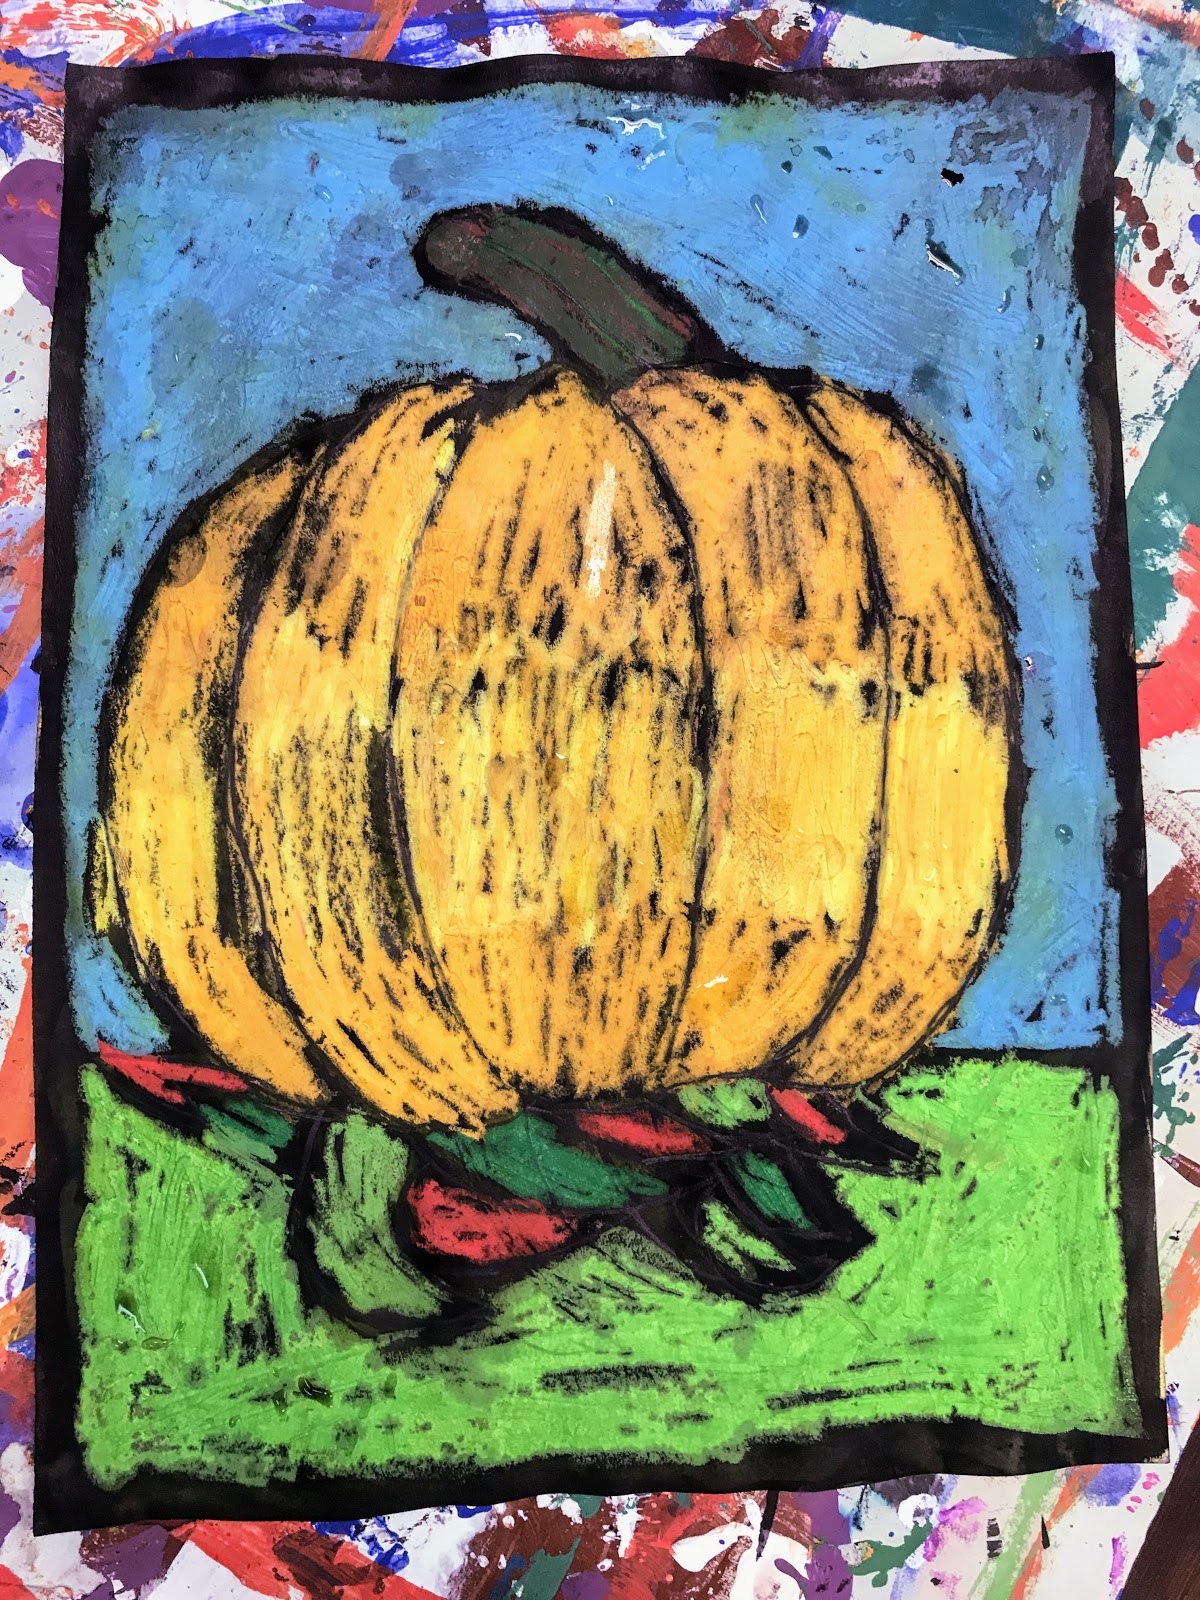
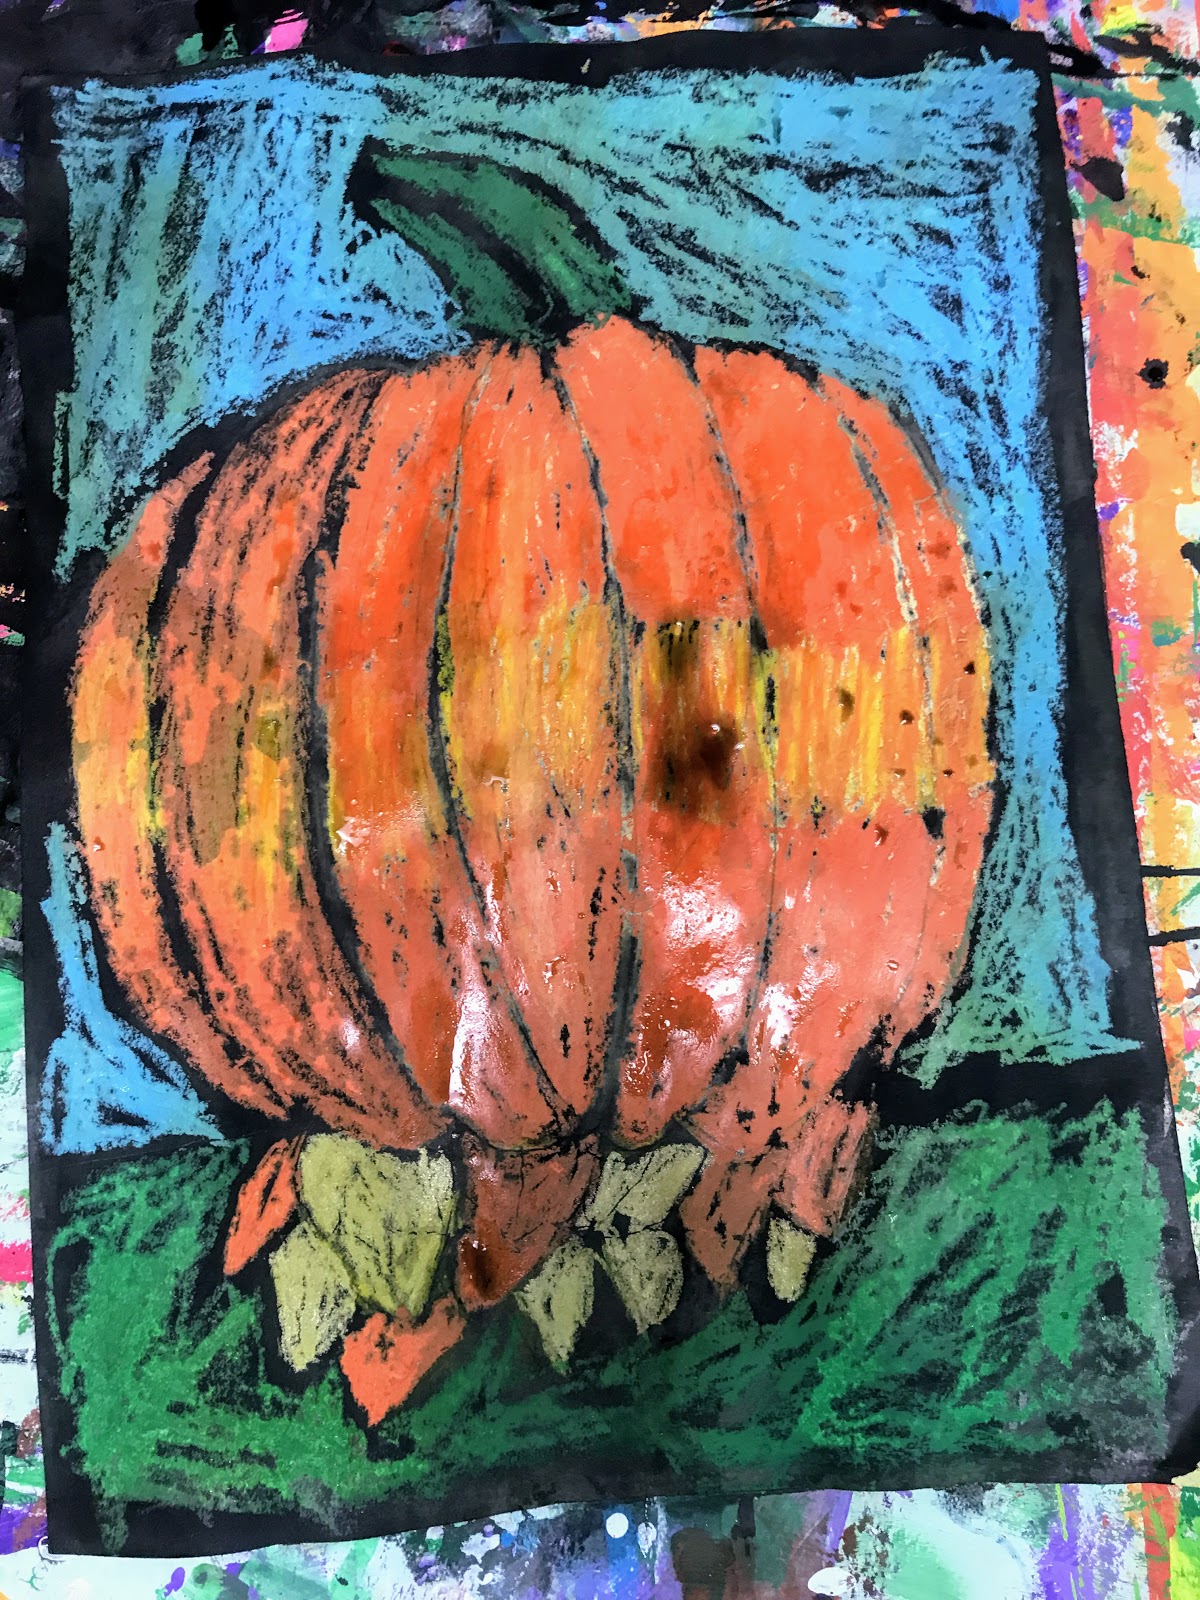
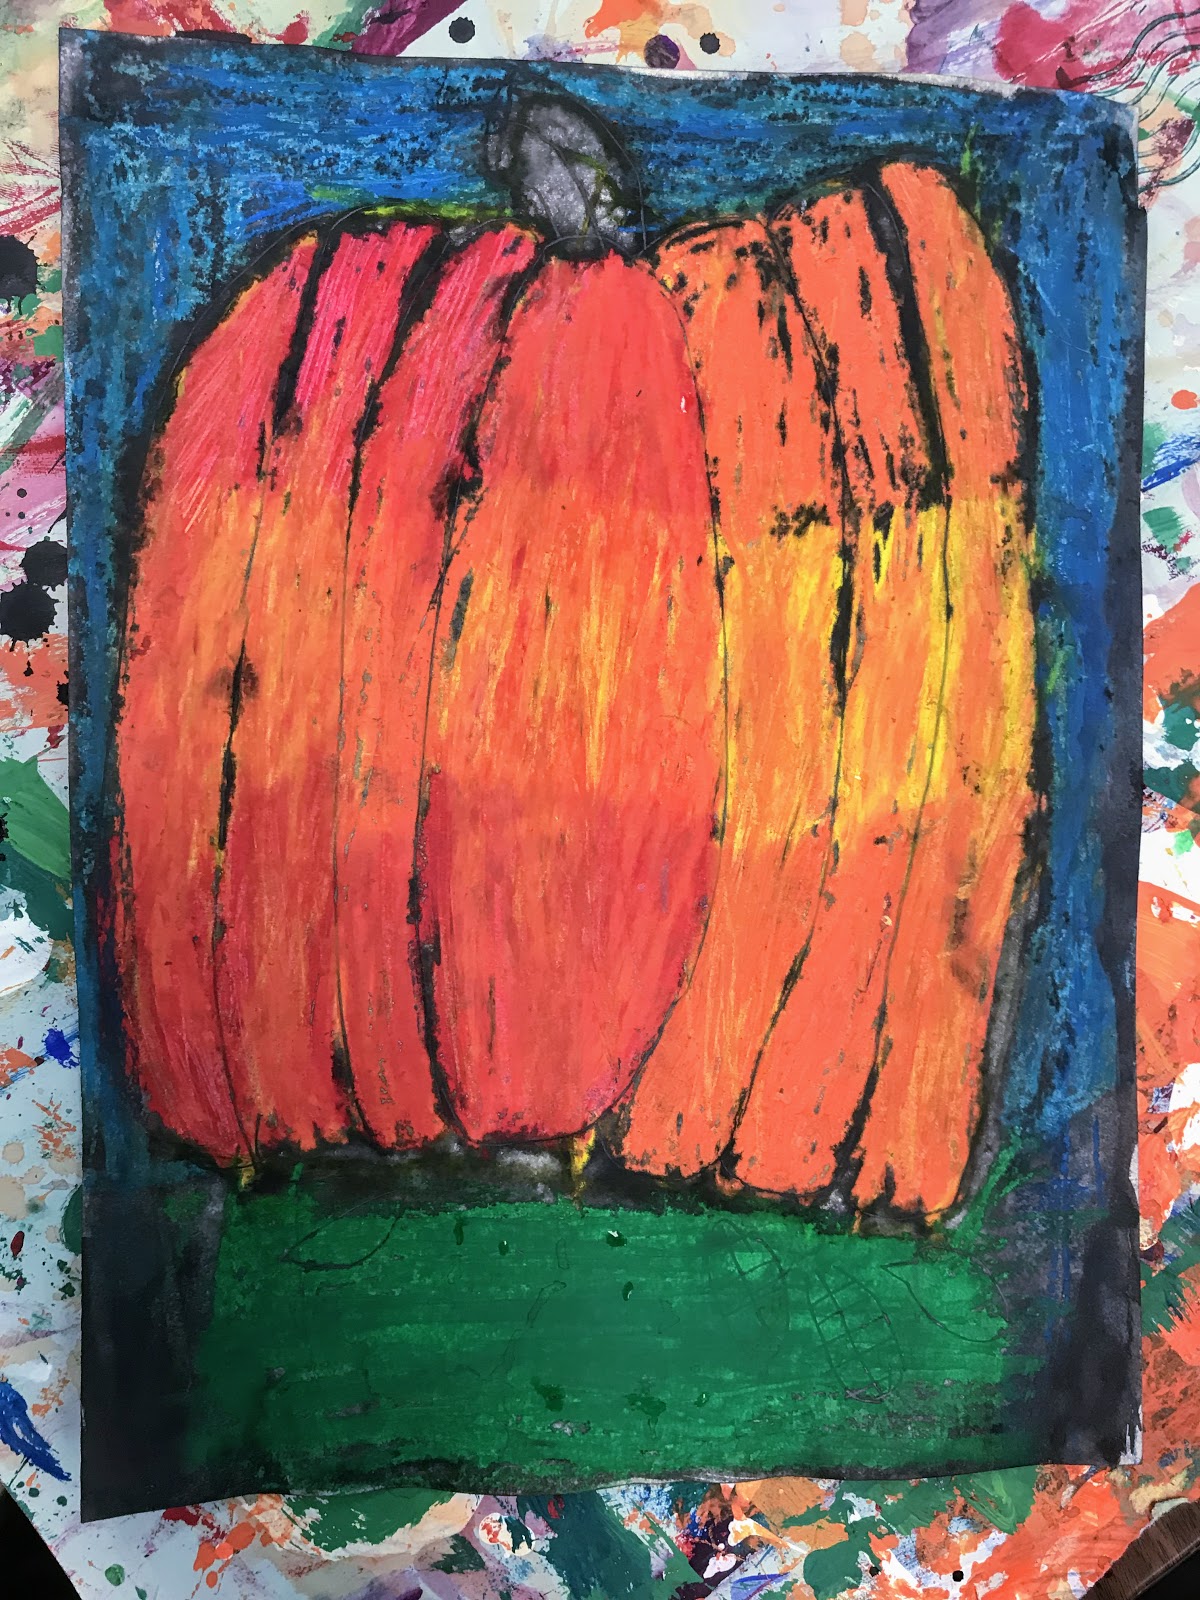
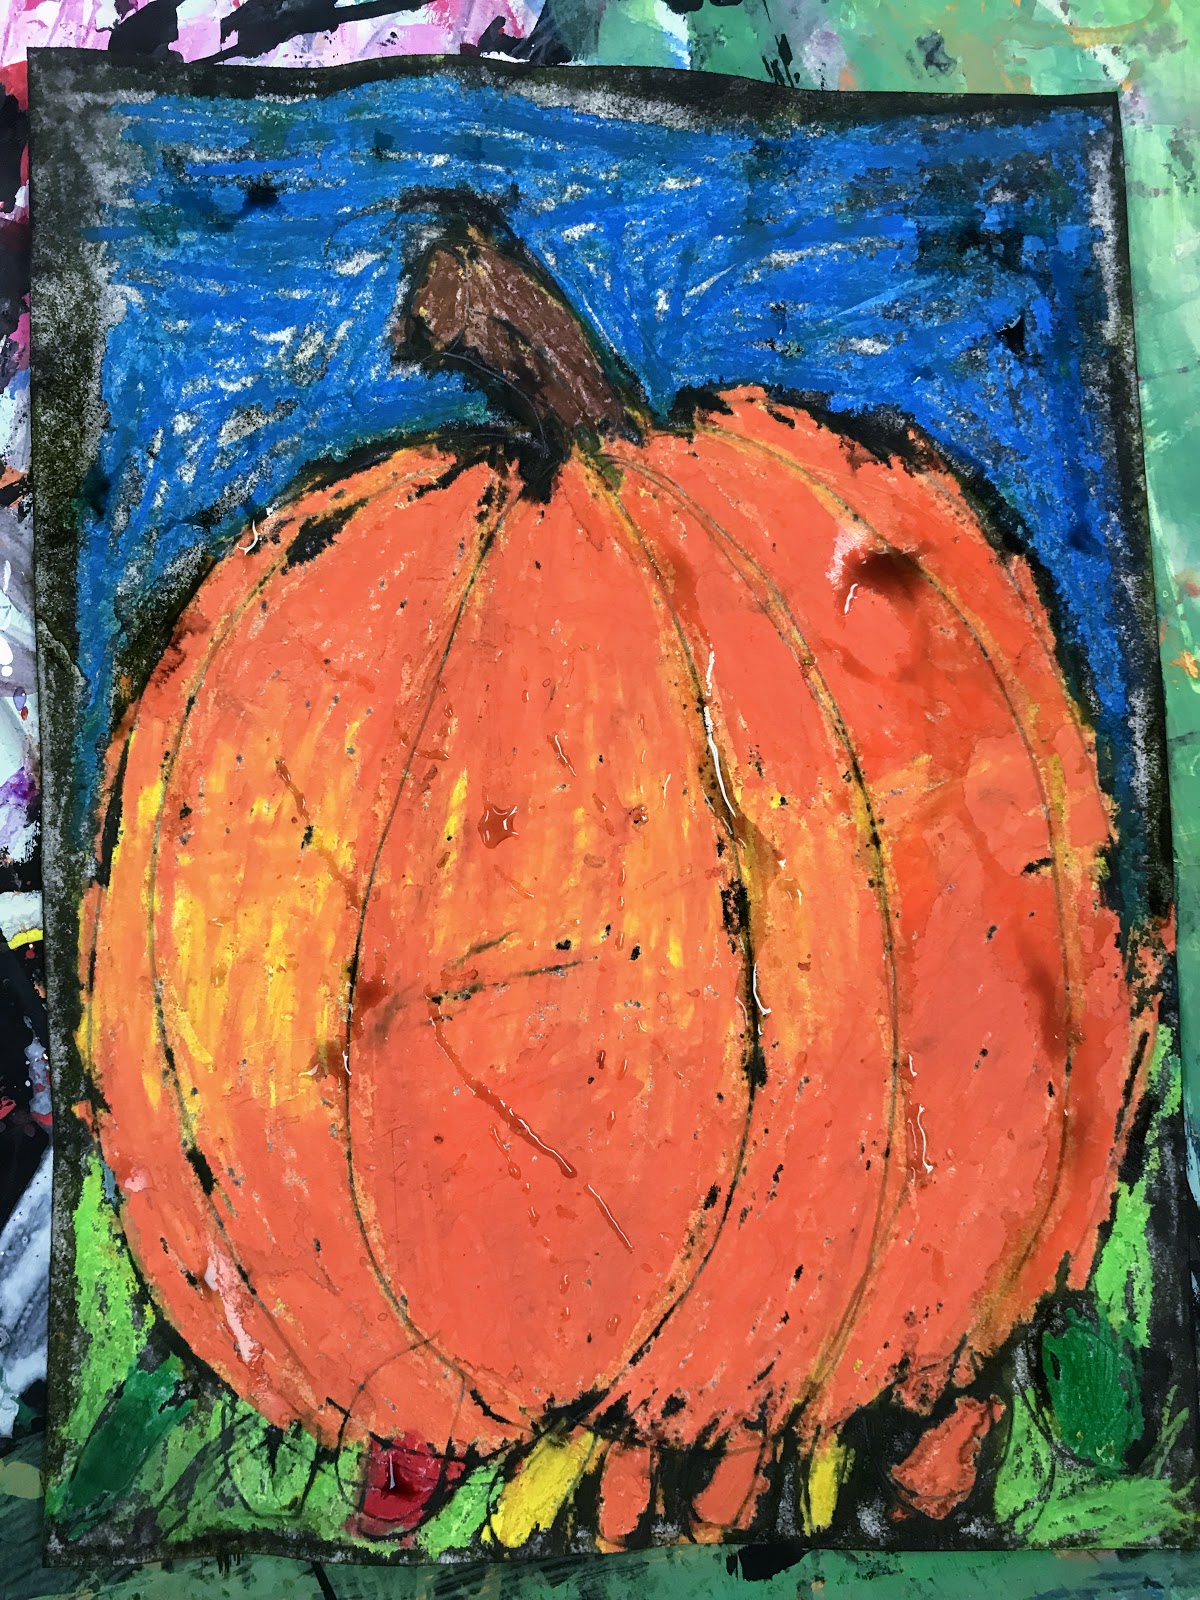
这是几幅完成作品的照片。
敬请期待三年级学生更多精彩美术作品!
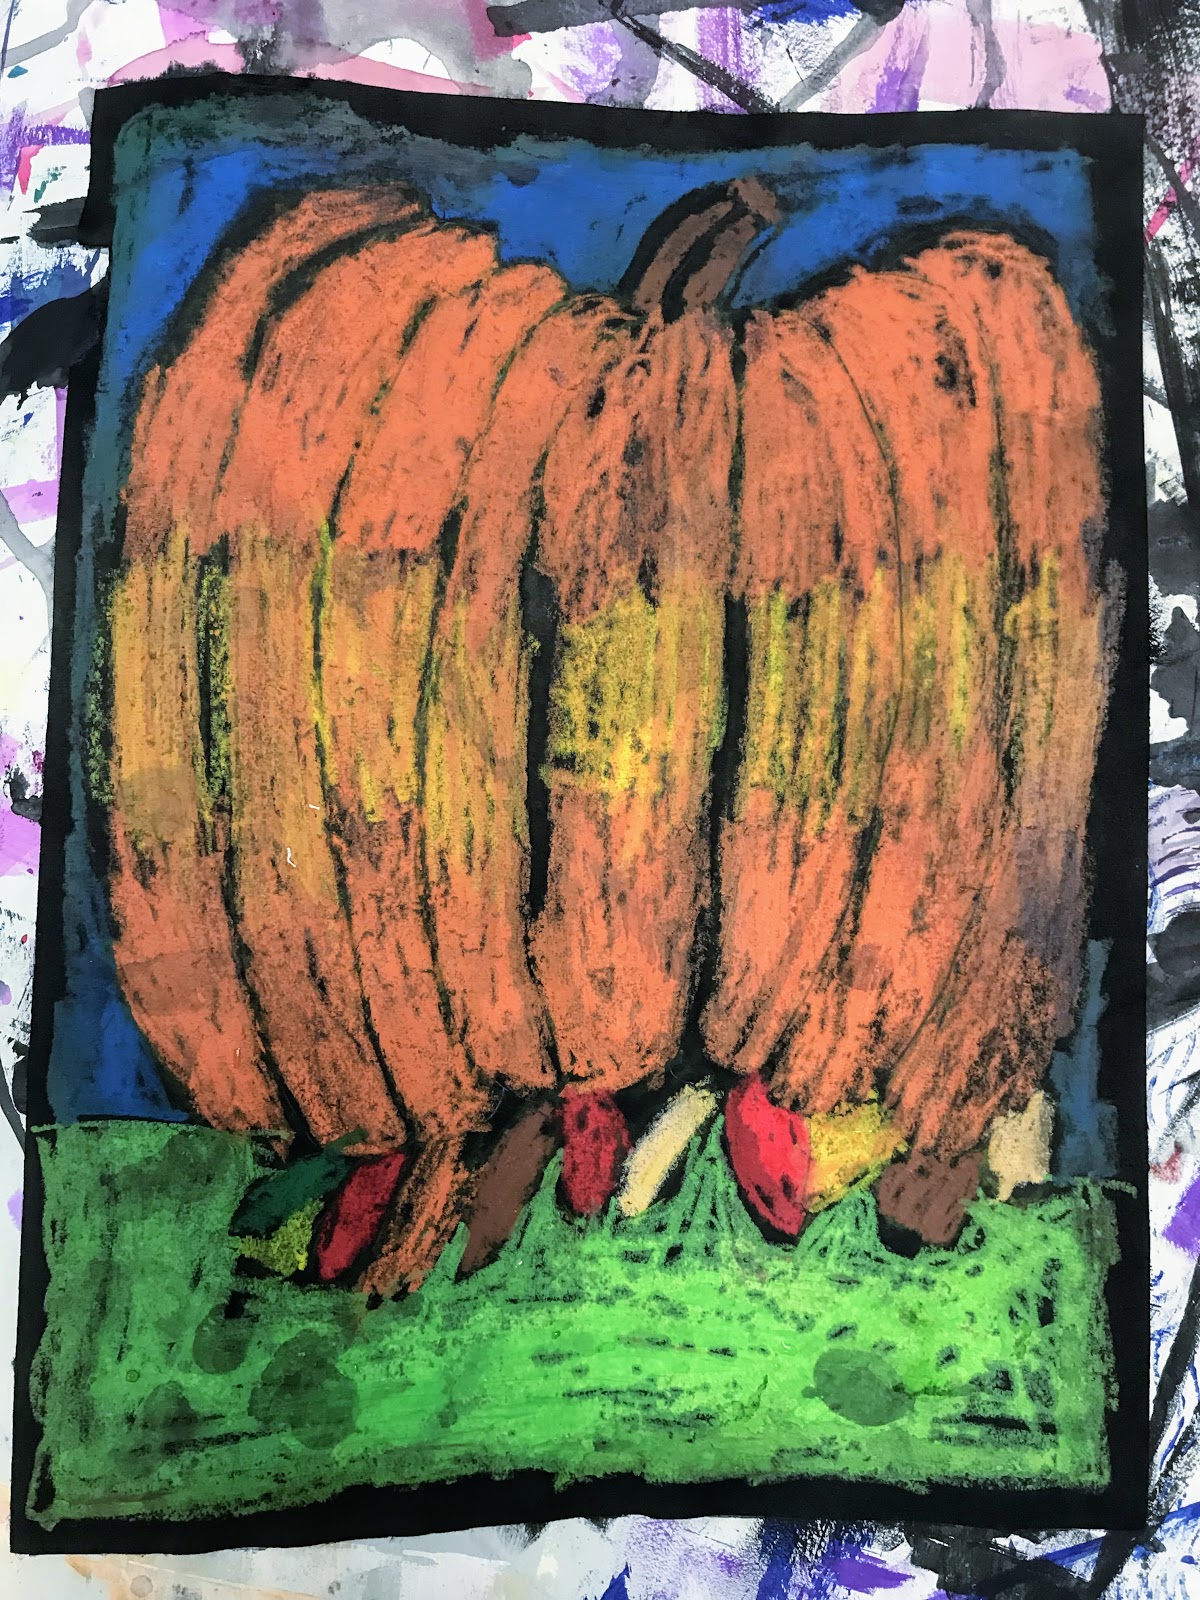
Fambrough 老师班上的同学昨天已完成几幅作品!
朋友们,干得漂亮!
三级油画棒人造蜡染南瓜
This week, 3rd grade is trying something new! I found this on A Faithful Attempt blog , and wanted to try it with our students!
Here's how we created ours!
Materials:
90 lb paper (got to have thick paper!)
Sargent chalk pastels
Crayola Oil Pastels
Sax India ink
Ticonderoga pencils
Day 1: We looked at the example on the Faithful Attempt blog, and looked at actual pumpkins. We observed the curved lines and different values (lights or darks) on the pumpkins. We observed they're not perfectly round, and the stems aren't perfect little rectangles. We also looked up what batik was, and the process that goes into that art form. Here's a neat site, Dharma Trading Co. , has examples of what batik is!
Then, we got to work! We drew our pumpkins together, step-by-step. Then, we traced our drawings with yellow chalk. I reminded them to draw big, and make thick bold lines with their chalk. This is going to be our dark outlines when we finish.
I demonstrated how to color next. I used the oil pastels for coloring. They will resist the ink that we're going to use! I remind them to color ONE SECTION AT A TIME, and leave your chalk outline! I color the middle yellow first. Then, I colored the top bottom part of the section orange. I colored lightly over the yellow with the orange too. Finally, I blended the entire section with the yellow again. I love how creamy oil pastels are, and how well they blend! We used green and brown for the stem, fall colors for the leaves, green and light green for the grass, and blue for the sky.
Then, I wiped the chalk off with a damp sponge.
Day 2: Add black ink!
I placed mine in the sink, and painted the whole thing with India Ink
Here's a short video showing me painting my picture.
Here's what happened when I washed it off
Here's a few pictures of the finished product.
Stay tuned for some awesome 3rd grade art!
Mrs. Fambrough's class finished a few yesterday!
Great job friends!