万花筒姓名设计
原文链接:https://tabithaannthelostsock.blogspot.com/2012/09/kaleidoscope-names.html
日期: 2012-09-20
标签: art, kaleidoscope, Lesson Plan, middle school, name design, symmetry, tag
Krissie Barker
2020届七年级
Celestine老师四年级班
Rosa 与 Jayla
Ale 与 Jay W.
Isabelle 与 Carson
四年级周三美术课
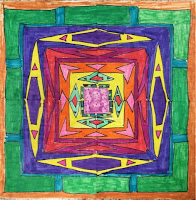
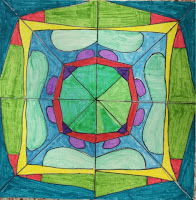
Hannah 与 Andy
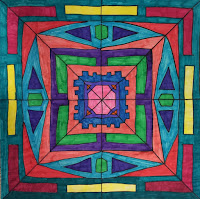
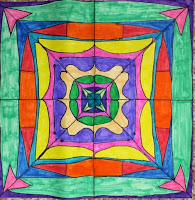
Haley
四年级——McMillian老师
Kara 与 Cassandra
Kadin 与 Andrew
周三课程……
Do老师班级
Alyssa
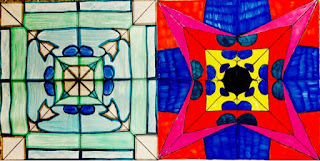
Tray 与 Abby
周五美术课
Cramer老师班级
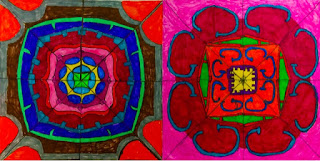
Preston 与 Noah “Gage”
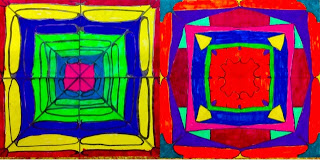
Lisa “Joanna” 与 James
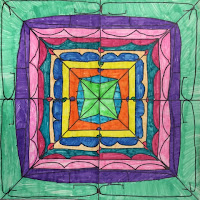
Gabriella
Johnson老师四年级班 Stephanie
Markowitz老师四年级班
London
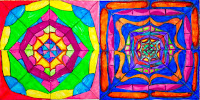
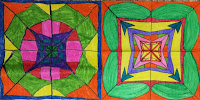
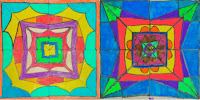
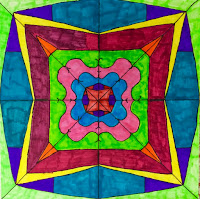
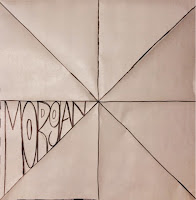
本项目名为“万花筒姓名设计”,旨在教授径向对称、平衡,以及正负空间概念。学生取一张正方形纸,将其对折为8等份(形如披萨切片)。姓名书写于其中一片内,确保字母的顶部与底部均触达该切片的边缘。
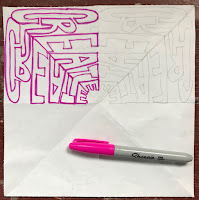
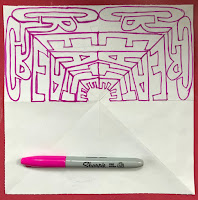
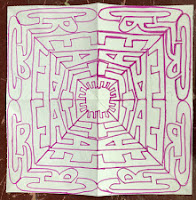
学生可从中心角向外绘制,也可从外缘向内绘制……两种方式效果均佳。他们需用永久性黑色记号笔在纸张正反两面勾勒姓名轮廓,并以此原始姓名为模板,依次描摹至其余七片切片上。
学生须理解:每隔一片切片上的姓名需作镜像翻转(即左右颠倒),因其为反射对称;下一片则恢复原方向……依此类推。此步骤略显复杂,因此我特制了这份描摹顺序指南 😉
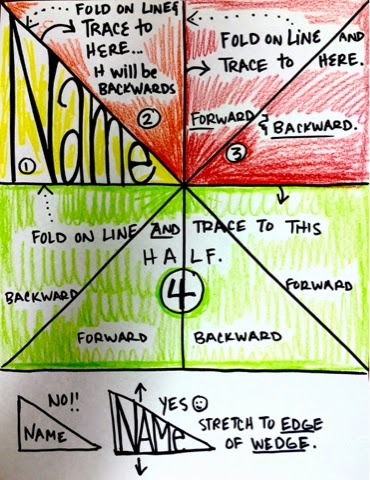
我们利用窗户作为描摹台。每隔一个三角形内的姓名均为反向(镜像)呈现——这是正常且必要的。待姓名通过描摹完整转移至全部8个三角形后,学生开始着色。
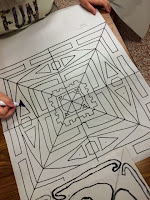
我提醒学生提前规划:先用所选颜色在各区域点上小圆点,以防因疏忽导致配色失误。此处Haley正用紫色记号笔点出所有字母“A”的中心位置。
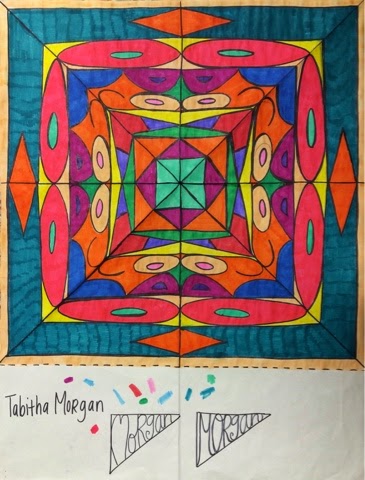
我允许学生使用彩铅、蜡笔或记号笔。我特别强调:每个三角形的着色必须与原始三角形完全一致。
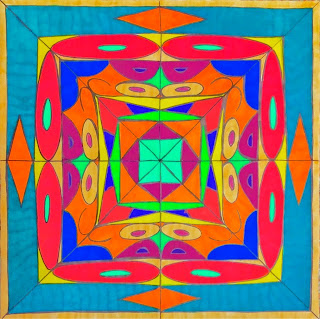
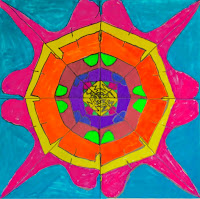
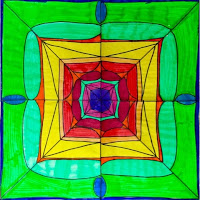
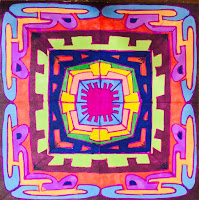
我鼓励学生尝试以更明亮、更强烈的色彩填充负空间,从而更好地隐藏姓名——若希望达成此视觉效果。我喜欢观者初看时无法立刻辨识出姓名,须细察方能发现。我认为最终成果极为精美!实际操作难度远低于我的预期。明年我将继续开展此项活动——可视为一次成功实践!
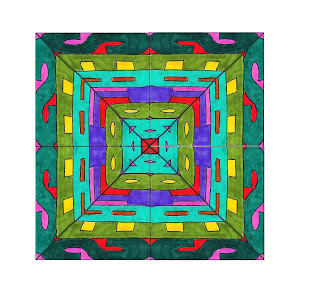
教师范例
Seaton
学生范例
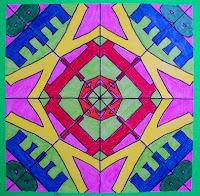
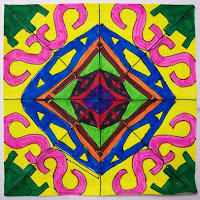
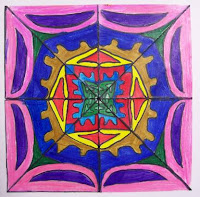
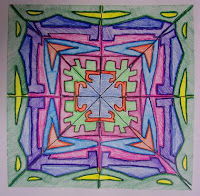
更多作品请见……
http://classroom.mineolaisd.net/webs/seatont/kaleidoscope_names.htm
https://www.youtube.com/watch?v=q2fIWB8o-bs
这是一段非常舒缓的视频,您可在学生创作姓名设计时播放并循环播放,以持续激发其灵感……
万花筒姓名设计
Original: https://tabithaannthelostsock.blogspot.com/2012/09/kaleidoscope-names.html
Date: 2012-09-20
Tags: art, kaleidoscope, Lesson Plan, middle school, name design, symmetry, tag
Krissie Barker
7th grade 2020
Mrs. Celestine's 4th grade
Rosa & Jayla
Ale & jay W.
Isabelle & Carson
4th grade Wednesday Art Classes
Hannah & Andy
Haley
4th grade- Mrs. mcMillian
Kara & Cassandra
Kadin & Andrew
Wednesday classes...
Mrs. Do's class
Alyssa
Tray & Abby
Friday Art class
Mr. Cramer's class
Preston & Noah "Gage"
Lisa "Joanna" and James
Gabriella
Stephanie in Johnson's 4th grade class
Mrs. Markowitz 4th grade
London
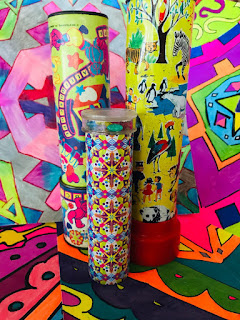
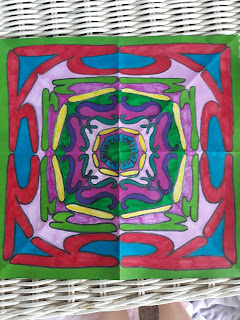
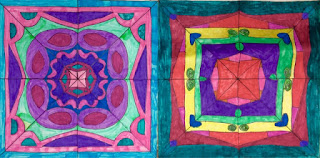
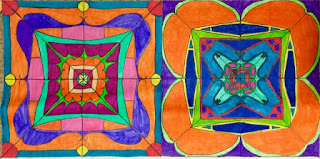
This project is called a Kaleidoscope Name Design. It teaches radial symmetry, balance, and negative and positive spaces. The students take a square paper and fold it into 8 sections (like a pizza). Their names are drawn on one of the slices making sure the tops and bottoms of their letters touch the edges of the slice.
They can work from the middle corner out or the outside edge in... either look very nice. They outline their name with a permanent black marker on front and back of the paper. They use this first original name to trace to the seven remaining slices.
Students need to understand that every other wedge will be flipped (backwards) because it is a reflection. Then the next wedge will be forward again... So on and so on. This gets a little confusing, so I made this tracing order guide 😉
We used the window as our tracing table. Every other triangle will be a backward name. This is normal and necessary. After the name is transferred by tracing to all 8 triangles, students begin coloring.
I tell them to plan ahead by "dotting" the spaces with the colors they want to use to create any accidents caused by carelessness. Here Haley is using a purple marker to dot all of her A centers.
. I let them use colored pencils, crayons, or markers. I made sure they understood that each triangle must be colored the same as the original triangle.
I encouraged them to try to use brighter bolder colors for the negative spaces to disguised their names better if they wanted that effect. I like people to not see the name at first until they look further. I think they turned out beautifully! It was definitely not as hard as I was expecting. I will be doing these next year as well. Stamp it as a success!
Teacher Example
Seaton
Student Examples
see more at ...
http://classroom.mineolaisd.net/webs/seatont/kaleidoscope_names.htm
https://www.youtube.com/watch?v=q2fIWB8o-bs
This is a very relaxing video that you could show and keep going to inspire them as they work on their name designs...


